
I've been hooked on glass etching since the first time I tried it. From casserole dishes, to mirrors, to vases, I have had fun using etching cream on all sorts of things. This year I wanted to add some new homemade ornaments to the tree and made these glass etched ornaments with snowflakes.
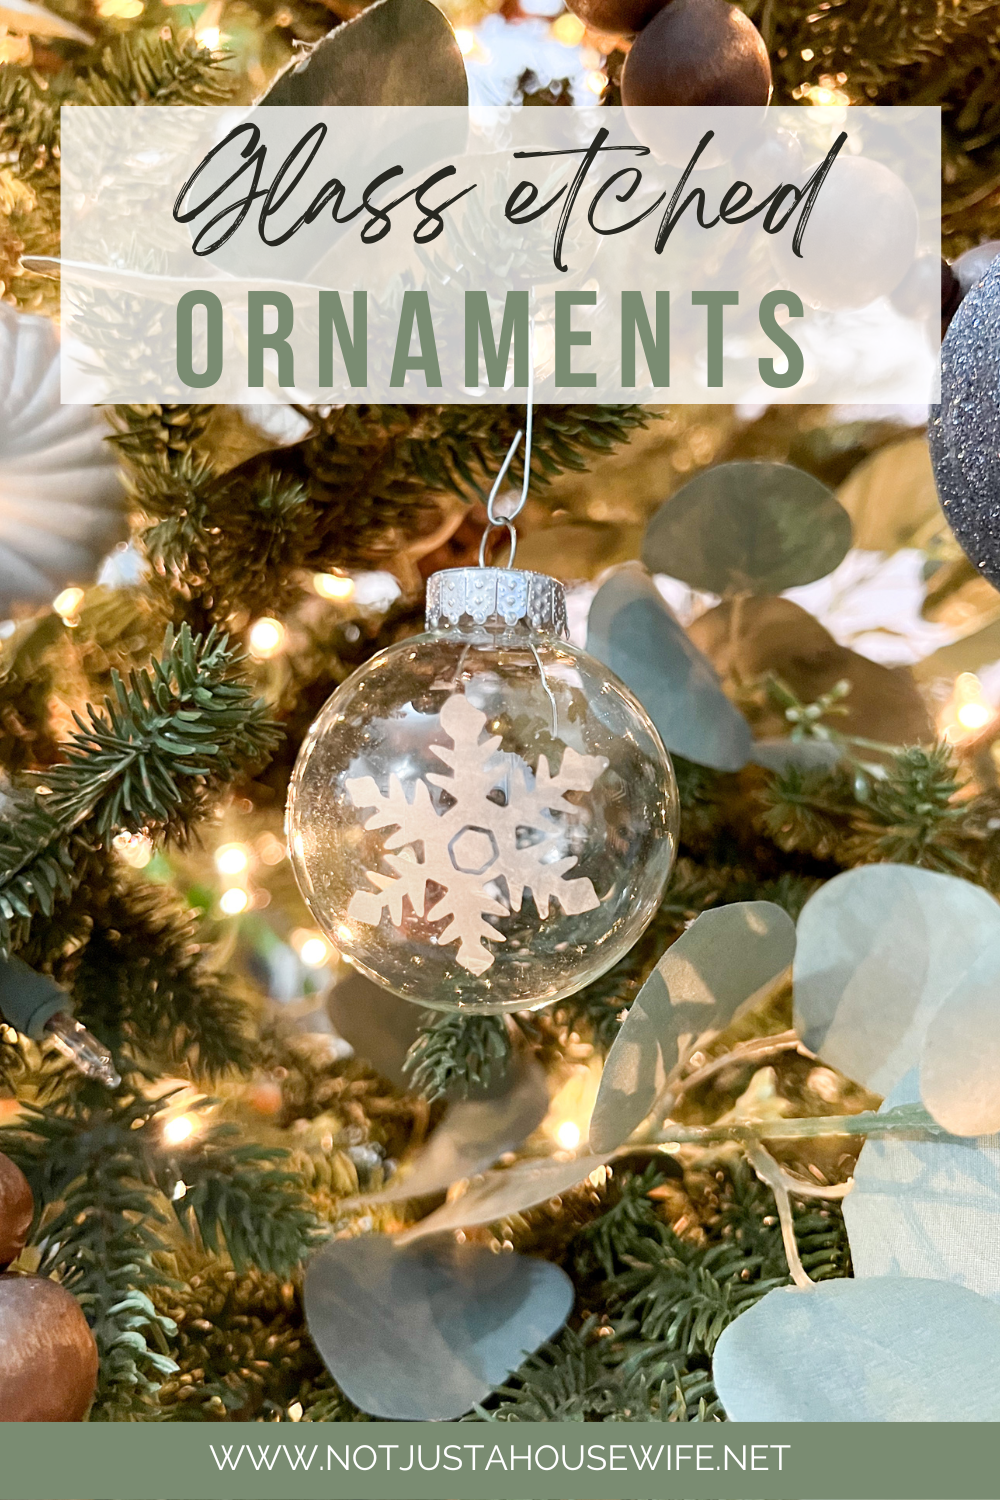
Glass Etched Ornaments
You could add names, monograms, polka dots, or anything else you want to customize them. A cute house with the date you moved into your house would be darling too. The possibilities are endless! Let me show you how easy it is to glass etch and ornament.

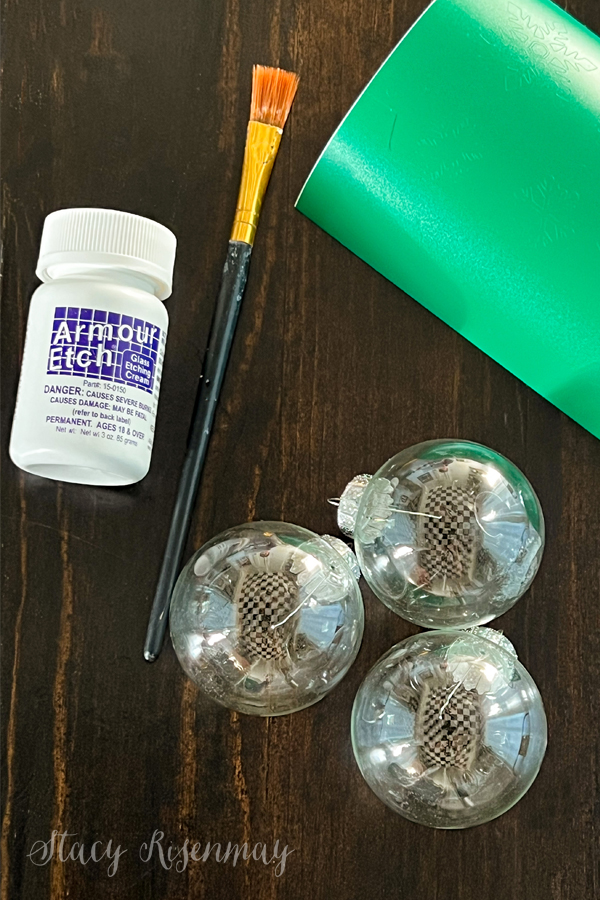
Supplies for Etching
Stickers or Vinyl
Step 1:
Apply the stickers or vinyl to the glass ornament.
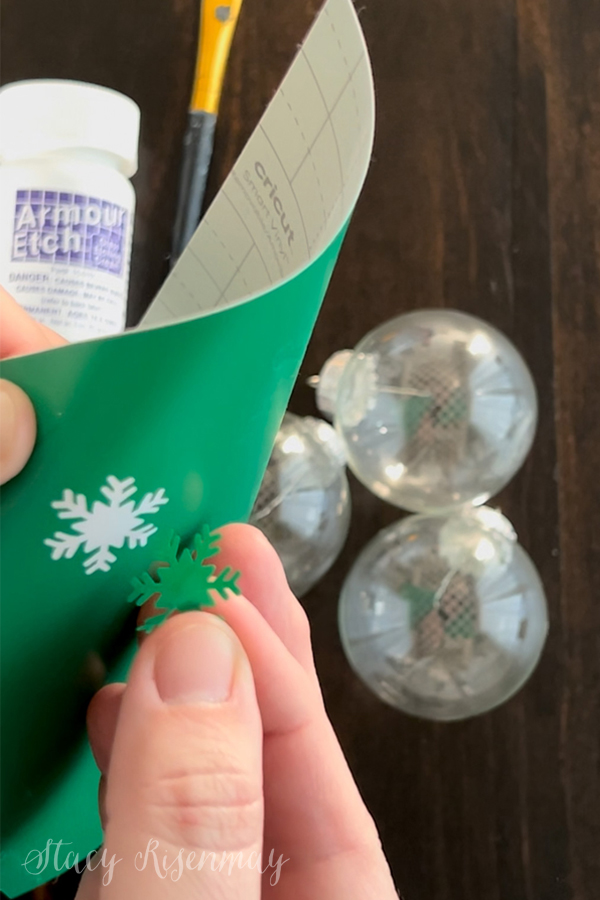
You can also add the negative space from around the sticker to create a different look. Make sure to press the edges well so the cream doesn't bleed underneath.
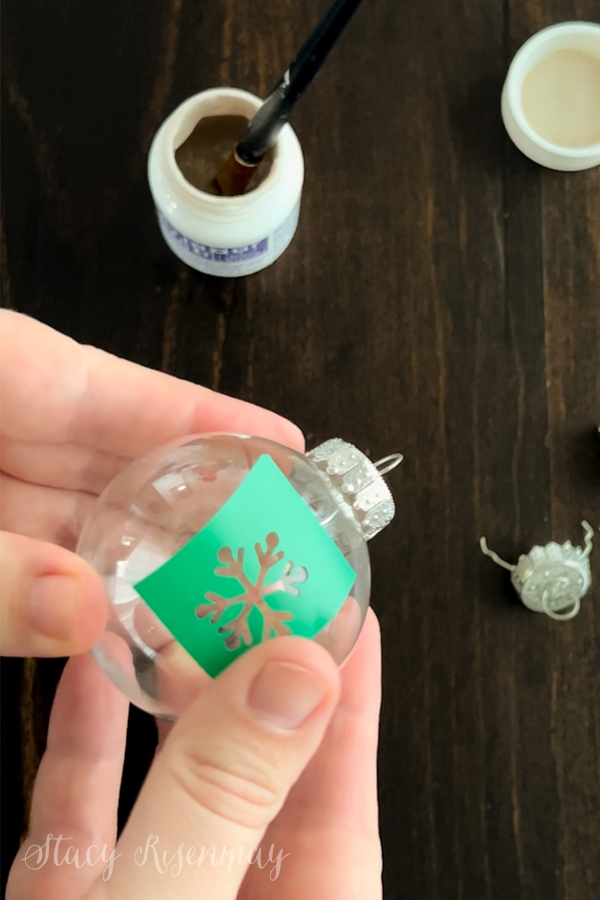
Step 2:
Dip the brush into the etching cream and then apply it to the ornament. You don't want to get it on your hands so if you are worried about that, you can use latex gloves.
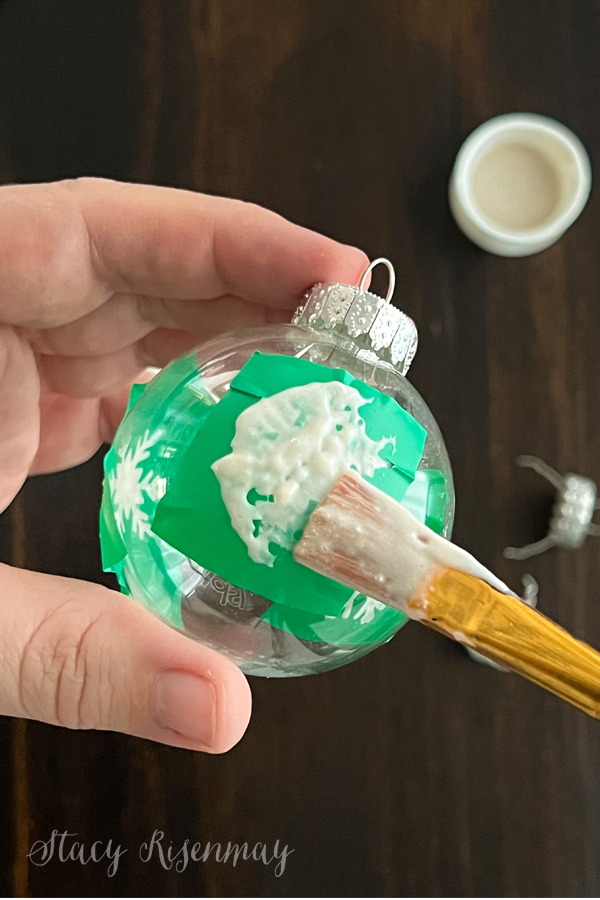
I dab it on creating a thick layer. Make sure it is as evenly applies as possible. I let it rest on a paper plate while I wait for it to etch.
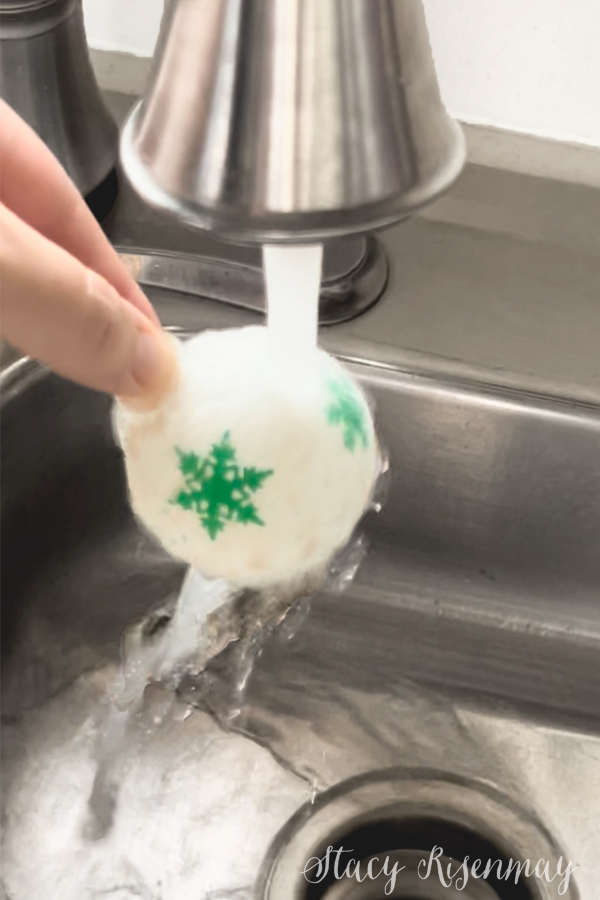
Step 3:
When it has sat there for about 10 minutes, it is time to rinse! I run it under the tap and use the paint brush to help get the etching cream off.
That is it! It is simple and straightforward. Once you start etching things you will never want to stop.

I love that there are some that are etched all over and the snowflakes are clear and then some where only the snowflake is etched.
Have you tried glass etching before?
Day 1: Mini Letterboard Ornaments
Day 2: Clay Snowflake Ornaments
Day 3: Leather Ornaments
Day 4: Mushroom Ornaments
Day 5: Glass Etched Ornaments
Day 6: Gingerbread Ornaments
Day 7: Clay Leaf Print Ornaments
Day 8: Wood Slice Ornaments
Day 9: Snow Globe Ornaments
Day 10: Stamped Clay Ornaments
Day 11: String Ball Ornaments
Day 12: DIY Icicle Ornaments


Comment Below!