
I love incorporating nature into my home decor and that goes for my Christmas decor as well. These clay leaf print ornaments are the perfect way to do that. They are easy to make and are something that kids could help with. It is so satisfying to peel the leaf off the clay and see the imprint!
Some links are affiliate links
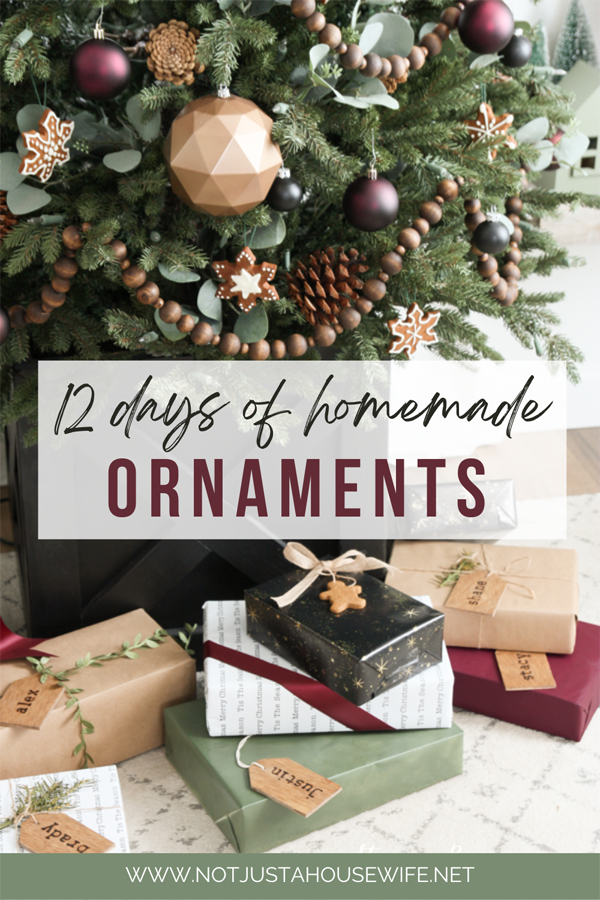
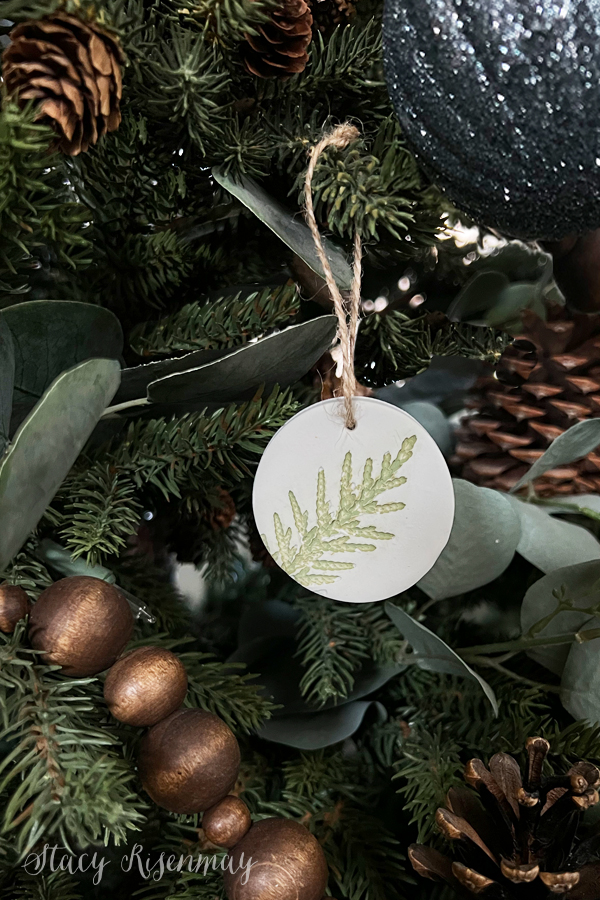
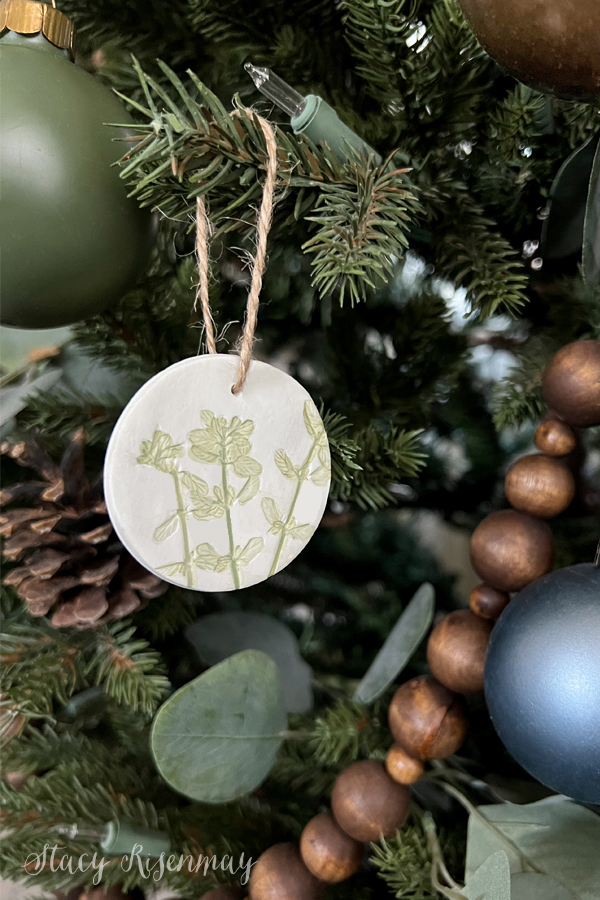
Clay Leaf Print Ornaments
I chose to paint mine, but they would be pretty left all white as well. You could even paint the whole thing instead of just the imprint or even use green clay instead of white. But however you chose to make yours, they will make a darling addition to your tree.
Supplies:
Leaves
Toothpick
String or Wire Hook
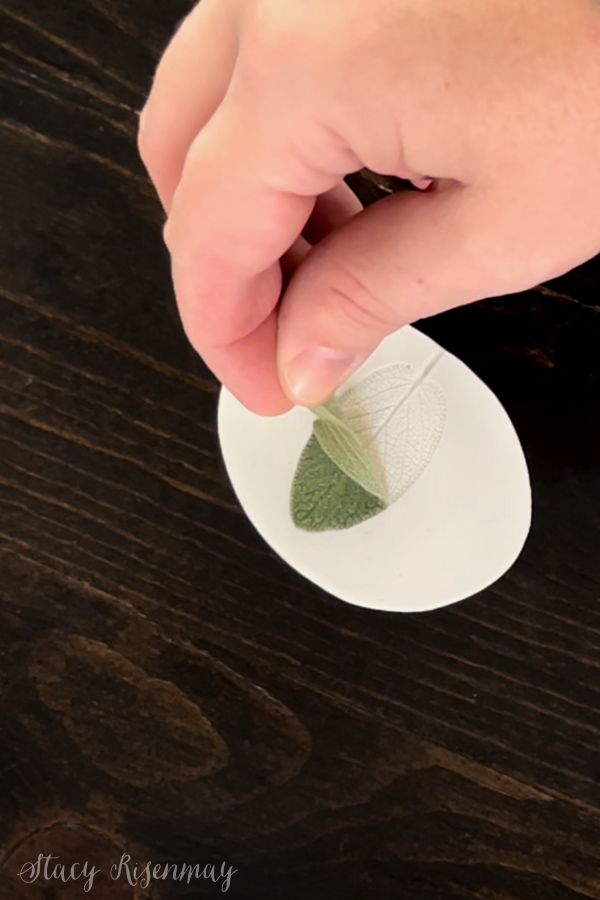
Step 1:
Roll out the polymer clay to about ¼ of an inch thick. Place a leaf on the clay and roll it again with the rolling pin. Pressing with your fingers won't give an even impression. Just make sure not to roll too hard.
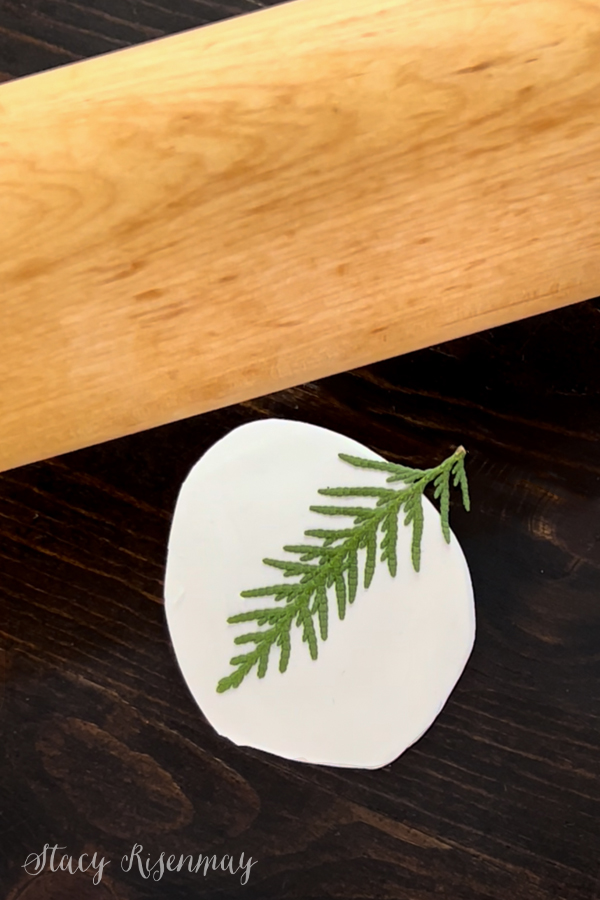
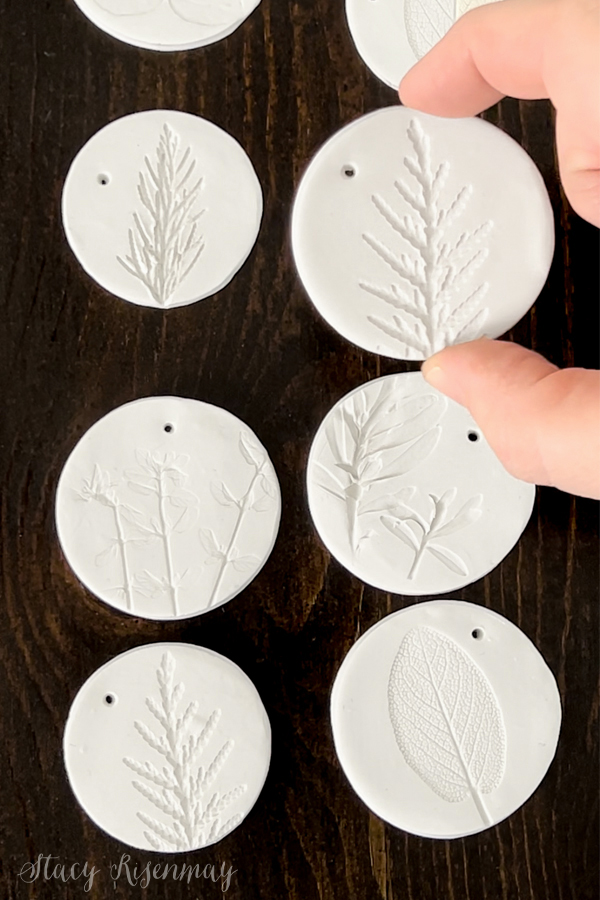
Step 2:
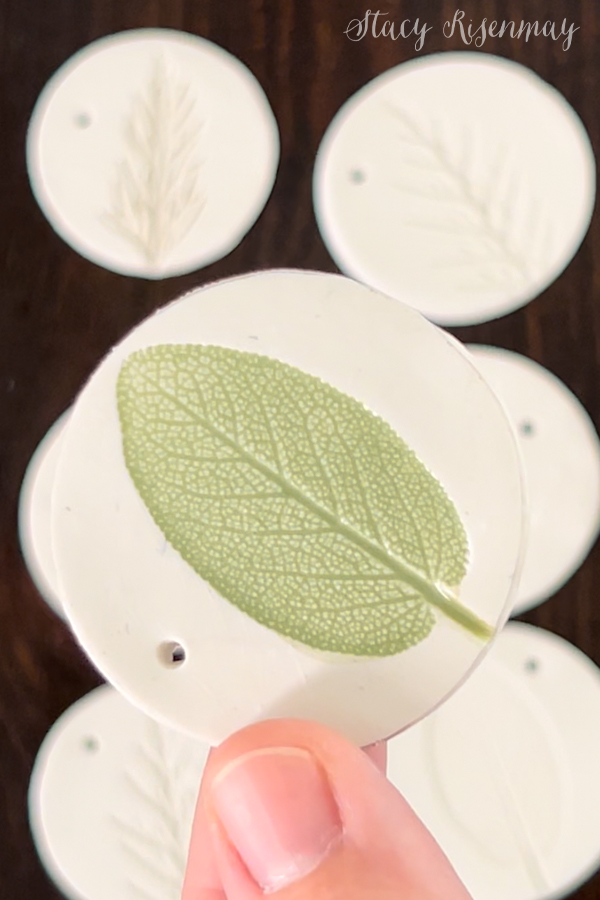
Peel the leaf off. This is my favorite part! It is so fun to see the texture and veins printed in the clay.
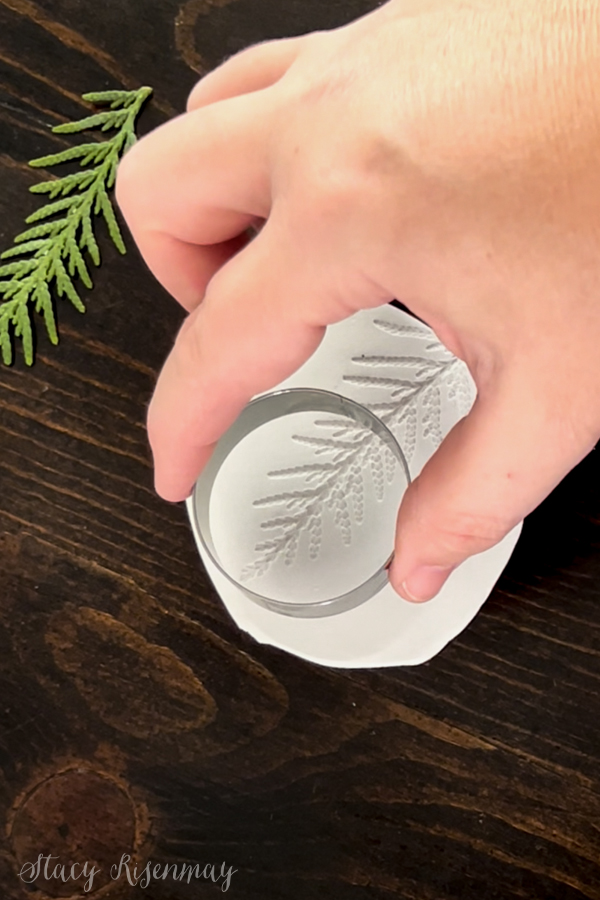
Step 3:
Use the cookie cutter to cut a circle. If you don't have a cookie cutter that is round, you could place something that is round over it and trace it with an X-Acto knife.
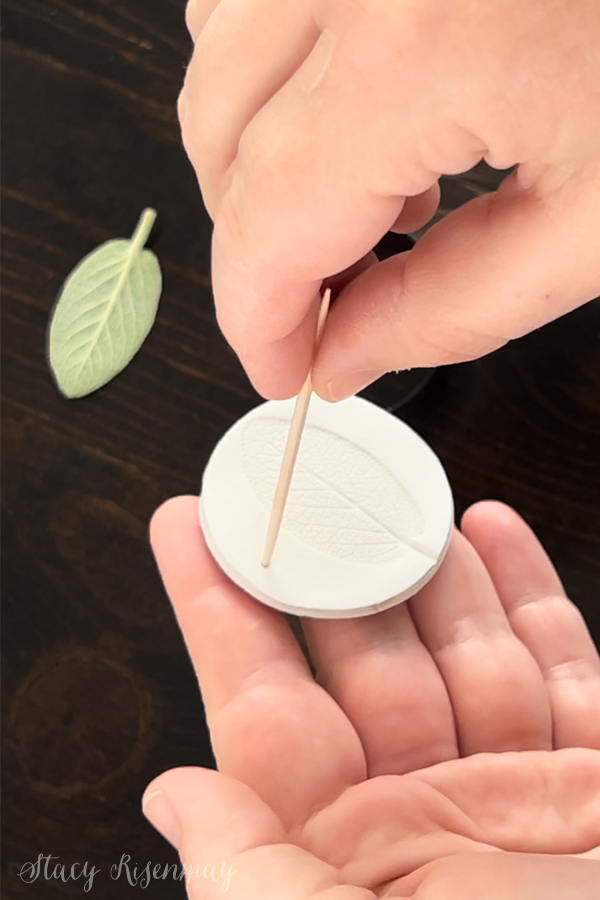
Step 4:
Use the toothpick to create a hole towards the top. This is what the string or hook with go through.
Step 5:
Bake the clay ornaments in the oven at 275 degree fahrenheit for 15 minutes. Allow them to cool before moving on to the next step.
Step 6:
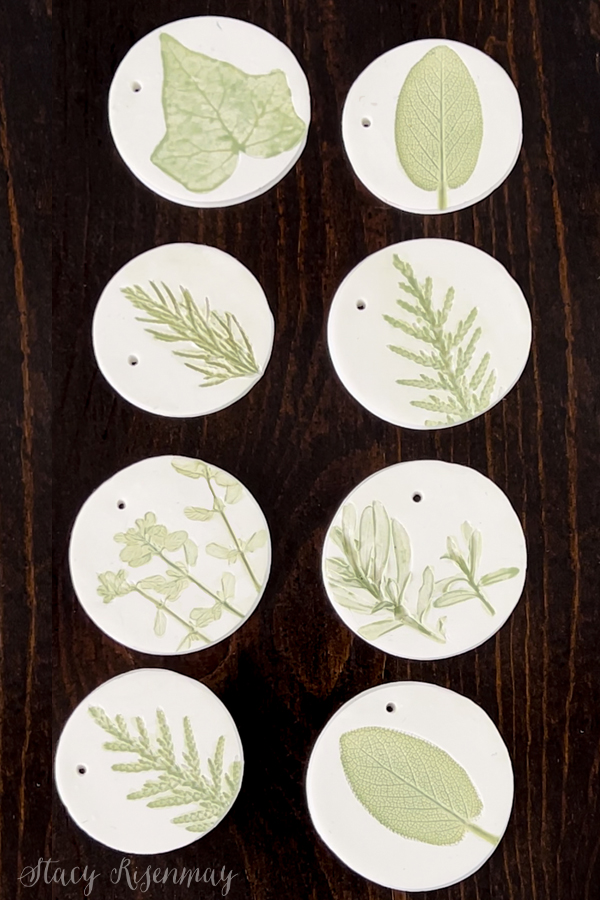
Now it is time to paint! I watered down the craft paint quite a bit so it would fill in the depressions easier.

Since the paint was watered down, it doesn't cover up the details. If you get too much paint in the depression, dip the corner of a paper towel into the paint and it will absorb the excess.
Have you ever made leaf prints in clay?
Day 1: Mini Letterboard Ornaments
Day 2: Clay Snowflake Ornaments
Day 3: Leather Ornaments
Day 4: Mushroom Ornaments
Day 5: Glass Etched Ornaments
Day 6: Gingerbread Ornaments
Day 7: Clay Leaf Print Ornaments
Day 8: Wood Slice Ornaments
Day 9: Snow Globe Ornaments
Day 10: Stamped Clay Ornaments
Day 11: String Ball Ornaments
Day 12: DIY Icicle Ornaments
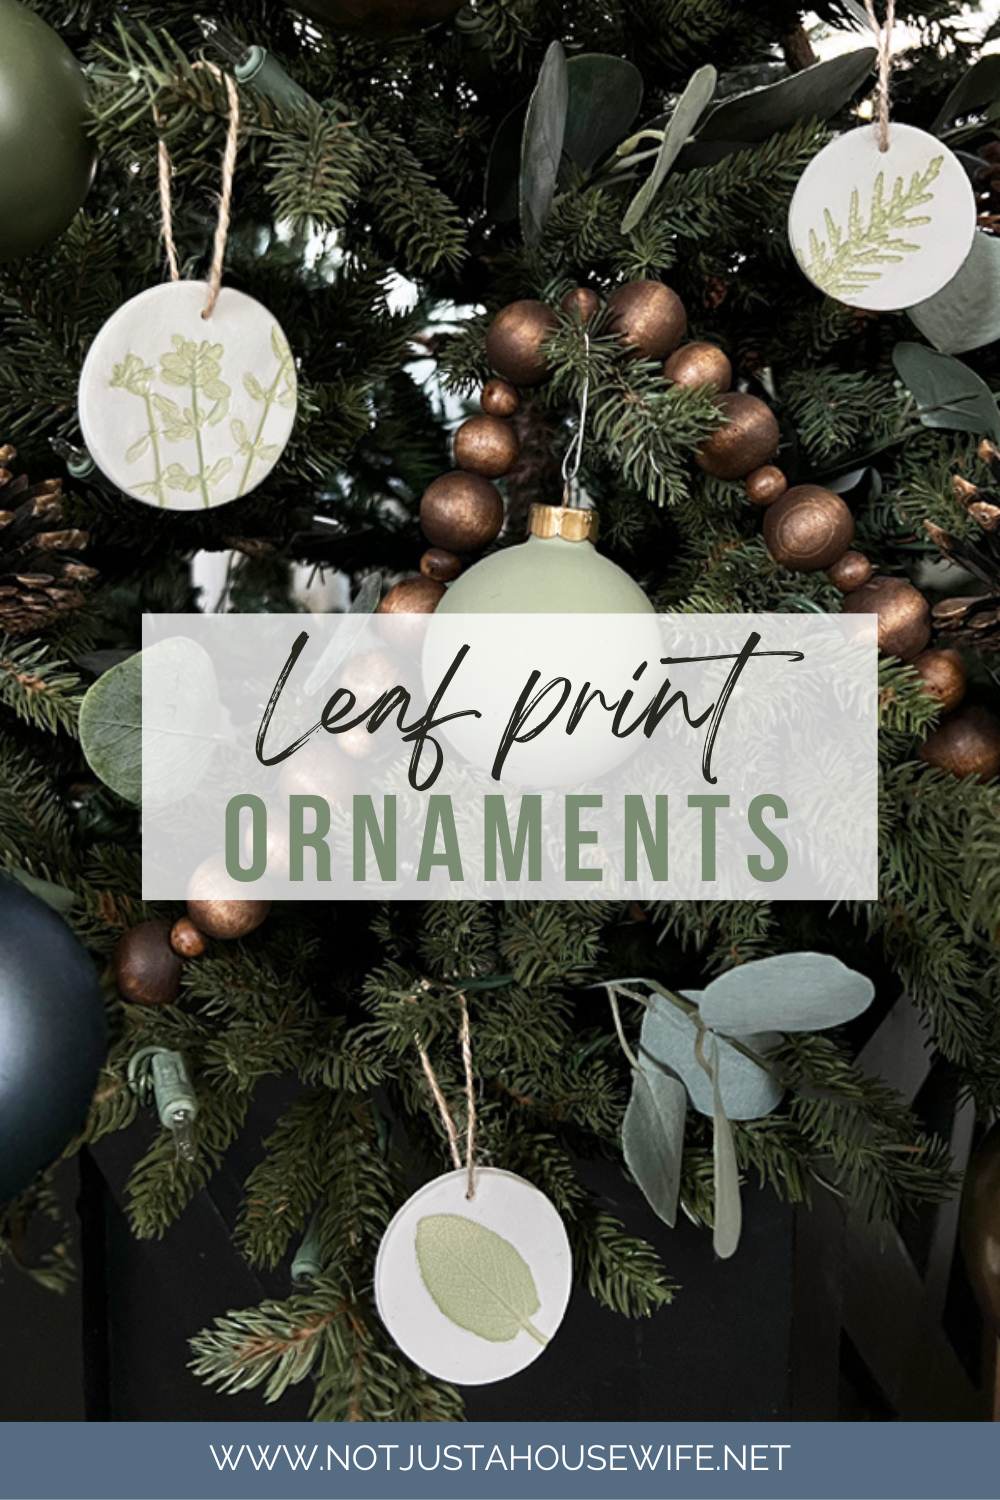
Pin For Later:


Love these! The ones using evergreen pine type needles showed up better than soft leaves. I am going to try ferns again tomorrow.
I can hardly wait to finish them