
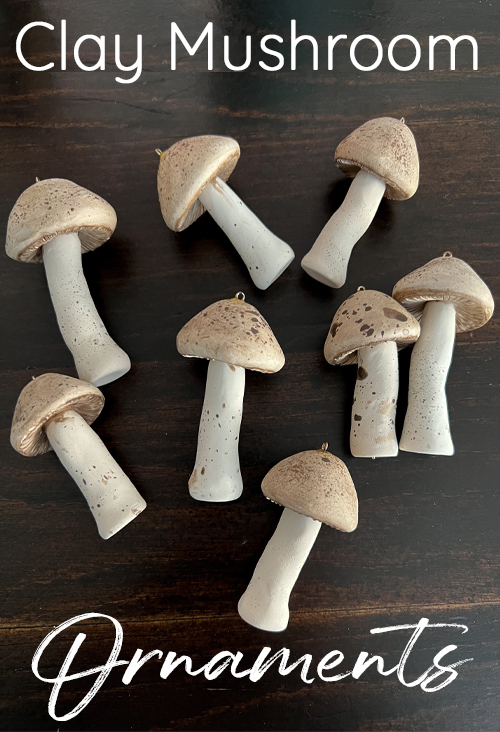
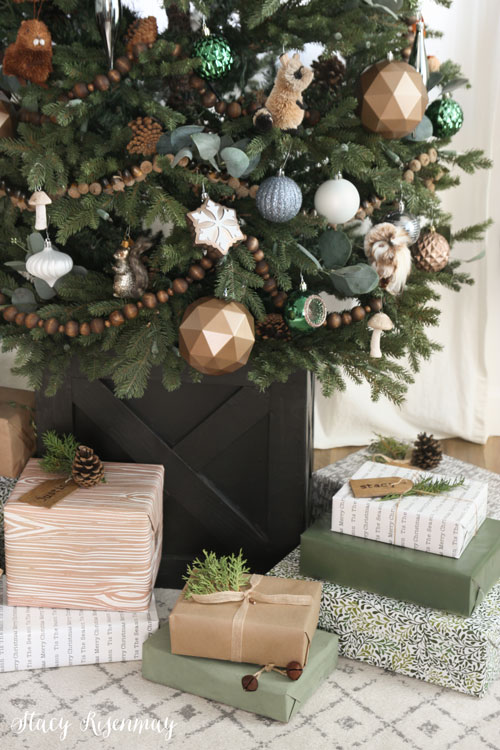
One of my kids' favorite trees we have done was the woodland Christmas tree with forest animals, pinecones, and little clay mushroom ornaments. The mushroom were super easy to make! So for day 4 of our homemade ornament series, are these adorable mushrooms.
This post contains affiliate links.
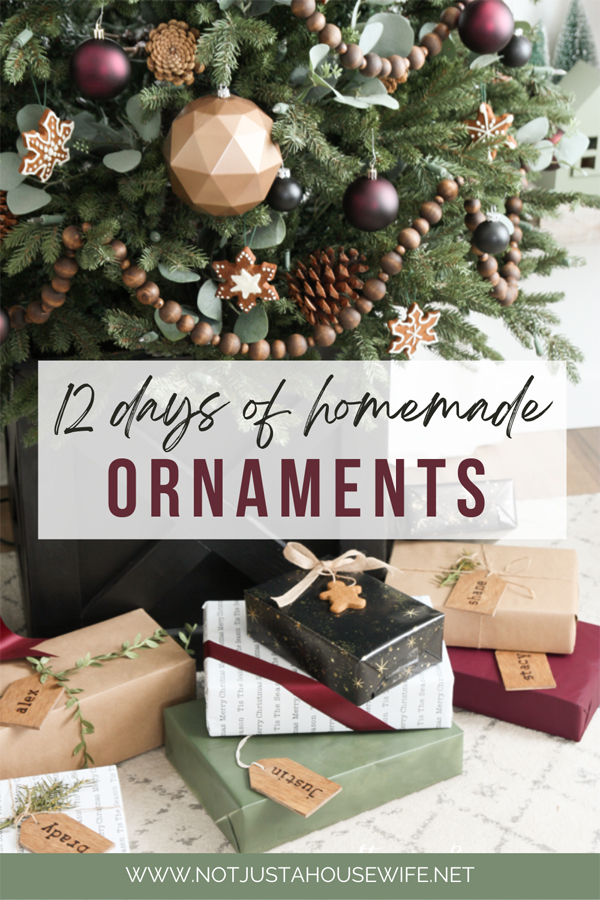
Clay Mushroom Ornaments
Polymer clay is one of my favorite things ever! It is the best choice of clay for ornaments because it never dries out. It only hardens when you bake it. It is not messy and it is easy to work with. There is no reason to seal it. Bake it and you are good to go! You can get it at any craft store, Walmart, or on Amazon. It comes in pretty much any color. You can even paint it!
Supplies
Toothbrush
Toothpick
Wire or Eye Pin

Step 1:
Roll out pieces for the stipe (stem) of the mushroom. I pushed it into the table to create a bottom that was wider. Then I pinched the tip into a point.
Create the cap of the mushroom.

Step 2:
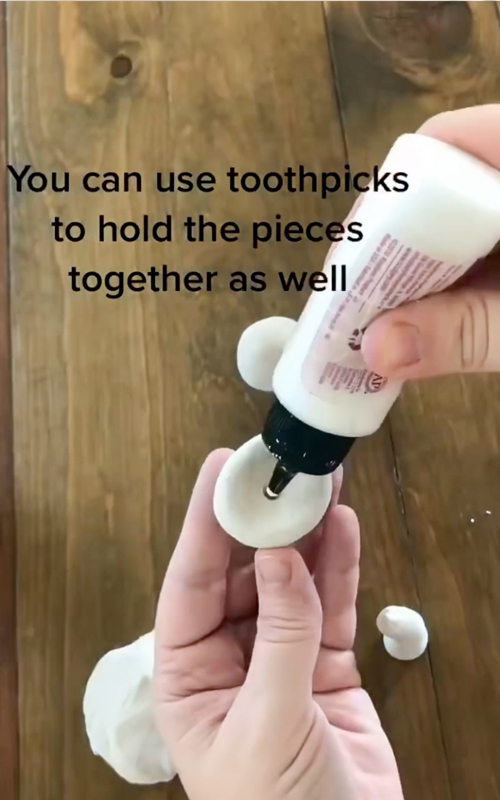
I used a special glue that is specifically for polymer clay and is bakeable. But you could also use a toothpick to connect the two pieces. I poked a hole in the top of the mushroom and then squeezed a bit of glue inside. Then the pointed end of the stem went inside.
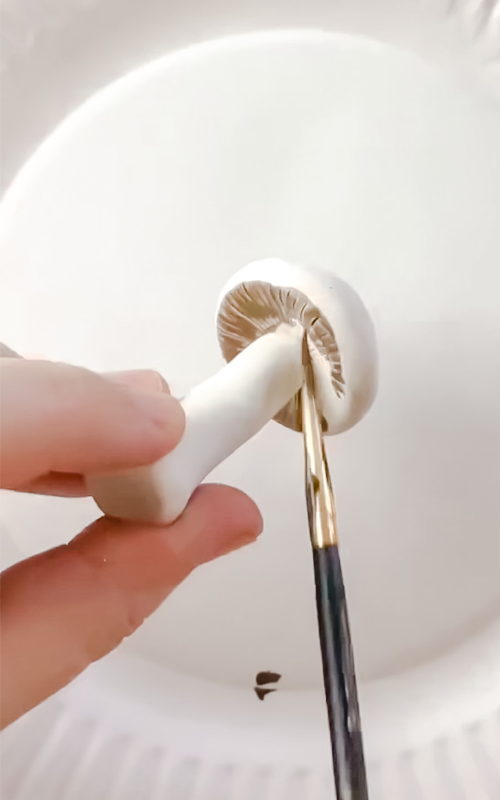
Step 3:
Use an X-Acto knife to create small slits on the underside of the mushroom cap.
Once that is done, push some wire or an eye pin into the top of the mushroom cap. This will allow you to hang them later.

Step 4:
Place the mushrooms on an oven safe plate and bake them according to the directions on the package. Mine were baked at 270 degrees fahrenheit for about 15 minutes.
Step 5:
Water down the craft paint a bit. This will allow the paint to seep into the lines you created under the top.
Then I painted the top of the cap. A soon as the top was all painted, I wiped the paint off with a paper towel. This way, the top was a lighter brown and the underside is darker. Just like a real mushroom!
Step 6:
Use a toothbrush (I buy cheap ones to use for crafts) to create the speckled look. Dip the toothbrush in the paint and run your finger over the bristles. It will spray paint over the mushroom.

Here's a video of the process:
These would also be cute painted with red caps with white speckles. Have you ever had a woodland themed tree?
Day 1: Mini Letterboard Ornaments
Day 2: Clay Snowflake Ornaments
Day 3: Leather Ornaments
Day 4: Mushroom Ornaments
Day 5: Glass Etched Ornaments
Day 6: Gingerbread Ornaments
Day 7: Clay Leaf Print Ornaments
Day 8: Wood Slice Ornaments
Day 9: Snow Globe Ornaments
Day 10: Stamped Clay Ornaments
Day 11: String Ball Ornaments
Day 12: DIY Icicle Ornaments


Comment Below!