• Skip to primary navigation
  • Skip to main content
  • Skip to primary sidebar
  • Skip to footer
Stacy Risenmay
  • Home
  • About me
  • PRESS
  • Contact Me
  • My Book
    • Facebook
    • Instagram
    • Pinterest
    • Twitter
menu icon
go to homepage
subscribe
search icon
Homepage link
  • Home
  • About me
  • Project Gallery
  • Our House
  • PRESS
  • Contact Me
  • Privacy Policy
    • Facebook
    • Instagram
    • Pinterest
    • Twitter
  • ×

    Easy Clay Snowflake Ornaments

    By Stacy 8 Comments

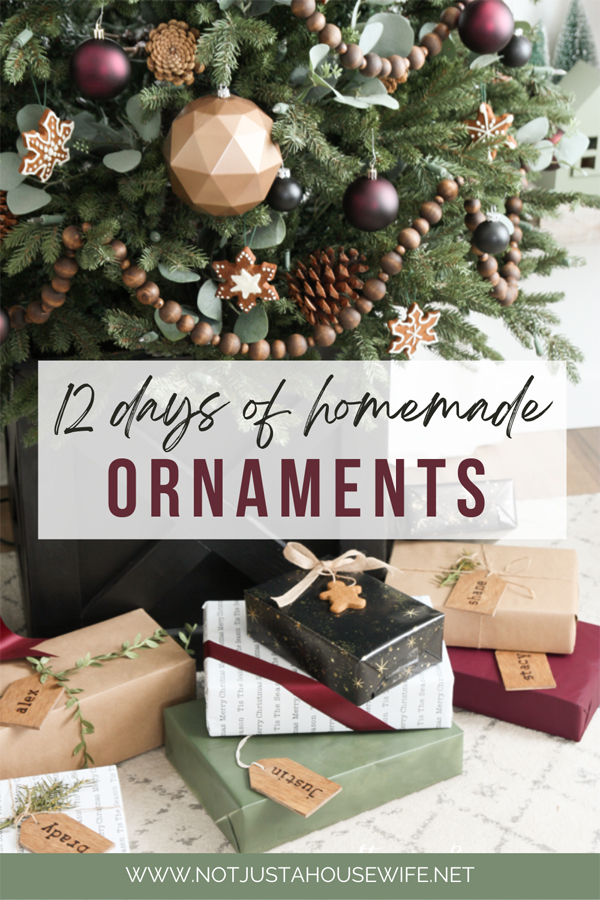
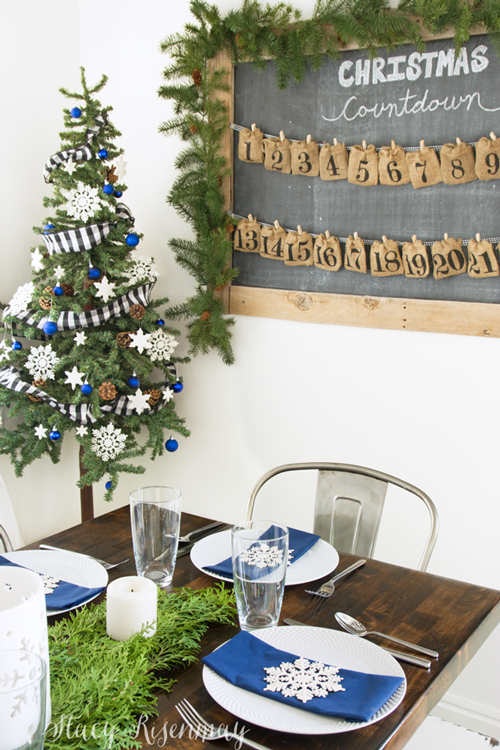
    I decorate our tree a different way every year but I try to not Spend very much money. I usually only buy a few new things and either reuse things from past years or make them. Today's homemade ornaments are these easy clay snowflake ornaments made out of polymer clay!

    This post contains affiliate links.

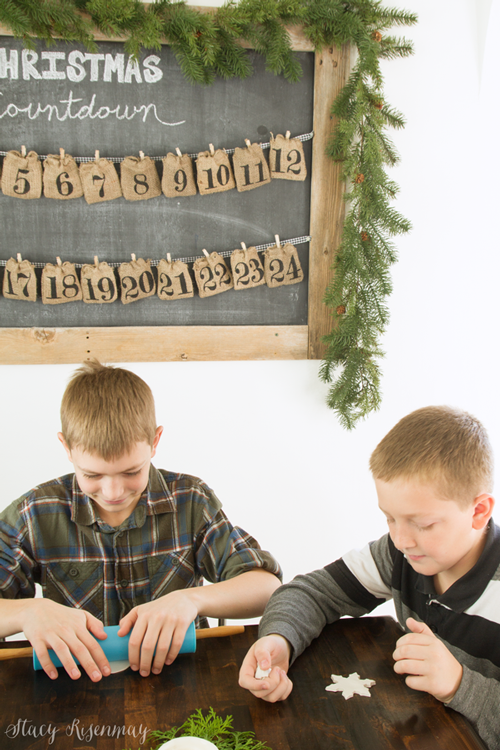
    I love these ornaments because they are so simple, don't create a mess, and the kids can help make them.

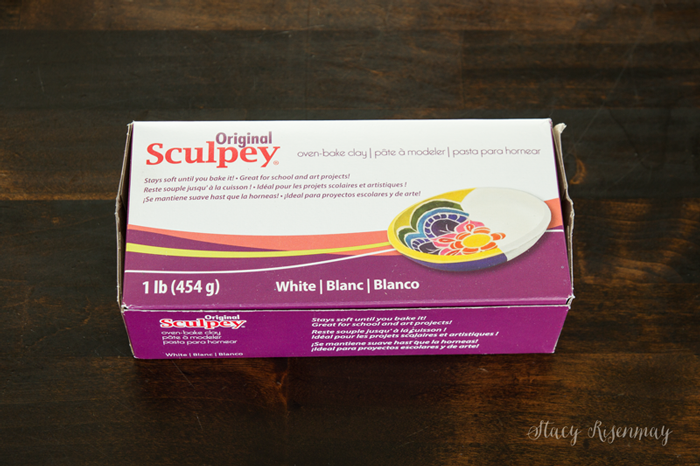
    Polymer clay is one of my favorite things ever! It is the best choice of clay for ornaments because it never dries out. It only hardens when you bake it. It is not messy and it is easy to work with. There is no reason to seal it. Bake it and you are good to go! You can get it at any craft store, Walmart, or on Amazon. It comes in pretty much any color. You can even paint it!

    You only need a few things to make these clay ornaments!

    Supplies:

    *Rolling Pin

    *Toothpicks

    *Polymer Clay

    *Cookie Cutters

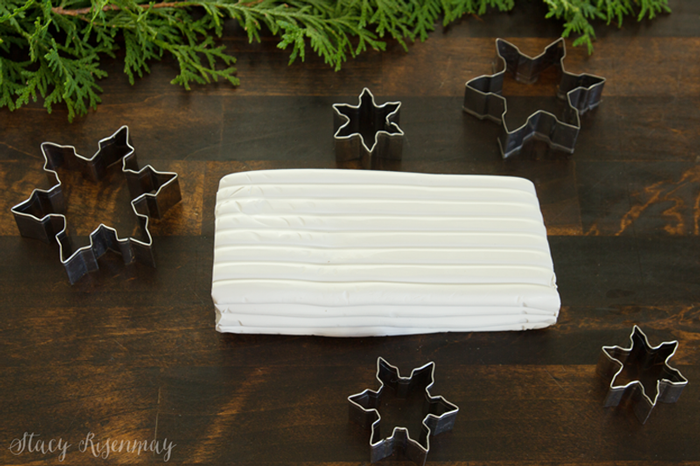
    I have some snowflake cookie cutters I bought last year that were the perfect size for ornaments.

    Step 1:

    You need to soften up the clay by working it in your hands. It seems really hard at first but it will become very soft and pliable in no time. No not try and microwave it to speed up the process. Once it is soft, you can roll it out. How thick should polymer clay ornaments be? I usually roll mine out to be about ¼ of and inch but you could probably get away with a bit thinner.
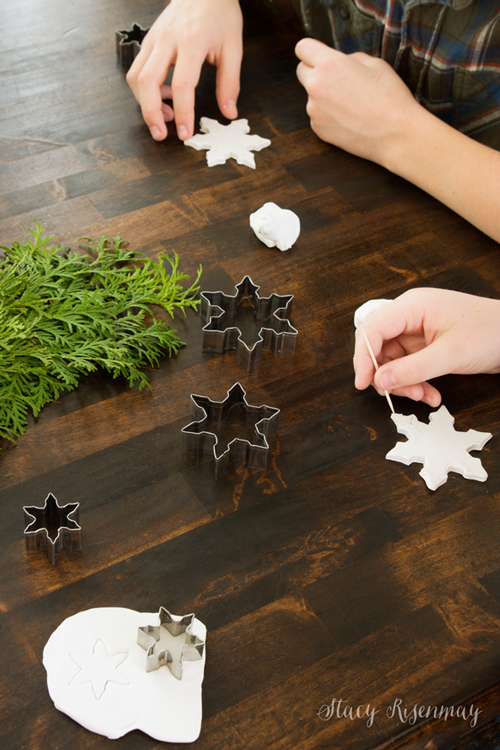
    Step 2:

    Once it is rolled out you can use the cookie cutters to cut out the shapes. This set of mini cookie cutters were the perfect size for ornaments!

    Step 3:

    We used toothpicks to draw designs on them. We also experimented with pressing different fabrics on them to create texture too. Make sure to make a hole at the top that the wire or string will fit through so you can hang them later.
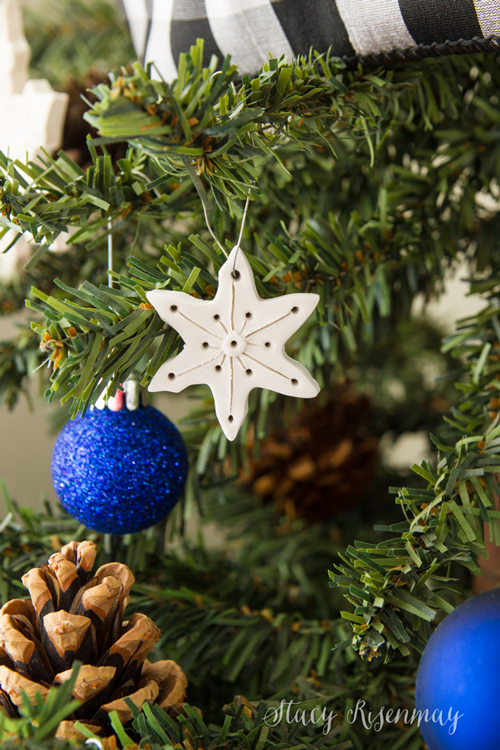
    Step 4:

    Once they were done, we put them on oven safe plates and baked them at 275 degrees fahrenheit for 15 minutes.

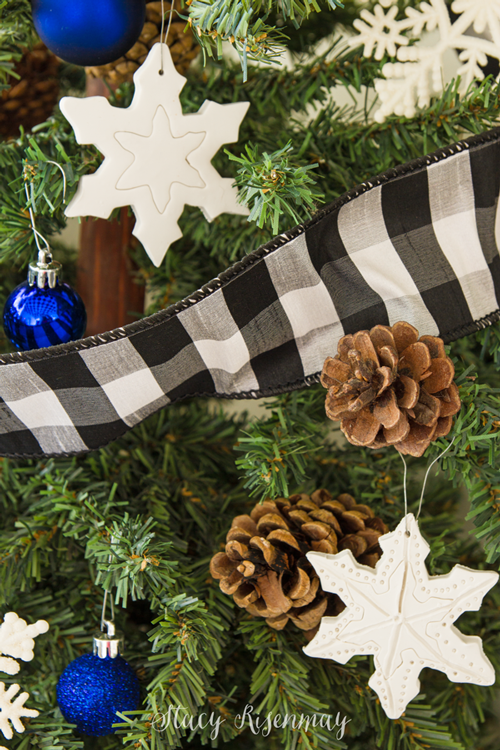
    I think they turned out beautiful and just like real snowflakes, no two are alike!

    Do you make your own ornaments? What is your favorite kind to make?

    Day 1: Mini Letterboard Ornaments

    Day 2: Clay Snowflake Ornaments

    Day 3: Leather Ornaments

    Day 4: Mushroom Ornaments

    Day 5: Glass Etched Ornaments

    Day 6: Gingerbread Ornaments

    Day 7: Clay Leaf Print Ornaments

    Day 8: Wood Slice Ornaments

    Day 9: Snow Globe Ornaments

    Day 10: Stamped Clay Ornaments

    Day 11: String Ball Ornaments

    Day 12: DIY Icicle Ornaments

    You will also like:

    • Christmas Home Tour 2014Christmas Home Tour 2014
    • Make Your Own Bird FeedersMake Your Own Bird Feeders
    • Cute Packaging For GiftsCute Packaging For Gifts
    • DIY Icicle OrnamentDIY Icicle Ornament
    • Christmas Snowflake MantelChristmas Snowflake Mantel
    • Christmas Mantel 2015Christmas Mantel 2015
    • Christmas Room TourChristmas Room Tour
    • Gingerbread Houses and a Family UpdateGingerbread Houses and a Family Update

    « Mini Letter Board Ornaments
    DIY Leather Ornaments »

    Filed Under: Holiday 8 Comments

    Subscribe

    for your weekly DIY fix.

    Reader Interactions

    Comments

    1. MF

      December 04, 2017 at 6:21 am

      I get sentimental about Christmas ornaments, so I love the idea of having the kids make them. They'll always be special. My son likes to make origami ornaments.

      Reply
      • Stacy

        December 04, 2017 at 5:51 pm

        Oh! Origami would be so fun!

        Reply
    2. brenda

      December 04, 2017 at 9:30 am

      i love it love it that you include your children in so many activities. it particularly hit home with me as we were uncovering items in our soon to be move. My daughter made the decision to let some of ornamens and decorations she had created with me so many years ago. Neither of our households will be able to incorporate many of the larger items so we enjoyed some memories and placed them in the Salvation Army donation area of the porch for their scheduled pickup. Hopefully, someone elses Christmas will be enhanced by them. Thank you Merry CHristmas and keep up the good work on making memories.

      Reply
      • Stacy

        December 04, 2017 at 5:50 pm

        I love that story! I bet there are a few families that will have a merrier Christmas because of it :)

        Reply
    3. Pamela Speers

      December 04, 2017 at 11:10 am

      Hey, Stacy-
      Love this idea! And the cookie cutter shape look so polished. I will try this soon!
      Are the snowflakes laying on the napkins on the table something you made as well?

      Reply
      • Stacy

        December 04, 2017 at 1:08 pm

        Thanks! The snowflakes on the napkin are plastic and I got them from Walmart a couple of years ago but they also had them stocked last year.

        Reply
    4. Carol, The Red Painted Cottage

      December 20, 2017 at 2:09 pm

      Stacy, I just wanted to say I shared this as one of our features this evening on Share Your Style! I love these and I love how you made it a family affair. Congratulations and Merry Christmas!

      Reply
    5. Linda Dupuis

      March 22, 2019 at 5:44 am

      Love it.??

      Reply

    Comment Below! Cancel reply

    Your email address will not be published. Required fields are marked *

    This site uses Akismet to reduce spam. Learn how your comment data is processed.

    Primary Sidebar

    stacyHey! I'm Stacy and am a DIY addict. I love to get my hands dirty, whether it's sawdust, paint, or dirt. My goal is to help YOU learn to fix up your home and yard. No matter the style or size, I think everyone should love their home. And it doesn't takes a big budget to get there. Let's DIY together!

    Subscribe to My Blog!

    Search this site

    categories


    Subscribe

    Footer

    Welcome! I'm sharing our adventures as we fix up our 1938 cottage. Whether it is big or small, I think everyone should love their home and I don't think it takes a lot of money to make a space your own

    About Stacy

    • Facebook
    • Instagram
    • Pinterest
    • Twitter

    My Favorites

    copyright

    All images and content are copyrighted via Stacy Risenmay unless otherwise stated. If you'd like to share my work, please link back to this blog.
    Thank you for visiting!


    Footer

    ↑ back to top

    About

    • Meet Stacy
    • Privacy Policy
    • Contact

    Categories 

    • Home Decor
    • Outdoor Projects & Gardening
    • DIY & Tutorials
    • Kid Activities
    • Recipes
    • Travel
    • Cleaning
    • Houseplants
    • Staining
    • Painting
    • Power Tools
    • Holiday Ideas

    Newsletter

    • Sign Up! for emails and updates

    As an Amazon Associate I earn from qualifying purchases.

    Copyright © 2020 Brunch Pro on the Brunch Pro Theme


    Privacy Policy
    Welcome! Thanks for visiting.
    Hi! I'm Stacy and I want to help YOU become a DIY rockstar! Sign up for my email list so each project, tip, and trick will go directly to your inbox :)
    Your information will *never* be shared or sold to a 3rd party. Pinky promise :)
    Welcome!
    Hi! I'm Stacy and I blog about fixing up our 1938 cottage. Join the thousand of others who get my posts sent to their inbox for FREE!
    Your information will *never* be shared or sold to a 3rd party.