
Once upon a time I had a birthday party blog. But then this blog took off and the domain for the birthday blog got stolen, so I shut it down. I am transferring the cakes I made to this blog :)
The Princess Tiara Cake


 The cake was just a basic round cake. I crumb coated it and stuck it in the freezer. I ended up forgetting to take it out and finish it before I had to leave for church. When I got home it was obviously frozen. I went ahead and frosted it. That is why the frosting is so smooth and flat. It wasn't my original intention but it looks pretty good. The crown is made out of sugar cookies. I drew a pattern on paper , cut them out, and used them to cut the dough. It took me three tries. I am terrible at making sugar cookies. So even if you don't have the knack for making them either, there is hope. Because if I can do it, you can too!
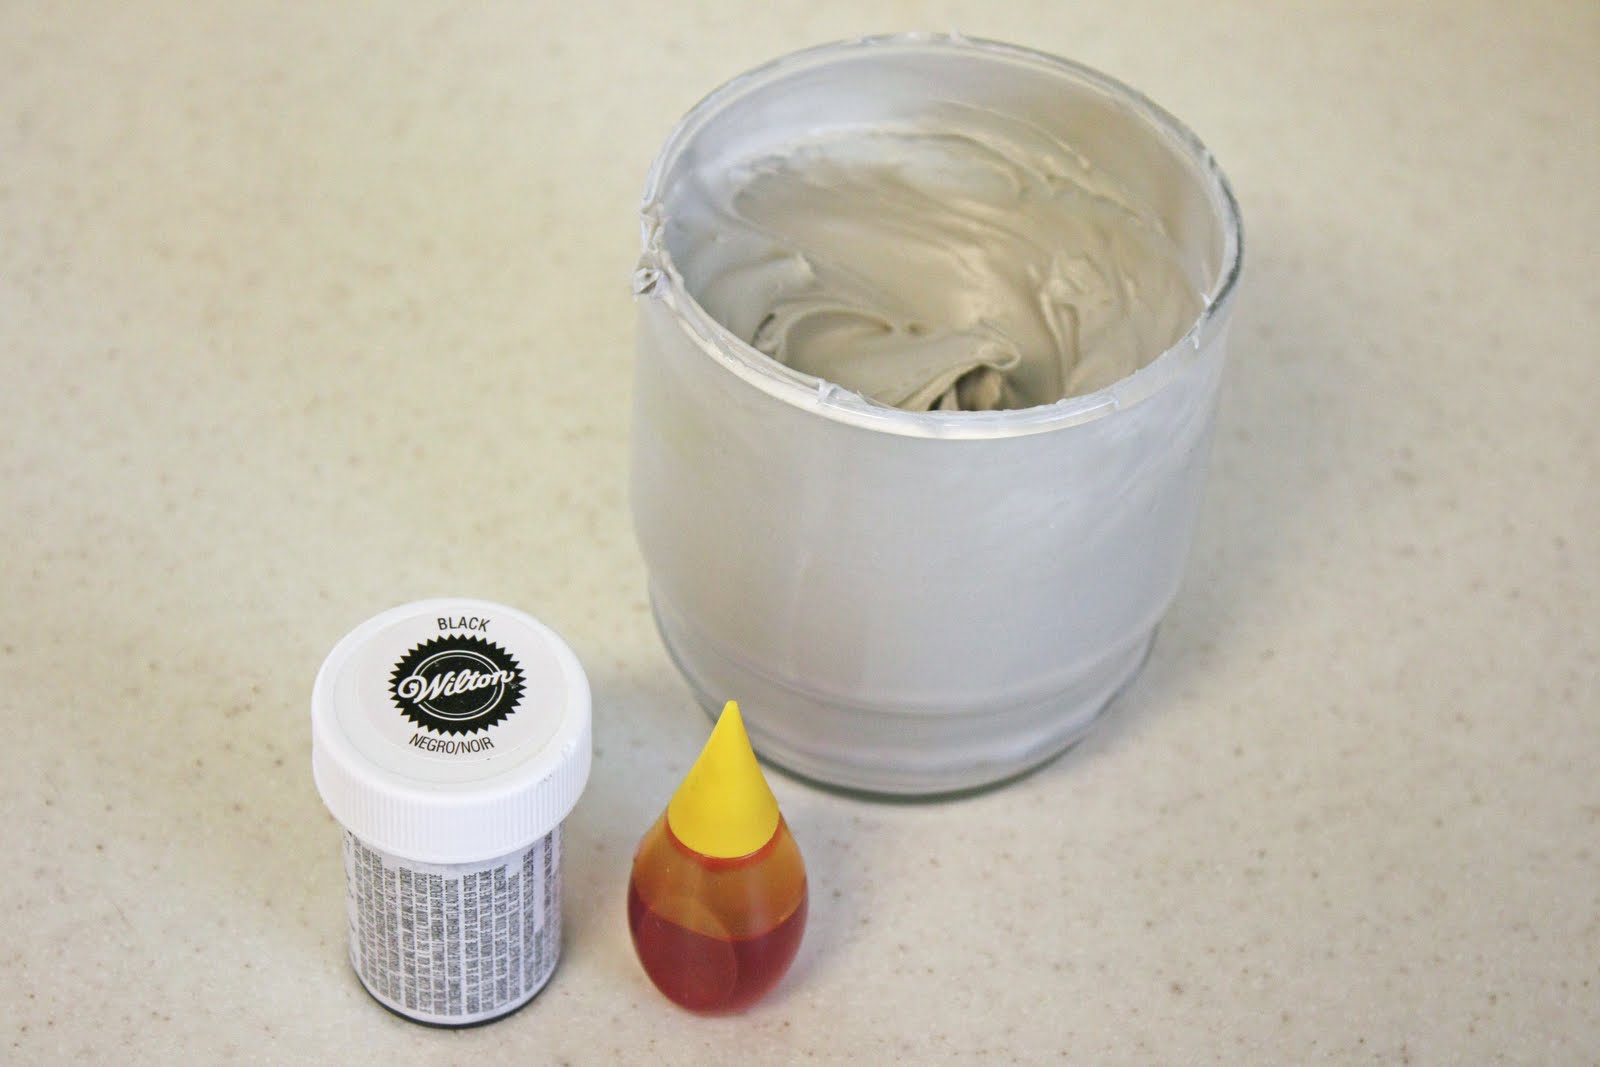
I wanted it to look like a real tiara so the frosting needed to be gray to look like metal. When I added the black food coloring to the white frosting it came out lavender. To fix it I added one tiny drop of yellow. It was perfect.
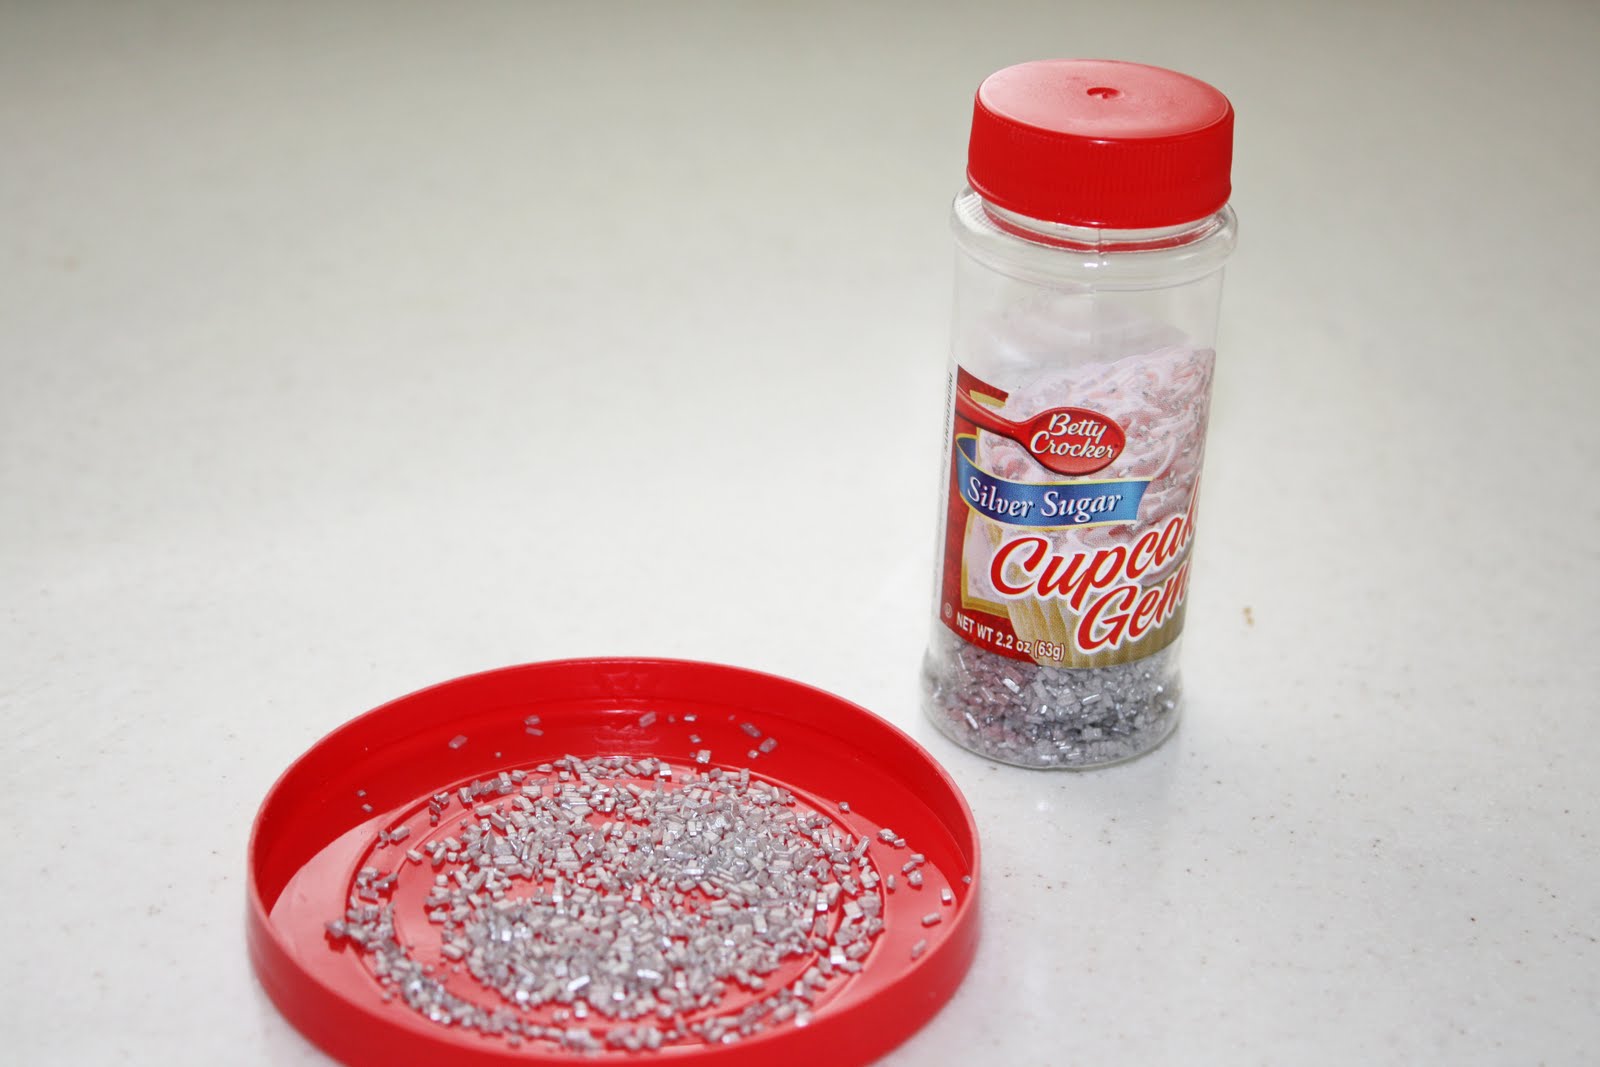 I didn't even know there was such a thing as silver sprinkles until I went looking for those silver ball things and stumbled across these. I love them!
For the jewels you could buy some candy. That would be the fastest and easiest way. I am not sure what kind of candy would make a good jewel, but I am sure if you looked around you could find something. I decided to make mine. While the cake was baking I made the candy part of this cake. I put ½ cup of sugar, ¼ a cup of corn syrup (Karo syrup) and ⅛ cup water in a sauce pan and brought it to a boil. I don't have a candy thermometer so I use a trick my mom taught me. I have a bowl of ice water next to the stove and when it starts to get thicker and I think it might be ready I use a spoon and put a little in the water. If it hardens and cracks when I break it then it is ready. If not, stir a little longer and then try again. I make candy often with my kids and this has always worked. If you want a more exact way or if you already have a thermometer then it needs to reach 295 F. I also added flavoring. Don't add the flavoring until you have turned off the heat and allowed it to sit for about 30 seconds. I used a spoon to drop it onto the tin foil. I wanted different sizes so this was perfect. When it starts to cool you will get these little string things, but they snap off easily and they aren't a problem.
 Even though I had baked the cookies to the point of being hard, I cut a slit in the cake. I didn't want to chance them breaking. I also want to point out a mistake I made so you won't do the same. I didn't shake the loose sprinkles off the cookies before trying to put them on the cake. You can see the sprinkles on the pink frosting. It was a pain to fix. So remember to gently shake the cookies!

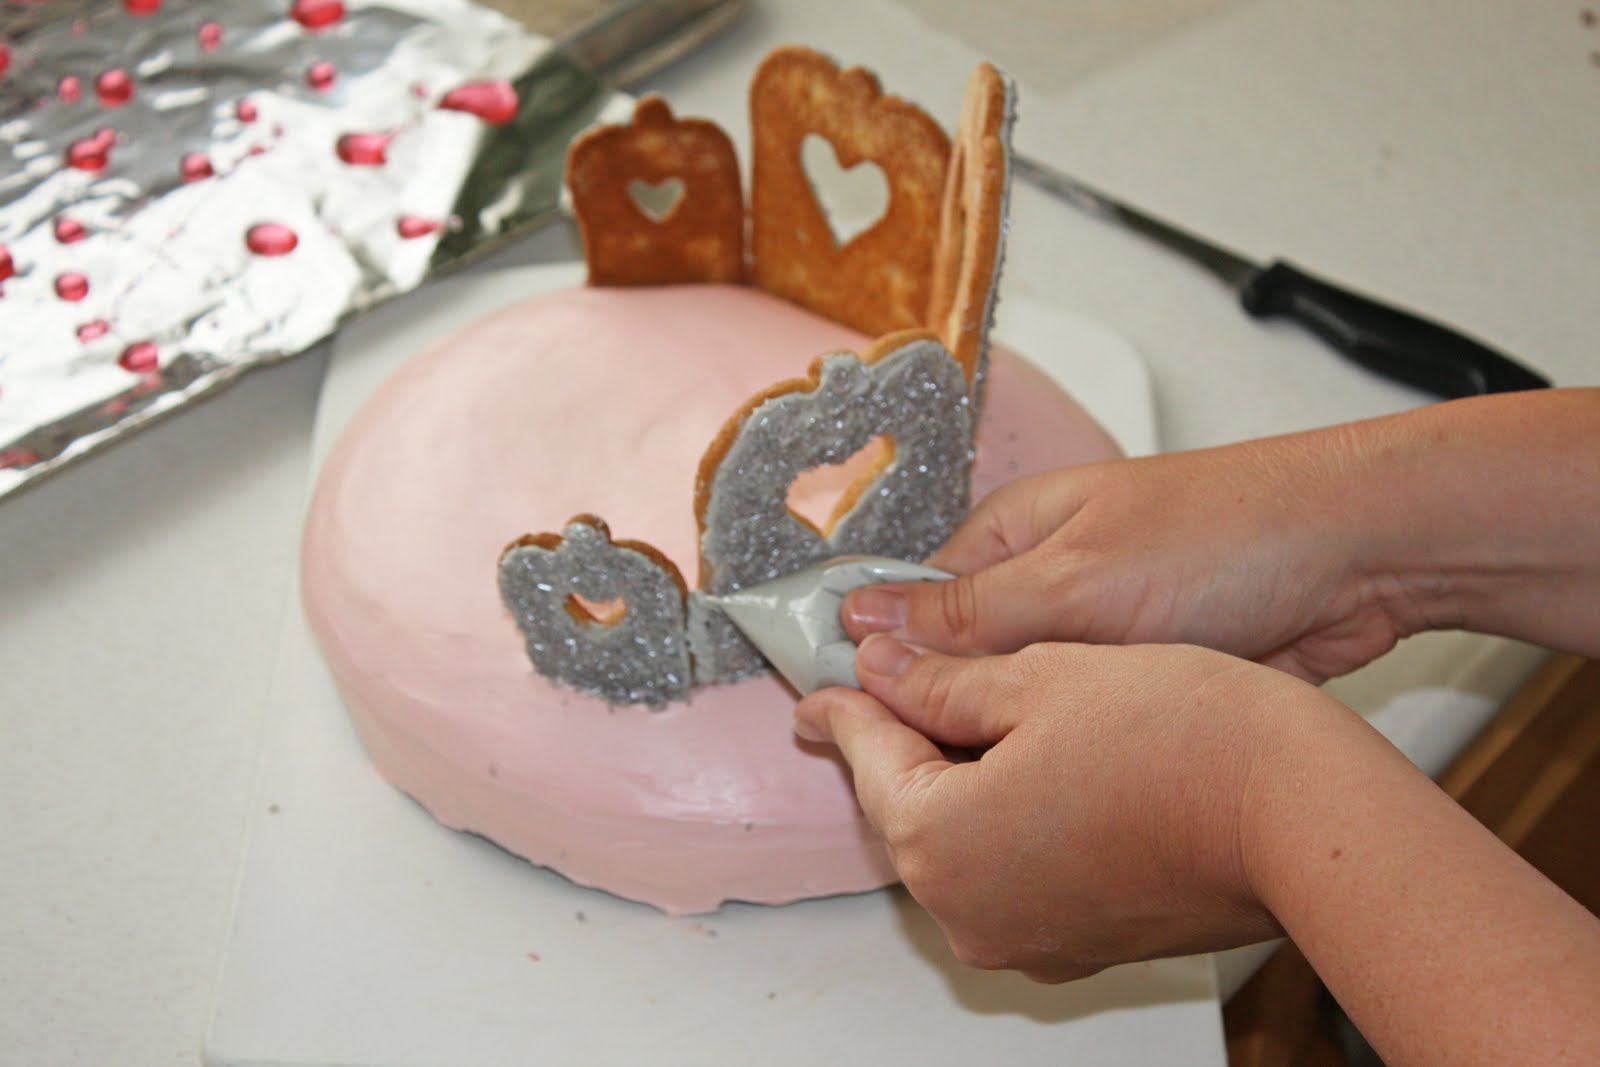 I piped some frosting to fill in the gaps. The I dumped some sprinkles out, pressed my finger on them until they stuck, and then dabbed my finger onto the frosting. Then I used small dabs of frosting to adhere the candy jewels to the crown. Have fun coming up with other ways to decorate this fun girly cake.


Comment Below!