• Skip to primary navigation
  • Skip to main content
  • Skip to primary sidebar
  • Skip to footer
Stacy Risenmay
  • Home
  • About me
  • PRESS
  • Contact Me
  • My Book
    • Facebook
    • Instagram
    • Pinterest
    • Twitter
menu icon
go to homepage
subscribe
search icon
Homepage link
  • Home
  • About me
  • Project Gallery
  • Our House
  • PRESS
  • Contact Me
  • Privacy Policy
    • Facebook
    • Instagram
    • Pinterest
    • Twitter
  • ×

    Barn Wood Lamp

    By Stacy 14 Comments

    Here is another scrap wood lamp! I have a thing for lamps and this one was so easy. It did require power tools so I am hoping that those of you who are a little nervous to use them will see this and want to try. Power tools are so much fun! In total this took about 15 minutes to put together. I have experience so I would expect it to take a little longer if you are new to using these tools. But either way this can easily be done in a day.

    I started with some old wood. The long pieces are actually old fence slats.

    I measure the four long pieces and cut them all the same size with my miter saw. Then I cut the larger pieces that would become the base.

    I used wood glue and my brad nail gun to construct a box out of the four long pieces. Then I nailed the smaller base piece onto the box. After it was nailed on I then nailed the larger base piece on. If I had not done it in that order, the nail would not have been long enough to go through both base pieces.

    ***If you don't have access to a brad nailer, you can use small nails and a hammer. I actually think that would add to the charm and give it that extra detail :)

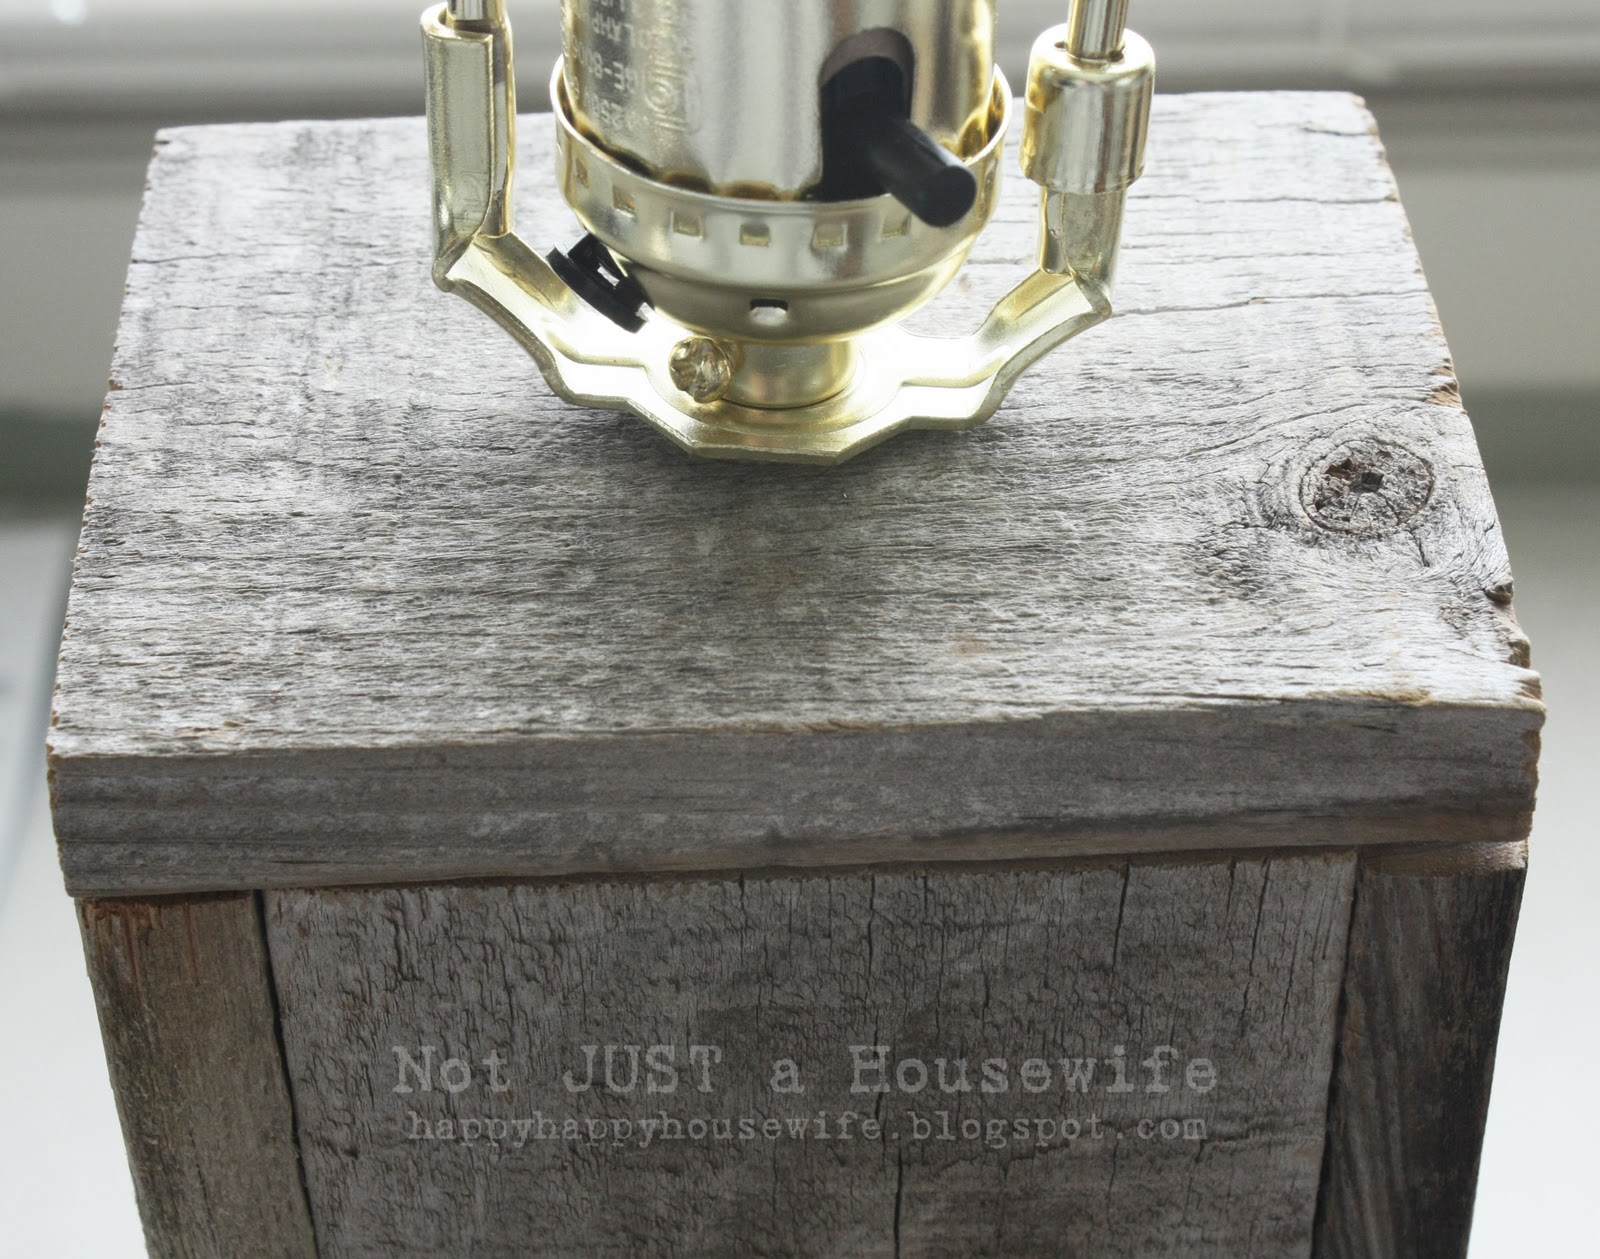
    Then I drilled a hole in the back for the cord to go through. I bought a $10 lamp kit from Home Depot and I fed the cord through the hole, and then reached my hand in the box and pulled it out the top.

    Here it is with the lamp kit put together. The lamp kit is CAKE to assemble. Once I made my scrap wood lamp and realized just how easy it was I knew there would be many more lamps in my future :)

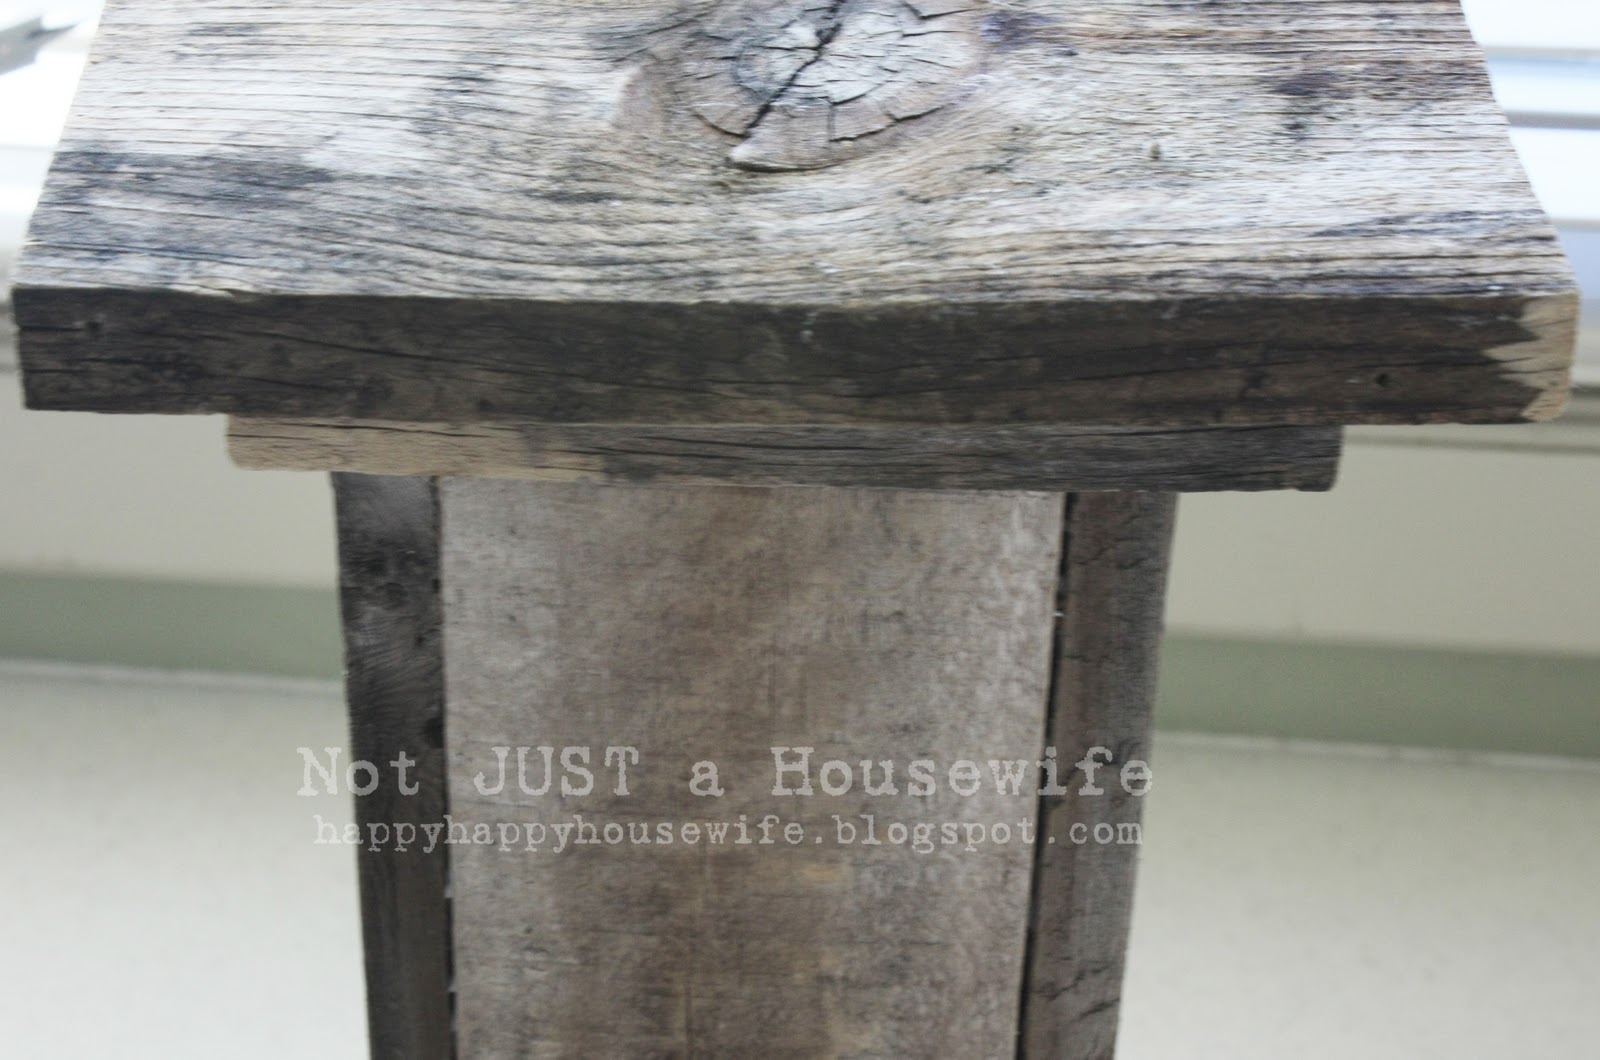
    I didn't attach the top piece until it was put together. It got glued and nailed as well.

    To make the top I used a leftover piece from the long boards. I used a wood boring bit to drill a hole for the lamp parts to fit in.

    Here it is with the top on.

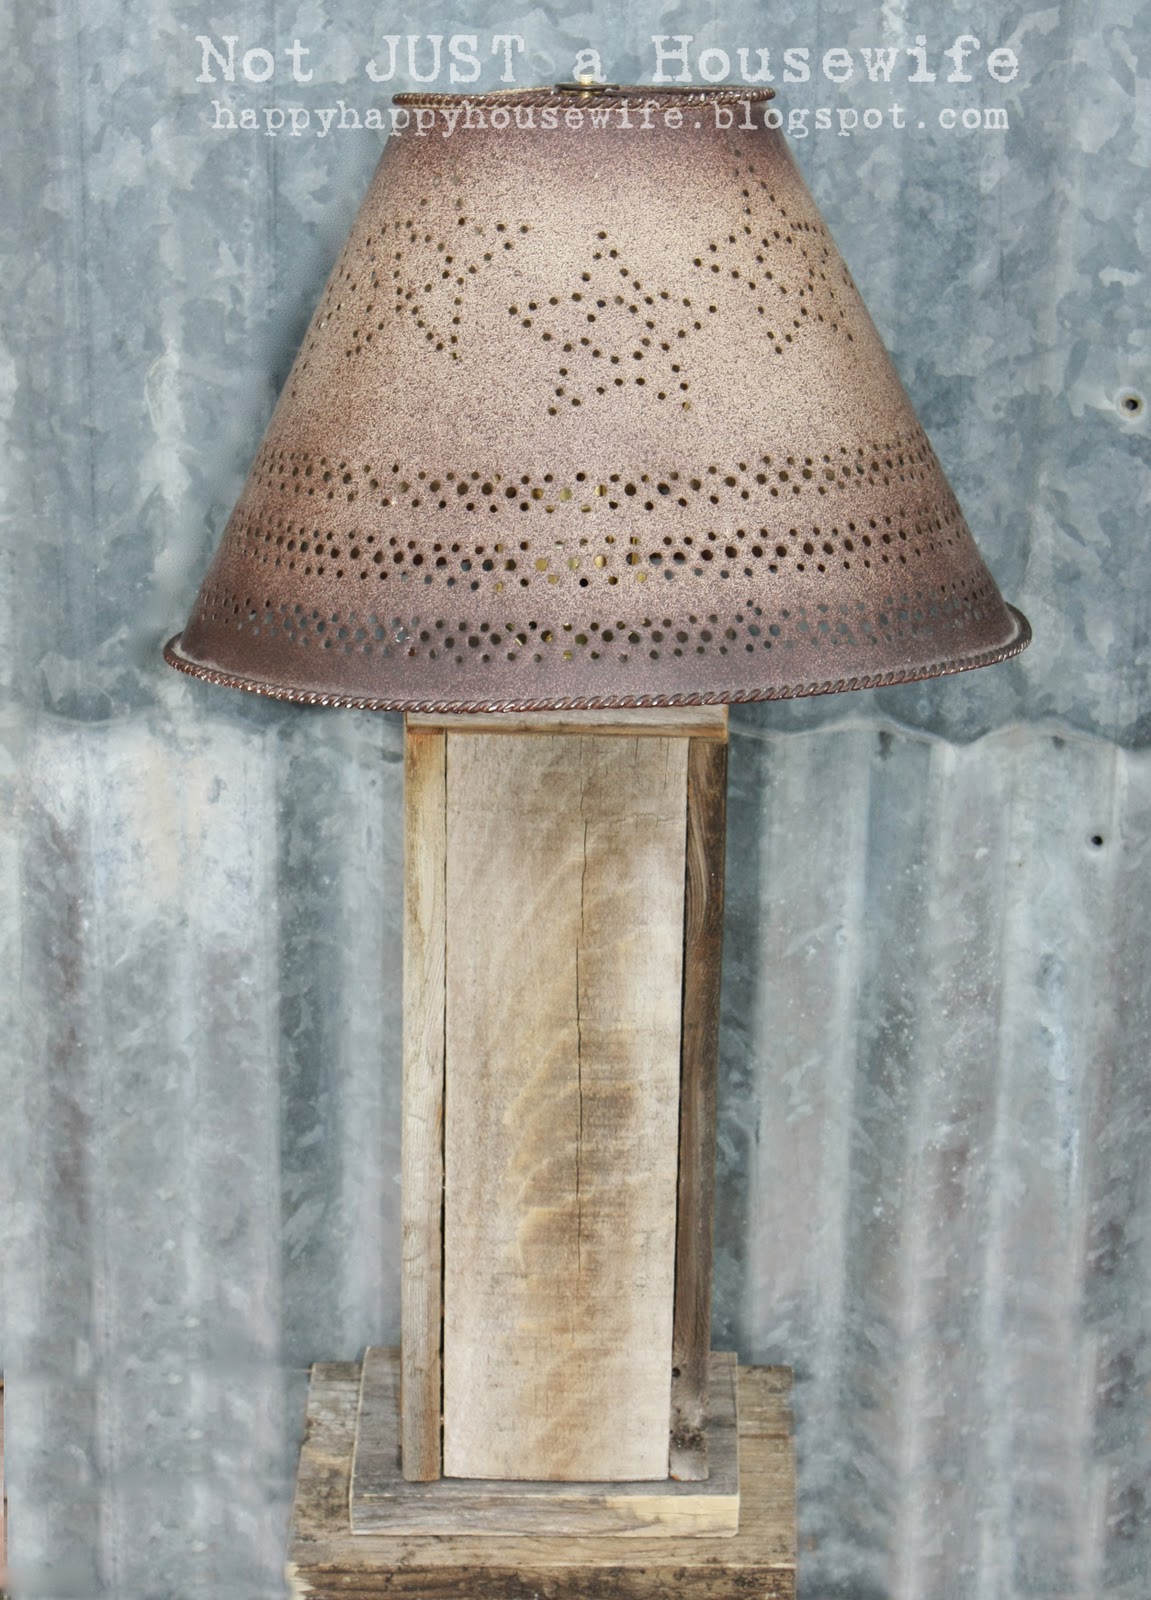
    The metal shade was out in my garage. It was left over from an old lamp that has long since bit the dust. I am glad now that I saved the shade since the rusty look goes so well with the old wood.

    You will also like:

    • Another Scrap Wood LampAnother Scrap Wood Lamp
    • Raised Garden Beds {The Secret Garden Makeover!}Raised Garden Beds {The Secret Garden Makeover!}
    • Removing Labels From Crates + Giveaway!Removing Labels From Crates + Giveaway!
    • Halloween Mantel Sign {Sprayer Giveaway!}Halloween Mantel Sign {Sprayer Giveaway!}
    • Adding Color to your Kitchen!Adding Color to your Kitchen!
    • Wood Bead PlanterWood Bead Planter
    • Burgundy & Gingerbread {Christmas Home Tour}Burgundy & Gingerbread {Christmas Home Tour}
    • Fun Finds!Fun Finds!

    « ROBOT Party!!!
    Another Scrap Wood Lamp »

    Filed Under: Power Tools Tagged With: barn, barn wood lamp, lamp, metal lamp shade, scrap wood, wood 14 Comments

    Subscribe

    for your weekly DIY fix.

    Reader Interactions

    Comments

    1. Prairie Patch

      March 03, 2011 at 6:25 am

      That IS beautiful. Maybe one day I'll get some power tools and really have some fun!

      Tracy http://allthumbscrafts.blogspot.com

      Reply
    2. The Cheathams

      March 03, 2011 at 6:27 am

      nice I want to make a lamp..You make it look so easy!

      http://youngcheathams.blogspot.com/

      Reply
    3. Michelle@Somedaycrafts

      March 03, 2011 at 7:05 am

      Love it! FEaturing at somedaycrafts.blogspot.com

      Reply
    4. Hi, I'm Suz!!

      March 03, 2011 at 12:31 pm

      I am so glad to know that I'm not the only one with a 'thing' for lamps!! I love these! Thanks for sharing - - You've definitely inspired me!!

      Hugs ~~ Suz

      http://www.inspiringcreativeness.blogspot.com

      Reply
    5. Syspil

      March 03, 2011 at 9:31 pm

      Very, very beautiful. All is nice. congratulations.
      http://www.sissy-atelier.blogspot.com

      Reply
    6. Chris

      March 05, 2011 at 1:23 am

      This looks great...and I love the punched metal shade to top it, great combination!

      Reply
    7. Jo at theCreativeCollage.wordpress.com

      March 05, 2011 at 4:15 am

      Very unique - I love the rustic look. It would fit right in at my house!

      Reply
    8. Janna

      March 24, 2011 at 8:18 pm

      This looks great and easy to make! I always use wood glue for projects like this.

      Reply
    9. Midsommarflicka

      June 17, 2012 at 8:29 am

      This is so absolutely and it was a great basis and inspiration for my own new lamp I made! Thanks so much for showing!
      { http://soitwasweekend.wordpress.com/2012/06/17/wine-crate-planks-lamp/ }

      Reply
    10. Jaclyn

      April 03, 2013 at 2:32 pm

      Love this, I am trying to re-create the base. What dimensions did you use?

      Reply

    Trackbacks

    1. { wine crate planks } lamp & clock « So, it was weekend. And I was bored. says:
      June 17, 2012 at 6:47 am

      [...] Barn Wood Lamp by Stacy from not JUST a Housewife [...]

      Reply
    2. { wine crate planks } lamp « So, it was weekend. And I was bored. says:
      June 19, 2012 at 2:11 pm

      [...] is the “How to” I announced here - based on the Barn Wood Lamp by Stacy from not JUST a [...]

      Reply
    3. DIY Lamp Crafts | Savannah Attic says:
      June 10, 2013 at 3:27 pm

      [...] Wood Lamp from Not JUST a Housewife – Stacy, who shared this project on her blog Not JUST a Housewife, used some old wood for the [...]

      Reply
    4. DIY Barnwood Crafts - Rustic Crafts & Chic Decor says:
      October 16, 2020 at 10:13 pm

      […] SOURCE: Not Just A Housewife […]

      Reply

    Comment Below! Cancel reply

    Your email address will not be published. Required fields are marked *

    This site uses Akismet to reduce spam. Learn how your comment data is processed.

    Primary Sidebar

    stacyHey! I'm Stacy and am a DIY addict. I love to get my hands dirty, whether it's sawdust, paint, or dirt. My goal is to help YOU learn to fix up your home and yard. No matter the style or size, I think everyone should love their home. And it doesn't takes a big budget to get there. Let's DIY together!

    Subscribe to My Blog!

    Search this site

    categories


    Subscribe

    Footer

    Welcome! I'm sharing our adventures as we fix up our 1938 cottage. Whether it is big or small, I think everyone should love their home and I don't think it takes a lot of money to make a space your own

    About Stacy

    • Facebook
    • Instagram
    • Pinterest
    • Twitter

    My Favorites

    copyright

    All images and content are copyrighted via Stacy Risenmay unless otherwise stated. If you'd like to share my work, please link back to this blog.
    Thank you for visiting!


    Footer

    ↑ back to top

    About

    • Meet Stacy
    • Privacy Policy
    • Contact

    Categories 

    • Home Decor
    • Outdoor Projects & Gardening
    • DIY & Tutorials
    • Kid Activities
    • Recipes
    • Travel
    • Cleaning
    • Houseplants
    • Staining
    • Painting
    • Power Tools
    • Holiday Ideas

    Newsletter

    • Sign Up! for emails and updates

    As an Amazon Associate I earn from qualifying purchases.

    Copyright © 2020 Brunch Pro on the Brunch Pro Theme


    Privacy Policy
    Welcome! Thanks for visiting.
    Hi! I'm Stacy and I want to help YOU become a DIY rockstar! Sign up for my email list so each project, tip, and trick will go directly to your inbox :)
    Your information will *never* be shared or sold to a 3rd party. Pinky promise :)
    Welcome!
    Hi! I'm Stacy and I blog about fixing up our 1938 cottage. Join the thousand of others who get my posts sent to their inbox for FREE!
    Your information will *never* be shared or sold to a 3rd party.