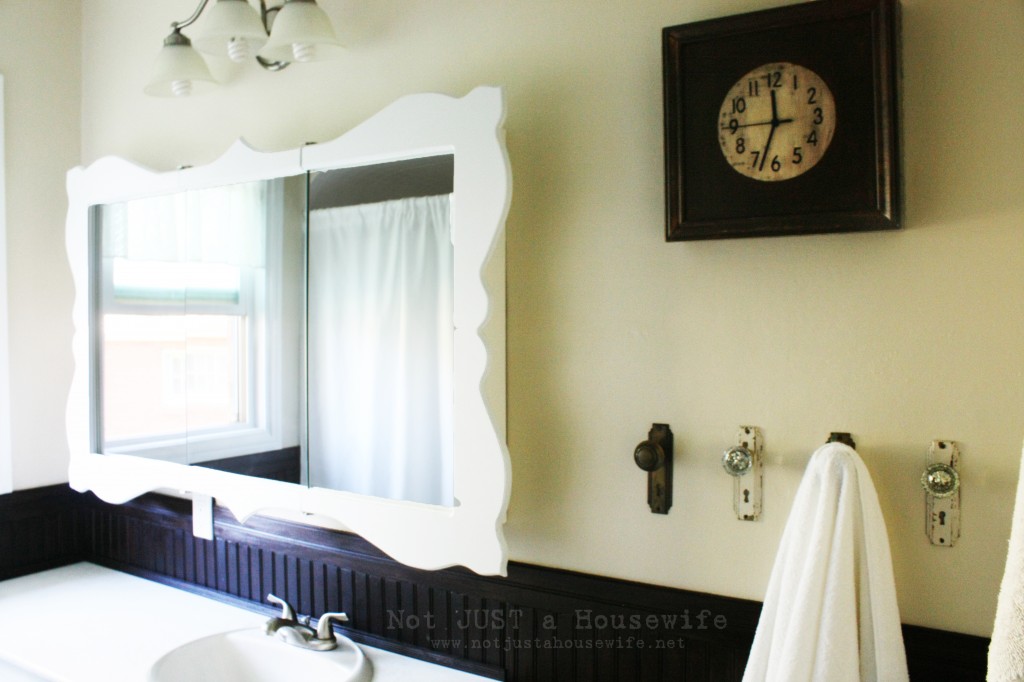
I was just going to do a tutorial on how I made the mirror but since I have received a ton of emails asking questions about other things in my vintage inspired bathroom I thought it would be easier to address it in a post. I will still do a mirror tutorial. I will post that tomorrow. But today I will share everything else.
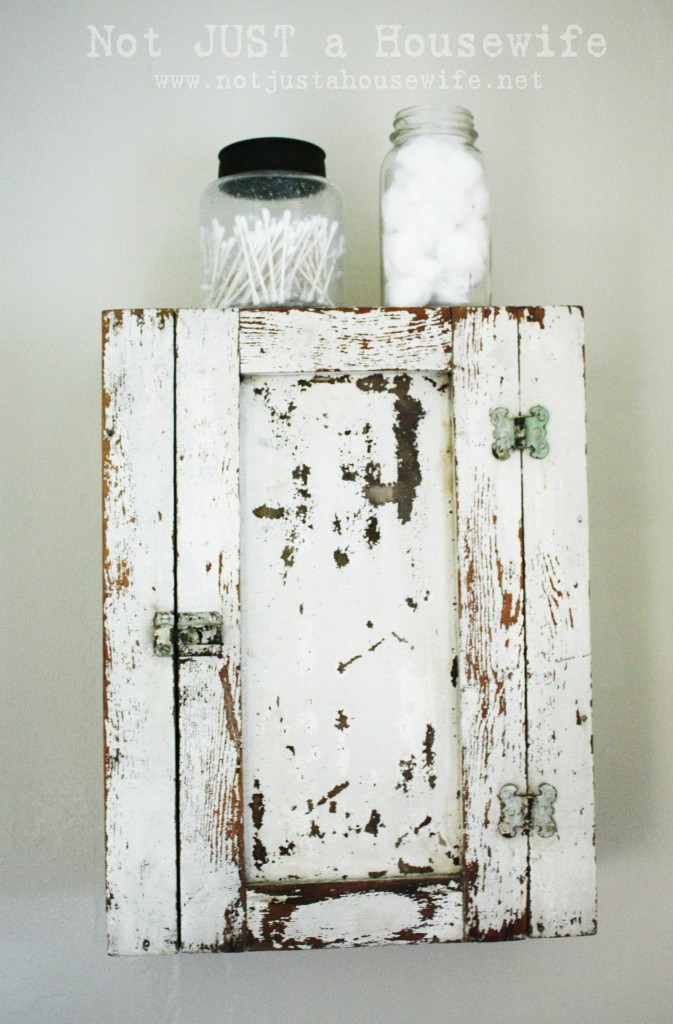
My dad's cabinet needed to be sealed. Not only was the paint chipping off but there is a possibility that it could be lead paint. I chose to use Minwax's Polycrylic. It does not yellow things that are white like polyurethane does. I used a foam brush to apply it. It dries quickly since it is water based. It also does not smell as strong as other sealers which is a plus.
(Source: Google images)
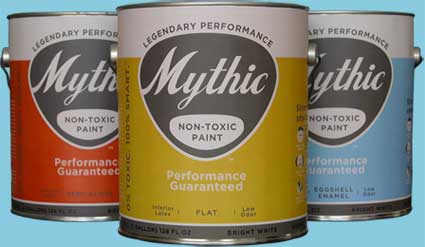
The wall color is called Almond Biscotti and is made by Mythic paint. I had never tried Mythic before. I won two gallons from a design contest. It says that is has zero toxins and is safe for the environment. Super cool. I was expecting it to smell like, well, nothing. It smelled like regular paint. Not a problem for me as I love the smell of fresh paint. I was just surprised I guess.
(Source: Google images)
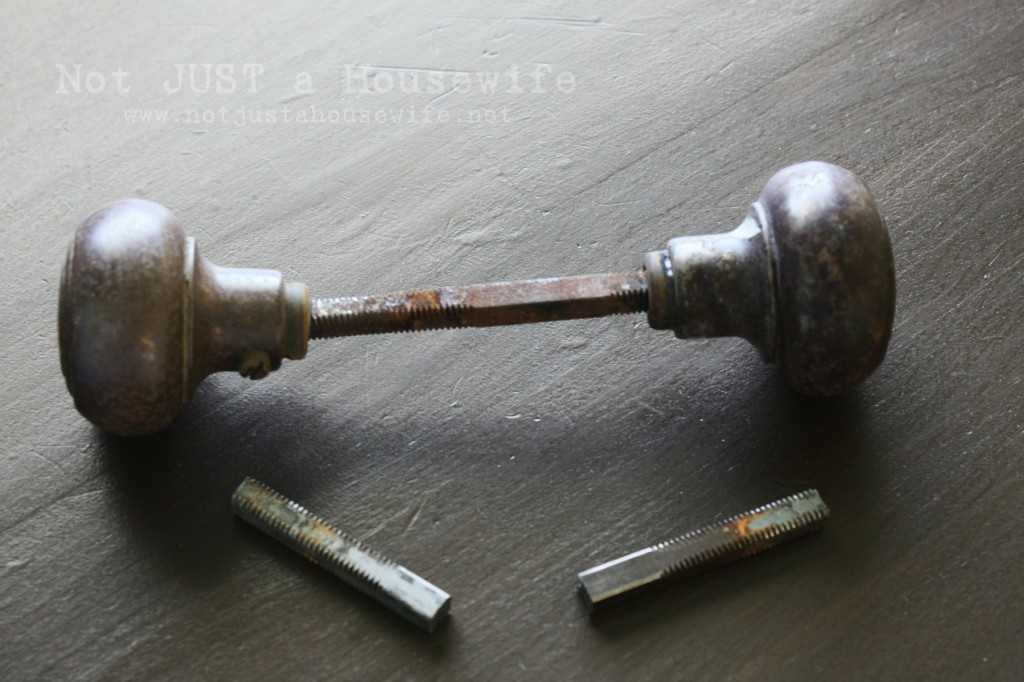
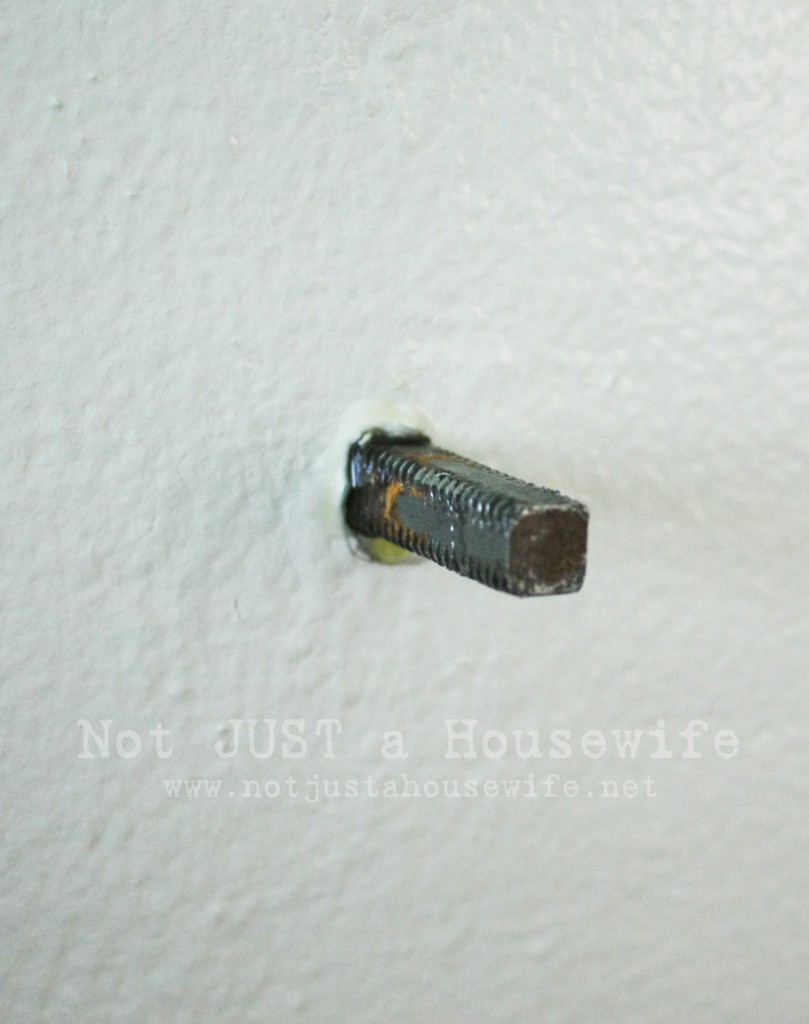
The door knob towel hooks were actually pretty easy. I took the threaded rod from the inside of the door knob like shown here:
And we cut them in half using a hack saw and a clamp. These are what I put into the wall. I drilled a hole in the wall that was a little smaller that the threaded rod. The I used pliers to screw the rod into the wall. They were pretty tight but they did wiggle a tiny bit. I have 4 little boys. Some of which have been know to hang on the hooks and towel bars in our bathroom. So I added a little Gorilla Glue epoxy. Maybe it was unnecessary but I felt better :) P.S. I have lath and plaster wall so I did not have to worry about finding a stud in the wall.
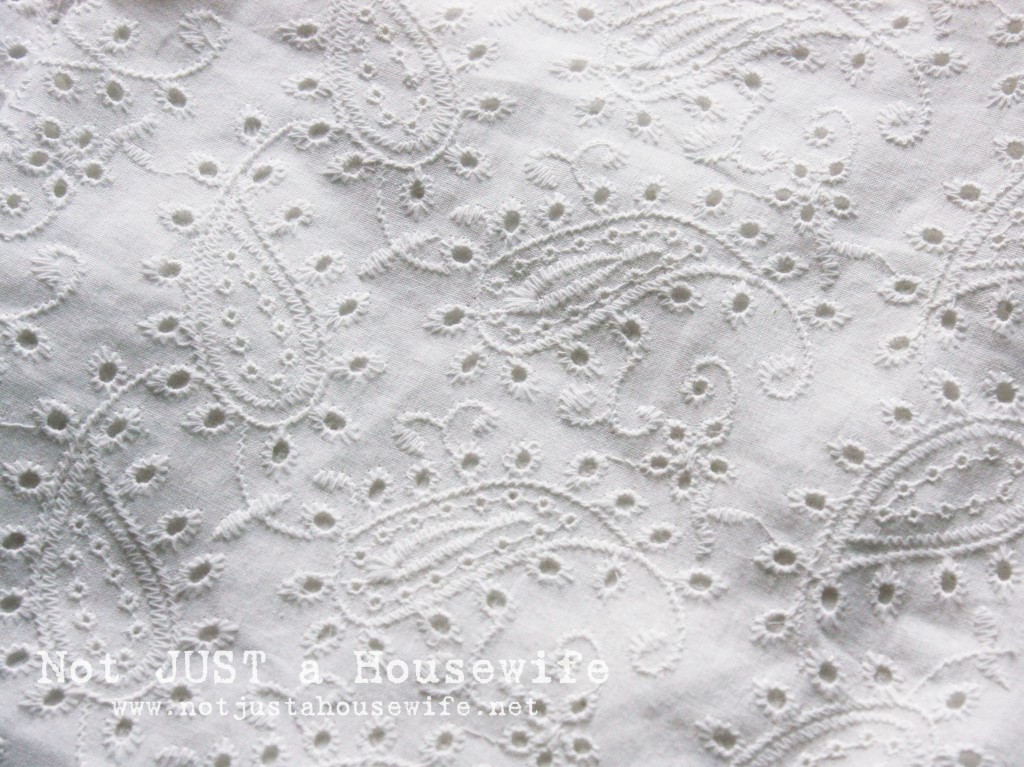
The curtain fabric was bought at Joann's Fabric. It is kind of funny because I had something specific in mind and I ACTUALLY said to my husband "I do NOT want eyelet." When I picture eyelet material I think of the scalloped edges and such. I actually like it. I grew up with it everywhere. But I worried that it would be too old fashioned for this space. Ya'll know I am a sucker for paisley! So when I saw this I was kinda in love. And I think it works :)
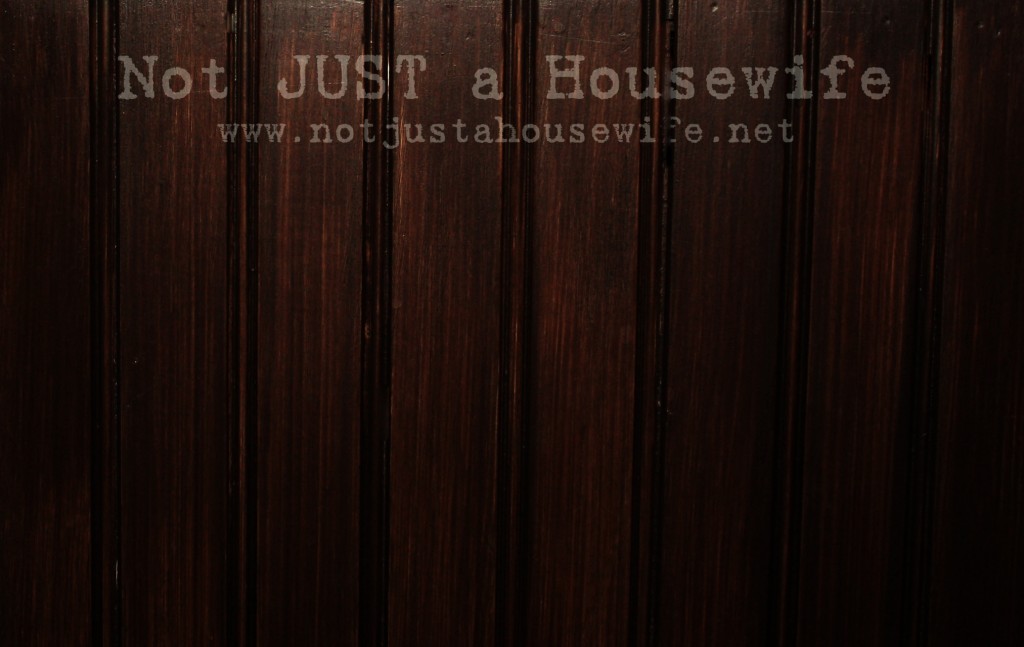
The bead board I stained using Minwax's Gel Stain in Walnut. I am getting ready to seal it using Minwax's Wipe-On Poly. I love the dark color that is different from the traditional white you usually see on bead board.
I hope that covered all the questions :) Let me know if you would like to know anything else. And tomorrow I will share the mirror tutorial.
You will also like:





Thank you! Everything looks great! I can't wait to see the mirror tutorial!
I love the color of the wainscoting—gorgeous—and the knobs are genius. Looking forward to more! ~TC
Those Mythic paint cans remind me of the paint cans John Trovolti carried in the movie Saturday Night Fever. Next time I see that movie I will have to look closer!
Looks fantastic. I too love the dark bead board!
Hi, Stacy
Just love your bathroom and the knobs are great idea.
Vanessa
I love that eyelet you found.
I do have a question. We are in the process of painting our bathroom cabinet. If we use a flat paint and seal it will it stand up to wear after being sealed? I love your blog and all the inspiration it gives. Thanks for sharing it with us.
Your bathroom came out so beautiful!
I adore this bathroom. What a unique twist on regular things! I may have to borrow a few since my husband is "teasing" me with the idea of putting bead board in our bathroom and Dining Room. Thanks for the inspiration!
Is your mirror a standard storage mirror with a custom frame around it? We are stuck with dreadful old opening storage mirrors, but that looks really cool!!
I love your bathroom, great ideas. Could you tell me how you found the backplates for the door knobs or did you have those already. I have the door knobs, but not the backplates, and haven't found a source yet. Thanks.
I love the knob towel hooks! I'm wondering about attaching them to the wall- the rods are only threaded part way, when you say you screwed them in, did you screw in the square portion? In which case, didn't it just make a larger hole? I want to do this in my bathroom but haven't quite figured this part out. Thanks!
Jen, did you ever figure this out? We're remodeling and would love to do this, but the tutorial isn't very clear on this point.
Thank you for sharing! I love the old door knobs and I have inherited some from my mom and grandmother. I have been wanting to fix them to use as hooks, your instructions have helped greatly!!!
I absolutely LOVE your doorknob towel hooks!! I recently redid my hall bathroom and did a google search looking for clever ways to hang up towels and as soon as I saw your post, I knew this was what I was going to do! It takes my basic (but beautiful) new bathroom up a notch! :) I was able to find some decorative doorplates with knobs that are made specifically for hanging on the walls. Thank you for sharing!