I have really enjoyed my new mirror! I didn't realize how boring the old one was until I had this one. I know that the whole tri-fold thing makes this harder. This would be a lot easier if you had a singe mirror/door on your medicine cabinet. That is how my down bath one is and you KNOW it will get decked out :)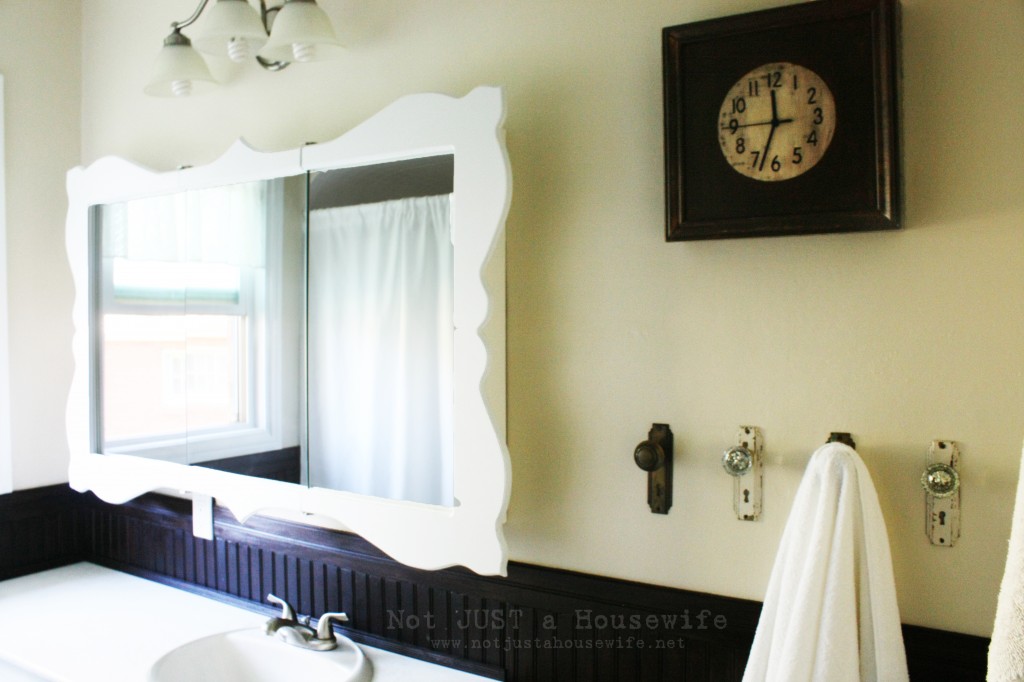
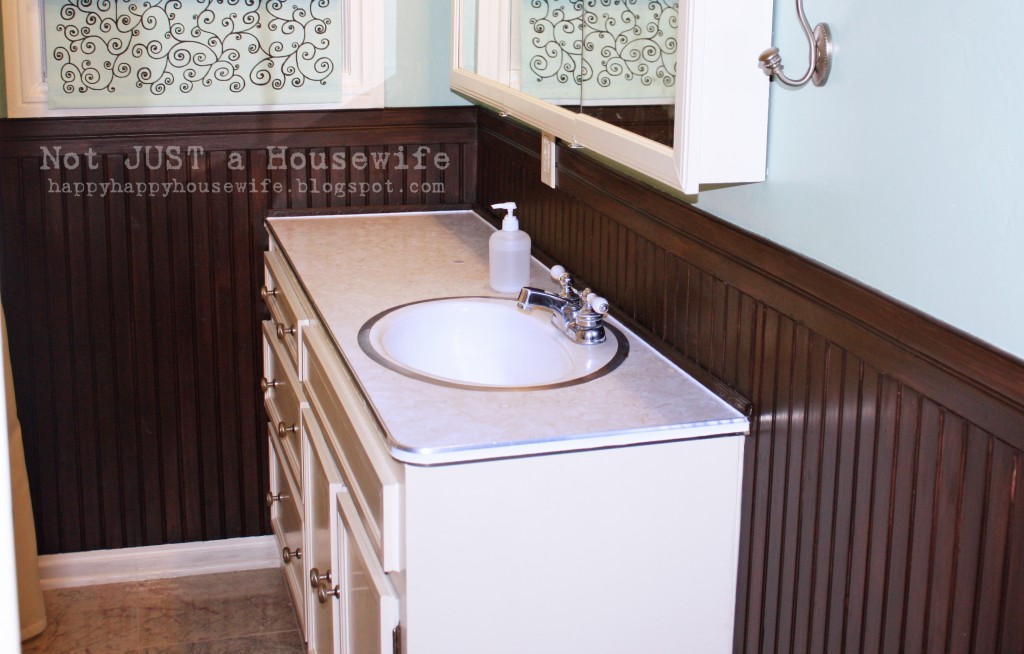
Not that you need a reminder of what a builder's grade mirror looks like, but here is my mirror (and bathroom) before:
(Terrible picture, I know)
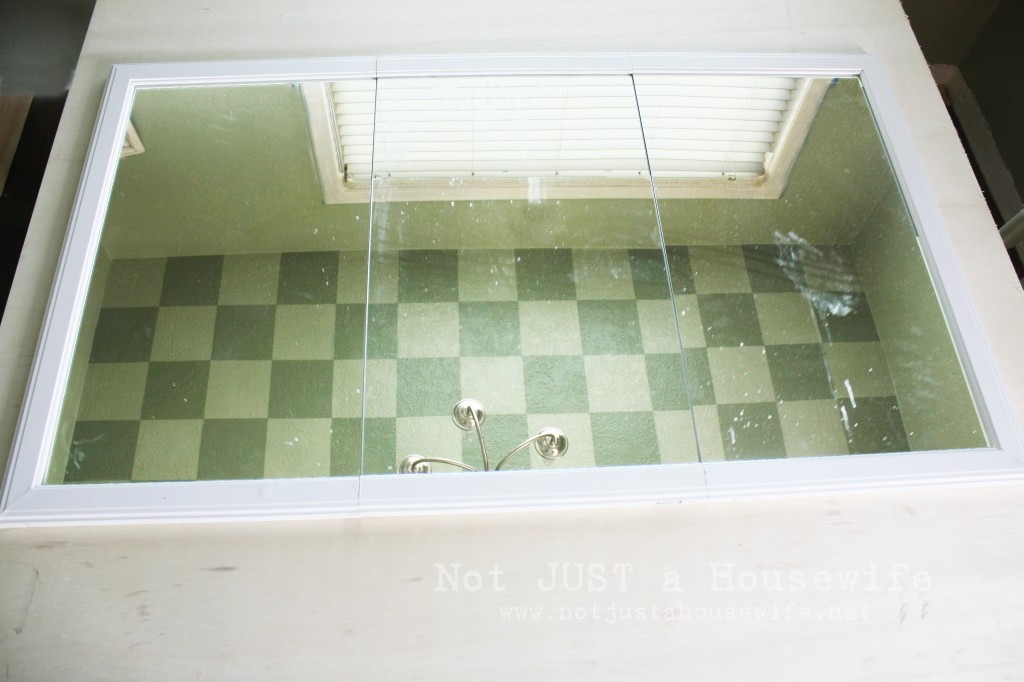
I took the doors off the cabinet and laid them on the piece of plywood. Then I traced it. And yes, my mirror is filthy. I do live with 5 boys you know :)
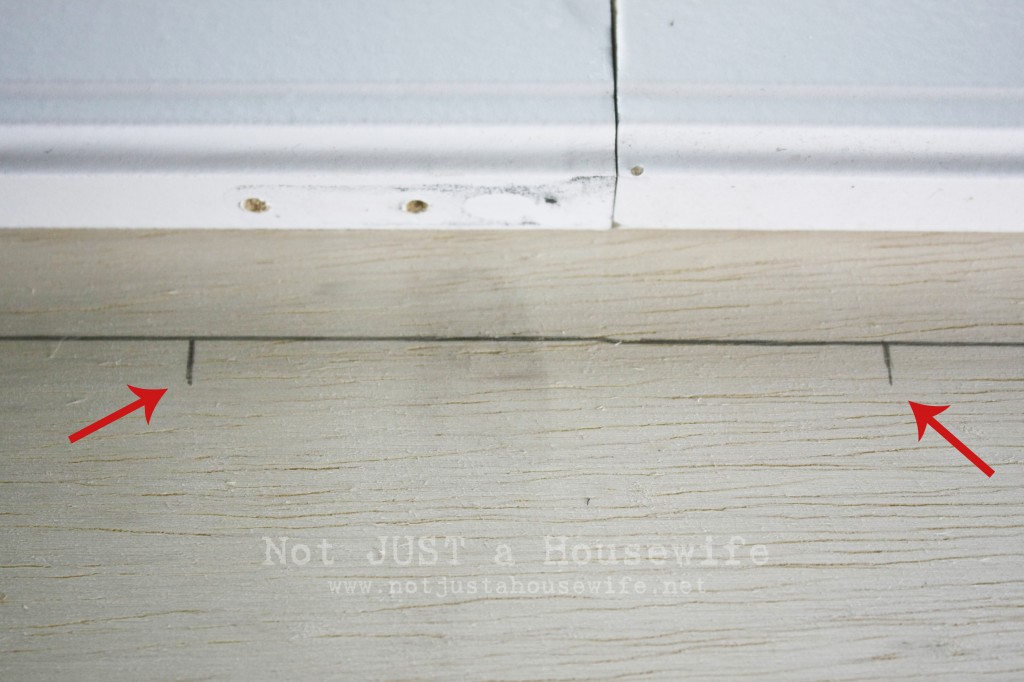 Because the doors need to open, the fancy frame for the mirror can not go below the hinges so I marked where the hinges go.
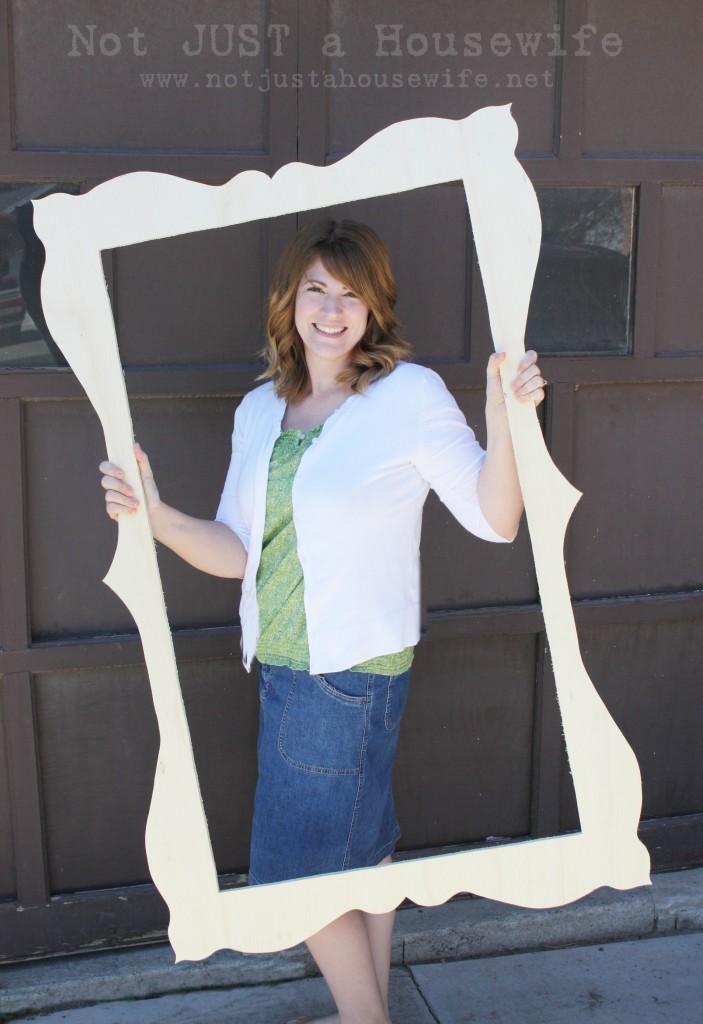
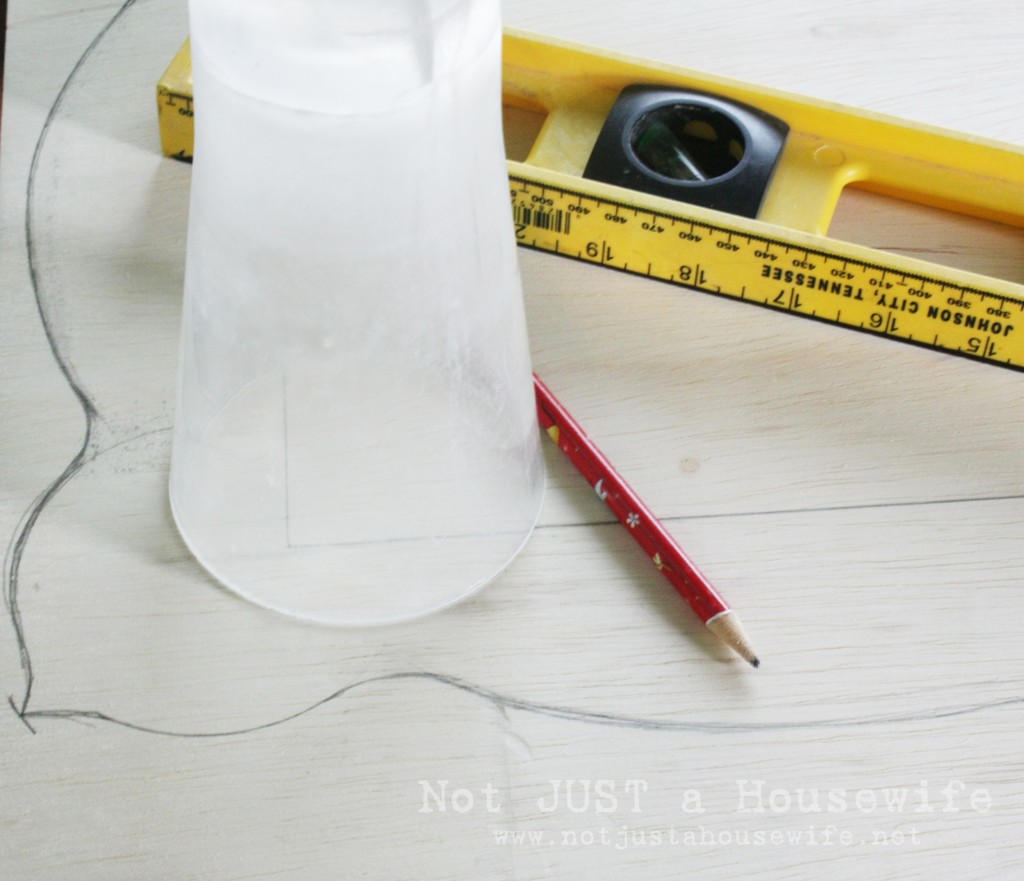 I free handed some of the design but I did use a drinking cup for the rounded parts. I used a ruler so I could measure and mark where all the points, dips, and peaks were so they were all the same.
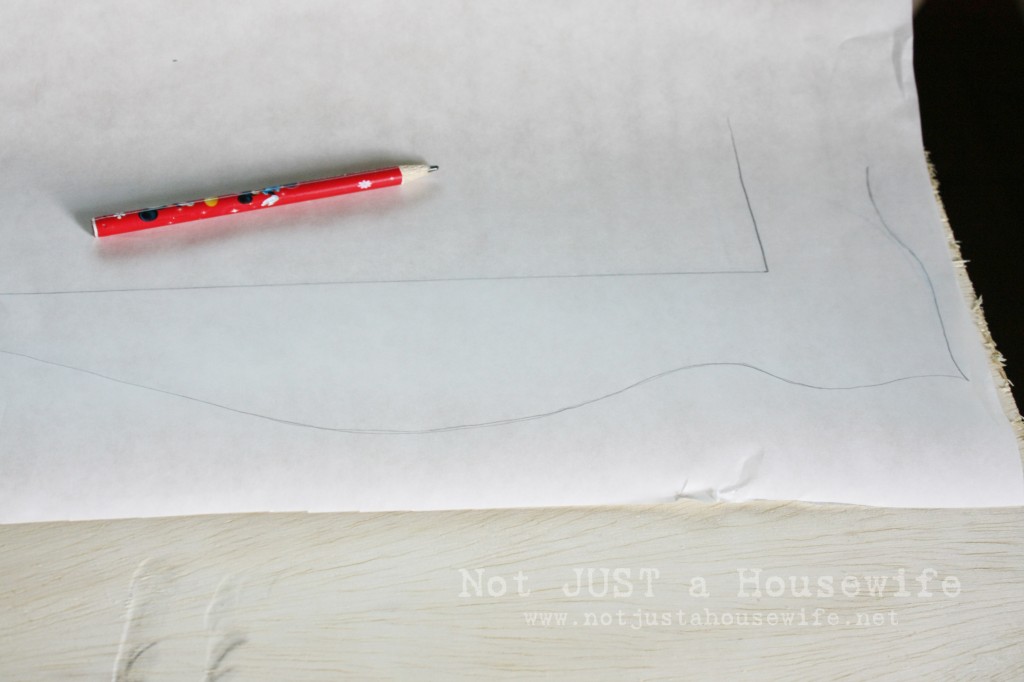 I only drew the design on the bottom of the wood and one side. Then I took some white butcher paper and traced the bottom and the side separately.
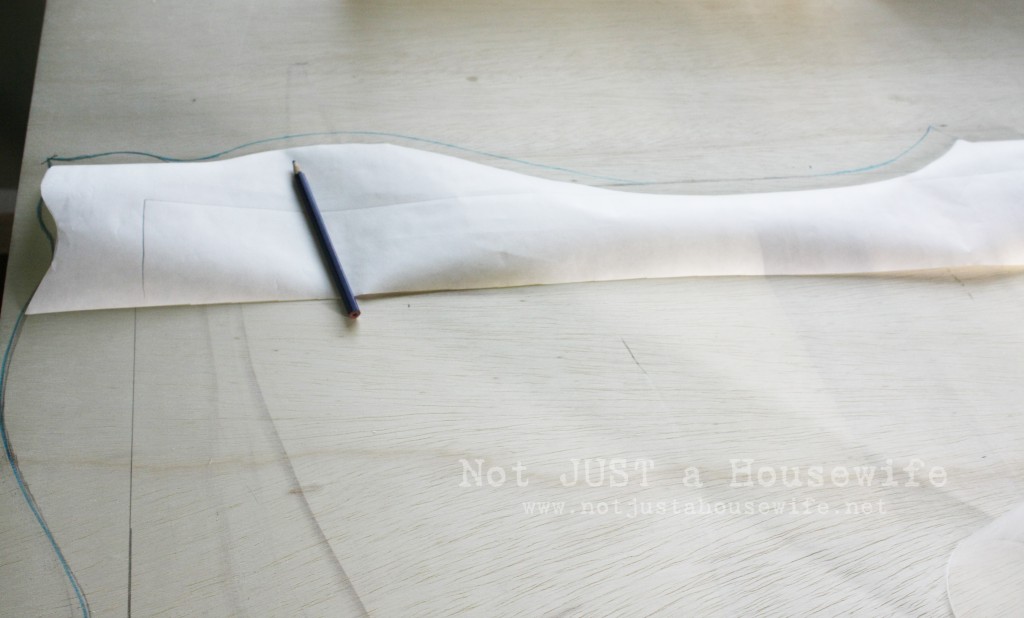 I cut the bottom one out and then the side one. I used them as a pattern for the top and the other side. This way they were all the same.
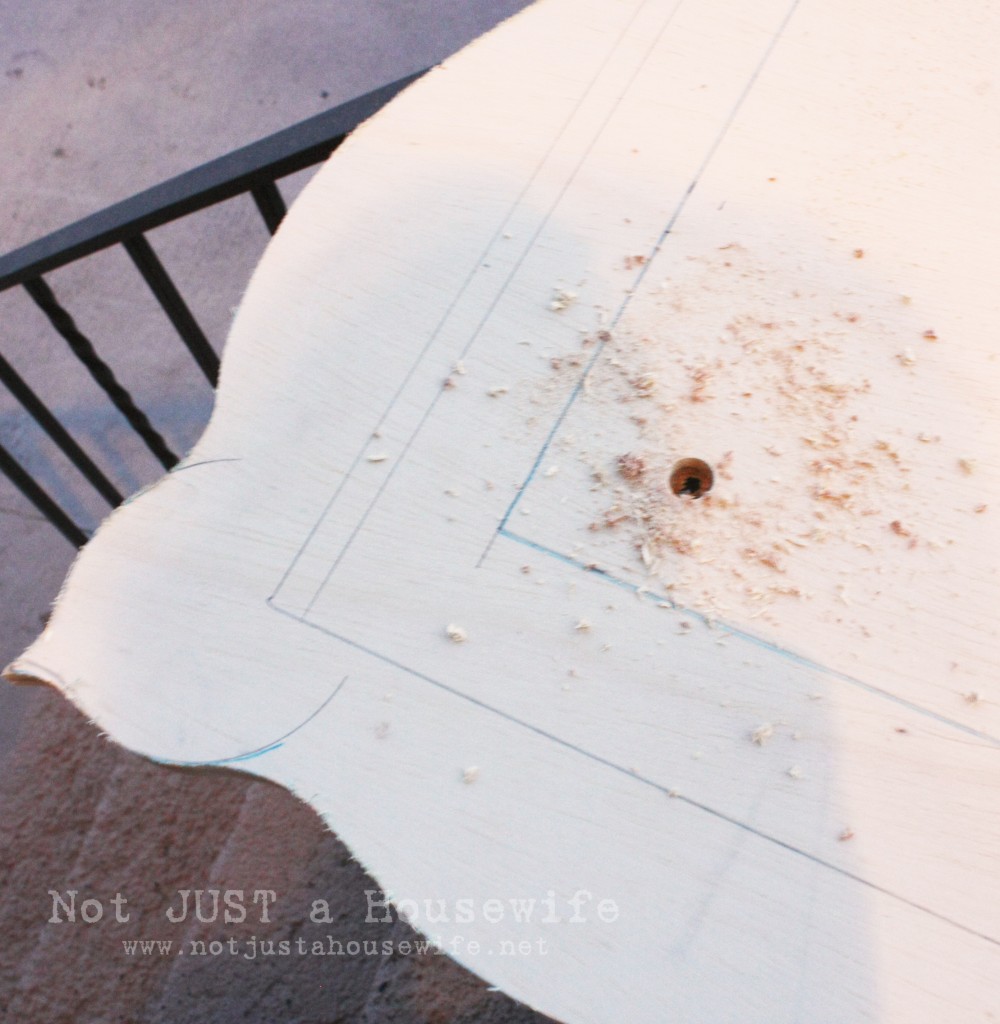 I used my jigsaw to cut it out. In order to cut the middle, you will need to drill a hole big enough for the saws blade to fit in. Then you can cut it out. Whenever using a jigsaw, think of it like cutting something out with scissors. You will have to move and reposition sometimes.
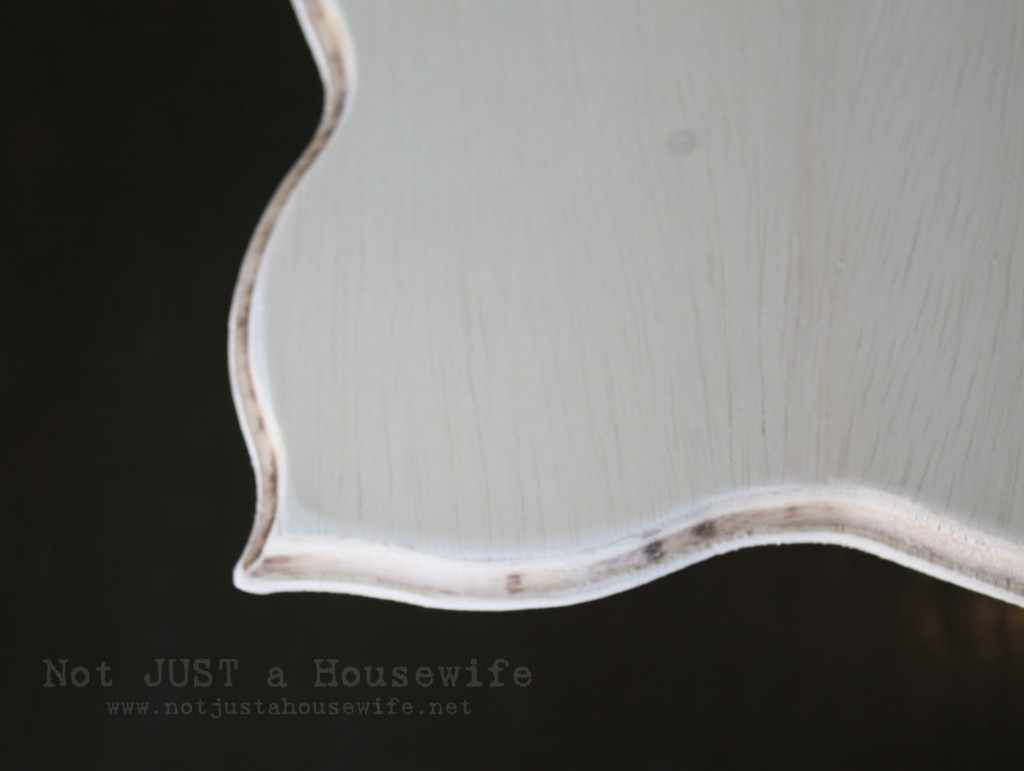 Okay, the reason I do not have a picture of me using the router to do this fun edge is because by the time we got the router from an awesome neighbor it was dark. My husband had to dance in front of the motion light to keep it on so I could see. And then when my arms got tired he would take a turn and I would dance. It was pretty hilarious! Plus the sucker was so awkward. It was hard to keep it still while using the router.
After all of that was done I sanded the crap out of it. I used a fine grit sand paper so it would be smooth and not have the scratched that grittier sandpaper can leave.
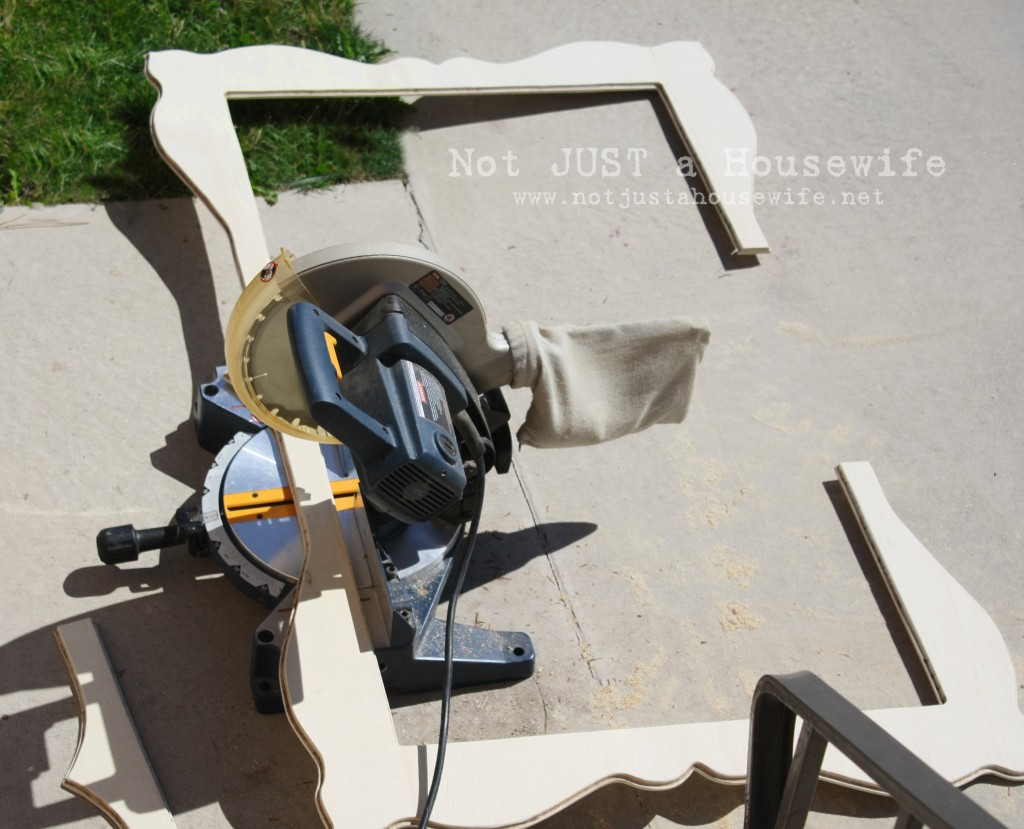
This next step scared the soup out of me! I had to cut it up!!! One wrong cut and it was over baby! I laid the mirrors down on my kitchen table again. The I laid this frame over top of it. That way I could mark where the cuts needed to be. Then I used my miter saw to cut it.
There is something I need to point out. The wood I used was ½" thick. I would not recommend going any thicker if you have the tri-fold. It will not have room to open if you use thicker wood. Mine works fine but any thicker and it would have not worked. If you are doing this for a single mirror feel free to go thicker.
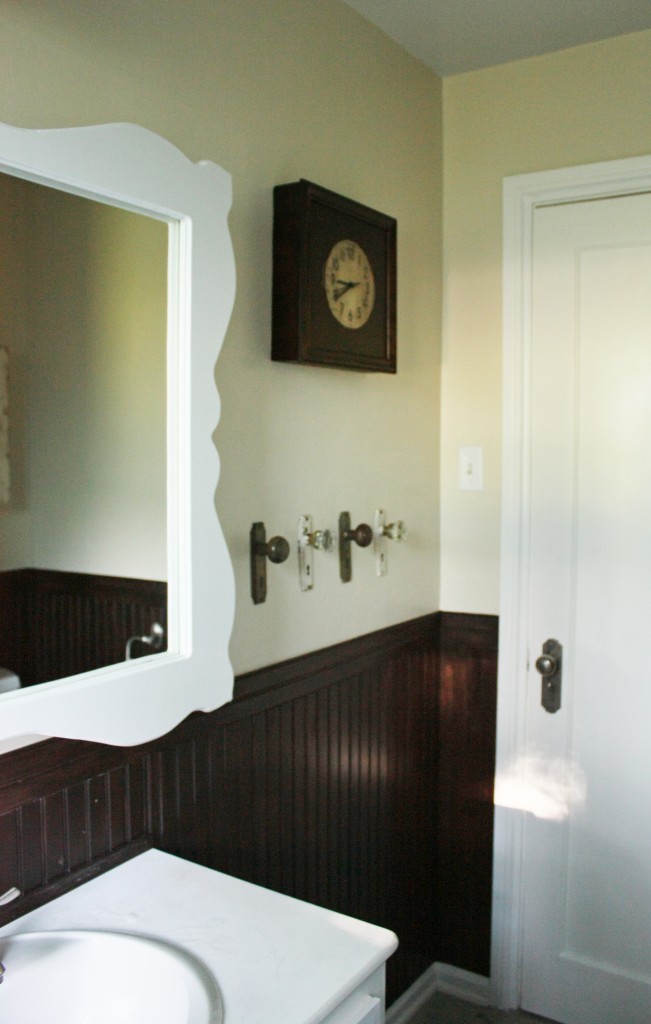 I put the mirrors back on the cabinet and then I used my nail gun to attach the frame pieces to the mirror. I nailed from behind so there wouldn't be any visible nail holes to worry about filling. You could easily screw it on from behind as well. I am going to calk around the seam where to two meet with paintable caulk to hind the seam and because the caulk will act as glue.
Can you see where the hinges are and how the frame is the same thickness as the original mirror at those places?
Thanks for letting me share how I created my fun bathroom mirror! If you have any questions, please let me know :)
You will also like:









You make a lovely work!!
It´s a great idea, no one have a mirrow like yours, ehehhe. The bath seems great.
Keep going,
Kiss
so cute and clever!!!!!! I love it! I have a flat building mirror in my masterbath and have been thinking about framing it out.
Oh my goodness! What a great project! I must admit, I was scared right along with you on cutting that frame. In fact, I'm not a power tool user, so the whole project was a bit scary! Something to aspire too. It turned out beautifully, btw! :)
Wow this turned out amazing Stacy! I would be so nervous doing this project, but you seriously did awesome. I don't have any medicine mirrors in my house otherwise I would definitely be using this tutorial.
I cannot (for the life of me) get the hang of a router. Does it make any difference whether you have a plunge router or a dremmel type router or what? Thanks! I love your blog. You've given me a new perspective on my recently acquired position as a house-wife. ;)
I am just envisioning you and your husband dancing while the other is using the router. To have been the fly on the wall then ;)
Awesome tutorial! The finished project looks amazing! And you make it look so easy! Thanks for sharing.
I love this idea! I have a mirror similar to yours and I HATE IT! I think I may have to do somewthing with my mirror now!!! GREAT JOB!!!!
I wish I could have seen you and Shane dancing in the moonlight to keep that motion light on! The finished product is terrific!
Holy cow, I can't believe you free-handed it! It looks amazing.
I want to do this..Very nice! I love it!!
I never thought you could really do this with a medicine cabinet. It looks great and has such great curves!
What a great project. Love it.
My bathroom mirror randomly just fell down (luckily my three boys were safe with me) and so my husband and I want to do a frame around the mirror now that we have to redo it. This came at perfect timing! Also, I think I will make a large frame using this idea as well just for the wall! Awesome!
Oh, how I love this!! Thanks for sharing.
What a great face lift! Love the shape!
I have the same mirror as yours pre-fix-up, except it's oak veneer. So ready for a change. Got rid of all the other oak veneer; did you lay the cut-out over the existing thickness of frame? It doesn't look that thick.
Janet (Website not done yet, terribly stuck in techno land :0(
I love this!! It's exactly what I have been wanting to do to all my mirrors!! Do you know the name of the type of wood you used, so when I got to the lumber store I can make sure I get the right one?! Thanks so much for the tutorial!!!
Tasha
Wow! My goal is to figure out how to use a router. It makes such a difference! I love the shape of the frame, and I still can't believe you had the insight to make that! Incredible! Thanks for sharing!
Beautiful mirror! You are so creative. I wish I'd thought of this first! :)
Wow - what beautiful work and a GREAT idea. I just wanted to let you know that I'm going to feature this in my Favorite Finds Friday post tomorrow :)
Love the mirror! I also want to know where you got your door knobs (that is what they are right?) for your towels. Love it!
This is awesome! Pure genius! But my favorite part? The idea of you two dancing in front of a motion light to get it done! Love it! (Now that's commitment to your projects!)
I LOVE this! It's adorable. Of course, when I showed my husband, the first thing he said was "The corners look like boobies!"
Men. :P
I just stumbled across your blog and saw that you have the same vanity mirror that we have. Mine was also just mounted on the wall, until I got crazy with the sledgehammer. Yep. The sledgehammer. Those vanities are designed to set flush with the drywall. Before removing the mirror, I traced the outline of the cabinet with a pencil. Then I removed the mirror. I used a sledgehammer to break the drywall (actually plaster, because it's an older house also). After I marked where the electrical line was at that ran to the light above the mirror, I cut out the penciled opening with my jigsaw. I had to use a handsaw to finish cutting through the studs since the jigsaw blade didn't go that deep. Just the way a window is framed out with studs, I cut 2" x 4"s to go in between the studs horizontally right below the cut out - like a ledge for the vanity to sit on. I inserted the vanity and anchored it with 2" wood screws to the studs on the top and the bottom. It made a HUGE difference not sticking out from the wall the way it did before - it really opened up the bathroom! Since you seem to be pretty fearless like I am with powertools - go for it!
Awesome idea, and it turned out so wonderful. BTW, I LOVE the old doorknobs as bath robe/towel handles, so creative!!
Hmmmm. We're redoing our bathroom and have a hideous triptych medicine cabinet, but our mirror has no frame. You've given me a good idea. I think I can do the cutout and just clip it to the mirror edge. Right?
LOVE this! I'm assuming your original frame was wood, since you screwed your new frame into the old frame. Correct? I'm wondering how to attach a cool, new frame to the frame-less mirrors on my current med. cabinets....
What wood did you use? Wich tool did you use to make the fancy edges on this frame? Love it!
Lovely. I just wish I could see how it opens and what it looks like inside. Otherwise nice job.
Beautiful work! May I ask what kind of hinges did you use?
I'm making something similar with the door being wider than the cabinet and researching what hinges should I use to have the doors open to the side of the cabinet box and not in front of it like it does with the most common hinges.
Best,
Nikola