• Skip to primary navigation
  • Skip to main content
  • Skip to primary sidebar
  • Skip to footer
Stacy Risenmay
  • Home
  • About me
  • Project Gallery
  • PRESS
  • Contact Me
  • My Book
    • Facebook
    • Instagram
    • Pinterest
    • Twitter
menu icon
go to homepage
subscribe
search icon
Homepage link
  • Home
  • About me
  • Project Gallery
  • Our House
  • PRESS
  • Contact Me
  • Privacy Policy
    • Facebook
    • Instagram
    • Pinterest
    • Twitter
  • ×

    Refinished Vintage Desk

    By Stacy 8 Comments

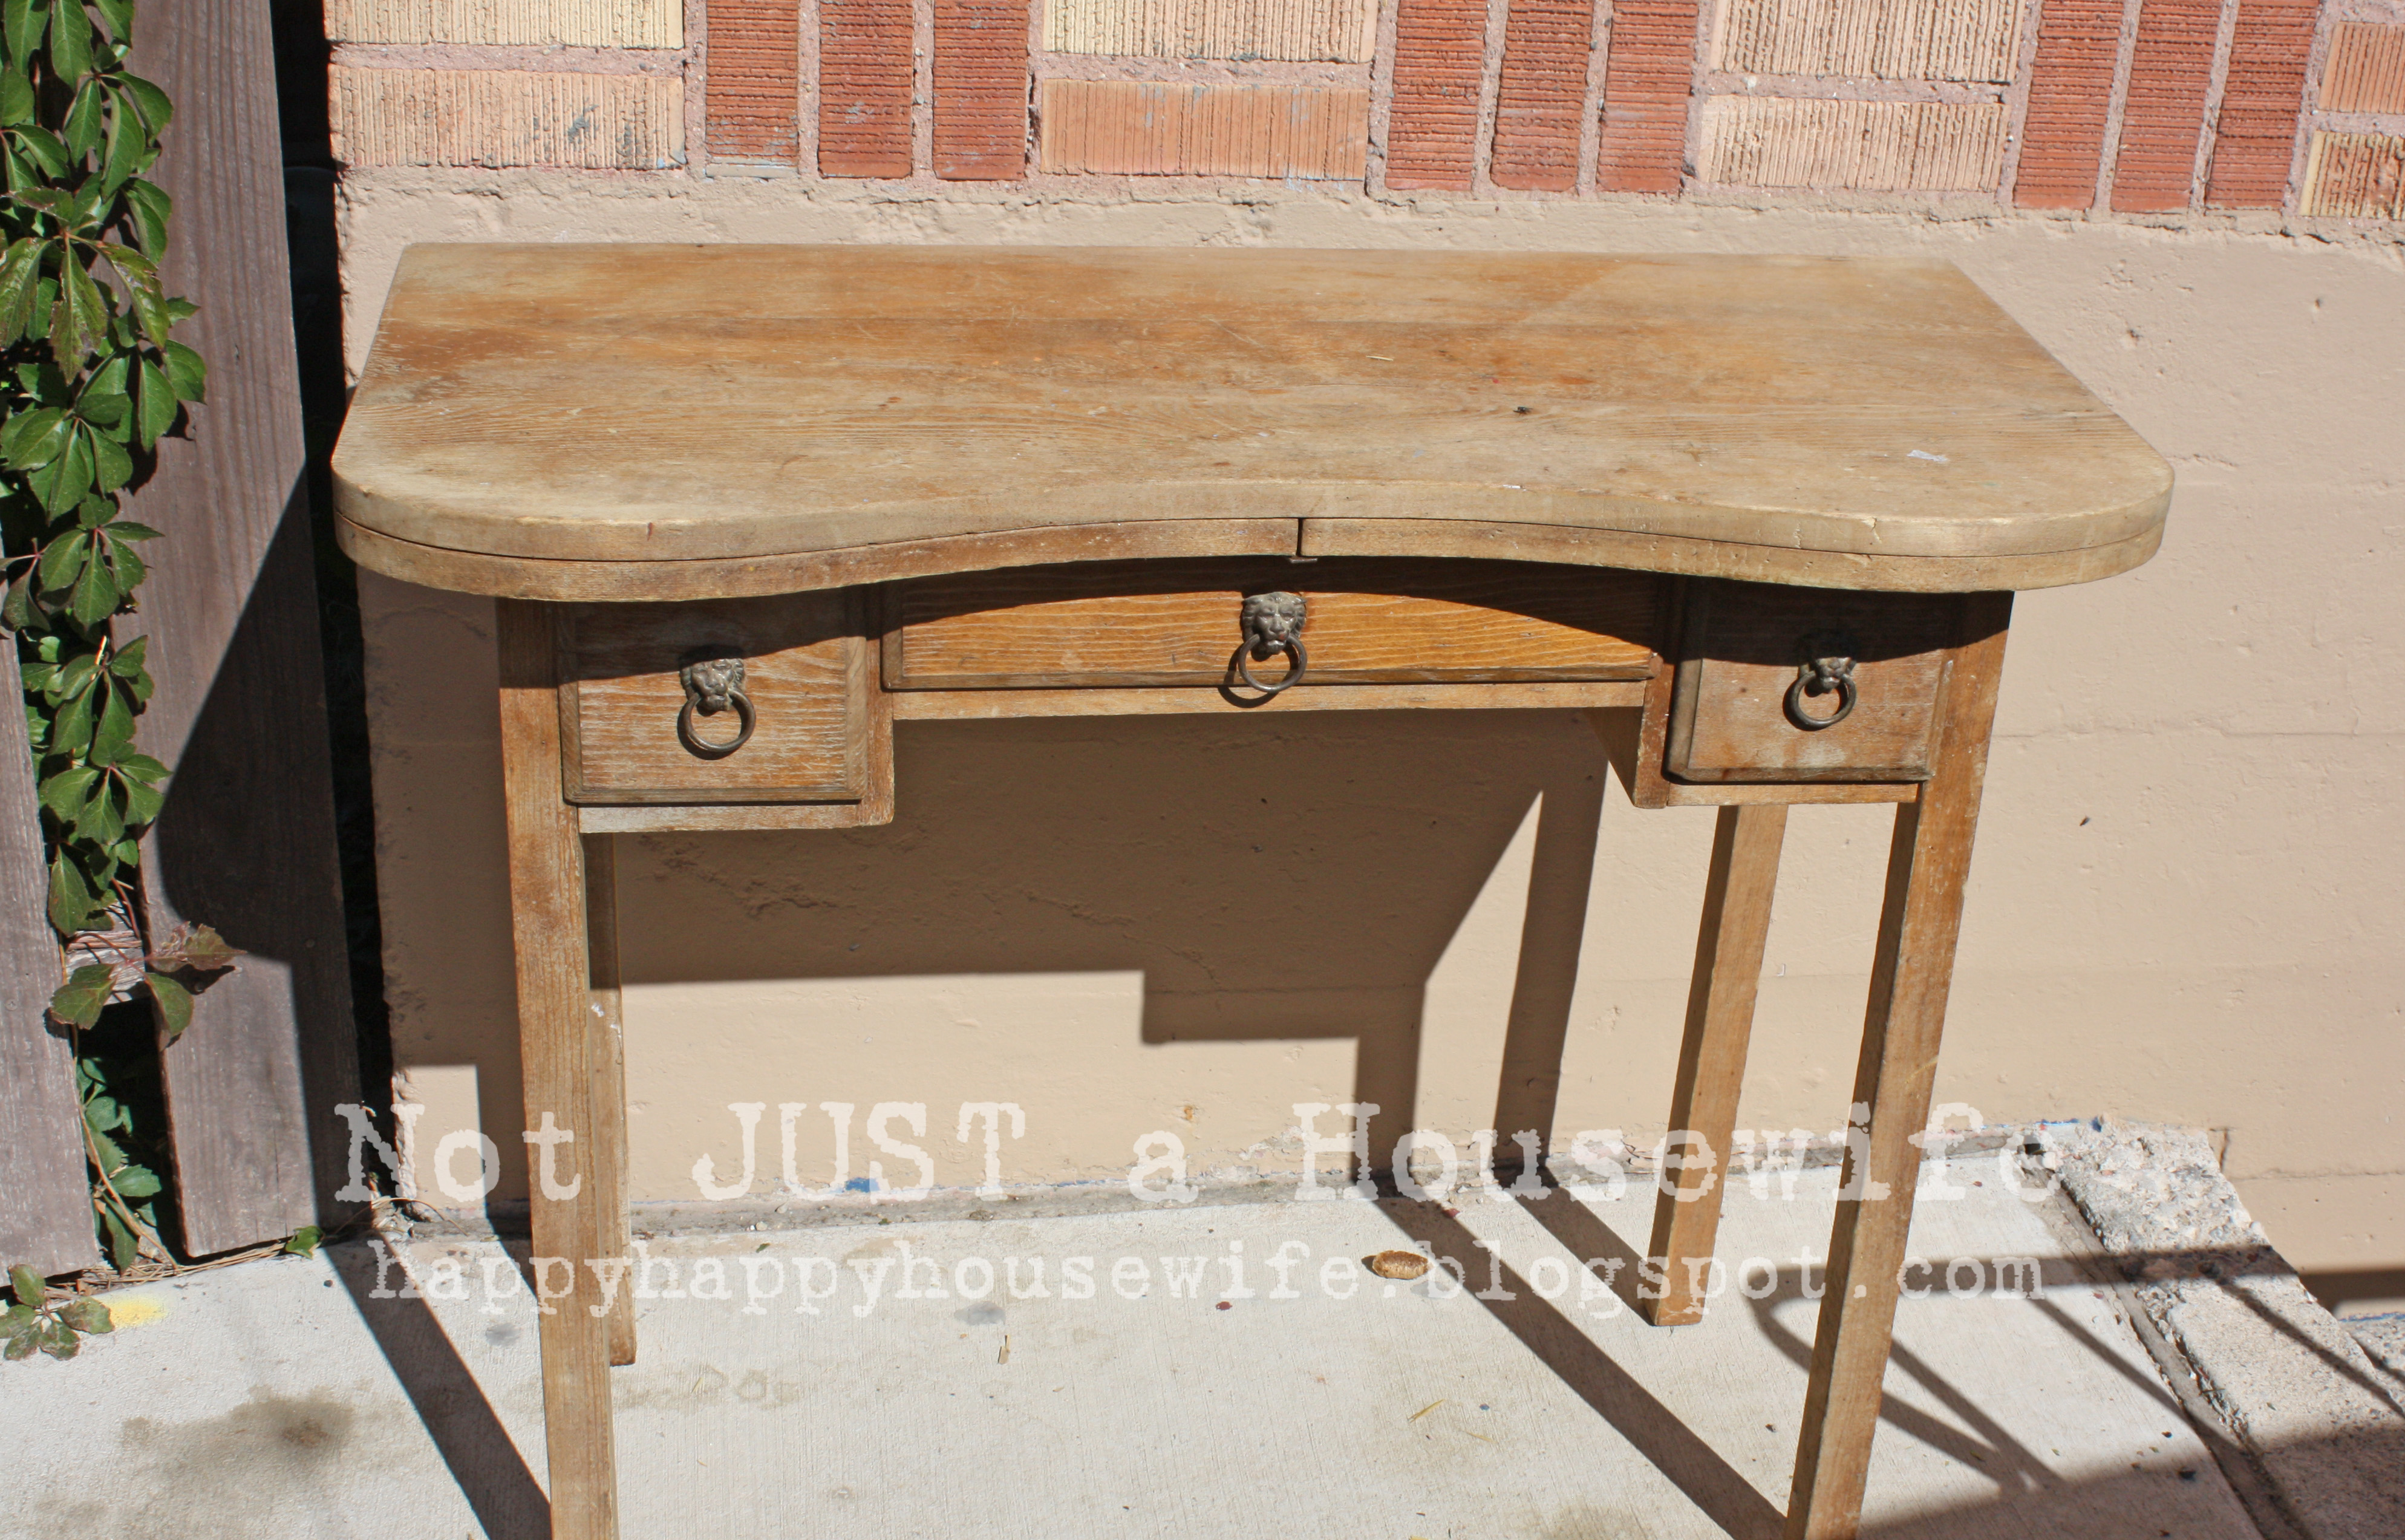
    This desk was one of the very first tutorials I ever shared on my blog and since some of you were not around back then, I thought it would be fun to share it again. I found it in my mom's barn. It is actually a skirted vanity. The arms that pull out would have originally been covered in fabric. But having a house full of boys, and not being super girly myself, I decided to forego the fabric.


    refinished desk - after


    Here is what it looked like when I hauled it out of the stall in my mom's barn.


    junk3


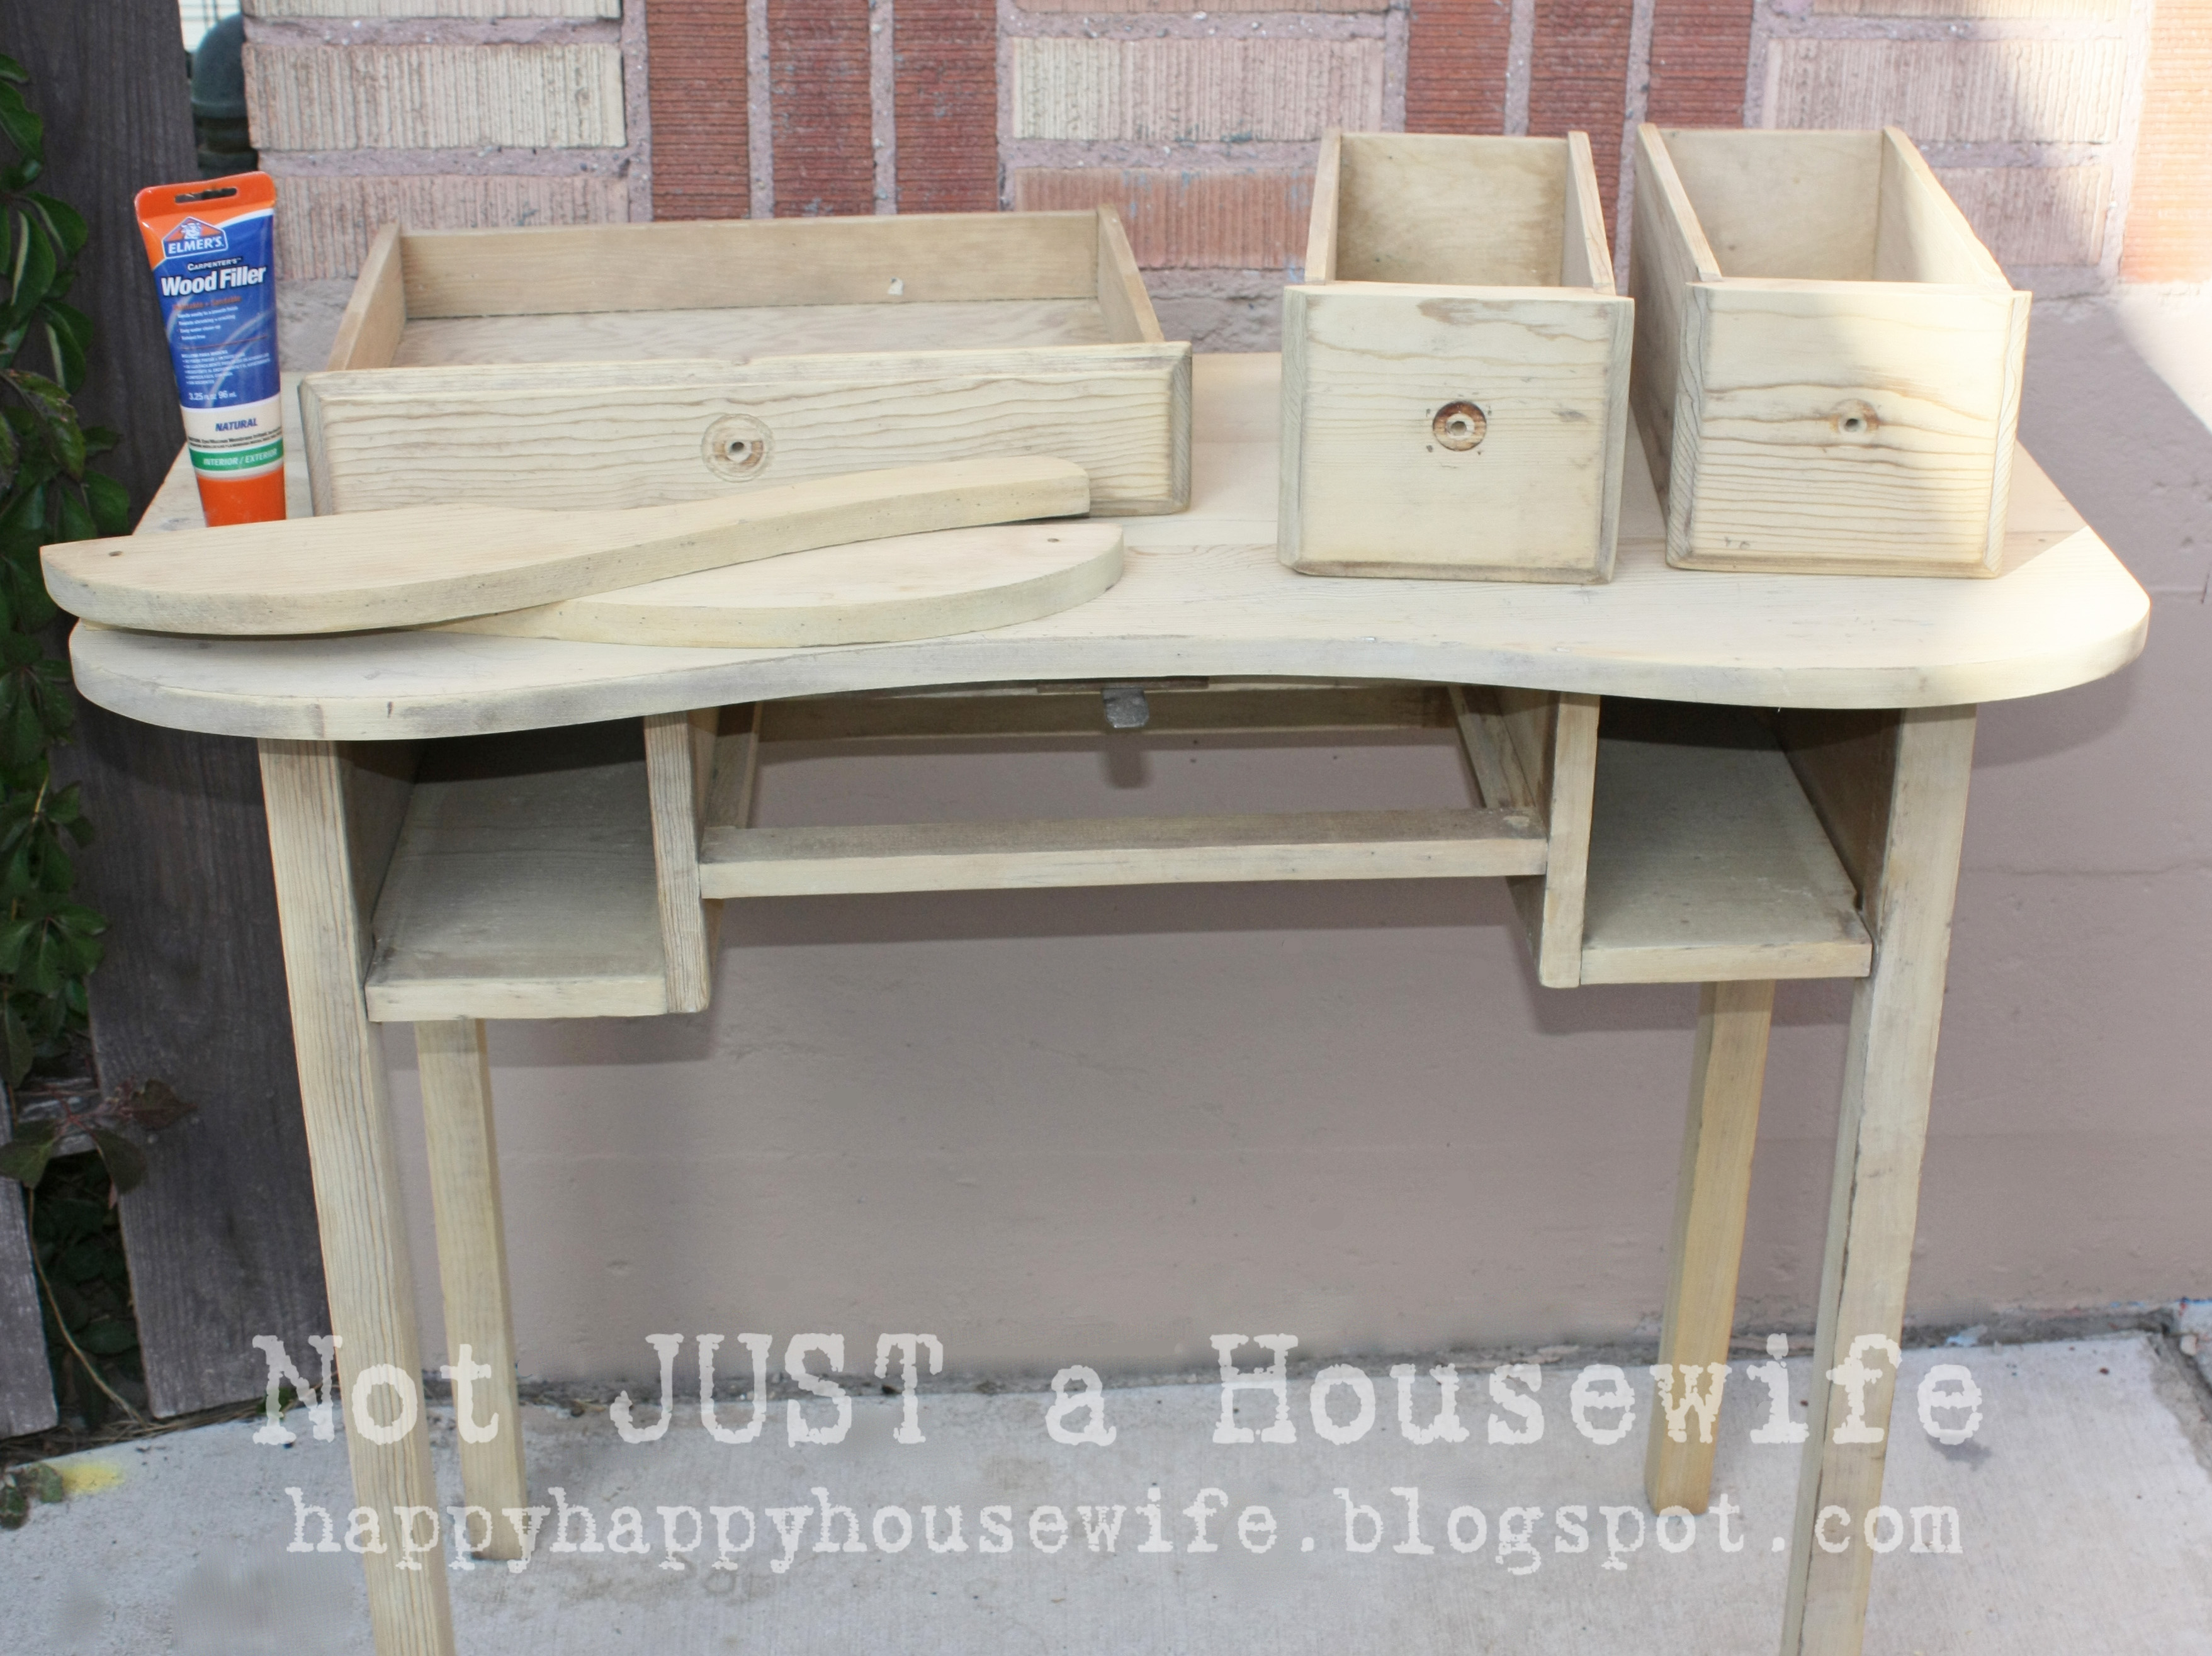
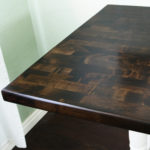
    And here it is all cleaned up.
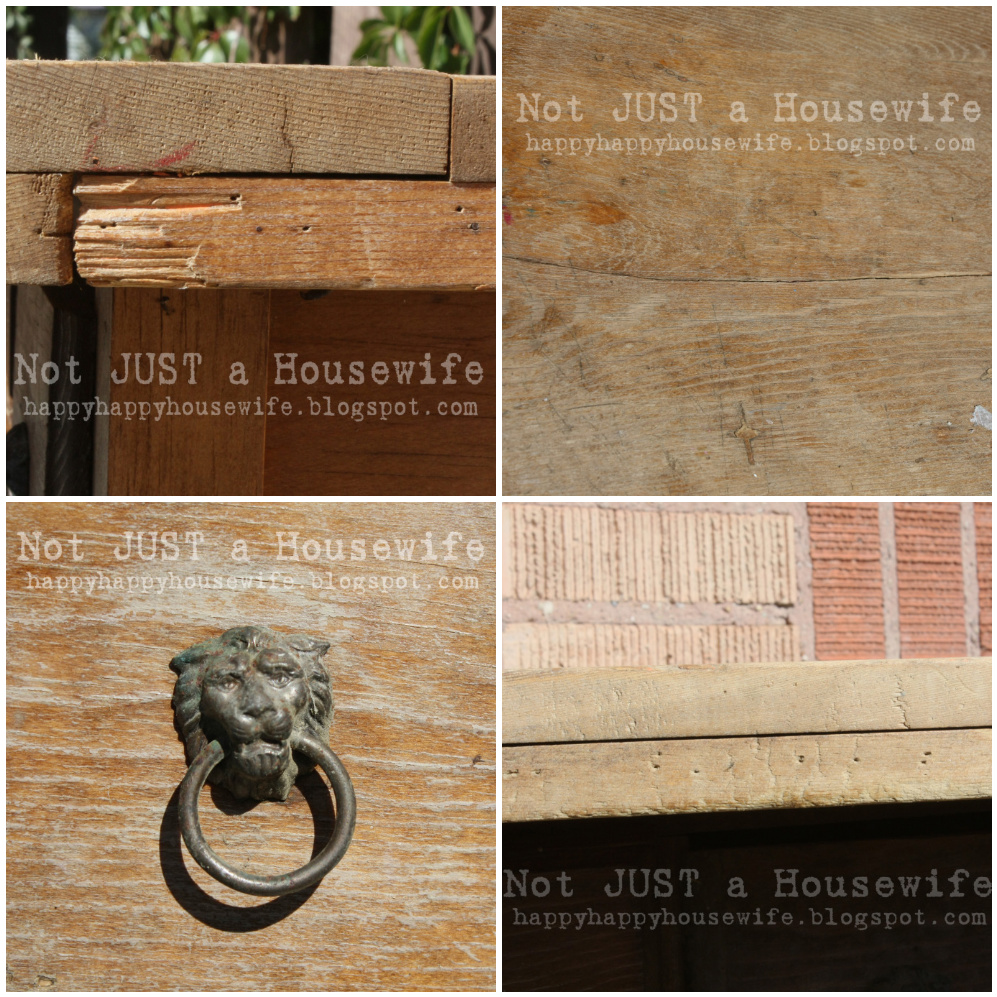
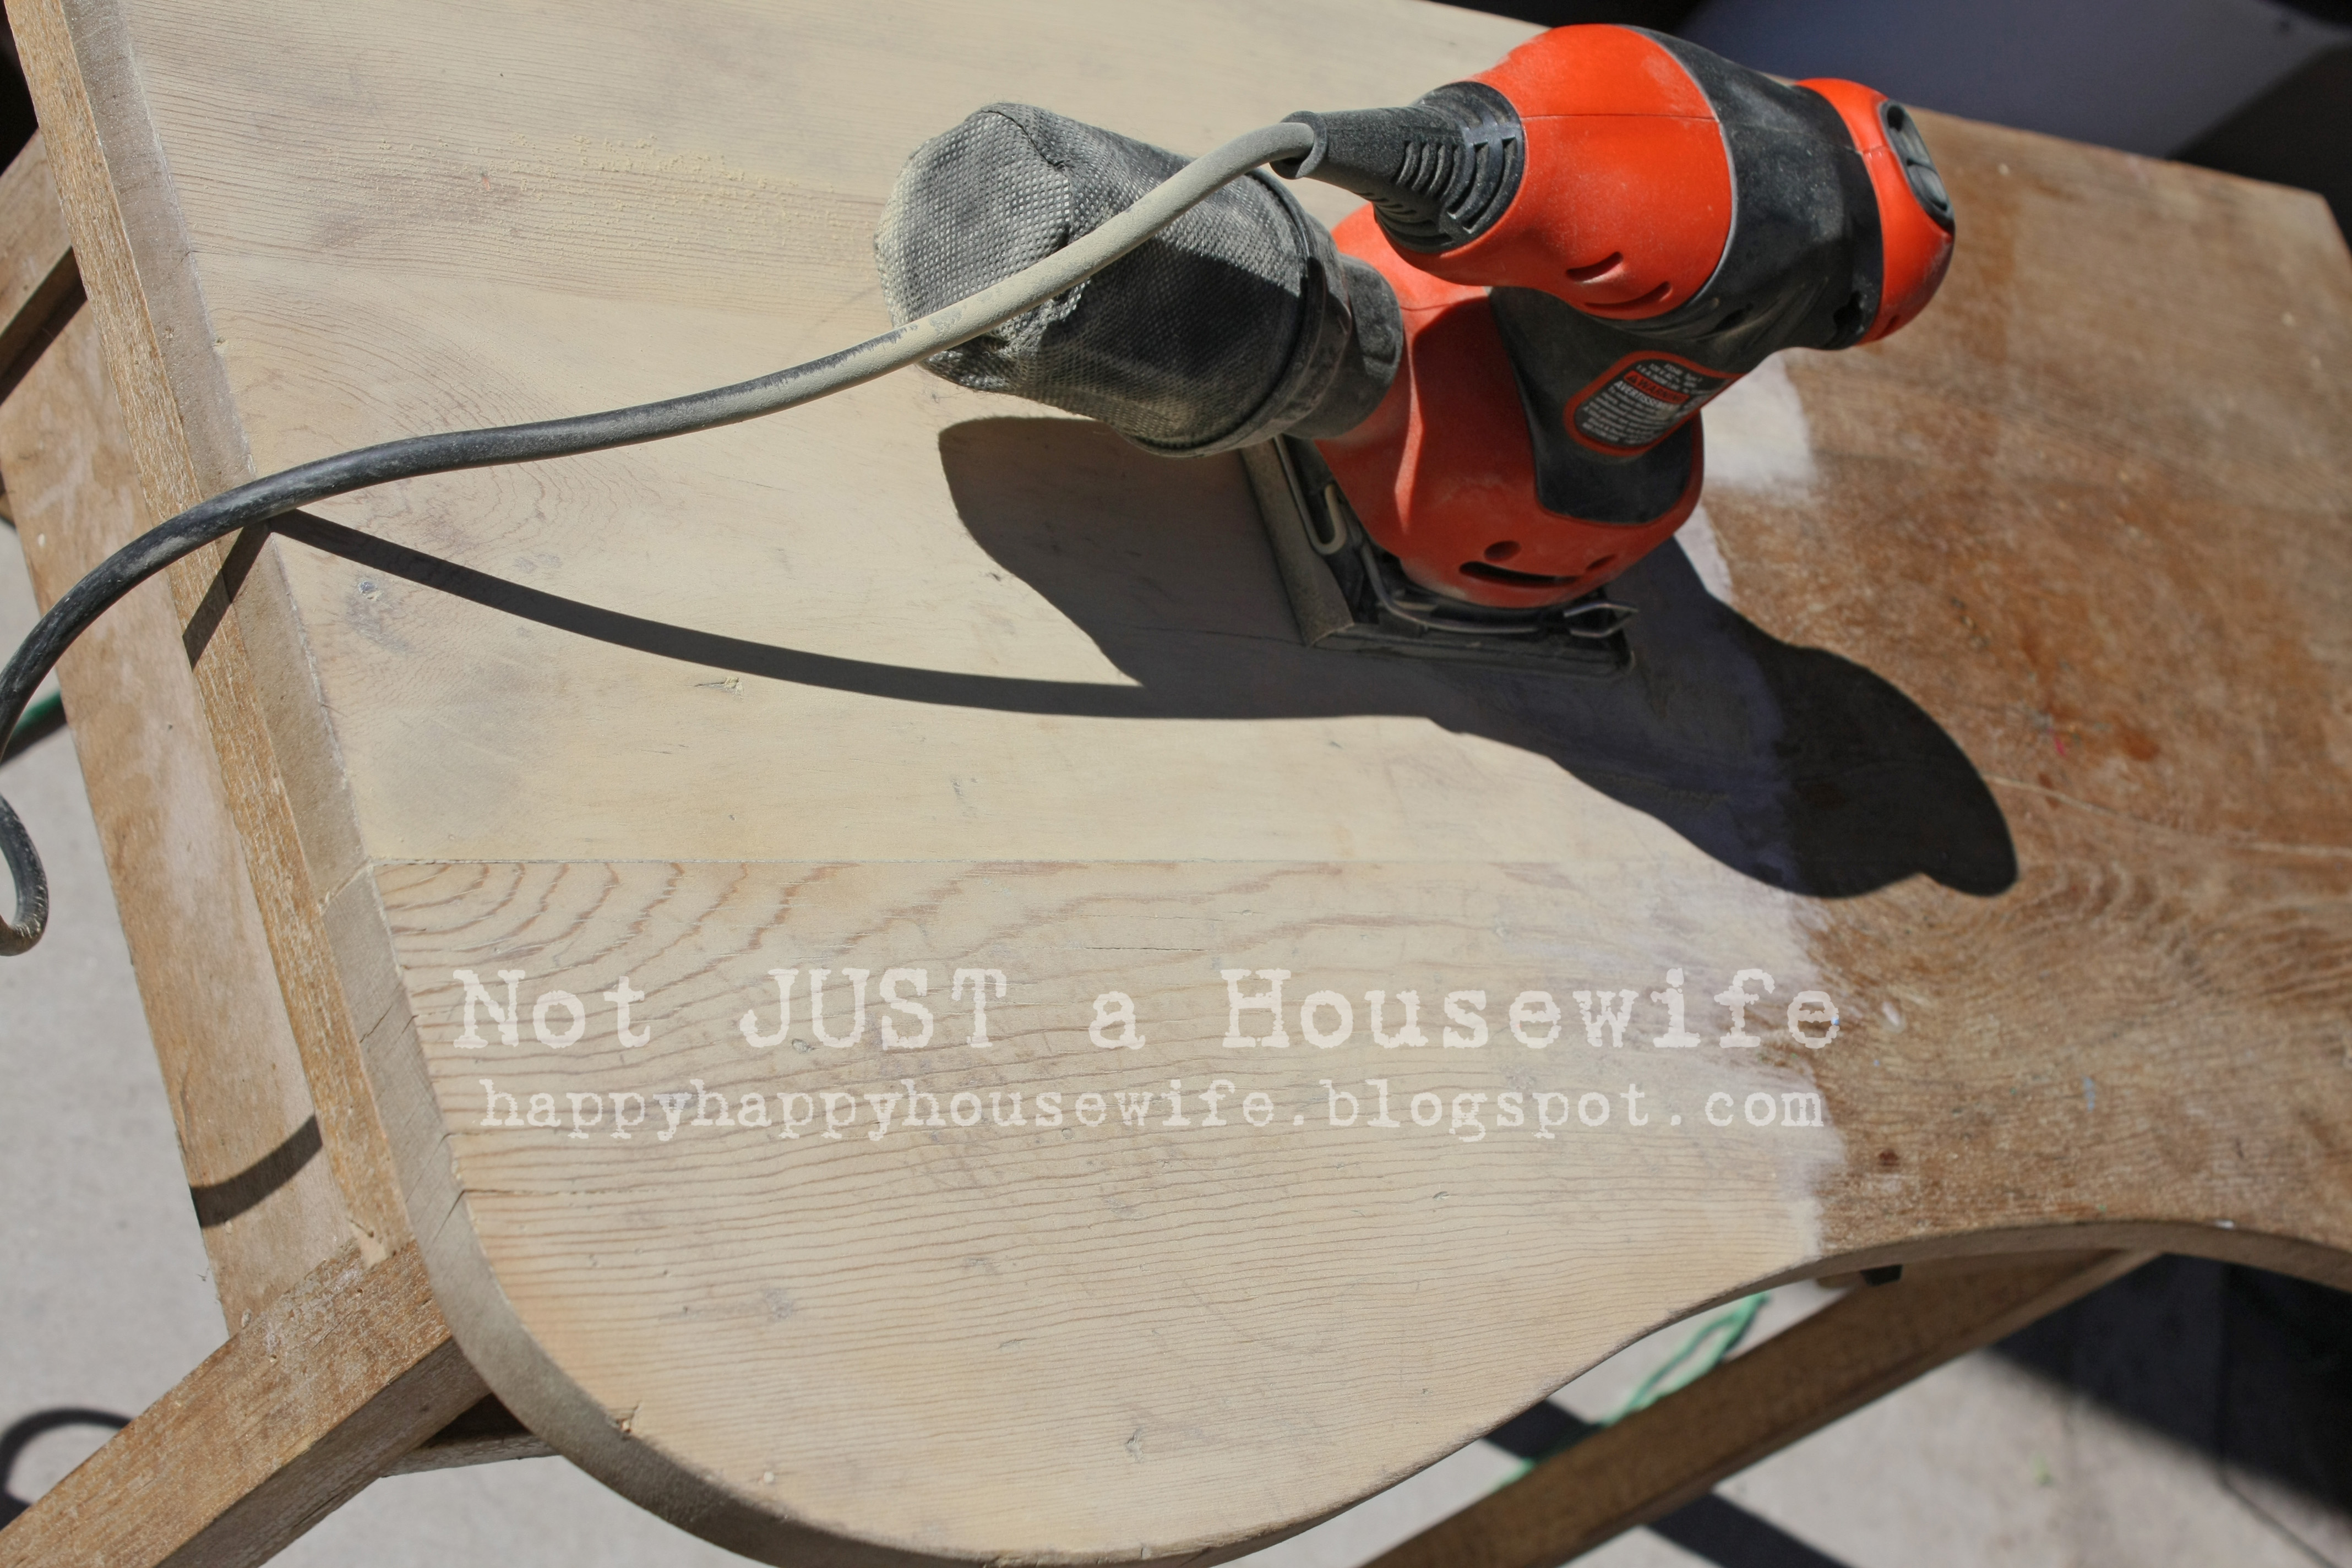
     

    desk2


    It had some damage.


     It needed a lot of TLC. It had a minor crack on the top, thumb tack holes along the front, and chunks missing. It also had a broken leg. I first addressed any repairs that needed to be made.  I put glue along the crack and let it sink in. Then I wiped it off with a damp paper towel.


    desk8
    desk10


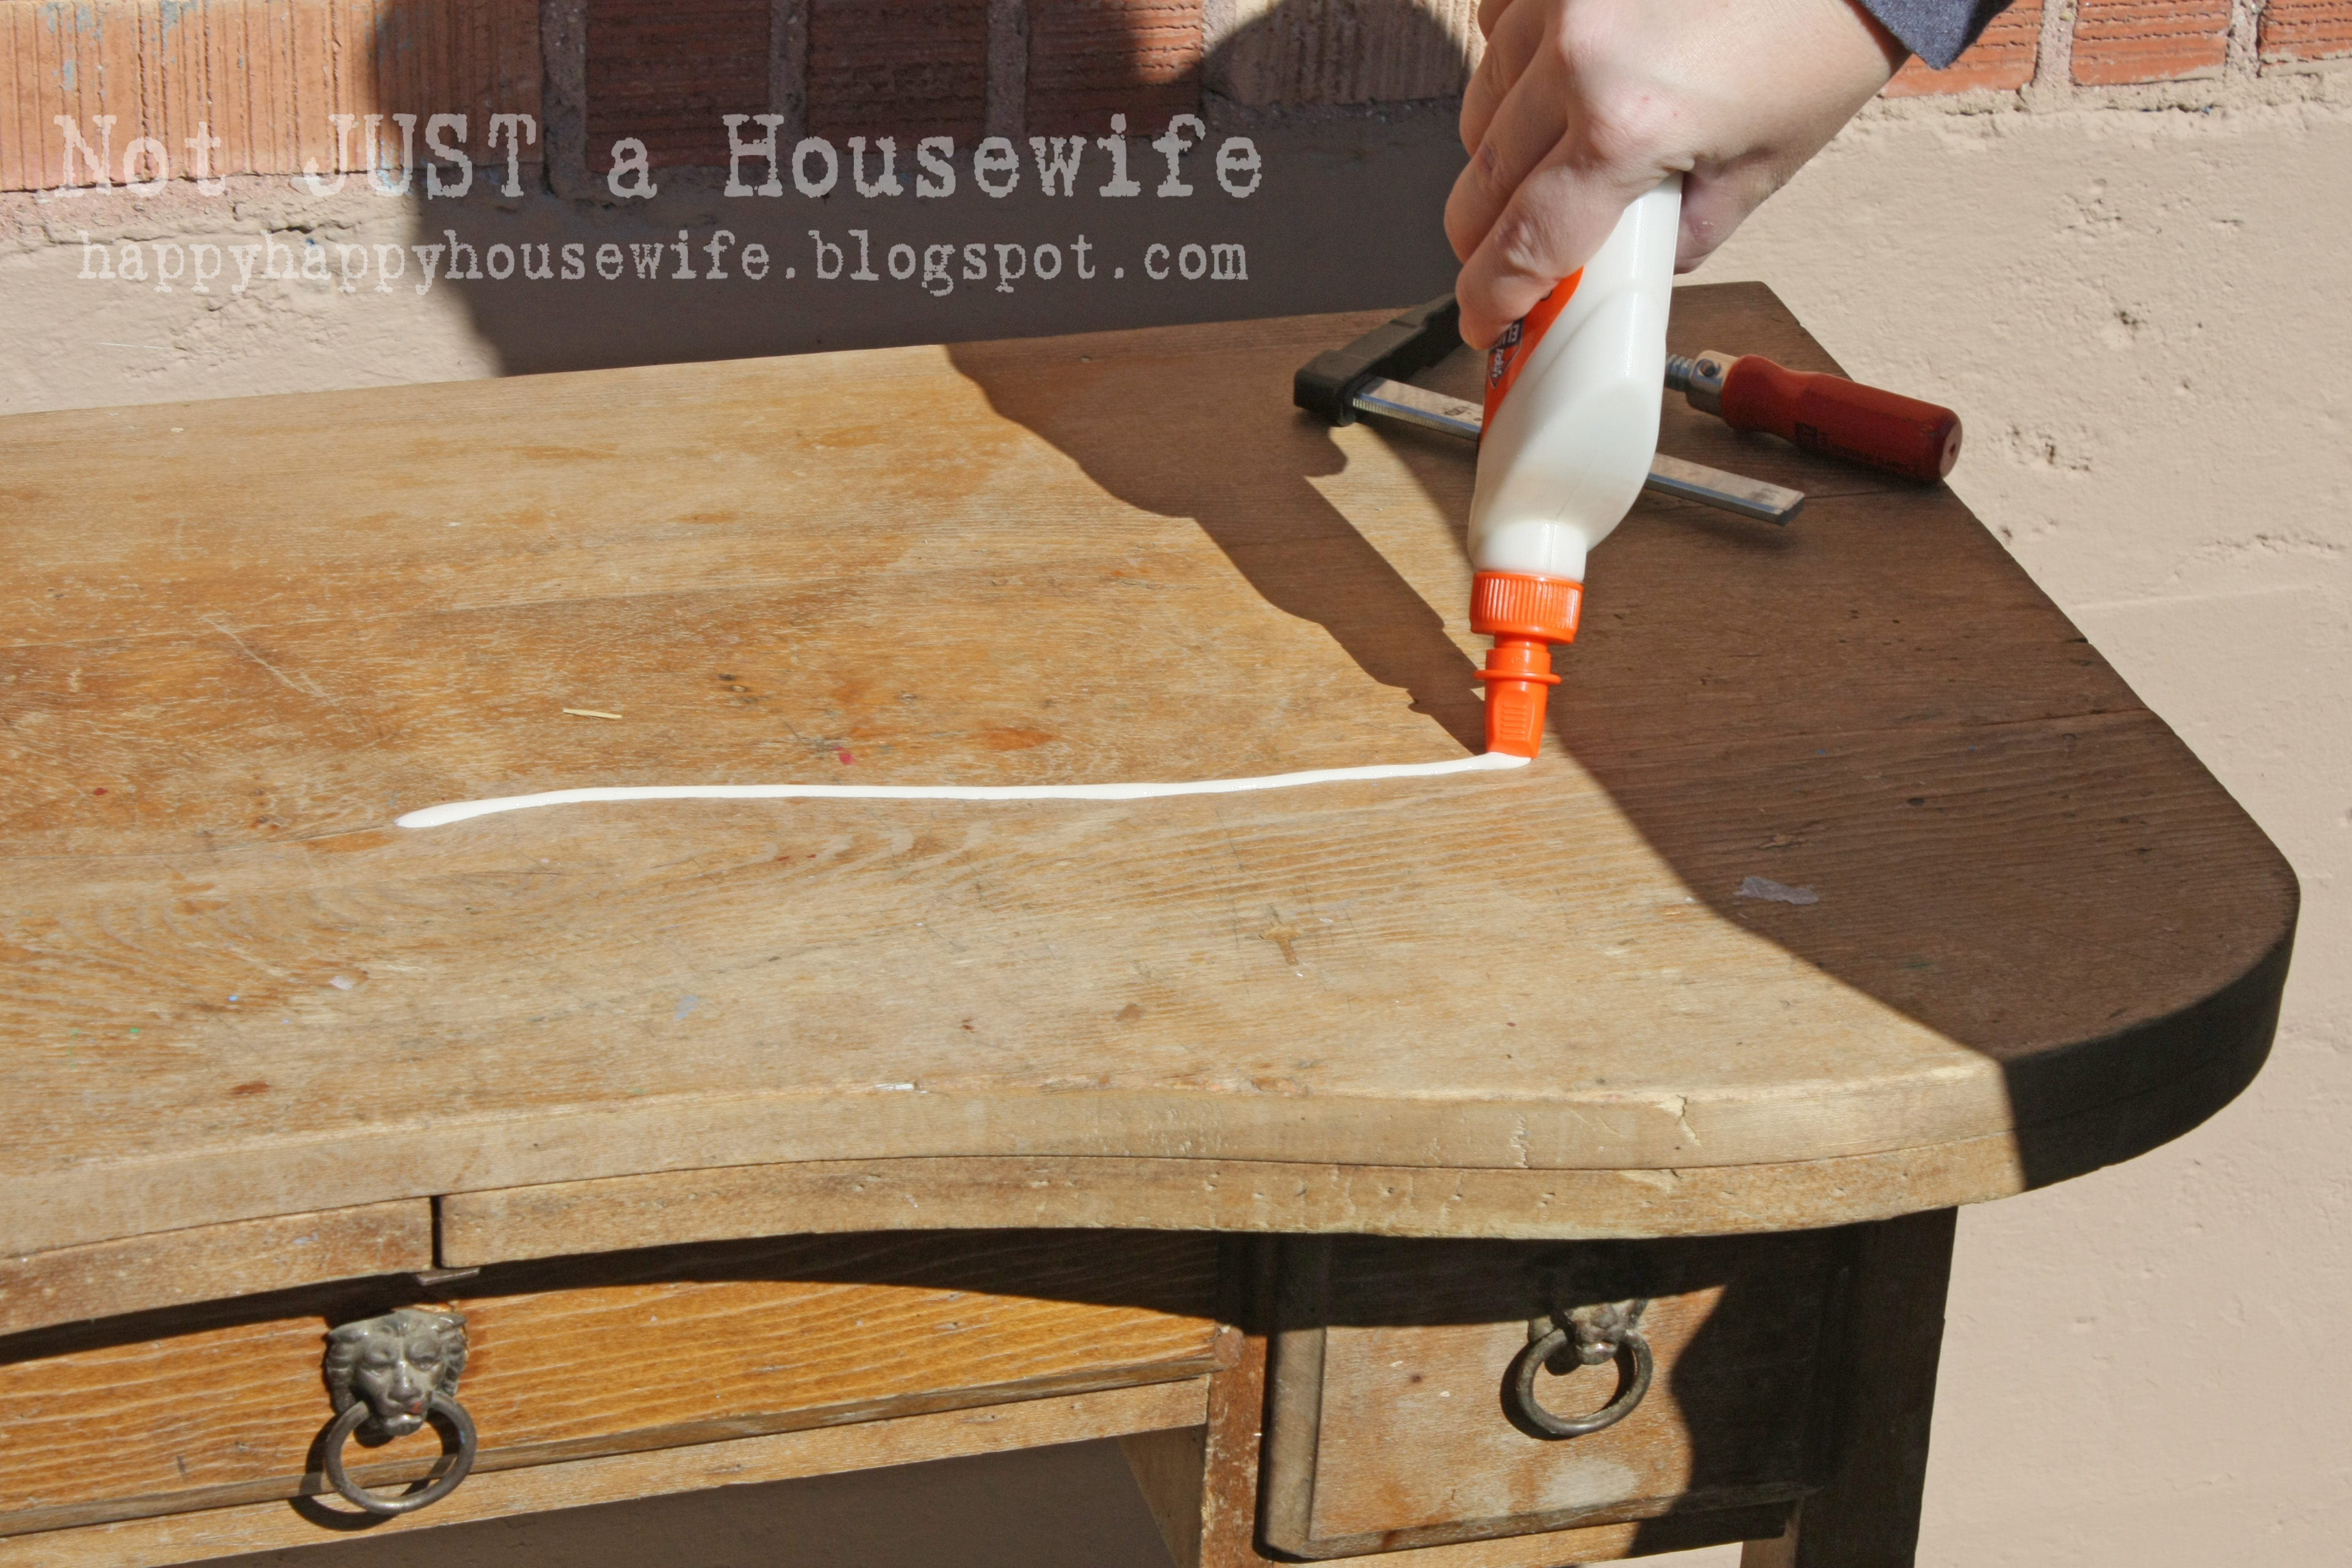
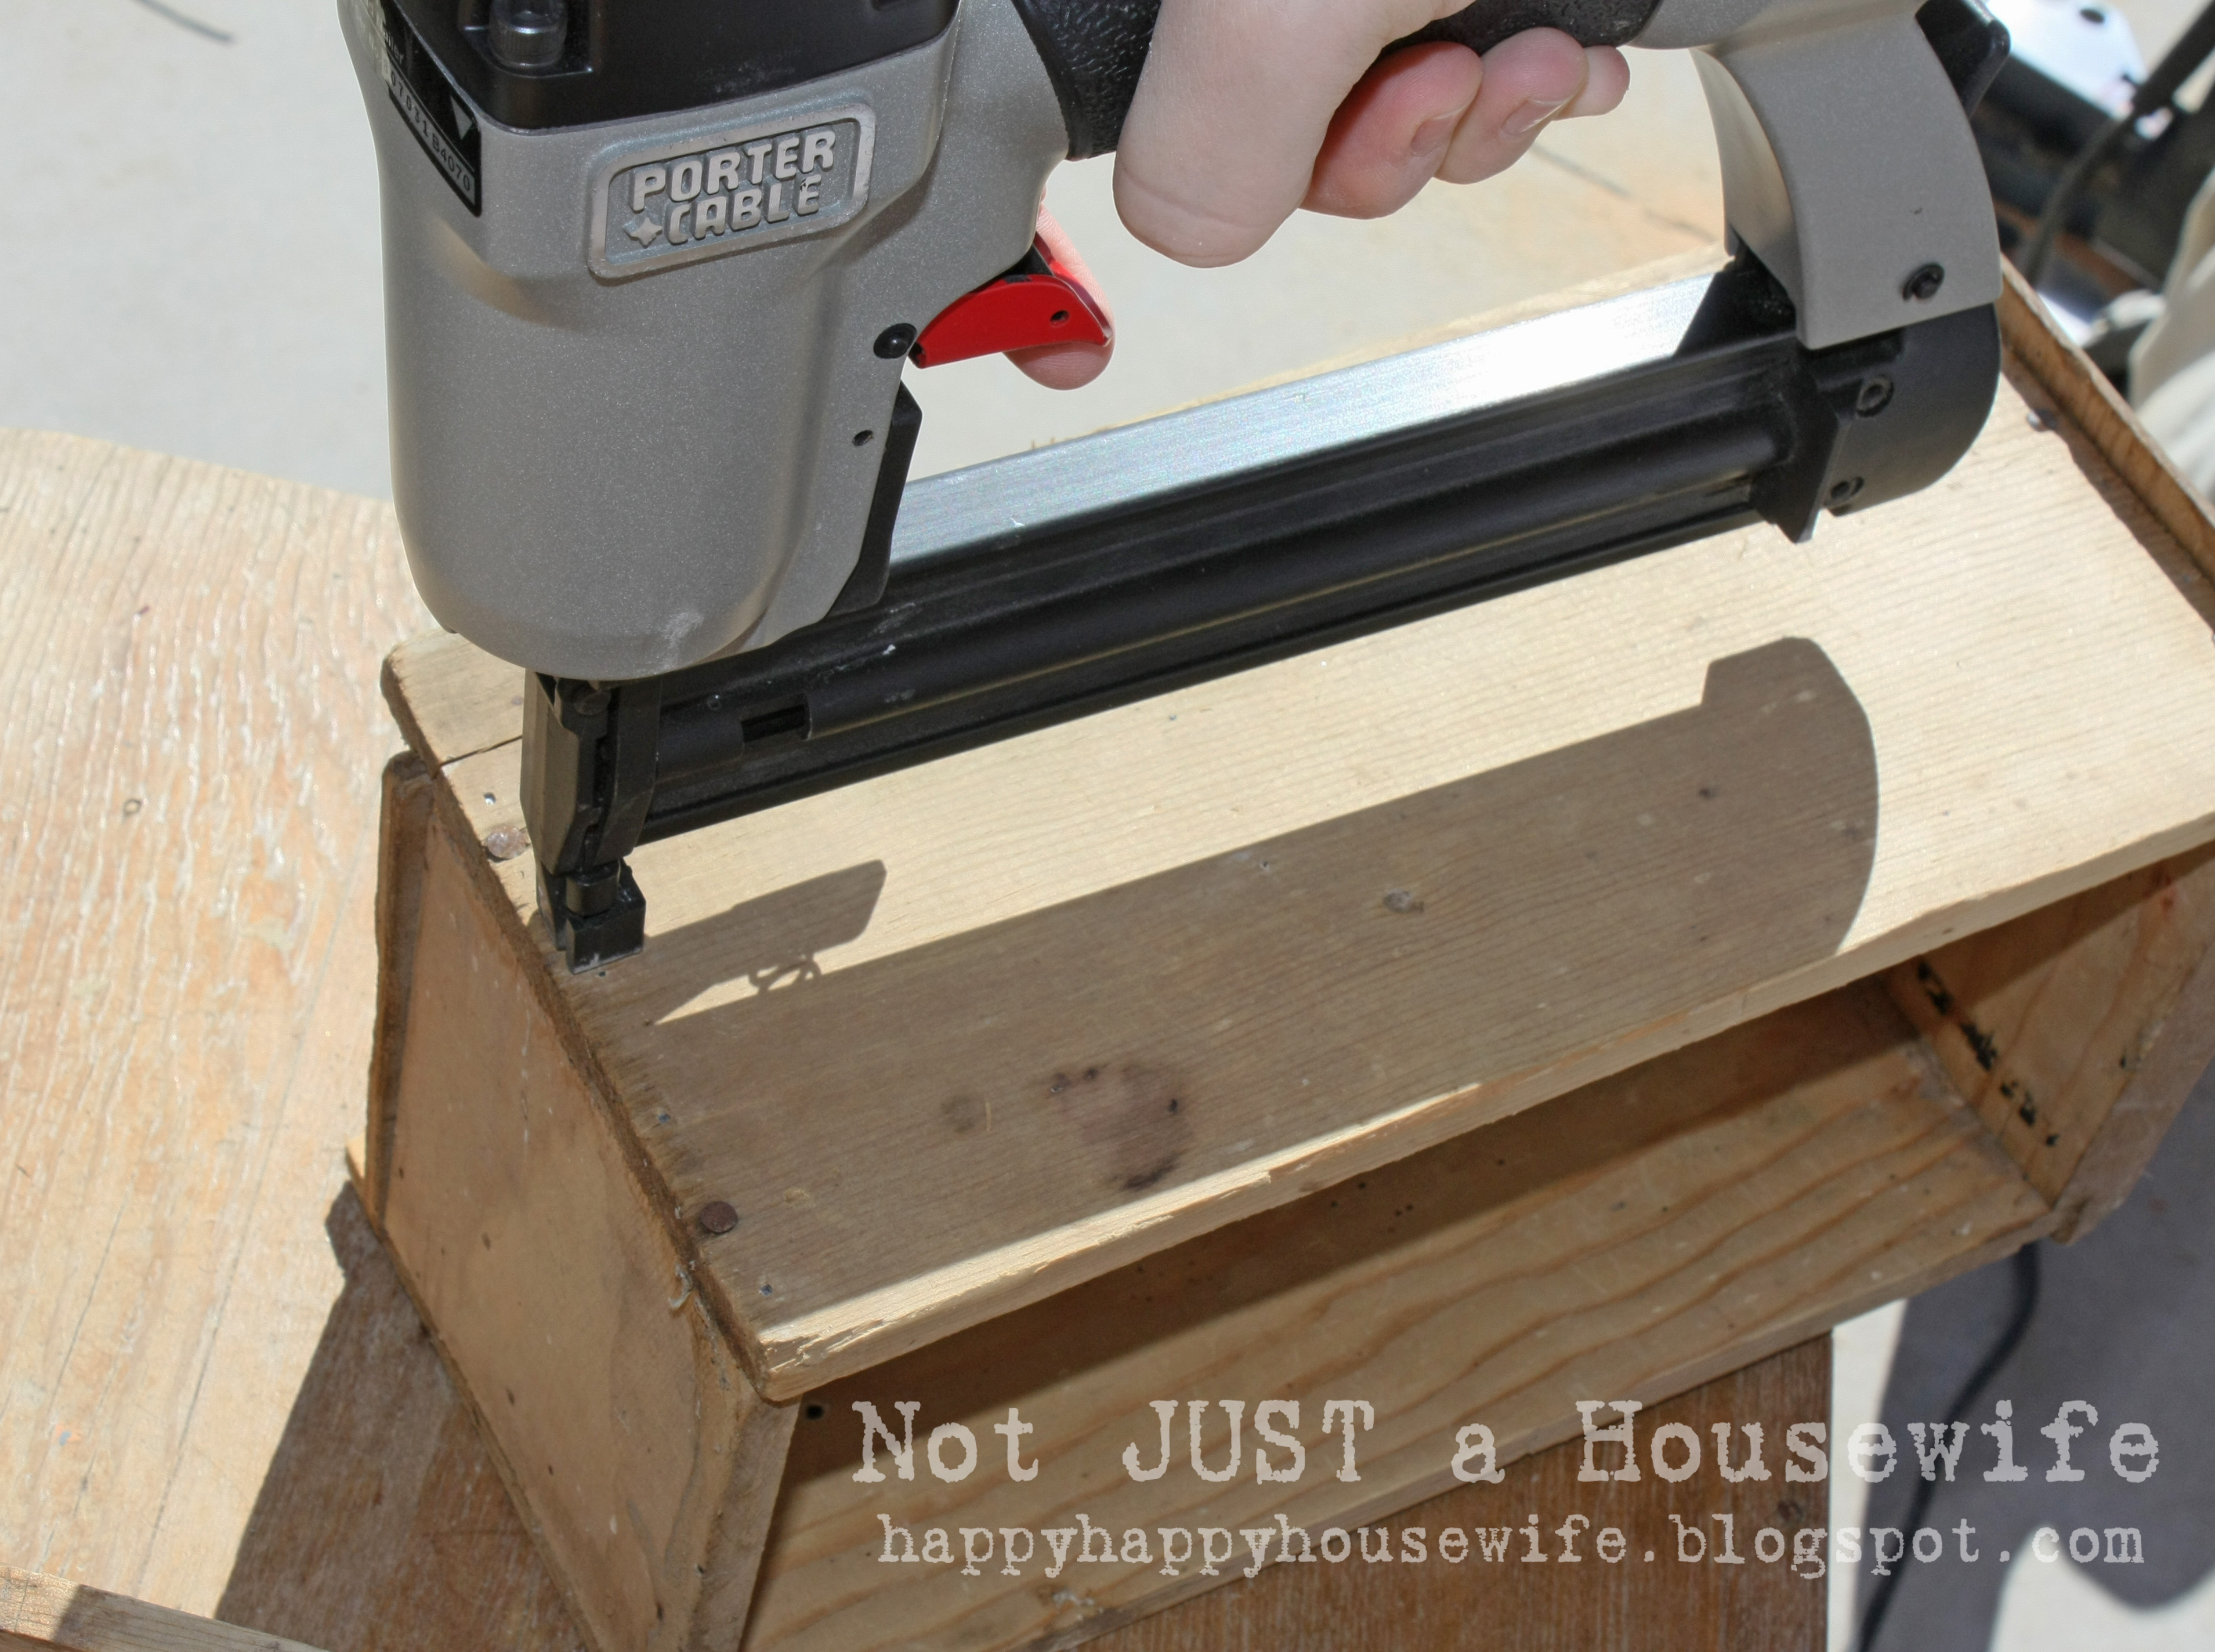
    Putting the large clamp on caused some of the glue to squeeze out so I wiped it again. I glued and clamped the broken leg too. I used a small C clamp.

    The desk wasn't the best ever made. The drawers were held together with only 2 nails on each side. Needless to say, they weren't very strong. I re-enforced them with my brad nail gun. I looked around the desk and found some other spots to re-enforce as well. Really I just like to find reasons to use it. It is my favorite tool!


    desk12


    I let the glue dry for a day before I took the clamps off and sanded it. I was lucky because it was pretty much all flat. I did most of the sanding with my hand sander. There were only a few spots I did by hand. You need to remove the old finish so the wood will accept the new stain. If you have something that you want to refinish and it would be hard to sand, you can use gel stain. I have used that several times with very good results. I use Minwax's gel stain. You can apply it over existing finishes. It is thick and sticky. It would be best to practice on something else first to get the hang of it.


    desk13


    desk14


    It is all naked and ready for a new look! I almost forgot to mention that I used putty to fill in any small cracks or nail holes. Putty, let dry, and then sand. Use stainable, paintable, sandable wood putty. I used the natural color because it was outside and so was I. I should have used the darker colored putty (it was ALL the way inside ). This putty is stainable, but to a point. That is why they have a darker color. I added more stain to the puttied parts and it worked out fine, but in retrospect I should have got off my big behind and got the darker putty!


    desk15


    In a situation like this, I use oil based stains. This wood was old and dried out. The oil in the stain helps the wood. Plus it dries slower than waterbased stains and gives you more time to work at getting an even finish. Waterbased stains sink in fast, especially with dry or porous (soft) wood. You can also use a wood conditioner before applying the stain. It is sold in cans just like the stain and is milky white. I always use foam brushes too. There aren't any brush marks and it makes for easy clean up. Just toss them in the garbage!


    desk15


    I let the stain dry for a day and a half. It needs to be completely dry and not sticky at all.
    Then you can add the polyurethane. Use it in a well ventilated area of course. It brings the wood to life and protects it. I use Minwax's Fast Drying Clear Satin finsih.


    desk16


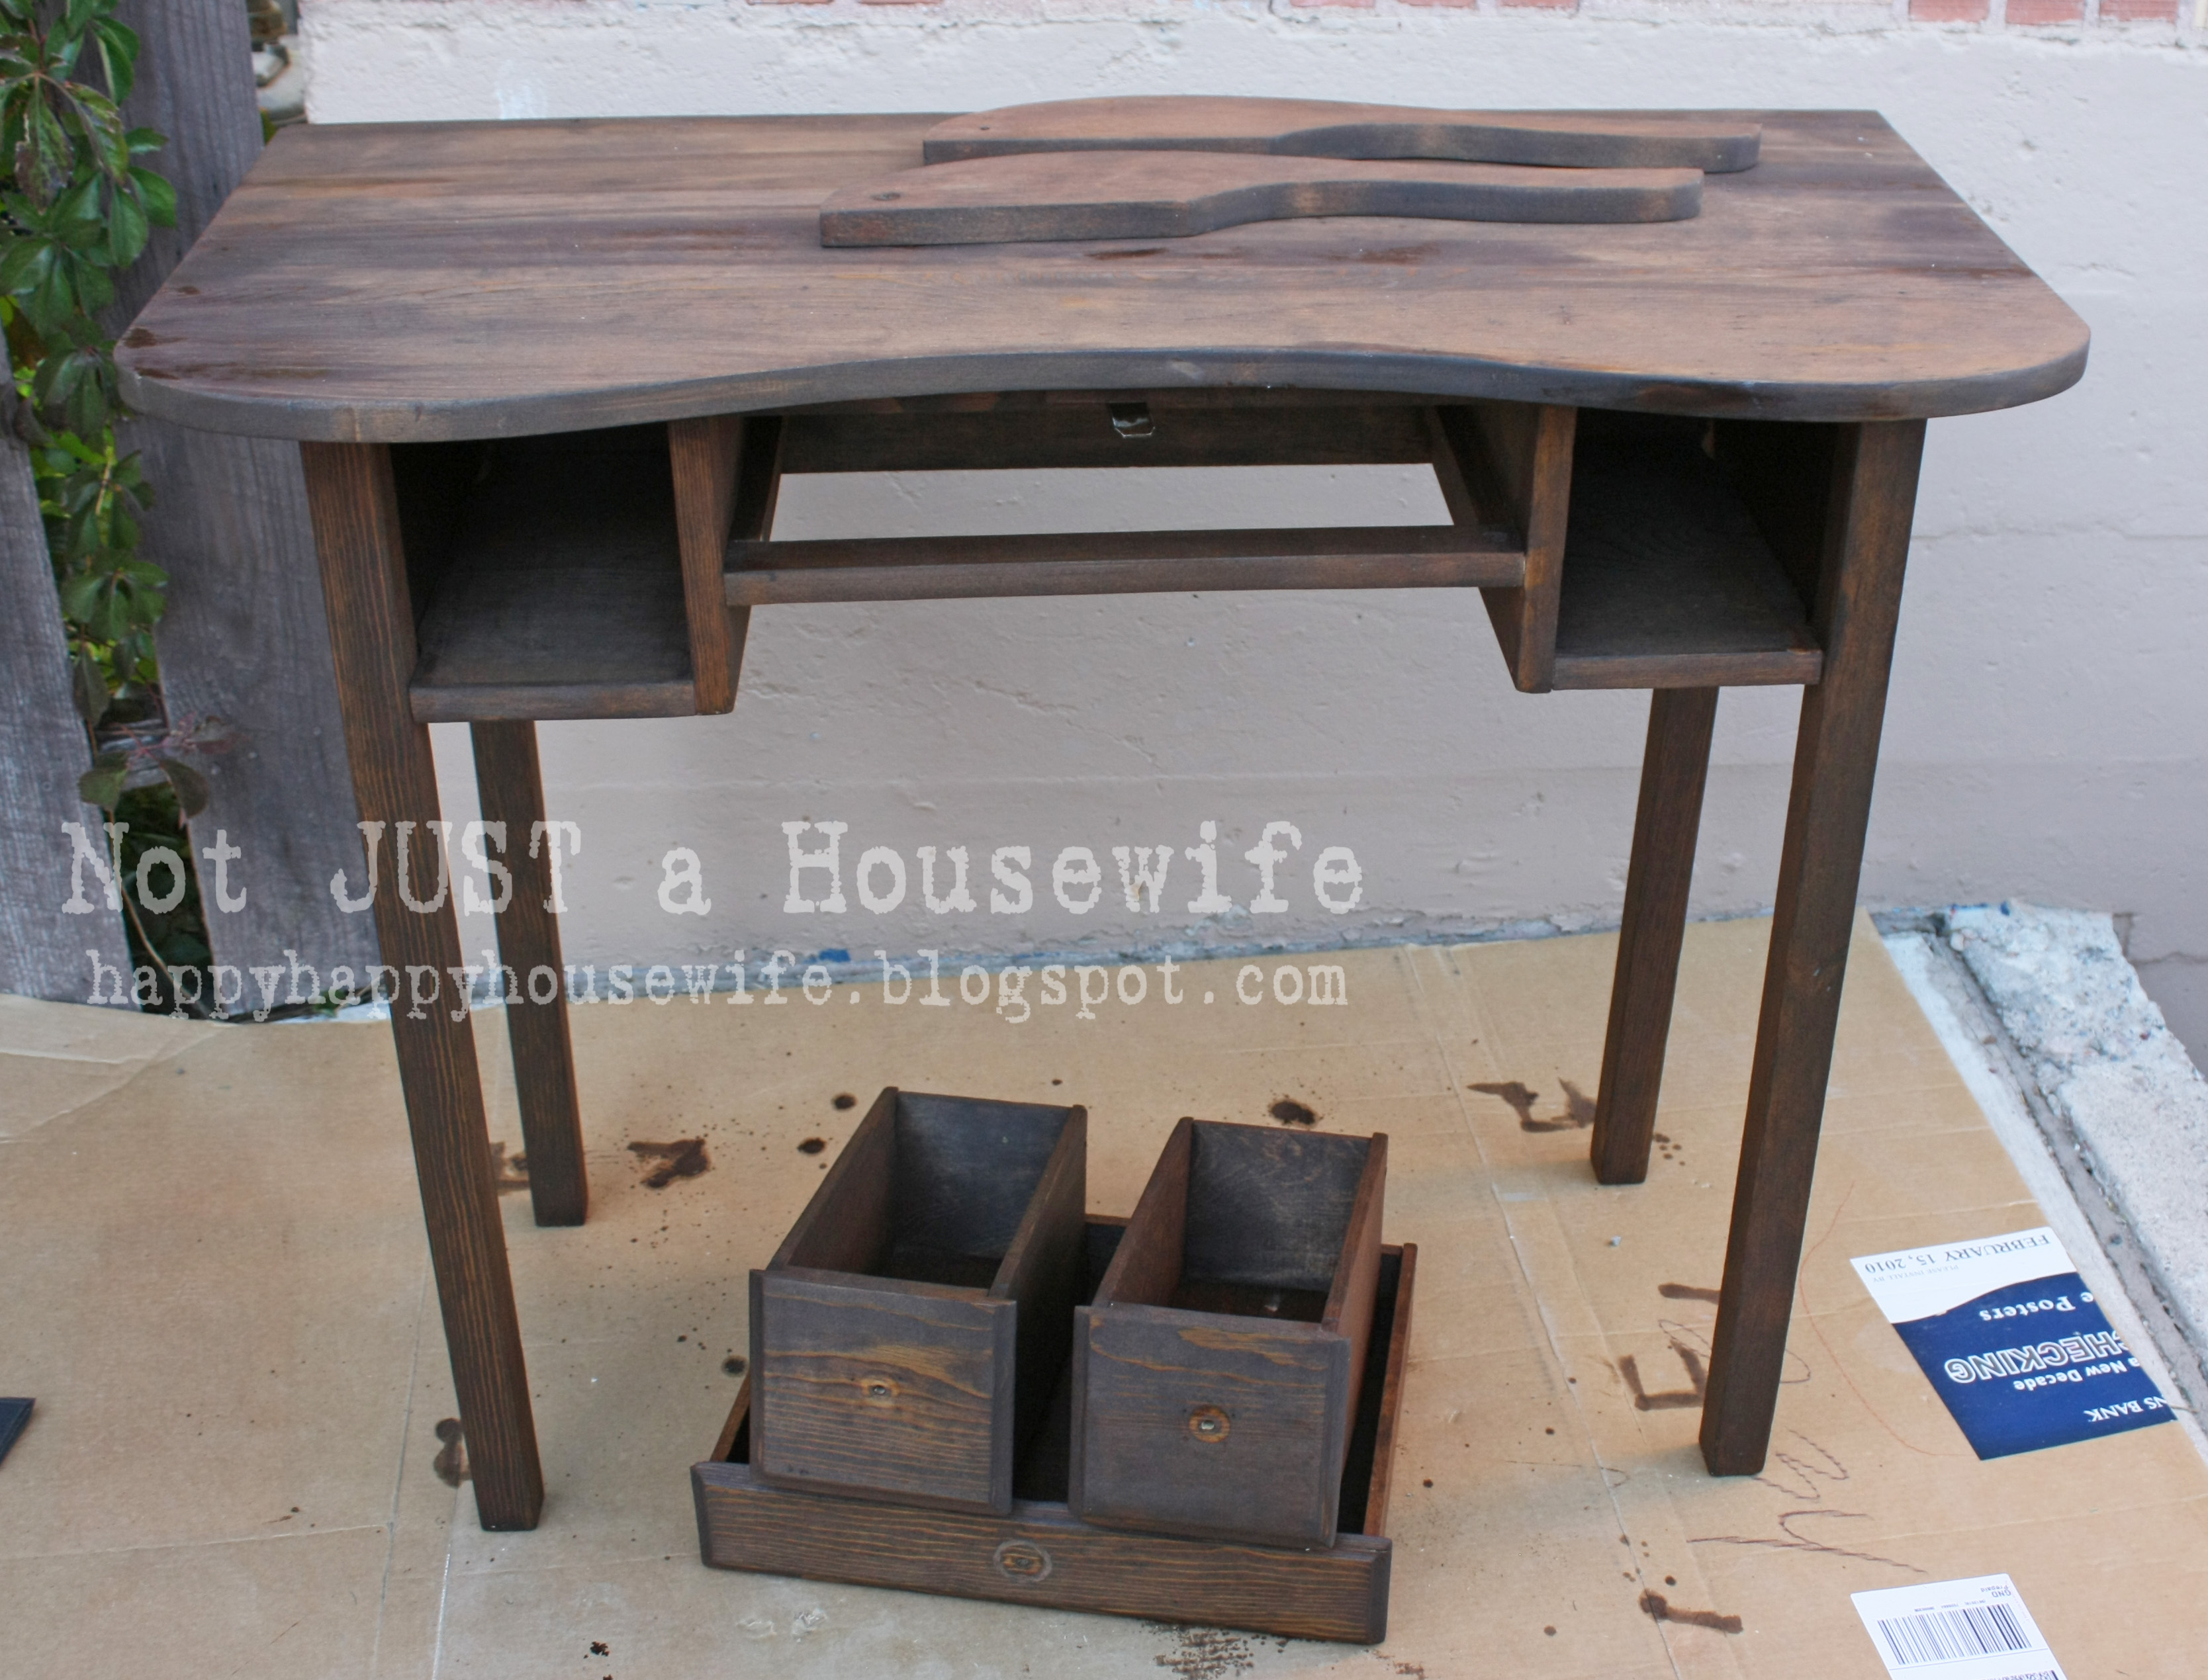
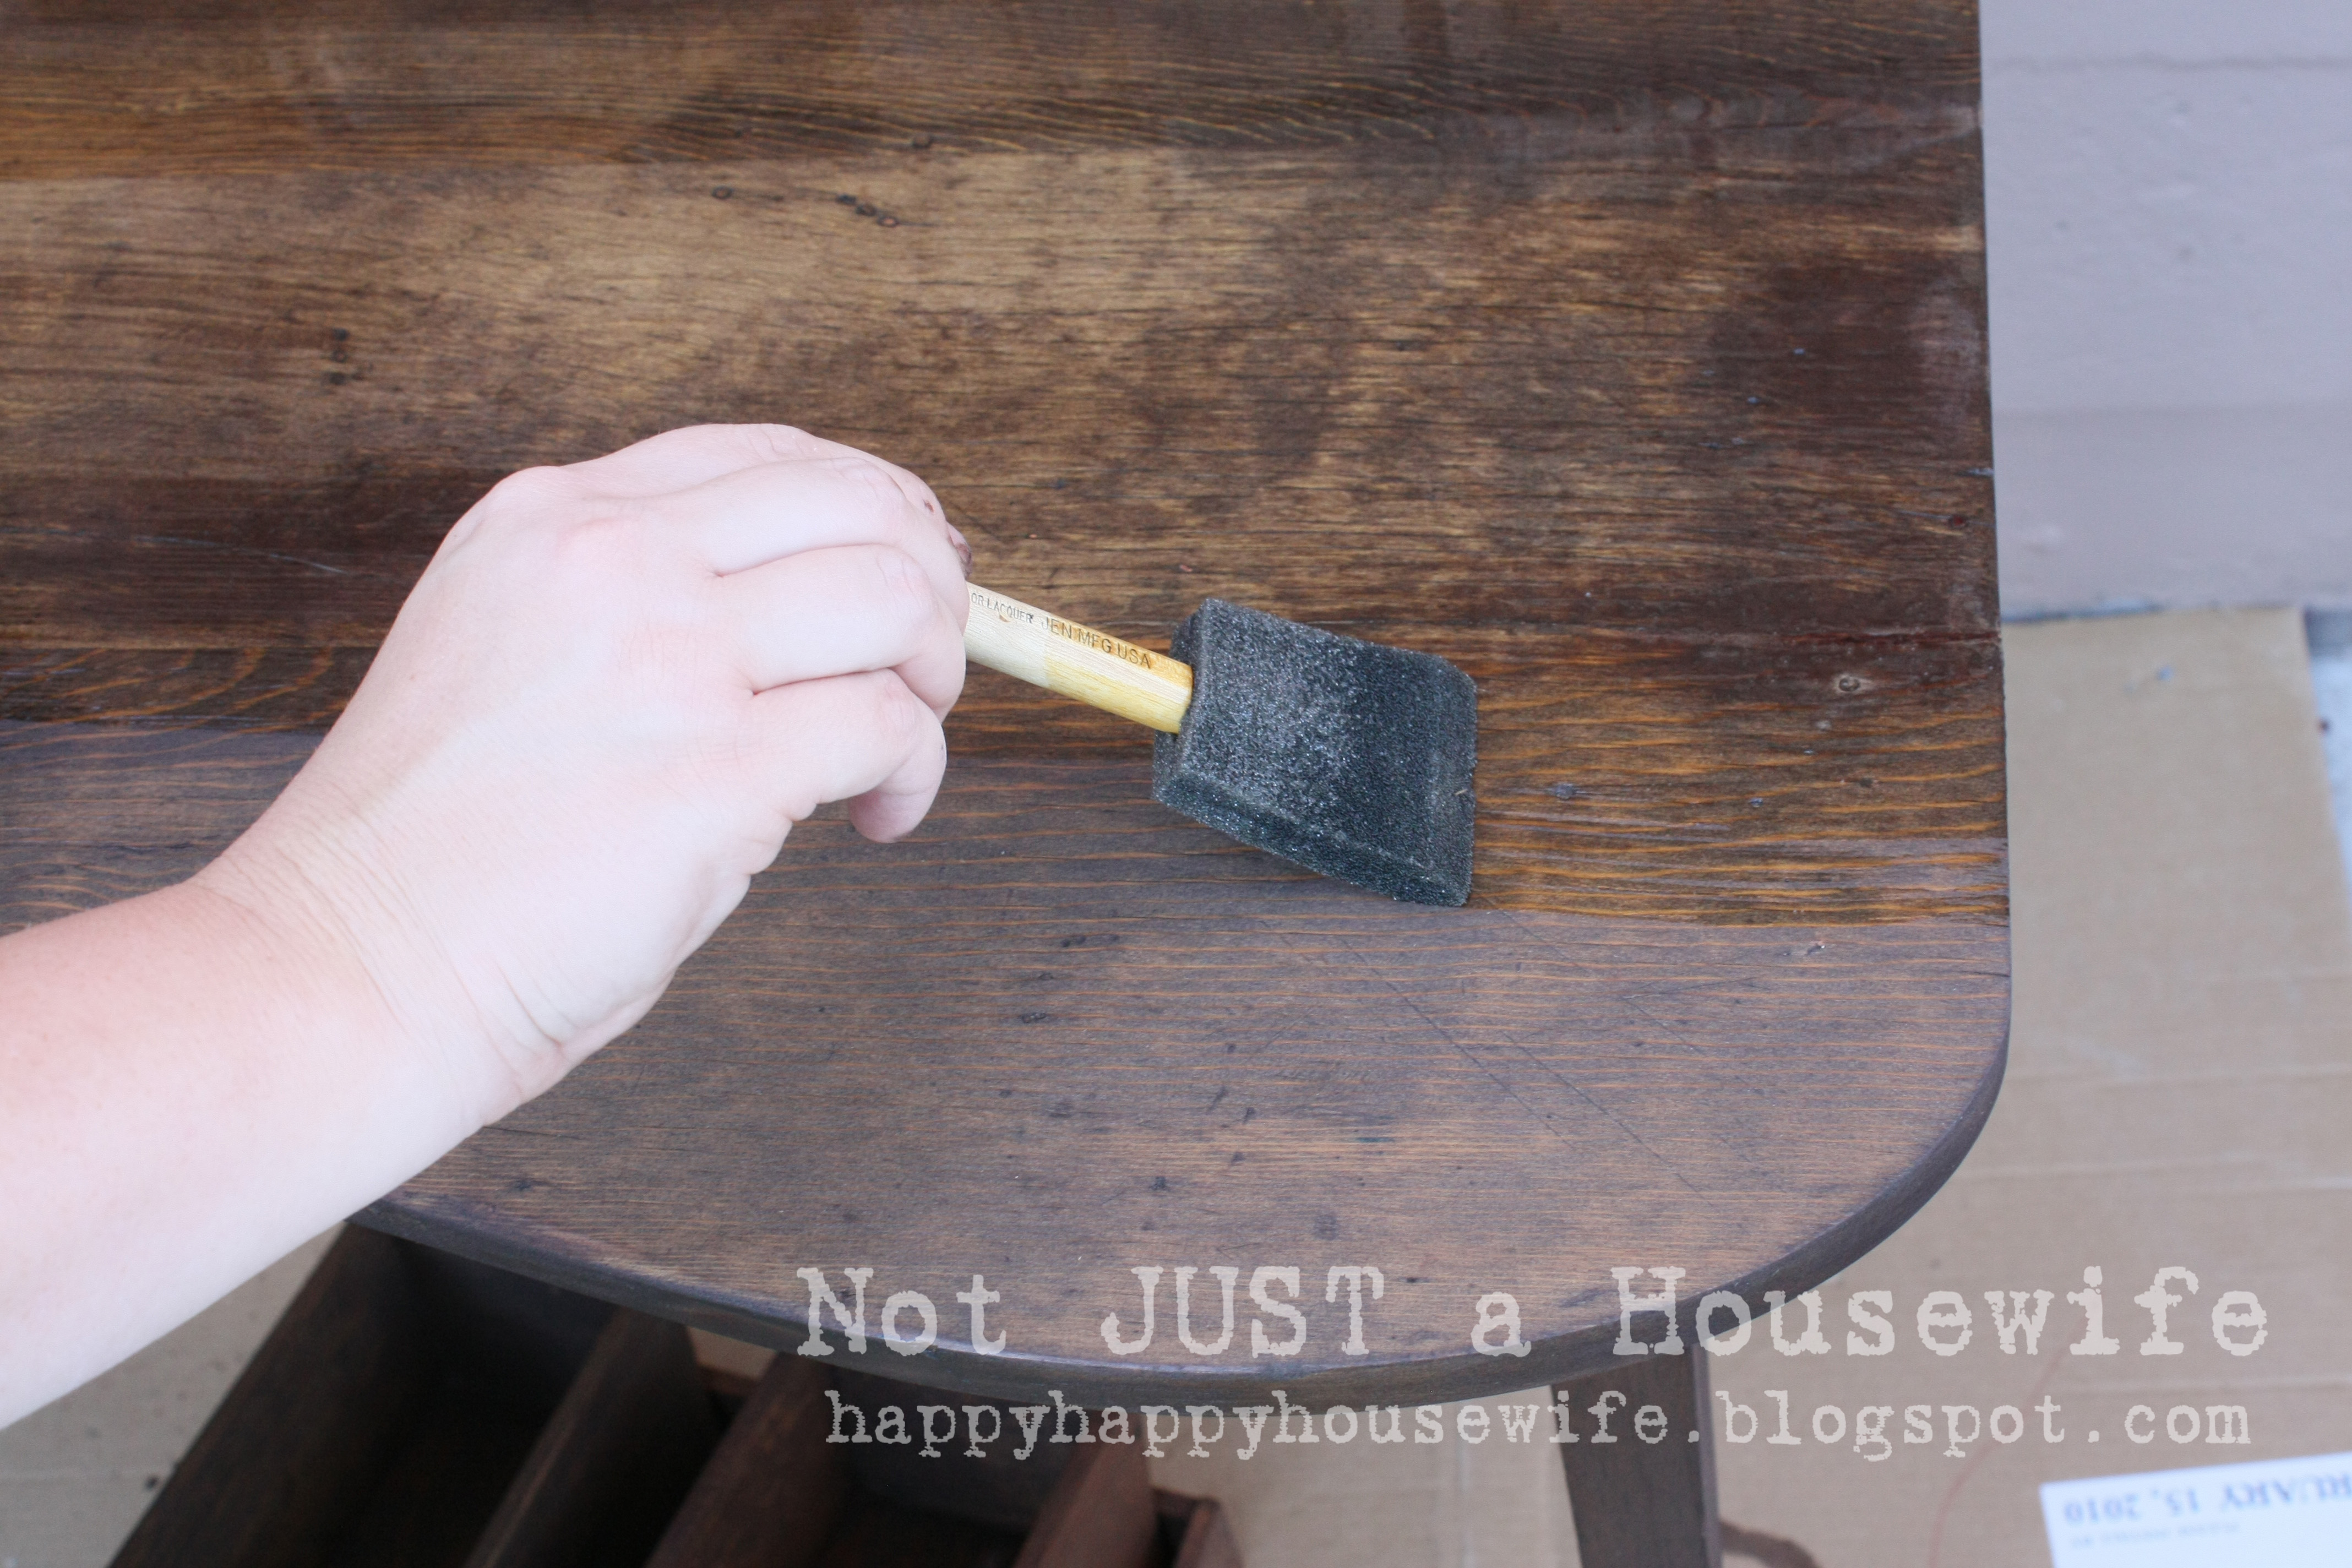
    Isn't she a beaut??? All I did for the drawer pulls was scrub them in some soapy water. I love the patina on them.


    refinished vintage desk_edited-1

    You will also like:

    • DIY Fold Down DeskDIY Fold Down Desk
    • How to Stain a BasketHow to Stain a Basket
    • The Fastest Way to Stain a FenceThe Fastest Way to Stain a Fence
    • Dining Room Table Makeover {Refinishing A Wood Veneer Table}Dining Room Table Makeover {Refinishing A Wood Veneer Table}
    • How to Refinish A TableHow to Refinish A Table
    • Top 10 Posts of 2019!Top 10 Posts of 2019!
    • Tips for Painting Kitchen CabinetsTips for Painting Kitchen Cabinets
    • 15 Easy Wood Projects You Can Do in a Day!15 Easy Wood Projects You Can Do in a Day!

    « The Most UNpinnable Post on the Internet
    Book Launch Party »

    Filed Under: Furniture, Power Tools, Staining 8 Comments

    Subscribe

    for your weekly DIY fix.

    Reader Interactions

    Comments

    1. katie

      July 16, 2015 at 3:30 pm

      Looks so good!! Love the natural wood, such a great transformation between the old and re-newed!!

      Reply
    2. nanci

      July 16, 2015 at 4:51 pm

      Gorgeous! I love the dark color.

      Reply
    3. Sandi Allen

      July 17, 2015 at 7:49 am

      Love it! What a wonderful transformation!

      Reply
    4. Jessie

      July 17, 2015 at 7:50 am

      It's beautiful!

      Reply
    5. Carole West @ Garden Up Green

      July 17, 2015 at 8:31 am

      Love this - so glad you kept it the natural wood color. Sometimes I cringe when I see beautiful furniture covered in paint. This is fantastic.

      Reply
    6. Cath M T

      July 17, 2015 at 7:16 pm

      Beautiful job! Thanks for walking us through the steps. Useful info.

      Reply
    7. lexi

      July 28, 2015 at 6:56 pm

      love this vintage piece! it's inspiring me to start on my grandparent's antique bedroom set, but it is such a project!
      lexi, http://www.tryscratch.com

      Reply
    8. Linda

      May 09, 2016 at 1:18 pm

      I love the refinished desk particularly because it is similar to the old Singer sewing machine which is beautiful condition that is a family piece. I'm going to remove/unscrew the top and take the actual machine out of the inside. Then I plan to give the wood and metal a good cleaning and Minwax the wood before making a top. I want it in our entry hallway and plan to put small ceramic tiles on the table top which have black and white family photos on them. Our hall is newly painted gray, so I think it will be a cool addition to the stairway wall as it's only about 18 inches wide..

      Reply

    Comment Below! Cancel reply

    Your email address will not be published. Required fields are marked *

    This site uses Akismet to reduce spam. Learn how your comment data is processed.

    Primary Sidebar

    stacyHey! I'm Stacy and am a DIY addict. I love to get my hands dirty, whether it's sawdust, paint, or dirt. My goal is to help YOU learn to fix up your home and yard. No matter the style or size, I think everyone should love their home. And it doesn't takes a big budget to get there. Let's DIY together!

    Subscribe to My Blog!

    Search this site

    categories


    Subscribe

    Footer

    Welcome! I'm sharing our adventures as we fix up our 1938 cottage. Whether it is big or small, I think everyone should love their home and I don't think it takes a lot of money to make a space your own

    About Stacy

    • Facebook
    • Instagram
    • Pinterest
    • Twitter

    My Favorites

    copyright

    All images and content are copyrighted via Stacy Risenmay unless otherwise stated. If you'd like to share my work, please link back to this blog.
    Thank you for visiting!


    Footer

    ↑ back to top

    About

    • Meet Stacy
    • Privacy Policy
    • Contact

    Categories 

    • Home Decor
    • Outdoor Projects & Gardening
    • DIY & Tutorials
    • Kid Activities
    • Recipes
    • Travel
    • Cleaning
    • Houseplants
    • Staining
    • Painting
    • Power Tools
    • Holiday Ideas

    Newsletter

    • Sign Up! for emails and updates

    As an Amazon Associate I earn from qualifying purchases.

    Copyright © 2020 Brunch Pro on the Brunch Pro Theme


    Privacy Policy
    Welcome! Thanks for visiting.
    Hi! I'm Stacy and I want to help YOU become a DIY rockstar! Sign up for my email list so each project, tip, and trick will go directly to your inbox :)
    Your information will *never* be shared or sold to a 3rd party. Pinky promise :)
    Welcome!
    Hi! I'm Stacy and I blog about fixing up our 1938 cottage. Join the thousand of others who get my posts sent to their inbox for FREE!
    Your information will *never* be shared or sold to a 3rd party.