

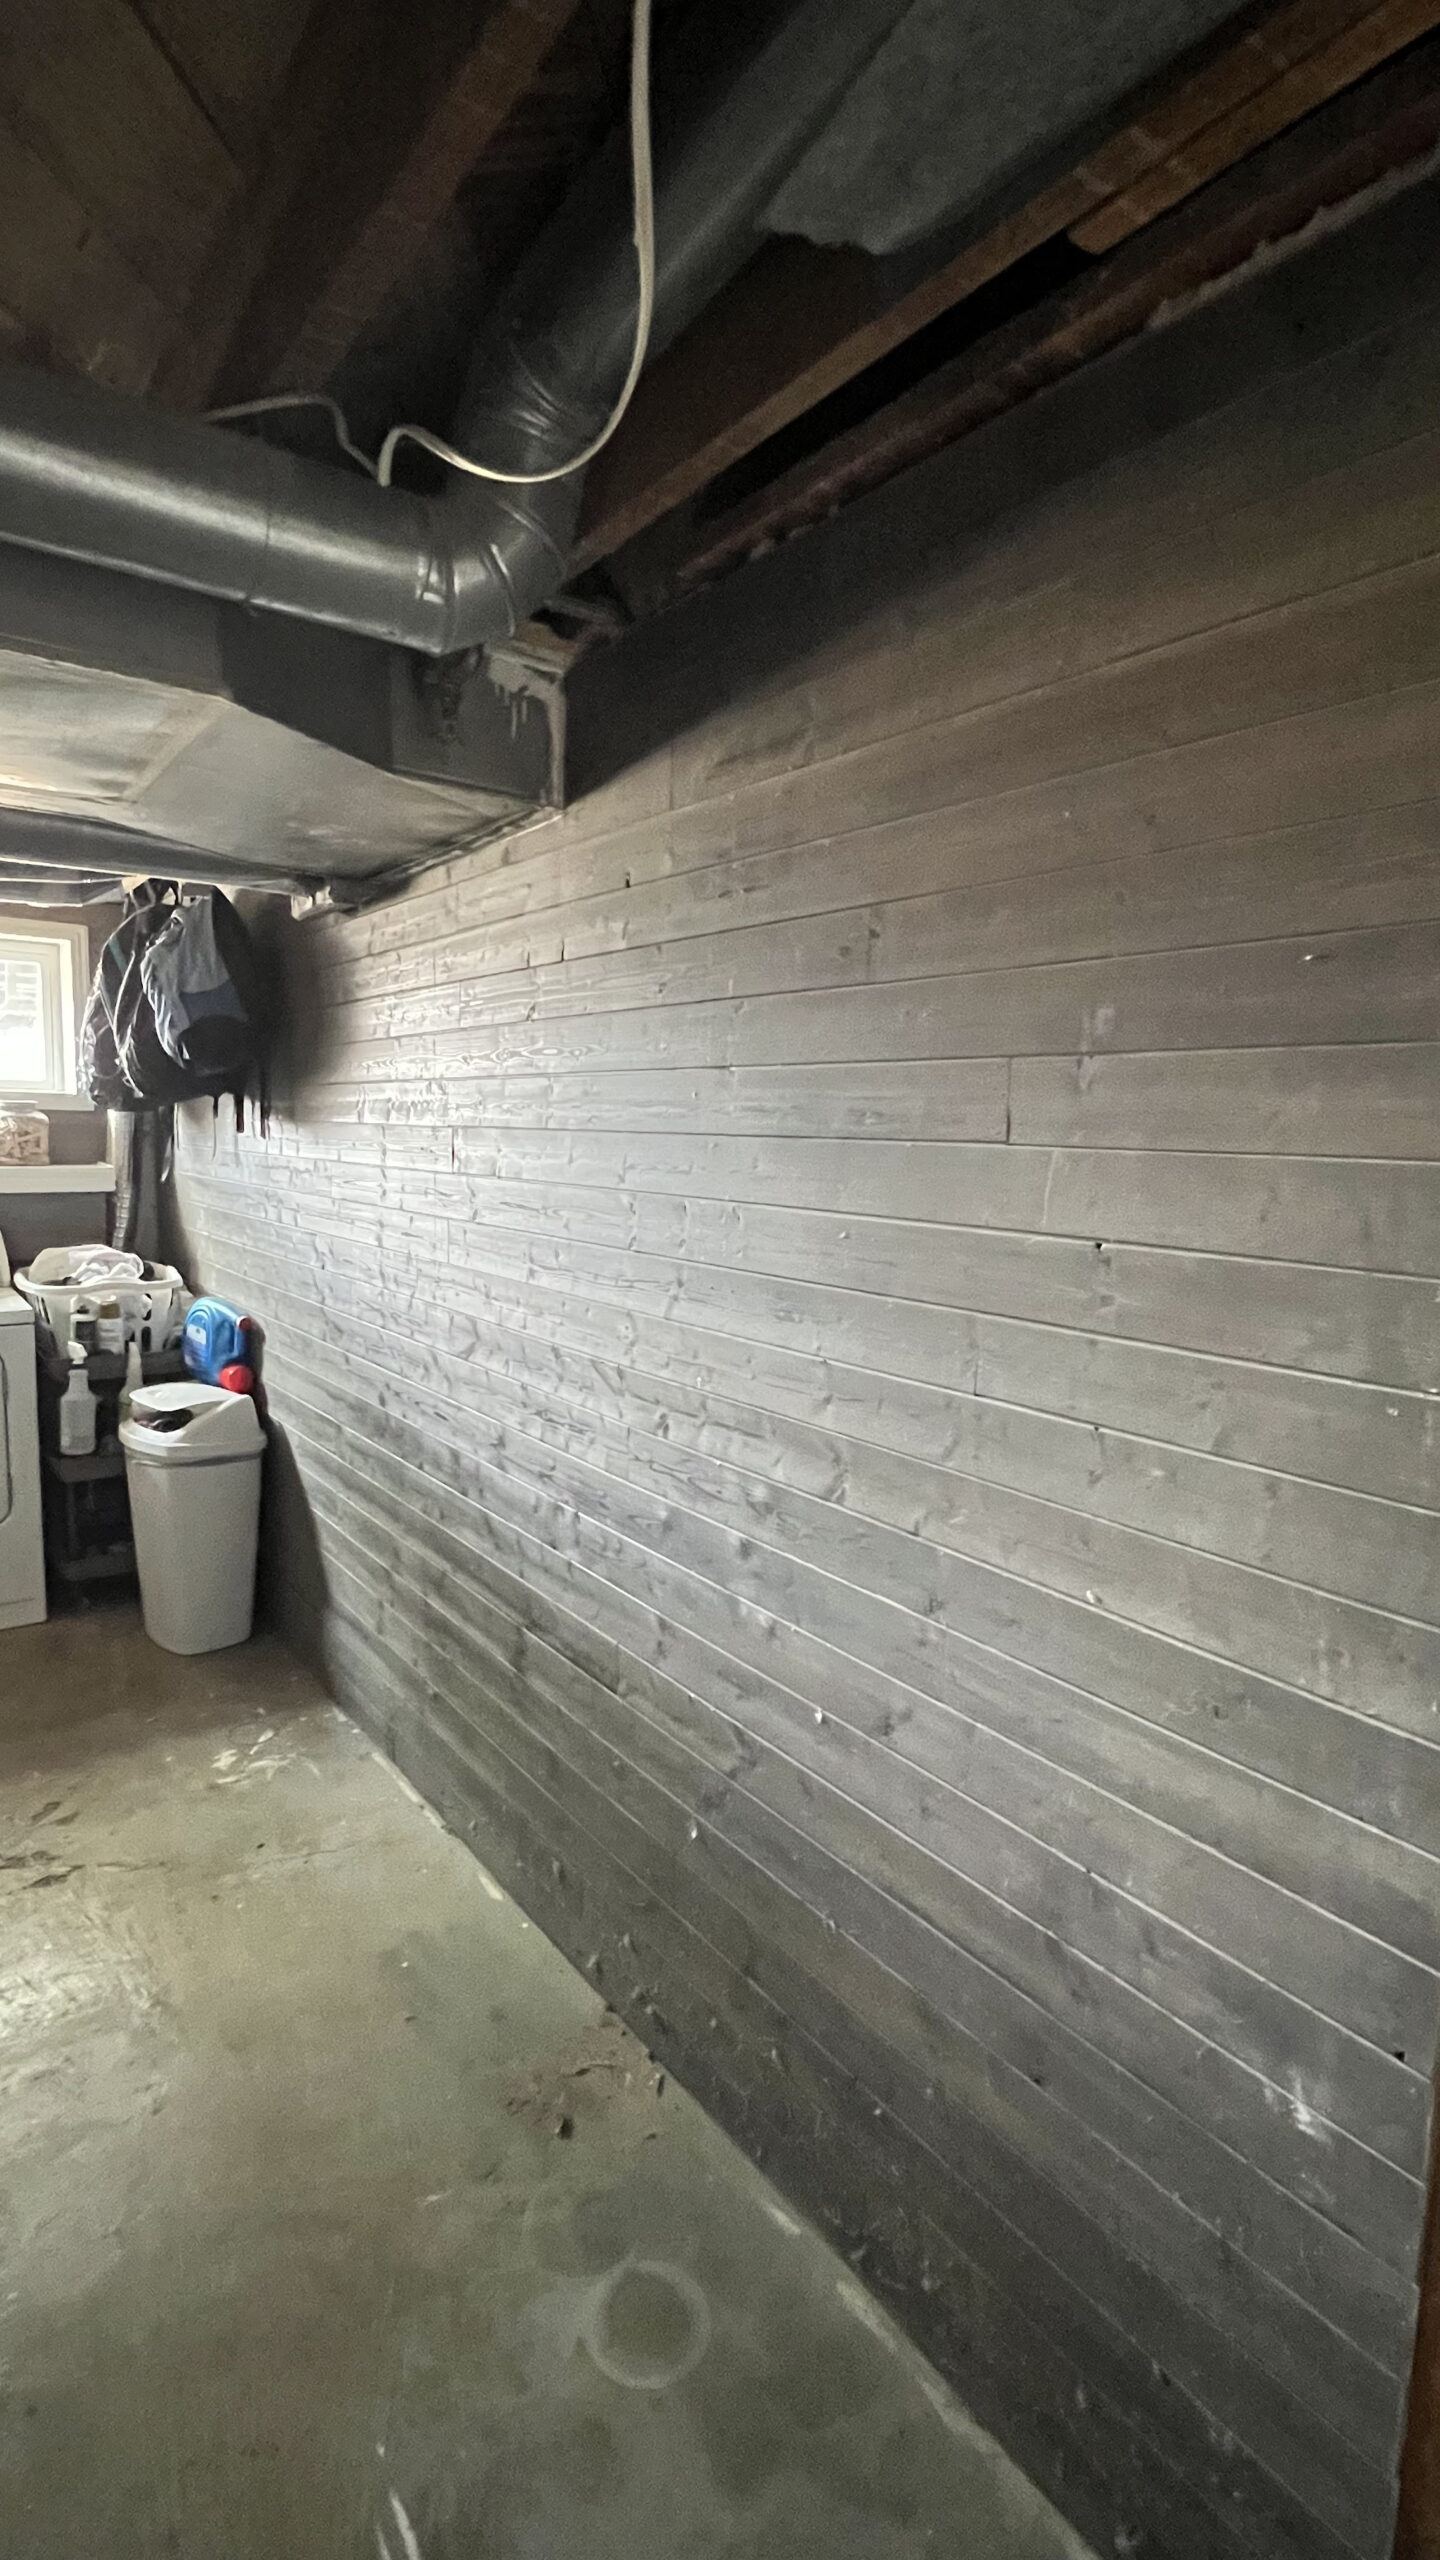
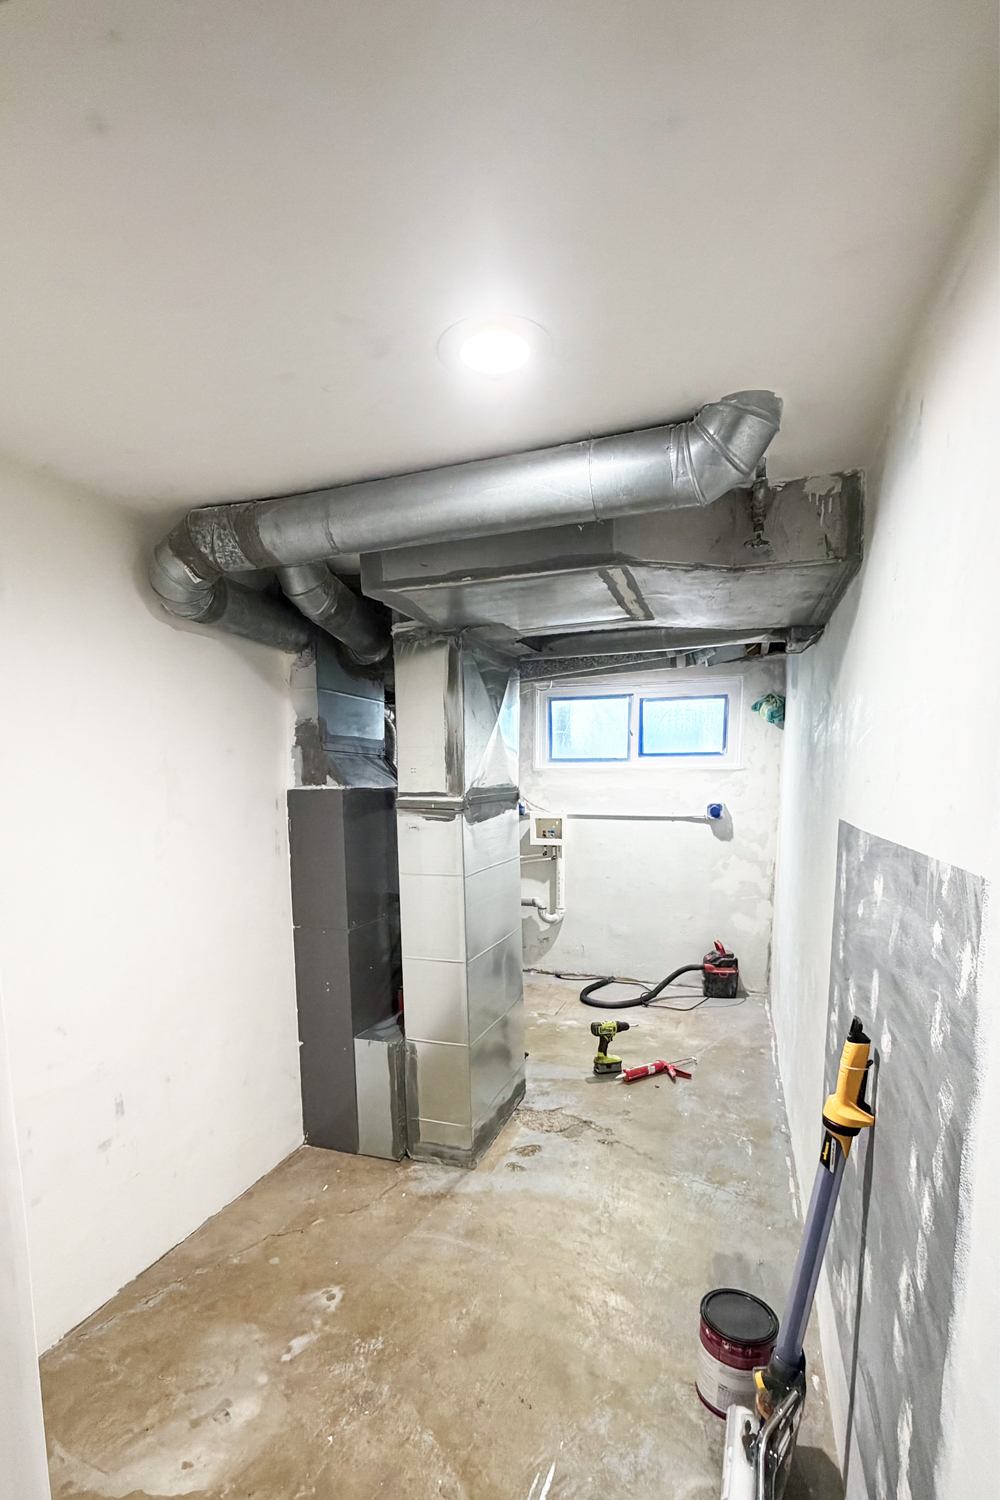
Once upon a time in the early 2000s when gray dominated the land, there was a girl named Stacy who thought it would be a great idea to add gray stained paneling to her already dingy looking laundry room. A room with gray concrete floors, exposed joists in the ceiling, and hanging wires all around. While it was kind of cute in a way, it was never what you would call "light" or "bright". Fast forward to now and the laundry/storage room has finally worked its way up to the top of the to-do list. I wanted to not only brighten it up, but to add some vintage charm so it felt more like the rest of our 1938 cottage home. Here is how I went about brightening up our basement laundry room!
This post is sponsored by Wagner but all ideas and opinions are 100% my own.
The Laundry Room Before
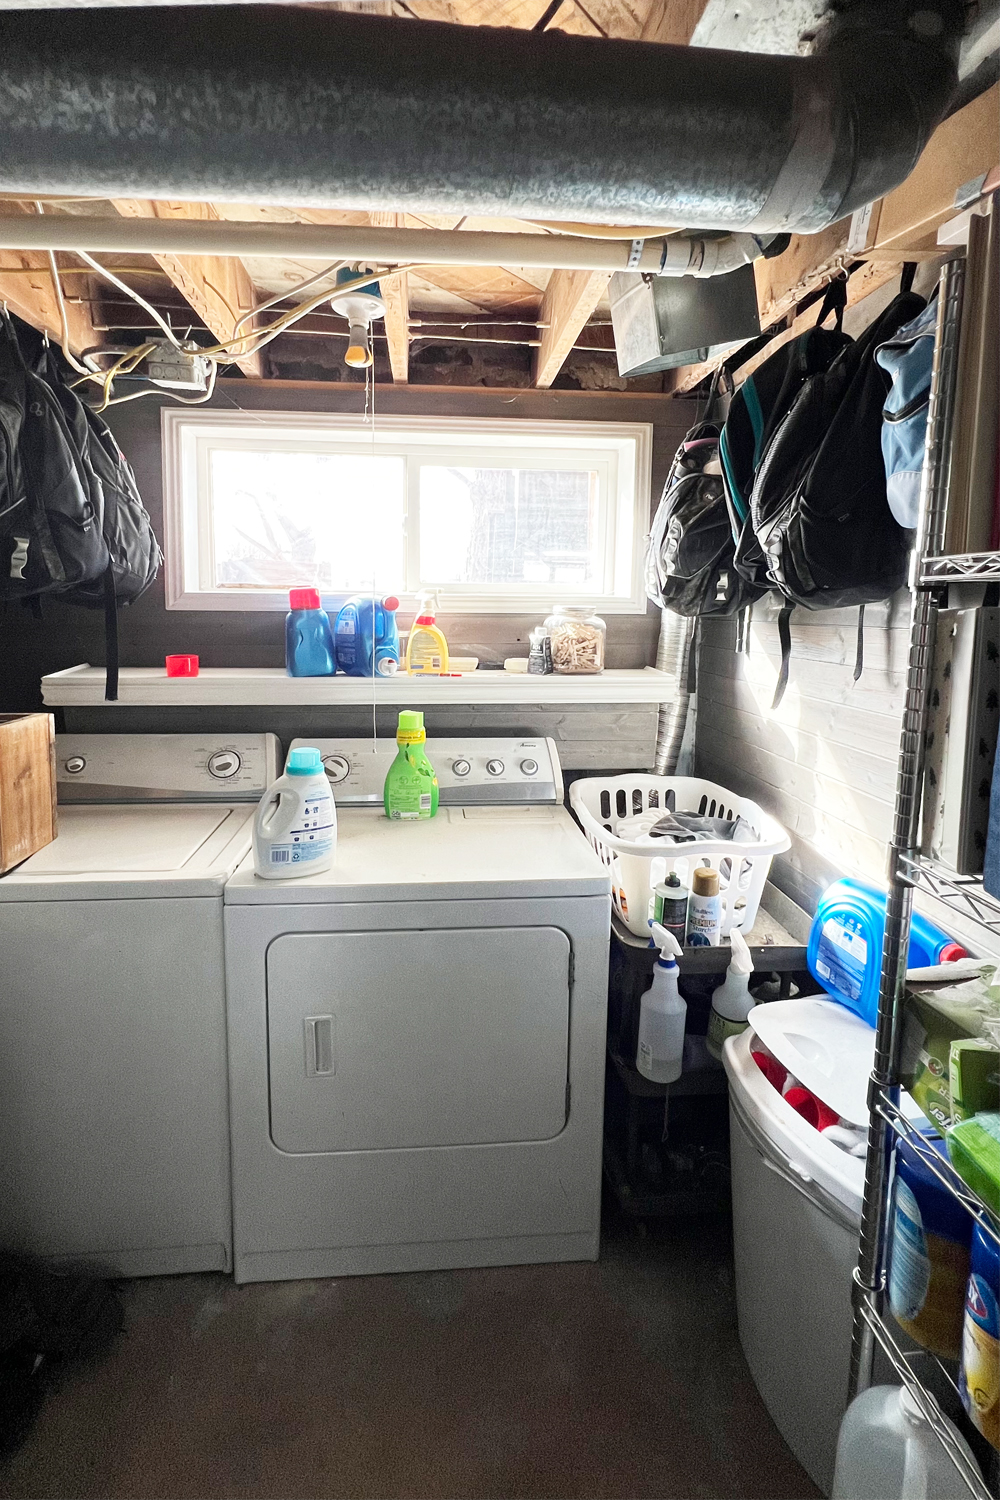
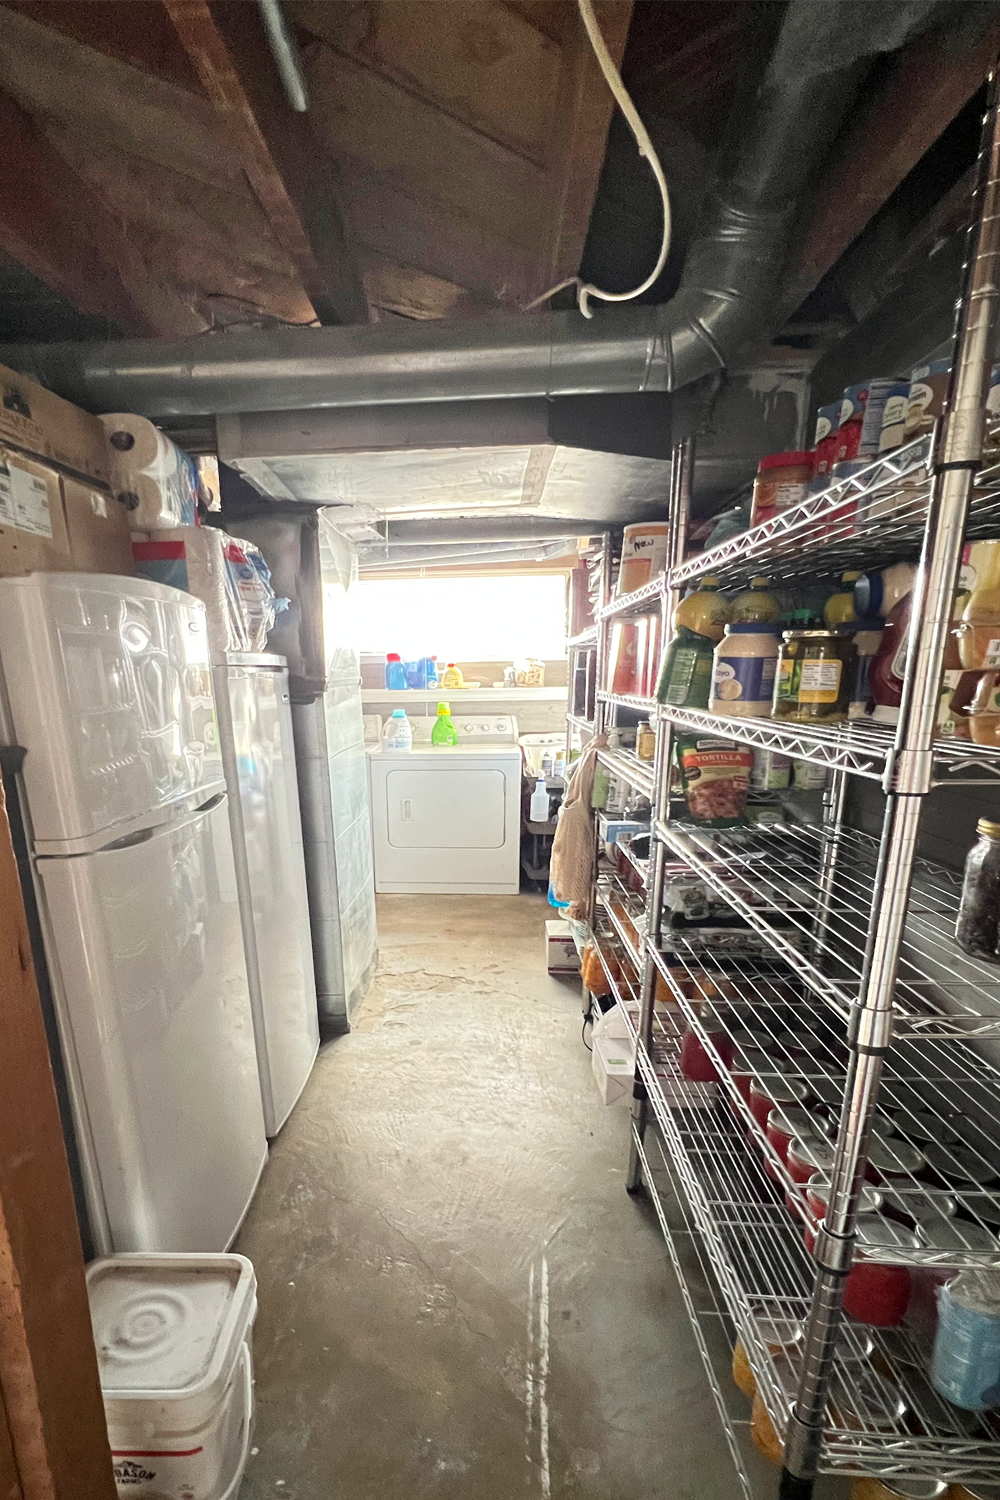
I started this project at the end of February. I think. It has been quite the year and things that far back are fuzzy. Due to a series of unfortunate events, this room kept getting postponed while more pressing matters were addressed. I feel like everything that could go wrong with this room, did. Except the painting. That was quick and fun. But when I tell you that I have never been more excited to have a project done in my entire life, I am not exaggerating.
The Demo
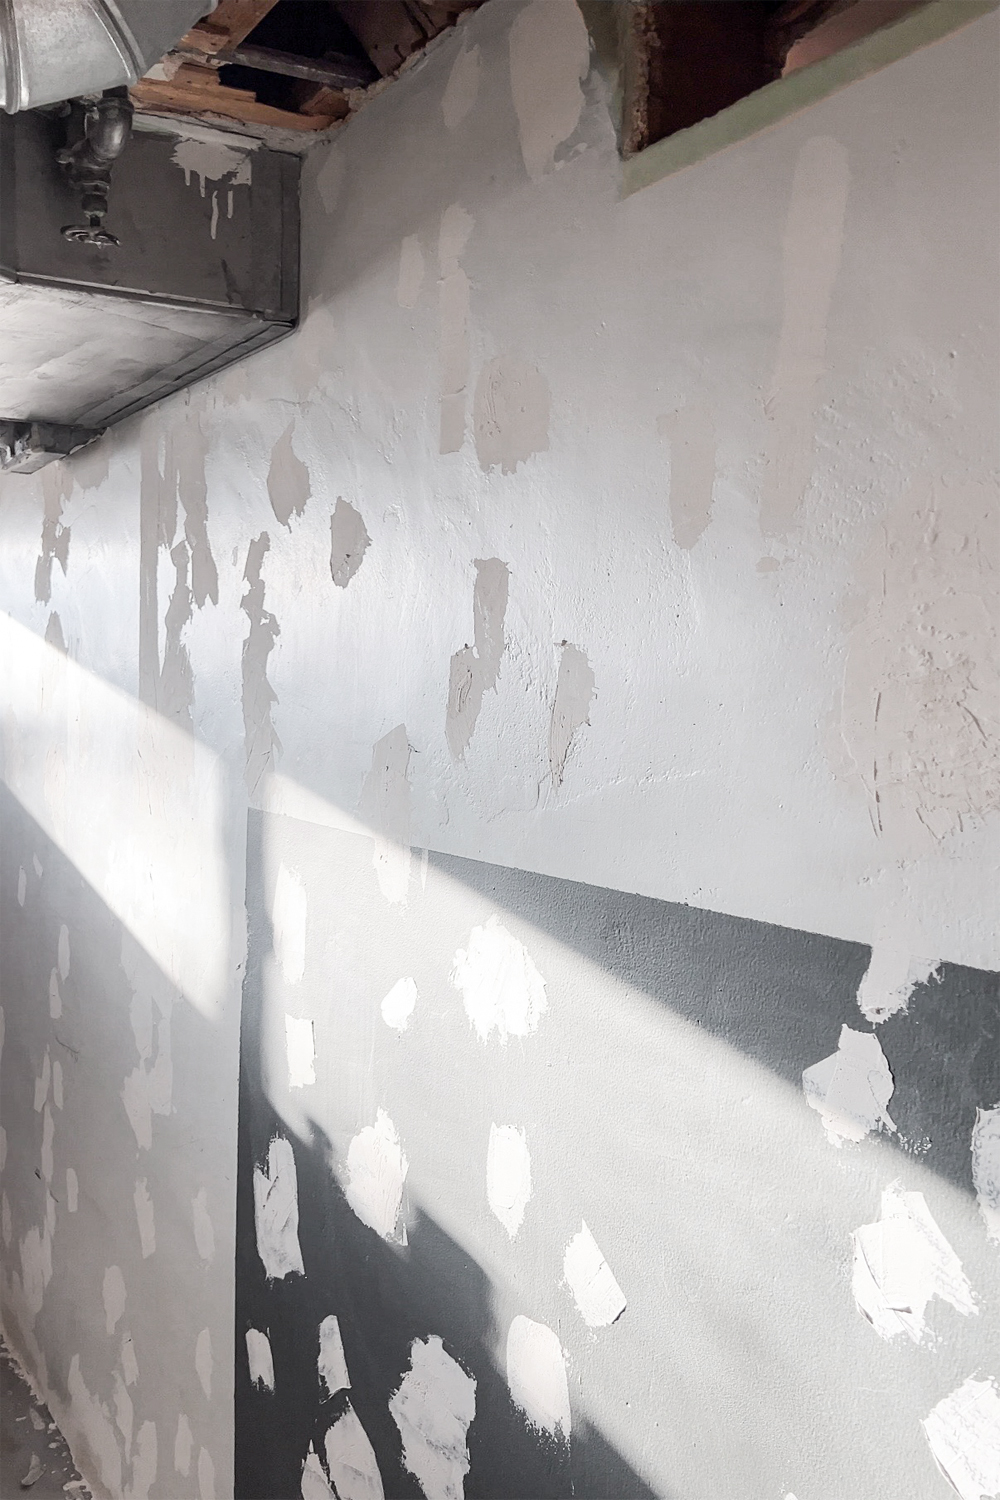
I started by removing the paneling from the wall. It is getting repurposed elsewhere so I was careful while taking them down since they are tongue and groove style. I then had to patch the million little holes the brad nails left in the wall. And then sand and wipe the entire 14 foot wall. Sometimes current Stacy would like to throttle past Stacy.
New Lights & Ceiling
After a visit from my electrician who added new can lights and more outlets, I then added drywall to the ceiling. I only added dryway to the front portion of the space and left the ceiling open directly above the washer and dryer. Long story short, my electrician suggested that's what I do. More on that later.
After mudding, sanding, and cleaning up it was time to prime everything. And I mean EVERYTHING! Nothing is safe from paint when I have my favorite sprayer and roller in hand :)
Priming & Painting!
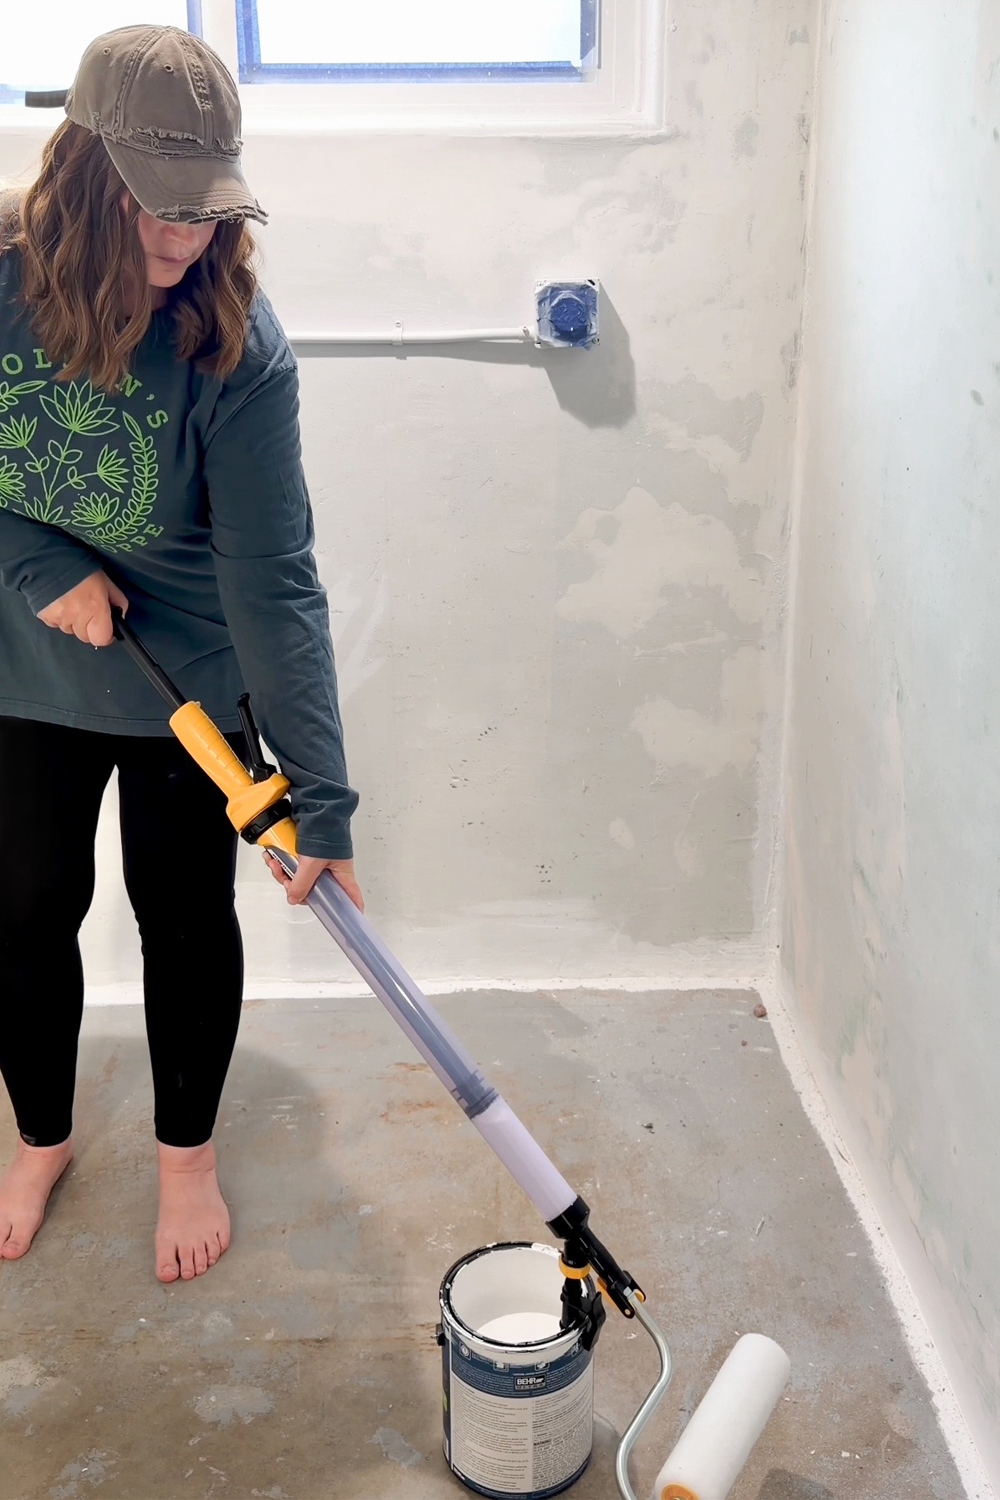
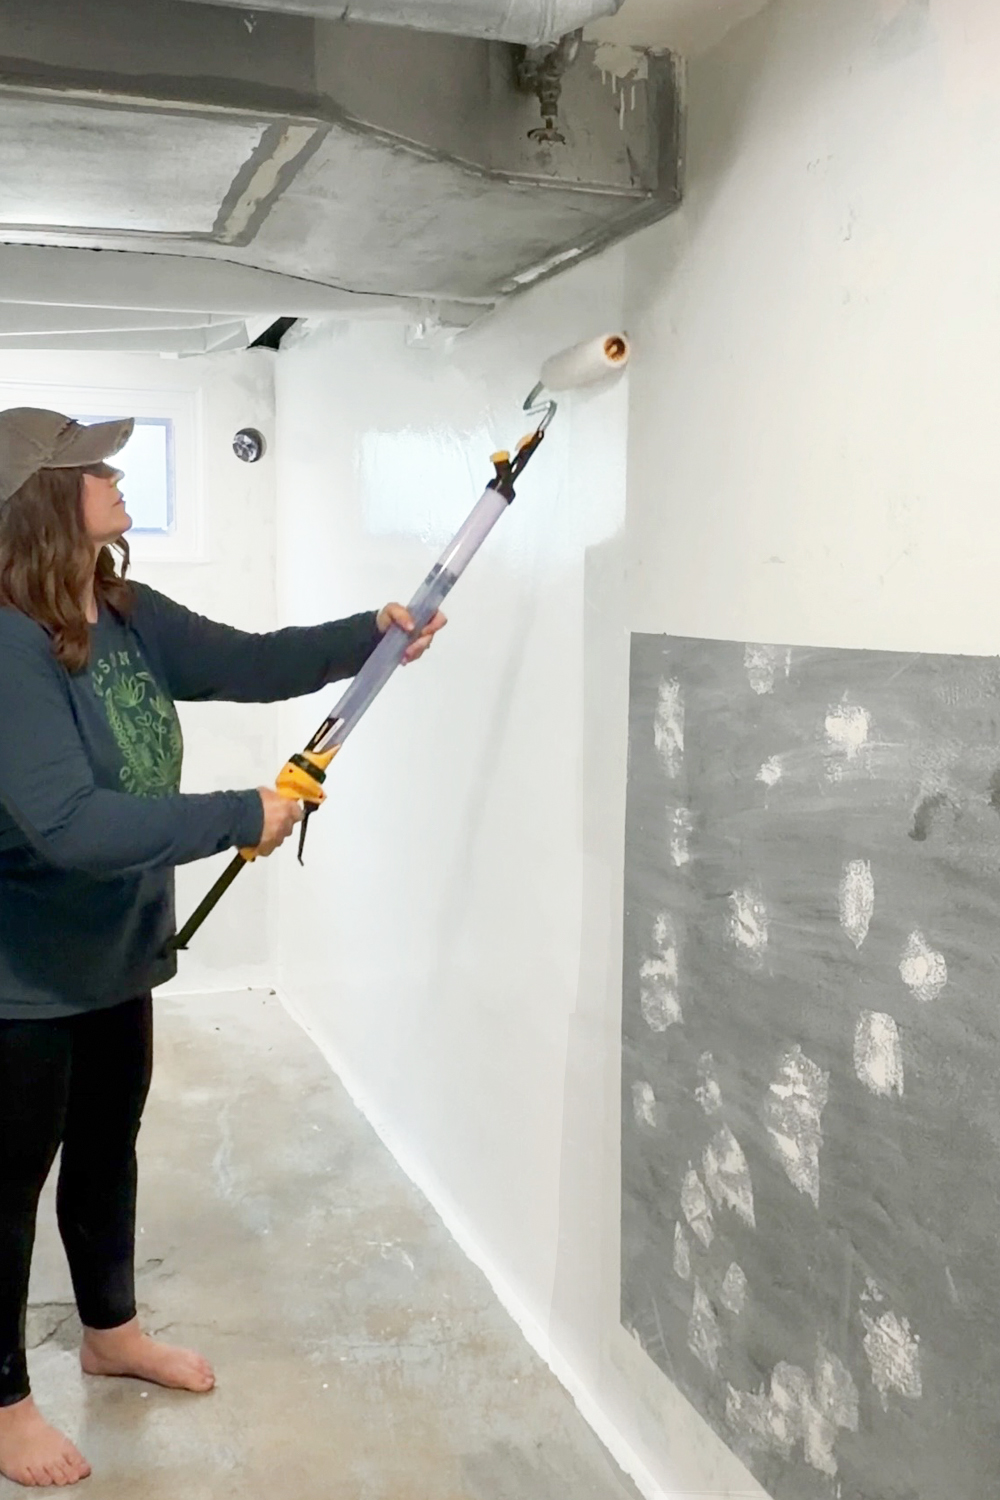
After doing stupid taping and tarping (I hate prep work) I primed the ceiling, walls, and the ducts. For the walls, I used the Wagner PaintStick EZ Roller. I have used this many times but it still feels like I am playing with a fun toy. I love sucking the paint up into the handle and squeezing the trigger to get the paint to come out. It goes on so fast! And it has great coverage. It was the reward for all the hard work leading up to this.
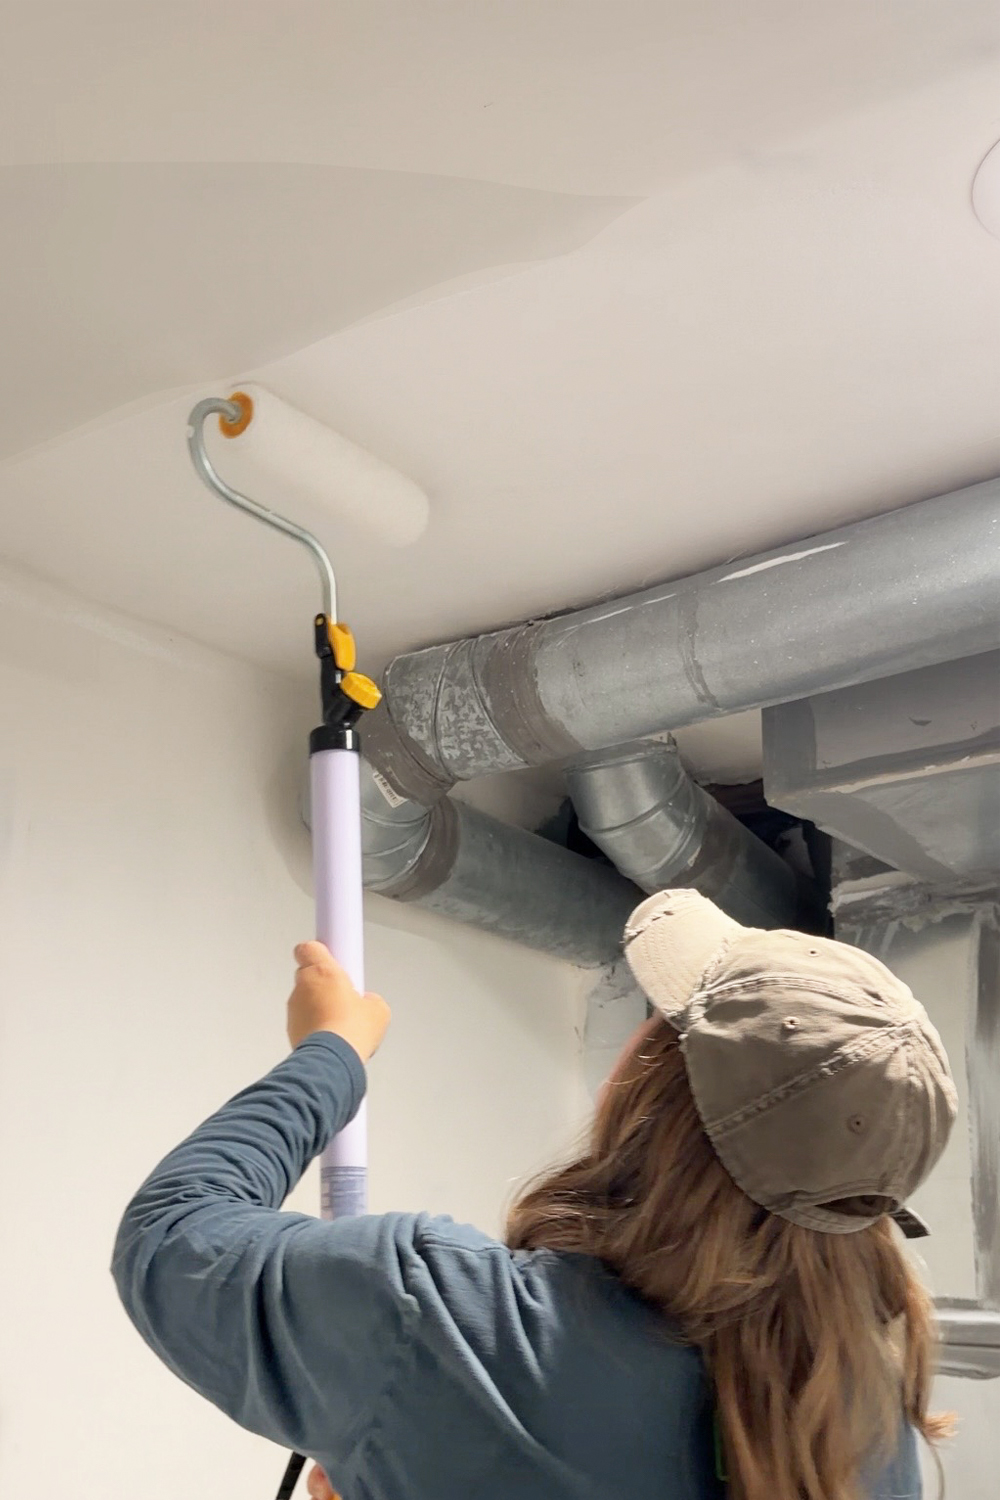
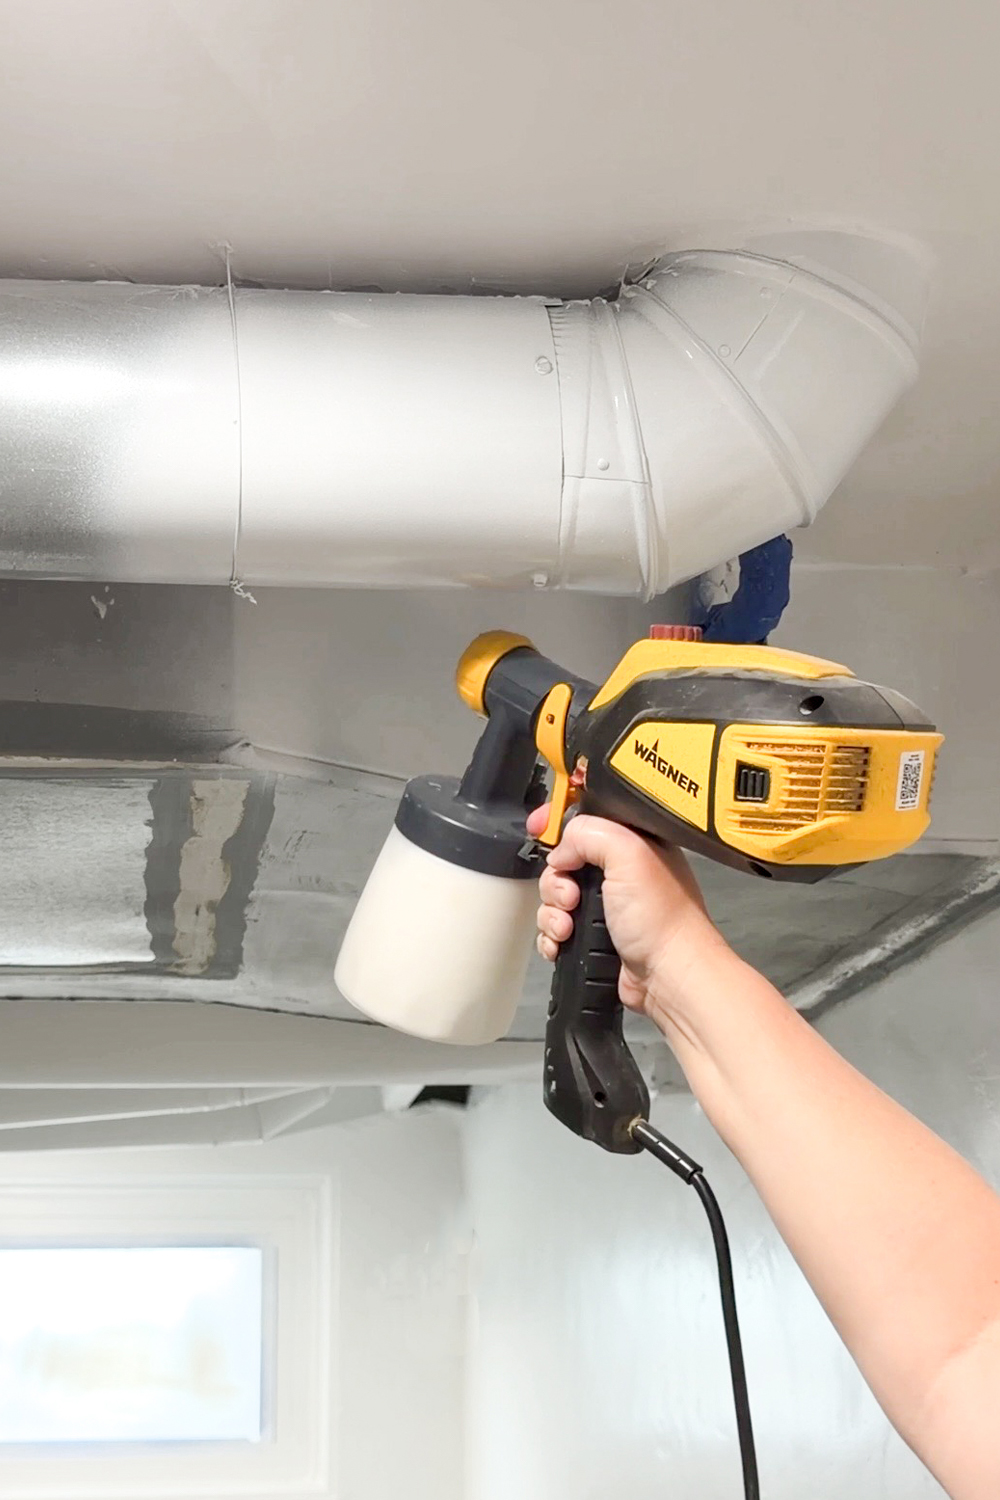
Then I grabbed my favorite sprayer, the Flexio 3500, and got to work priming the duct work. I made sure to get a primer that was meant for metal. And of course I cleaned them like crazy beforehand (there was a LOT of dust!). It only took one layer of primer and one layer of paint! I was impressed.
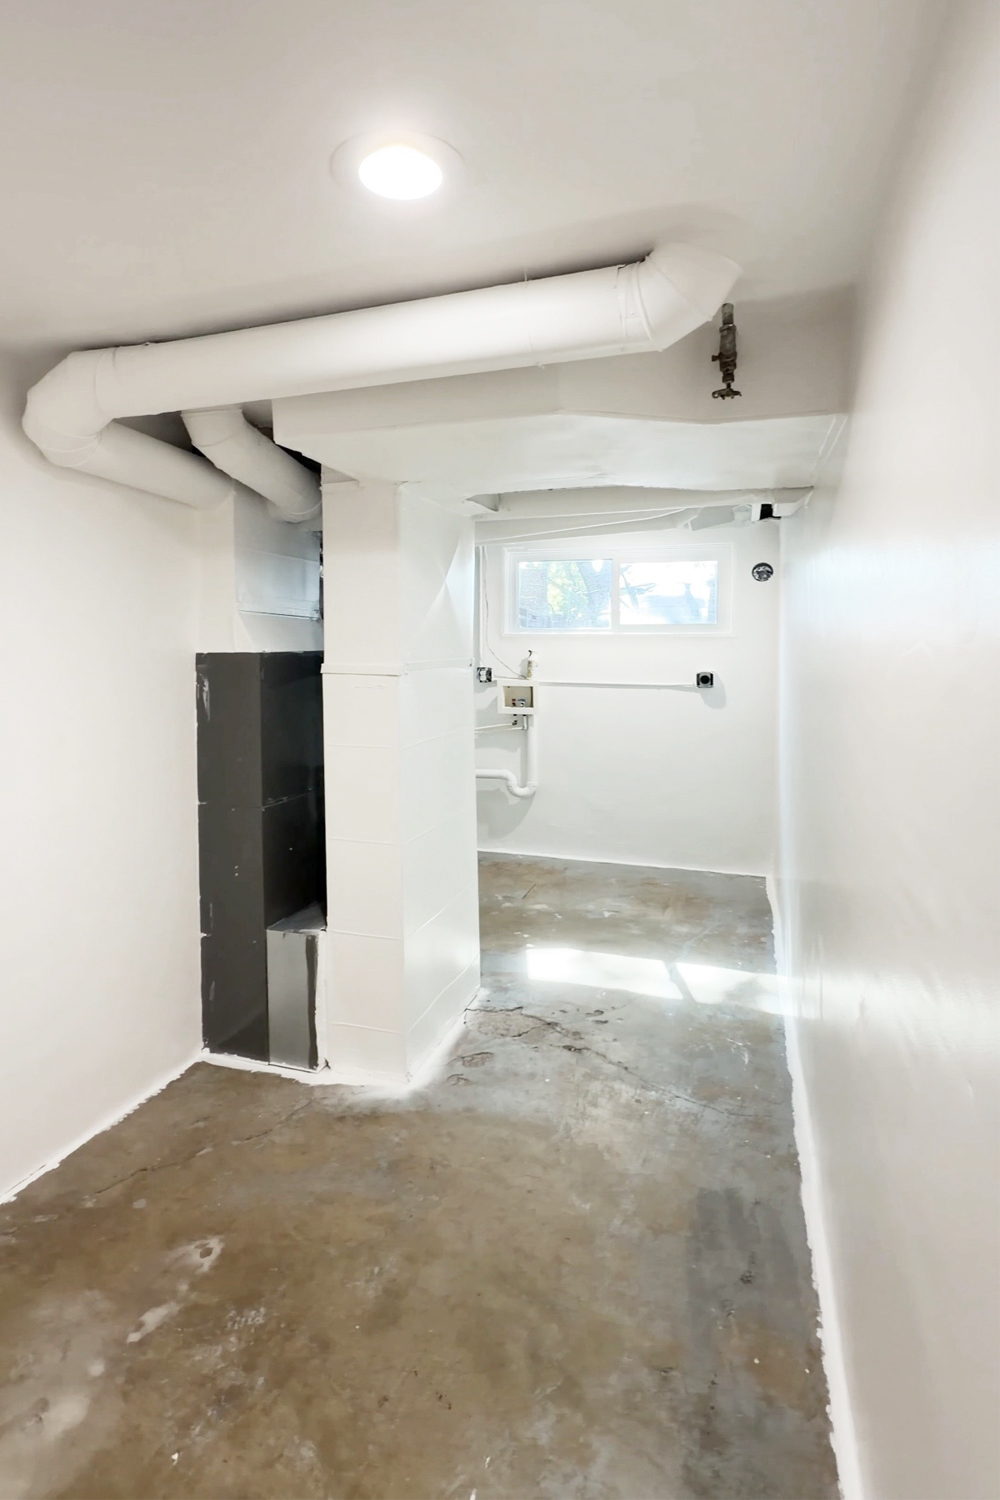
I feel like I need to do a quick side by side to remind you of where we started and to share the vast difference that just paint made.
Repairing The Concrete
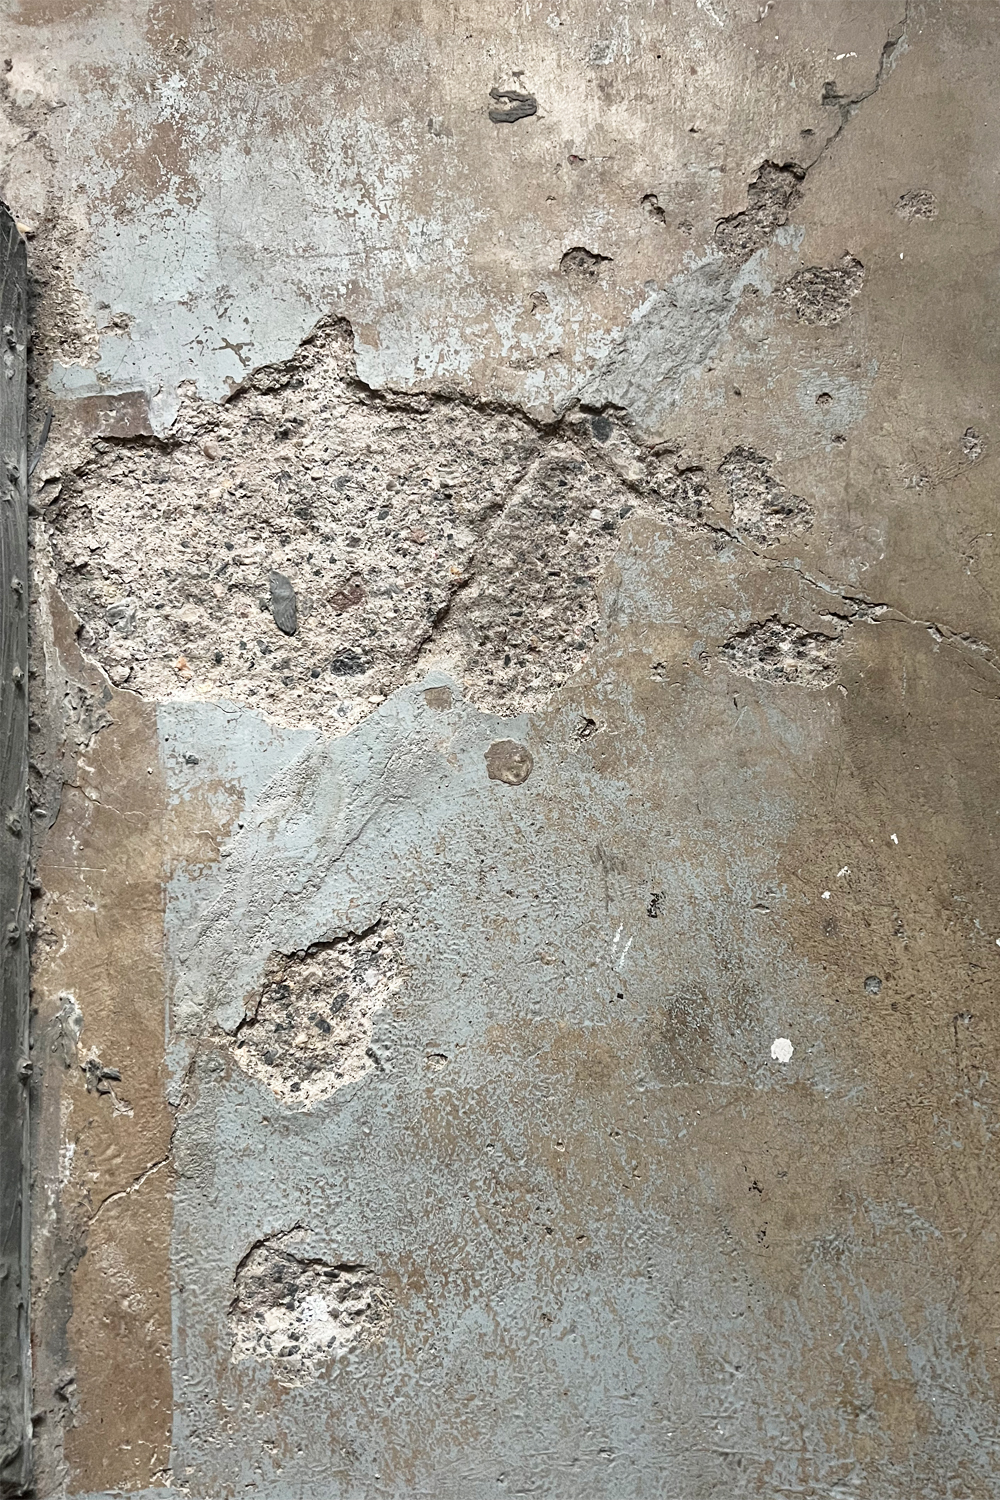
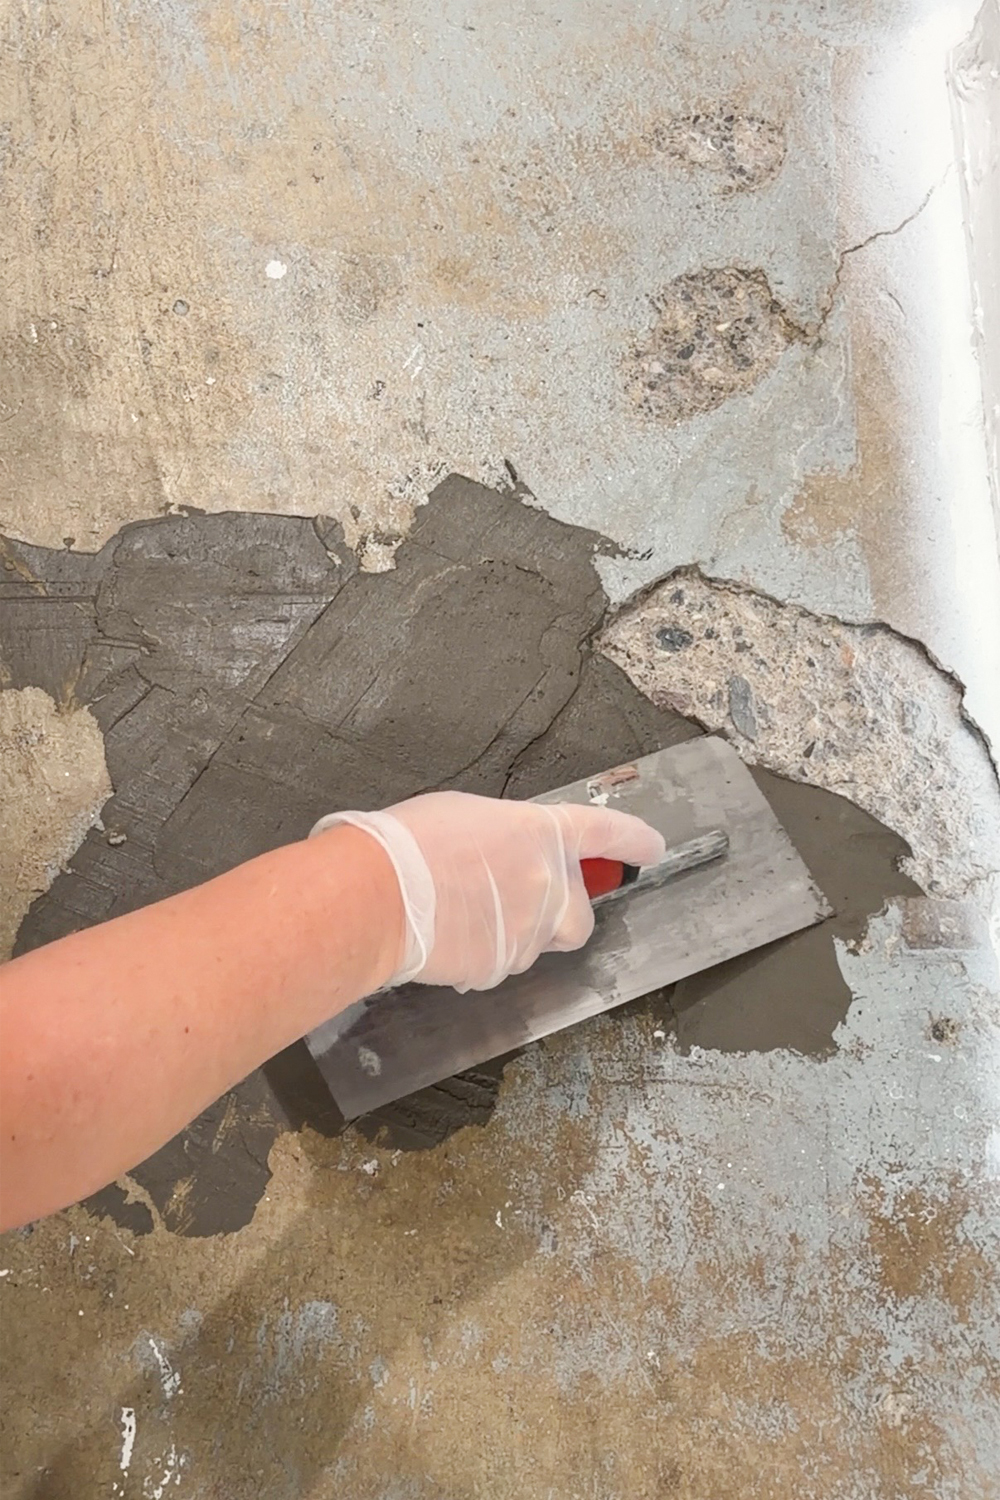
The chipped and cracked area of the concrete floor needed to be addressed. I patched it really well with a product that has adhesive in it and that dried quickly. I was super impressed with it!
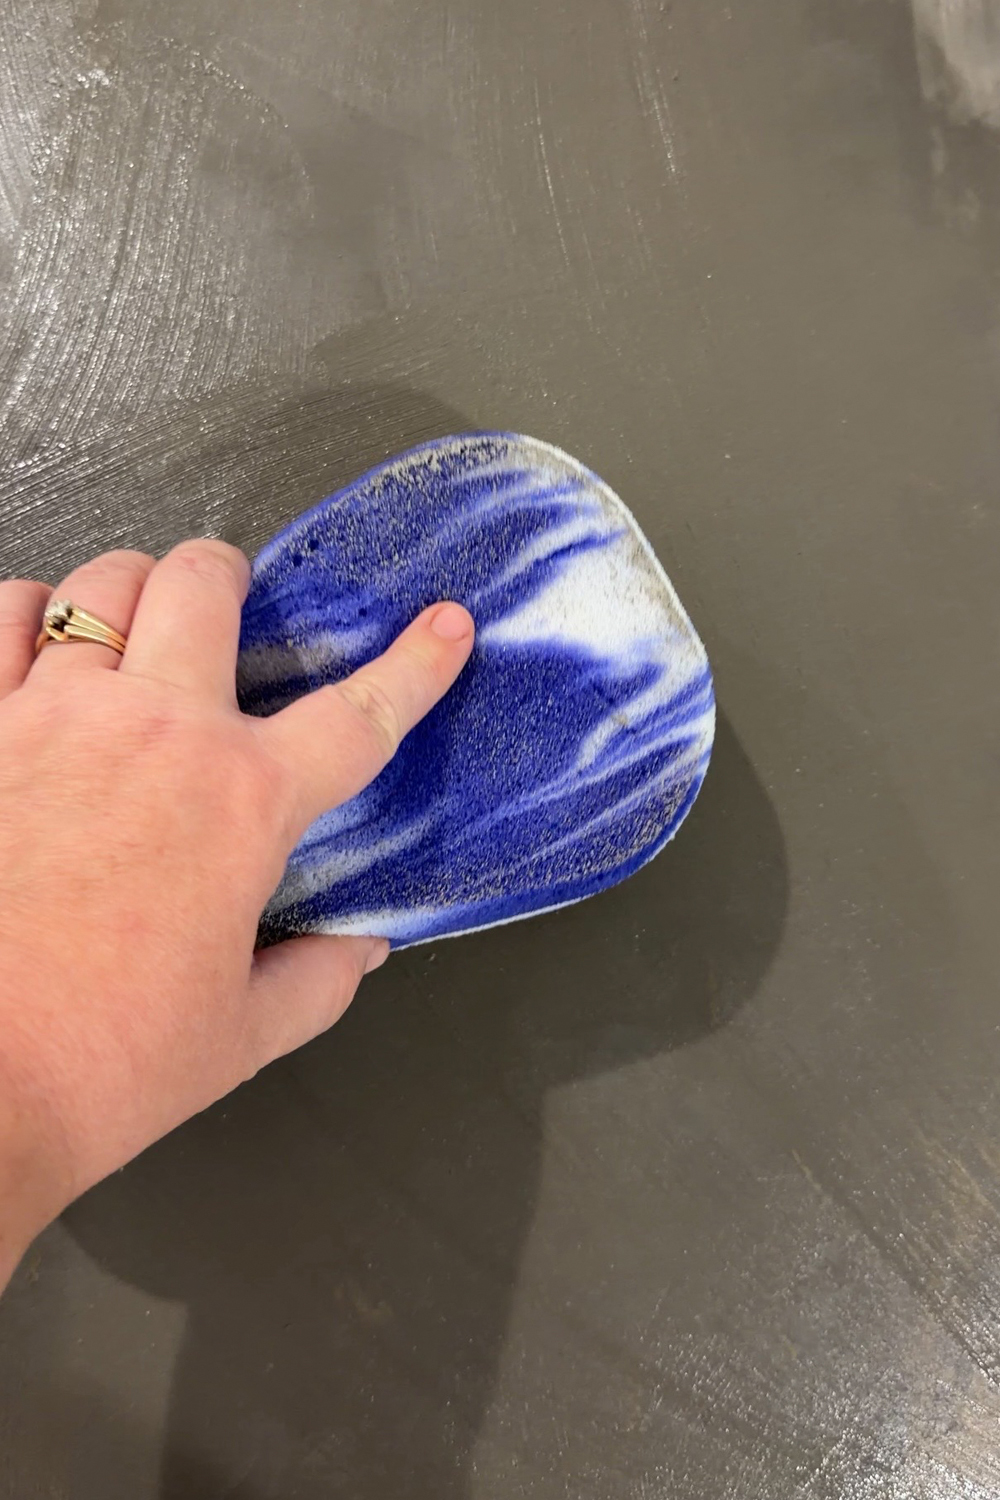
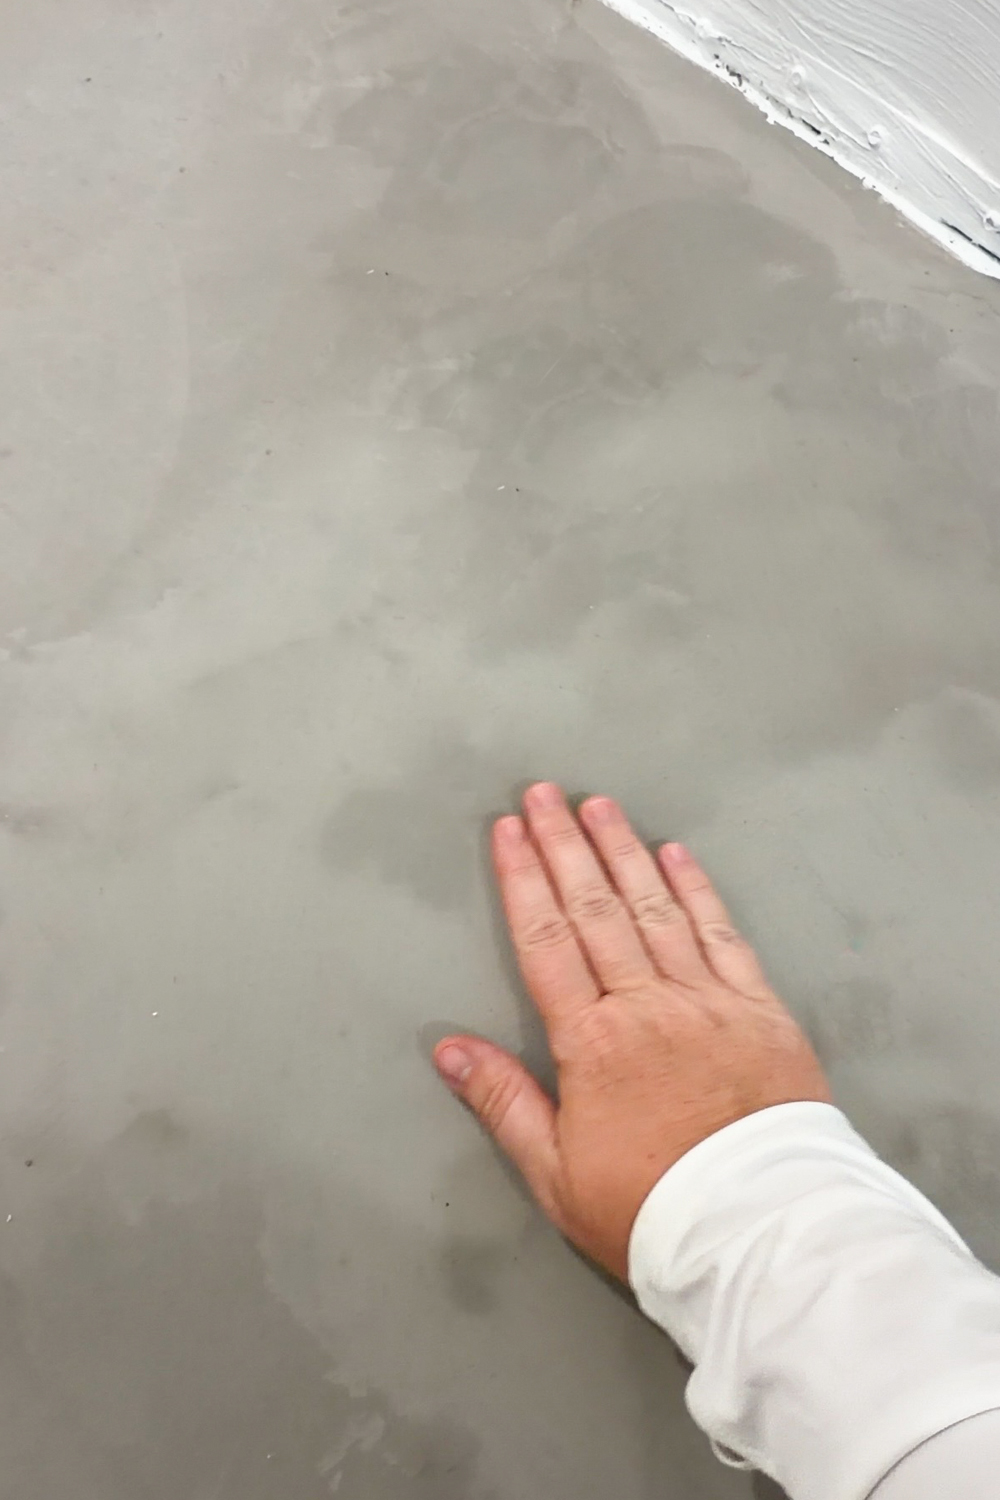
Adding New Flooring
It was time to tackle the flooring. I have never done peel and stick flooring before but that is what I went with for this project. One day when we finally bite the bullet and add on to our home, this laundry and storage area will be the hallway that connects the old basement with the new addition. So I don't want to add something expensive that is also difficult to remove. This is a "slap lipstick on a pig" situation. This is also the reason for not adding drywall to the portion of the ceiling above the washer and dryer.
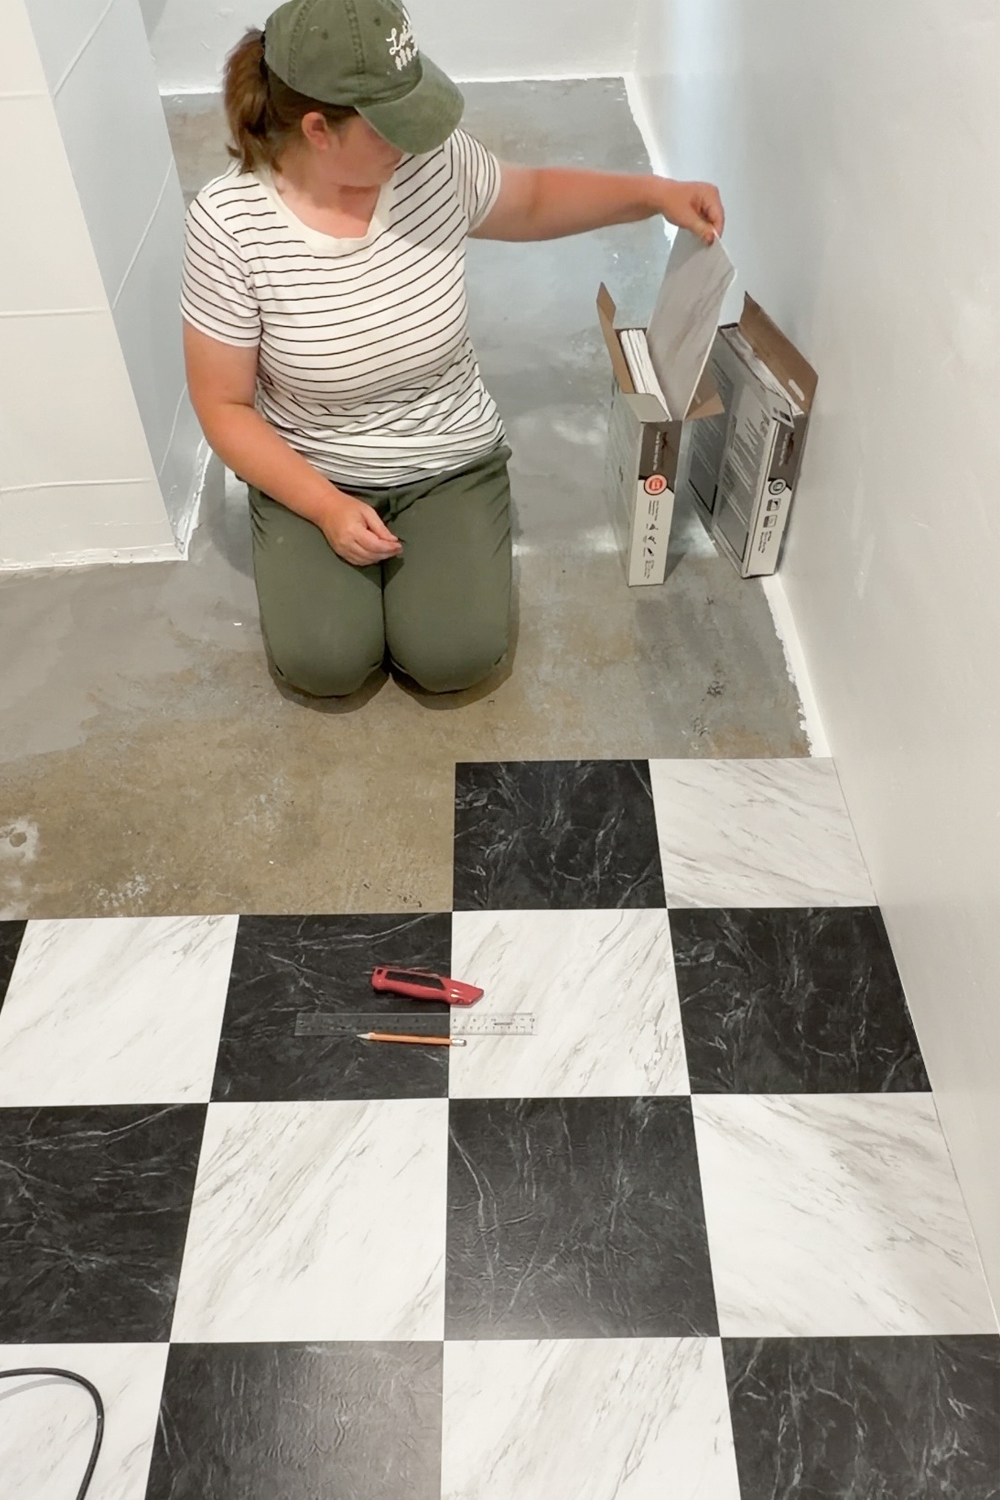
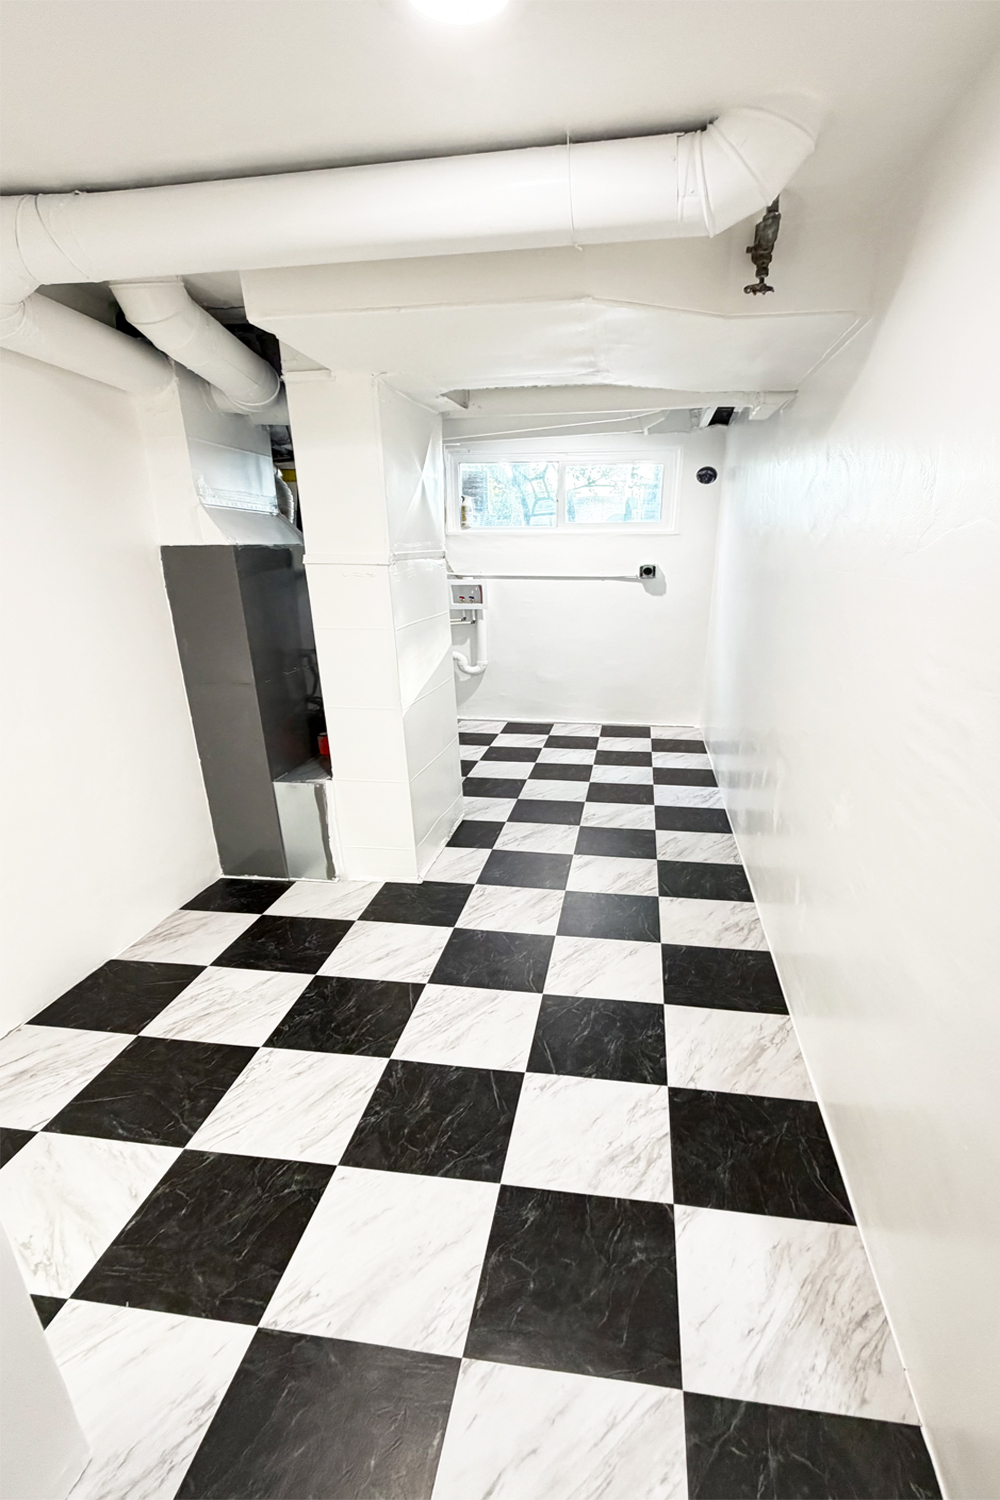
I chose this faux marble tile and made it a checkerboard pattern. If you have been here even for a minute, you know I love checkerboard! As evidenced by my fireplace, kitchen ceiling, and outdoor pavers.
The Results!
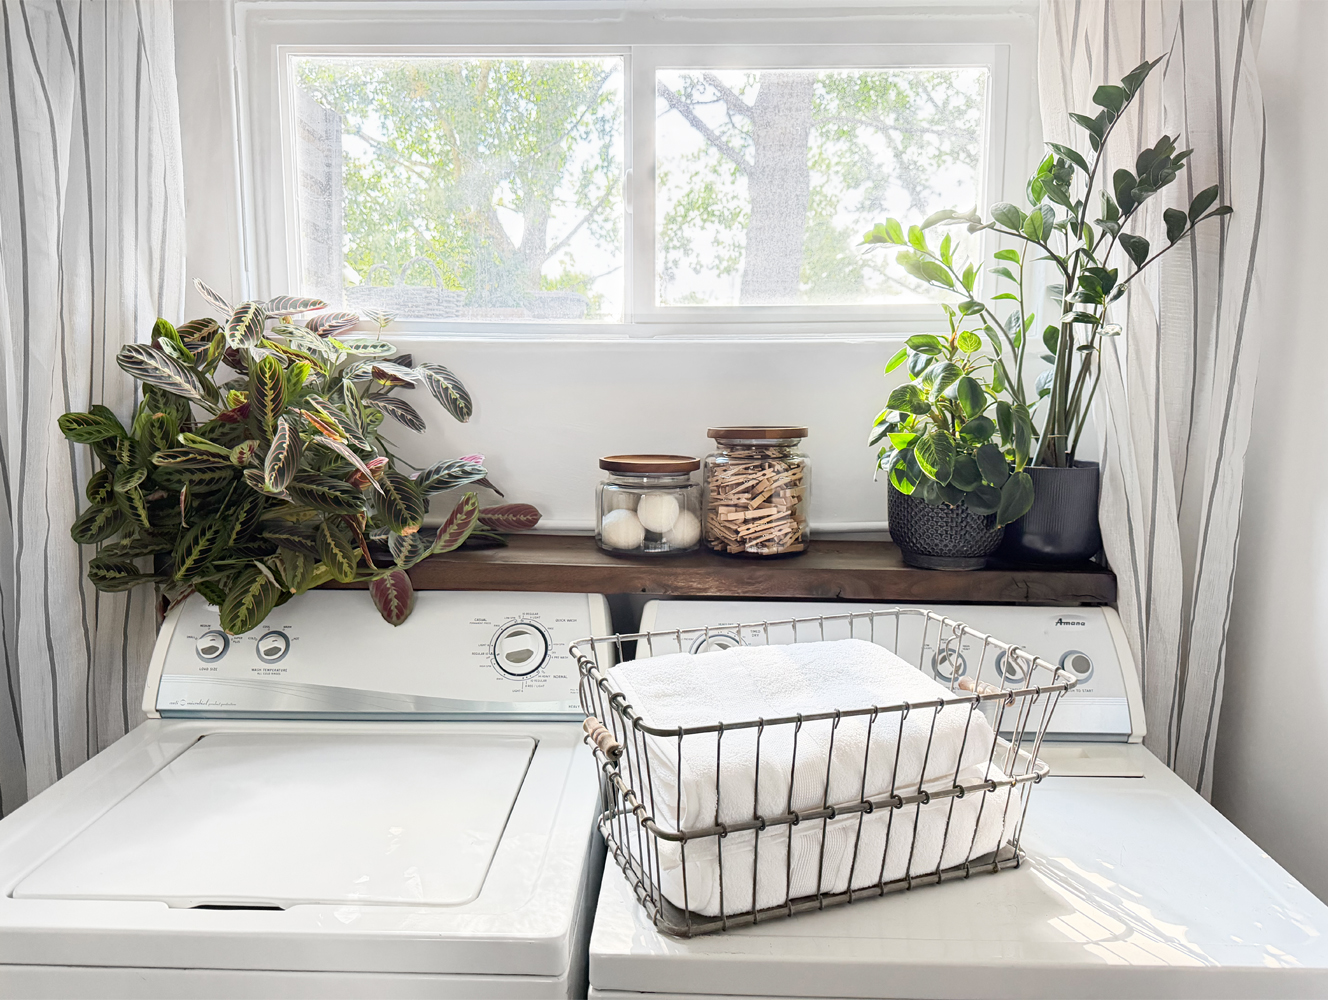
After adding some baseboards and caulking and touch ups and redoing the plumbing for the washer...(Yikes!) I was FINALLY ready to put everything back into the space. And a few new things, like the shelf above the washer and dryer made out of reclaimed wood. Of course I had to add in plants! If it is going to feel like the rest of our house, then it definitely needs plants. Plus the plants hide the outlets!
We have a pantry upstairs so this storage area is mostly for overflow and for my home canned items. It has also stored our extra supply of things like soap, parchment paper, sandwich baggies, toiletries, paper towels, etc. We also used to store our long term food storage here. Since we are down to one kid at home, and since we decided to store our long term storage somewhere else, we only put back two of the metal shelves instead of all three. It really helps open up the space and makes it feel less narrow.
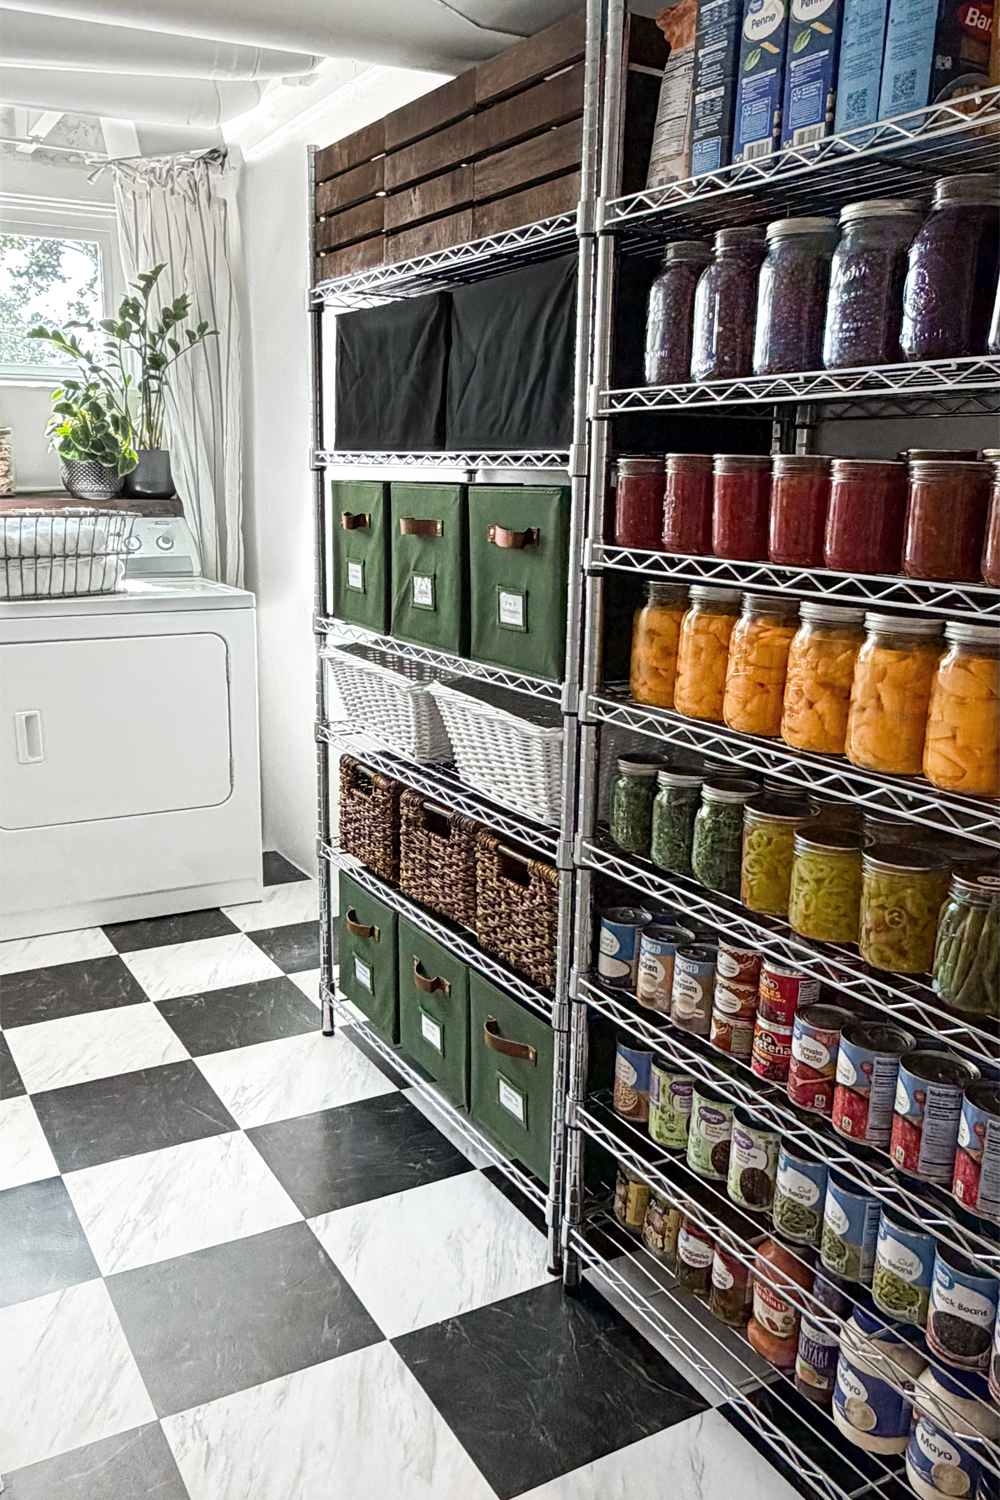
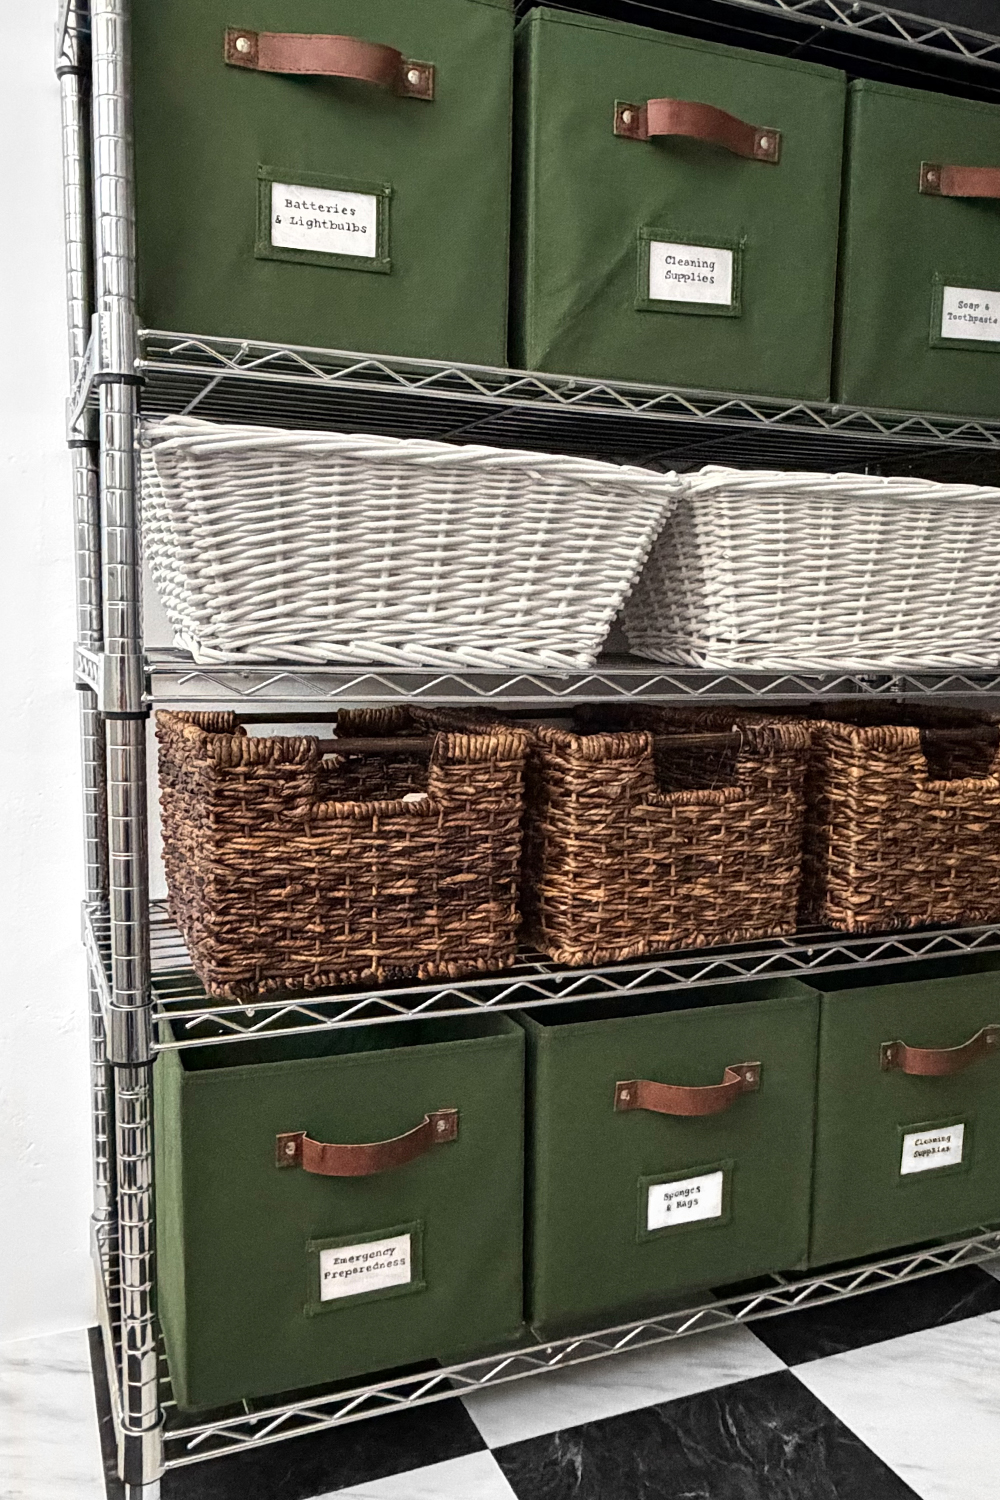
I kept things pretty simple because it is narrow and I don't want it to feel to busy or messy. I'm loving to clean look. I do need to add some shelves next to the fridge and freezer and I also have the space above them to utilize.
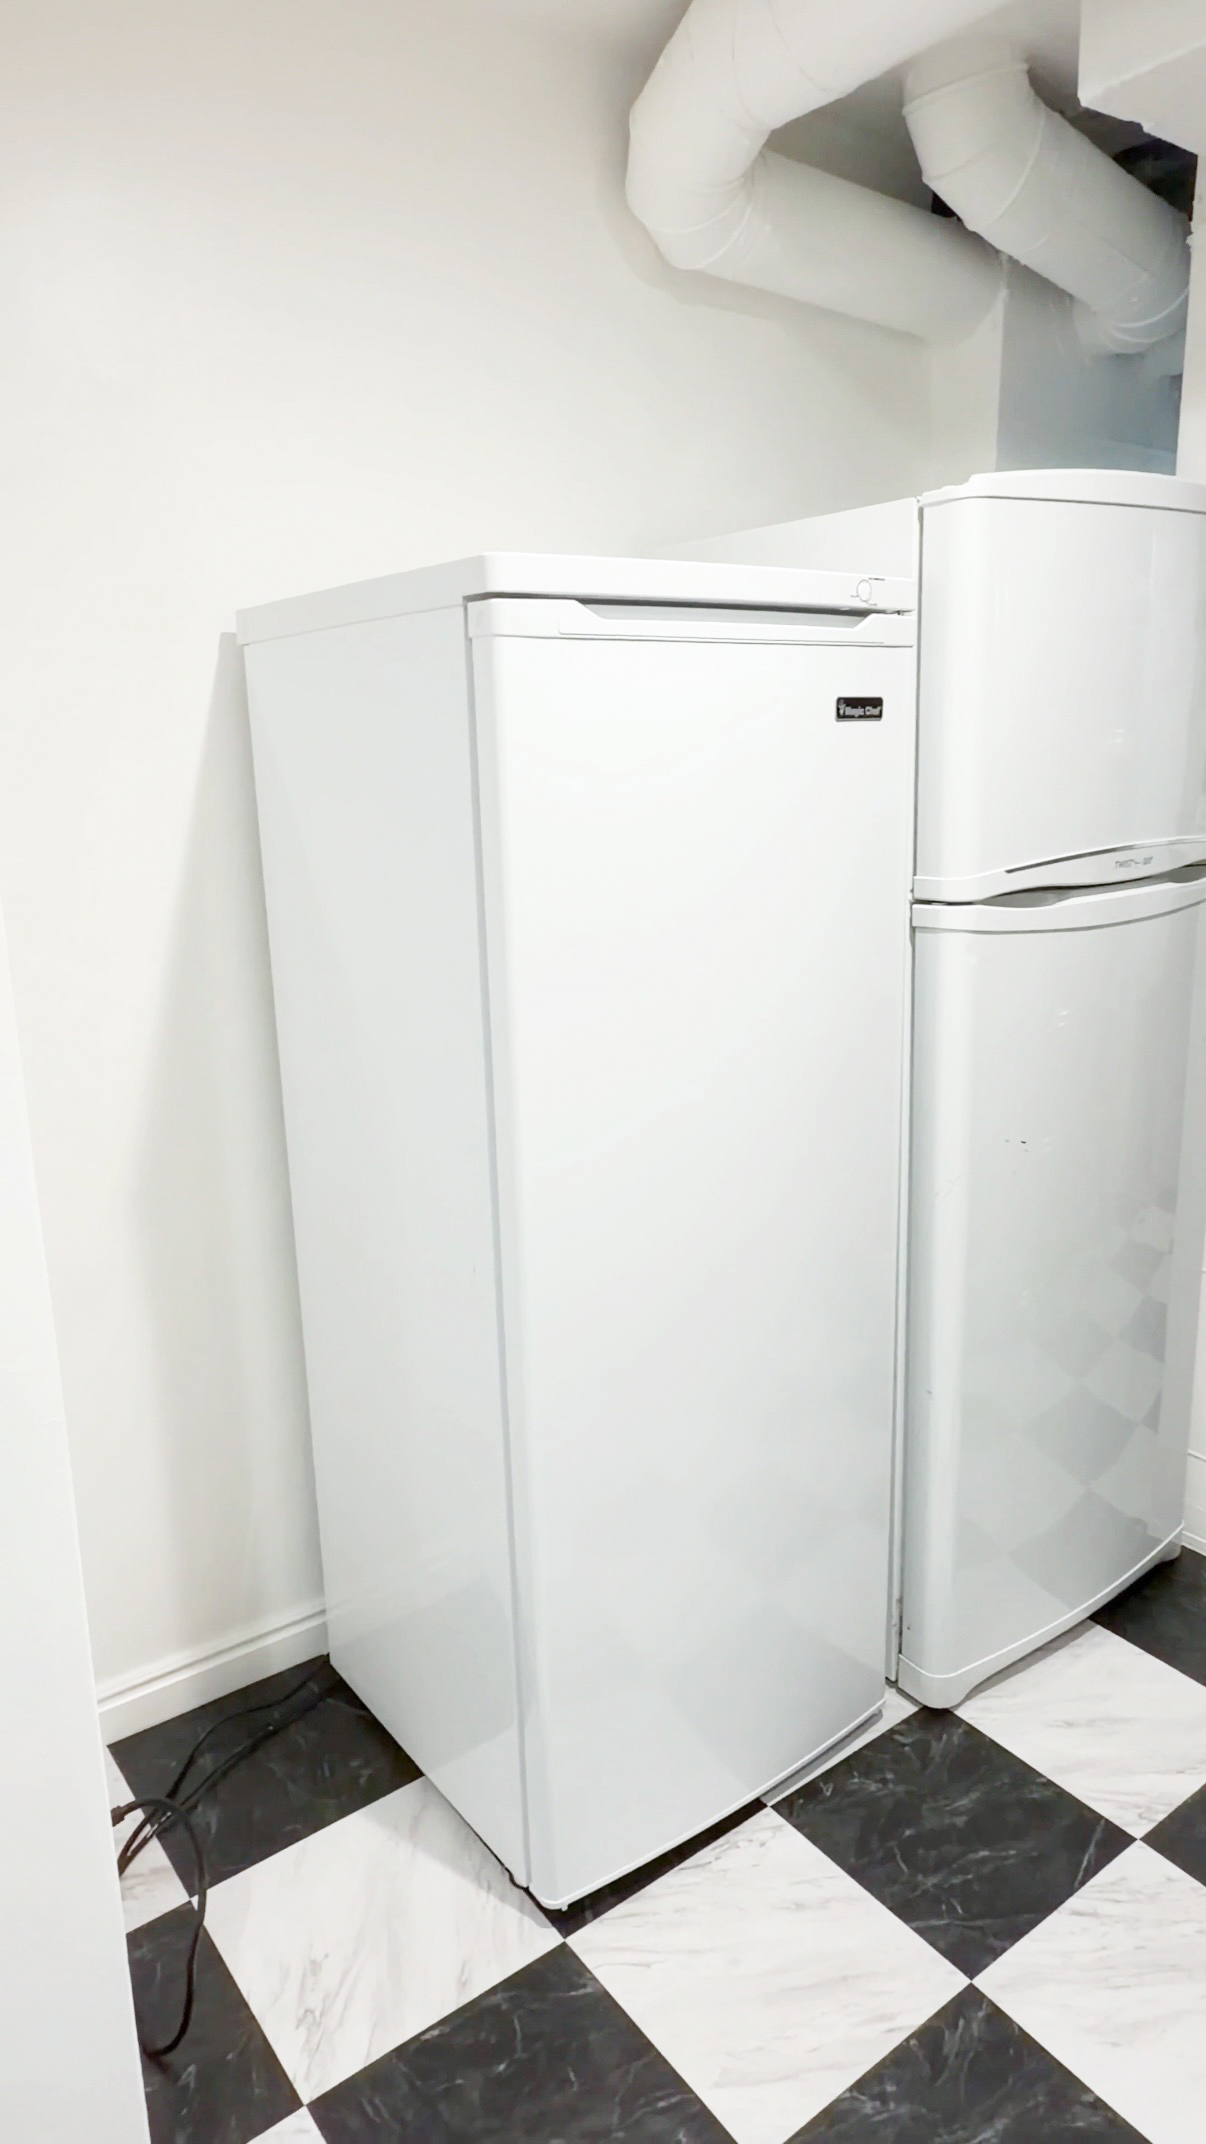
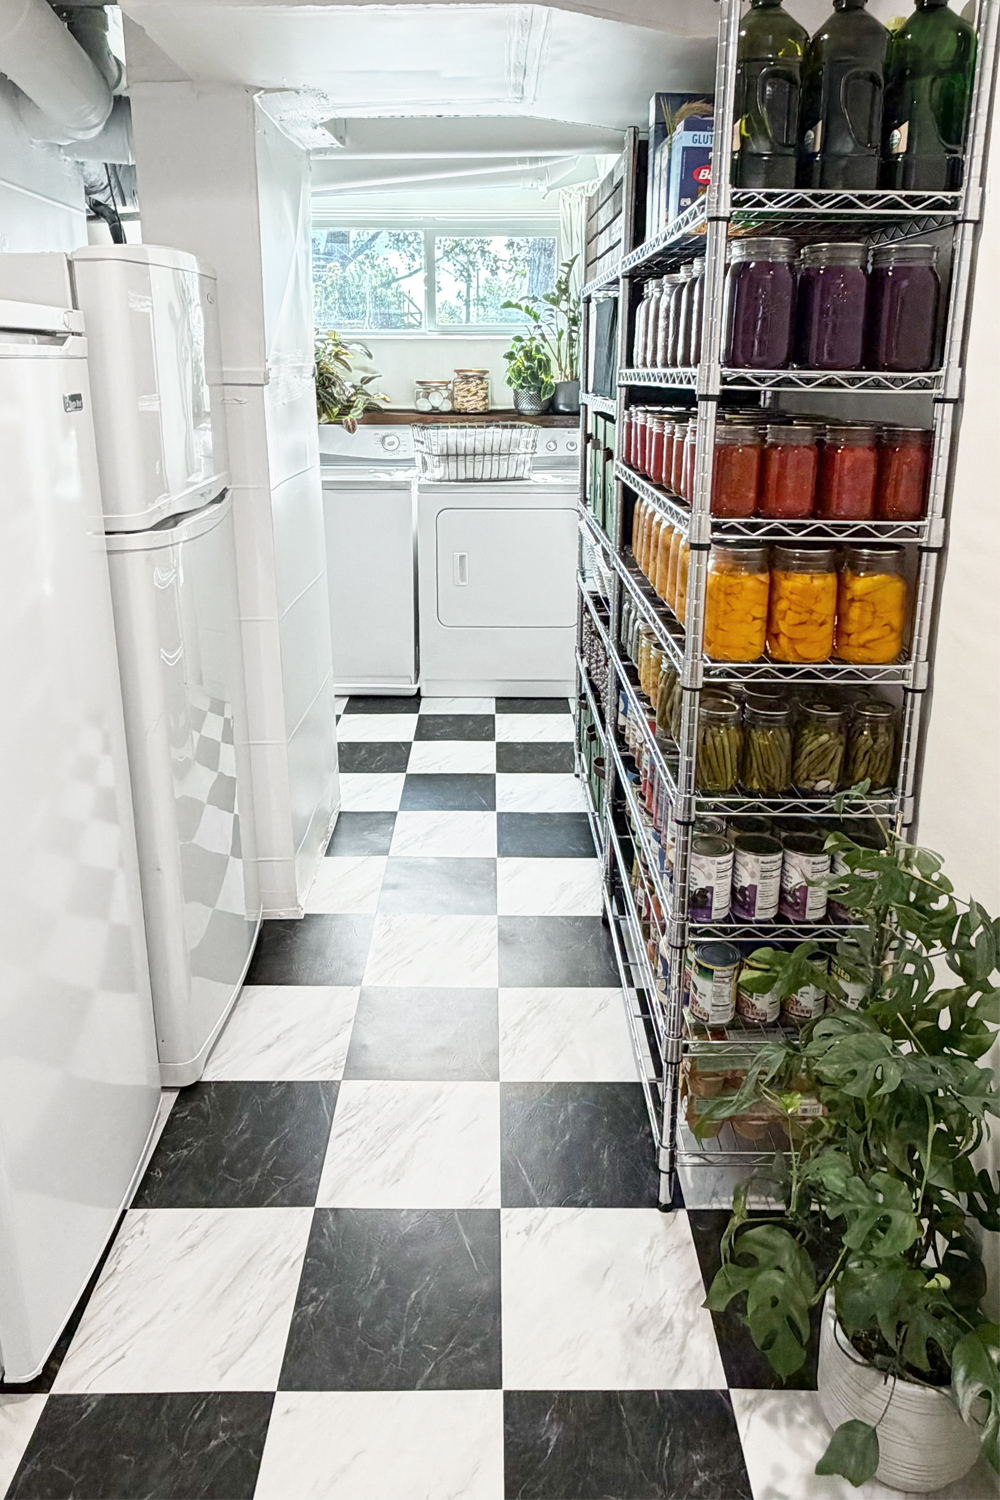
I am blown away by how just painting everything white made such a HUGE difference. We are lucky to have a large window that let in natural light, but even without the window the paint would have brightened up the space.
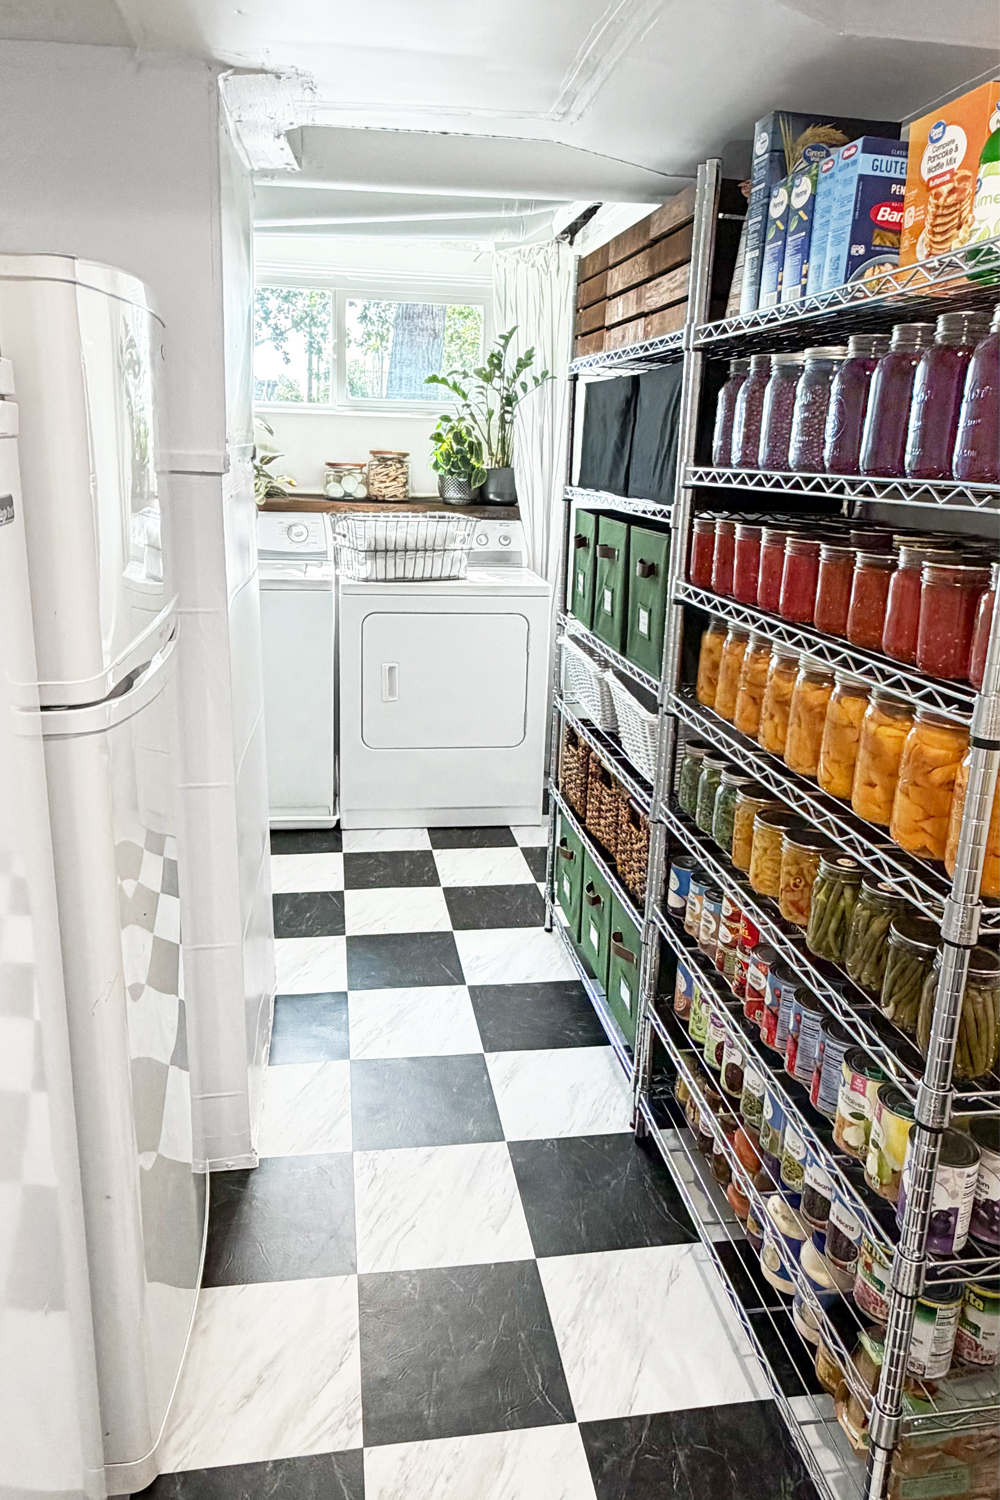
So what do you think? Did I reach my goal of adding some vintage charm and brightening it up?
I am beyond thrilled to have this checked off my list. Do you have a project that took longer than expected or where everything went wrong? I love to hear about your experiences so I don't feel alone. Share in the comments :)





Looks great. Amazed by your storage of canned goods and other essentials
Thank you! It makes all the hard work of canning worth it when I see them on the shelves.
Beautiful! You did a great job and you have inspired me.
Thank you so much Shelley!
This looks amazing! I love how your canned goods look on the new shelving!!! Well done you!
Hi Danita! I always appreciate your comments. I hope you are doing well :)
Wow, Stacy! This is amazing and looks incredible! You have such an amazing talent to be able to not only envision something, but to do it with such class. I love your storage shelves and how everything looks! It's beautiful!
Thank you so much!
I Love It!! It looks so amazing. You done a wonderful job.
Thank you so much!
I really enjoyed your ideas on brightening up the laundry room, especially how you incorporated those fresh colors and thoughtful decor! It got me thinking about how such a transformation can make even mundane chores feel more pleasant. I’d love to know, what inspired you to choose that specific color palette? Also, have you ever thought about turning your laundry days into game time with something like the wordle today? It could be a fun way to mix productivity with play! Thanks for sharing your journey—it’s incredibly motivating!
I like how this laundry room makeover focuses on making a practical space feel more inviting instead of treating it as an area that only needs to be functional. Small changes such as brighter colors, better organization, and decorative details can make a surprisingly big difference in a room where people spend a lot of time doing chores. I also appreciate the idea of working with the existing basement space rather than completely starting over. The project feels achievable because it shows how a few thoughtful updates can add personality without requiring a huge renovation. A brighter laundry room might not make folding clothes exciting, but it could certainly make the task feel a little less boring. After finishing the chores, meccha chameleon sounds like a good way to r