

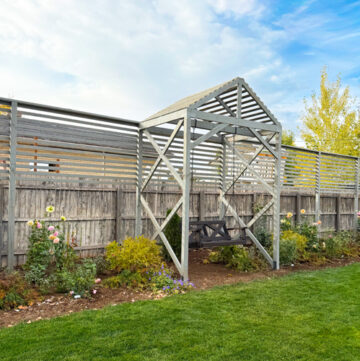
We just completed a BIG outdoor project and I am so excited to share it with you! I have always wanted a porch swing. The problem is, we don't really have a porch. At least one that is big enough for a swing. I also have recently become obsessed with roses and wanted a place for climbing roses to grow. On top of that, this fence line offers very little privacy for us or for our neighbors. We can see into all their windows no matter where we are in our yard. By building a pergola structure in our yard I solved all those problems!
This post is sponsored by Wagner but all ideas and opinions are 100% my own.
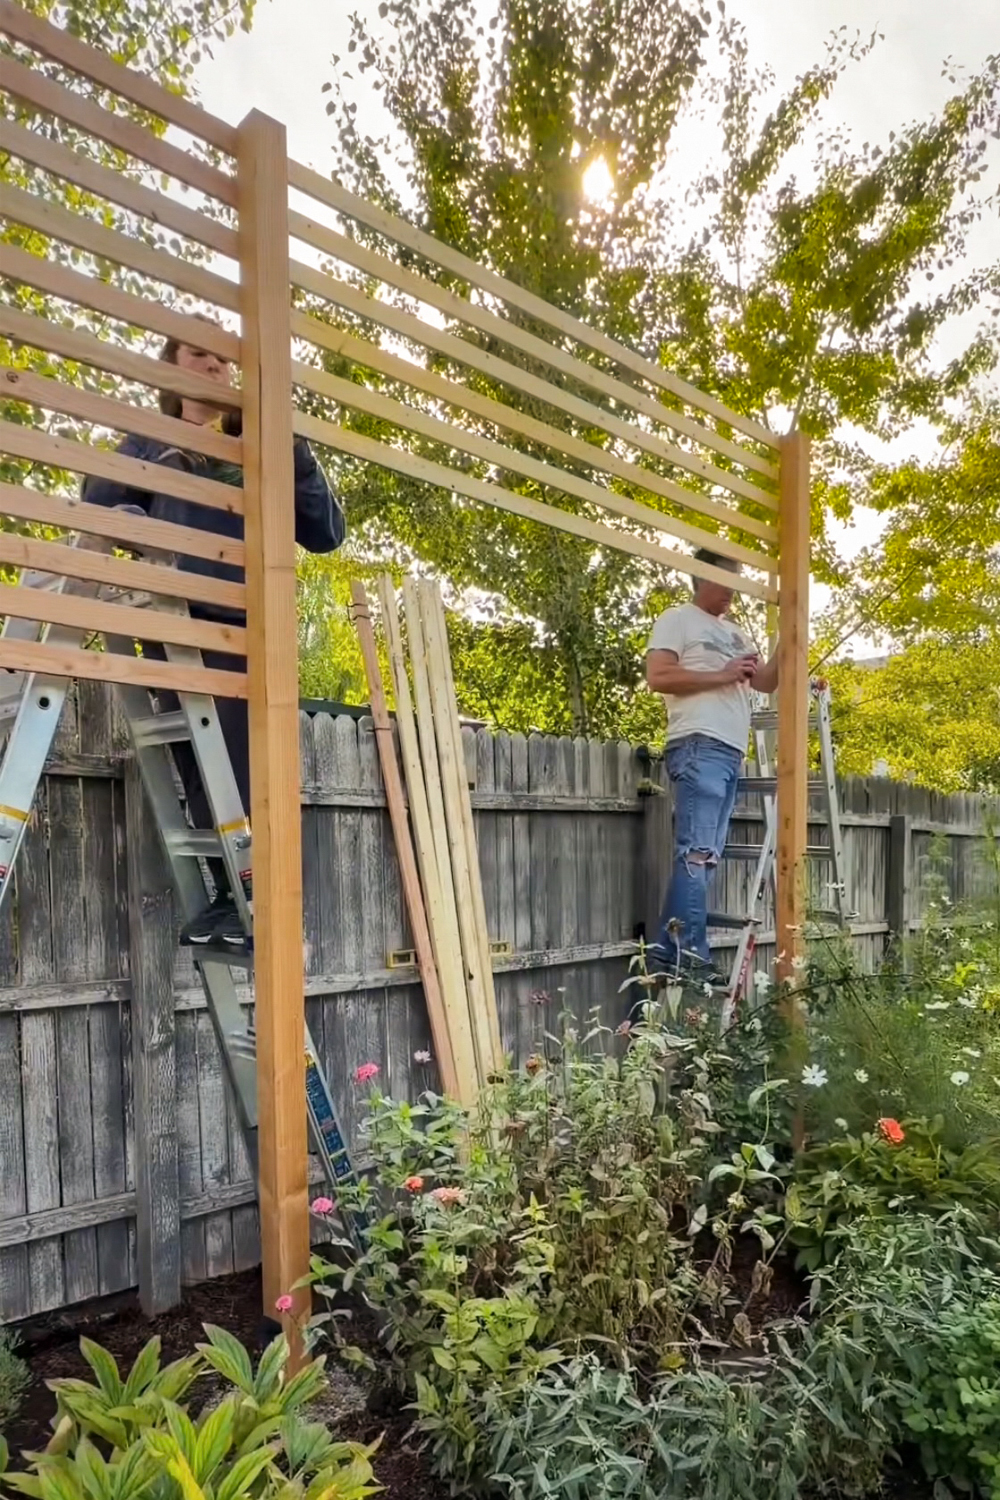
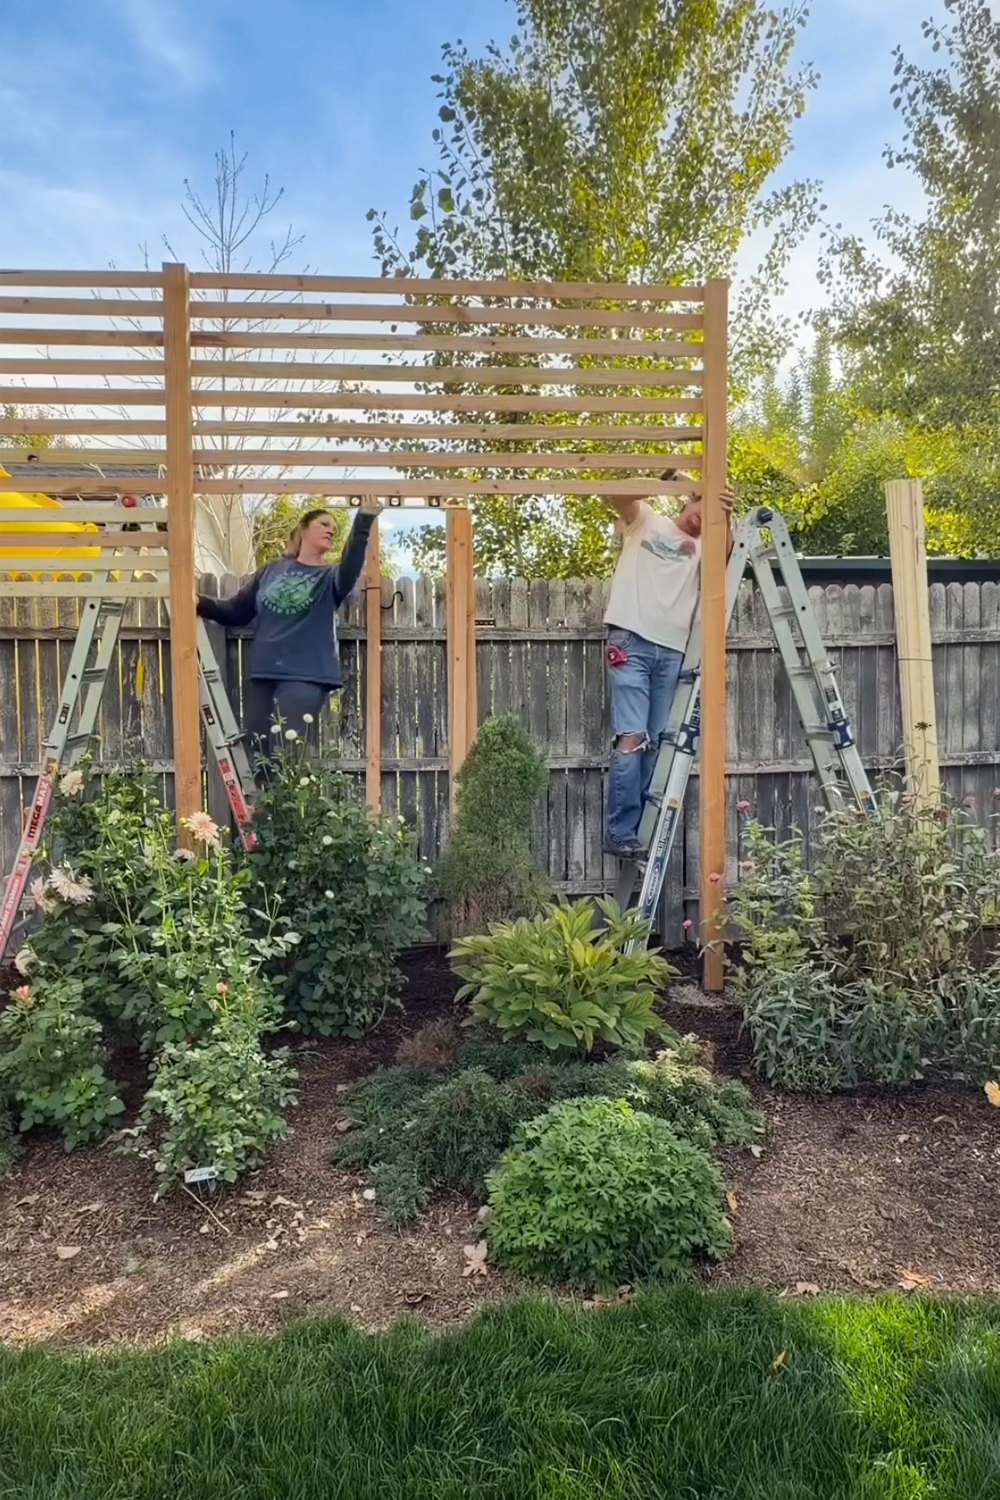
Building a Pergola Structure in our Yard
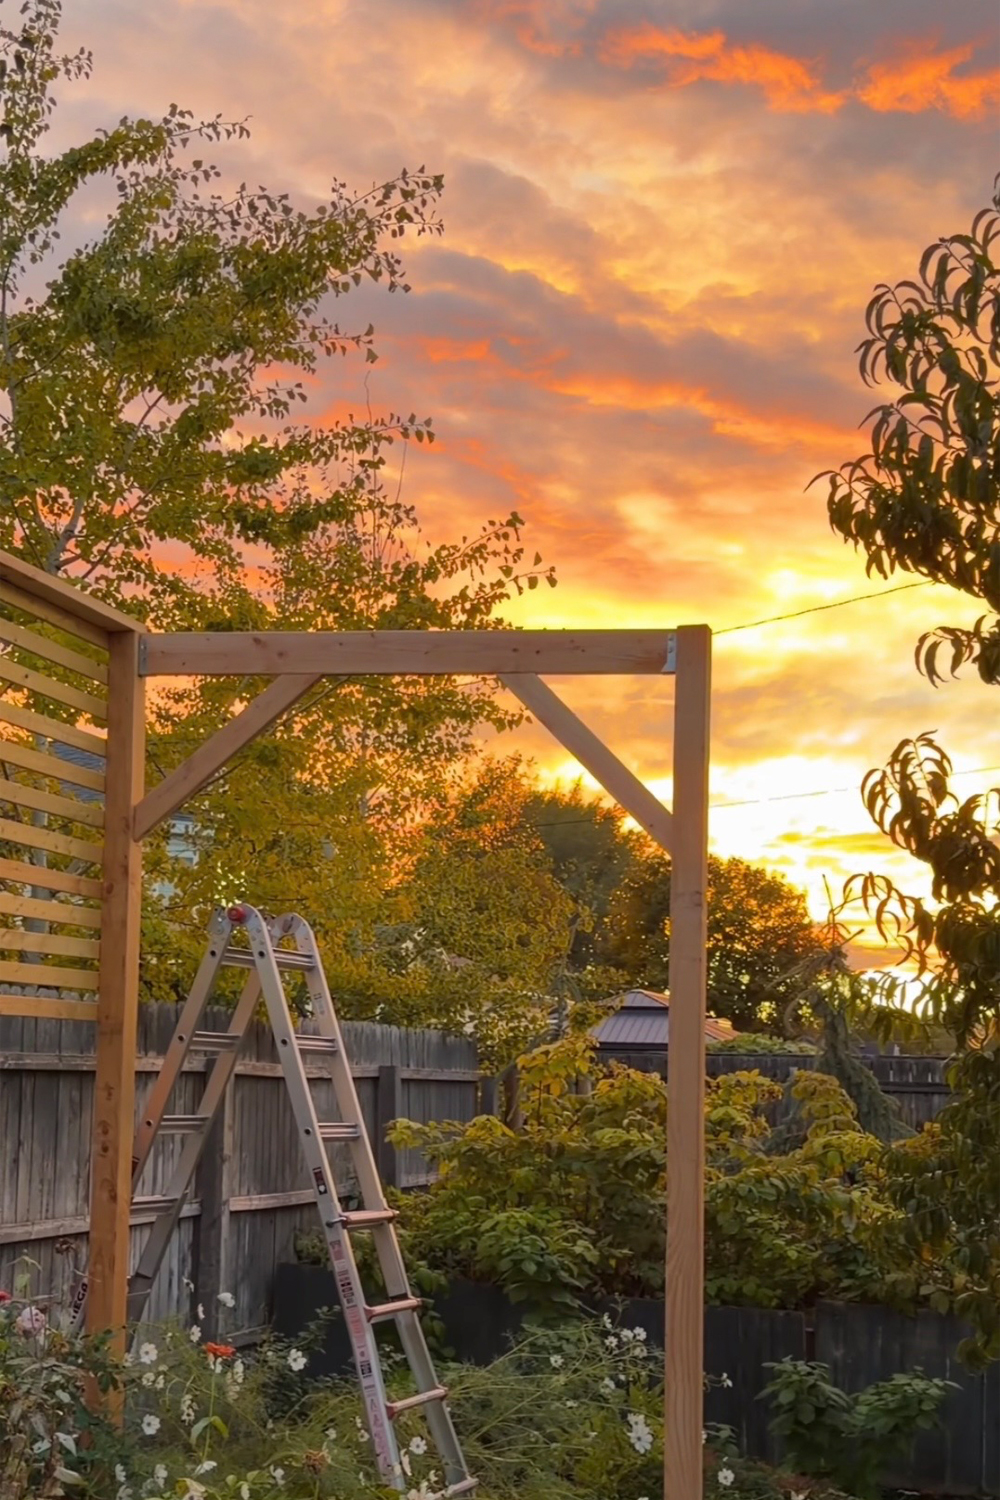
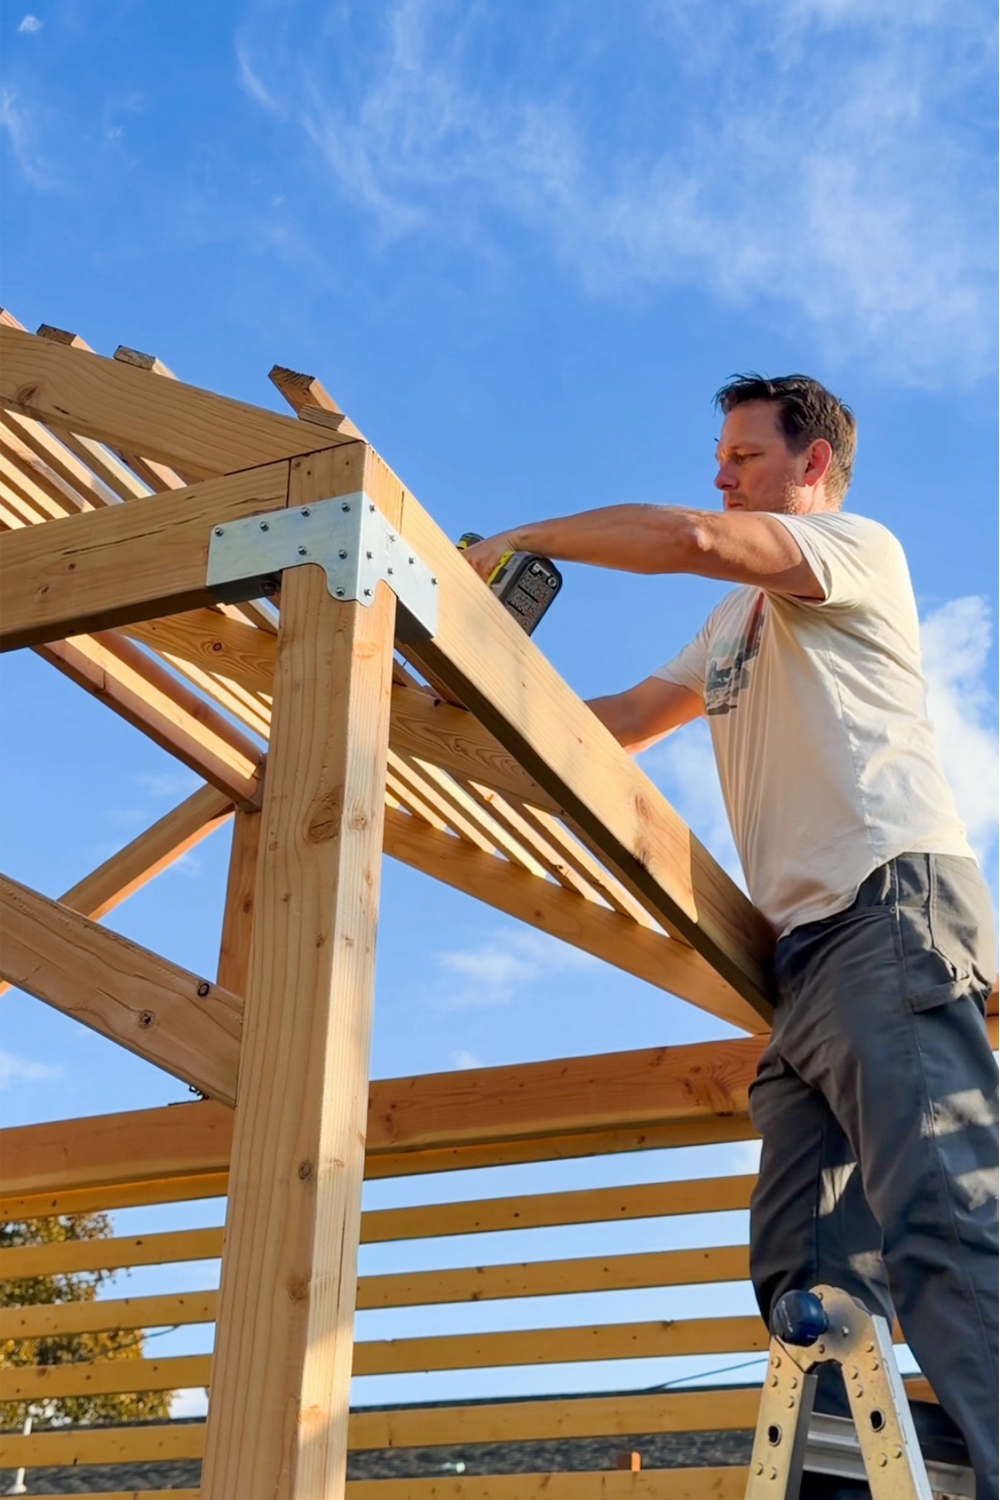
After we set the posts in concrete, we started adding 1x3s. This was definitely a two person (and two ladder) job. We only had about an hour after Shane got home from work before it started getting dark so this was a long process. We also had so much monsoon rain I started to think this was never going to get done.
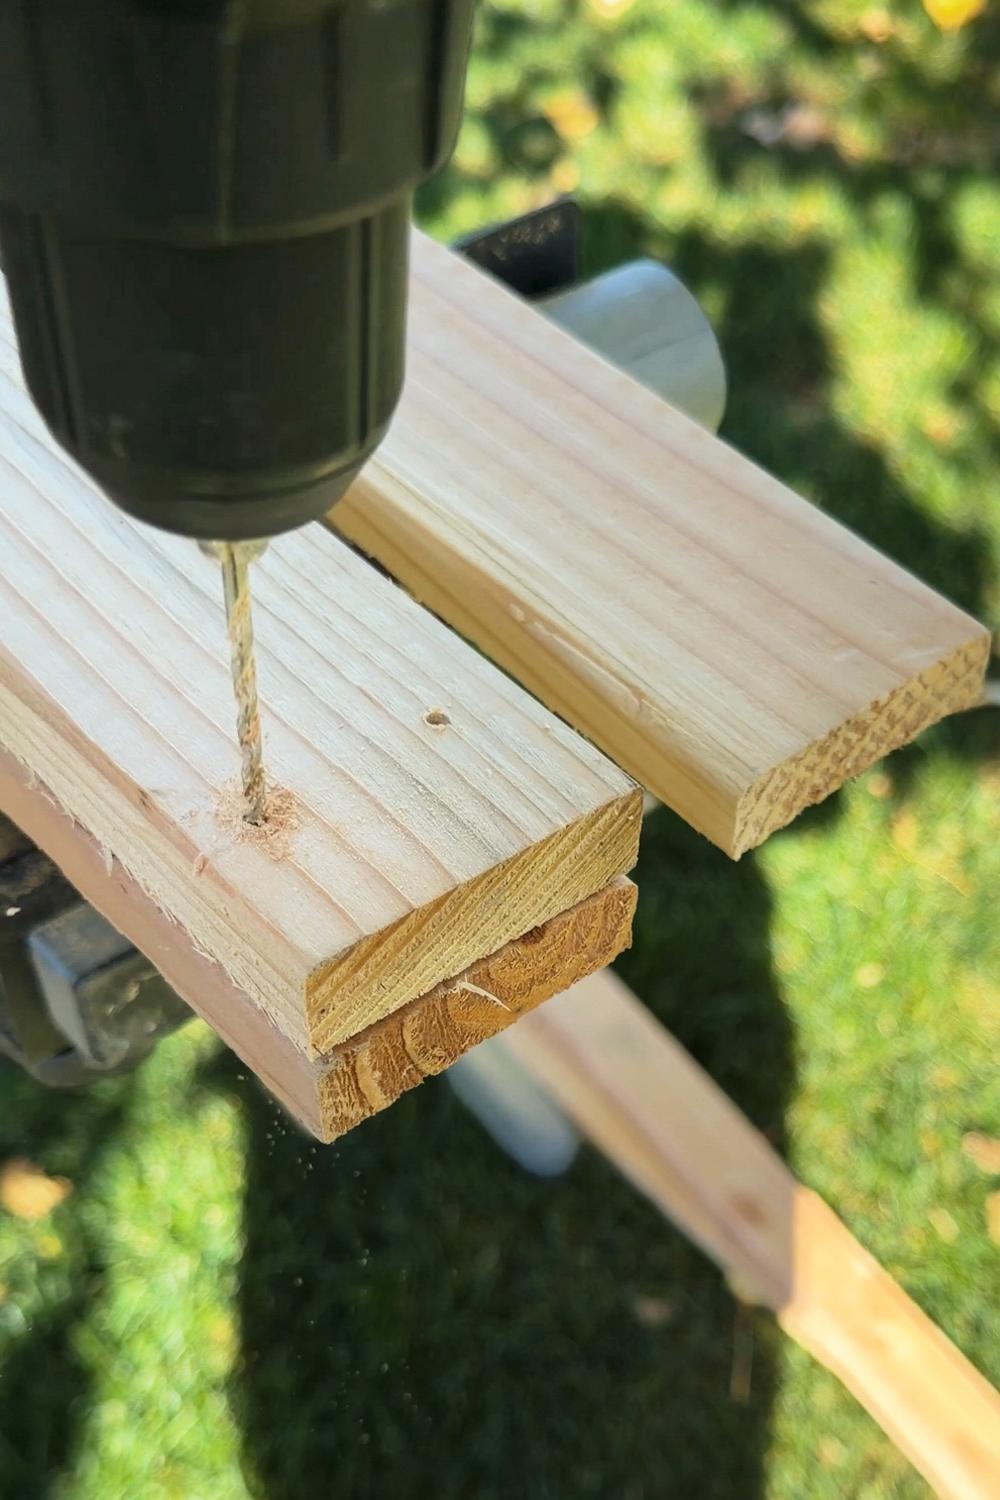
*TIP - We drilled pilot holes in all of the 1x3s before screwing them up to prevent them from splitting. It took a long time to do them all but was so worth it. Lumber like this is prone to splitting especially if you are screwing close to the edge.
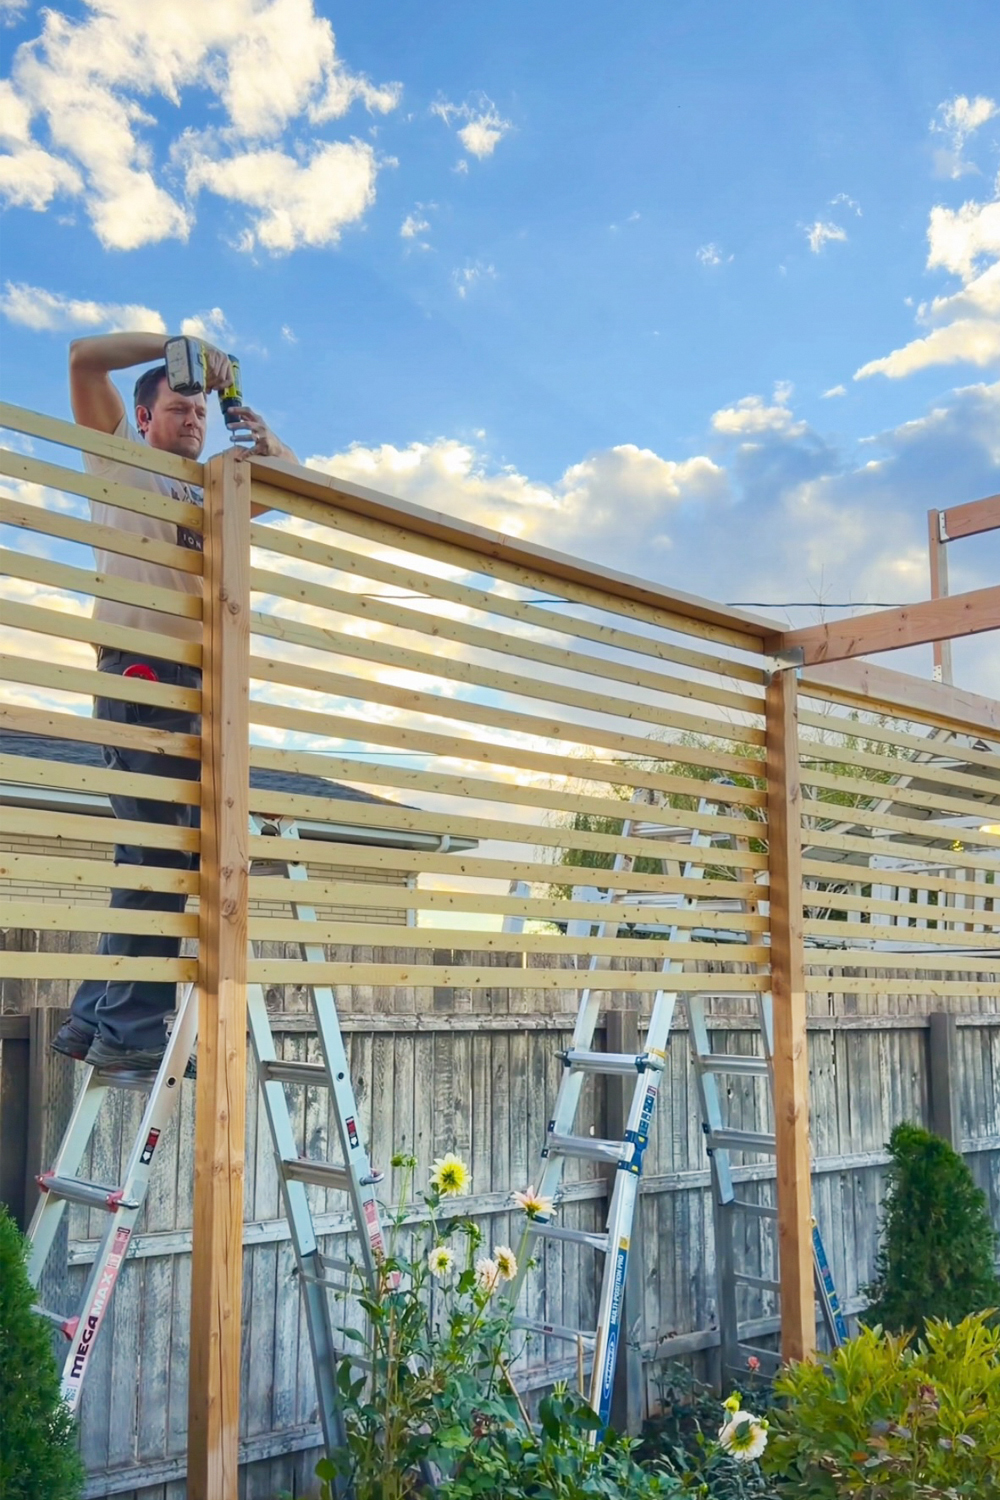
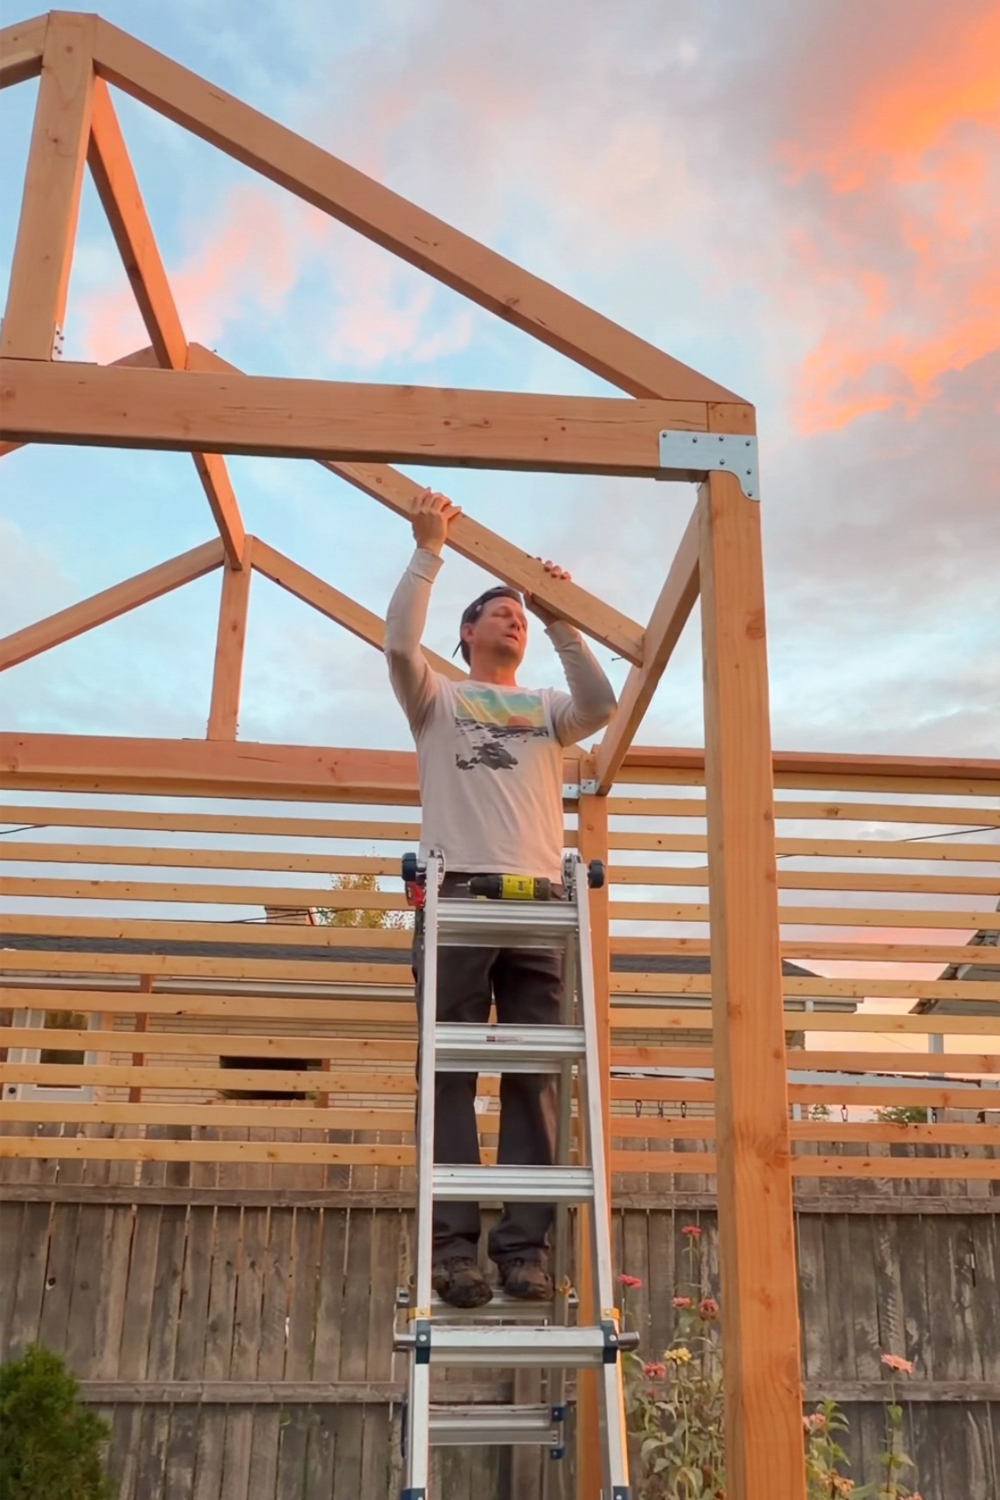
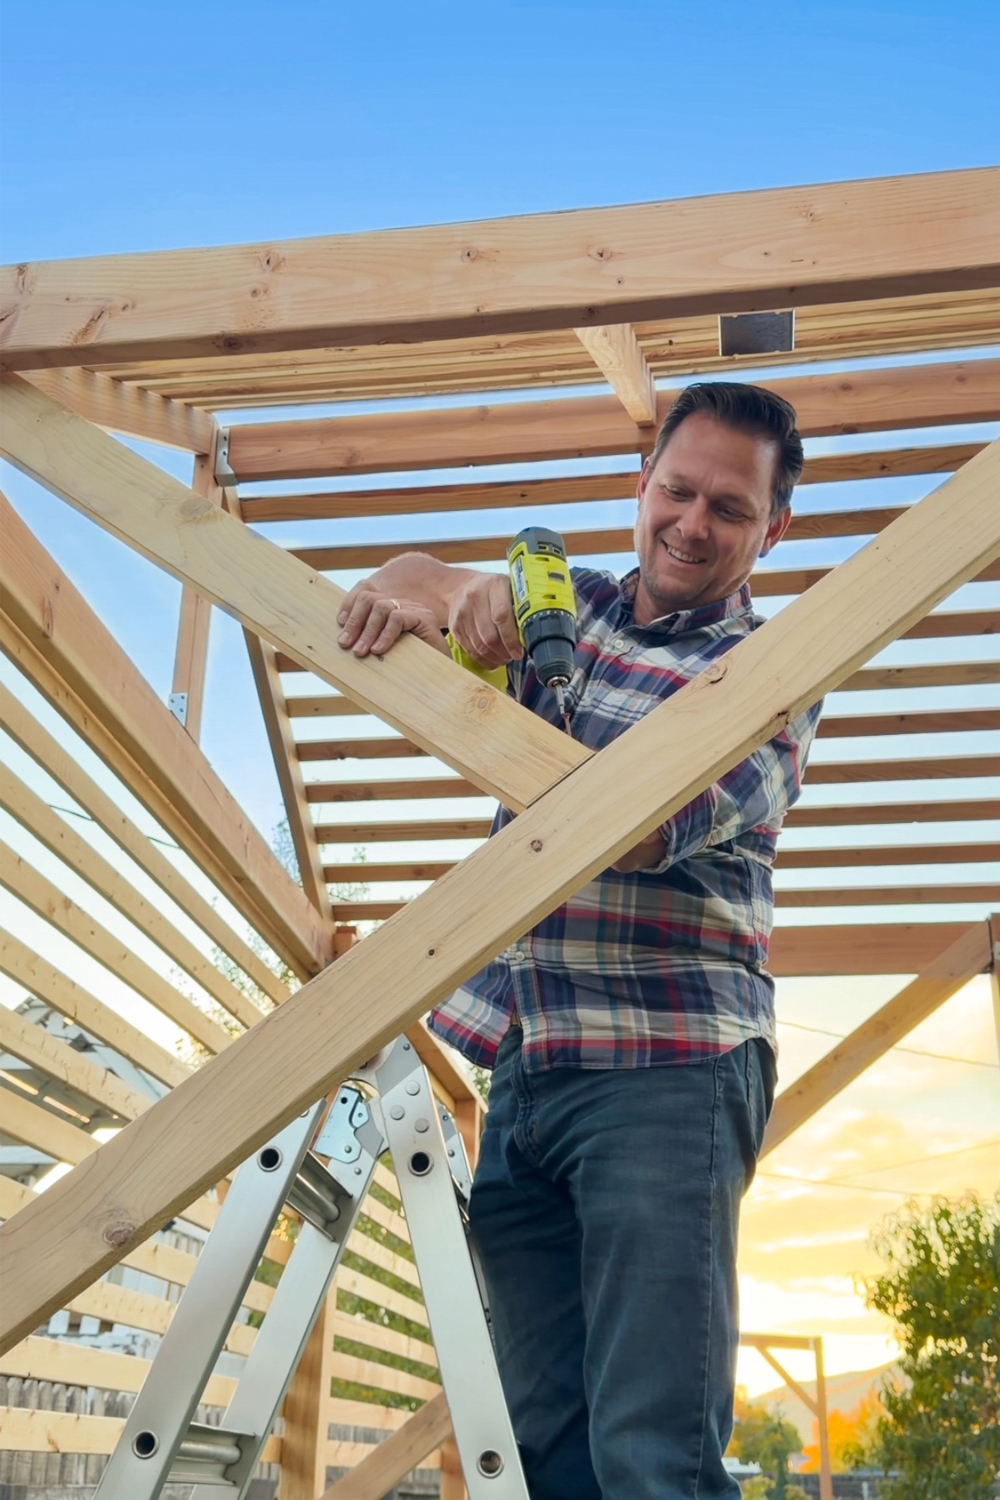
I hate ladders and will only go up three, maybe four steps (if I am feeling especially brave that day). This meant that Shane did the heavy lifting when it came to building the top of the pergola. It was only 12 feet at the center peak and much lower everywhere else, but I am short.... and wussy.
I stayed safely on the ground and cut all the wood. I also sanded off any ink stamped on the lumber and the rough spots. There was actually a lot of sanding!
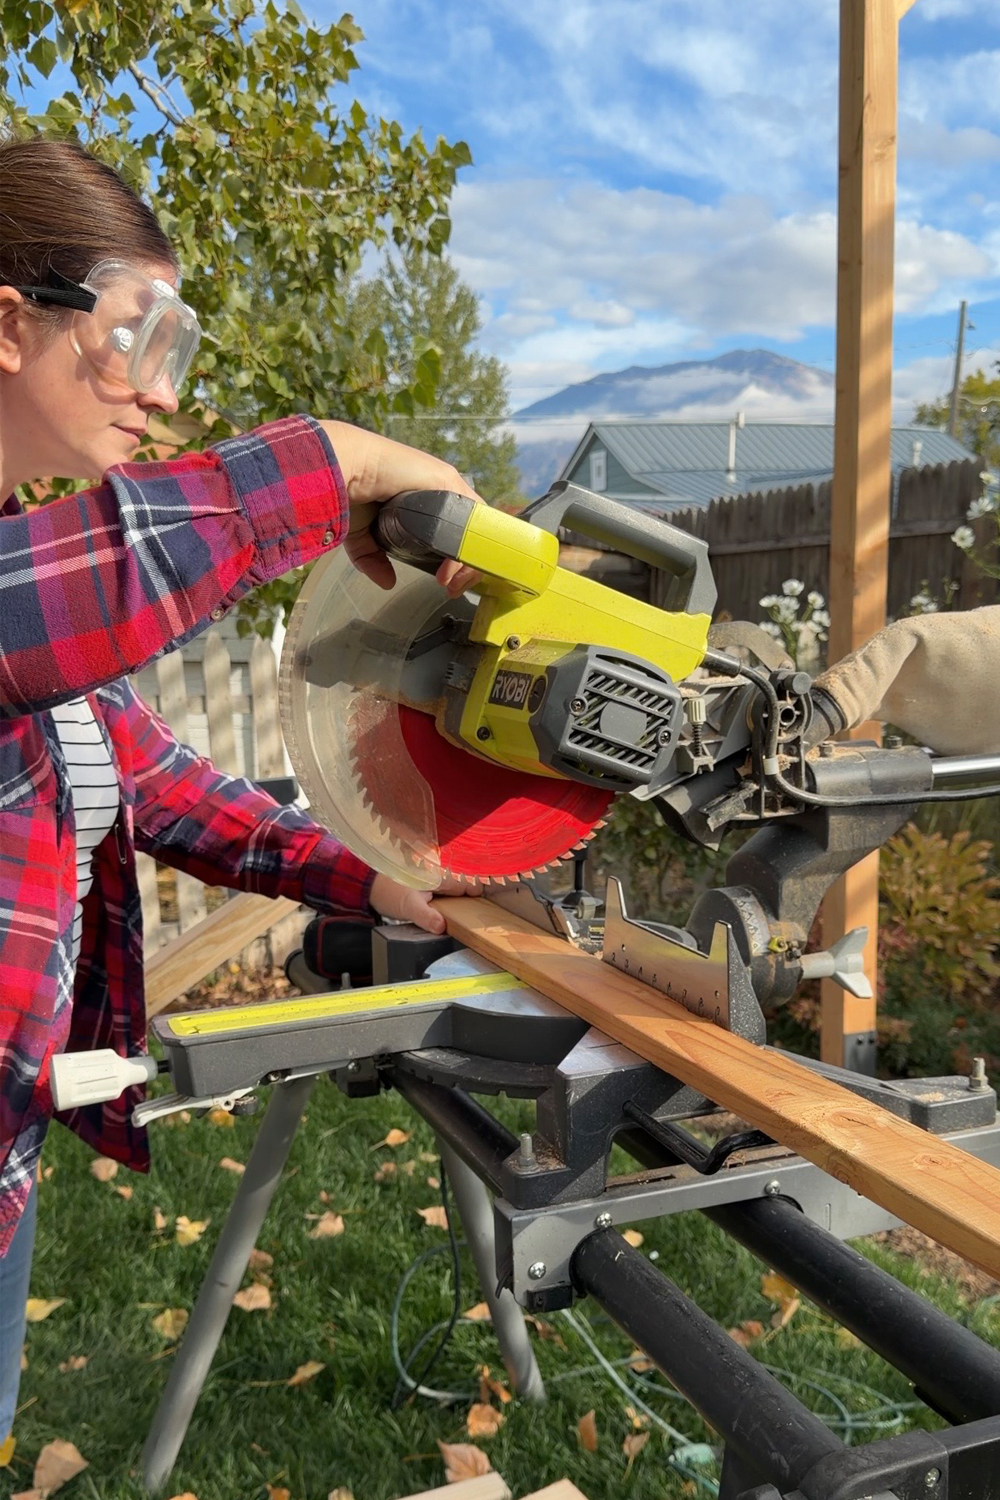
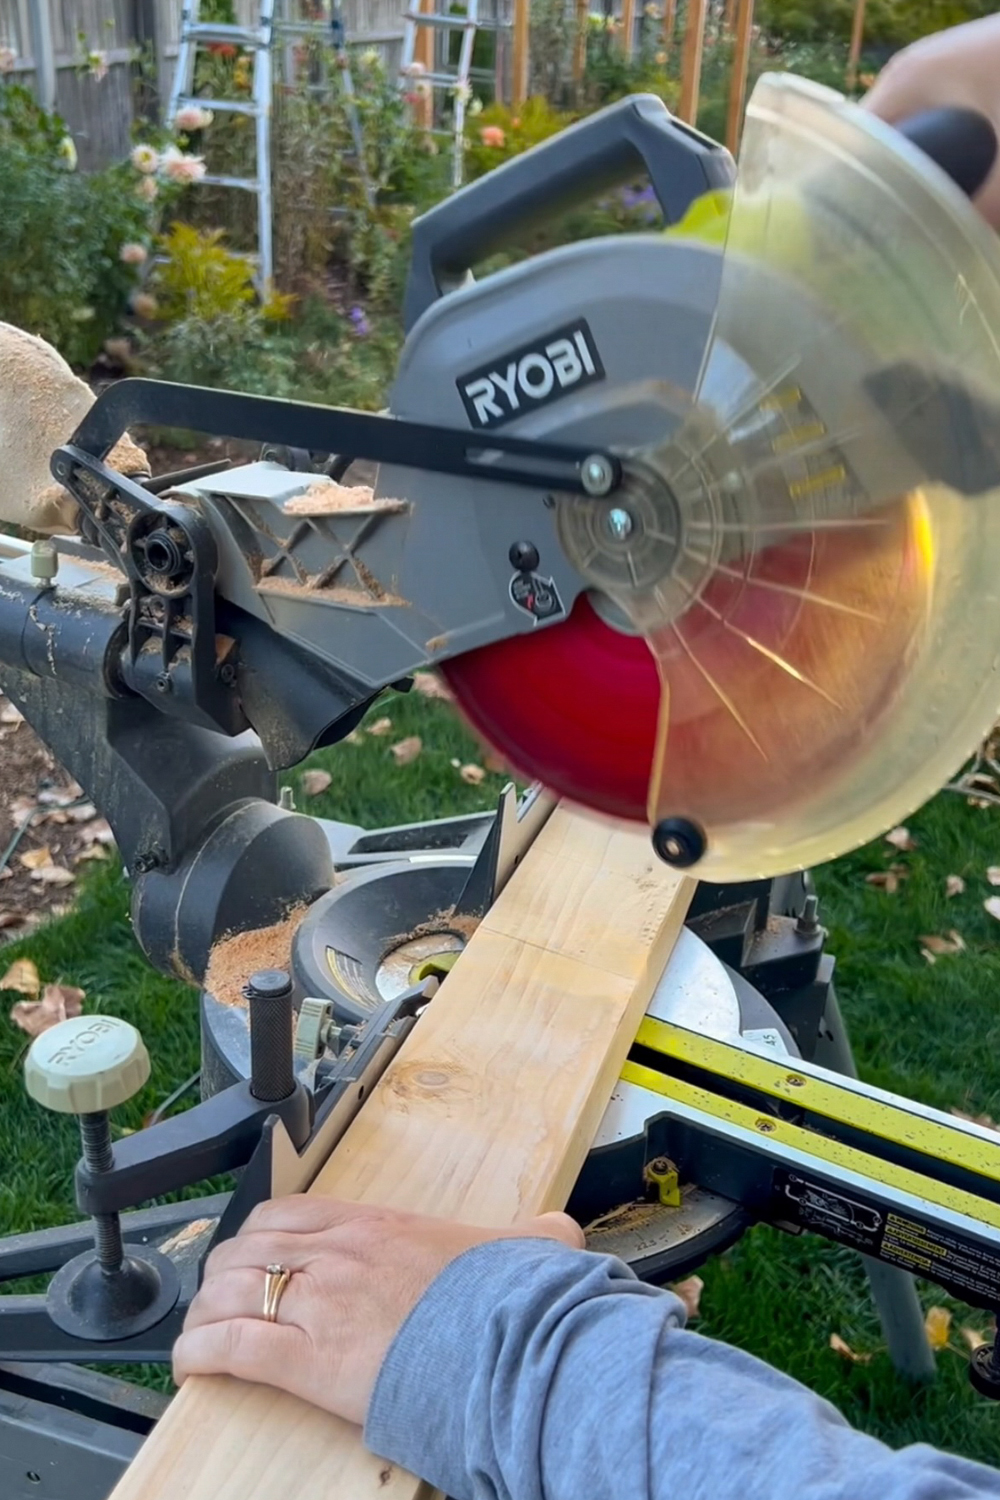
All those evenings and Saturdays were worth it when it was finally complete!
Now that the building part was done, it was time to stain! I used an exterior semi-solid stain in the color Driftwood Gray. I added it to my Wagner Flexio 2500 sprayer and was ready to transform the pergola!
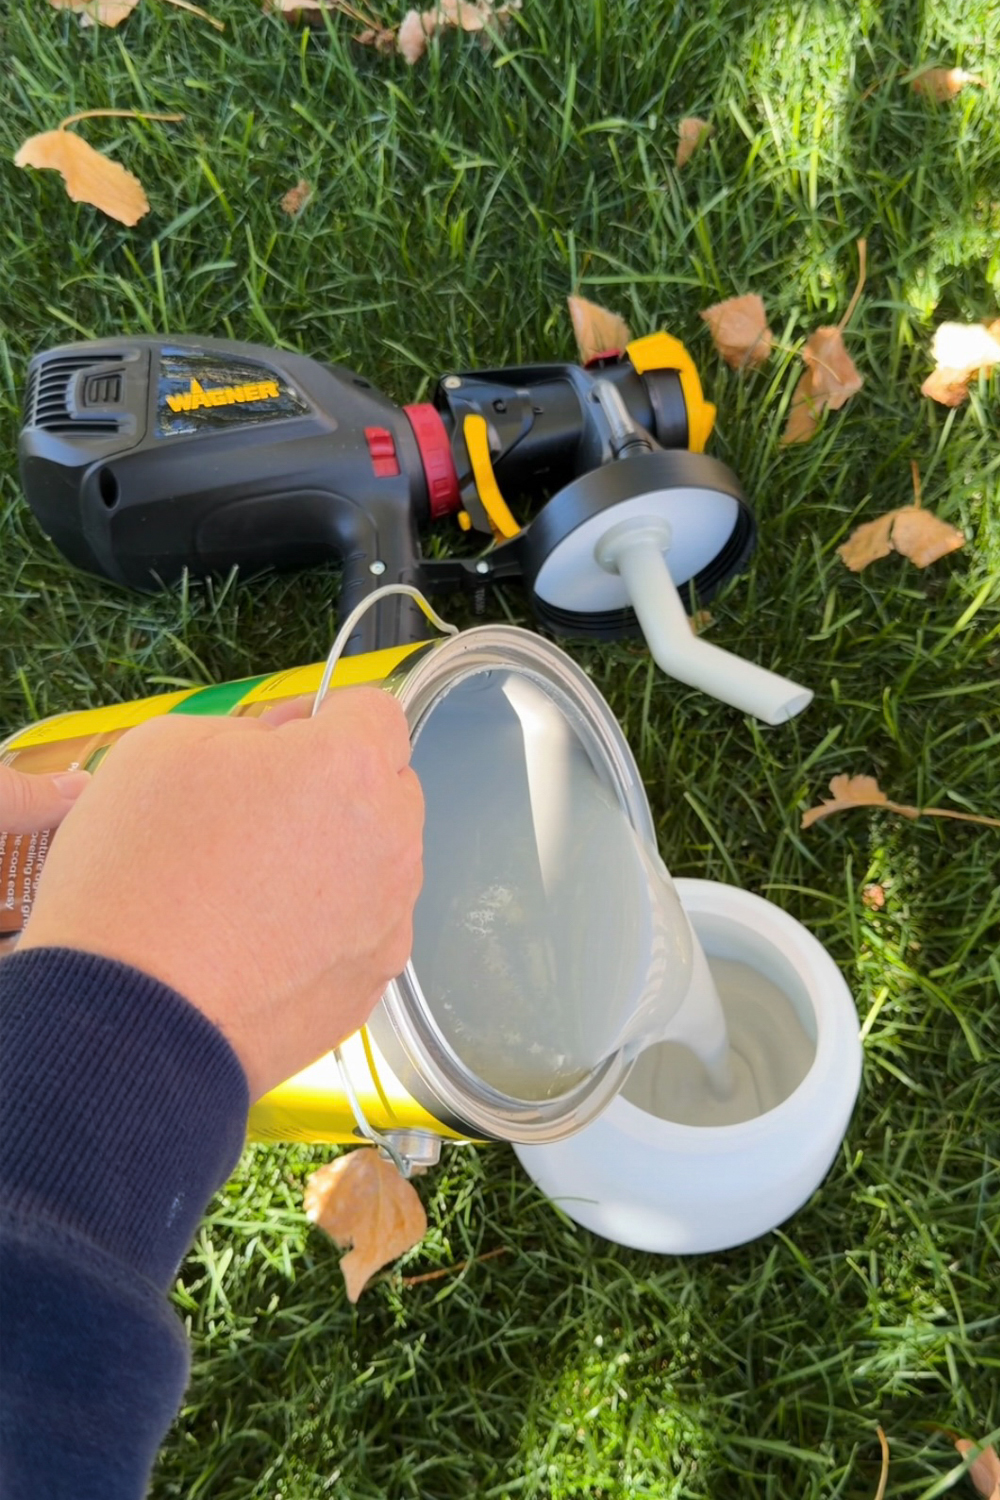
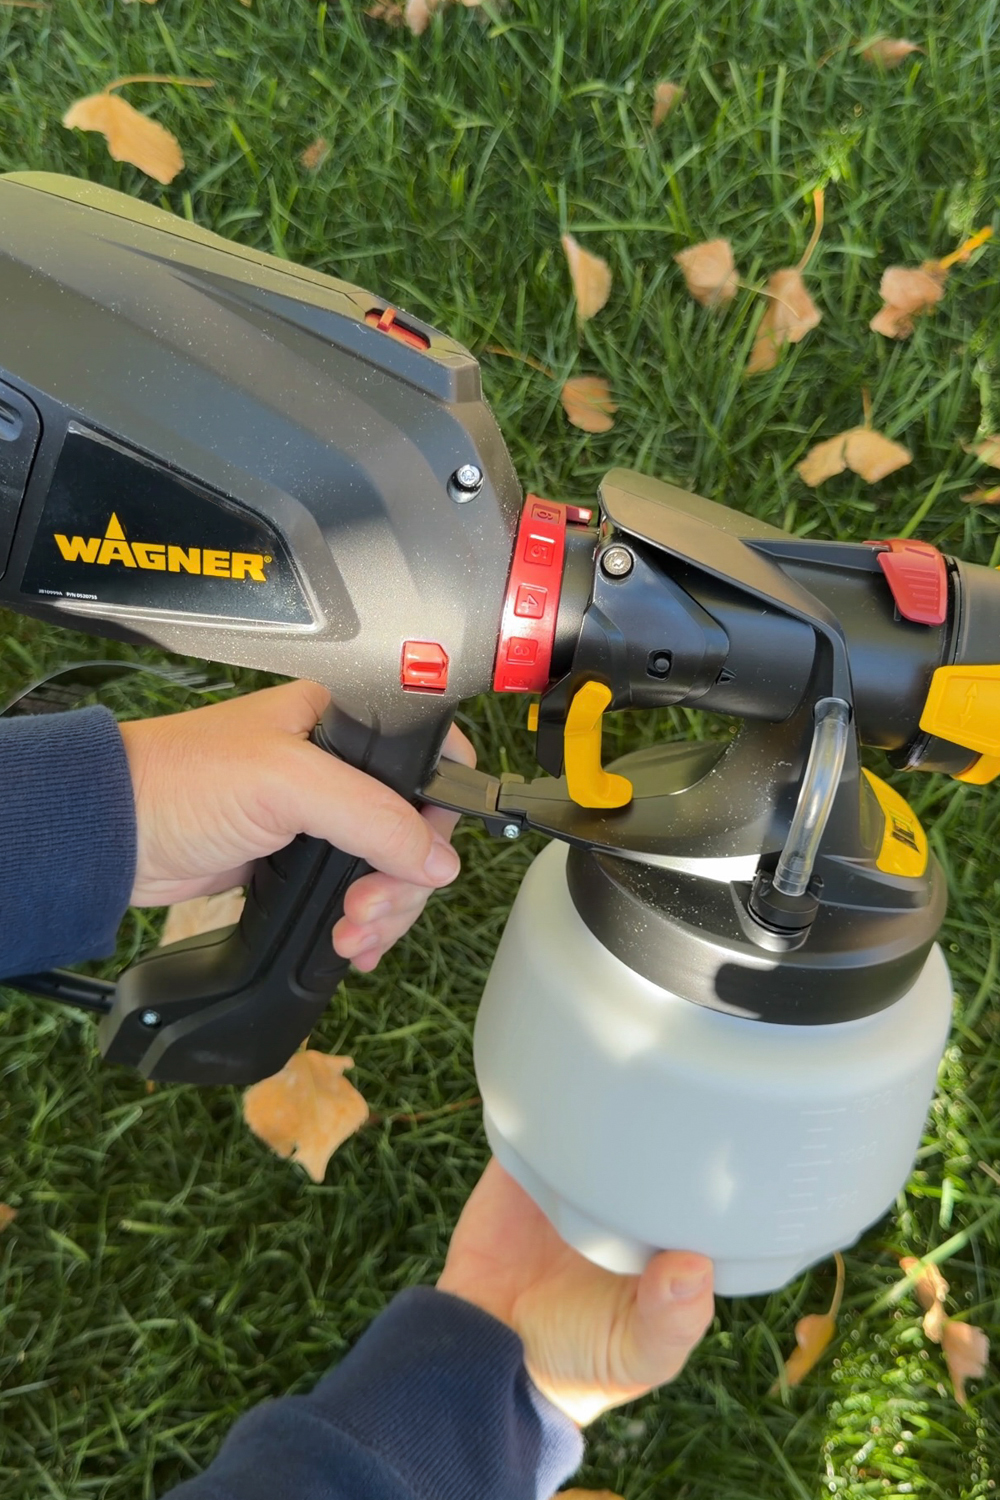
I really only had one day of sunshine to get the staining done so I was so thankful for how quickly this went. I can't even imagine trying to stain this whole thing with a brush or even a roller.
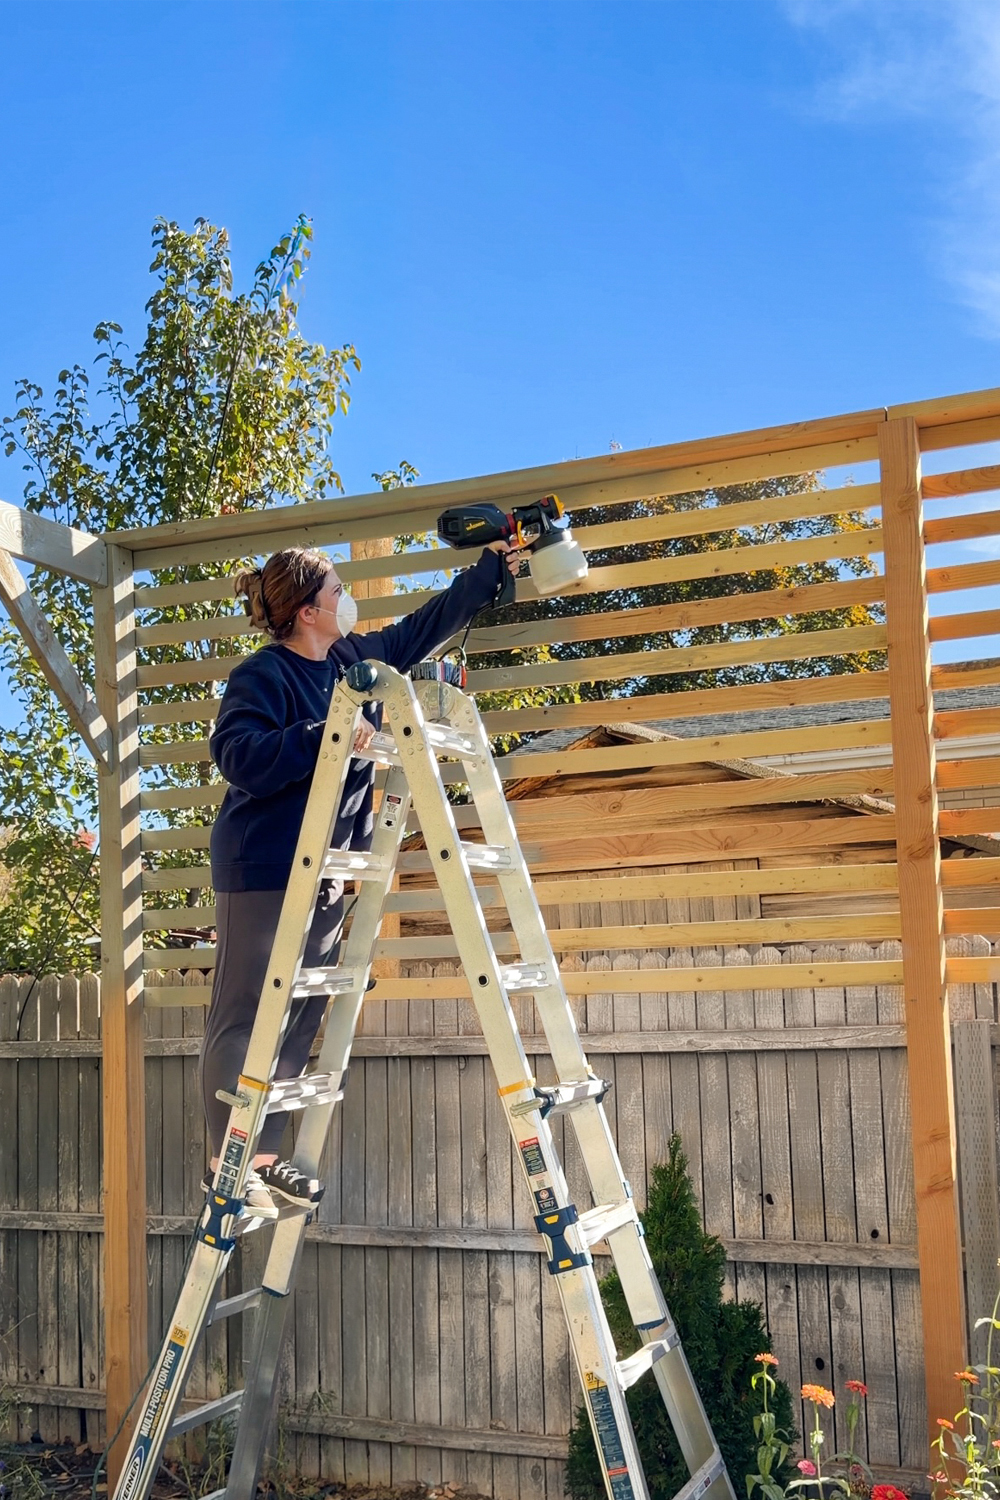
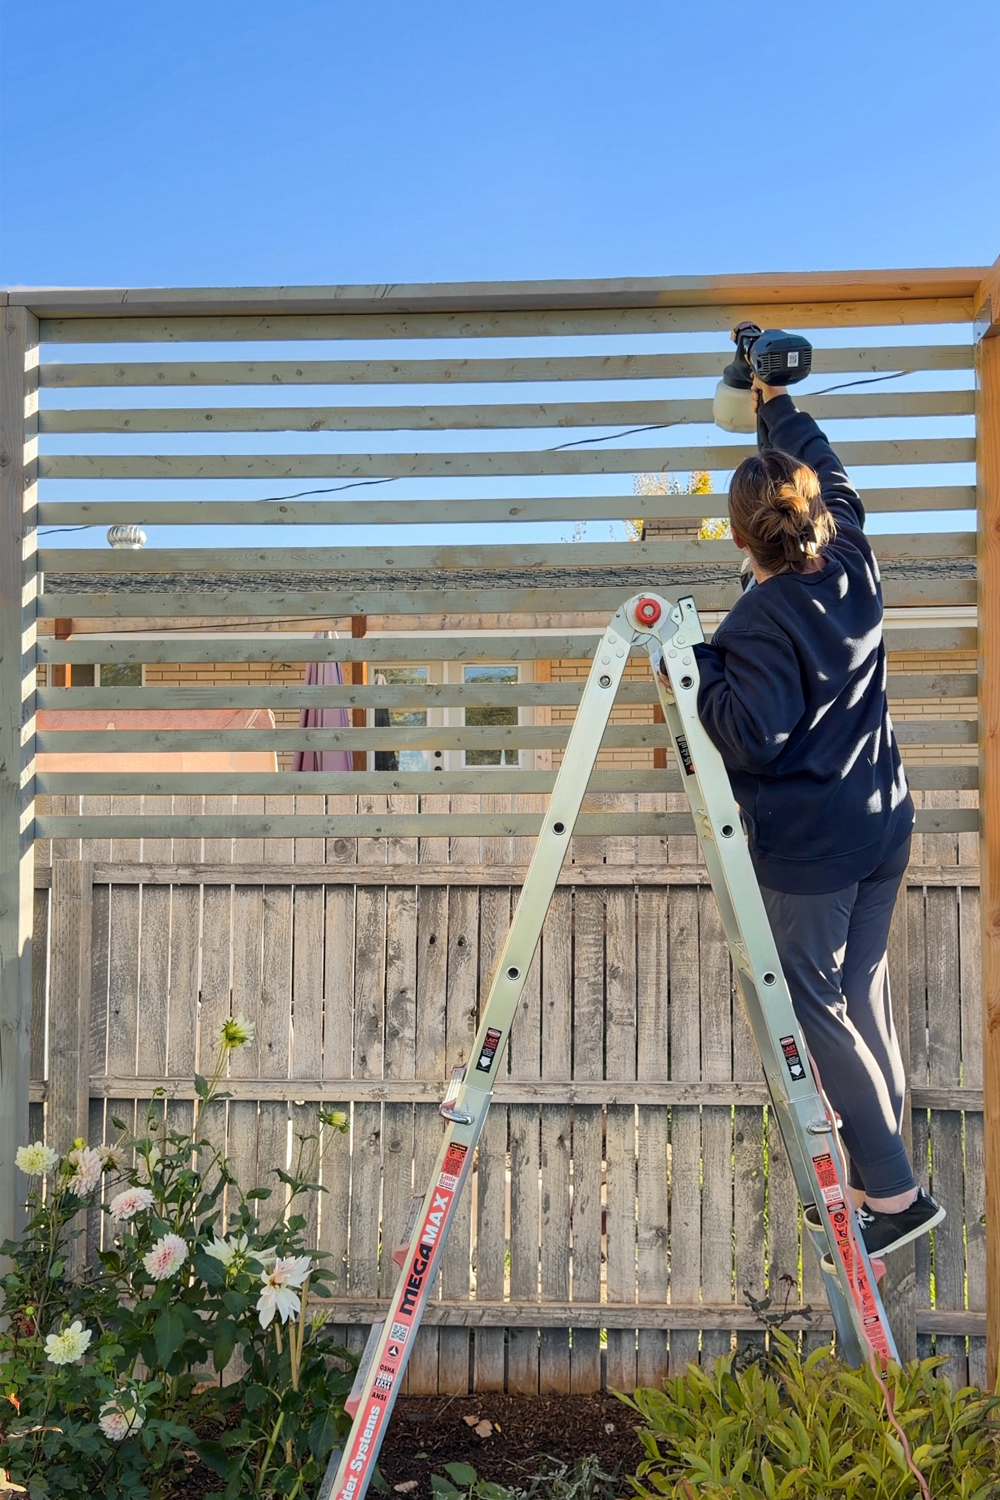
I went with a gray stain for a couple of reasons. First of all our fences are stained gray and I didn't want this pergola to stand out with a contrasting color. The gray color also "blends" into the sky a bit better. Until it can get covered in vines I didn't want it to stick out too much.
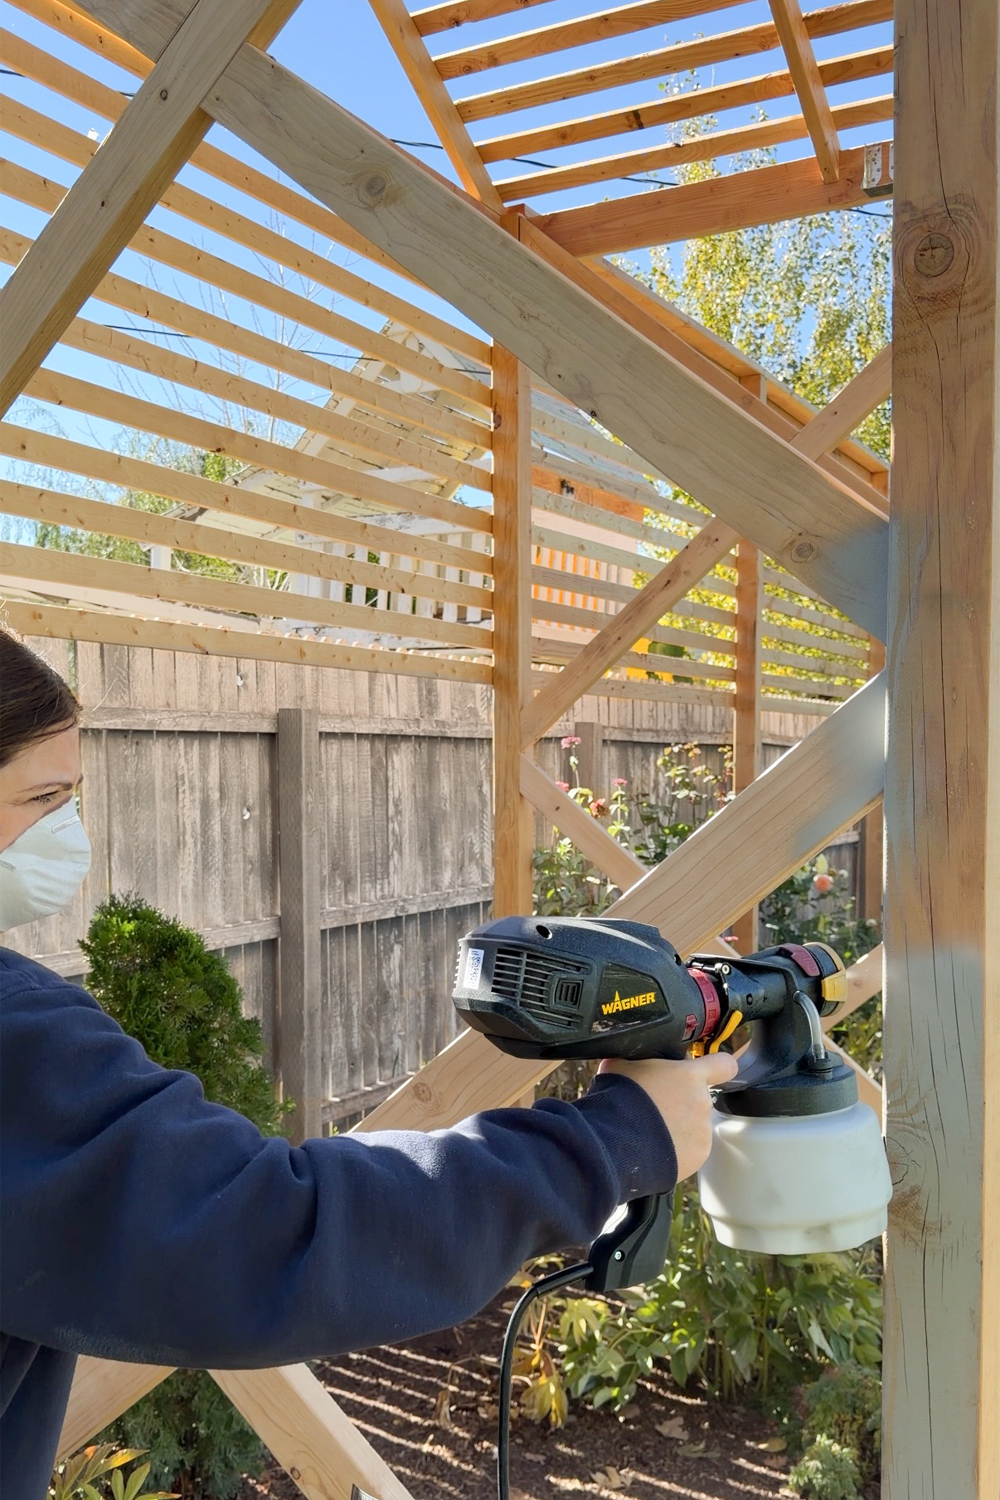
Second of all, because this will be covered in flowering vines and climbing roses, it will be hard to restain it years down the road when it needs it. As the wood naturally weathers it will turn gray anyway so the hope is that it will be less obvious when the stain wears away.
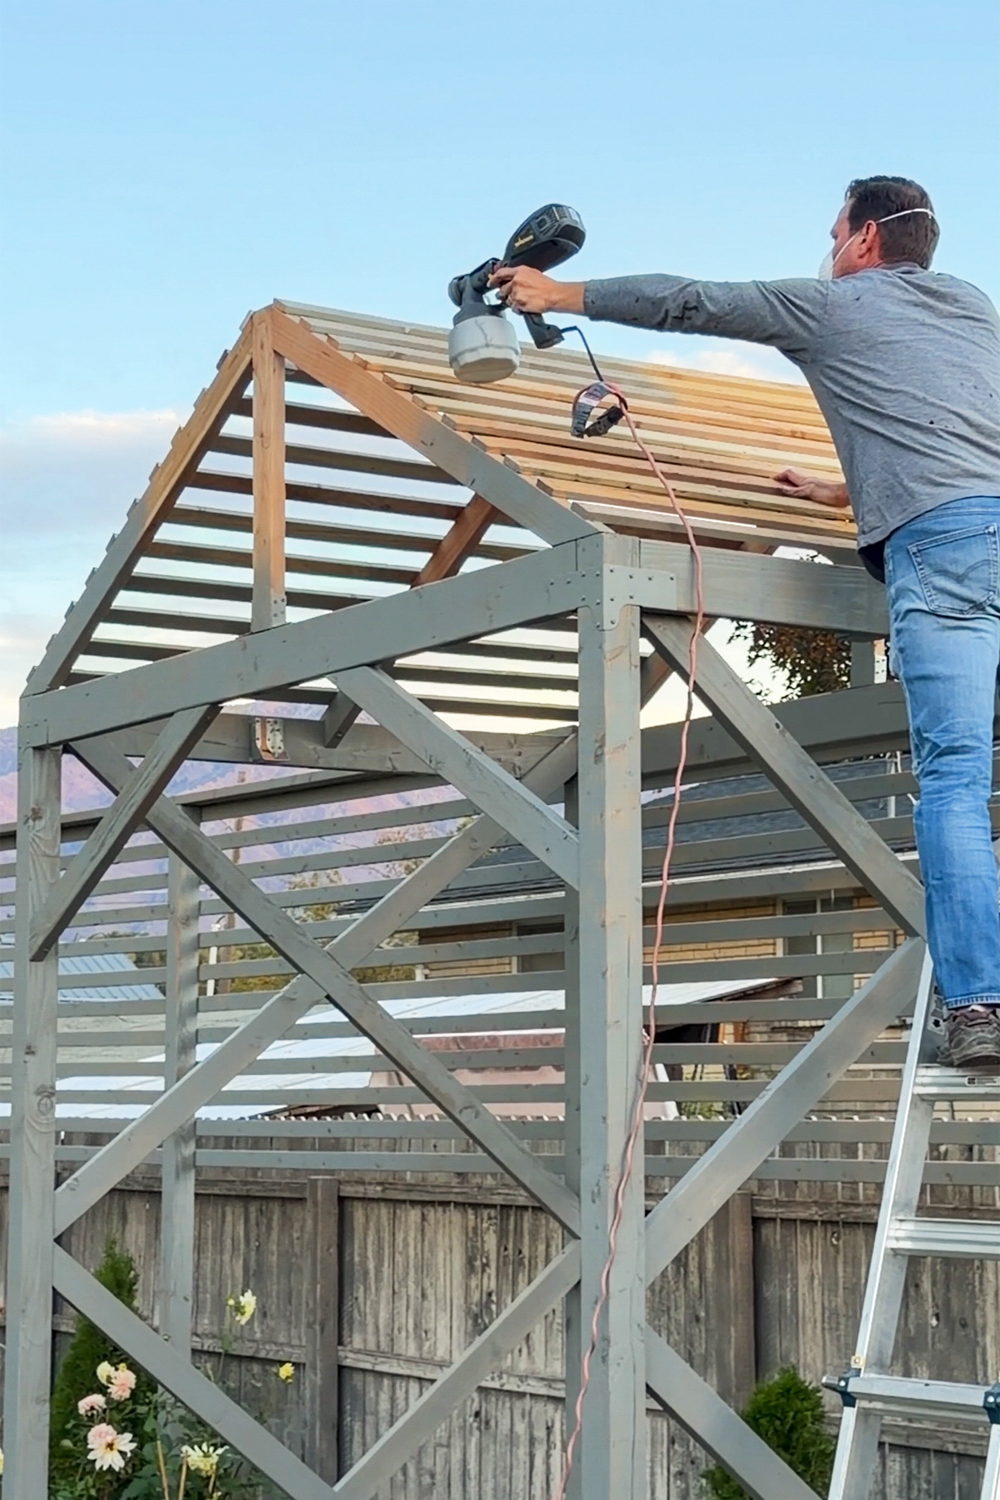
Because this sprayer is amazing and has a powerful spray, I was able to stain everything but the tippy top of the pergola! All without going above the 4th step. Shane was able to spray the top after work before it got dark.
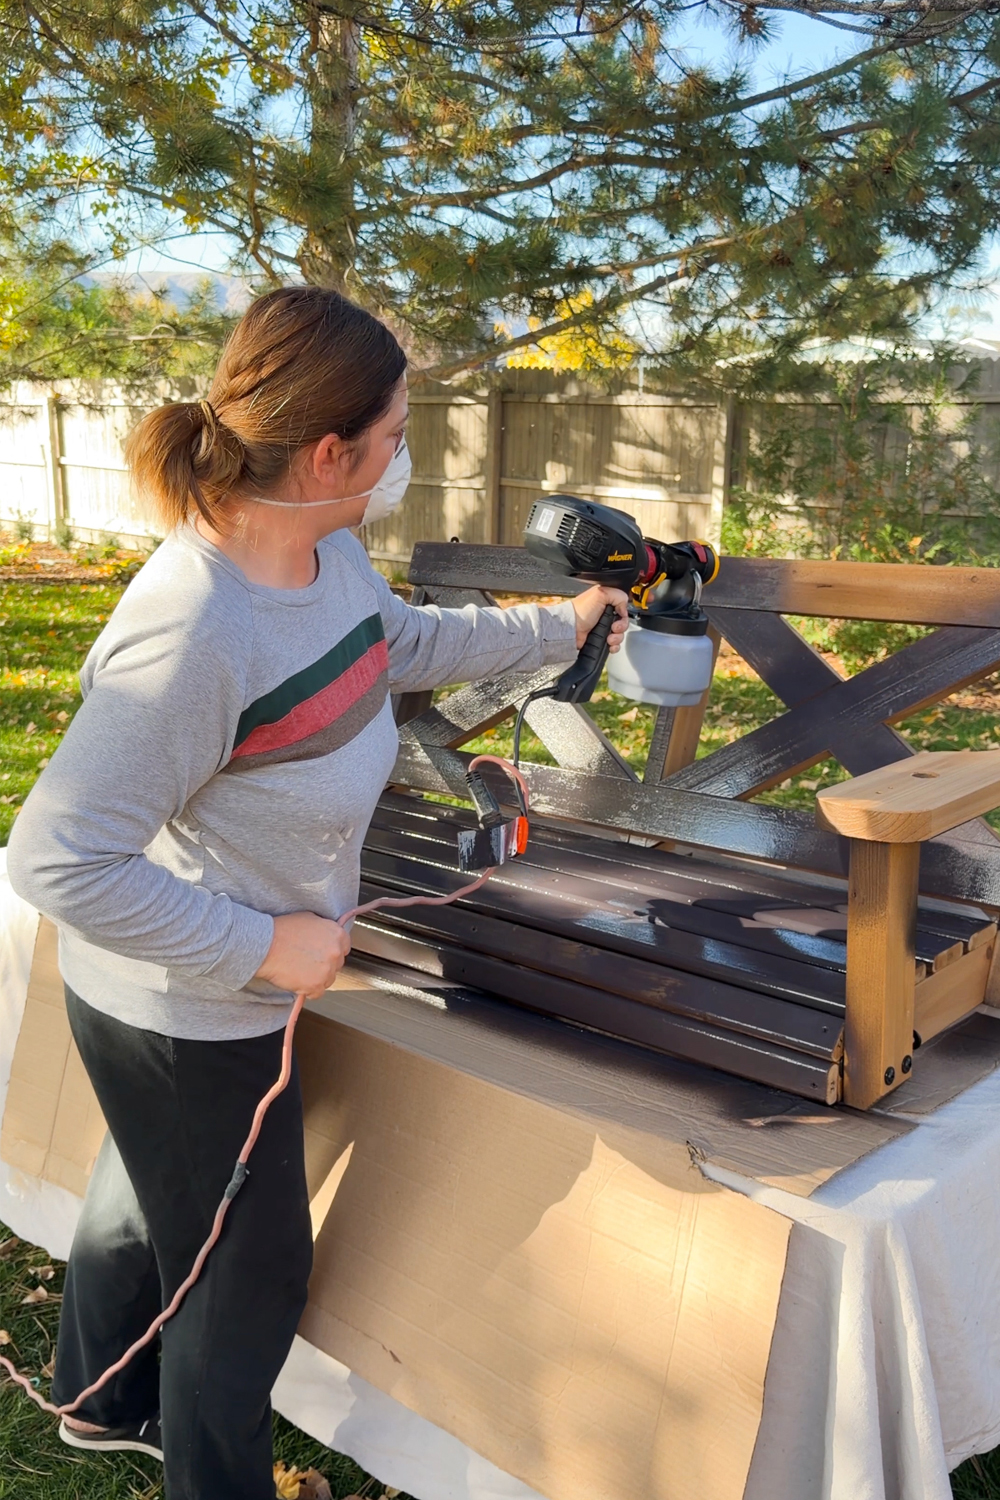
After spraying the structure I had enough sunshine leftover to also spray the porch swing! I chose a dark brown to match all of our gates and to create contrast.
We are delighted with how it turned out! I love that the X details on the sides match the arbor in the very back of our yard and the garden fence.
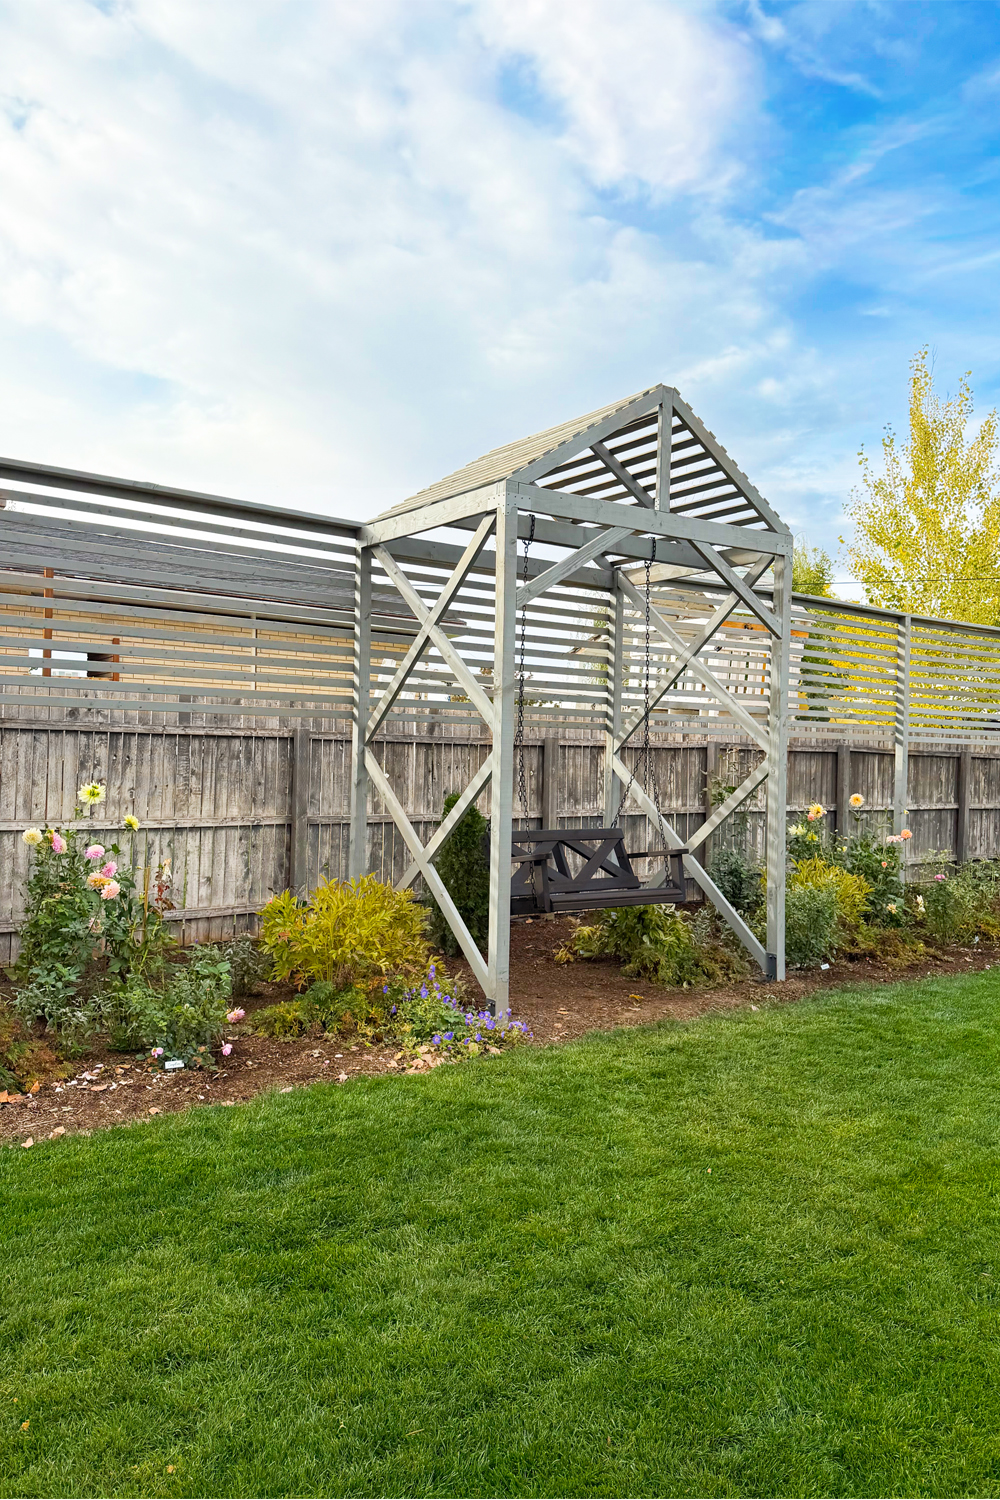
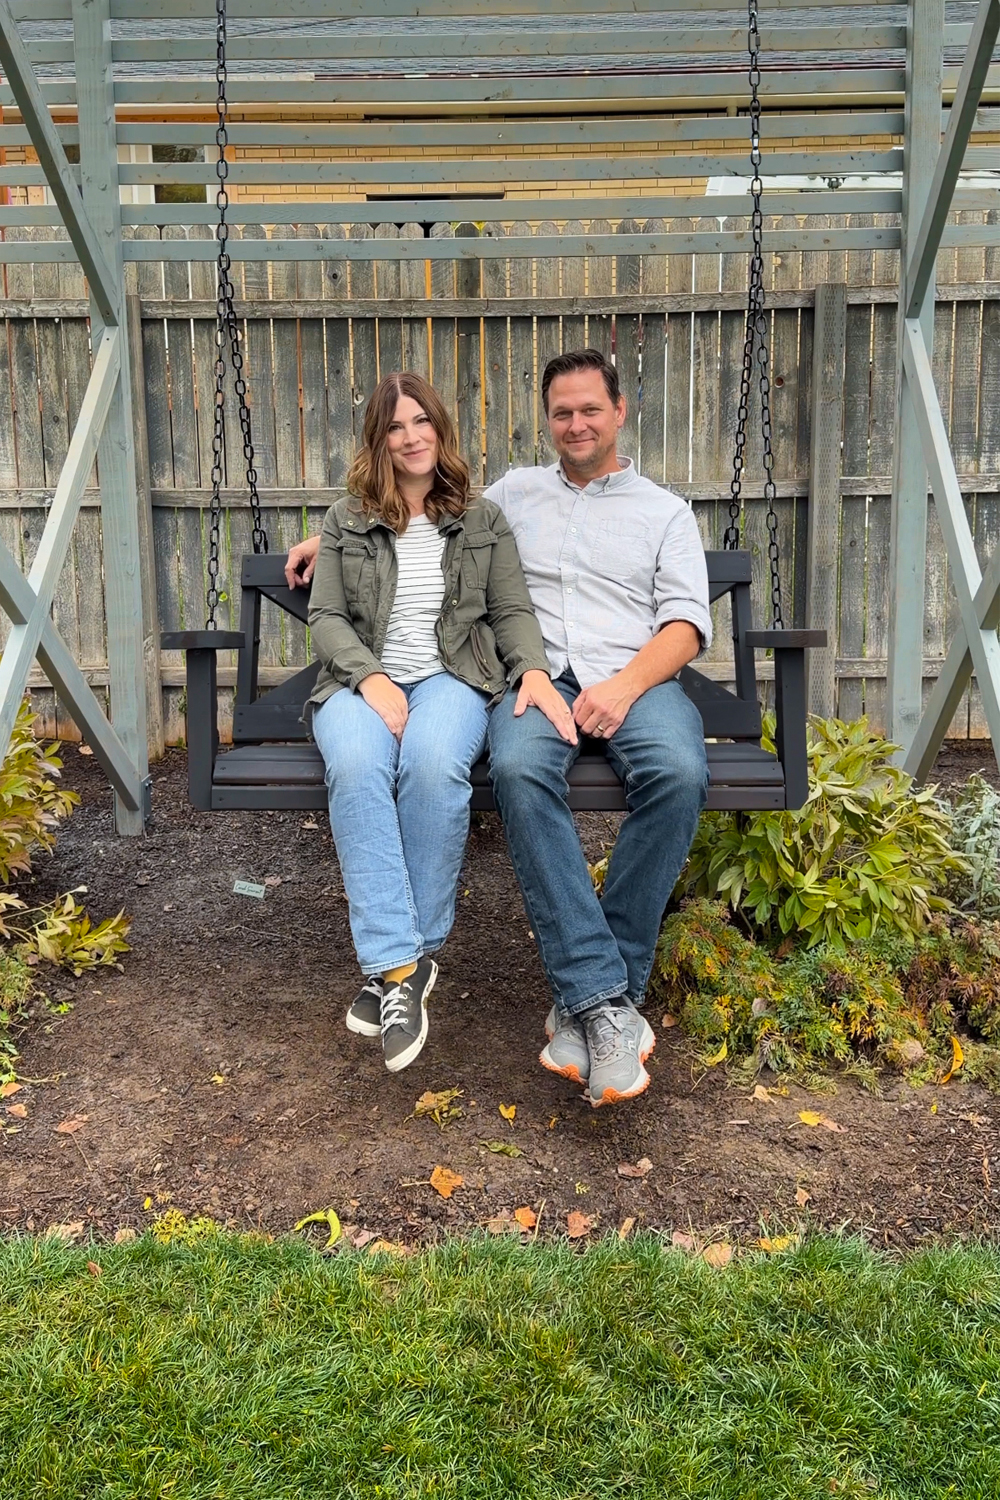
And guess what my view is when I am on the swing? My garden! If you can decided where you want your swing, why not choose to look at your happy place?
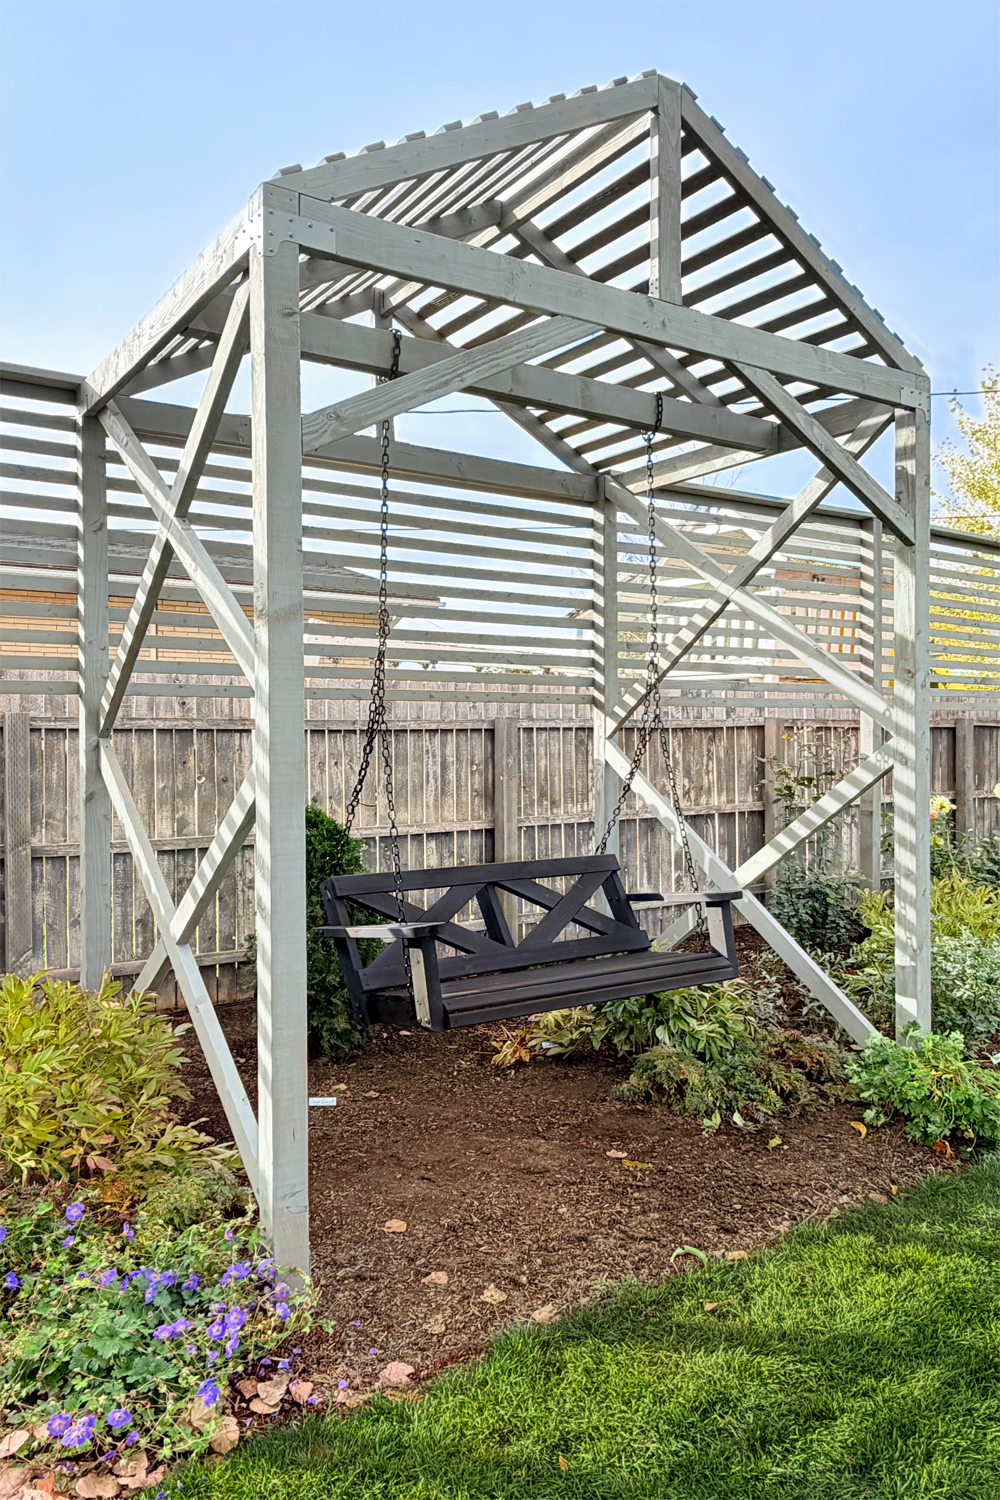
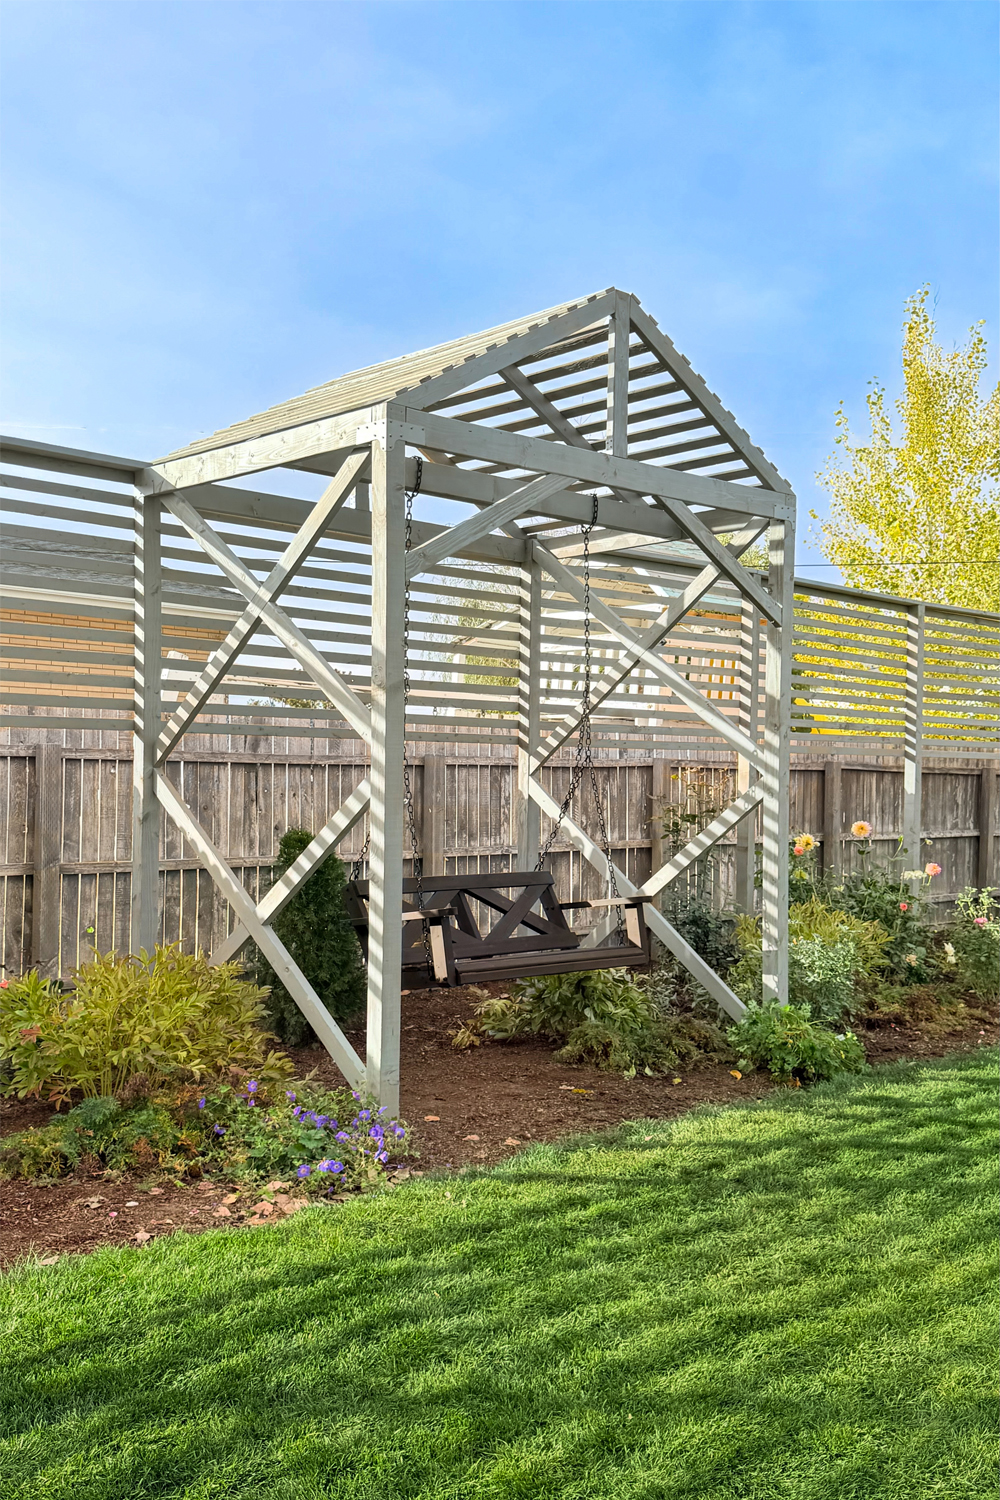
It is really hard to photograph something this large and it never looks exactly like it does in real life, but I really am so happy with how it turned out! And I was thrilled the sun peeked out long enough to take a few shots.
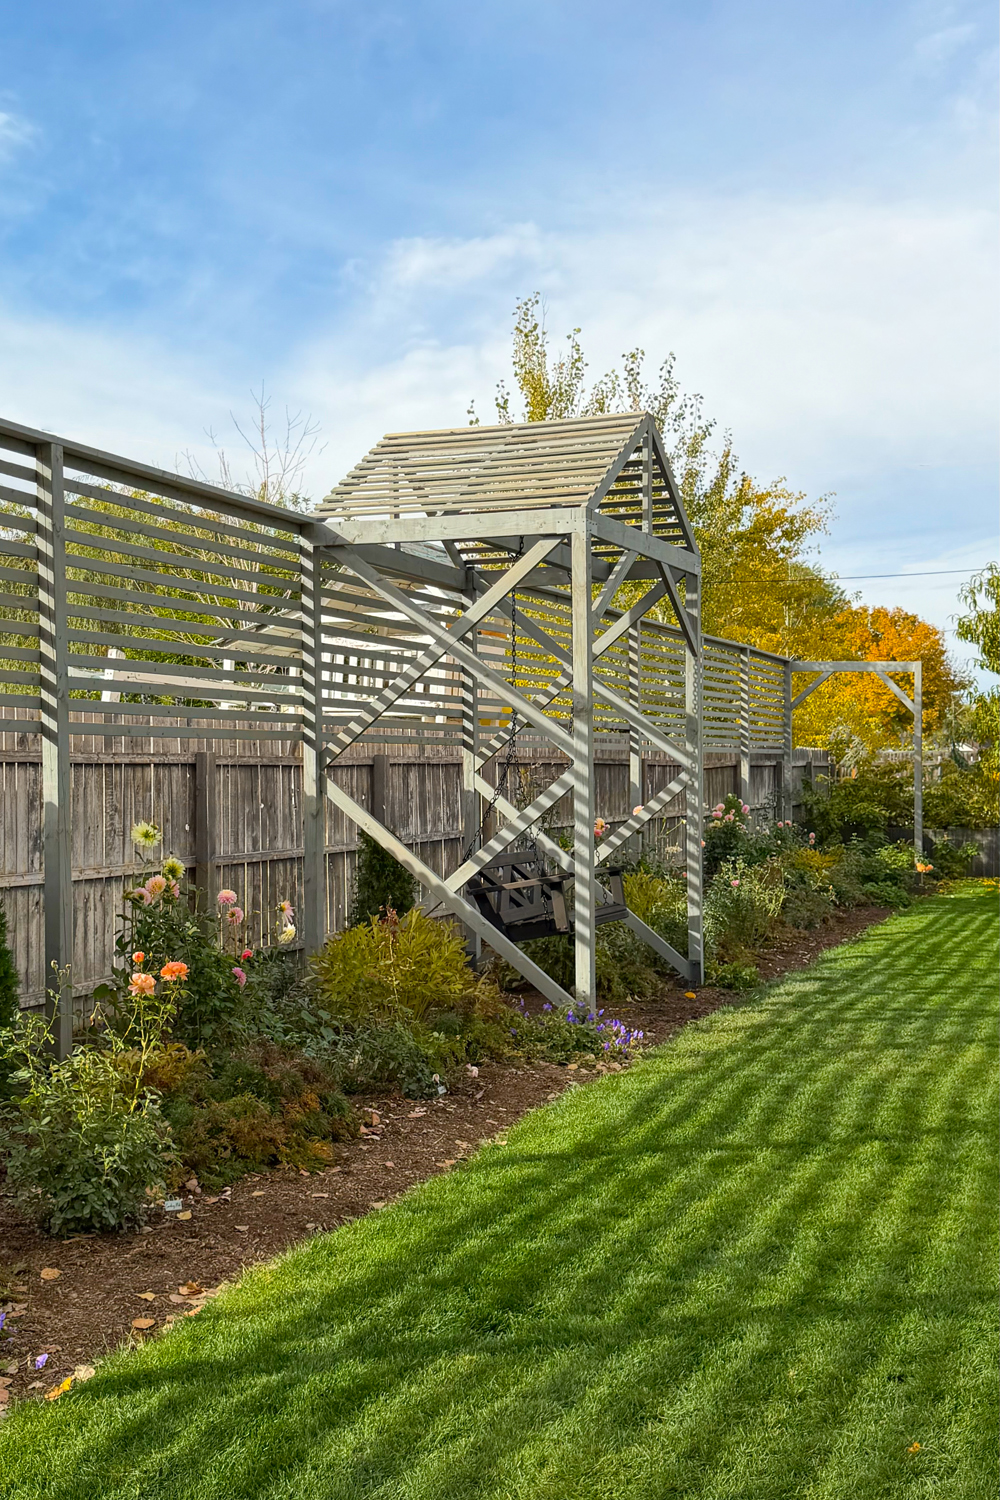
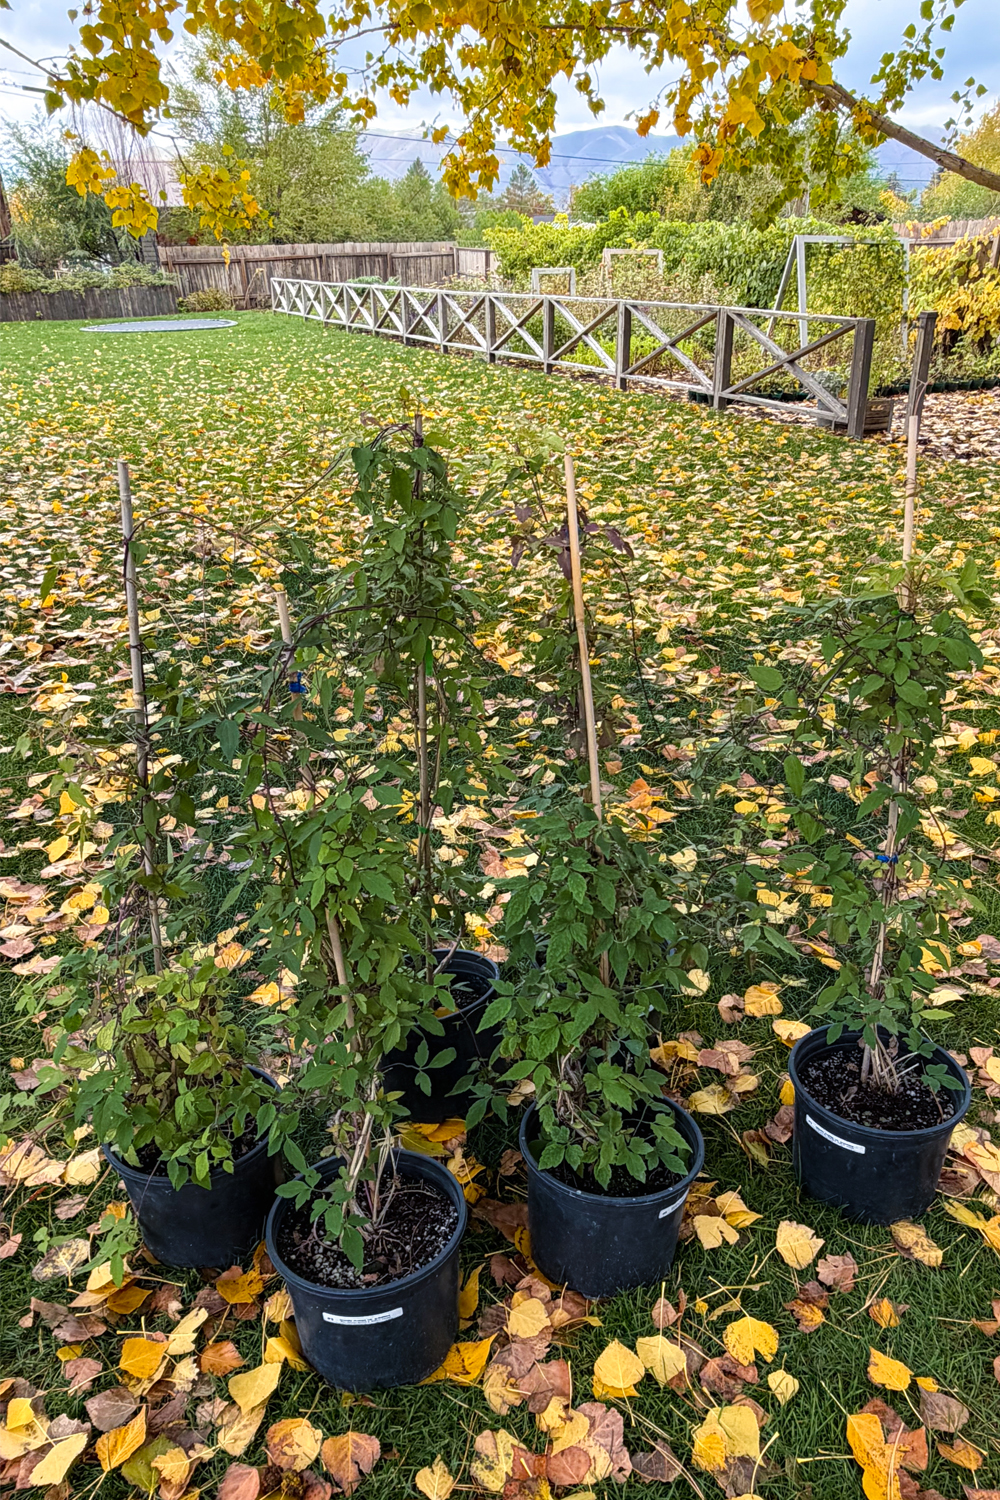
It will be even better when the clematis vines and roses grow up and fill out! I just need it to stop raining long enough to plant them, haha! The clematis will grow on the side panels and the roses will climb up the center part of the pergola over the swing. I will need to add cattle panels to the X details on the side to give the roses more surface to grow on.
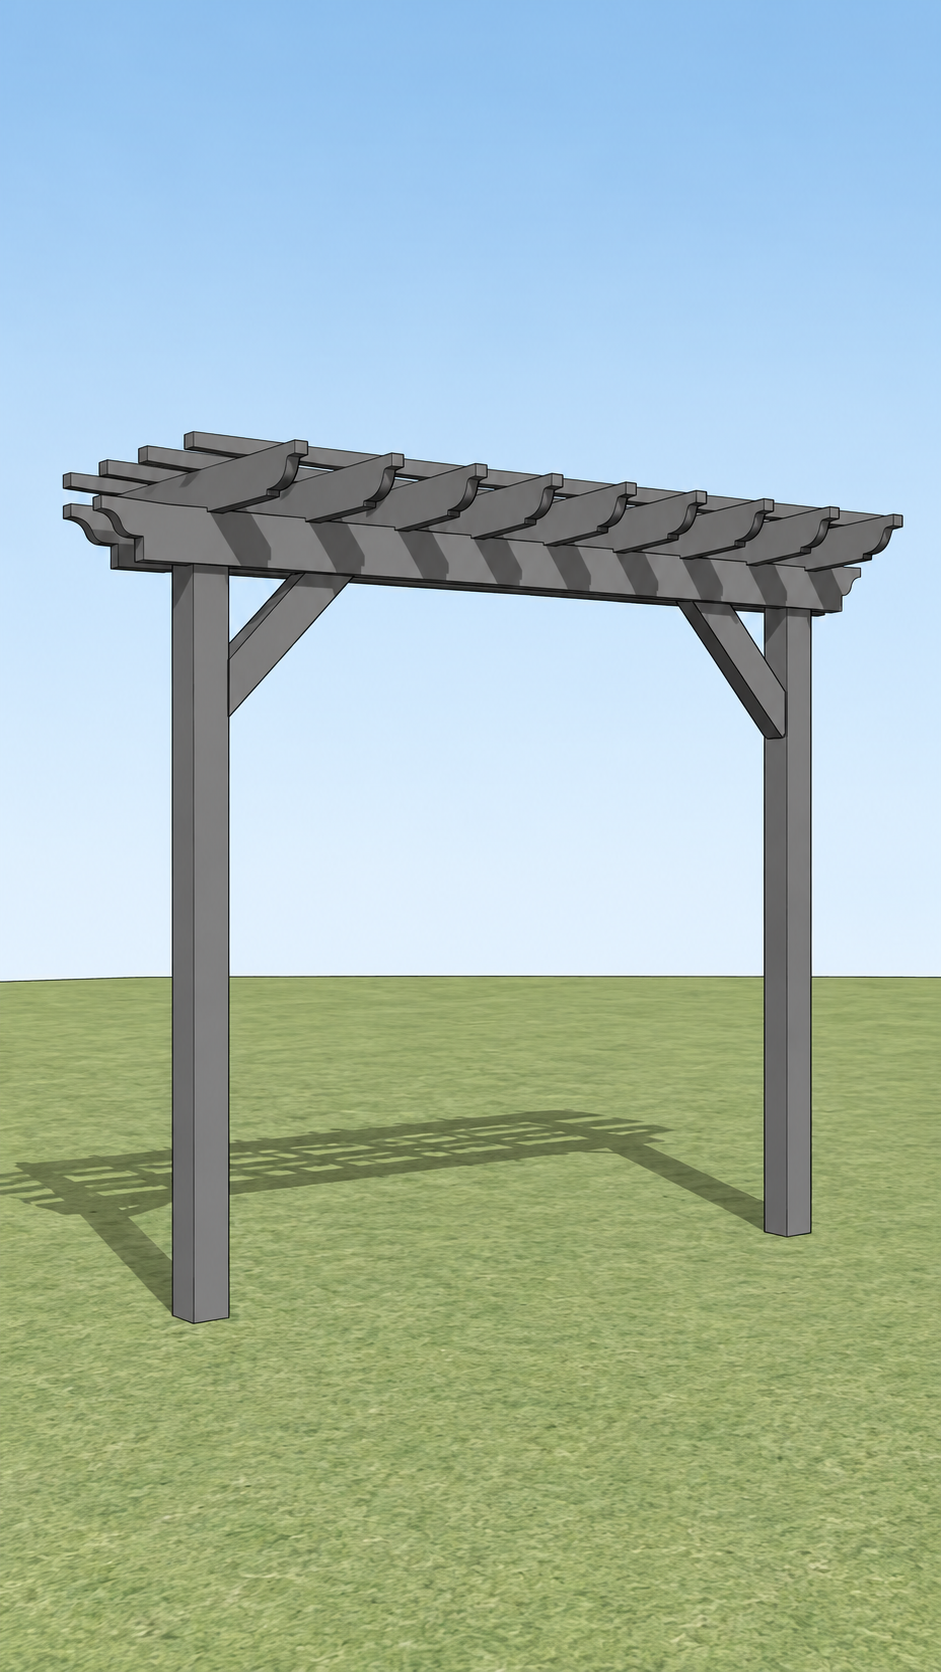
Originally we were going to add an overhang like a traditional pergola but I was worried it might create too much shade for the plants below. What do you think? Should we add an overhang in the spring? We are still debating....
Even though it took a long time to complete building a pergola structure in our yard and we had to work around Shane's schedule (and mother nature's downpours) I am so glad we pushed through and completed this project. It has been on our to-do list for 5 years!




Comment Below!