
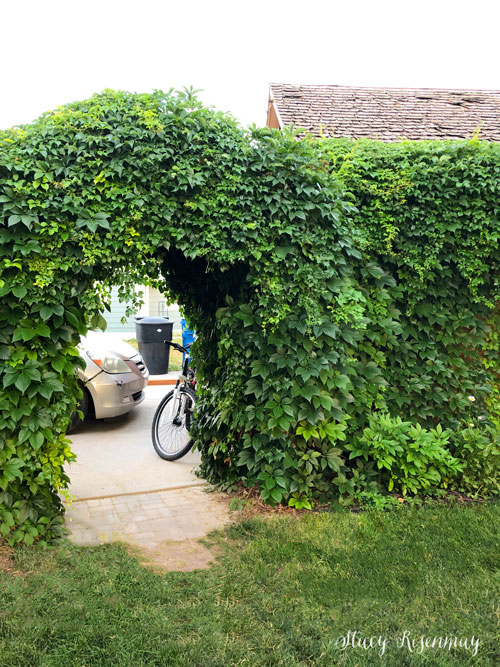
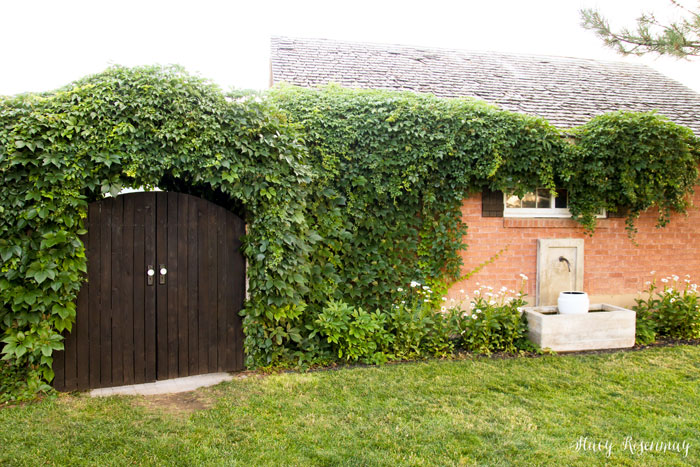
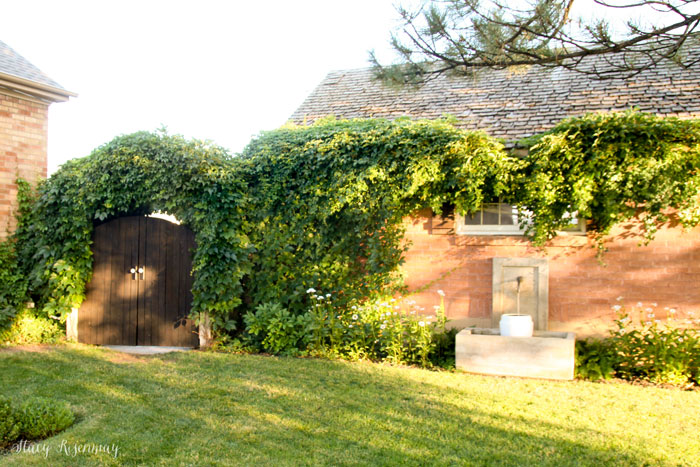
I adore the arch covered with vines that leads you into our backyard. I don't love that while we sit on our lovely patio, that I see bikes, the garbage cans, and our vehicles parked. The neighbor's windows also look directly into our yard. Since this year's theme with all our outdoor projects has been "privacy", it seemed fitting to build a gate for the archway. Building a backyard gate is fairly easy!
This post is sponsored by HomeRight but all ideas and opinions are 100% my own. This post contains affiliate links.
Before Building a Backyard Gate:
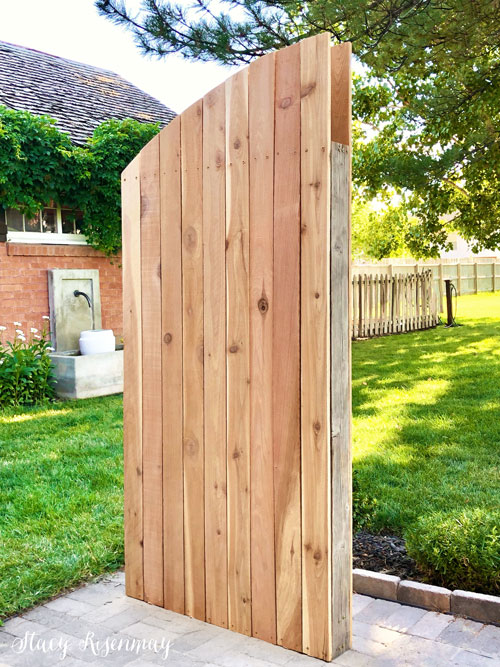
I wanted this one to match the other two gates we have in the yard (The Secret Garden Gate and the Planter Box Gate) so I build the gate and then made it rounded at the top. I even have a little tip to make that process easier!
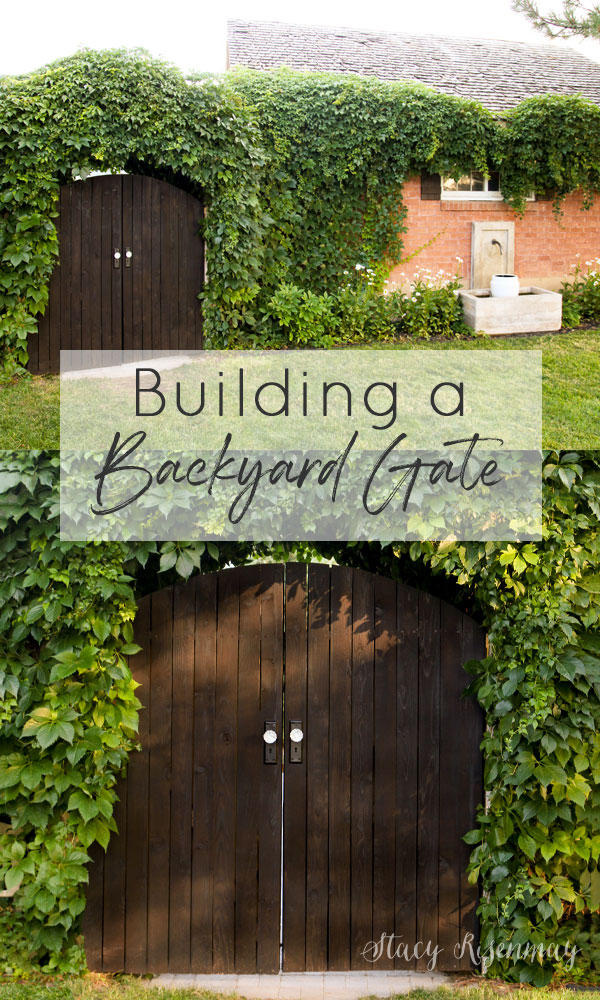
Building A Backyard Gate
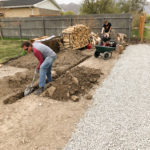
I went ahead and built a basic frame for a gate. A rectangle out of 2x4s with a cross board from corner to corner for added support. The frame was shorter than what the finished gate would be. I bought enough pickets to cover both sides.
Once all the pickets were screwed onto the frame, I marked where the top of the arch needed to be and where the frame ended (see arrows on photos).
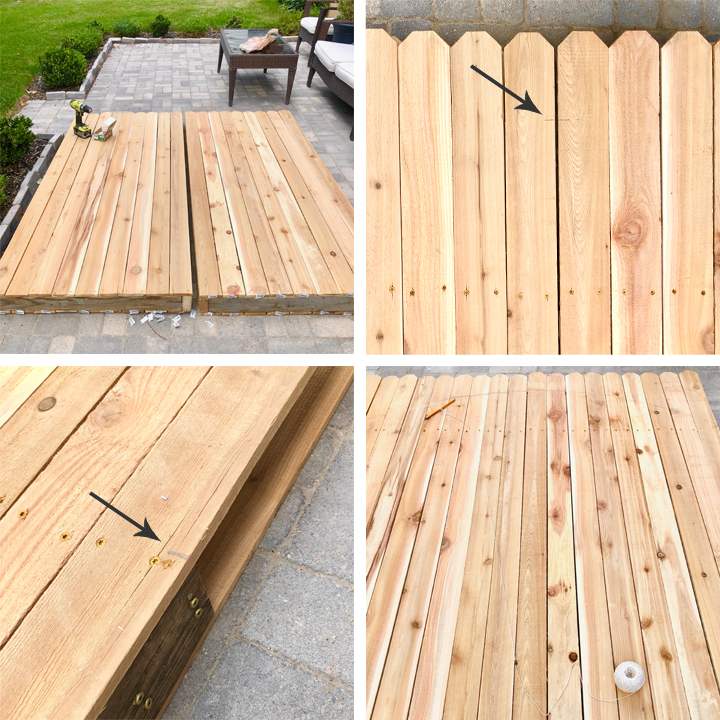
Using string, a tack, and a pencil, you can create an arch connecting those two marks. Play around with the placement of the string to see how how far down the string needs to be tacked in order to get the correct angle.

My tip to make things a bit easier is to nail on a board before you cut the first arch. This creates a pattern that you can use to trace on the other side of the gate to get a matching curve. *Make sure to flip it over to get a mirror image just in case your arch isn't perfect.
Staining A Backyard Gate
Once the cuts were made, I sanded the gates so there weren't any rough spots or splinters. Then they were ready to stain!
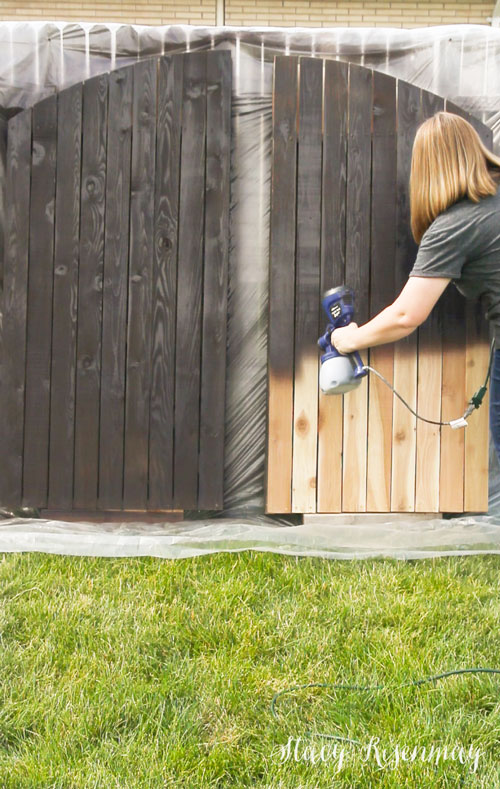
I draped a plastic tarp over our fence to protect it and the grass from any overspray. Adding scrap pieces of wood under the gates help prop them up and makes it easier to spray the bottoms.
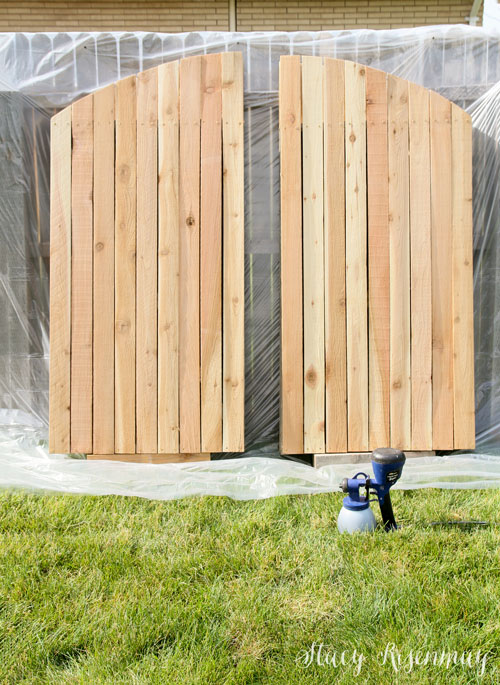
Using the Super Finish Max sprayer from HomeRight, I stained the gates. I will never again use a brush to stain large surfaces. I first stained our fence with the HomeRight sprayer YEARS ago, and I will never go back to staining large surfaces with a brush or roller. A sprayer is the only way to go. Seriously.
The Super Finish Max sprayer is available on Amazon.
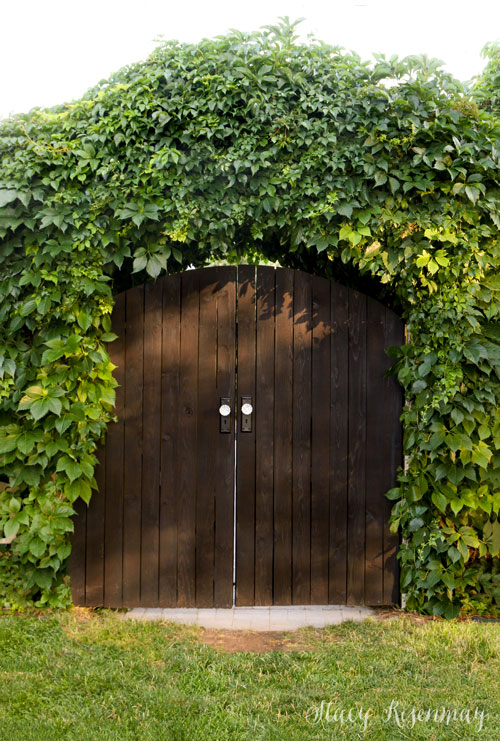
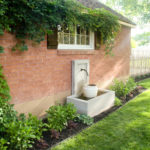
I chose the same dark color I stained the sliding living wall earlier this year.
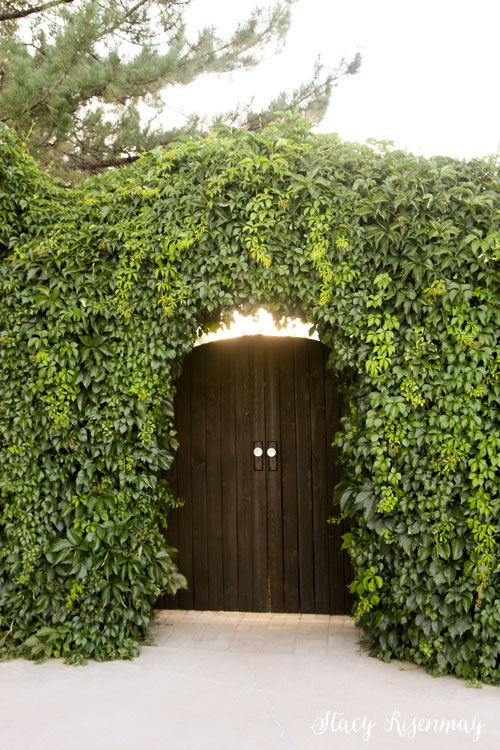
The crystal knob hardware is the same as the Secret Garden gate and I am in love with how it turned out!
Here's a look from the other side...
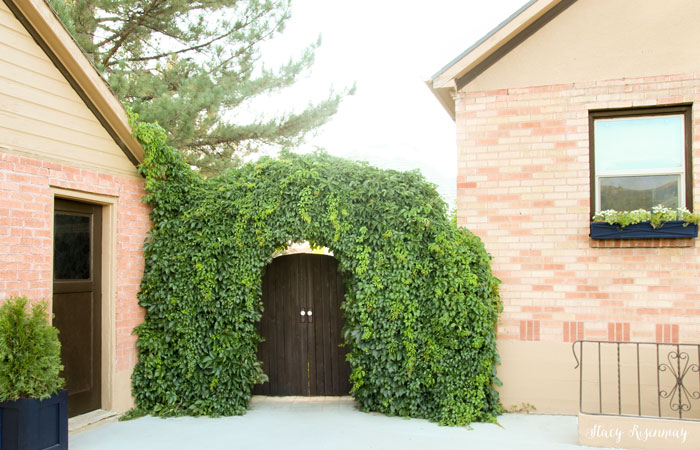
The gate also means that now our yard is 100% fenced and gated in. Our dog, Kevin, can roam free. It also means that as long as we keep it closed (*cough* kids *cough*), stray dogs won't get in to bother our chickens and deer will stay out of the garden.
Building a backyard gate for the arch has been on our to-do list for years. It is one of those projects that as soon as it is done, you think "Why didn't we do this sooner?"
What is on your to-do list that you have been putting off?


So adorable!
Thank you!
That looks great! You have done so many creative and budget-friendly projects in your yard. Thanks for the inspiration!
Thanks! I think outdoor projects are my favorite :)
Hi! Your end result is absolutely charming! I will be using the link to buy the sprayer on Amazon. Could you please tell me what color of stain and the name brand because I really want to make mine look as much like yours as possible. Thank you very much!
I used Cabot stain and the color is Cordovan Brown :)