
You know that feeling of total relief and excitement when you check a big project off your list? I am feeling that today now that my DIY bathroom vanity is done. Yesterday I showed you how I joined the boards together to create wider boards for the sides and the doors. Today I will show how I assembled it and stained it. This is one of my projects I partnered with Minwax on and I am loving the color!
Even if I didn't want to, I would have HAD to build this vanity because our bathroom is so small and the vanity that was in here before was custom and much smaller (depth wise) than one you just buy. If I bought one from a store, it would have not left us with enough space between the bathtub and the vanity. Luckily I found a sink at IKEA that was a good fit for our extra shallow vanity. I did find some wall mounted vanities and ones with legs at IKEA that might have worked depth wise but since we have the laundry chute, I couldn't go with one that showed the floor. Plus, I of course have a "vision" of what it needed to look like.
I wanted to build this vanity out of a hardwood instead of pine. I purchased some ash wood from a lumberyard in SLC. It comes in rough cut form, meaning it has rough edges and has not gone through a planer. The boards are also all different widths and lengths. It took a lot more effort to build this because of that. Shane and I had to rip cut 1x2s instead of just buying 1x2 boards. Usually I fly solo for furniture builds but this time I pulled out two saws and Shane and I both cut and cut. There was a lot of sanding too and Shane stepped in to help one evening with that as well.
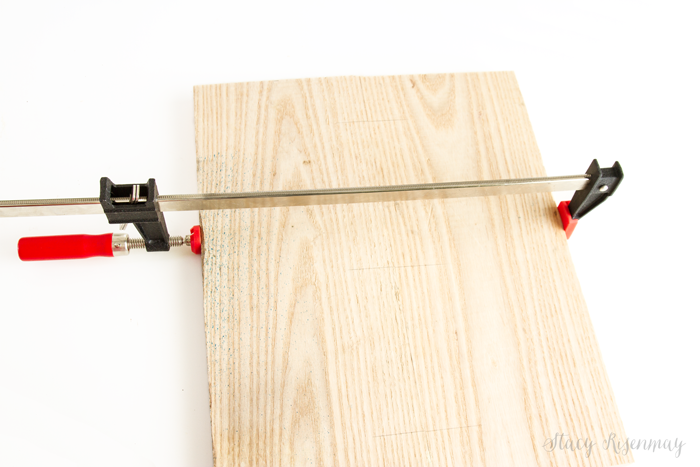
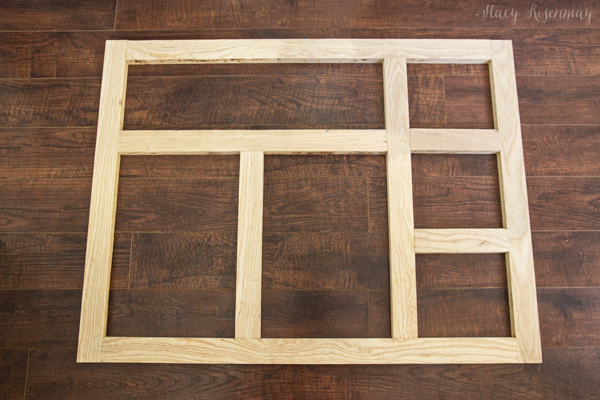
I built the face frame out of the 1x2s we cut.
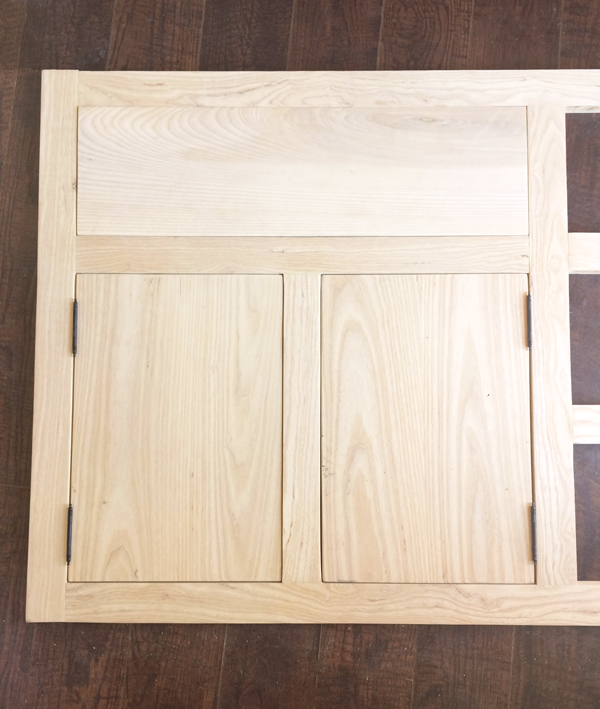
Getting the doors and drawer fronts to be inset and fit (almost) perfectly was kind of difficult. I cut the doors and drawer fronts as close to the size as I could and sanded them until they fit with room for the hinges and to open and close without rubbing. Pardon the crappy cell phone picture. I was so unbelievably covered in sawdust and I didn't want to risk getting any in my nice camera.
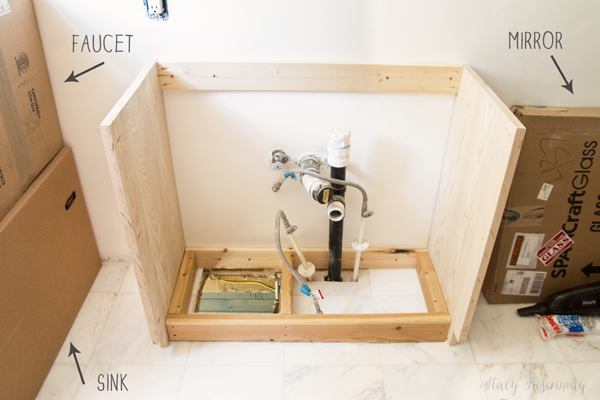
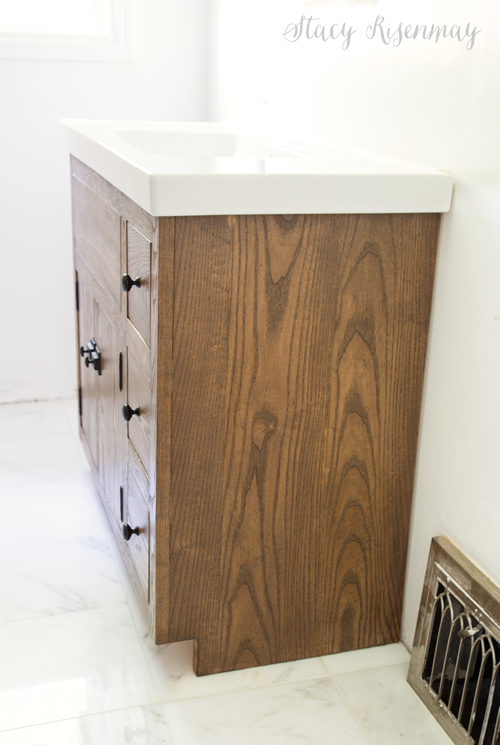
The sides are three boards glued together with a notch cut out for the toe kick. After building the base and attaching it to the wall, I added a 1x4 to the wall that then got attached to the sides with pocket holes.
Pardon the mess, but those boxes hold some fun things!
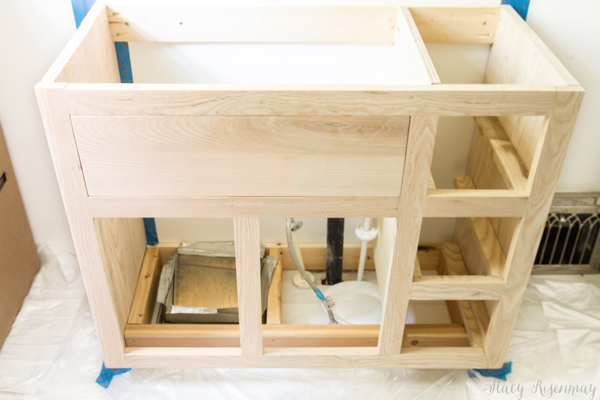
I added the face frame and faux drawer also by screwing through pocket holes. A divider was added in between the door area and the drawers. I decided since the old cabinet had wood rungs for the drawers and all the builtins in our house do too, that that was how I would do the drawers. Plus it made it easier for me to do the drawer fronts in the style I wanted.
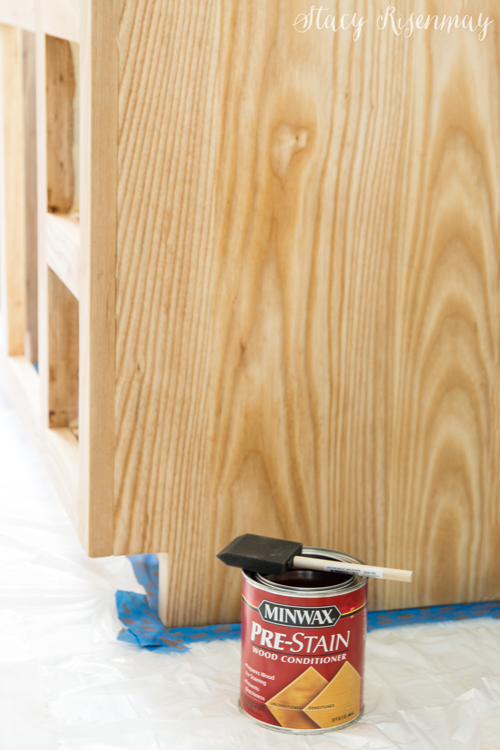
Once it was all built, I used pre-stain conditioner on the base, doors, and drawers. If you are going to be using oil based stain, make sure to use the oil based conditioner.
I always test out stains on a scrap piece of wood before using it on the actual project. Each species of wood will take stain differently and while one stain looks one way on pine, it may look different on ash. I tested out all my favorite go-to colors from Minwax and decided that I loved the Weathered Oak paired with Provincial. Here is how I did it!
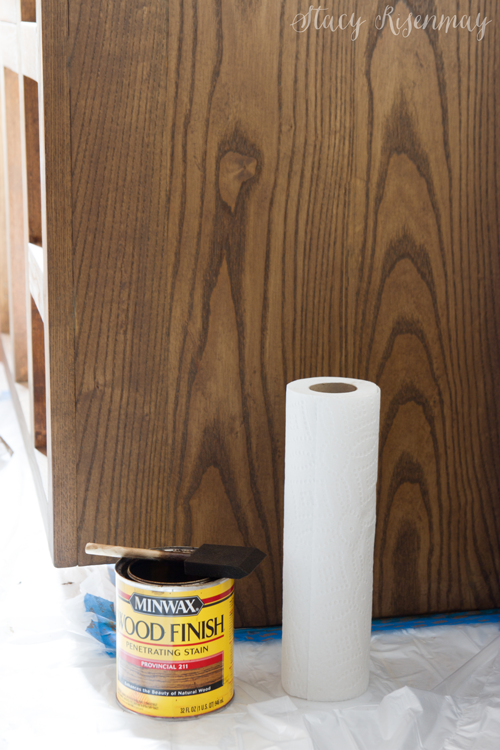
I started out with one coat of Weathered Oak. I almost stopped there and kept it as is, but because ash has more red/pink undertones, it came off a bit pink. But I was tempted!
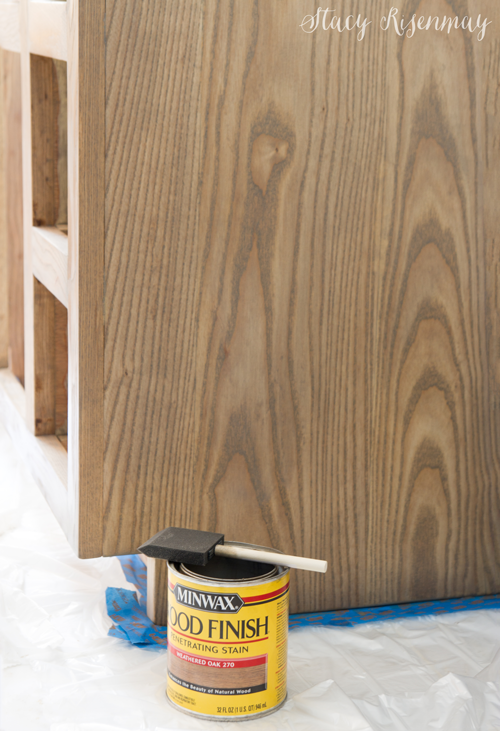
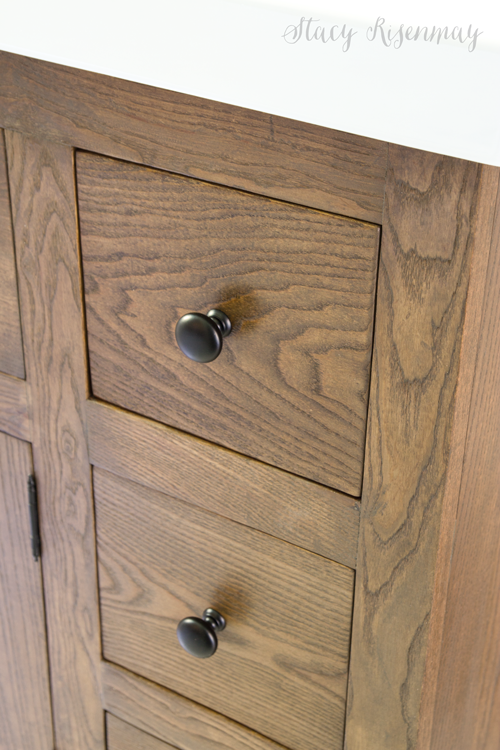
Next I got the Provincial stain and brushed on a coat. Instead of waiting the 10 minutes for it to soak in like is suggested, I wiped it off with paper towels after only a minute or so. I really love the medium brown tone with a hint of gray!
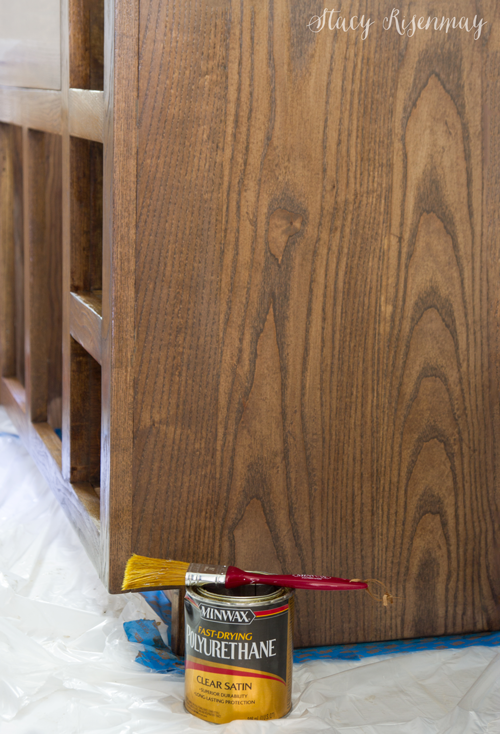
I waited 24 hours for the stain to completely dry before applying the polyurethane. I chose the satin finish because I didn't want it very shiny.
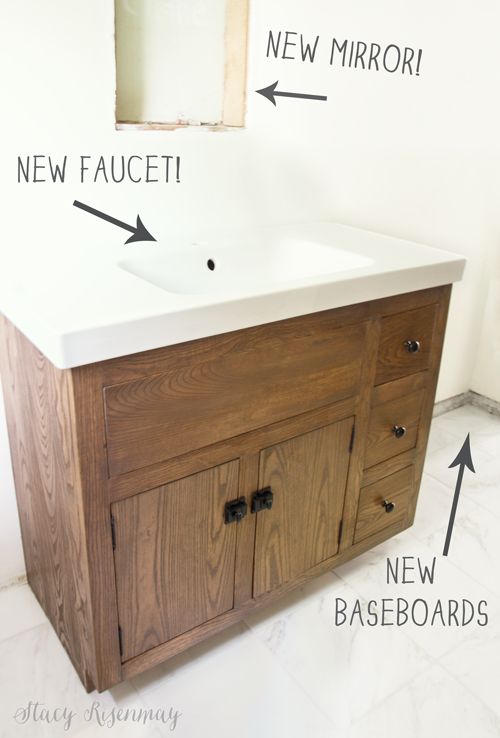
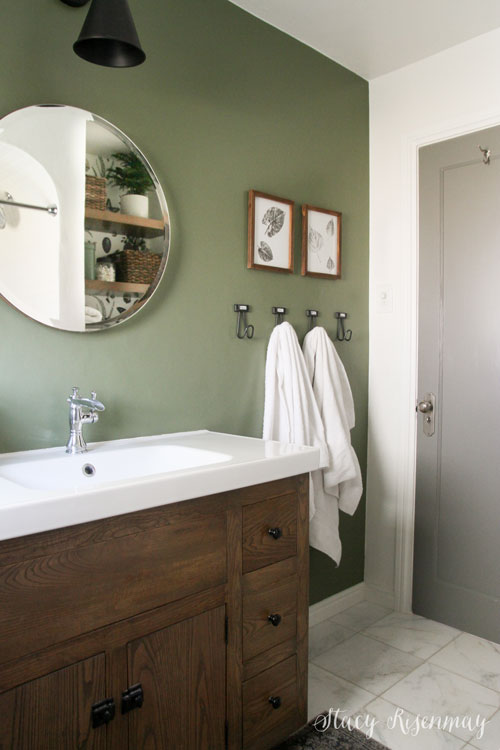
After adding the hardware I may or may not have sat in my bath tub and just stared at the vanity. It came out just like I had envisioned!
This weekend is Labor day weekend and I will be spending it adding the new light, mirror, faucet, and baseboards! I will also be returning this sink because when we opened the box, we noticed the corner was badly chipped. I set it on the vanity for the photoshoot but will need to go get a new one.
The two biggest things are done, the tile floor and the vanity, so now I get to do all the fun little stuff! I can't wait to show you the finished space! More importantly, I can't wait to not have to share the TINY down bath will 5 guys :)
UPDATE: Here is the post with the faucet, mirror and light installed. Upstairs Bathroom Renovation: One Step Closer
Free Art with Leaves
This project was sponsored by Minwax but all ideas and opinions are all my own!


That is beautiful and you are a professional builder and Rock Star for sure. I think you can do anything!! Really enjoy your blog.
WOW! I am so excited to see the progress you have made on this bathroom!!! The vanity is just lovely! Can't wait to see what else you do!!! Thanks for sharing!
Great job! Where did you find the vintage latches for the doors? Love those!
D. Lawless Hardware :)
That is gorgeous! What a project to undertake! You did an amazing job.
Love the style of your new cabinet. What a vision and wonderful job. Can't wait to see what's next.
Stunning job - and having everything inset like that not only makes it all look neater and cleaner, it saves you some space in walking around too.
(And the second stain made ALL the difference.)
The vanity looks AMAZING!!!! Wow!!!! You did a beautiful job. Can't wait until the bathroom is totally done. Love your website and enjoy your tips and stories and helpful information. Thanks!!!! :)
This looks so good, I am going to try it on my bathroom!
Wow this looks incredible!
What a gorgeous piece! It turned out so beautiful!
It's lovely! Perfect stain color choice too :)
This is fantastic! You did such a great job!
Stacy, how did I miss this!? This is STUNNING!! Truly.. I just love this. Well done my friend!!! <3
Great job. Can you do a tutorial on the drawers with wood rungs?
I'm sitting here covered in sawdust after just sanding back my old vanity and trying to find stain options. I came across your bathroom reno and I'm SUPER impressed you build your own vanity. I love how the doors and drawers are flush with the surface. Thanks for the inspiration during my "can't-this-project-just-complete-itself" coffee break.