
Are you sitting down? Because I finally have some progress on my upstairs bathroom! I know, it's shocking. Having a blog and working with sponsors is awesome but the downside is that sometimes you are not following your to-do list in order. I have to complete things according to when they are due and so sometimes that means ignoring a partially done project like my bathroom. I am finally in a place where I can devote at least some of my time and attention to finishing the bathroom and I am thrilled!
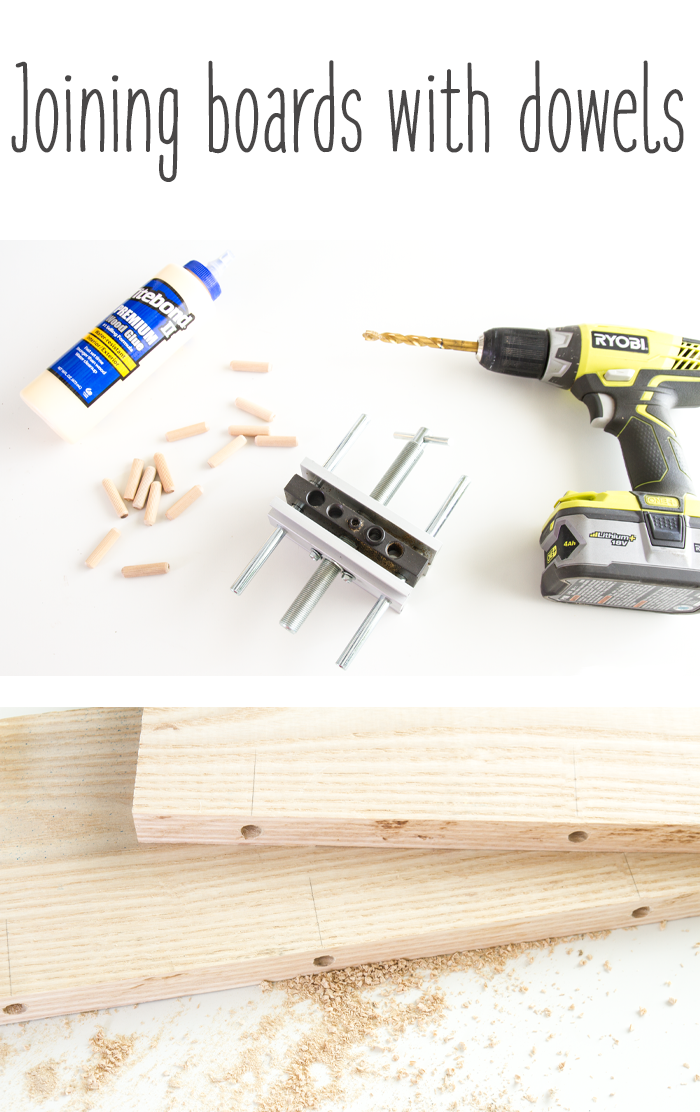
I finished building the vanity. Yay! I am so happy with how it turned out and I will be sharing it this week. I wanted to build it out of hardwood instead of pine so I went to lumberyard that sell hardwood in Salt Lake City and purchased some ash. The boards come in rough cut form (unplaned and all different widths and lengths) so it took a lot of work to get it from the rough cut boards to a pretty vanity. One thing I needed to do was to join multiple boards to make larger boards for the doors and sides. I decided to join the boards with dowels.

Supplies:
(affiliate links)
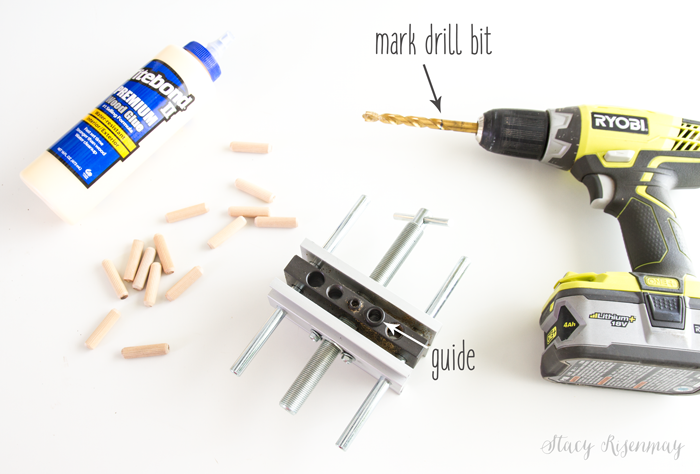
Wood dowels
Drill bit same size as dowels
Pencil
Drill bit collar (optional)
I bought this dowel jig because it is self centering and has the capacity to drill and join not only regular boards but also wide boards like 4x4s. The price was right too. Some jig are super pricey!
The jig comes with different sized guides so you can use a variety of sizes of dowels depending on the thickness of your wood. Use a drill bit the same size as the dowels you will be using. I have collars for drill bits but if you don't, you can mark your drill bit with a marker so you know when to stop drilling. To find the right spot, stick your drill bit through the jig's hole. You want it to stick out half the length of the dowel.
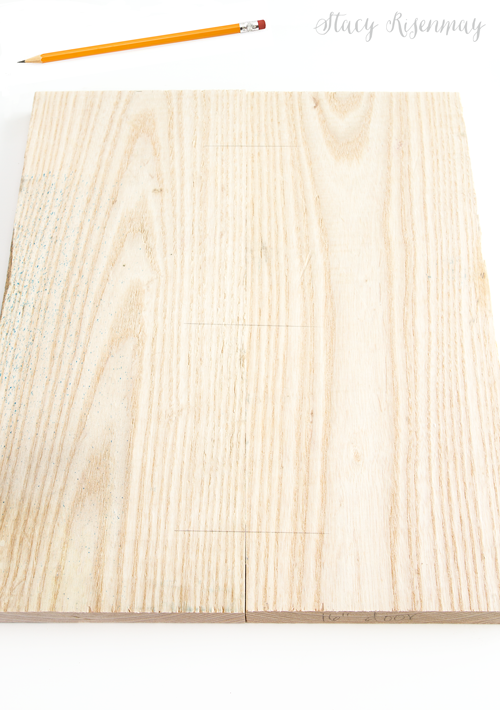
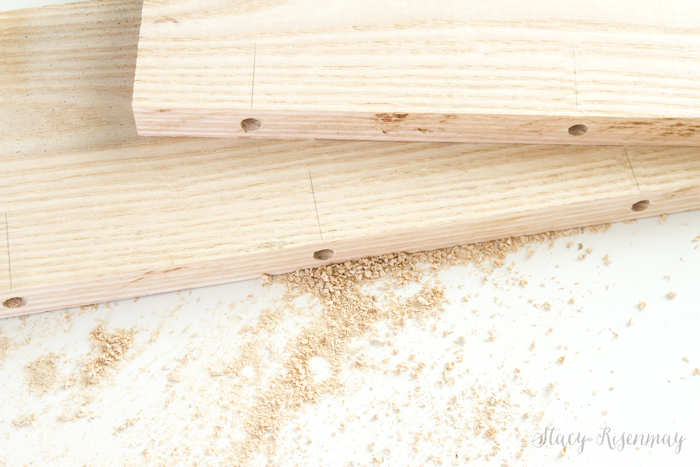
Lay the boards together that you will be joining. These two boards pictured turned into one of the vanity's doors. The sides of the vanity had three boards joined.
Along the seam, use a straightedge and draw a line across both boards at the points where you want the dowels.
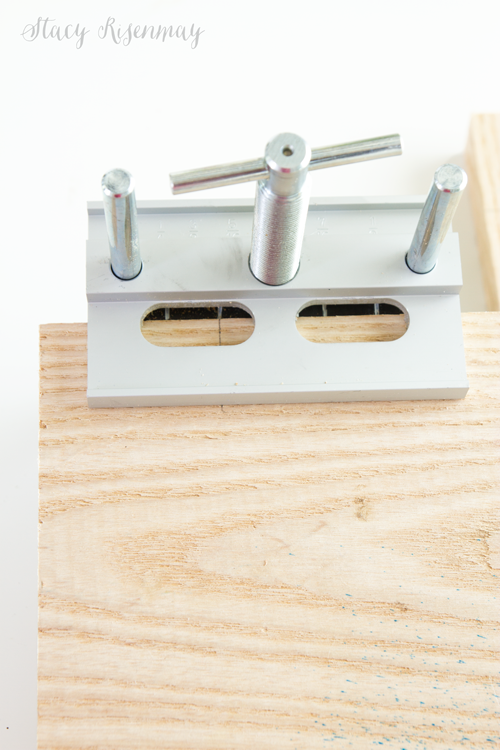
Slide the dowel jig onto the edge of the board and line up the line on the jig with the line on the board.
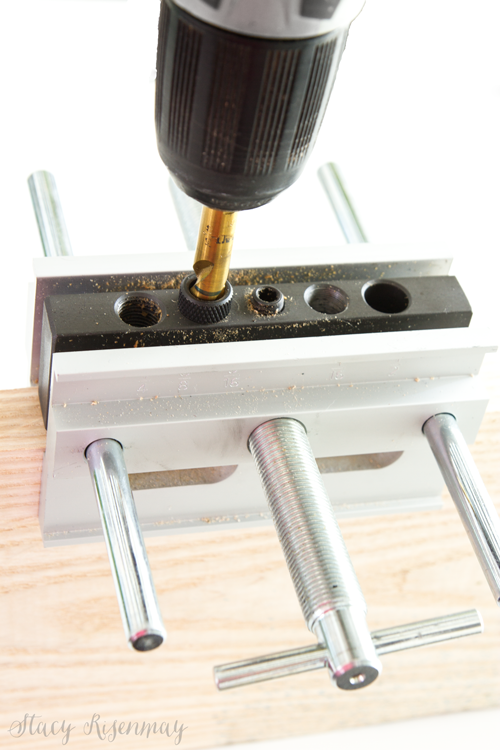
Once the jig is tightened, you can then drill the hole.
Make sure all the sawdust is out of the holes.
I do a dry run before adding the glue to make sure the holes were drilled deep enough and that everything lines up. Then I add the glue.
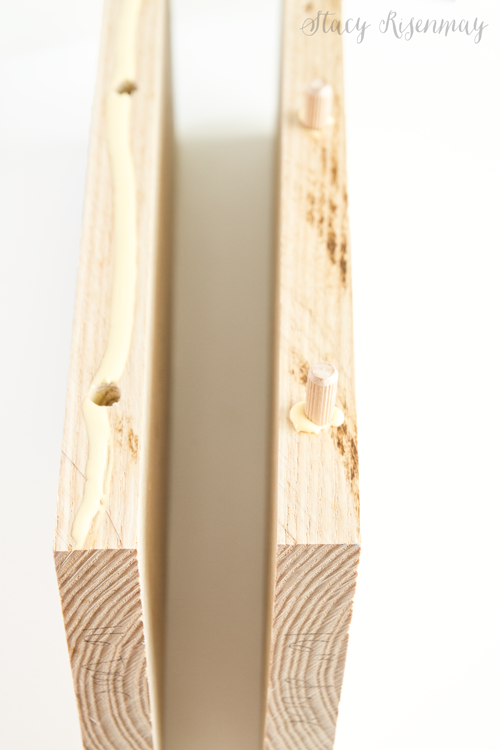
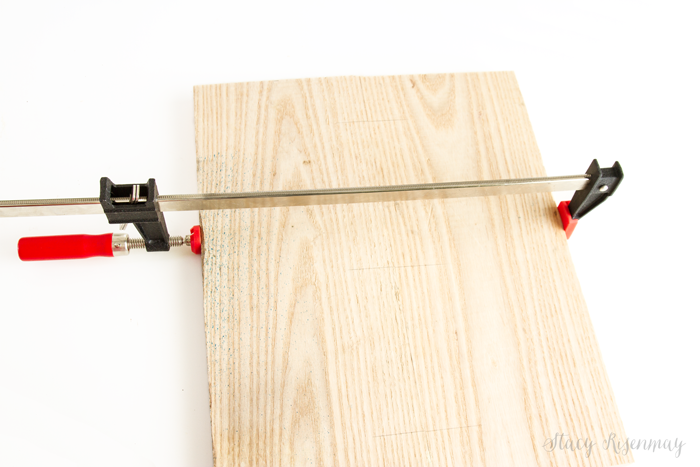
Clamp the pieces together and wipe away any glue that seeps out with a damp rag or paper towel. Wait at least 24 hours before unclamping. Then you can cut the board to size and sand it down.
I can't wait to share the finished vanity with you! Because of using the rough cut wood, it took longer to build but it was worth it. The ash accepted the stain so well and it is exactly what I wanted.
UPDATE: See the finished vanity here: DIY Bathroom Vanity
PIN for later:


Cool trick. Thanks for teaching us how to do it.