• Skip to primary navigation
  • Skip to main content
  • Skip to primary sidebar
  • Skip to footer
Stacy Risenmay
  • Home
  • About me
  • PRESS
  • Contact Me
  • My Book
    • Facebook
    • Instagram
    • Pinterest
    • Twitter
menu icon
go to homepage
subscribe
search icon
Homepage link
  • Home
  • About me
  • Project Gallery
  • Our House
  • PRESS
  • Contact Me
  • Privacy Policy
    • Facebook
    • Instagram
    • Pinterest
    • Twitter
  • ×

    Modern Card Catalog Table

    By Stacy 20 Comments

    Over the years I have refinished things that have held great personal value like my dad's desk that is now my desk and the vanity that use to be in my sisters' room growing up. I have also built many pieces that I hope will be around for a long time and that my kids will look back on and have memories attached to them.

    I have partnered with Minwax again this year. Today I am sharing a project that has personal meaning for different reasons.


    modern card catalog side table


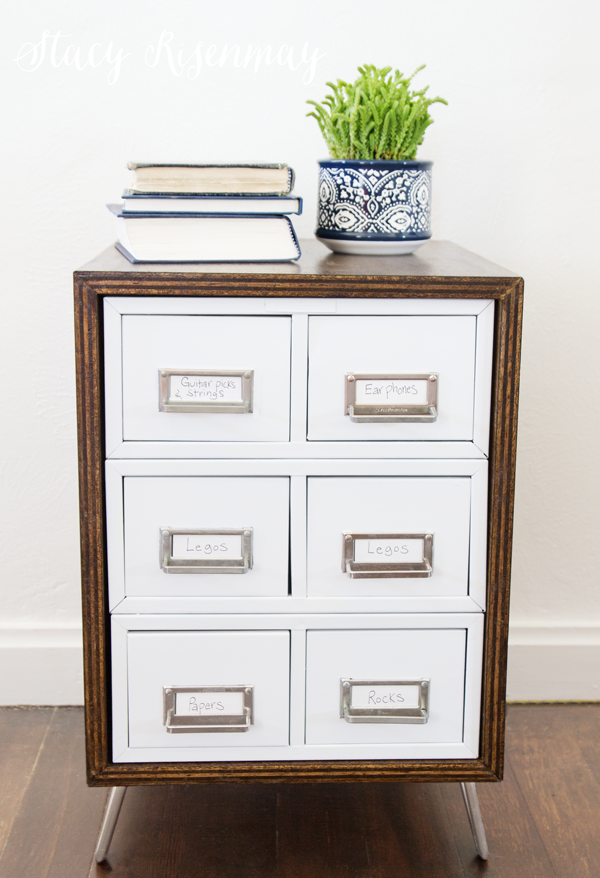
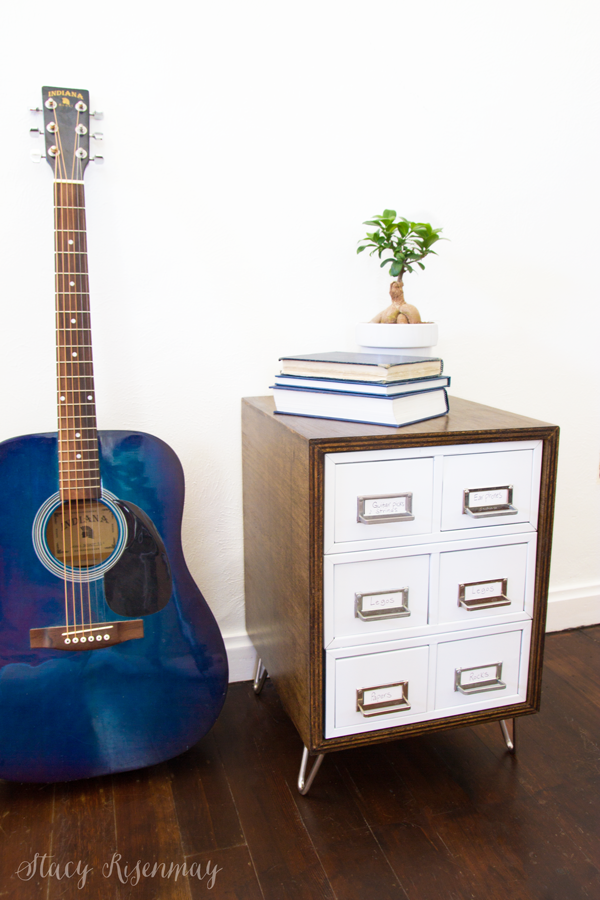
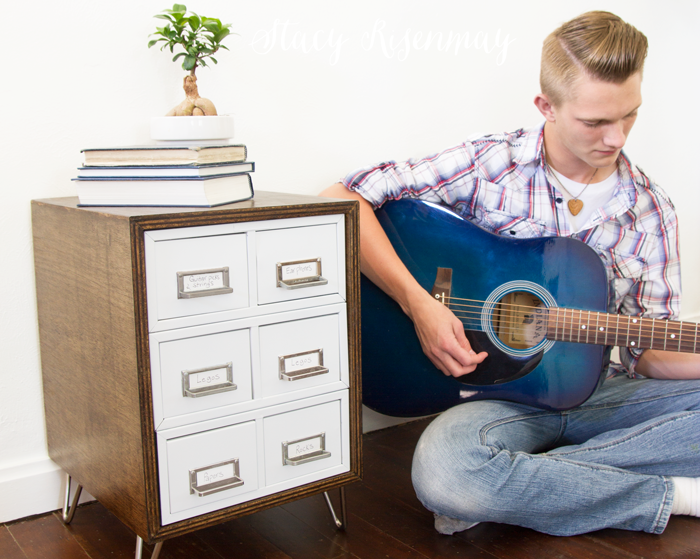
    I have finally convinced my boys that it would be a good idea to have two bedrooms instead of the one boy room we have going on right now. It has taken years to get them on board. I love that they like sharing a room. I love that they tell stories and jokes and giggle before falling asleep each night.  Part of me wants them to share a room forever and the other part (the part that trips over the ever growing piles) knows that as they get bigger, it just won't work. We have been dreaming up designs and colors schemes and while nothing is set in stone yet, I know the feel I want for the bedroom my oldest will be in. He plays guitar and piano so it will be a hang out type music-y room. Loungey and casual.  Depending on the layout there will either be a couple of chairs  or a love seat. Either way, there will need to be a side table and we created the perfect one. Yep, we. My oldest and I got our DIY on together for this one :)


    modern card catalog table


    Not only was it fun to build this together, but the card catalog came to us thanks to my mom. When my dad got sick with cancer my mom went to work in a local bank. She has now been there over 20 years and will be retiring soon. That bank has been such a big part of her life and ours. It will be so weird to go there and not take the kids in the back to get extra suckers. We have had most of our family parties in the basement. When my mom gave me some of the metal card catalog drawers from the storage room that they were going to get rid of, I knew I had to do something special with them.


    hair pin legs on side table


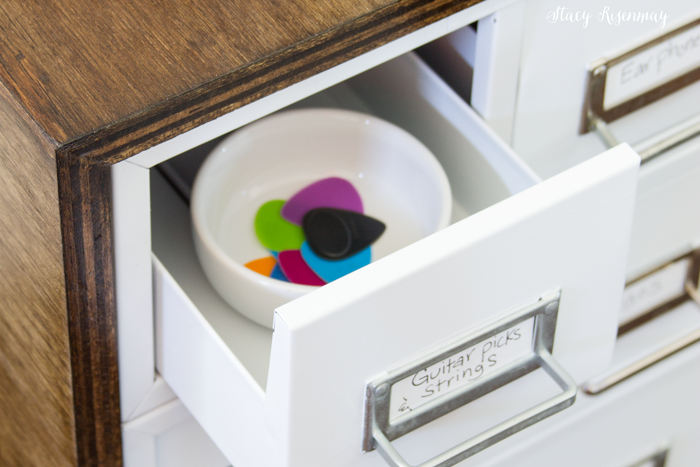
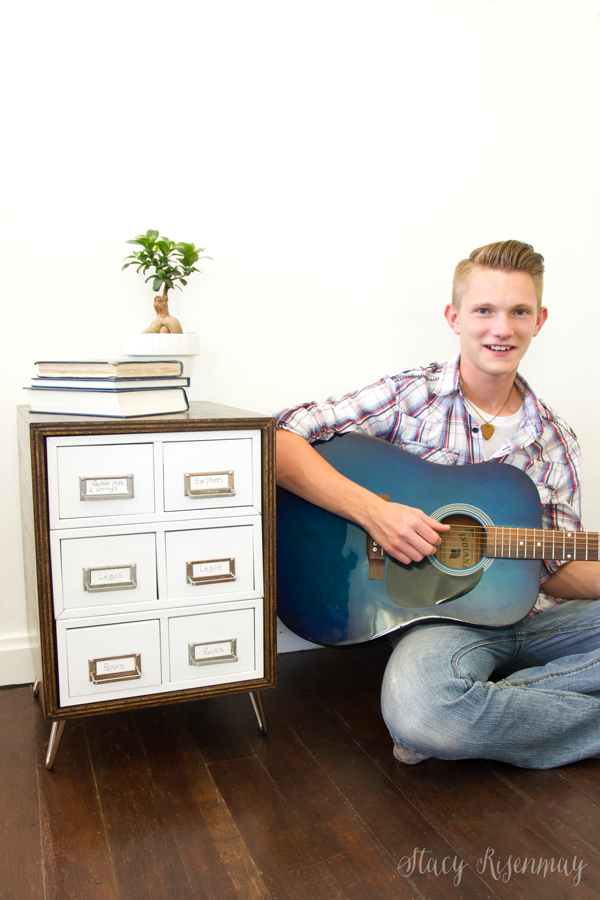
    The biggest problem with keeping the boys' room clean (aside from clothes!) is the over abundance of tiny, random things that have no real home. Annoying cheap toys from birthday parties, earphones, rocks, sticks, etc. I created a "treasure drawer" for the youngest ones who seam to have the most but soon realized that even my oldest has small things that needed a place.


    a card catalog is a good place for all the small random things in a child's bedroom


    While I have no firm date on when the room switcharoo will happen, at least we have a table ready to go when it does. I think it is safe to say he likes it!


    side table for boys room


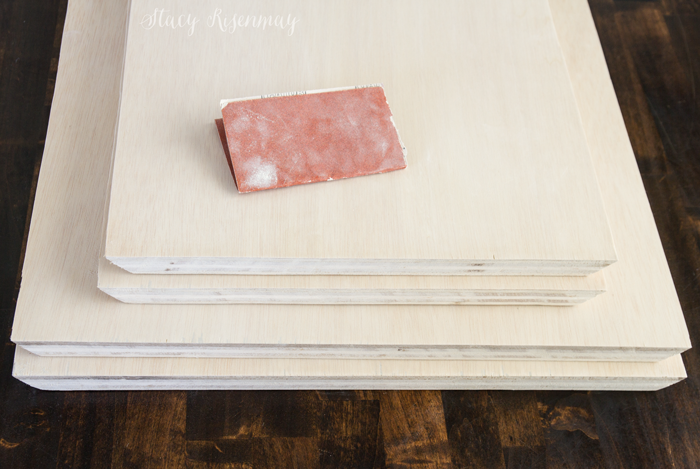
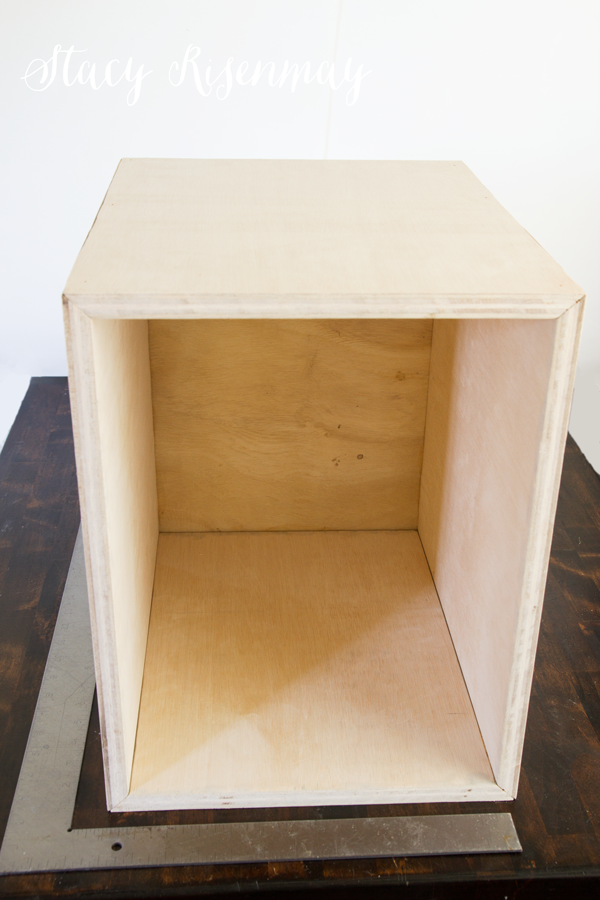
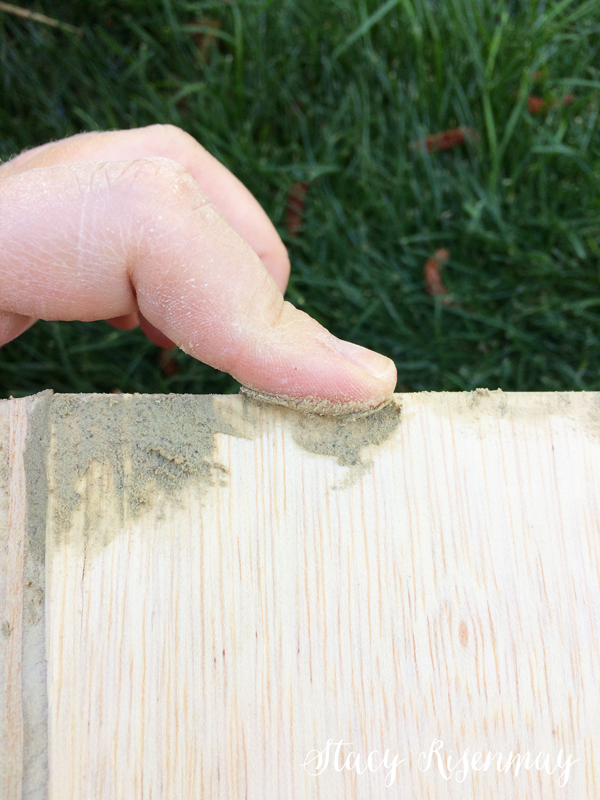
    It was a fairly easy project. We cut out wood to create the box that would go around the drawers. I lightly sanded them.


    wood cut with mitered edges


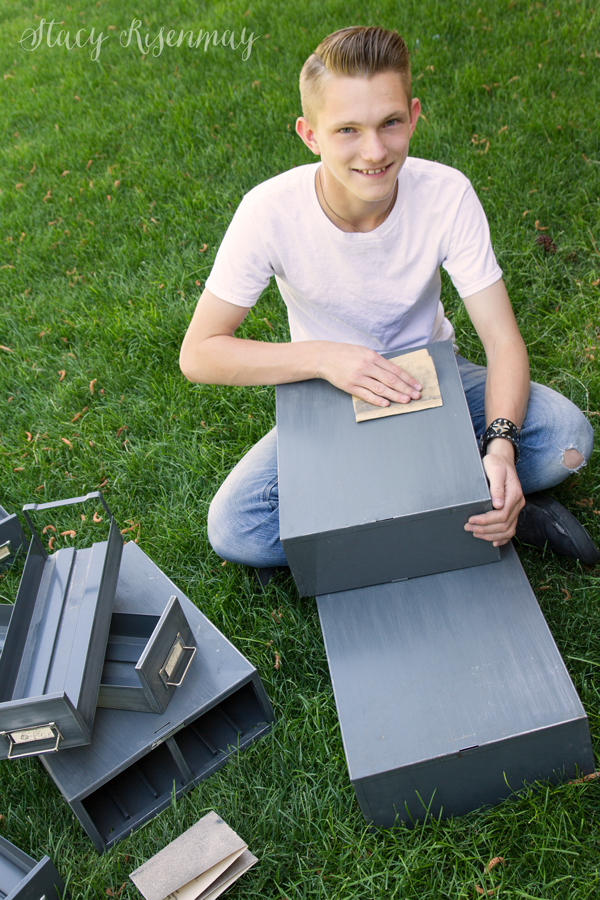
    While I was sanding the wood, my oldest sanded the metal drawers. Nothing major. Just enough so the paint would adhere better. He used a 150 grit but 220 works as well.


    sanding-metal-drawers


    A little glue and some nails will get it assembled!


    glue-and-nail-together


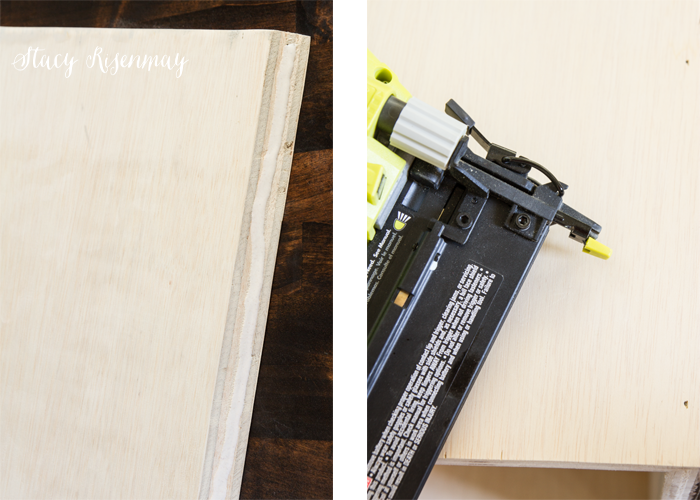
    Use a carpenter's square to make sure the box is perfectly square before attaching a back.


    box-completely-built


    Putty the nail holes and any other imperfections with a putty that is sandable and stainable. When it has dried, sand it smooth.


    wood-putty-the-nail-holes-and-imperfections


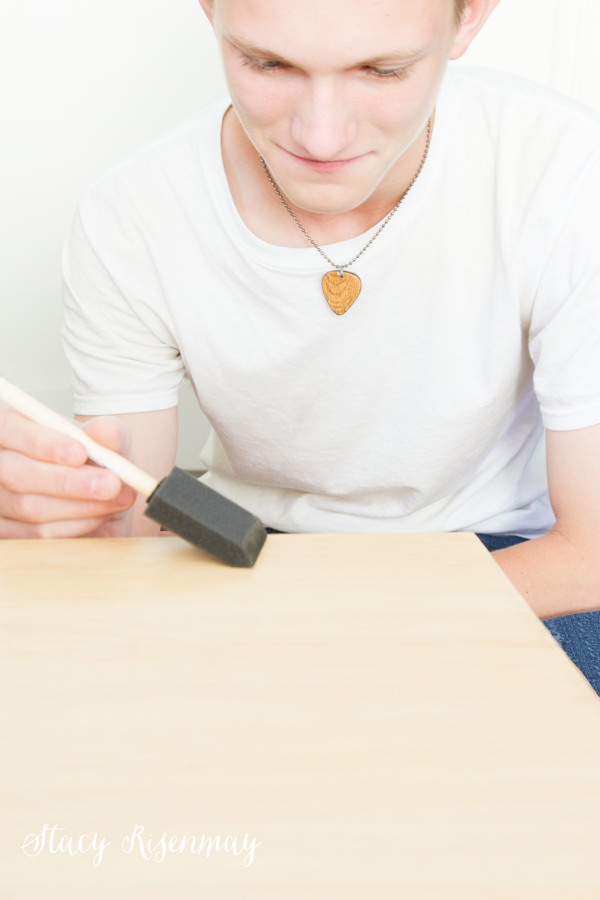
    When staining soft wood like pine, always use a wood conditioner. It helps the wood accept the stain more evenly. If you are planning on using an oil based stain, use an oil based conditioner. There is a water based conditioner for water based stains as well.


    wood-conditioner


    applying-wood-conditioner

    We used Dark Walnut.

    applying-stain


    wiping-off-excess-stain


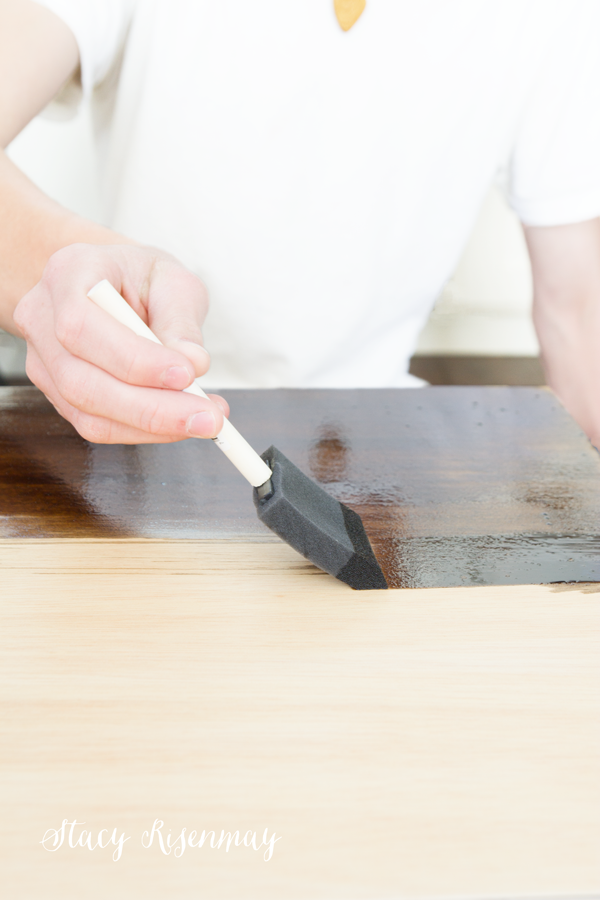
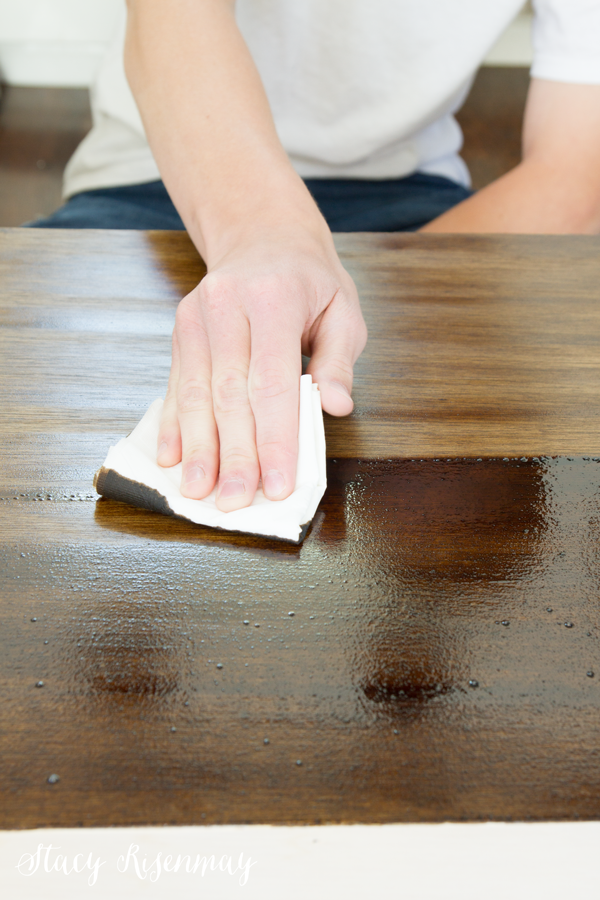
    After the stain dried we sealed it.

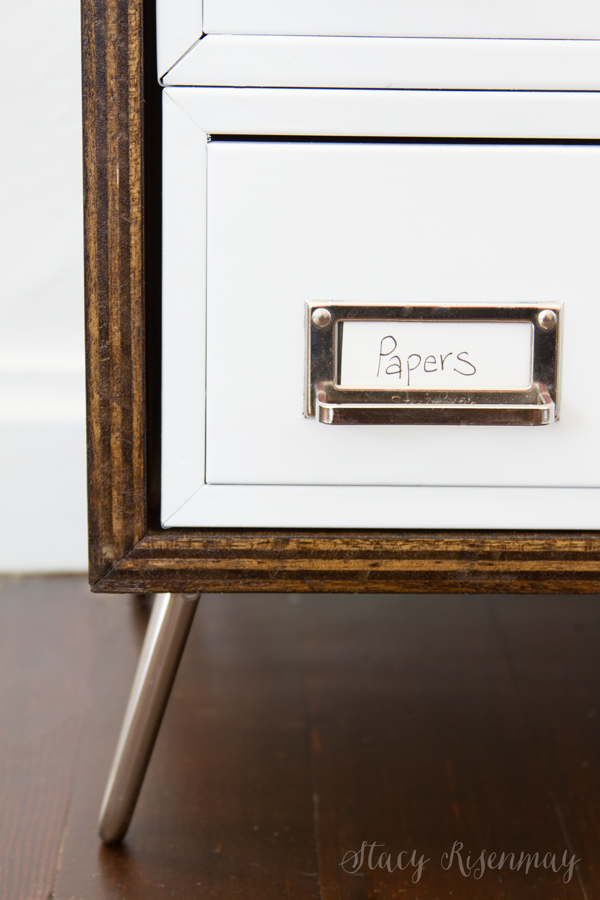
    One of the perks of using plywood for this project was the fun striping along the edges.


    mitered-corner


    modern side table for boys room


    This post was sponsored by Minwax but all ideas and opinions were my own.


    You will also like:

    • How To Create A Hair Bun (Without A Sock!)How To Create A Hair Bun (Without A Sock!)
    • What I'm Crushing On {Hand Drawn Lines}What I'm Crushing On {Hand Drawn Lines}
    • Grilled KabobsGrilled Kabobs
    • Stenciled CeilingStenciled Ceiling
    • Fall and Thanksgiving DecorFall and Thanksgiving Decor
    • Houseplant Care For BeginnersHouseplant Care For Beginners
    • DIY Bathroom VanityDIY Bathroom Vanity
    • Small House Tour {Day 2}Small House Tour {Day 2}

    « Styled X3 {Geometric Push Pins}
    What I'm Crushing On {Hand Drawn Lines} »

    Filed Under: DIY & Tutorials, Favorites 20 Comments

    Subscribe

    for your weekly DIY fix.

    Reader Interactions

    Comments

    1. Carla

      June 17, 2016 at 7:59 am

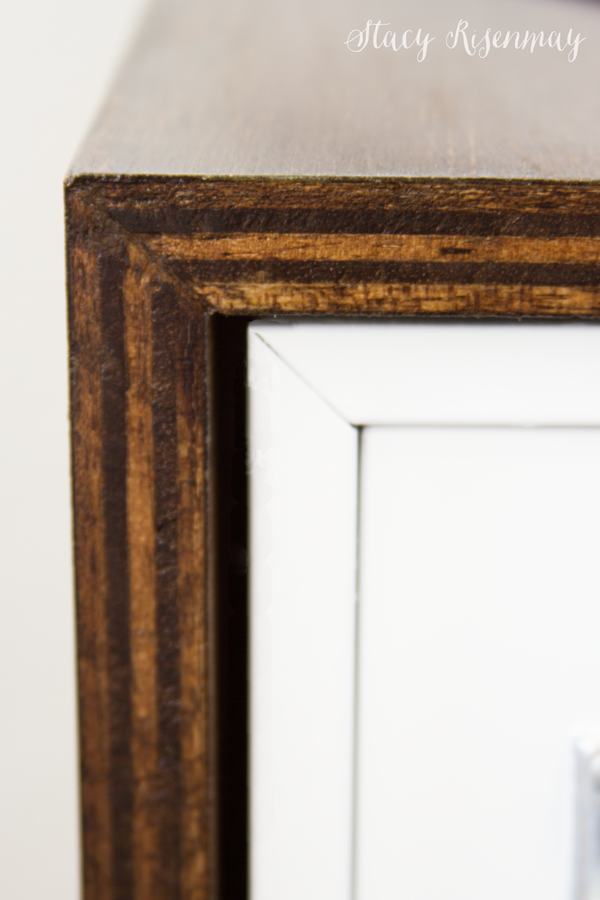
      Those little hairpin legs are so cute.

      Reply
    2. Linda

      June 17, 2016 at 8:18 am

      Wow, I thought your kids were little boys. That is a man! Great project for you to do together.

      Reply
      • Stacy

        June 17, 2016 at 11:57 am

        My oldest gets his height from Shane for sure. People always think he is older than he is. My youngest is 6 so I still have some little ones too :)

        Reply
    3. Jeanne

      June 17, 2016 at 9:58 am

      What a lovely project. Beautifully crafted and filled with tons of memories and ready to fill with many more. Thanks for the idea.

      Reply
    4. chris aka monkey

      June 17, 2016 at 11:49 am

      that little side table is truly awesome and i did tear up at the video what a great ad xx

      Reply
    5. Susan

      June 17, 2016 at 2:17 pm

      A couple of questions: Where did you get your hairpin legs? Super cute. Also, did you attach the drawers to the box so that when pulled too hard, they won't just slip out? If so, how?

      Thanks!

      Reply
      • Stacy Risenmay

        June 17, 2016 at 2:27 pm

        The hair pins legs I bought on eBay. I have also seen them on etsy. The card catalog is not attached but it is such a tight fit that I had to really push it in there. It's not going anywhere!

        Reply
    6. Mindi

      June 21, 2016 at 8:06 pm

      This is so cute, and I LOVE that you built it with your son, so special!

      Reply
    7. Marie, The Interior Frugalista

      June 27, 2016 at 11:38 am

      Great cabinet and love that your son was part of its creation. Beautiful video too. Pinning your cabinet to share :)

      Reply
    8. Sara Syrett

      June 30, 2016 at 3:57 pm

      Love this! Such a great project!

      Reply
    9. Cat @ Pocketful of Posies

      July 05, 2016 at 5:37 am

      This it amazing! I really love it! Thank you for linking up at Dream. Create. Inspire. Link! You'll be one of our features today!
      Cat

      Reply
    10. Koko

      September 22, 2016 at 9:23 am

      Gorgeous. A smart way to make something simple, so chic! Great memories doing projects with your kid. Love it! :)

      Reply
    11. Ashley Wilson

      December 17, 2017 at 11:28 am

      I love this! I just picked up some card catalogs at a thrift store this weekend, and I am 100% going to copy you! How did you determine the size of the plywood box? How much extra space did you leave?

      Thank you!

      Reply
    12. Ivory

      May 04, 2018 at 6:24 pm

      I love this idea, and I think it beautiful that your son help created this beautie.

      Reply

    Trackbacks

    1. The Easiest DIY Picture Frame Made With Love - City Farmhouse says:
      June 18, 2016 at 5:57 pm

      […] can check out more beautiful Made With Love projects over at Not Just A Housewife & Thrifty Décor […]

      Reply
    2. DIY Sunday Showcase *BIG ANNOUNCEMENT* - PinkWhen says:
      July 2, 2016 at 4:01 pm

      […] Katie’s favorite is the modern card catalog table. […]

      Reply
    3. Simple Nature Decor says:
      July 5, 2016 at 7:42 pm

      […] Modern Card Catalog via Not Just a Housewife […]

      Reply
    4. Creativity Unleashed No. 128 - And A Black Dog Salvage Furniture Paint Giveaway! || Practically Functional says:
      July 7, 2016 at 5:00 pm

      […] Sea Glass Bottles- Sadie Seasongoods Modern Card Catalog Table- Not Just a Housewife DIY Industrial Beverage Cart- Simply Designing DIY Floating Pool Tray- Dukes and Duchesses DIY […]

      Reply
    5. 12 Stained Furniture Makeovers + Techniques that will Inspire You – Craftivity Designs says:
      November 22, 2017 at 1:15 pm

      […] Stacy Risenmay | Card Catalog Table […]

      Reply
    6. Meet Stacy! - Sawdust 2 Stitches says:
      November 28, 2018 at 11:11 am

      […] My son helped make this fun side table out of old metal card catalog drawers. […]

      Reply

    Comment Below! Cancel reply

    Your email address will not be published. Required fields are marked *

    This site uses Akismet to reduce spam. Learn how your comment data is processed.

    Primary Sidebar

    stacyHey! I'm Stacy and am a DIY addict. I love to get my hands dirty, whether it's sawdust, paint, or dirt. My goal is to help YOU learn to fix up your home and yard. No matter the style or size, I think everyone should love their home. And it doesn't takes a big budget to get there. Let's DIY together!

    Subscribe to My Blog!

    Search this site

    categories


    Subscribe

    Footer

    Welcome! I'm sharing our adventures as we fix up our 1938 cottage. Whether it is big or small, I think everyone should love their home and I don't think it takes a lot of money to make a space your own

    About Stacy

    • Facebook
    • Instagram
    • Pinterest
    • Twitter

    My Favorites

    copyright

    All images and content are copyrighted via Stacy Risenmay unless otherwise stated. If you'd like to share my work, please link back to this blog.
    Thank you for visiting!


    Footer

    ↑ back to top

    About

    • Meet Stacy
    • Privacy Policy
    • Contact

    Categories 

    • Home Decor
    • Outdoor Projects & Gardening
    • DIY & Tutorials
    • Kid Activities
    • Recipes
    • Travel
    • Cleaning
    • Houseplants
    • Staining
    • Painting
    • Power Tools
    • Holiday Ideas

    Newsletter

    • Sign Up! for emails and updates

    As an Amazon Associate I earn from qualifying purchases.

    Copyright © 2020 Brunch Pro on the Brunch Pro Theme


    Privacy Policy
    Welcome! Thanks for visiting.
    Hi! I'm Stacy and I want to help YOU become a DIY rockstar! Sign up for my email list so each project, tip, and trick will go directly to your inbox :)
    Your information will *never* be shared or sold to a 3rd party. Pinky promise :)
    Welcome!
    Hi! I'm Stacy and I blog about fixing up our 1938 cottage. Join the thousand of others who get my posts sent to their inbox for FREE!
    Your information will *never* be shared or sold to a 3rd party.