
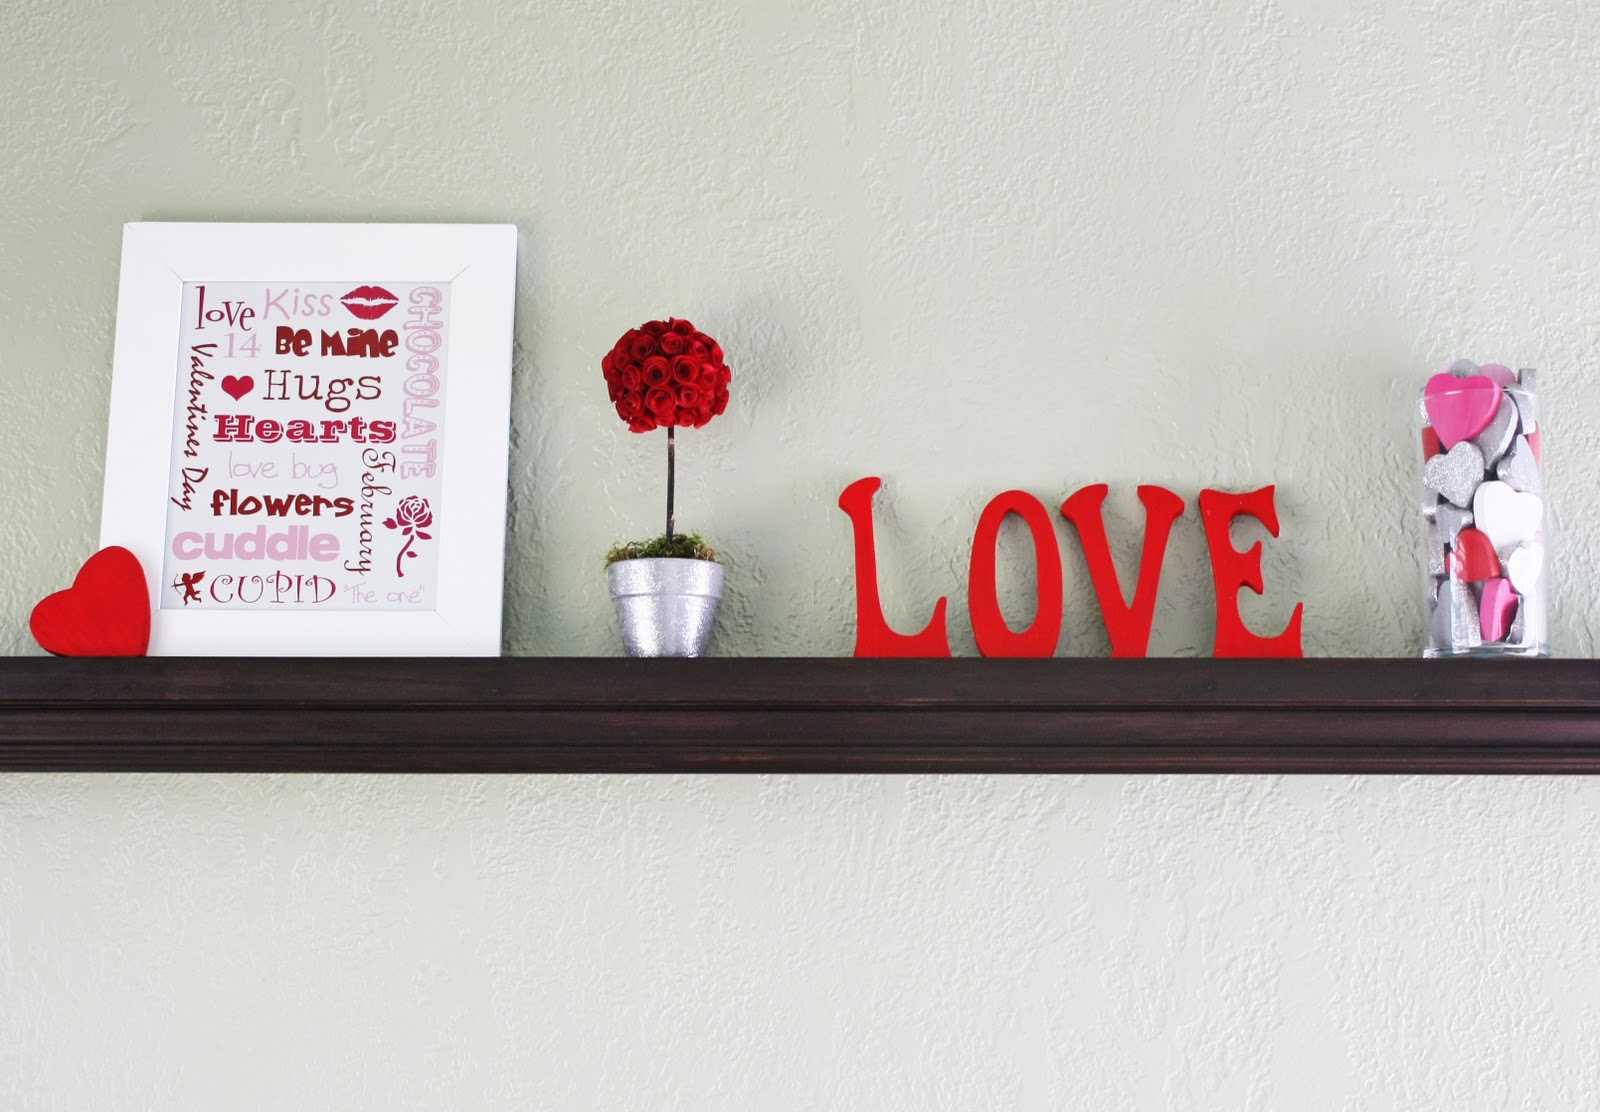
Aside from the homemade decorations my kids make, I haven't ever decorated for Valentines Day. When I was growing up my mom decorated for EVERY holiday. And I mean every one. I loved it! There was nothing more fun that to go in the attic and pull out the boxes for the new holiday. It was like opening a present. I have felt guilty every year that I don't dot this. So this year I decided to start. I know my faux mantel isn't much, but I plan on adding more each year.
I promised a while back to share why and how I made this. This was my post for Roberts Crafts and I am posting it here in case you didn't see it there and so it can be in my archives.
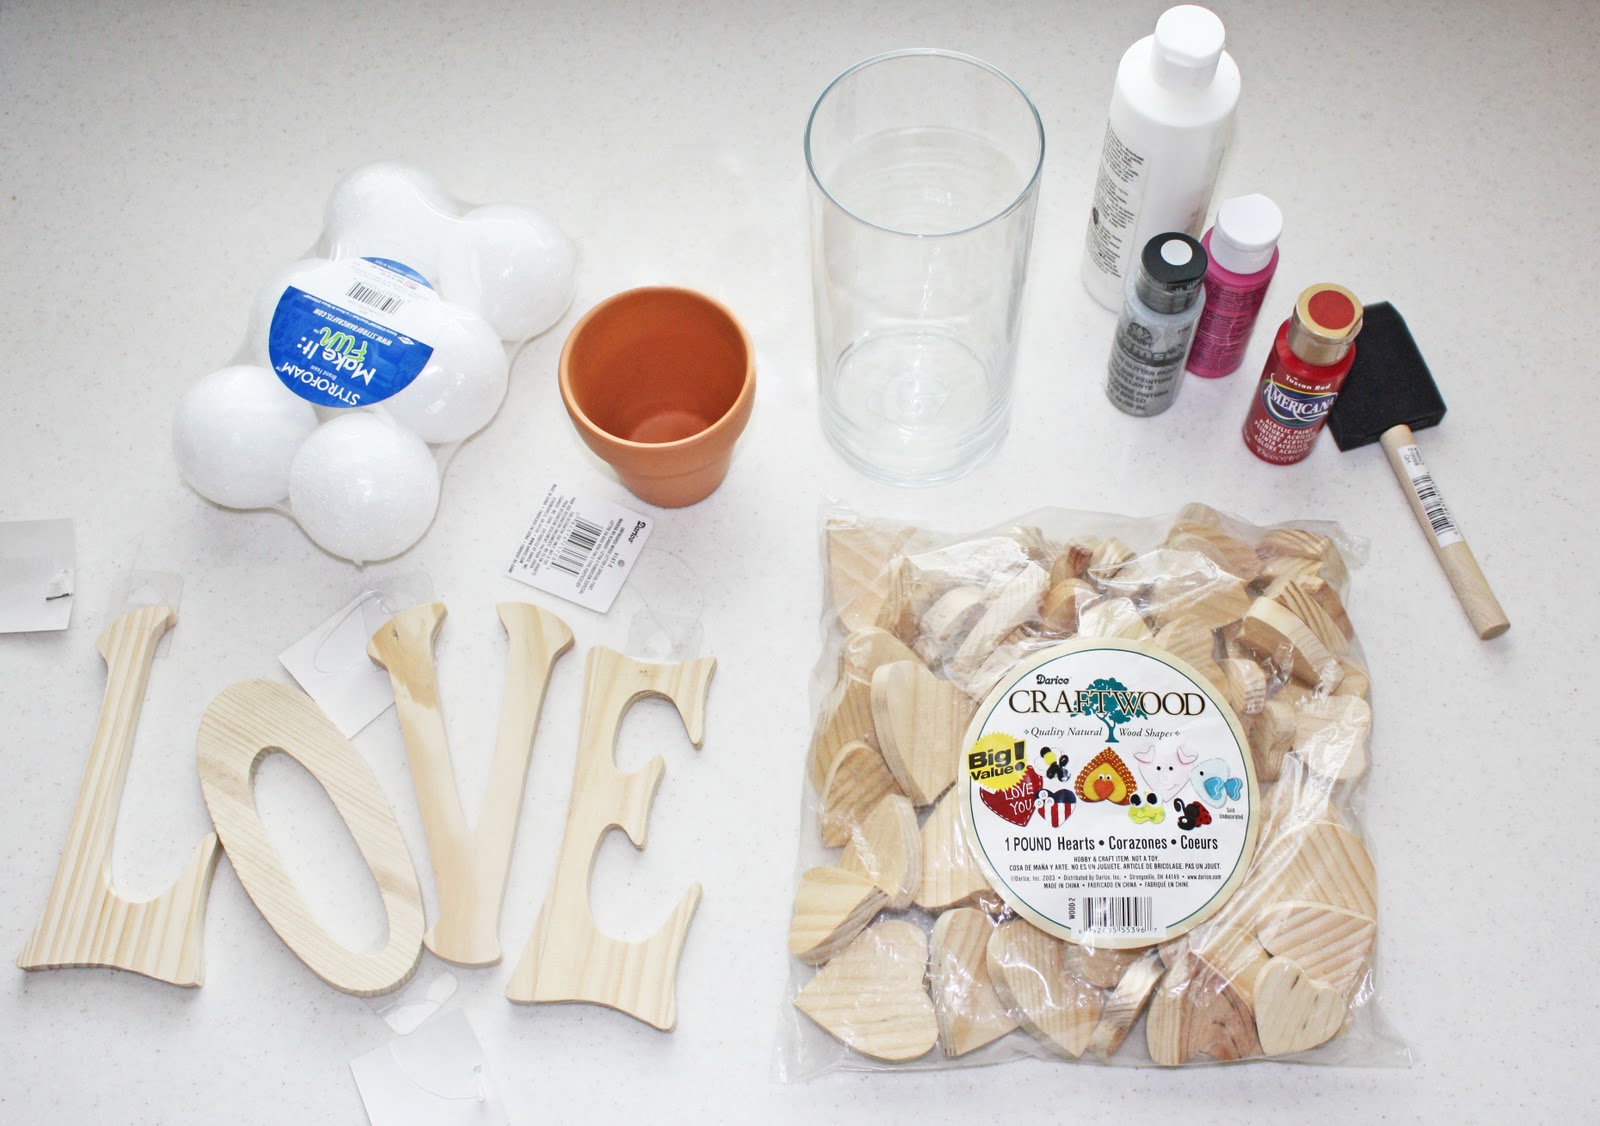
I went to Roberts to pick up some supplies. I ended up with styrofoam balls, a terra cotta pot, a vase, craft paint ( including glitter paint), wood letters, and a big bag of wooden hearts. Things I already had from previous visits were: a bag of moss, wood frame, red paper.
I painted the wood letters red.
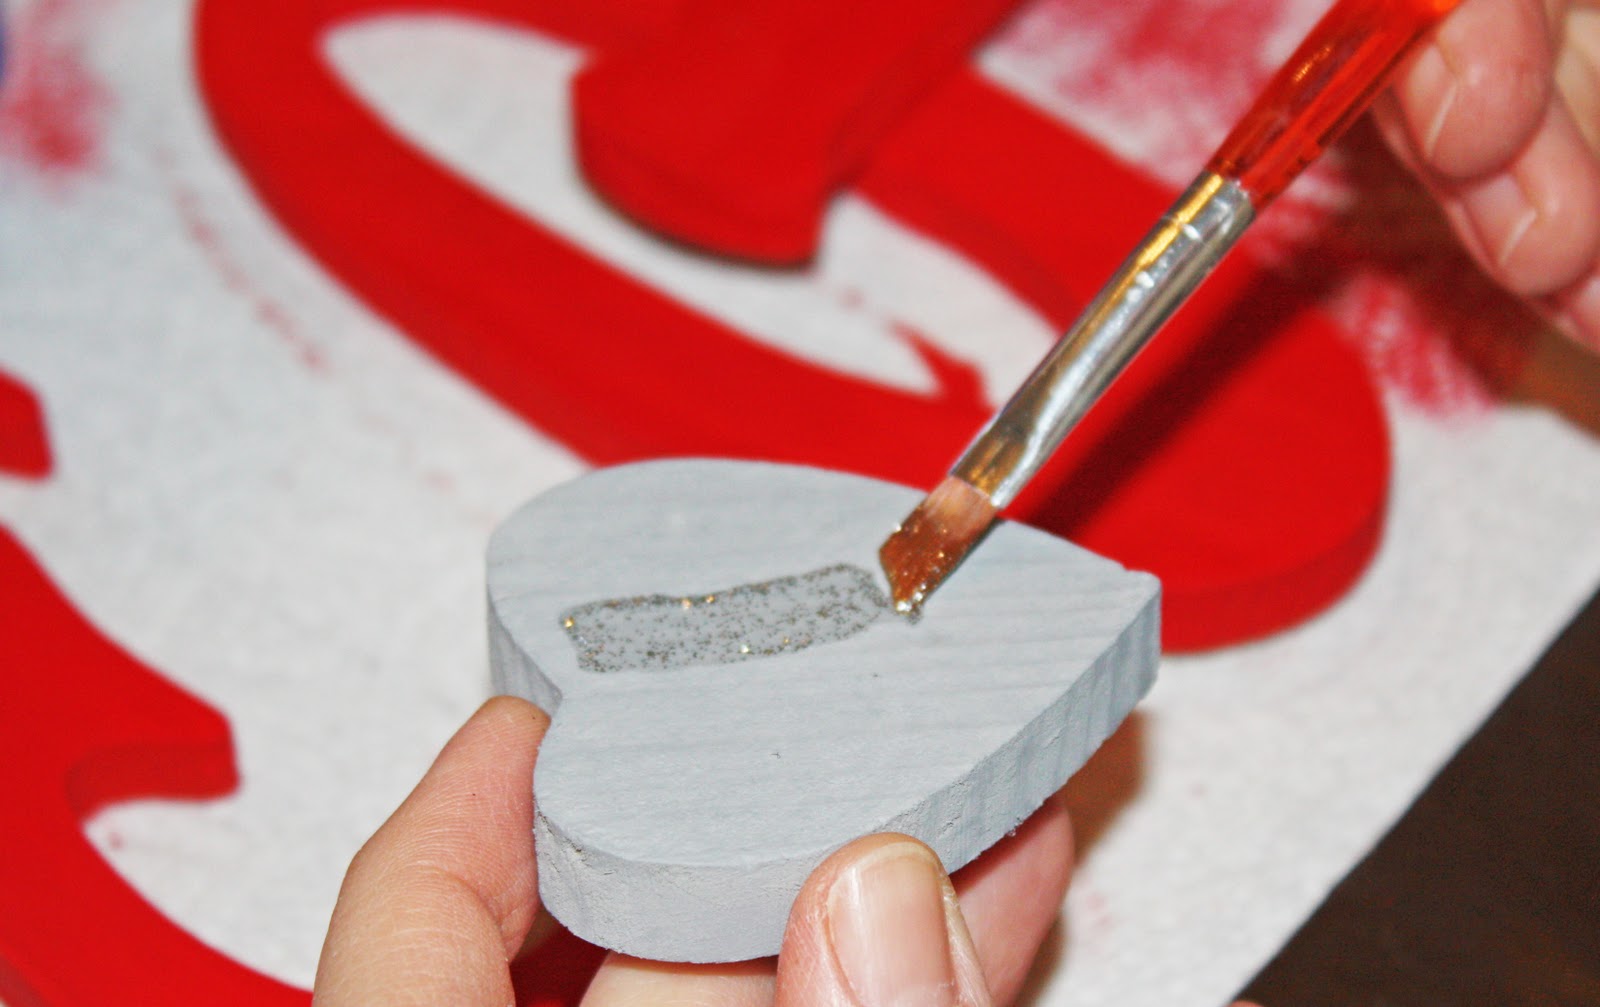
Then I painted some of the hearts hot pink, some light pink, some red, and most of them grey. I painted them grey because the glitter paint is really clear with glitter in it. The bare wood will show through unless you paint it. There were plenty of hearts in the bag. My kids sat at the table with me and painted some for fun. P.S. I used my 40% off coupon to buy the bag of hearts :)
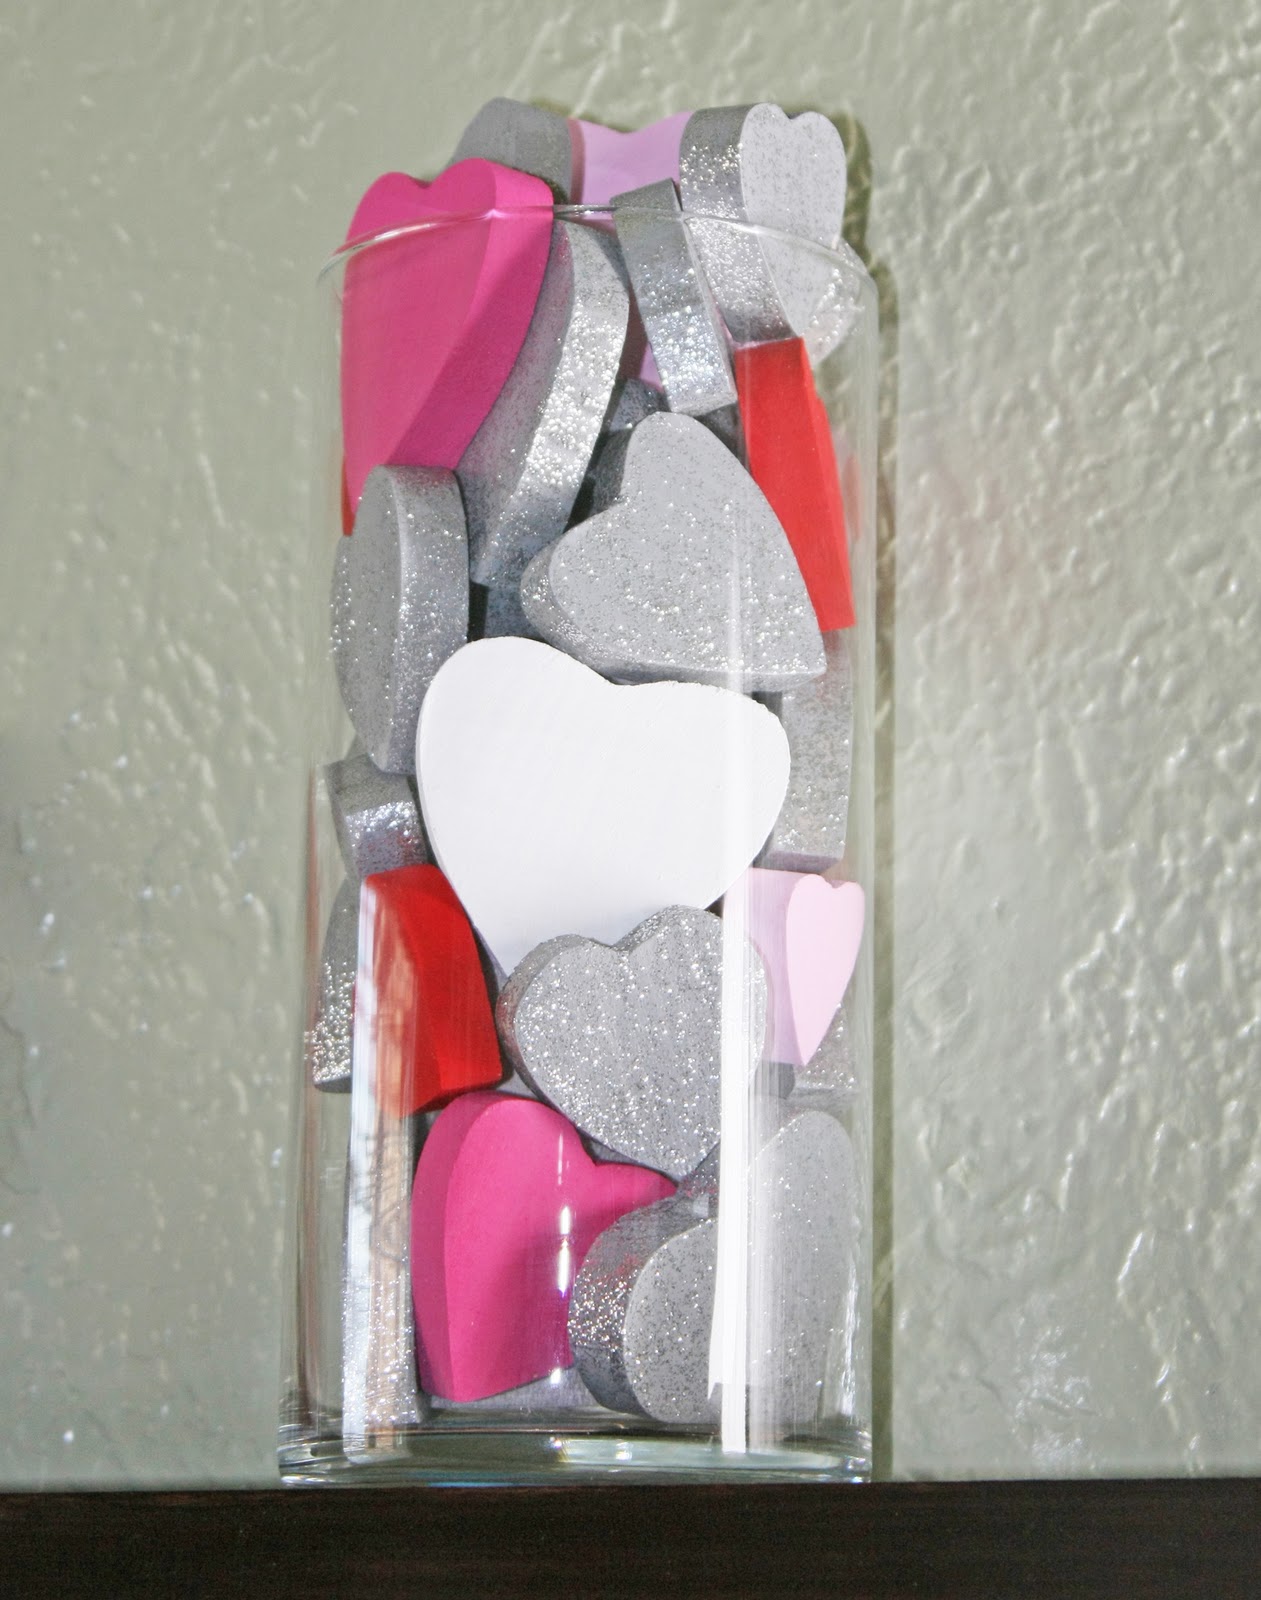
Then I put them in the vase. I like this simple one but you could use and container or bowl.
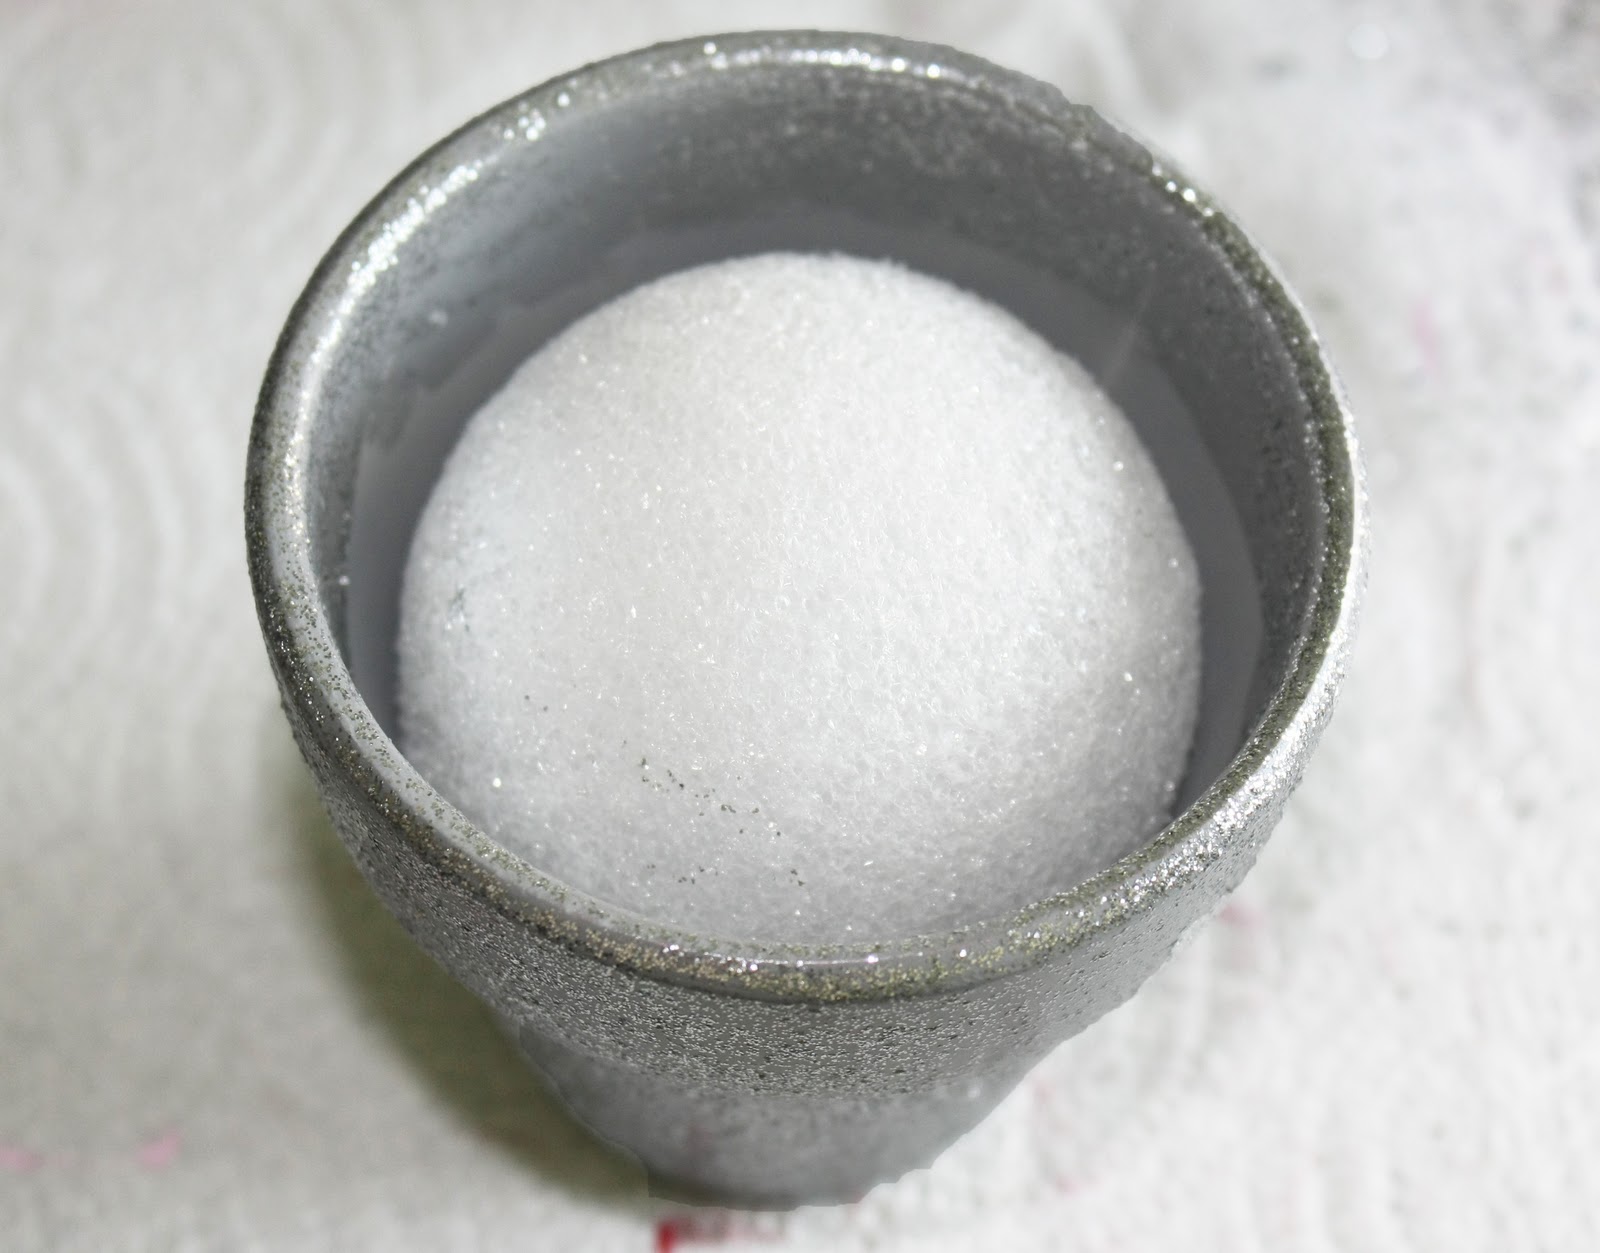
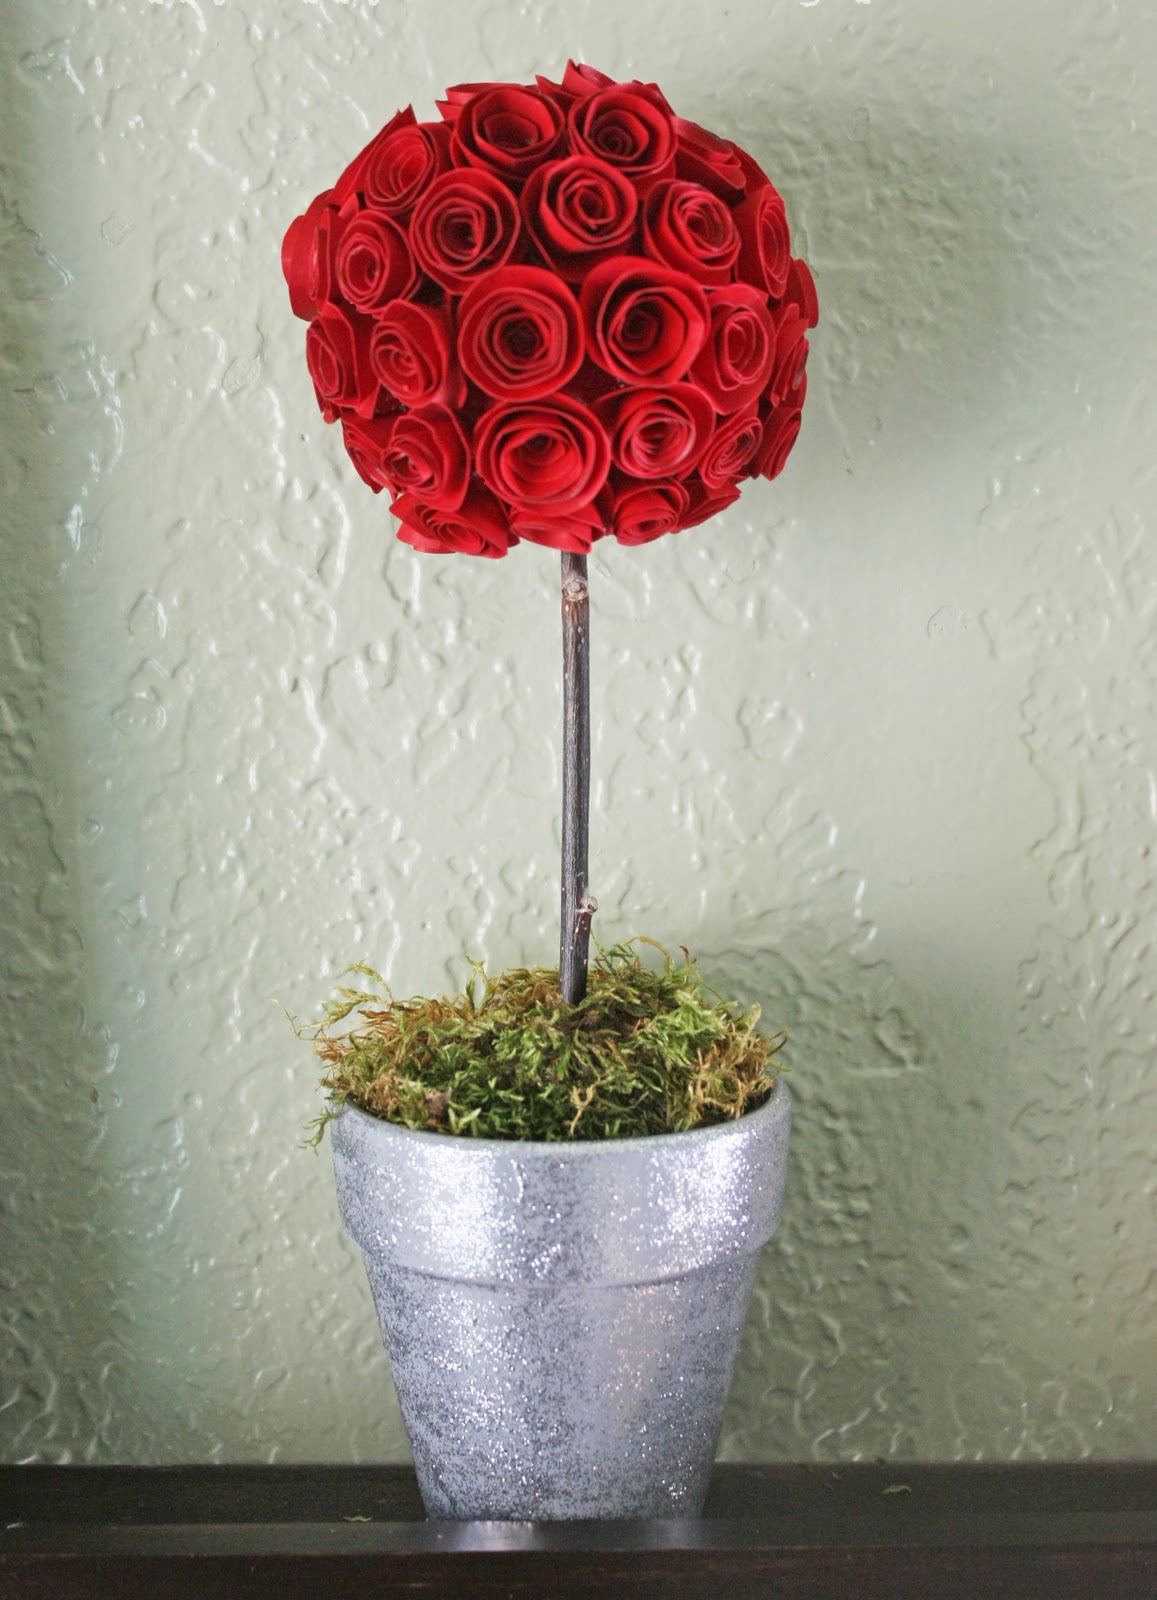
For the rose topiary, I put one of the styrofoam balls onto a skewer so I could paint the whole thing without getting it on my hands. Then I put it in the pot sticking up so it could dry.

For the flowers I made paper rosettes. I know there are probably a million and one tutorials out there on how to make these, but here is mine.
Cut out a small circle. Then cut it like this.
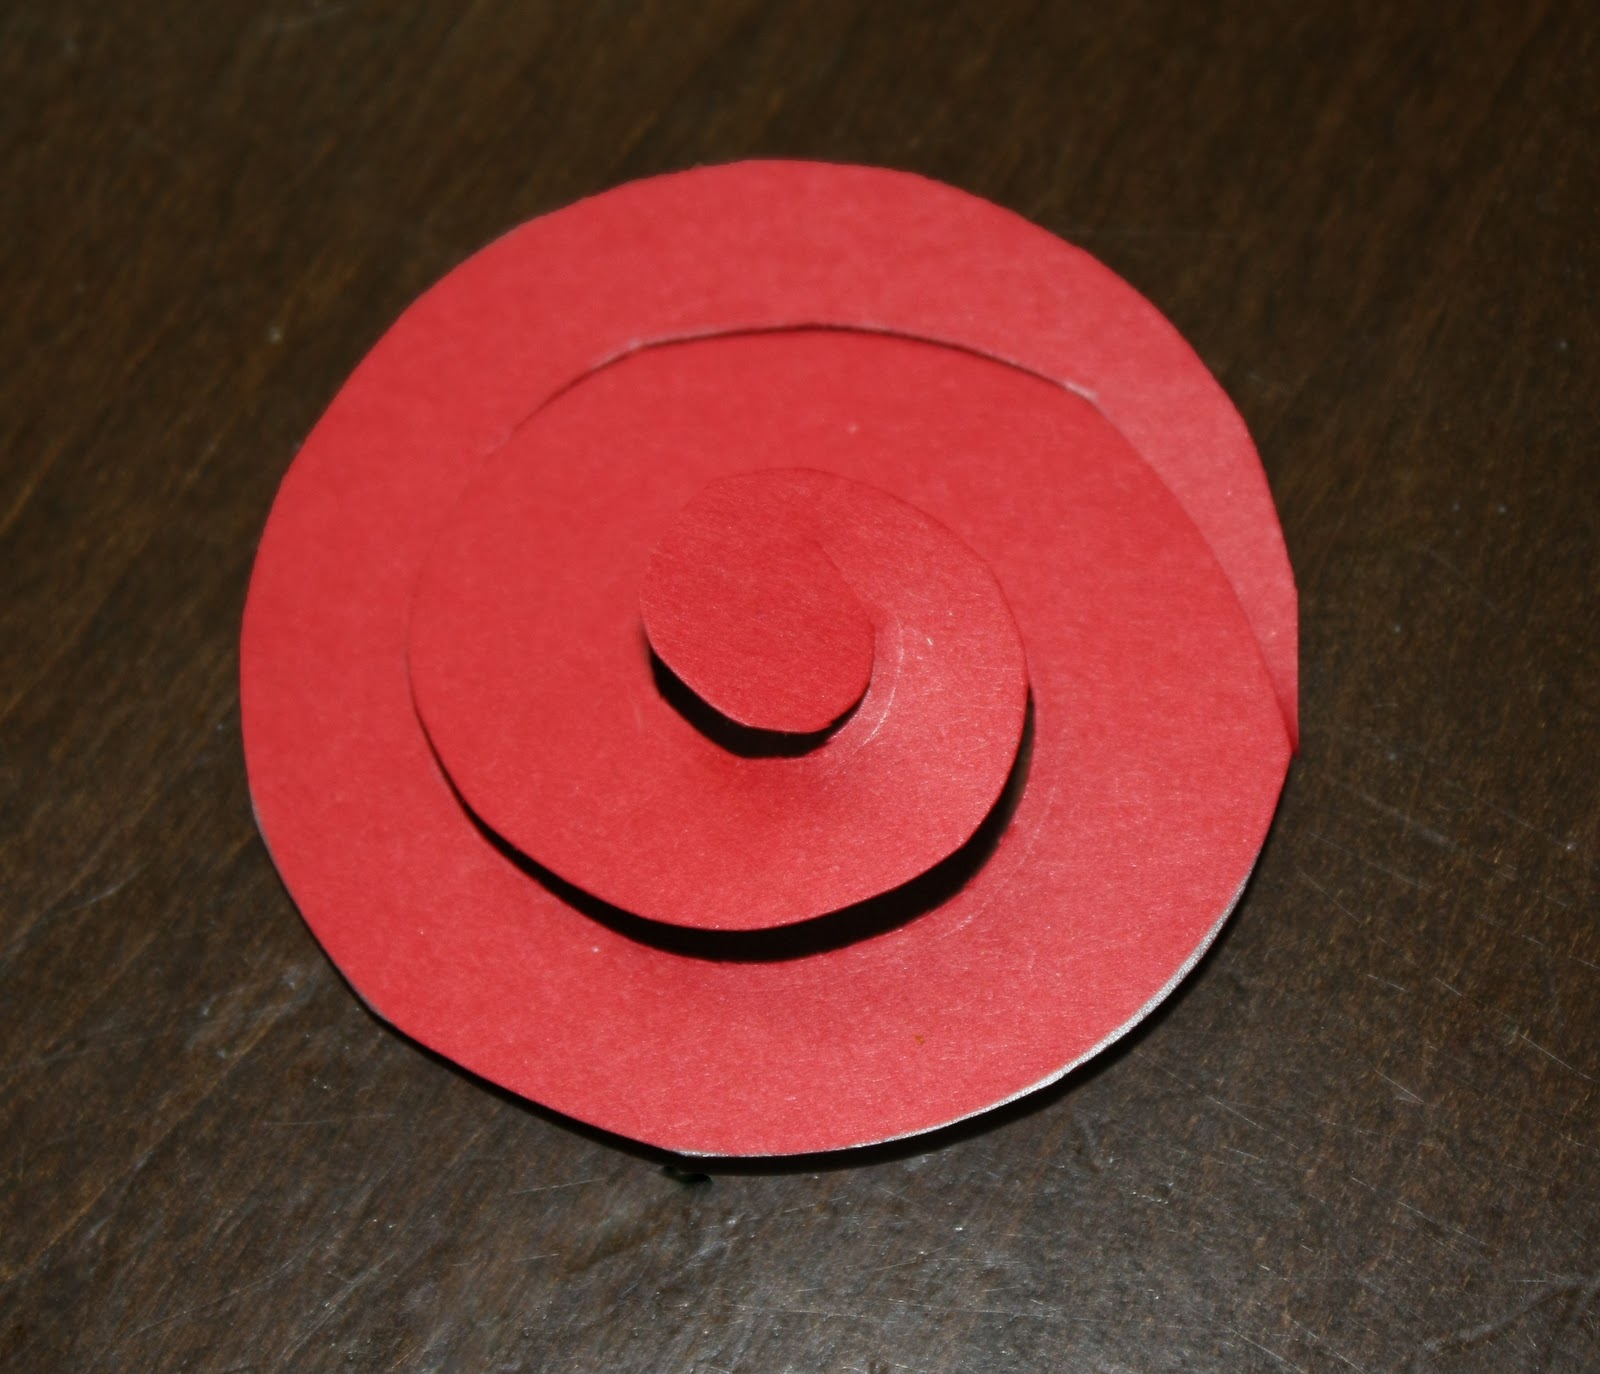
Start rolling it up.
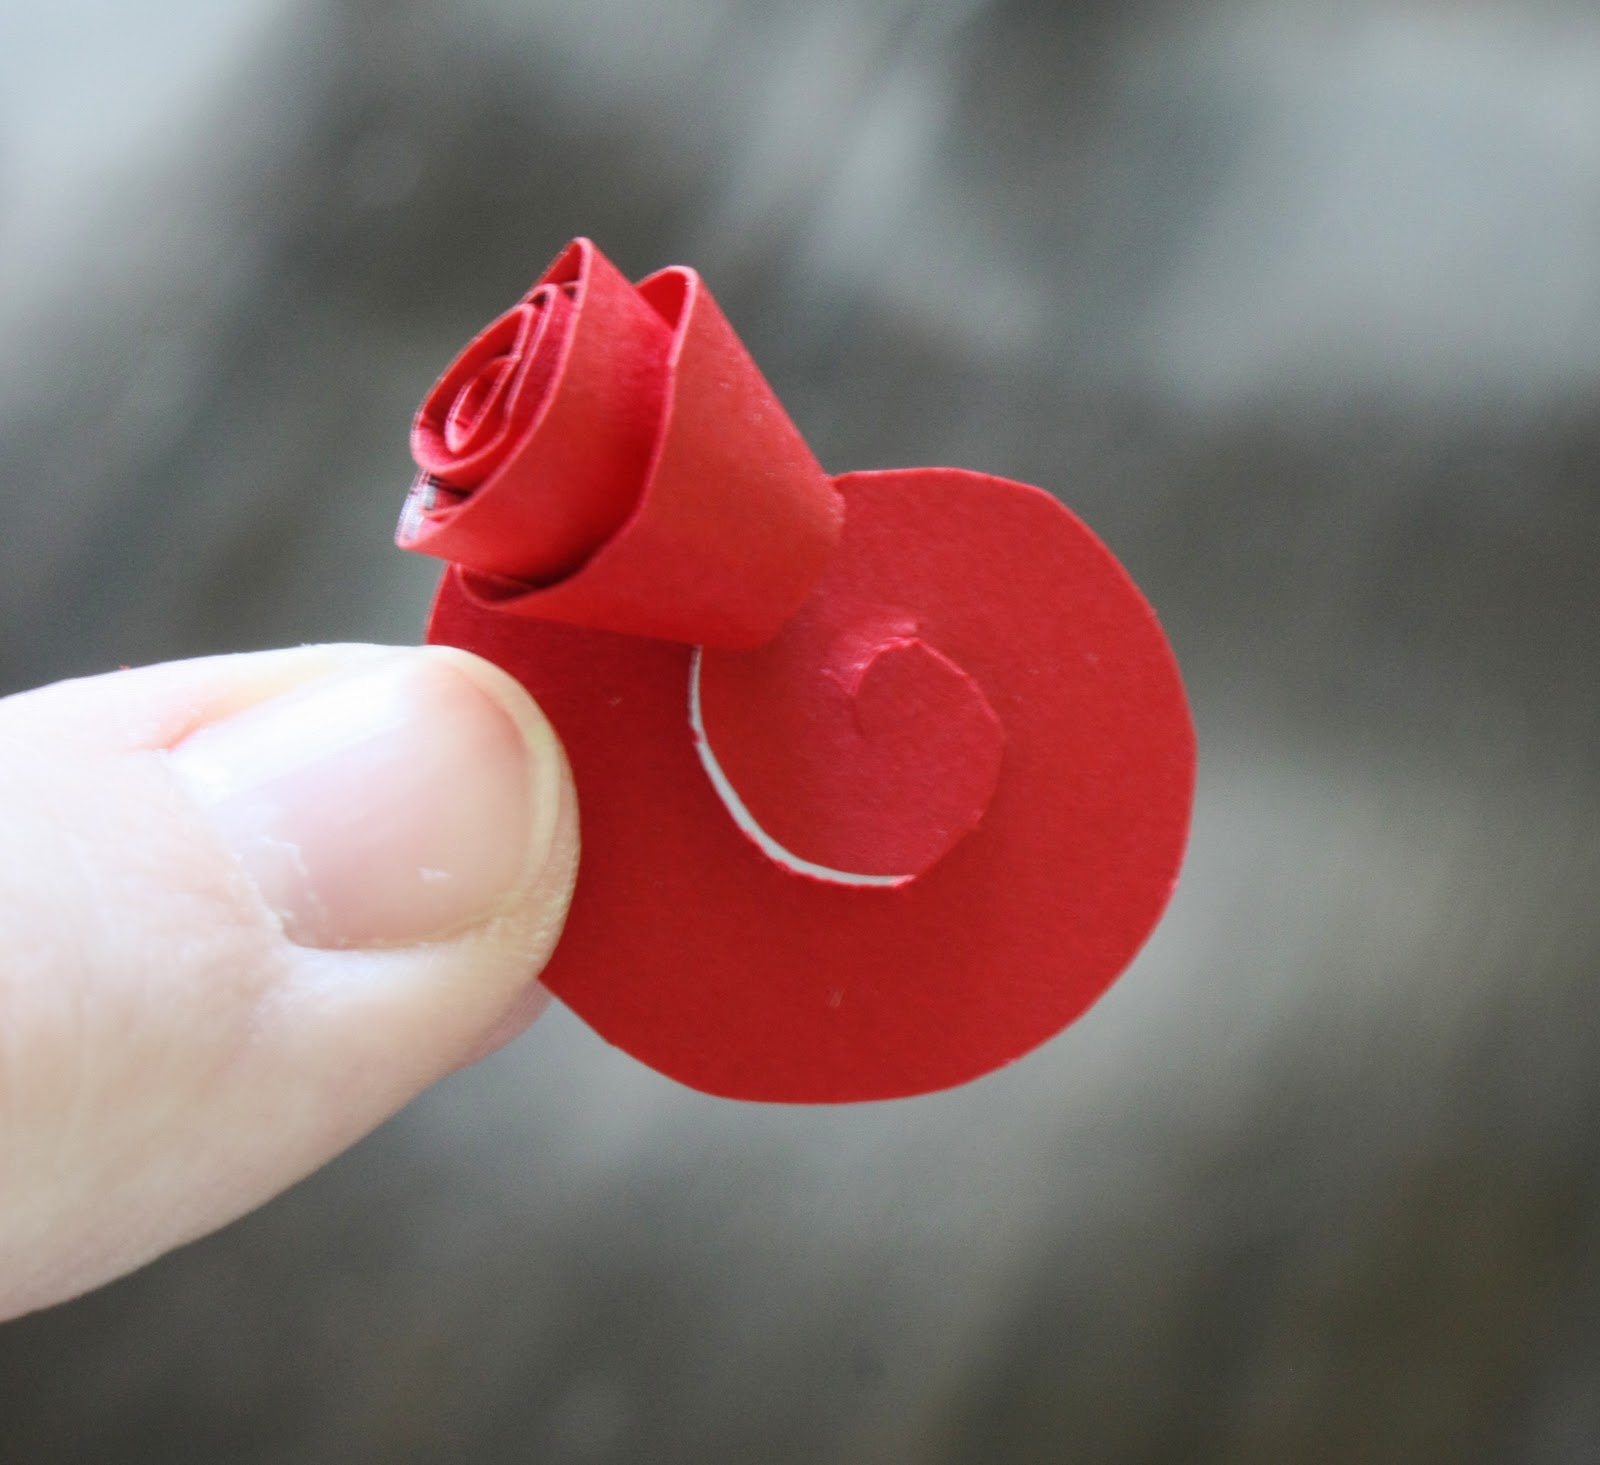
The round tab in the middle that becomes the end as you roll is what you need to put hot glue on. I found since I was working with card stock paper, that it was necessary to put a little in the hole as well.
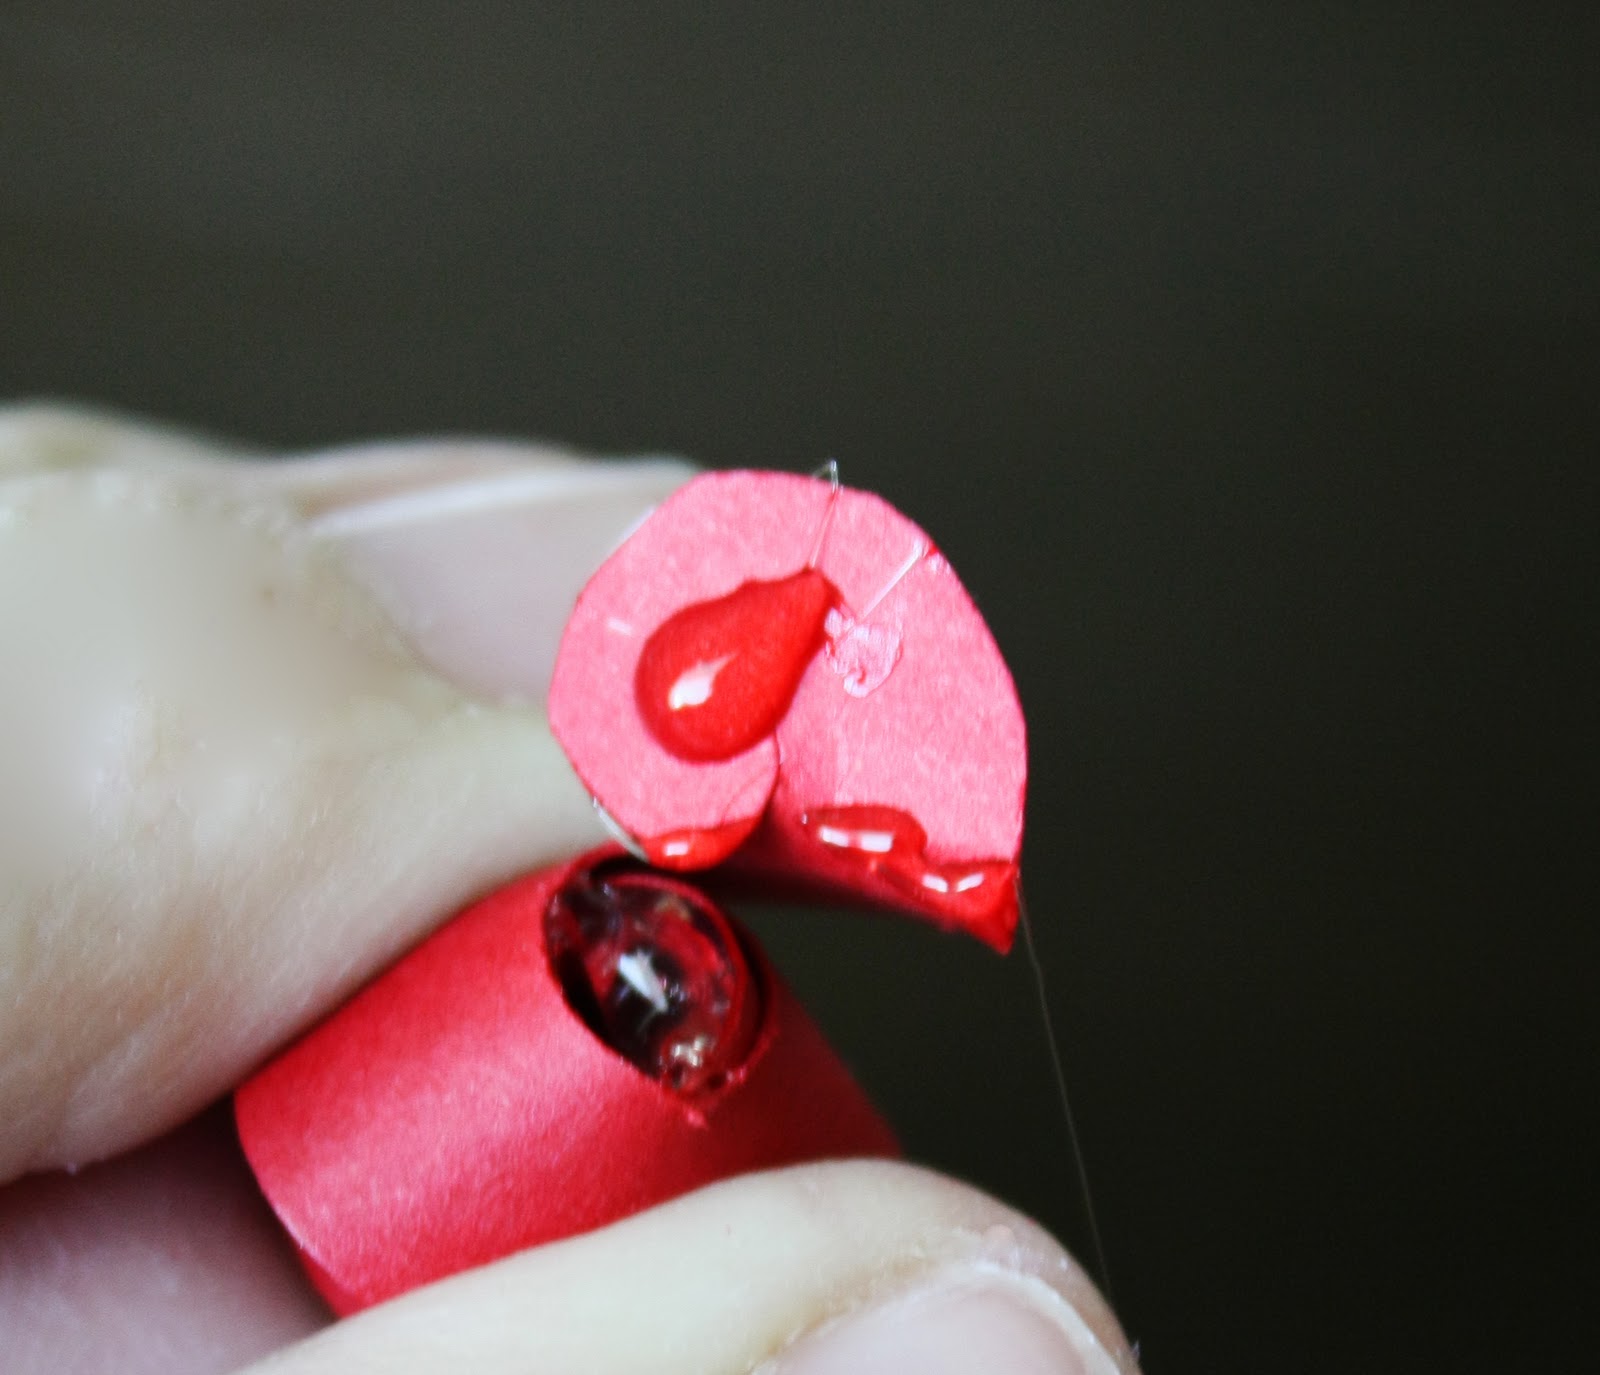
I flipped it over and used a pencil to push all the layers into the glue. This step may not be necessary with regular paper.
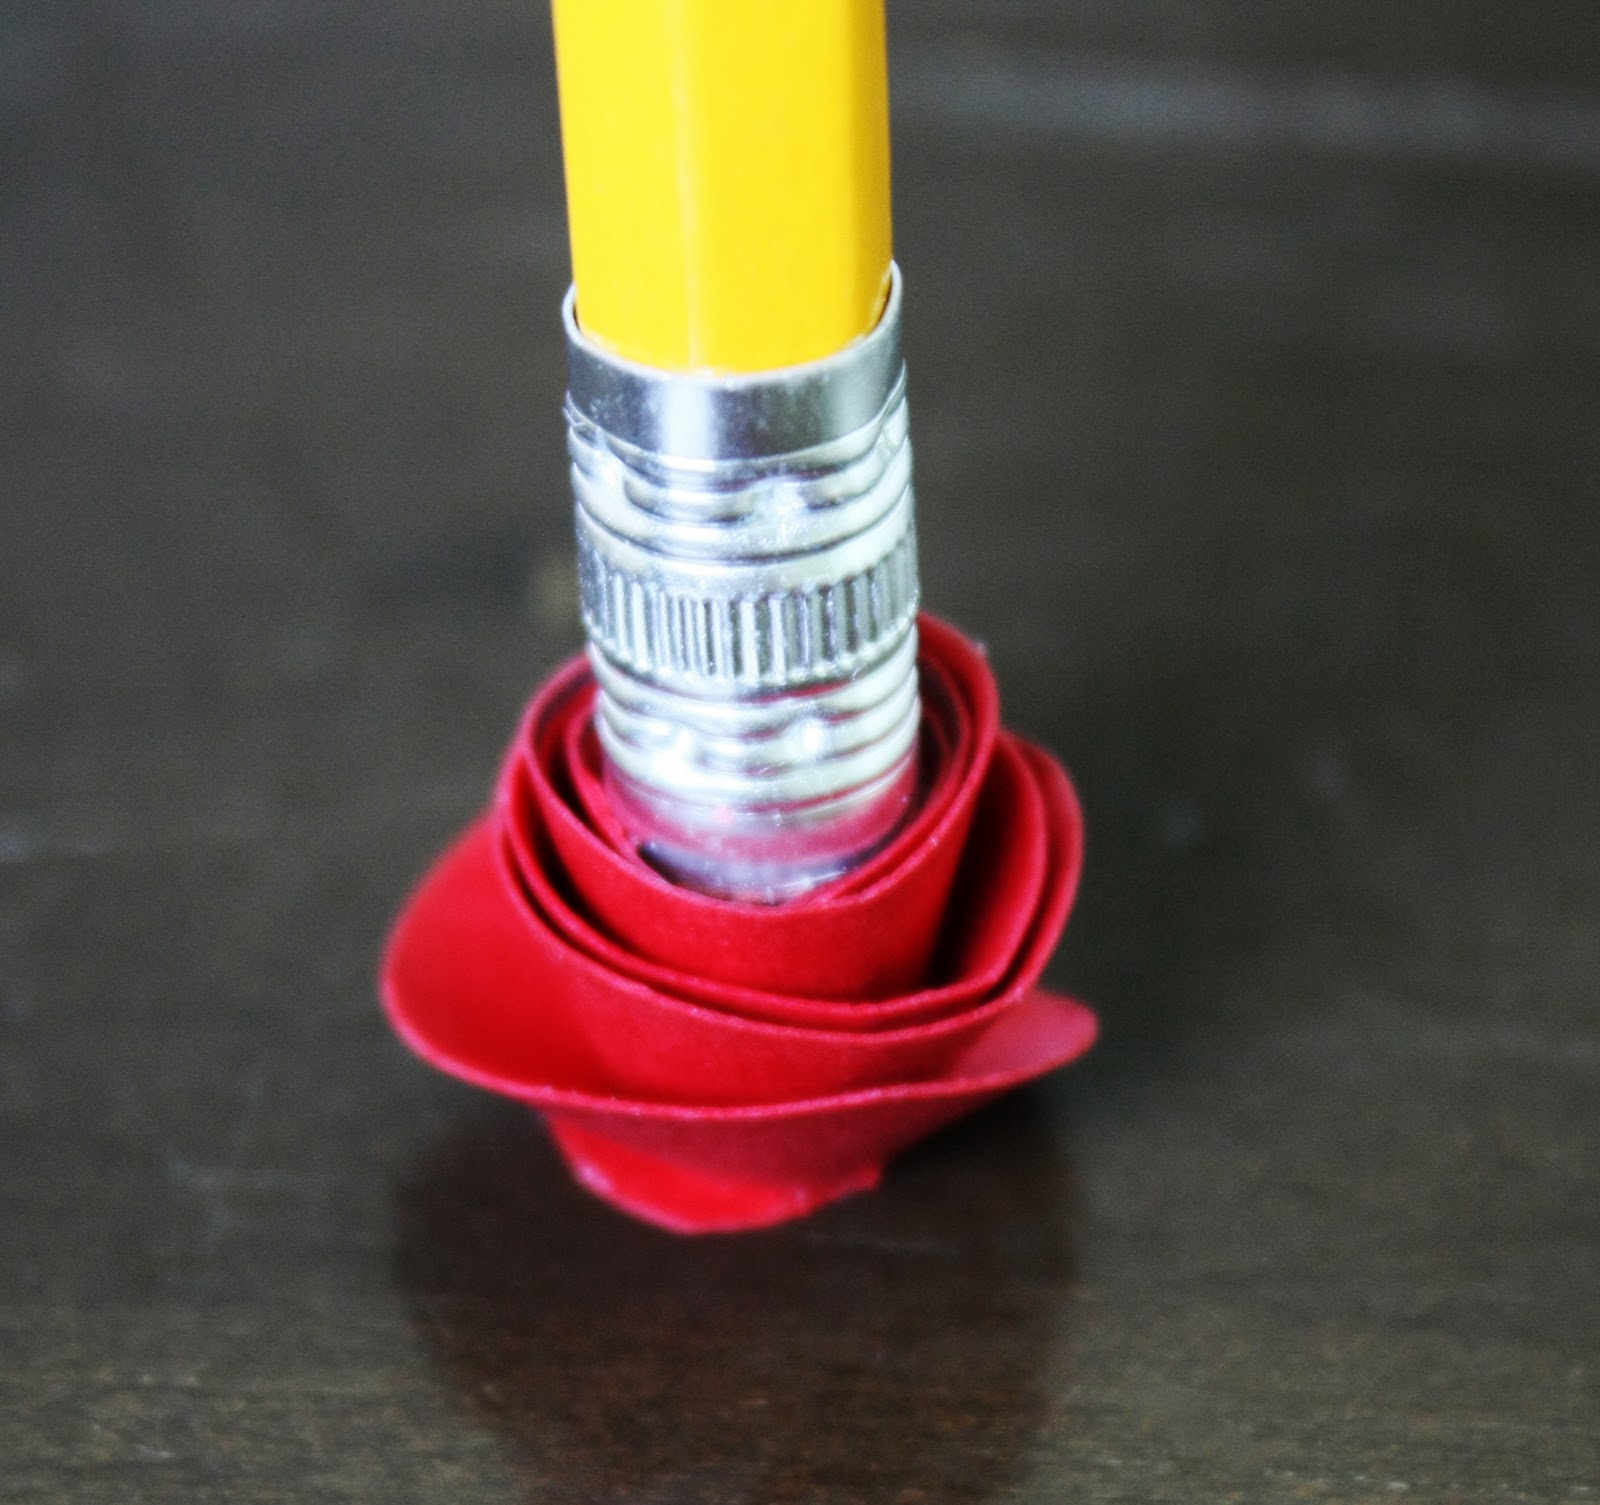
And there you have it!

Once they were made I started gluing them onto the ball.

I have a little secret. A confession I guess. The back half of the topiary is bald. No roses. I got so bloody sick of making the darn things! I don't know how you ladies make entire wreaths out of these bad boys. Granted it was cardstock and not fabric, but geez. Not my favorite project. I like power tools better :)
I painted the pot gray as well and then applied 2 coats of the glitter paint. I wanted it to be really shimmery!
I had forgot to but some green floral foam so I improvised and used another styrofoam ball. I used a little hot glue to help hold it in place.
I could have painted the skewer brown and used it as the stick, but I chose to go in the backyard and get a real stick. Either way works. I also added some moss to hide the styrofoam ball in the pot. I bought my bag of moss at Roberts as well.
I forgot to take a before picture of this frame. It was just an unfinished craft frame that I painted white. The print inside the frame can be found on my blog for free. You can get yours HERE. I used the biggest heart from the bag to go by the frame.

And there you have it! A very inexpensive way to decorate for Valentines Day!


LOOOOOOVE IT ALL!! seriously thinking about duplicating that vase full of hearts. adorable!
So cute... my mom was the same way and I keep thinking I need to get going on my own seasonal decor now that we have a baby. Someday! I did get a laugh out of your half bald topiary!! I don't blame you one bit!! haha!
Totally adorable! I never would have though to use gray for Valentine's Day, but it totally makes the pink and red pop.
Love your rose topairy... even if it is bald at the back - LOL.
Cheers
I've given you a Stylish Blogger Award! http://ajennuinelife.blogspot.com/2011/01/stylish-blogger-award.html
I looooove the heart vase filler and the topiary! So cute! I think I may use the vase filler so my table centerpiece for Valentine's day dinner...so Valentine's night? Haha!
Anyways, great job. All looks so cute!
Lovin' the topiary! So cute!!
Thank you for that rose tutorial....I can see myself starting this project, and then giving up before the topiary is fully done too! But my 10 year old daughter will go into overdrive with this one. So very cute!
Love that topiary. Very clever
Nice faux mantle. Like everyone else, I really like the rose topiary! The red is perfect for vday. I might make one in white for Easter or bridal showers.
Very cute! I have been begging my hubby to make me a faux mantel!!! Hopefully he will soon! I am your newest follower! :)
http://www.livingcraftilyeverafter.blogspot.com
Kelly