

As promised, here is the tutorial for the chandelier I made to go with my new ceiling. It was very simple!
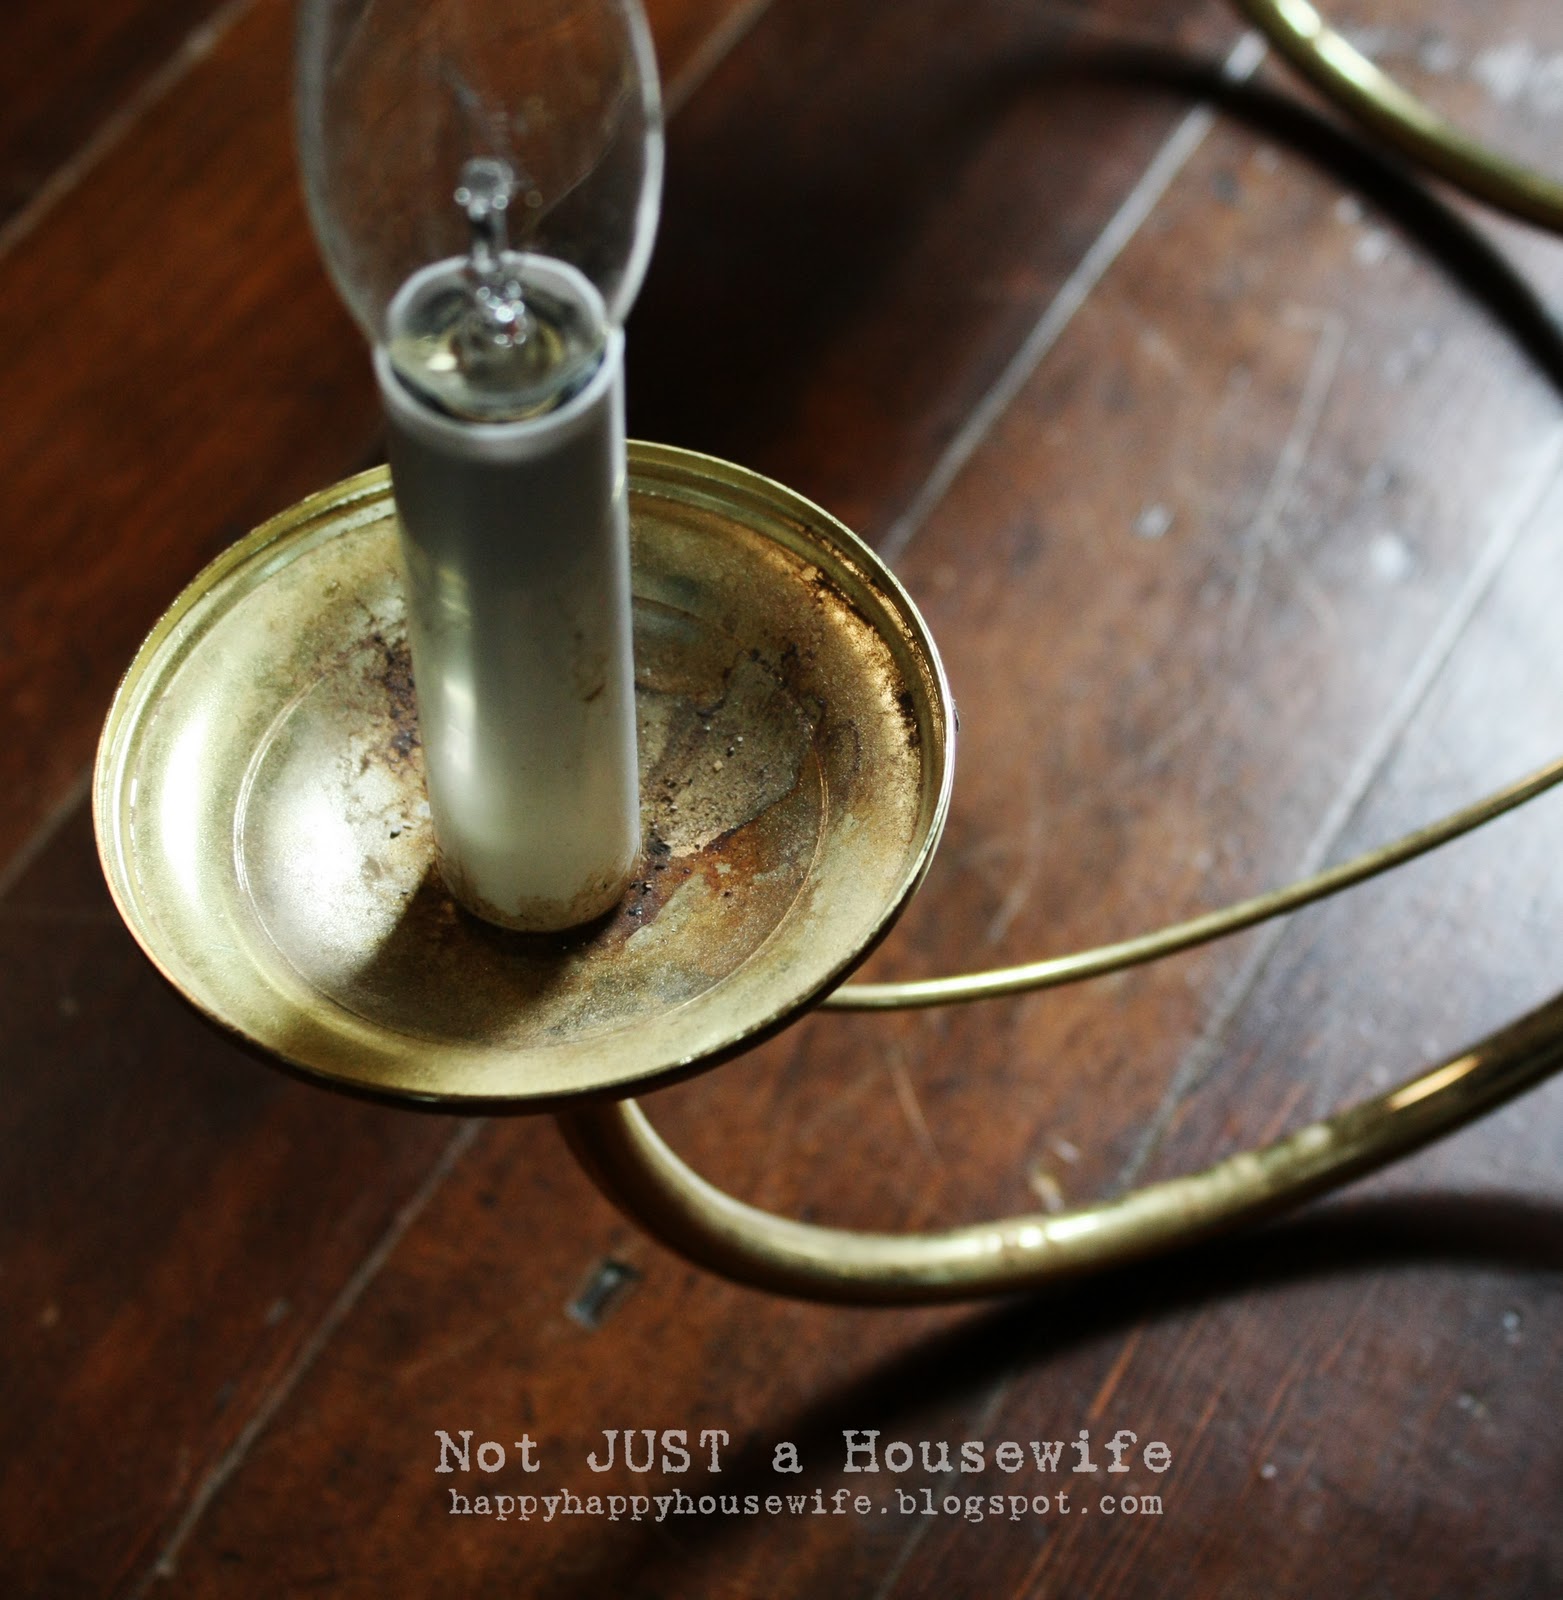
In the classifieds online I found an old brass light fixture. I was not in love with the brass but the shape was perfect! It was $15.00. I totally think I over paid. I probably could have found a better deal but I was in a hurry. . . because I am impatient. Plus I wanted to be able to have the chandelier done when I revealed the ceiling.

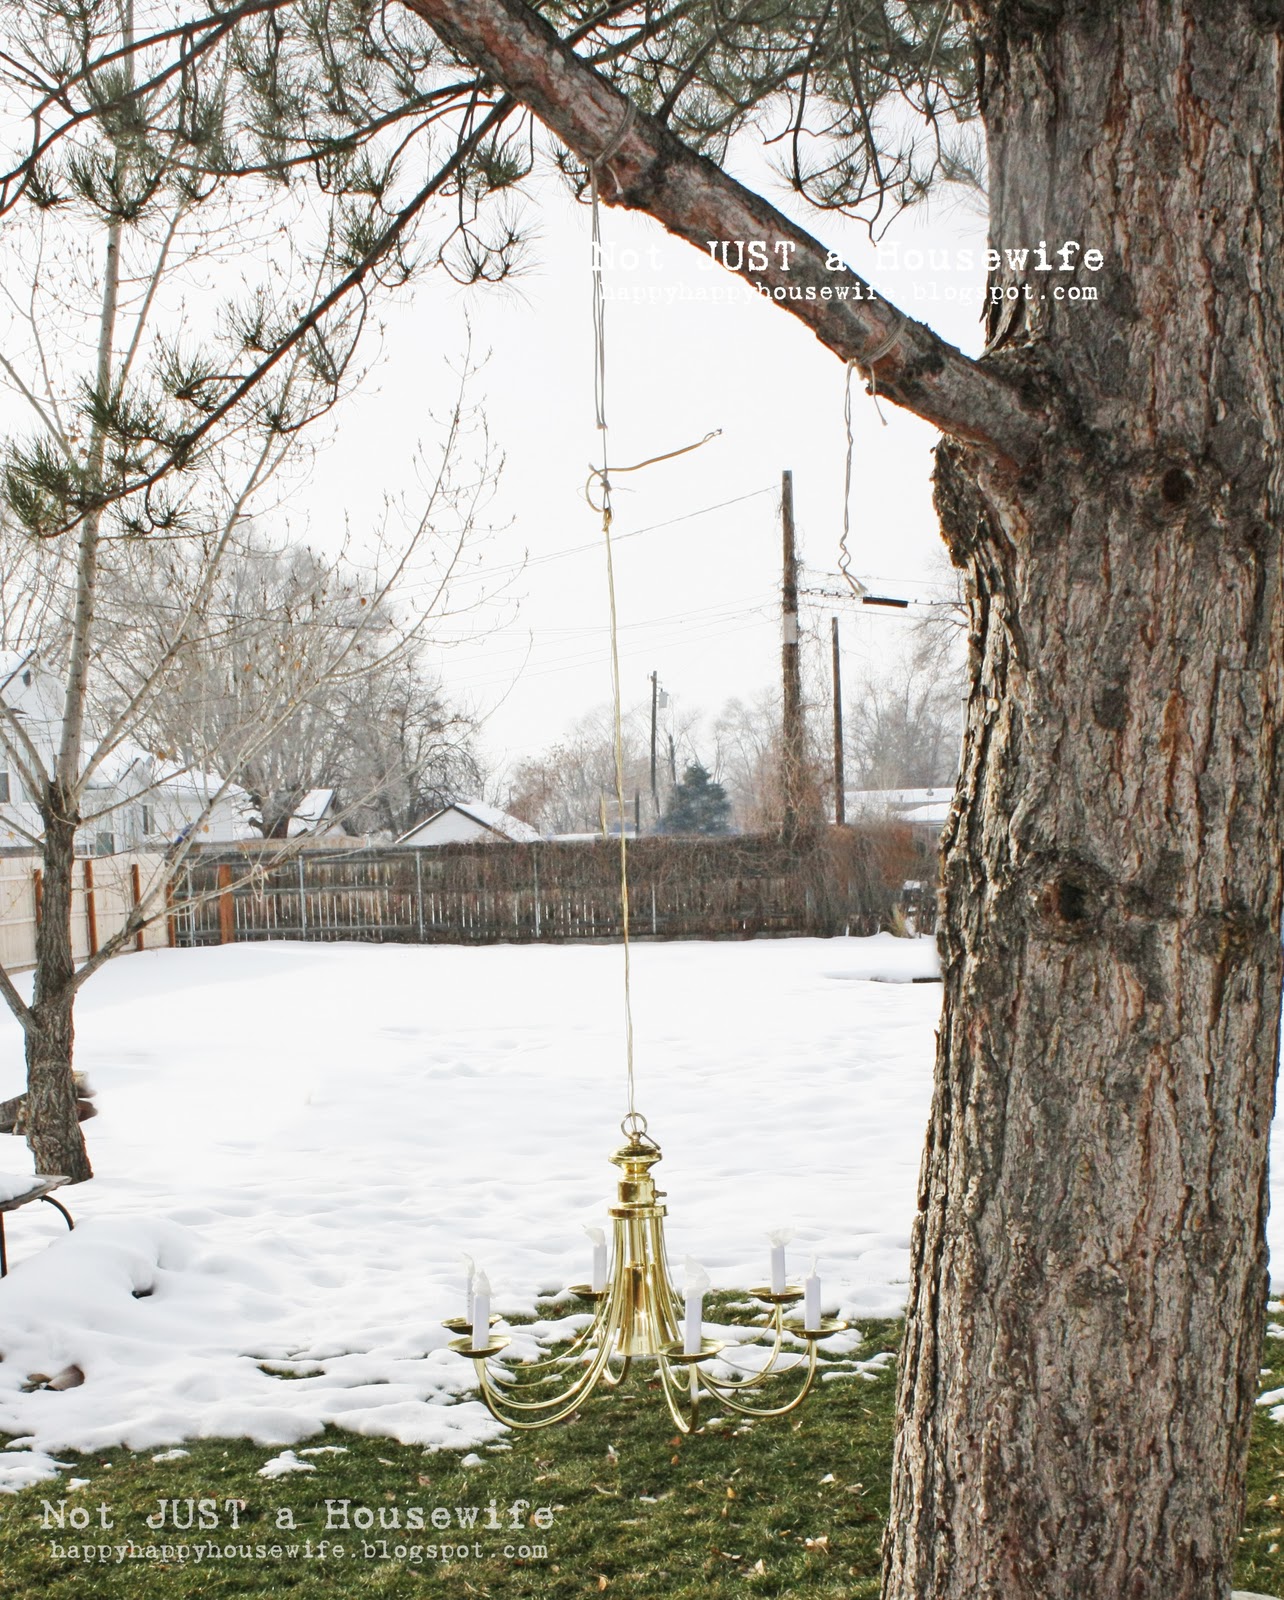
I took it outside and hung it from a tree so I could paint it. I might be crazy, but now I totally want a chandelier for my tree!
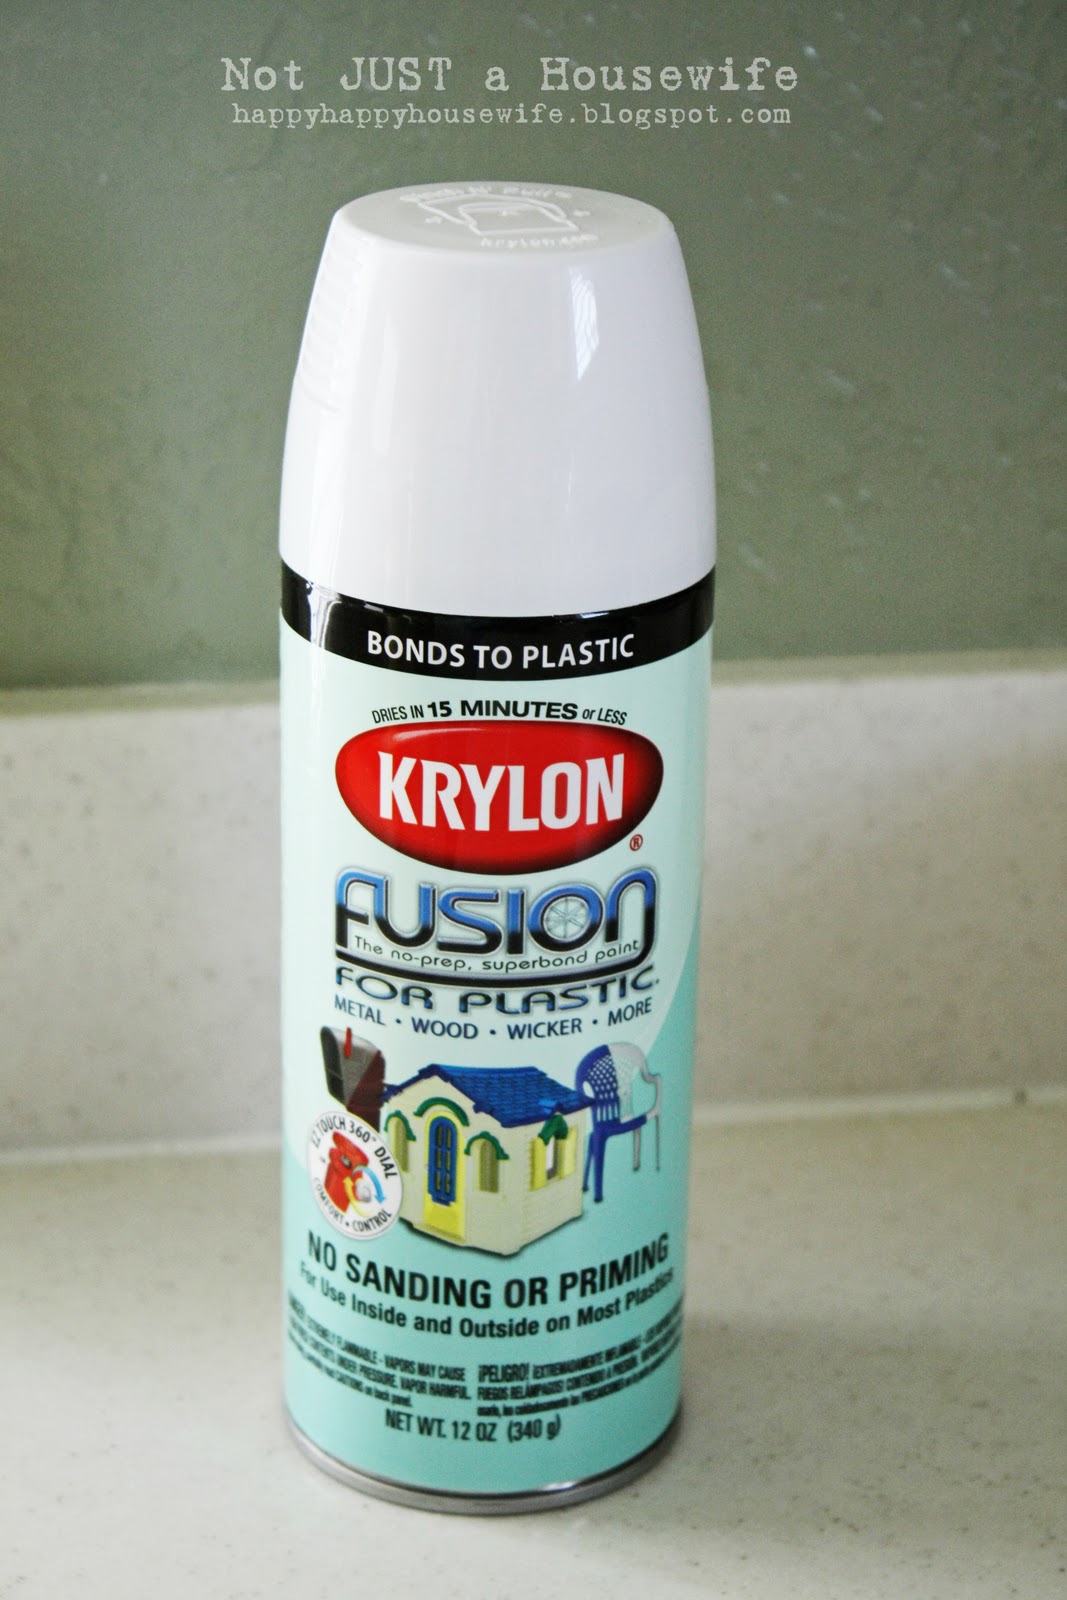
Krylon is my FAVORITE brand of spray paint. And I got this kind because it says metal AND "no sanding or priming". Gotta love that!
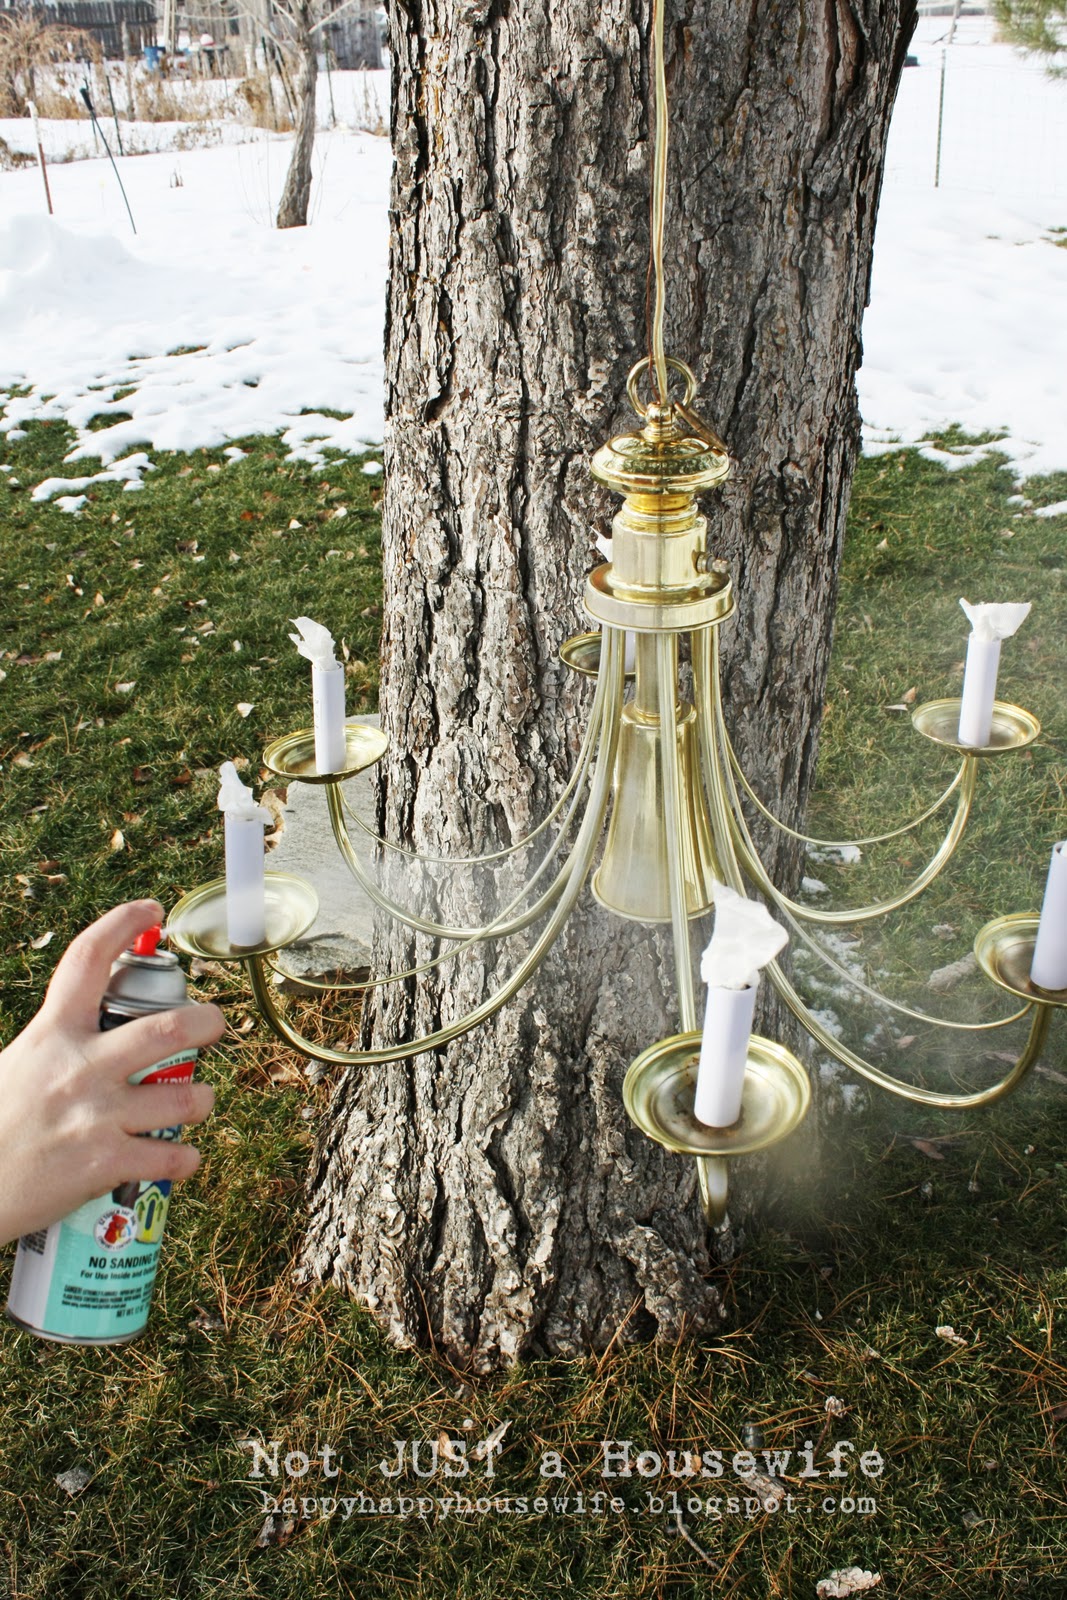
I sprayed several thin coats. If you try to do thick coats of paint it will run and you will have drips everywhere.
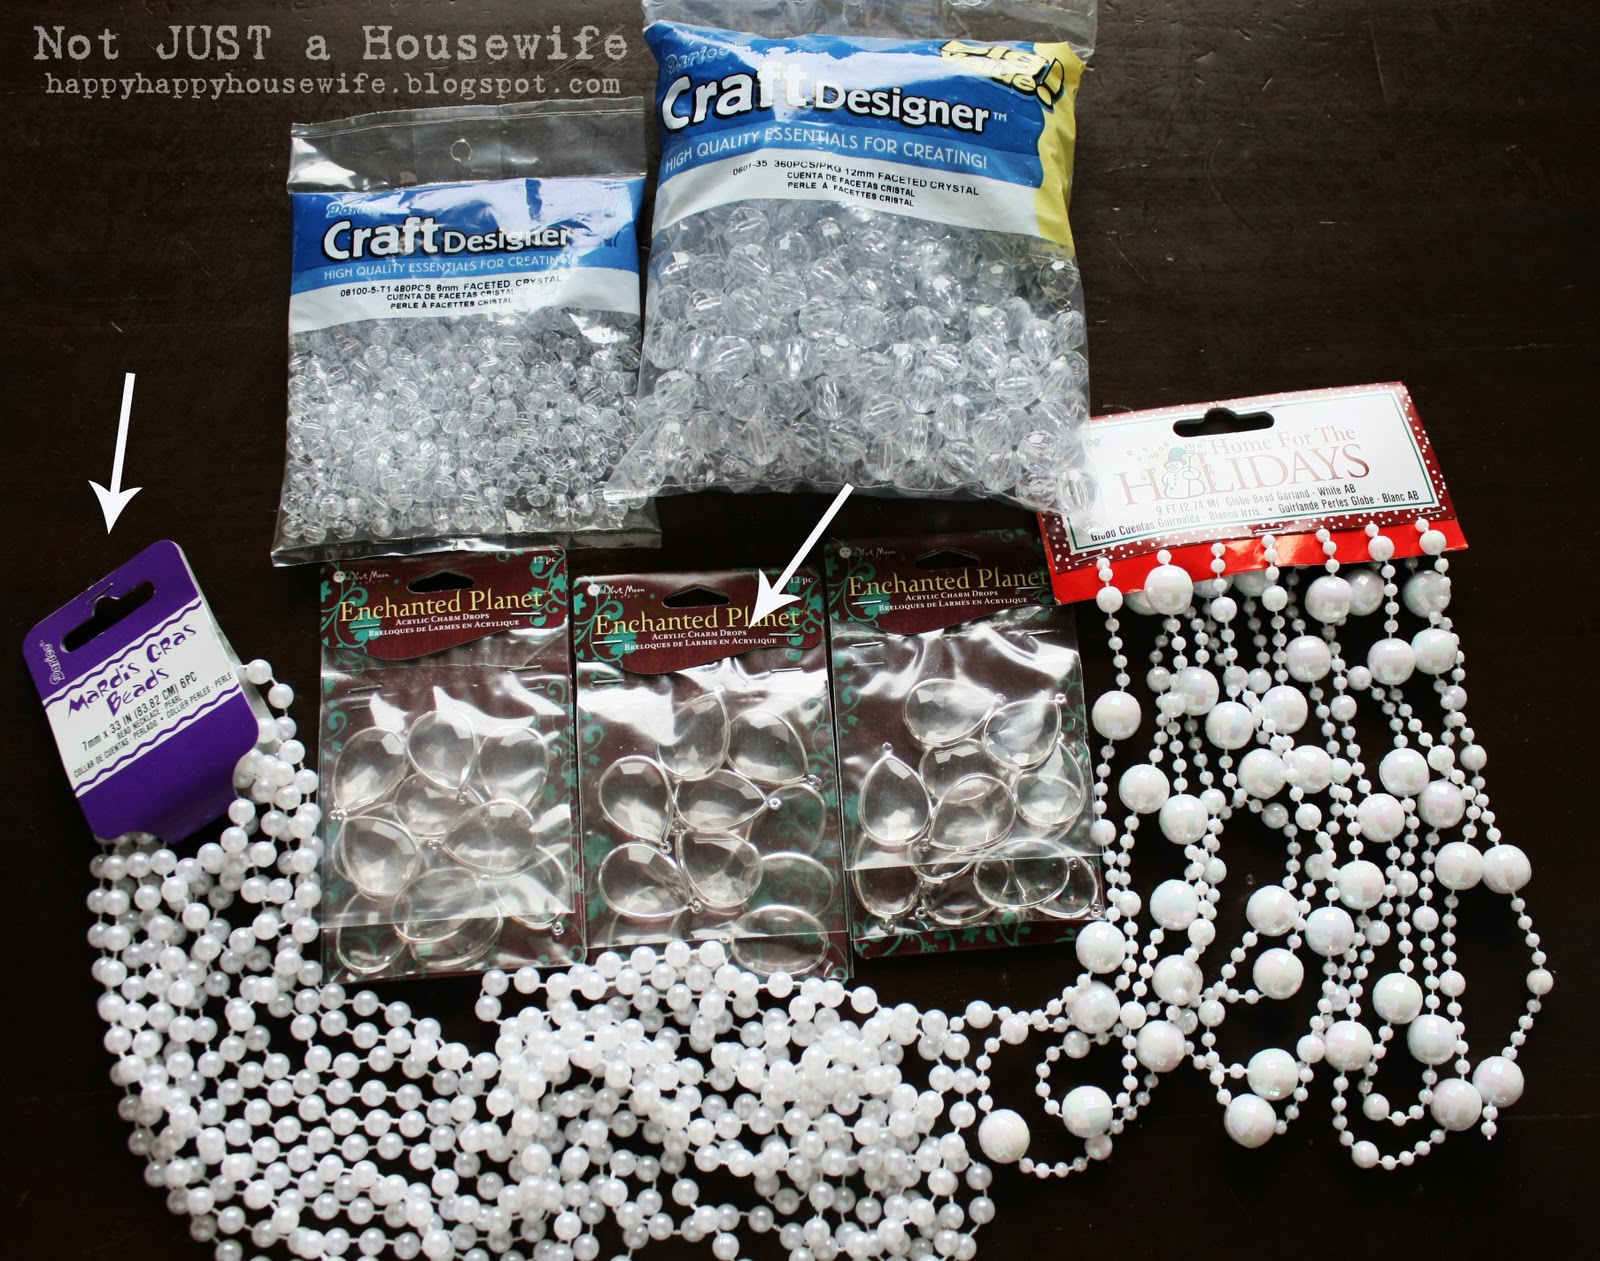
Since it was pretty cold I brought it in and hung it inside to dry. I then started on the beads/jewels. I bought a ton of options knowing I probably wouldn't use them all. But since I didn't have a certain design in mind I wanted to make sure I had plenty to choose from.
I ended up only using the mardi gras necklaces and one pack of the tear drop shaped beads.
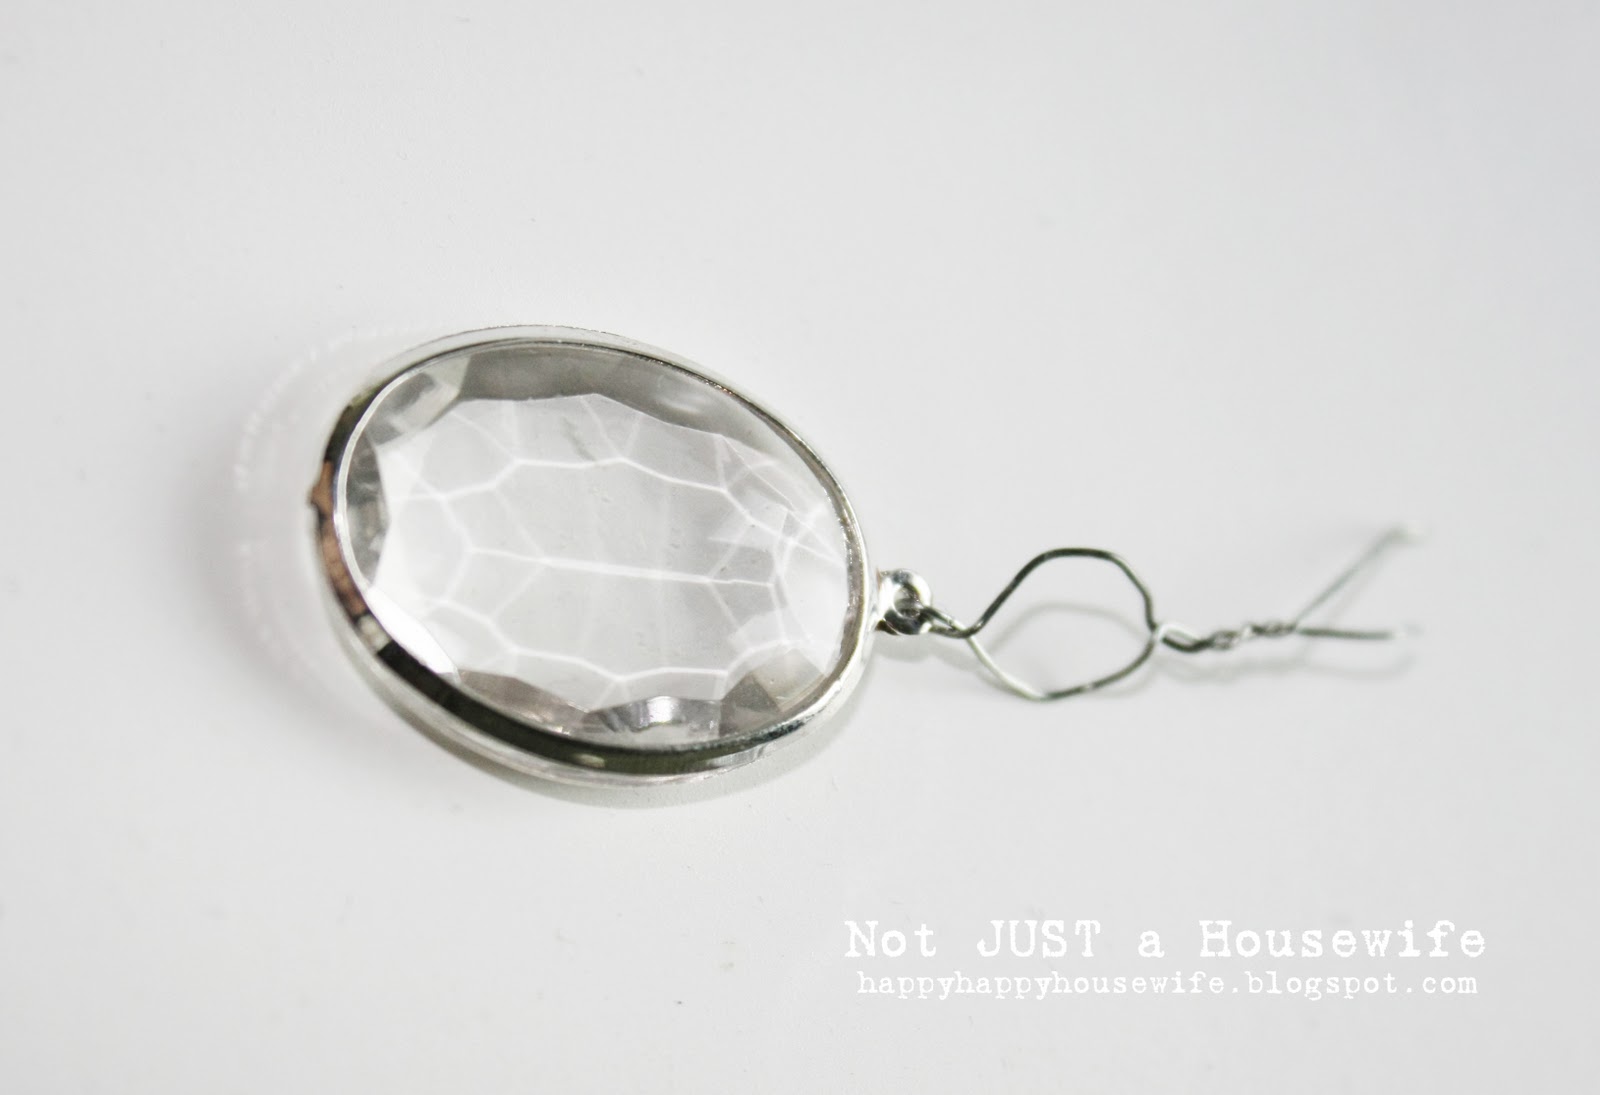
Here is how I wired the beads that hang from the center of the chandelier.
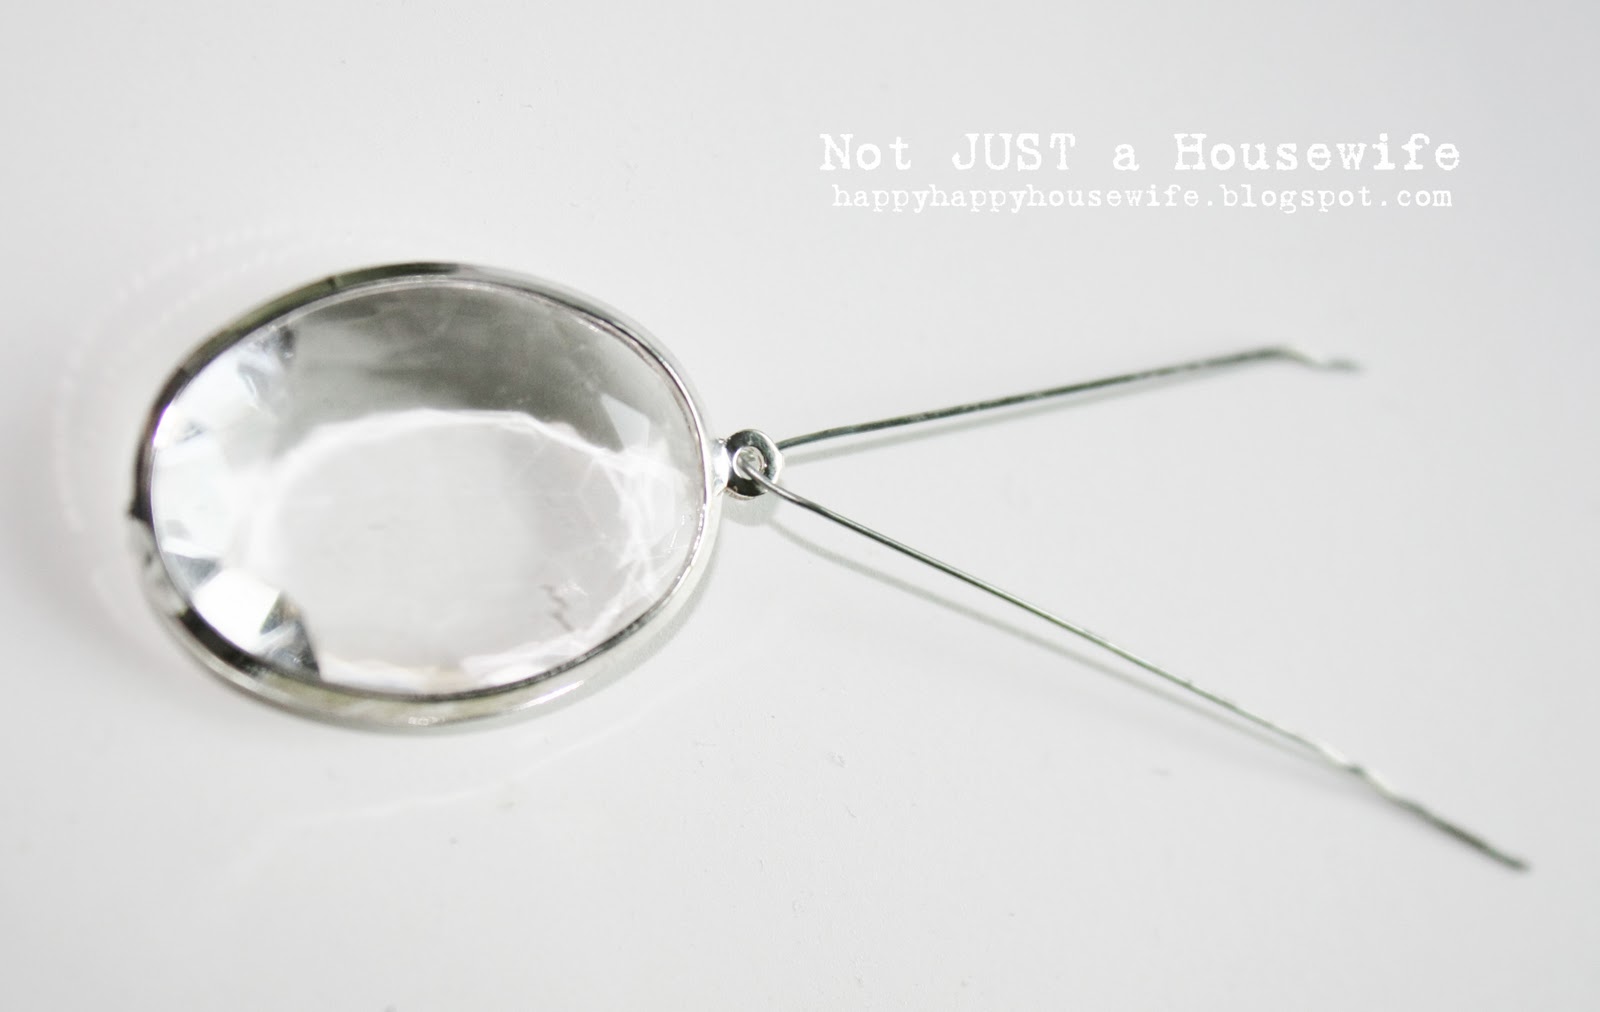
I made a round part for the last pearl on the string to fit through. The the twisted part got wrapped around the string just above the last pearl. I cut off any extra wire.
Click on this picture to see what I mean.
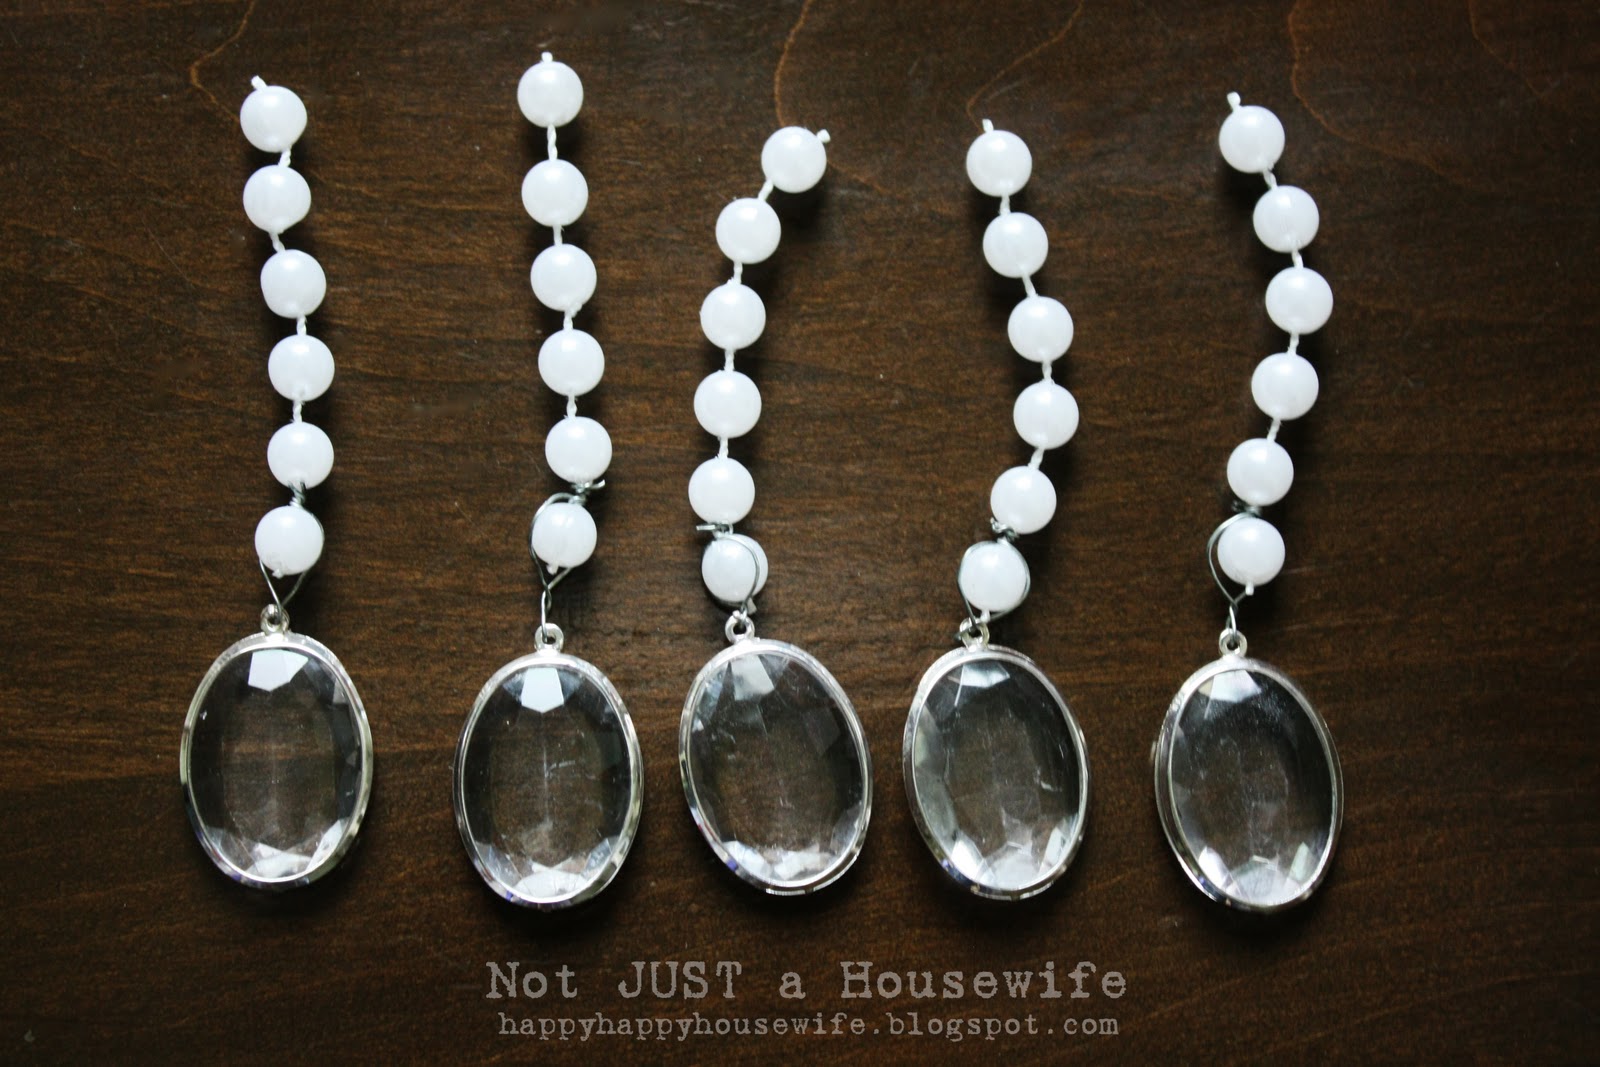
Then I cut a wire that was long enough to go around the center of light. I attached these jewels to that wire and wrapped it around the center of the light.
Some of the necklaces were cut into 6 equal strips. I used wire the attach the first pearl to the bottom of the "arm" and then I wired the last pearl to the top of the "arm".
I wired 2 necklaces together so it would be long enough to drape . They got draped across the skinny part of the arms. Each time the arm and the necklace touched I used wire to hold it in place.
Once everything was wired into place I took it outside again to spray paint. I wanted it to be all white. I forgot to take a picture of it before I painted the jewels. It looked alright except you could see the wire. Now it blends right in!
In total, with the paint, wire, and beads ( I returned what I didn't use) it cost just over $11.00. Add that to the $15.00 of the light itself and you get one cheap chandelier! Not too shabby.


Looks amazing! Now I want to do this to my dining room chandy. By the way, yesterday I wanted to link up my rose topiary I was making since I saw yours, but my sweet little 2-year-old ripped the whole thing up while I was out this weekend. I don't think I'll be trying it again.
Super cute! Glad to know I'm not the only crazy person spray painting outside with snow on the ground!
We have an old brass chandelier hanging in our "formal dining room" (aka, toy room). It's totally out of place, so I'd love to paint it and hang it in...my master closet! Wouldn't that be awesome? It would make me feel like I'm shopping in a chic little shop every morning. Too bad I'm renting...though I might do it anyway :)
Love it! I also love the idea of hanging a chandelier from your trees! What a romantic, ethereal experience the backyard BBQ would be then! :)
Oooo, I LOVE it!! And your ceiling!! Wonderful!!
I love this!! We're in the process of remodeling 3 of the bedrooms in our home. One is competely down to the studs!! That's where I've been doing my spray painting!! (With the window cracked, of course!!) I'm sure people driving by are wondering what I'm doing!!!
Love the ceiling, too!!
Hugs ~~ Suz
inspiringcreativeness.blogspot
i love it and you are brilliant!!
i am going to have to bookmark this for future reference! :) i have a light fixture that i hate... but we are renting, so i'm not planning on doing anything about it. thanks again for sharing... the beads were a stroke of brilliance! :)
I love it and I want one! I have just the place.
susan
myhomeroad.blogspot.com
Great job. I was looking at one in the store with the white crystals and it was 475.00 bucks. Yours looks just as nice. I think I will give this a try! If I can pull it off, It will be perfect for my kitchen dining renovation going on now.
Thanks for the tute!
WOWZERS, love it, way to go! JEN
i love it! so pretty :)
It's beautiful!!! I have a project very similar!!! I bought a chandelier on craigslist to paint hot pink for my daughters room. I'm in the process of making over her room now... you can check it out on my blog. I was thinking all those dress up necklaces she has lying around that she doesn't play with anymore would look great on the chandelier... thanks for showing the tutorial... I'll be using it!!!
Another awesome idea! I love it!
Wow! Was it too cold out there? I'm just waiting for spring so I can bring out the spray paint again! ;) This looks great--I love the crystals!
I'm having a giveaway for a FREE gallon of paint...hope you can join! alittleknickknack.blogspot.com
Oh this is a good tutorial, I have a gold chandelier, and I think this is going to be the solution! Thanks for the ideas, I am a new follower!
The chandelier is very beautiful. Love what you did. Thanks for the tutorial.
You made that look so easy! I may have to do that! I have always dreamed of en elegant chandy in my future nursery (hoping that I have a girl someday) but dreaded the price tag. I never thought to make one on my own! Thanks for sharing!
PS-I LOVE Krylon too!
Stacy,
I have been admiring this for a while now. I love it! Thanks for joining our party!
I linked over from Finding Fabulous. What a great project...especially the beads. I love it. I am your latest follower. I would love if you would come check out my blog and follow me back at http://www.diybydesign.blogspot.com. Thanks.
It's lovely - I've been keeping an eye out for a chandy I can redo for my 12 years old's room. This is perfect!
This is gorgeous! I love the all-white look. Great job!
Awesome! I so want a chandelier in my entryway but not wanting to spend $90+ to get it! I'll have to hunt thru the thrift store to see what I come up with;o)
Congratulations!!! This is beautiful!!!
Kisses
Now I want to make one for my tree! LOL Your chandelier is beautiful. Found you from your guest blog on Positively Splendid. http://altered-artworks.blogspot.com
I like the way you didn't have to spend very much to get such a pretty light. Chandy-worthy light!
I am still in love with that ceiling!
So pretty-- that would hide any flaws in the tape-and bedding too, right?
I just love it!
Pat
Stacy,
This came out so pretty. Love it,
Cheri
You did a great job, Stacy! It's beautiful! Perfect accessory for that gorgeous ceiling! ;)
Roeshel
This is so gorgeous, I love it! Thank you so much for sharing! Heather @ 500dollarwedding.blogspot.com
Hello,
I loved your step by step, I will do my show and then.
Kisses
Eliane
Enchanted Cottage
acasinhaencantada.blogspot.com
Hi Stacy...
It's a lovely tutorial... the chandalier is so gorgeous!!!
brazilian hugs
really beautiful. the bling makes it!
xo
elyse
Hi Stacy, I was so inspired by this project, that I made one of my own in HOT PINK! Wahoo! I linked back here & gave you a shout out in my post about it. Thanks for all your great ideas. Hope you meet you in person some day.
Warmly, Michelle
Hi Stacy:
I am new to your blog. I saw your stencilled ceiling featured in Better Homes and garden magazine and thought it was awesome. I love your chandelier project. I would love to do something similar to a very industrial looking lamp I have in my dining room. I want to know what type of beads you used. can you tell me the name of the company that manufactures these beads and where I can buy them? Thanks very much.
Anna
When the center light (down light) is on for extended periods of time does make the paint peel? Or do you have any other problems withe the painted surfaces?