
I am excited to share the bathroom shelves I built for our new bathroom in the basement. We have really loved having a second bathroom!

Let's rewind a bit to see where this all started....
The previous owners of our home had the plumbing added for a second bathroom in the basement and had added the shower. That is as far as they got. Only the wall the shower was on and the exterior wall were there. Finishing this bathroom came with many challenges. One of the biggest was storage. So when I framed out the other two walls, I borrowed some square footage from the laundry room next door for some shelves.
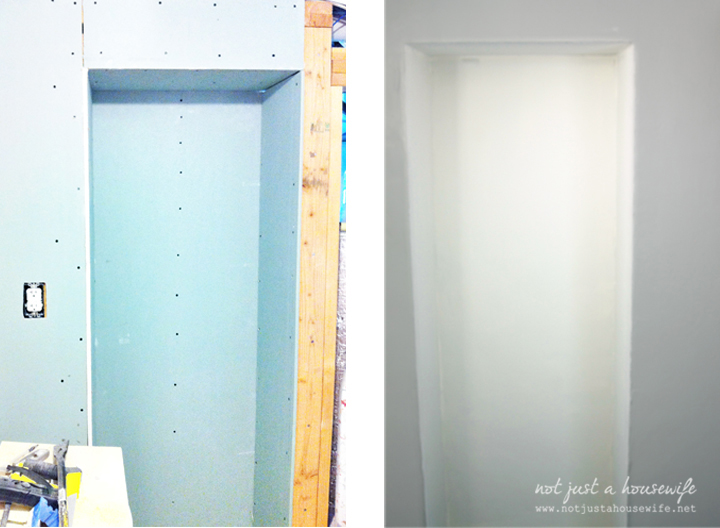
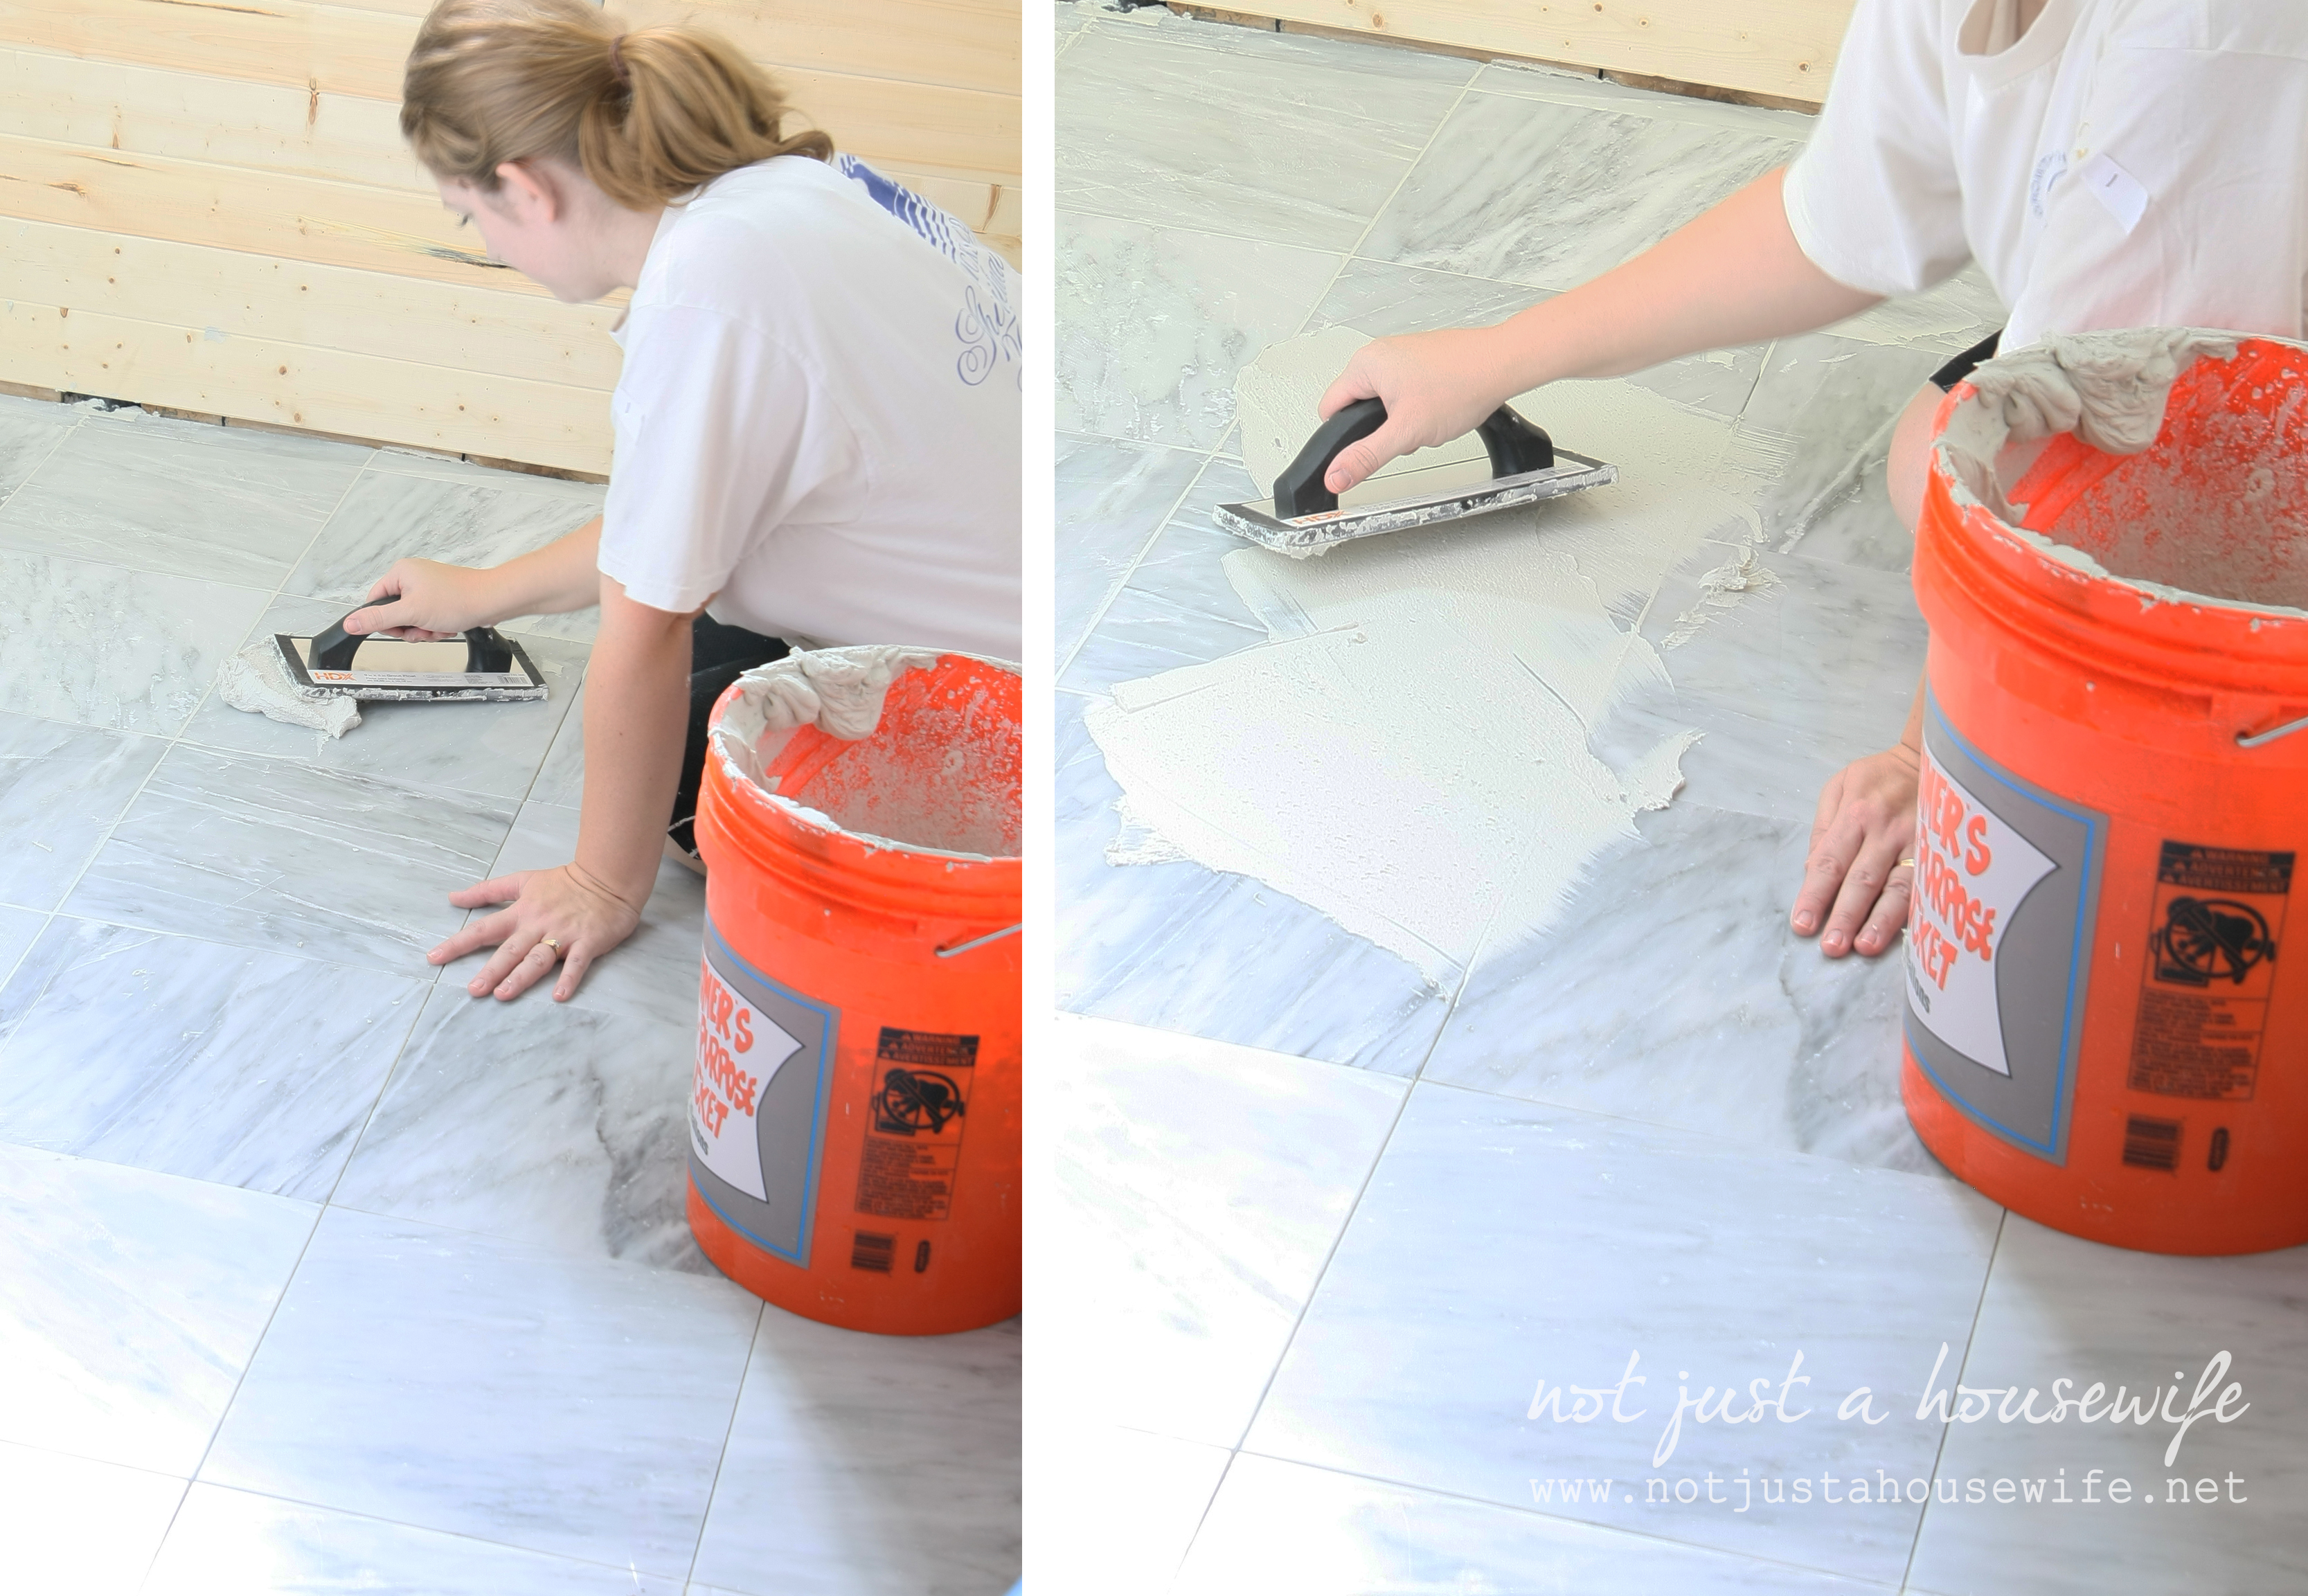
Once I got it framed, sheet rocked, taped, mudded, textured, and painted, the bathroom was ready for the tile. I chose marble, remember? I am still in love with it.
After that I added a bluetooth bath fan and wood planks to the one wall. I also added doorknobs as towel holders just like the upstairs bathroom. This time I used just the knobs and not the back plates.

And then it was time to add shelves to the nook!
How To Add Simple Shelves
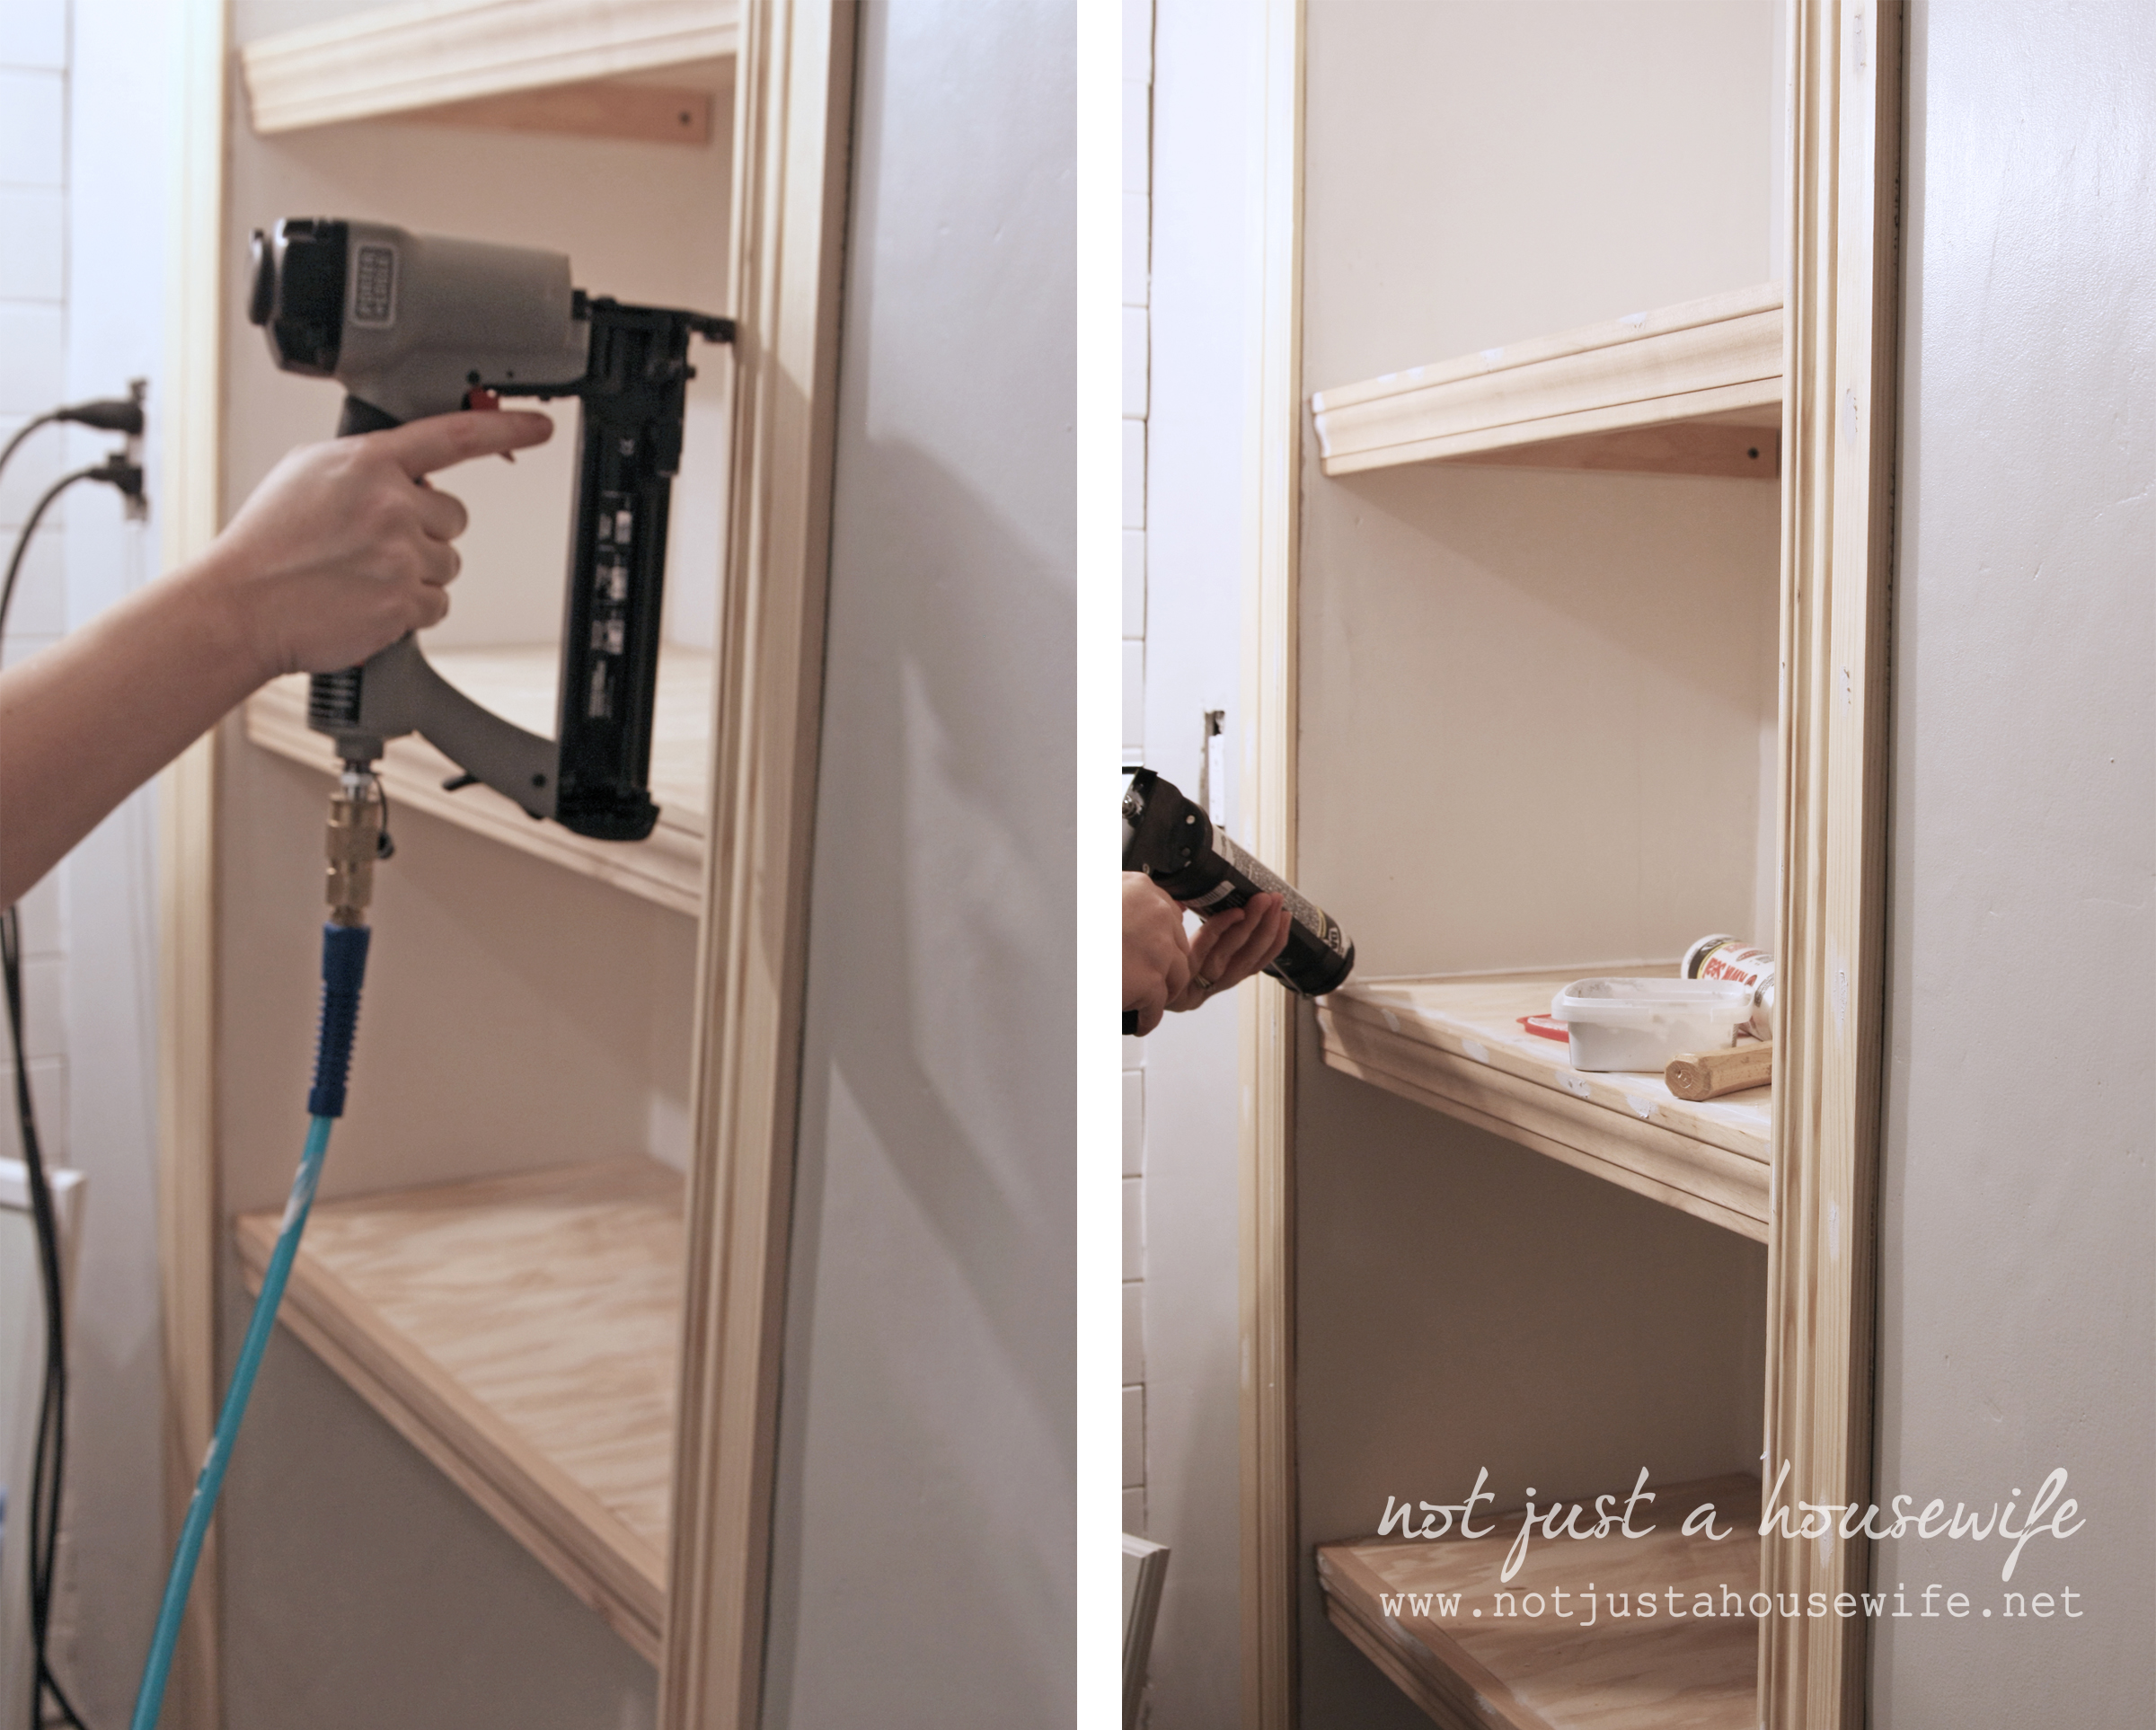
The depth of the space is 14 inches. I cut 1x2 boards (which would be what the shelves sat on) 13 inches long. I didn’t cut them 14 inches because I would be adding trim to the front which would add depth.
I used my level to measure and draw the lines where the 1x2 boards will be attached. I only added one on each side and not one along the back because the space was only 2 feet wide and would not have a lot of weight (towels, toilet paper, etc.). If your space is wider or will carry more weight you should add a ledge along the back as well.
I screwed the 1x2s into the studs.

Since I was making 3 shelves I needed 6 of the 1x2s cut. I used my miter saw. The width of the space was 24 inches so I cut 3 pieces of plywood that were 13 inches by 24 inches. I used my jig saw to cut the pieces. I sanded them really well before taking them down to install them. Then I placed the plywood shelves on the ledges and nailed them down using my brad nailer (nail gun). I used the nailer again to add the trim to the front which I had cut on my miter saw to be 24 inches.
Once the shelves were installed I added molding around the opening from the floor all the way to the top of the shelves. I used the same molding that I will be adding as the baseboards and I cut it on my miter saw as well. For a tutorial on how to cut molding on a miter saw check out my shadow box shelf tutorial.
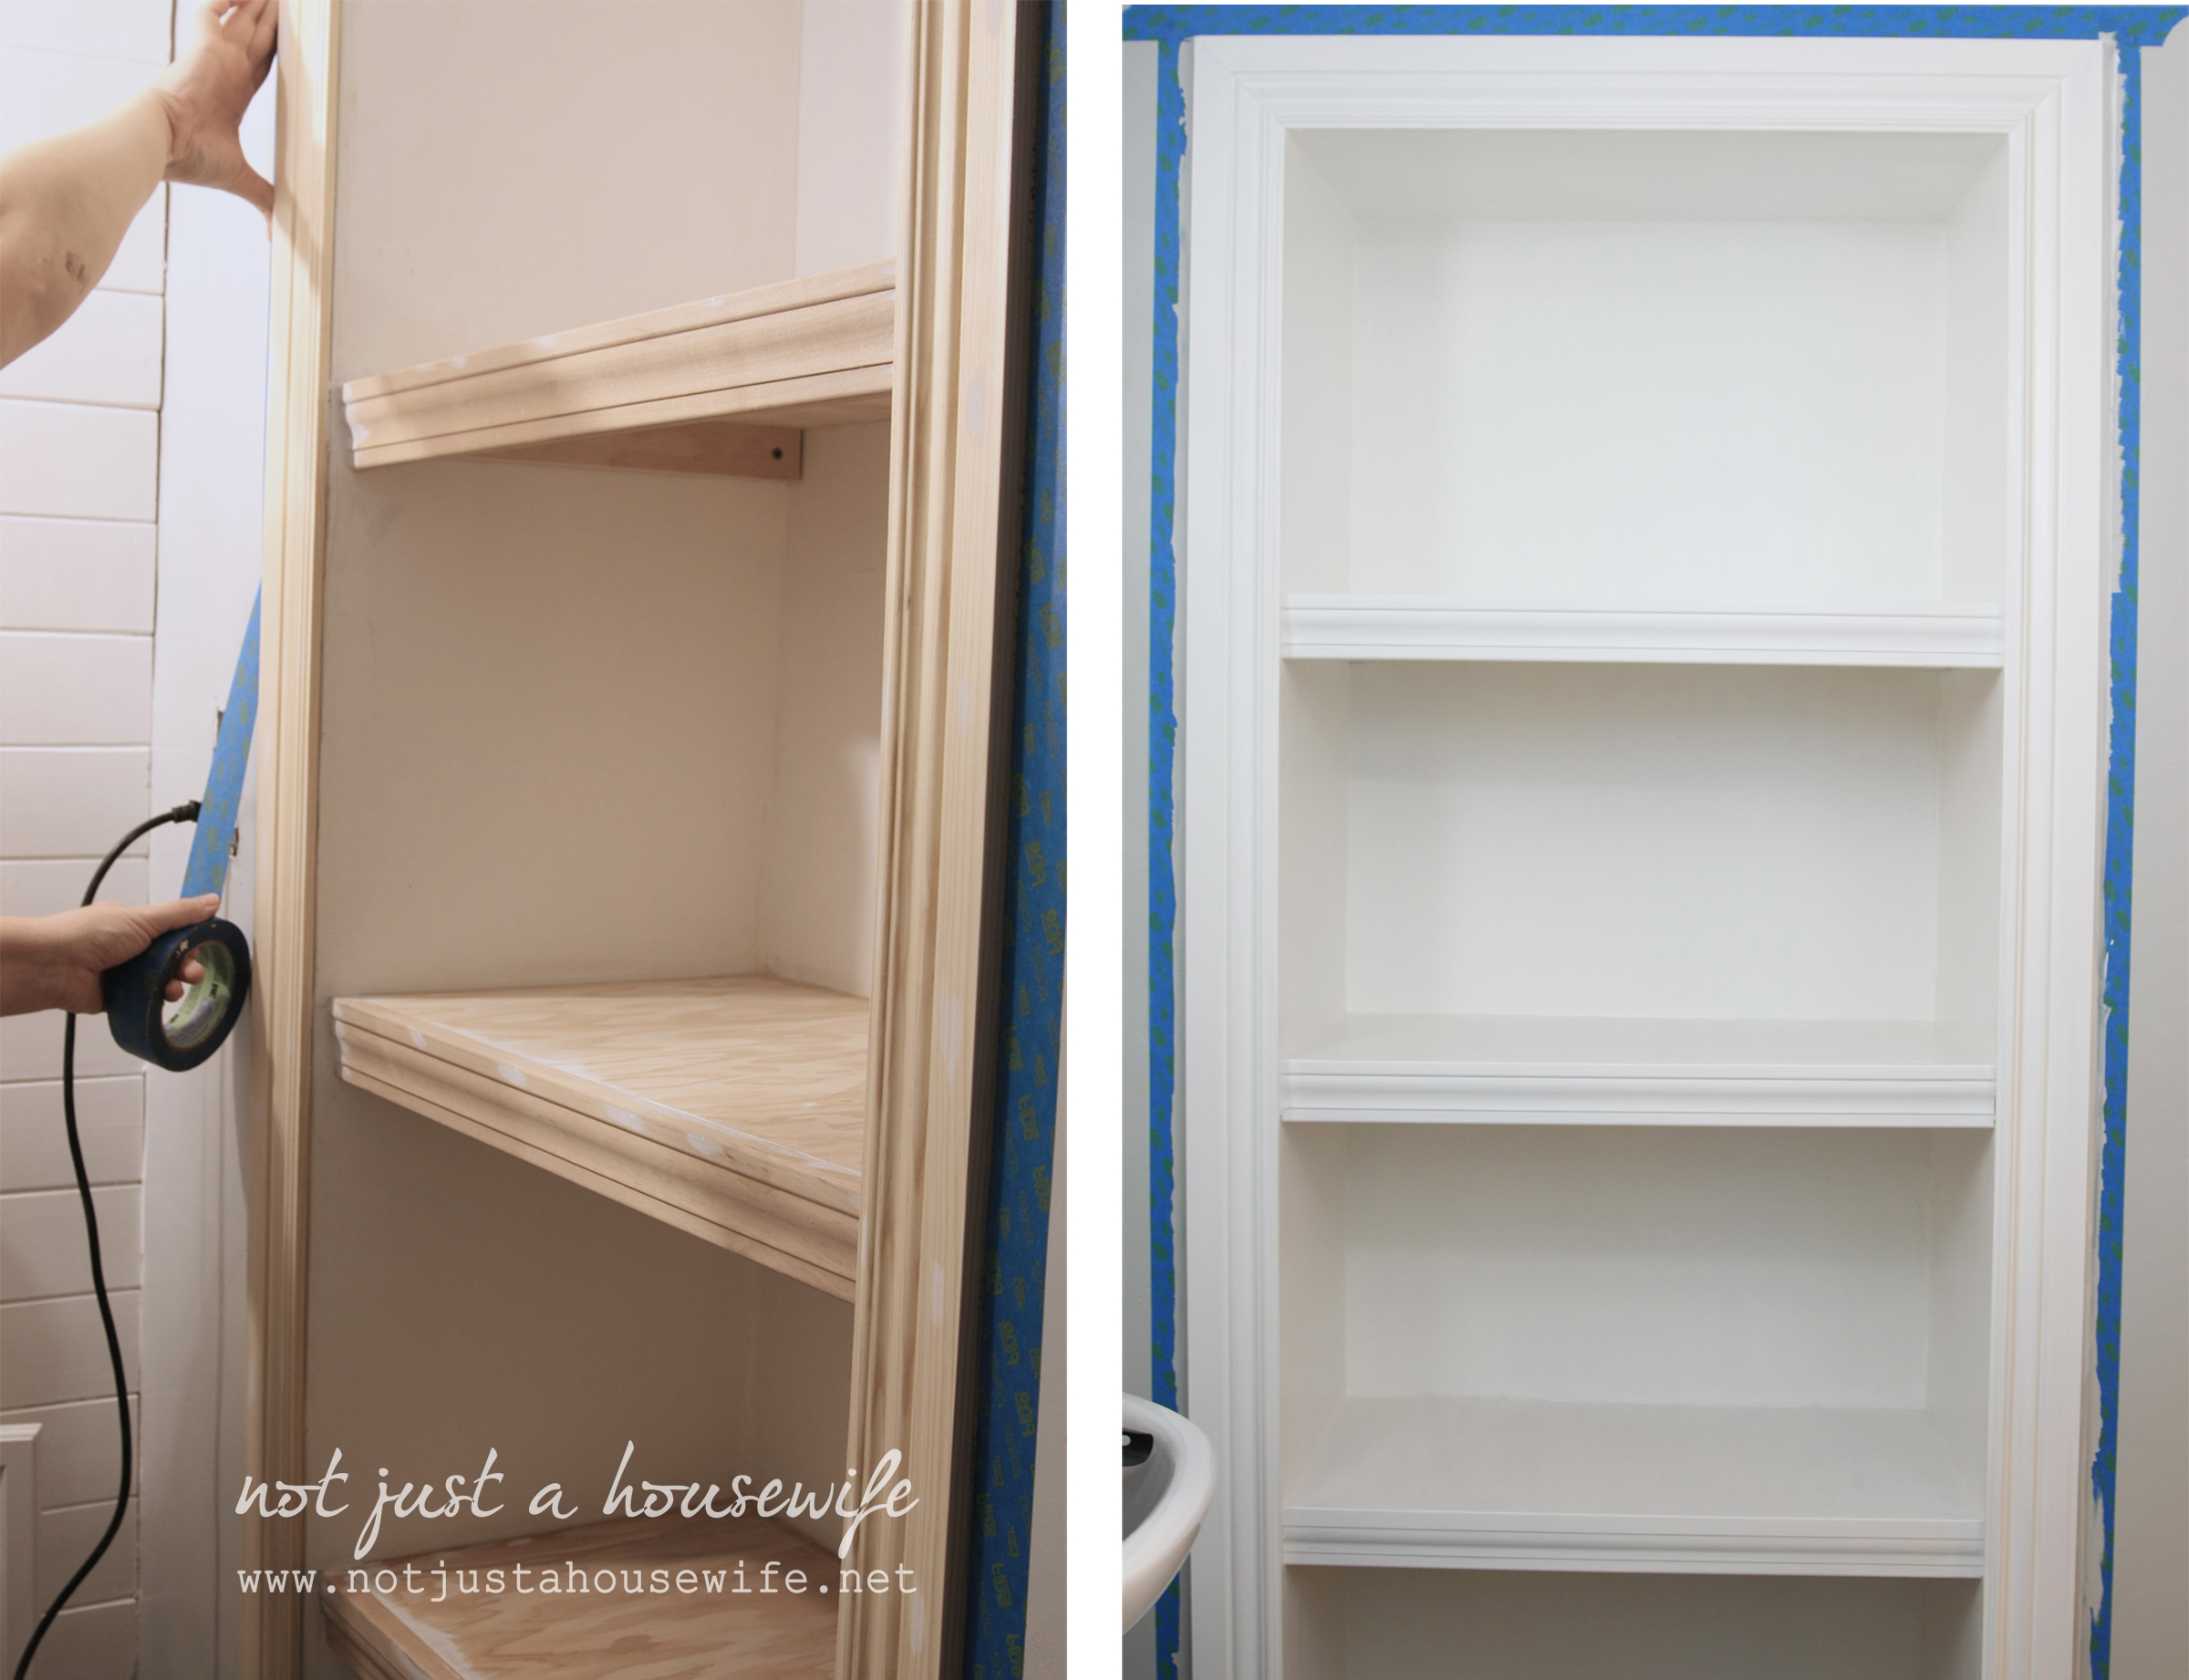
Once everything was nailed into place I puttied the nail holes. Then I caulked along the edges of the shelves where they met the walls. Caulking can be very messy so make sure you have paper towels handy. And make sure you buy paintable caulk!
When the putty was dry I sanded it smooth. By then the caulk was also dry so I painted everything white. I chose Behr Ultra in Popcorn. I did 4 coats of paint. It is always better to do several thin coats as opposed to one or two thick coats. You will have less dripping, less brush strokes, and it will look more even.
I let the paint dry overnight before I cleaned everything up and put things on the shelves.
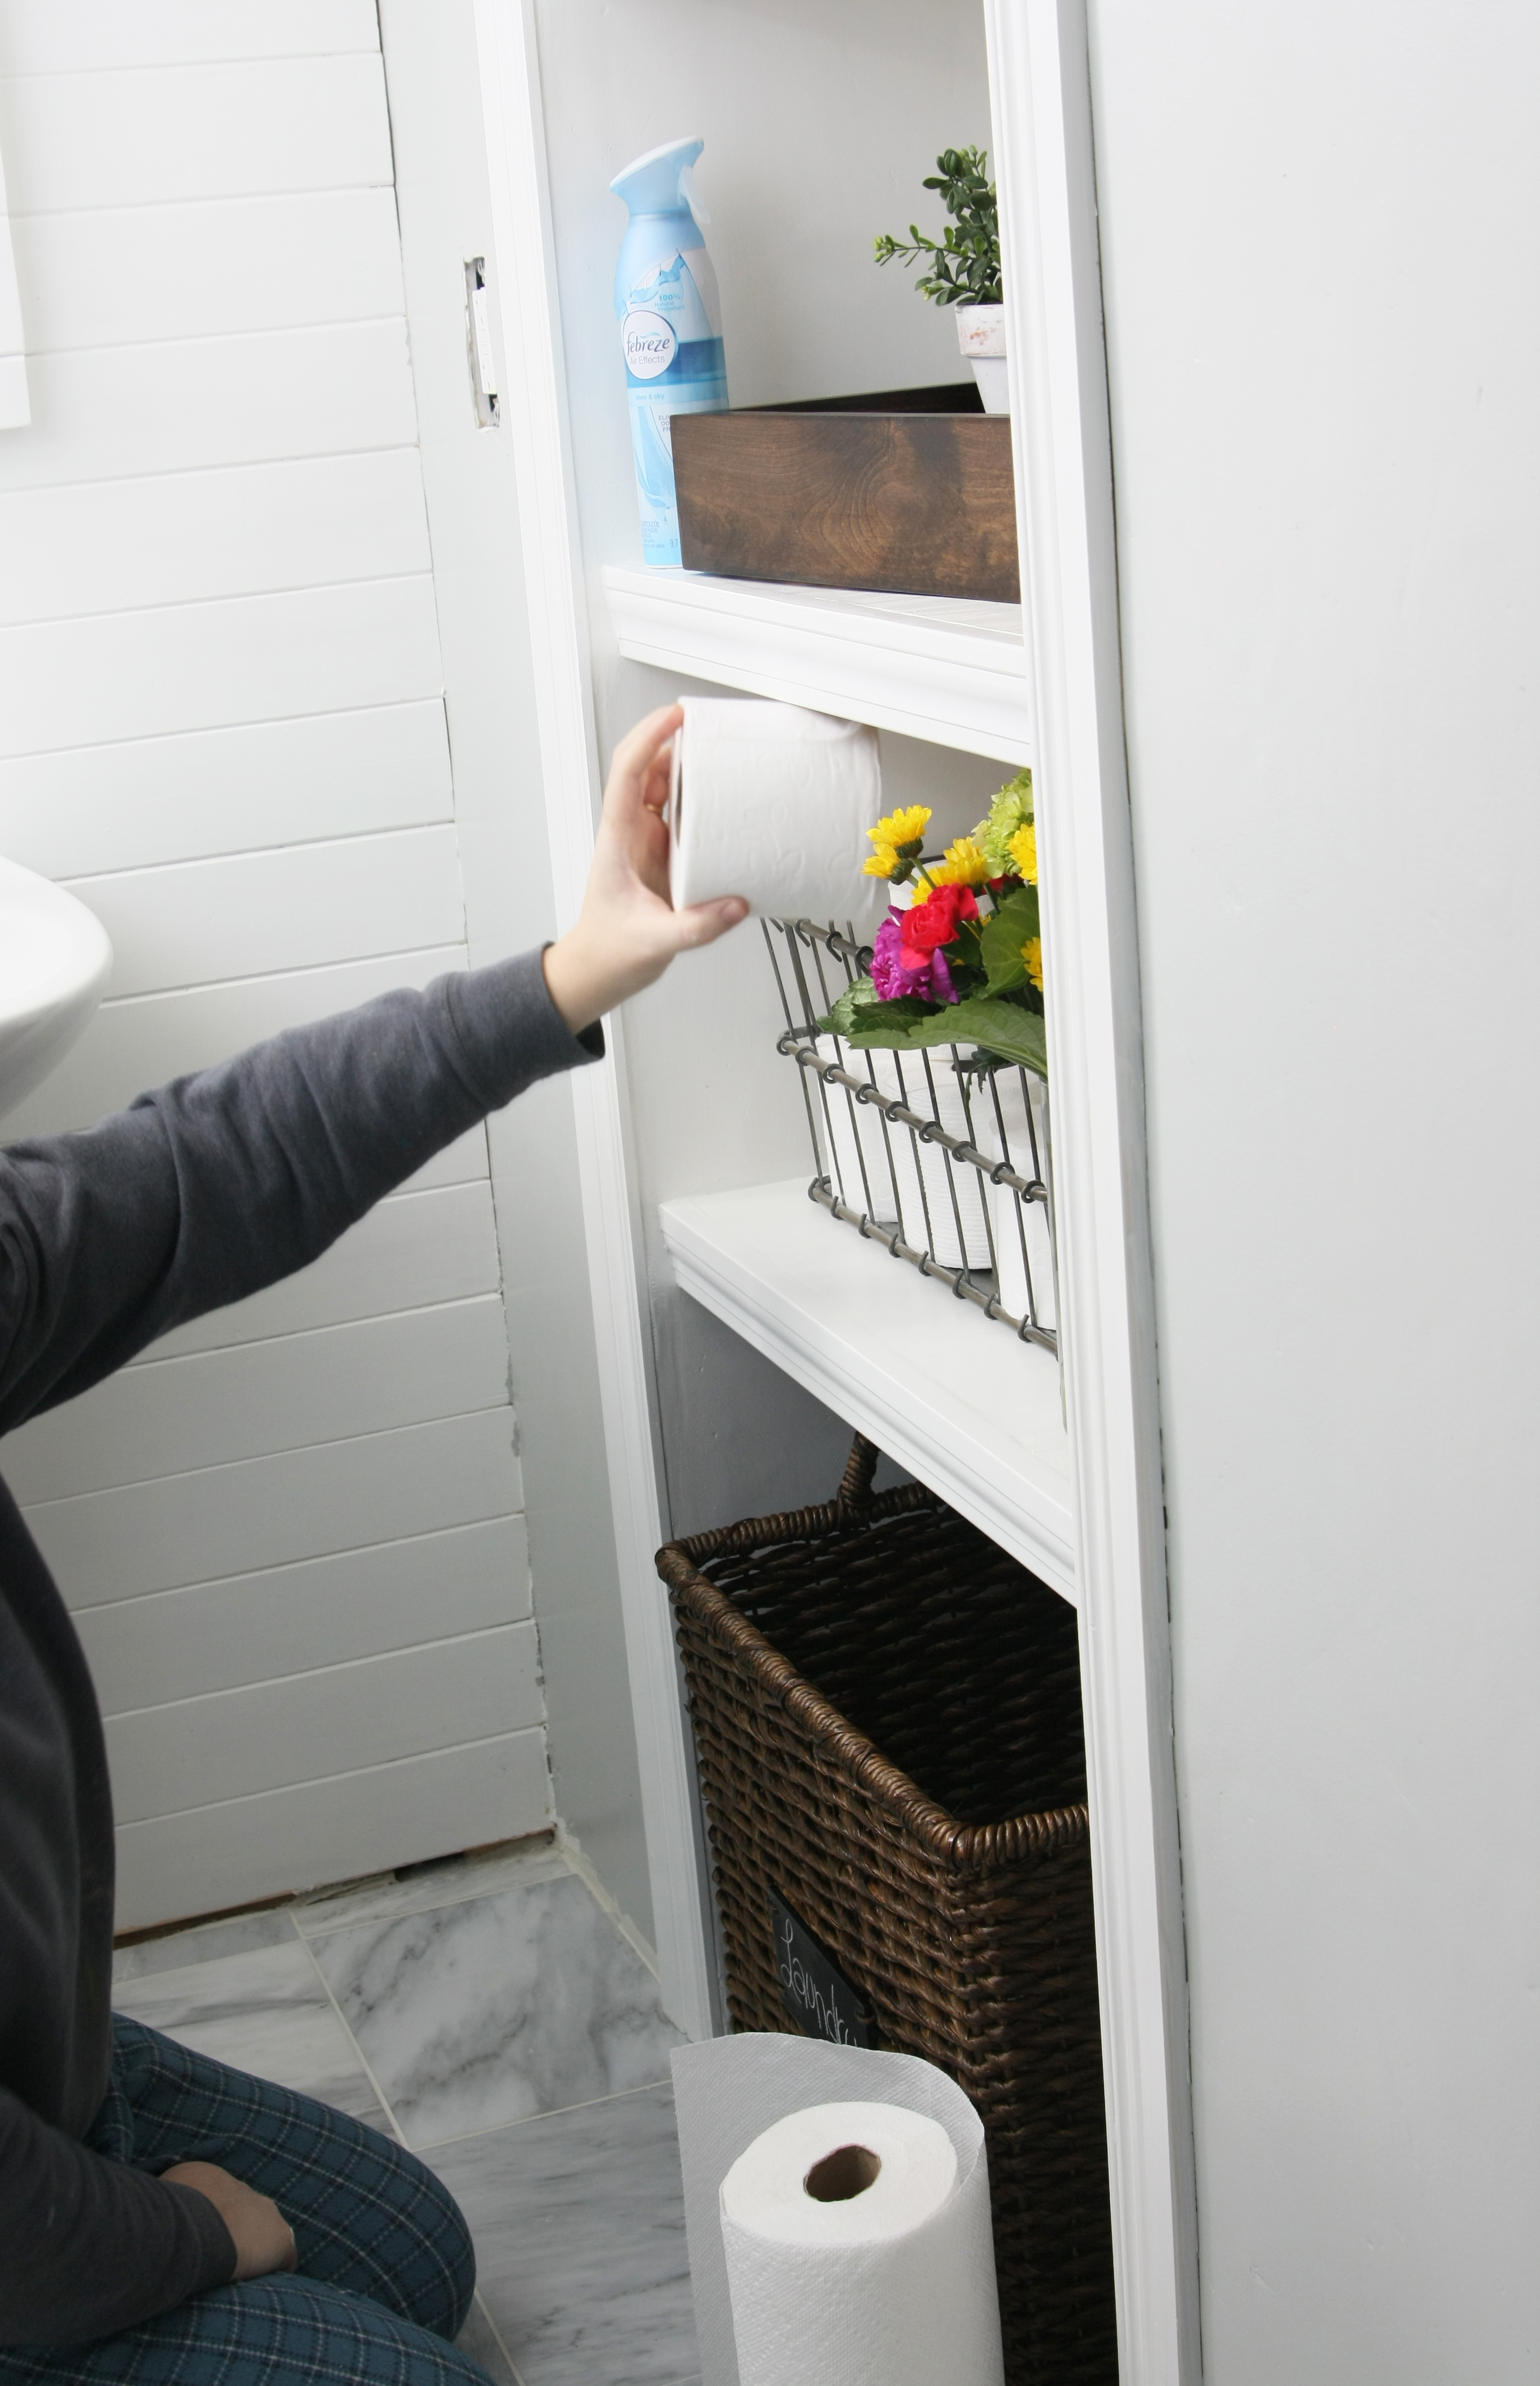
I couldn't be happier with how things turned out!
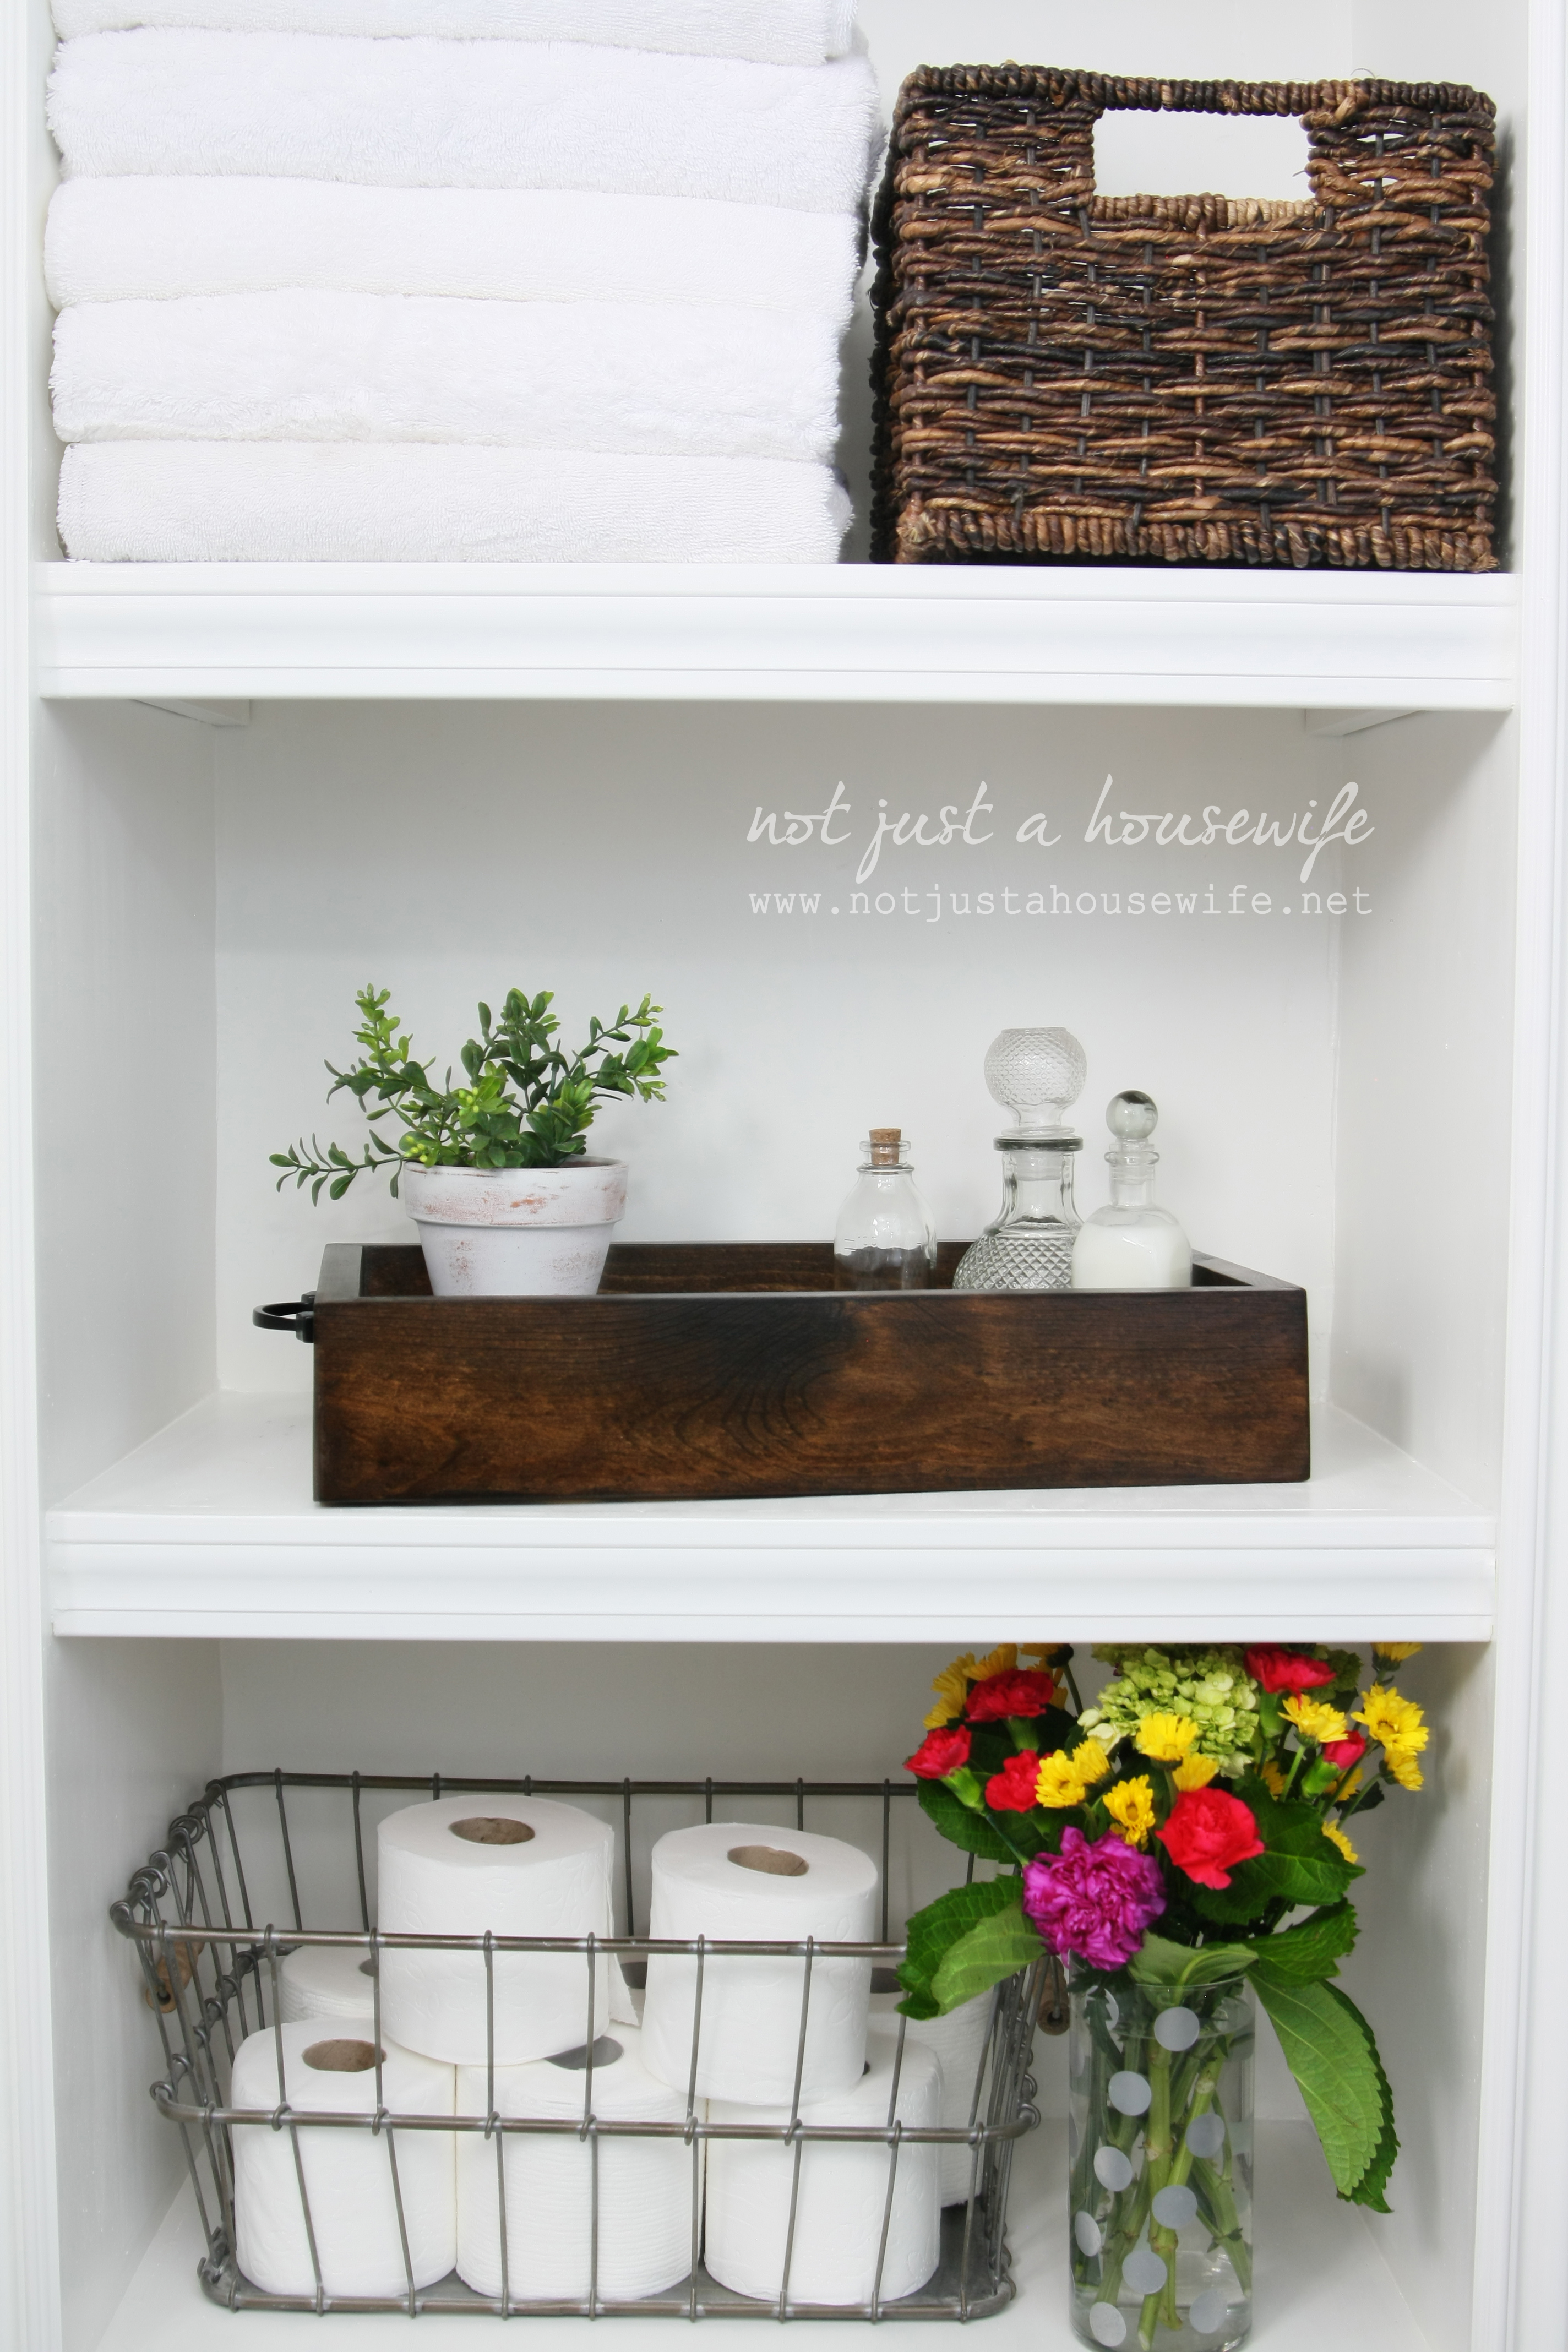
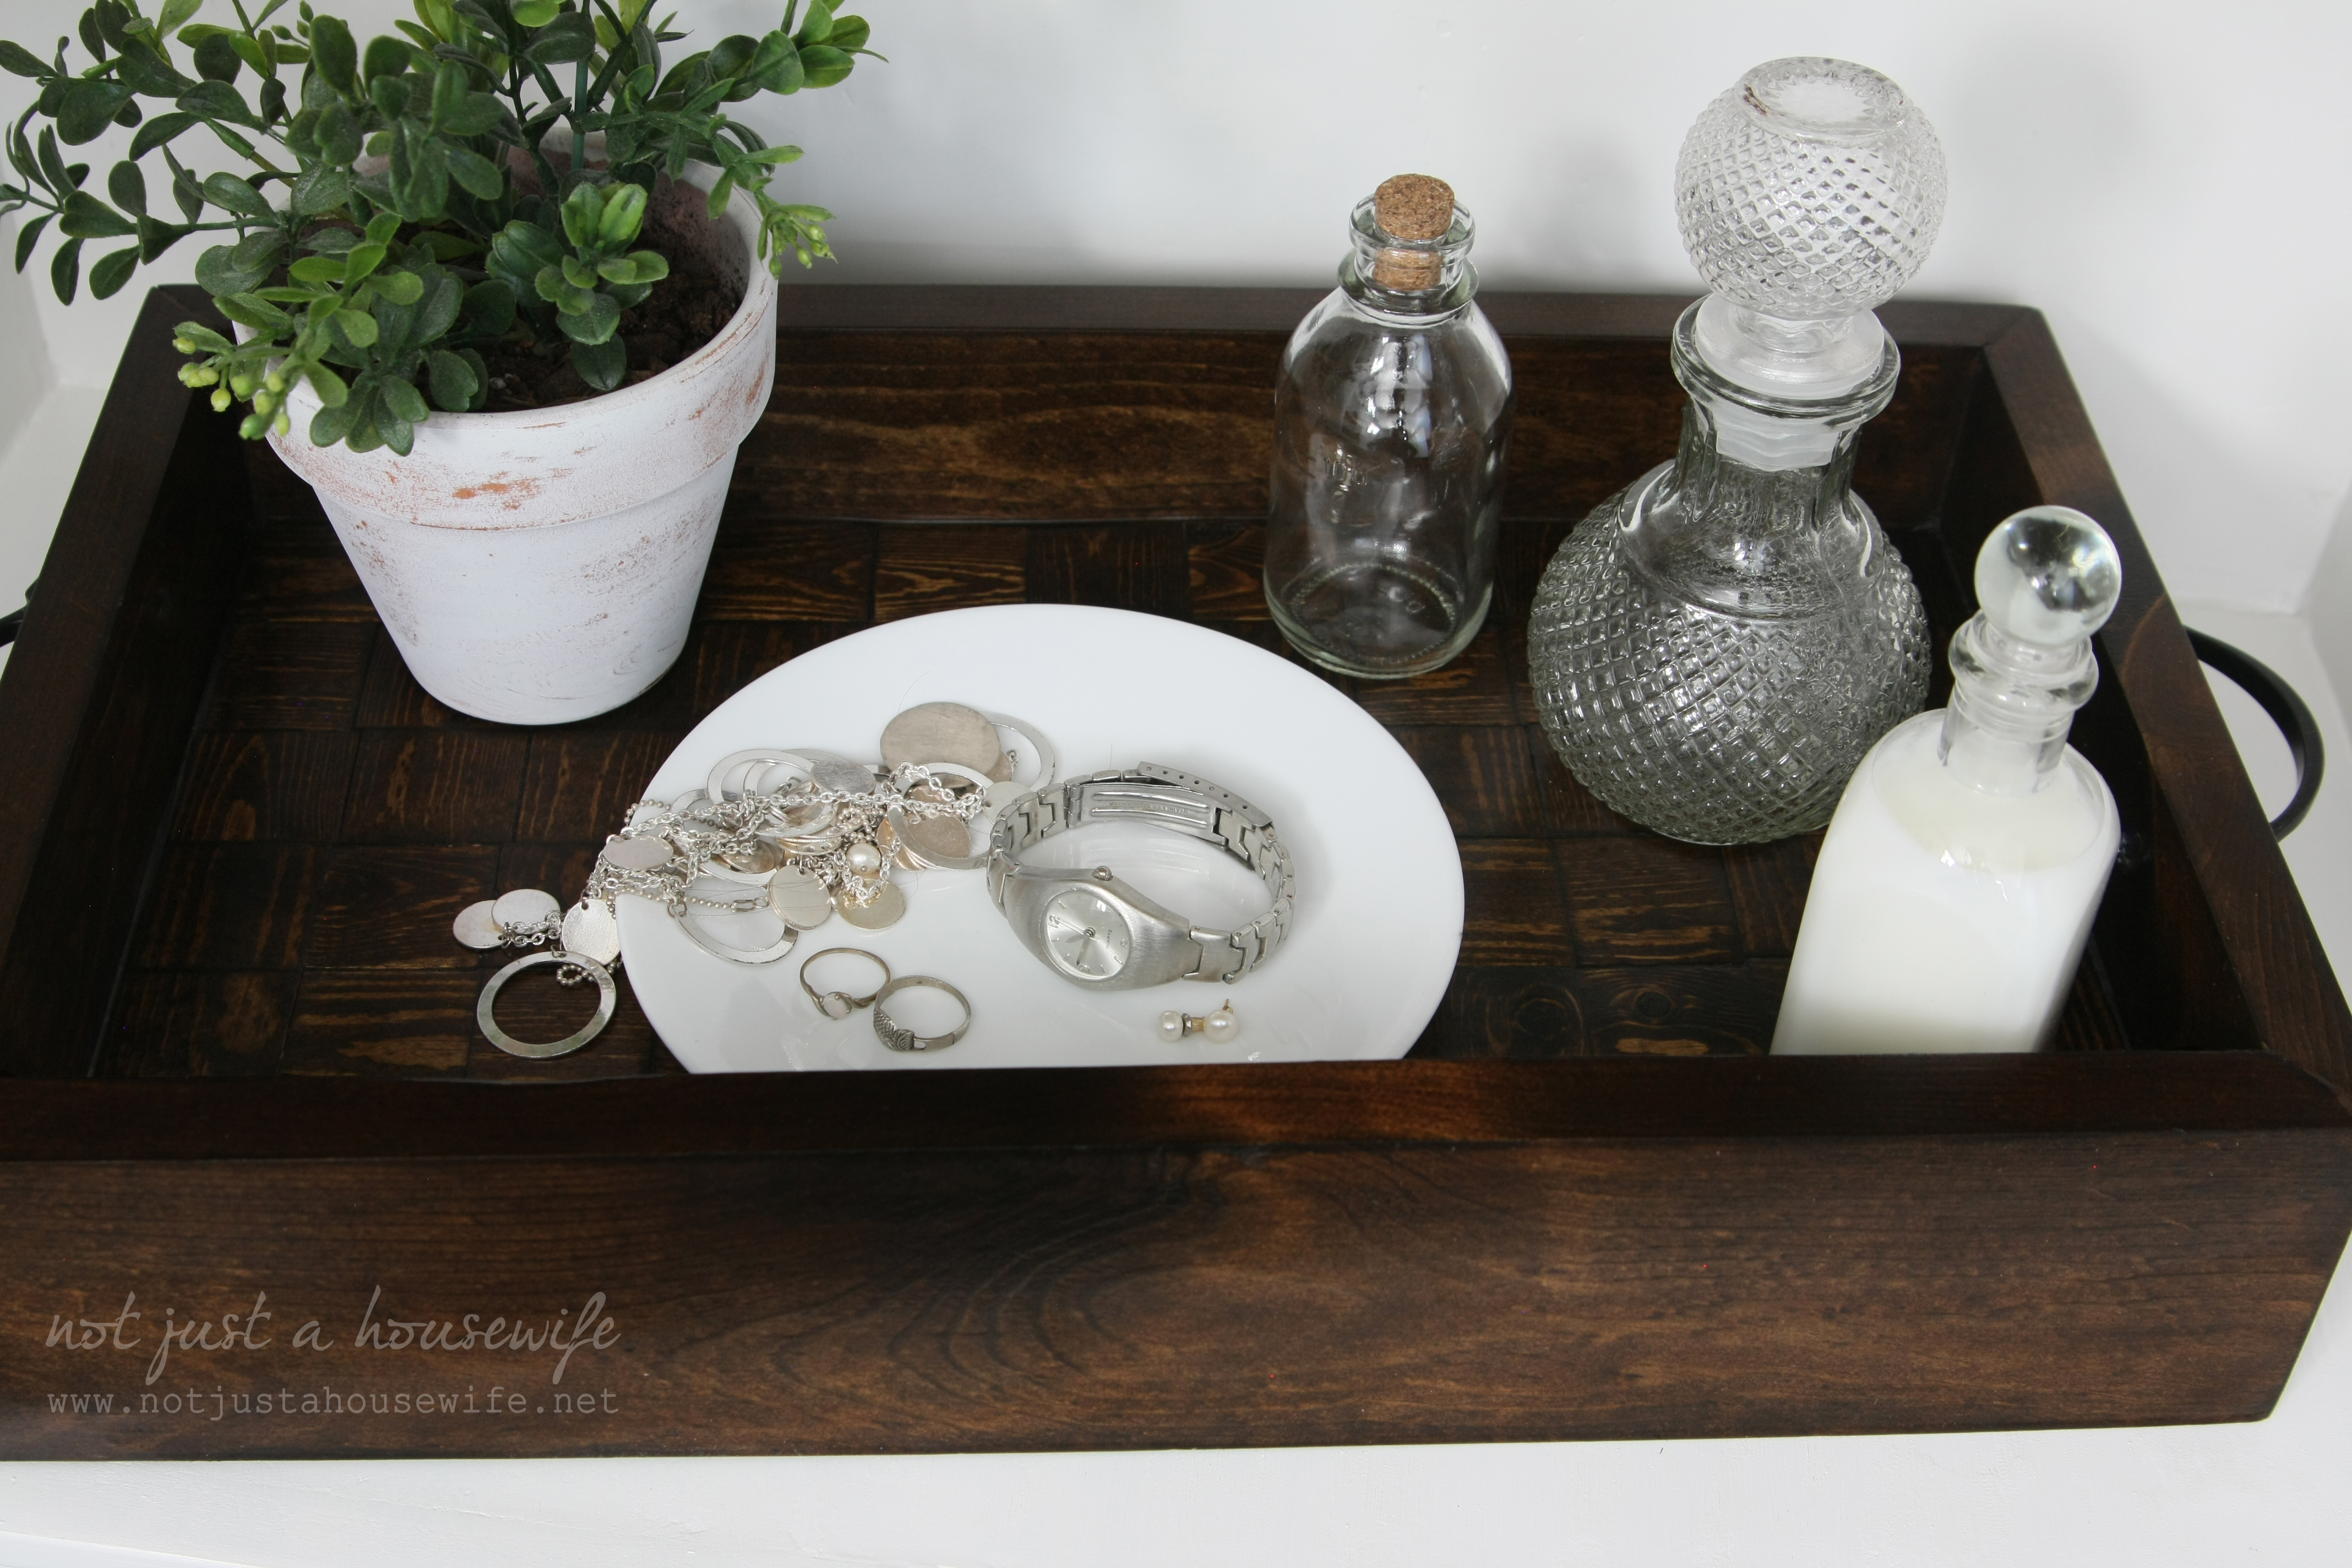
I found a new home for my wood tray I built. I love it used on the shelves for my special things.
I love that I have loads of storage and it doesn't get in the way of anything. No doors to open and maneuver around and no protruding shelves.

And let's not forget the laundry basket that got a makeover! I stained it a darker color.

I have the medicine cabinet and one other storage closet to finish and then I can post the entire reveal!


Love what you have done with the space! It looks nice and bright and organized!
wha t can i say they are fab I am extremely green that yoou have the skills to do woodwork
I love the end product . I also love your blog and I am guilty of reading and not commenting
Your shelves look amazing! What a great way to add a little storage and display space.
It looks very pretty. My favorite part is the locker basket. I just redid my sons room and used one for all his balls. :)
I can already tell you I am just swooning at your bathroom. Sigh. The colours look so relaxing.
As always, it looks TERRIFIC. You have great taste and a practical, sensible bent. I love the contrast of the walnut stain and the white paint. Thanks for the instructions on the shelving; someday I'll make good use of that tutorial. I realize things might end up being used slightly differently when you're not photographing the shelves for posting. The only tiny, tiny suggestion I have is to store the TP inside something simply because it is more hygienic that way, which is important for women. I speak from a bit of experience. The flowers are a beautiful final touch.
Good point. Thanks :)
What a LOVELY way to add more bathroom storage!!!! I'm jealous :)
<3 Daryl
Unlost
They look amazing!! The whole bathroom is beautiful! I love it!
I'm still processing the fact that you sheet rocked, mudded, etc the walls yourself! The shelves are gorgeous too. I love the built in feel...it's so unique in a bathroom and adds so much character and charm! XO
What a beautiful finishing touch to your bathroom! Your skills are amazing!
Val
Love it - we're starting a bathroom remodel soon and I have the perfect spot where I can implement this same concept. Thanks for sharing! FANTASTIC! -Carole
Your shelves turned out so beautiful! The whole bathroom is just one dreamy project after another! Love it all!
wonderful job Stacy! it all turned out beautifully.
I just finished a huge board and batten entry and I hear you on the multiple light coats of paint...when you get to that final stretch it's super tempting to glop it on and be done :-) thanks for sharing this great project!
Love it, Stacy! It's so bright and fresh!
I love how the shelves turned out!!!
Beautiful!
Time to do the laundry room!!!
I love this - everything abut it. So pretty!
Wow, I love what you did with this! I always think that adding storage into the walls is so ingenious. I'm saving this idea for a recessed area we have in our bedroom.
I like the dark wood against the clean white shelves.
Wow! I'm totally impressed. This project turned out amazing! Can I ask where you got your wire basket with the tp in it? I'd love to get some of those! :D
I am soooo crushing on this bathroom...
the planked walls...and those doorknobs as towel holders..& the recessed shelves....Genius!!!
What are the measurements. You mentioned depth 14inches x24 inches wide. But, what are the measurements of the entire unit? Height? And also between the shelves? Thanks!
I am a recent "my husband is too busy, so I'm gonna do it myself" housewife. Last week I fixed my washing machine and my kitchen sink. This week I did the plumbing for my clawfoot tub. I never thought i could do things on my own. You are such an inspiration. I am going to organize all of my hubbie's tools so I can do more fun projects like you do. You go woman!
I am completely impressed with your skills! The shelving looks amazing!
Love this! I just wish I had the room for the shelves. I am re-doing my master bath and putting up board and battan an planning on using antique door knobs for towel holders!!
I put shelves in my bathroom in my previous home and it added TONS of storage. It was a useless space that otherwise would have been walled up, but adding the shelves gave us the space we needed. Plus, it provides a little bit of space for adding a decorative touch, as you did with those pretty baskets. Love this project!
Beautiful job! Was wondering if you could stain a basket, and now I can't wait to give that a try! Would really appreciate knowing what paint color you used on the walls? It's lovely!
Hello! I love what you have done. I cannot find your post of the reveal of this finished gorgeous tiny bathroom. Where could I find that? Thanks!
Hello! I love what you have done! Where can I find the blog post of the final reveal?
I love the play by play on the shelves you built into the "wall" in the bathroom. I have a space at the end of my tub that is closed up, but I believe has enough space in it to make some really deep shelves to use for whatever I have that needs storing. Sometimes you just need a place to put something, like jars for canning, or other off-the-wall things that really have no reason to be in the bathroom closet, but you have a space there, so there they go! Yay! Besides why have an area in a small house closed up , when it can be shelving for storage. I'm going to use your ideas. If I ever get that far, I might even send you a picture.
Thanks for the step by step pictures..
Where did you get the cute basket the toilet paper is in?
This is a pro tip I use when applying caulk. Wet a rag and pull it down the caulk bead and it will work down into the seam and remove the excess in a clean manner. What you have left is a very even and clean bead with no smears or need to do any clean up after it dries. Wash out the rag regularly or have a bucket of water to wring it in if you are doing a who lot.
Thank you for the step by step on this project. I needed a base design for a similar application I am working on now over and adjacent to the bathroom sink. Great job!
H in AL:
Wow, fabulous outcome. Can you come to our home and build a beautiful build into the wall bookshelf for us? ????