
I have partnered with P&G and Home Depot to bring you this project :)
When we first moved in I put a floating shelf on one side of the window where the previous owners had chosen not to add a cabinet.

I decided one day to take down our random, loney cabinet that is in our kitchen. I thought it would look better with floating shelves on each side of the window. The cabinet blocked the light and was bulky. So after giving it some thought I took the plunge!
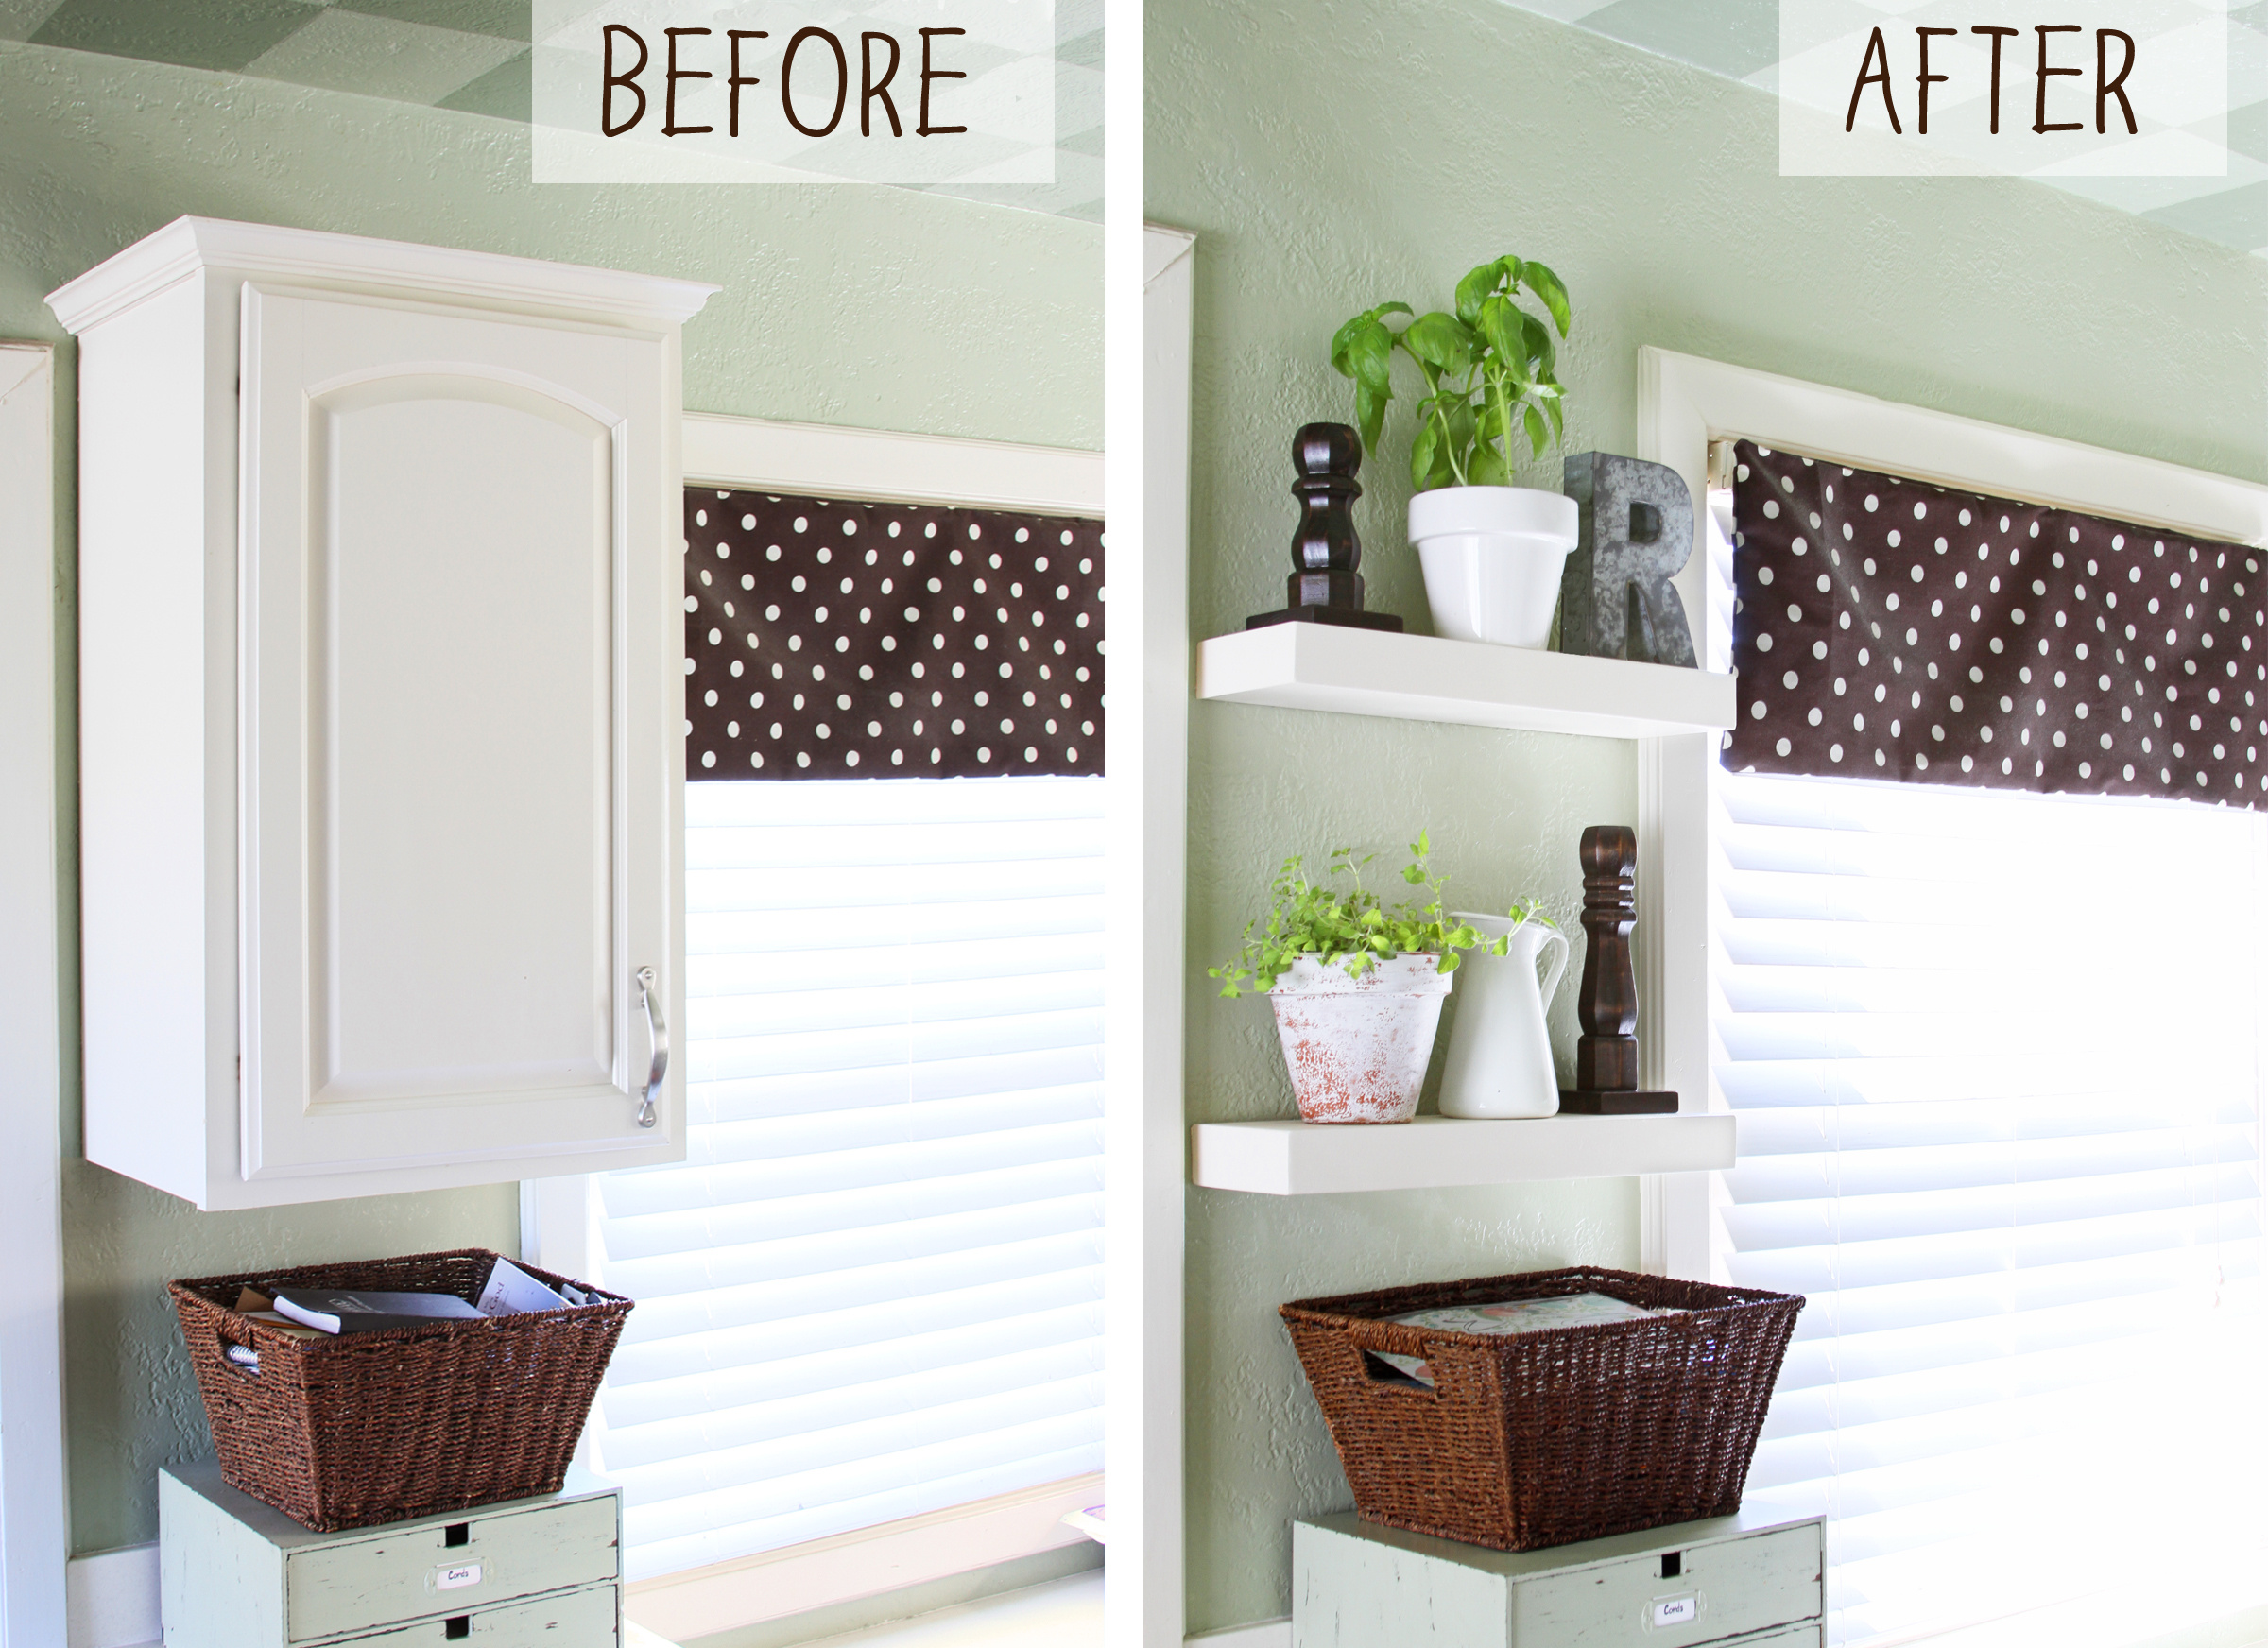
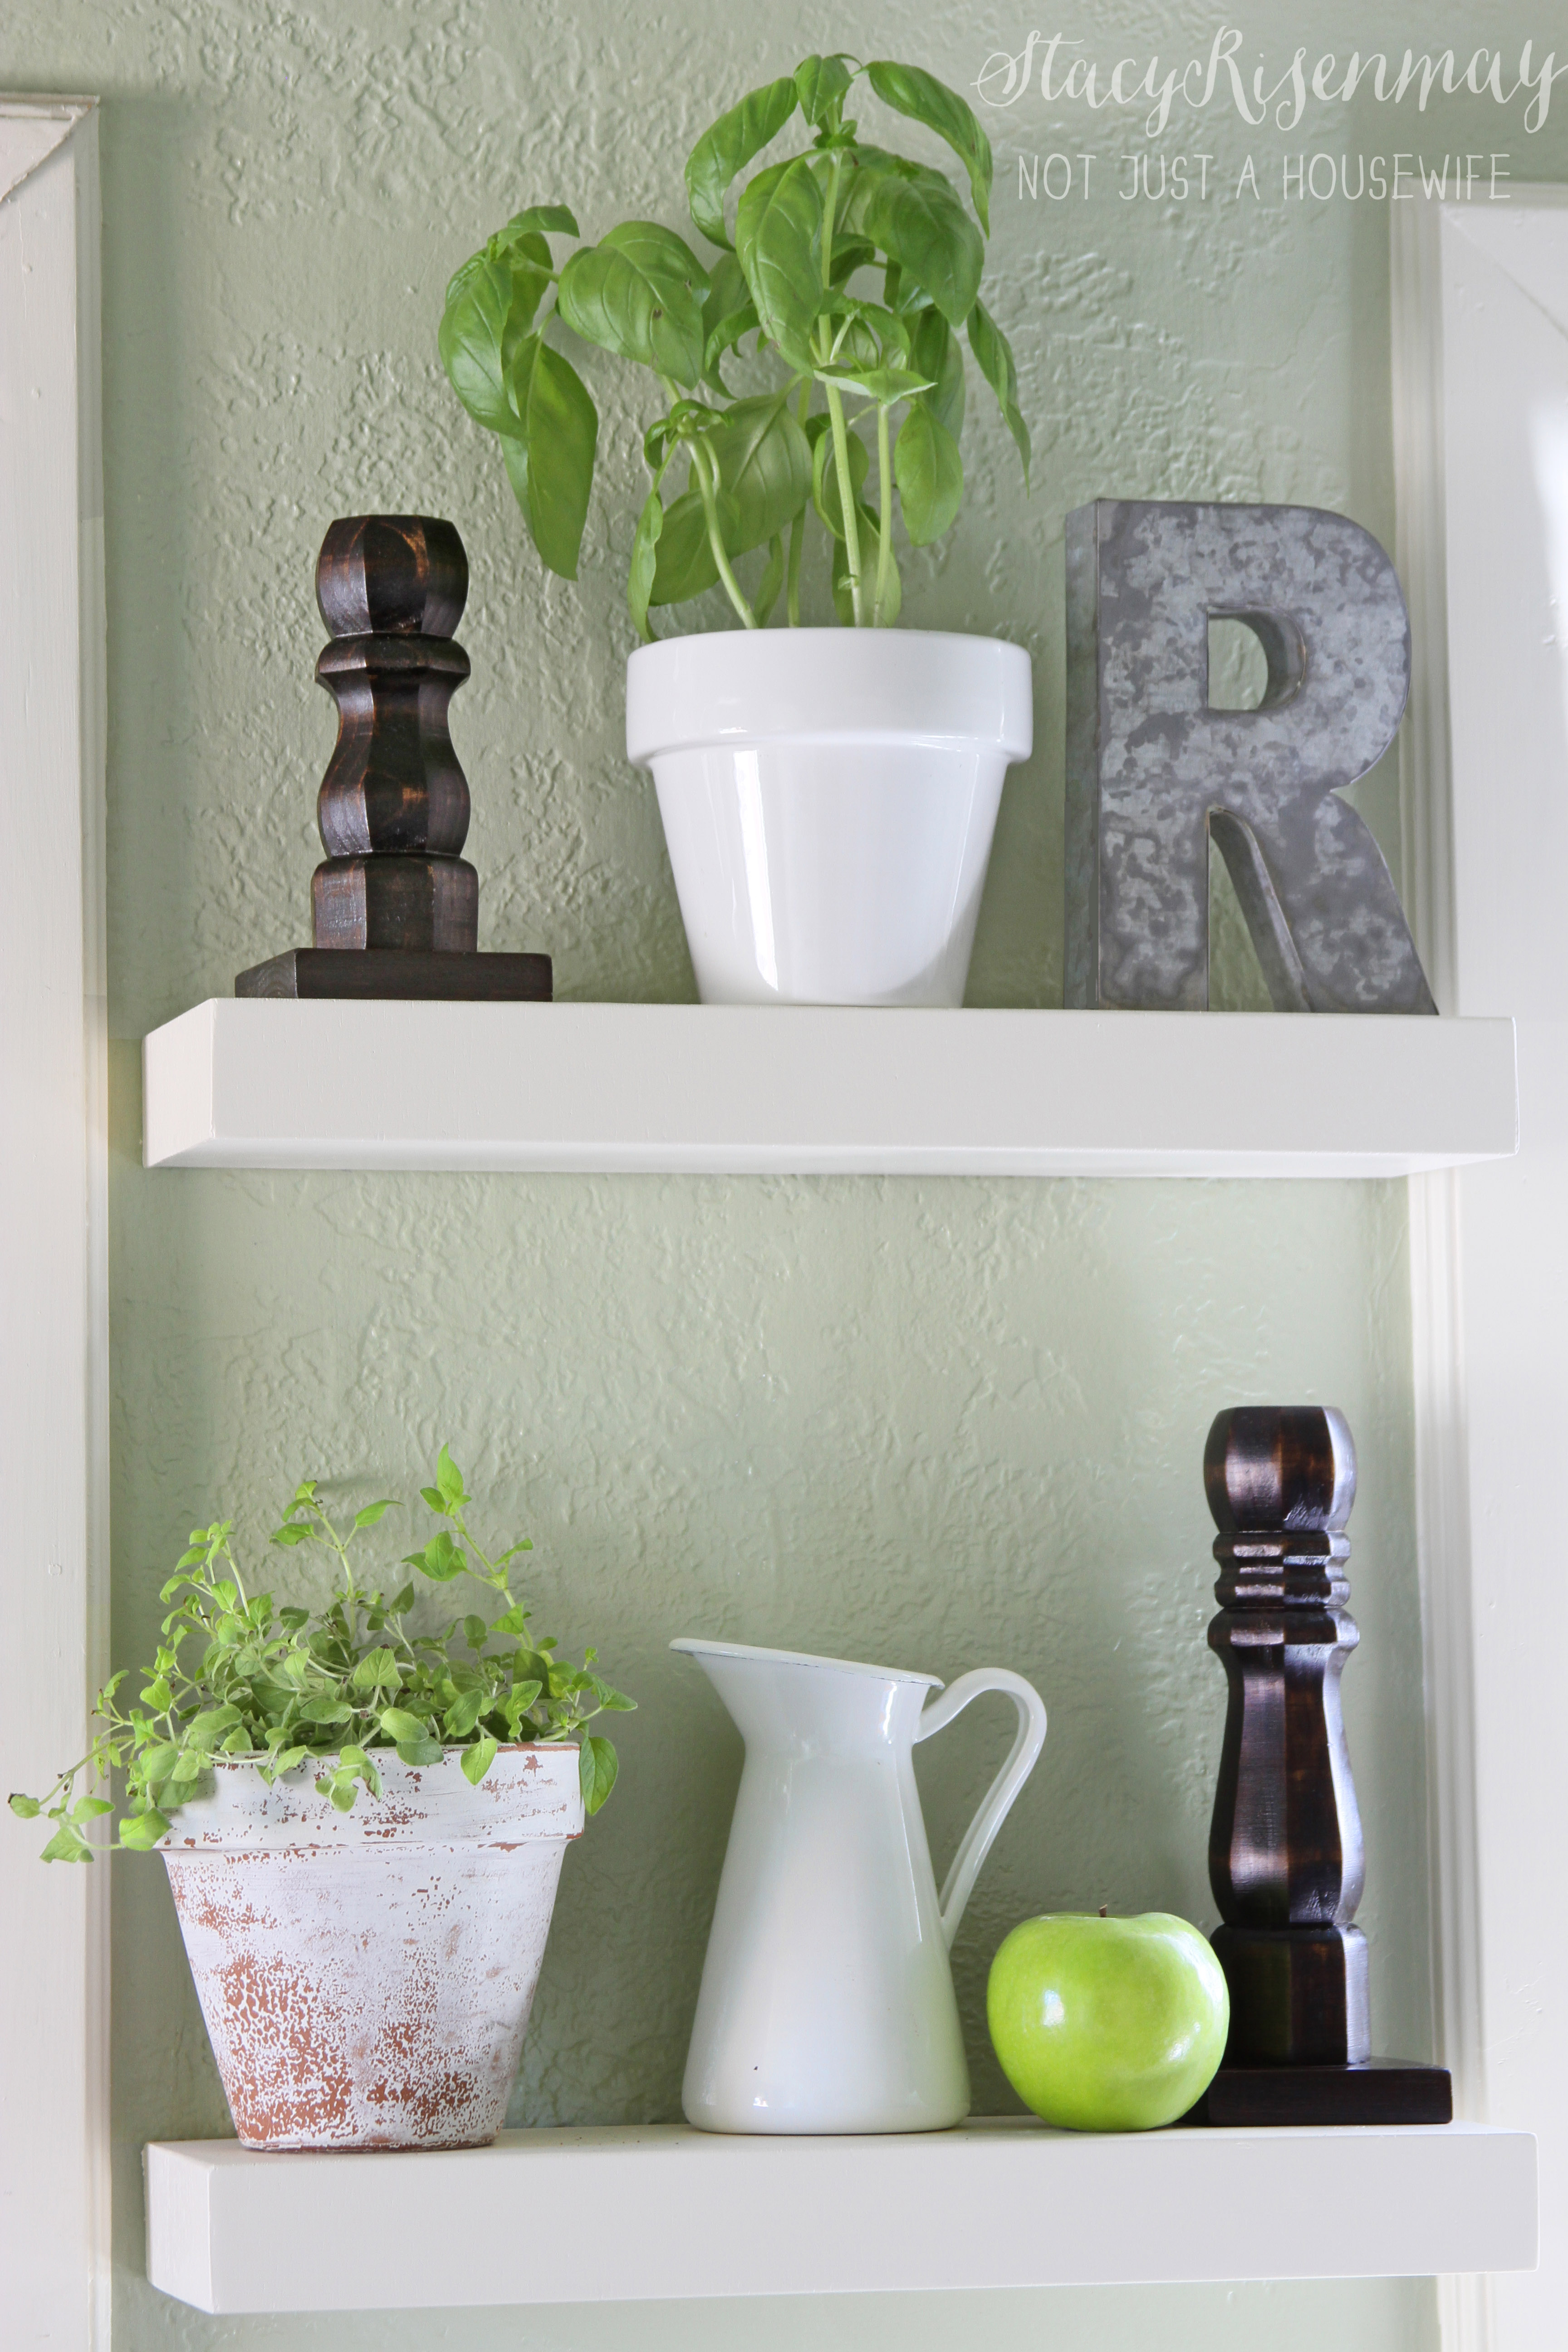
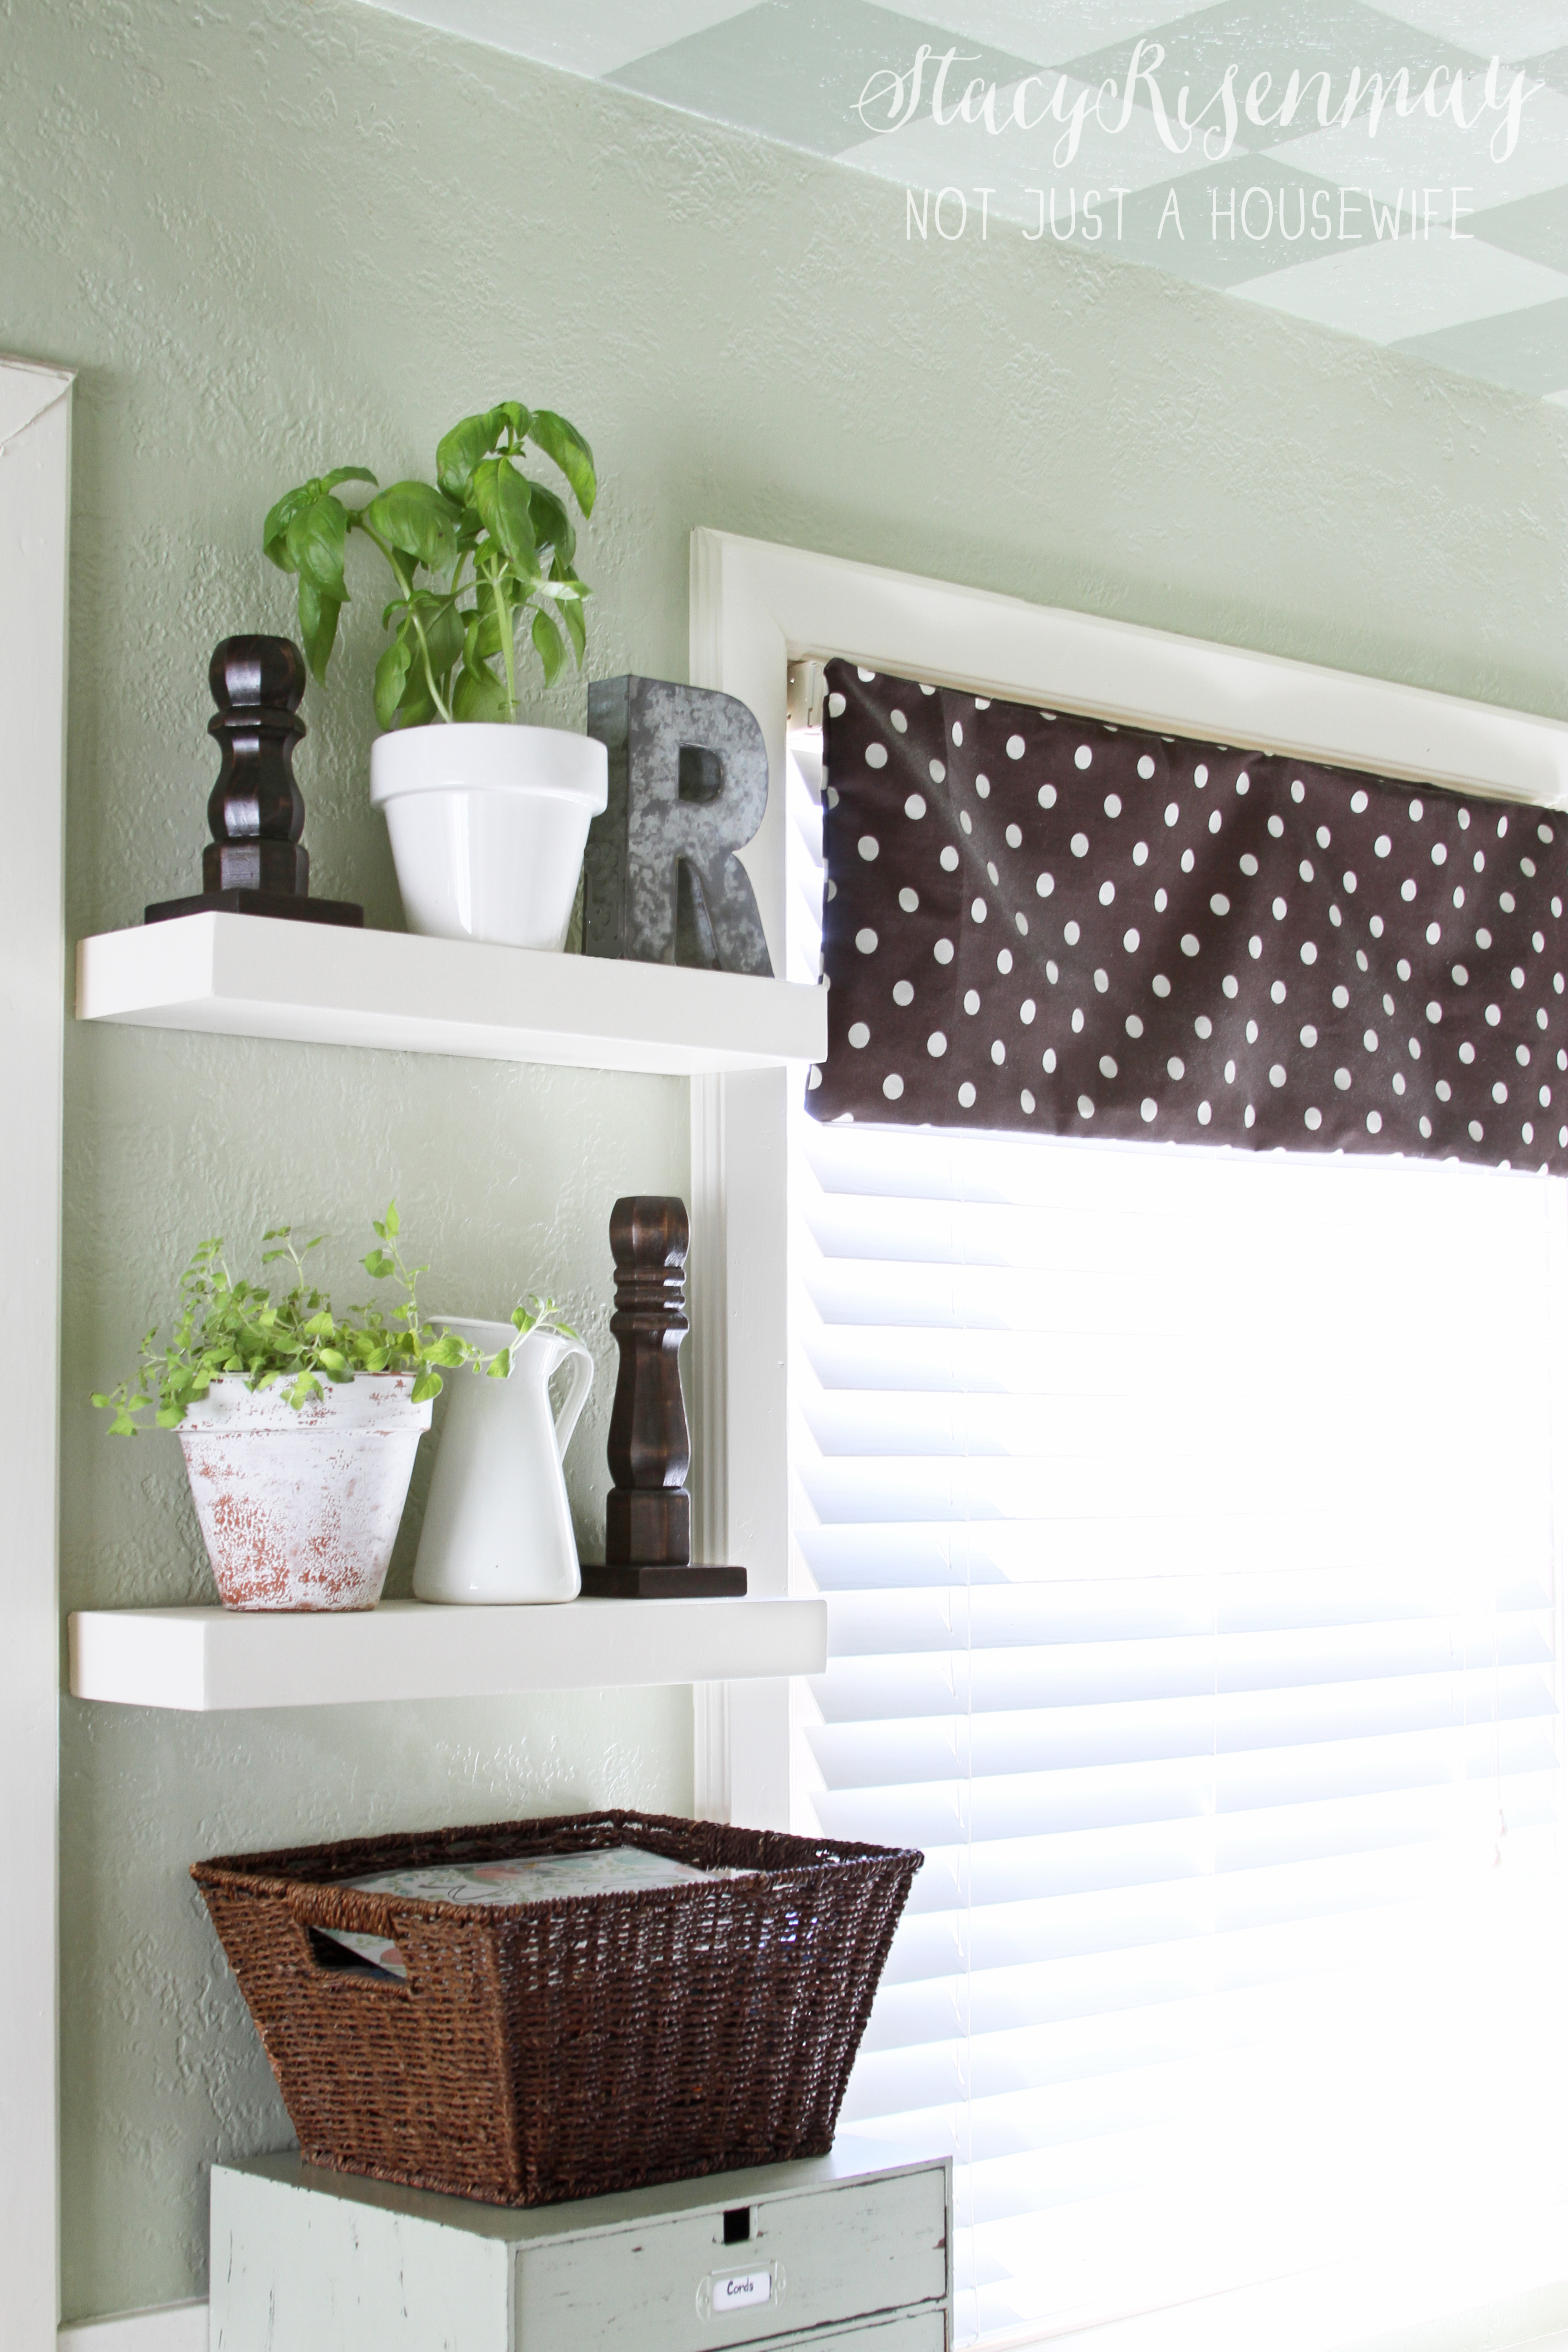
Right now it has candlesticks and herbs, but I am still playing around with what will be stored here. It might be bowls and glasses.
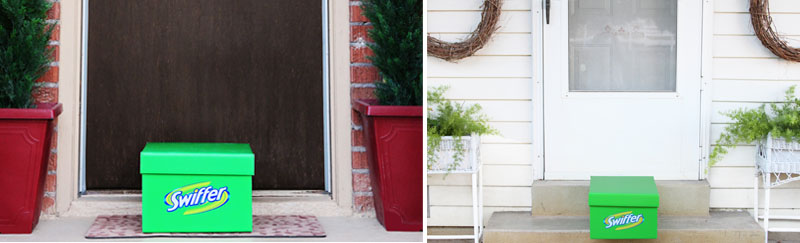
Have you seen those cute commercials where the big green box is left on someone's porch? Well I got one on mine! And I was able to pay it forward and give one to a friend. Mine came in handy as I tackled this messy DIY. But really, aren't all DIYs at least a little messy?
When it came to the cabinet, I guess I could have taken it down myself but it is definitely a lot easier with another person helping. And luckily my husband not only helped take it down, but posed holding the cabinet for about 10 minutes while I got the lighting just right :)
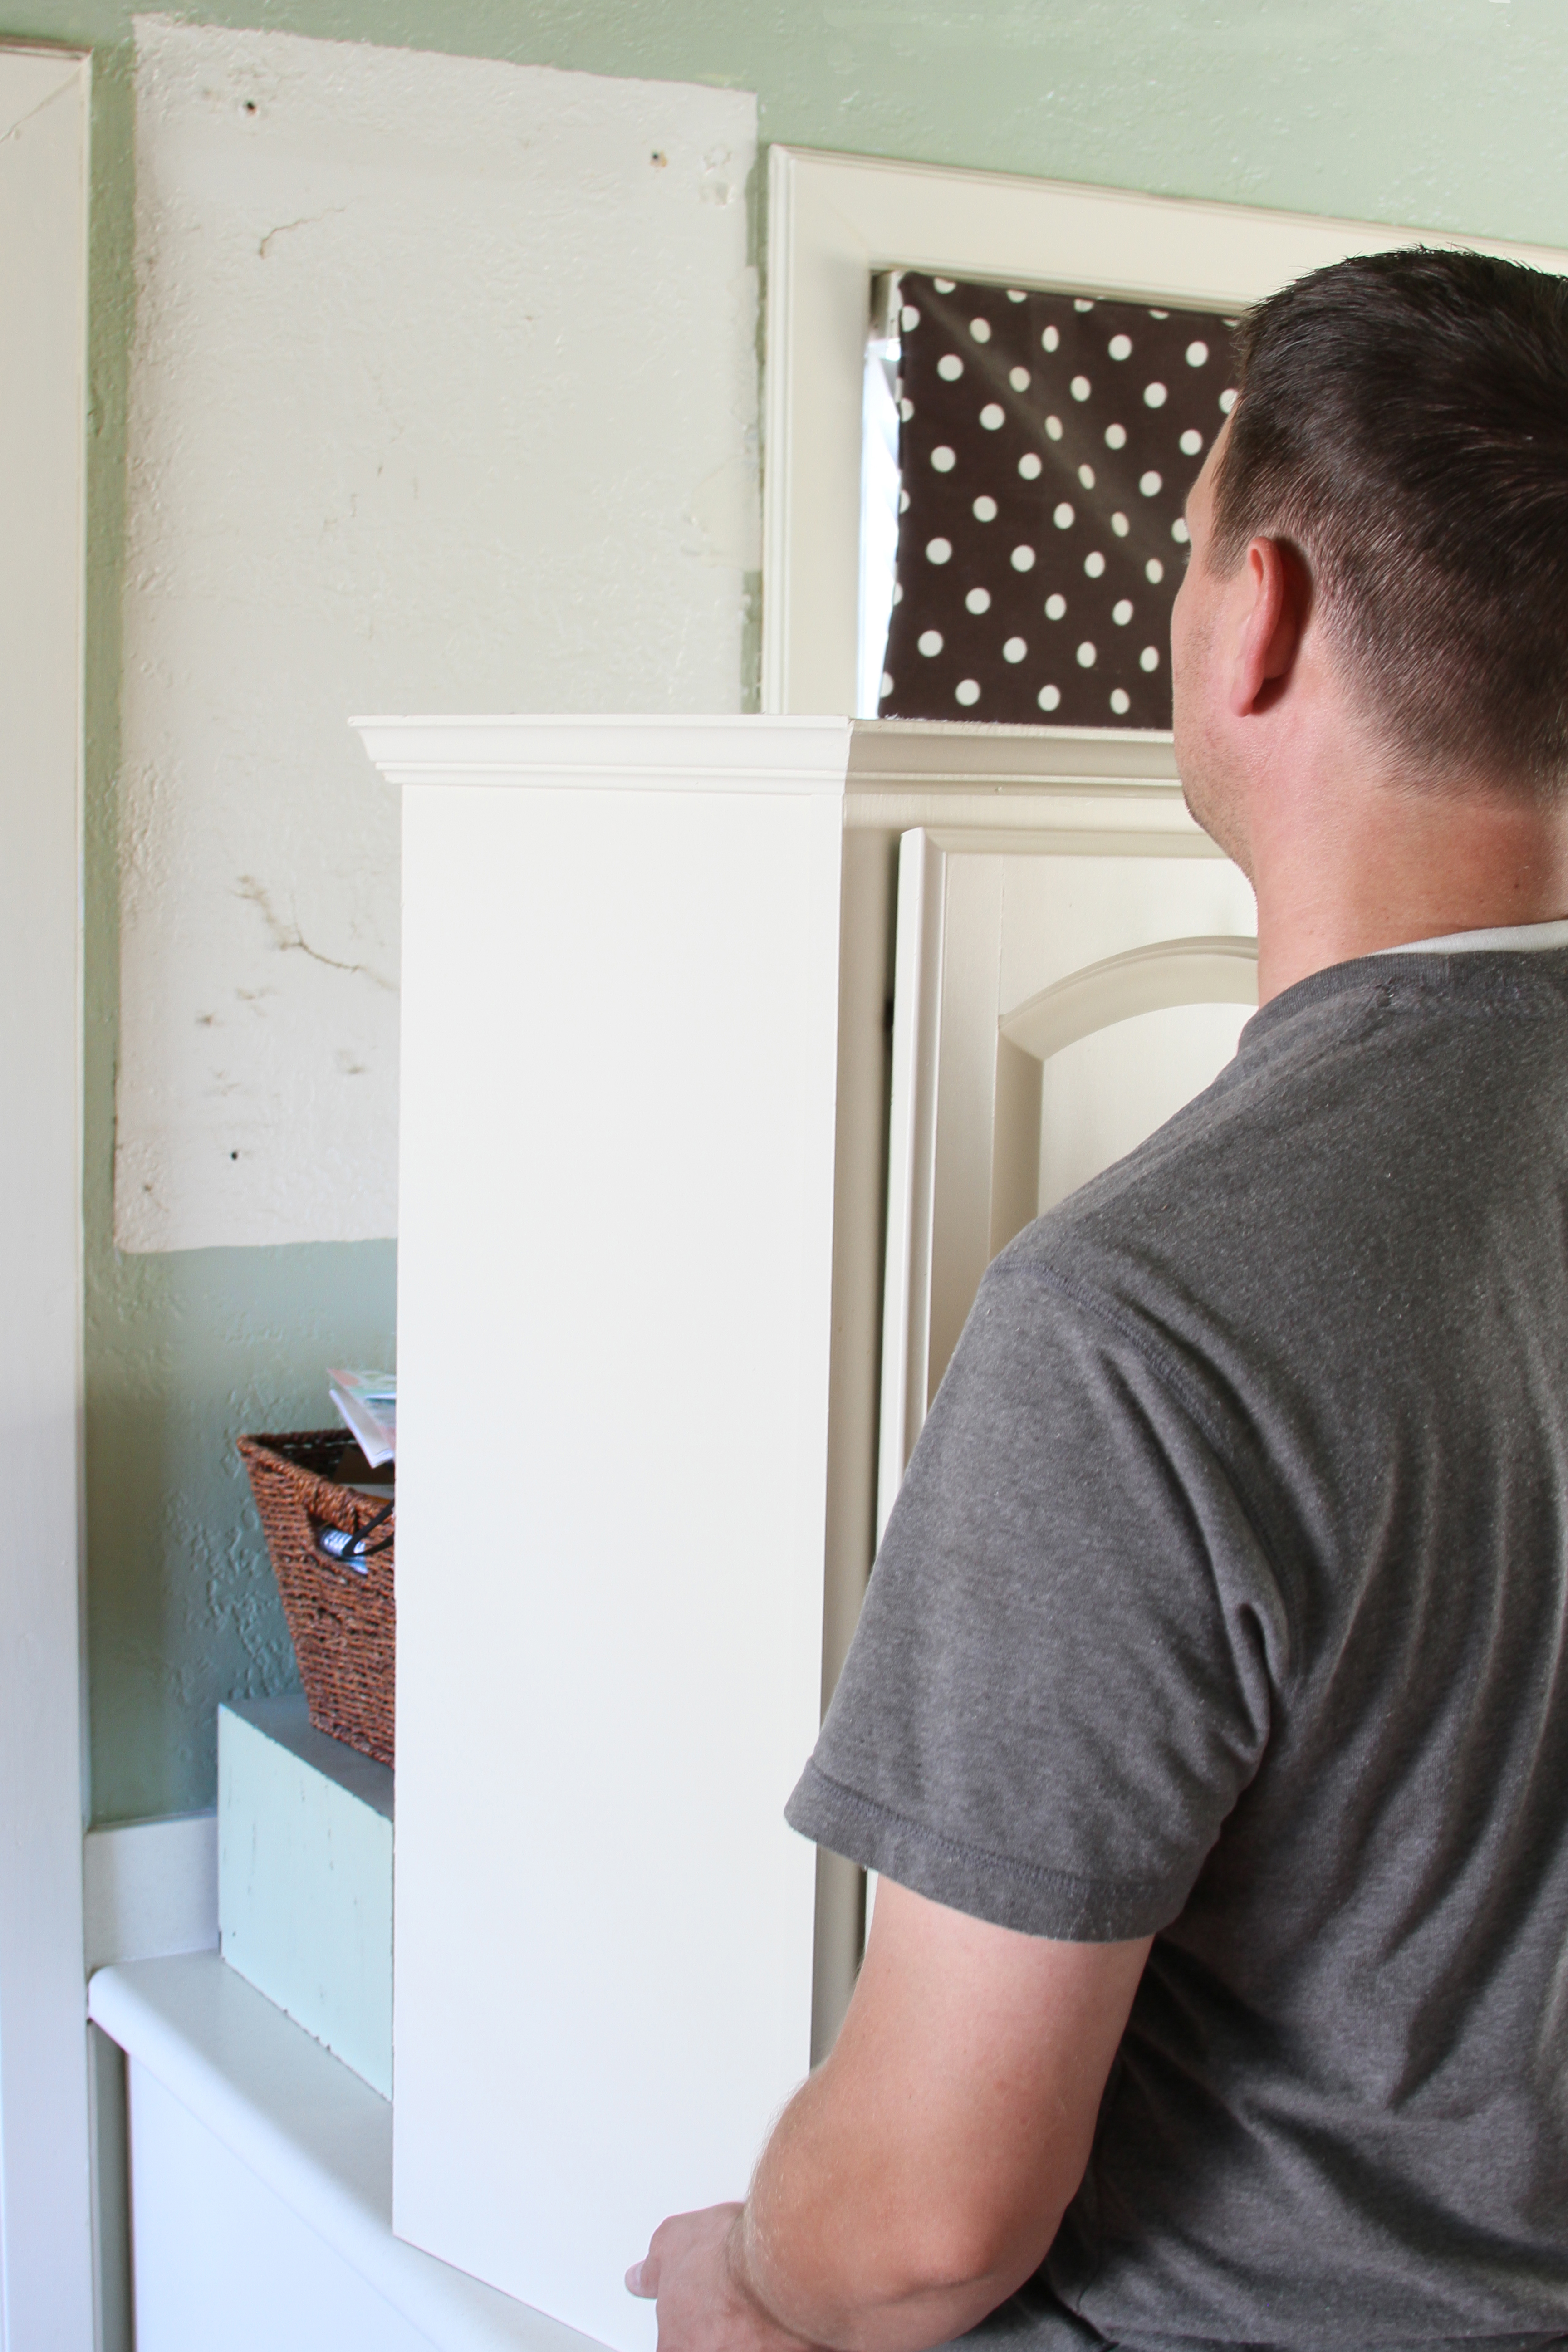
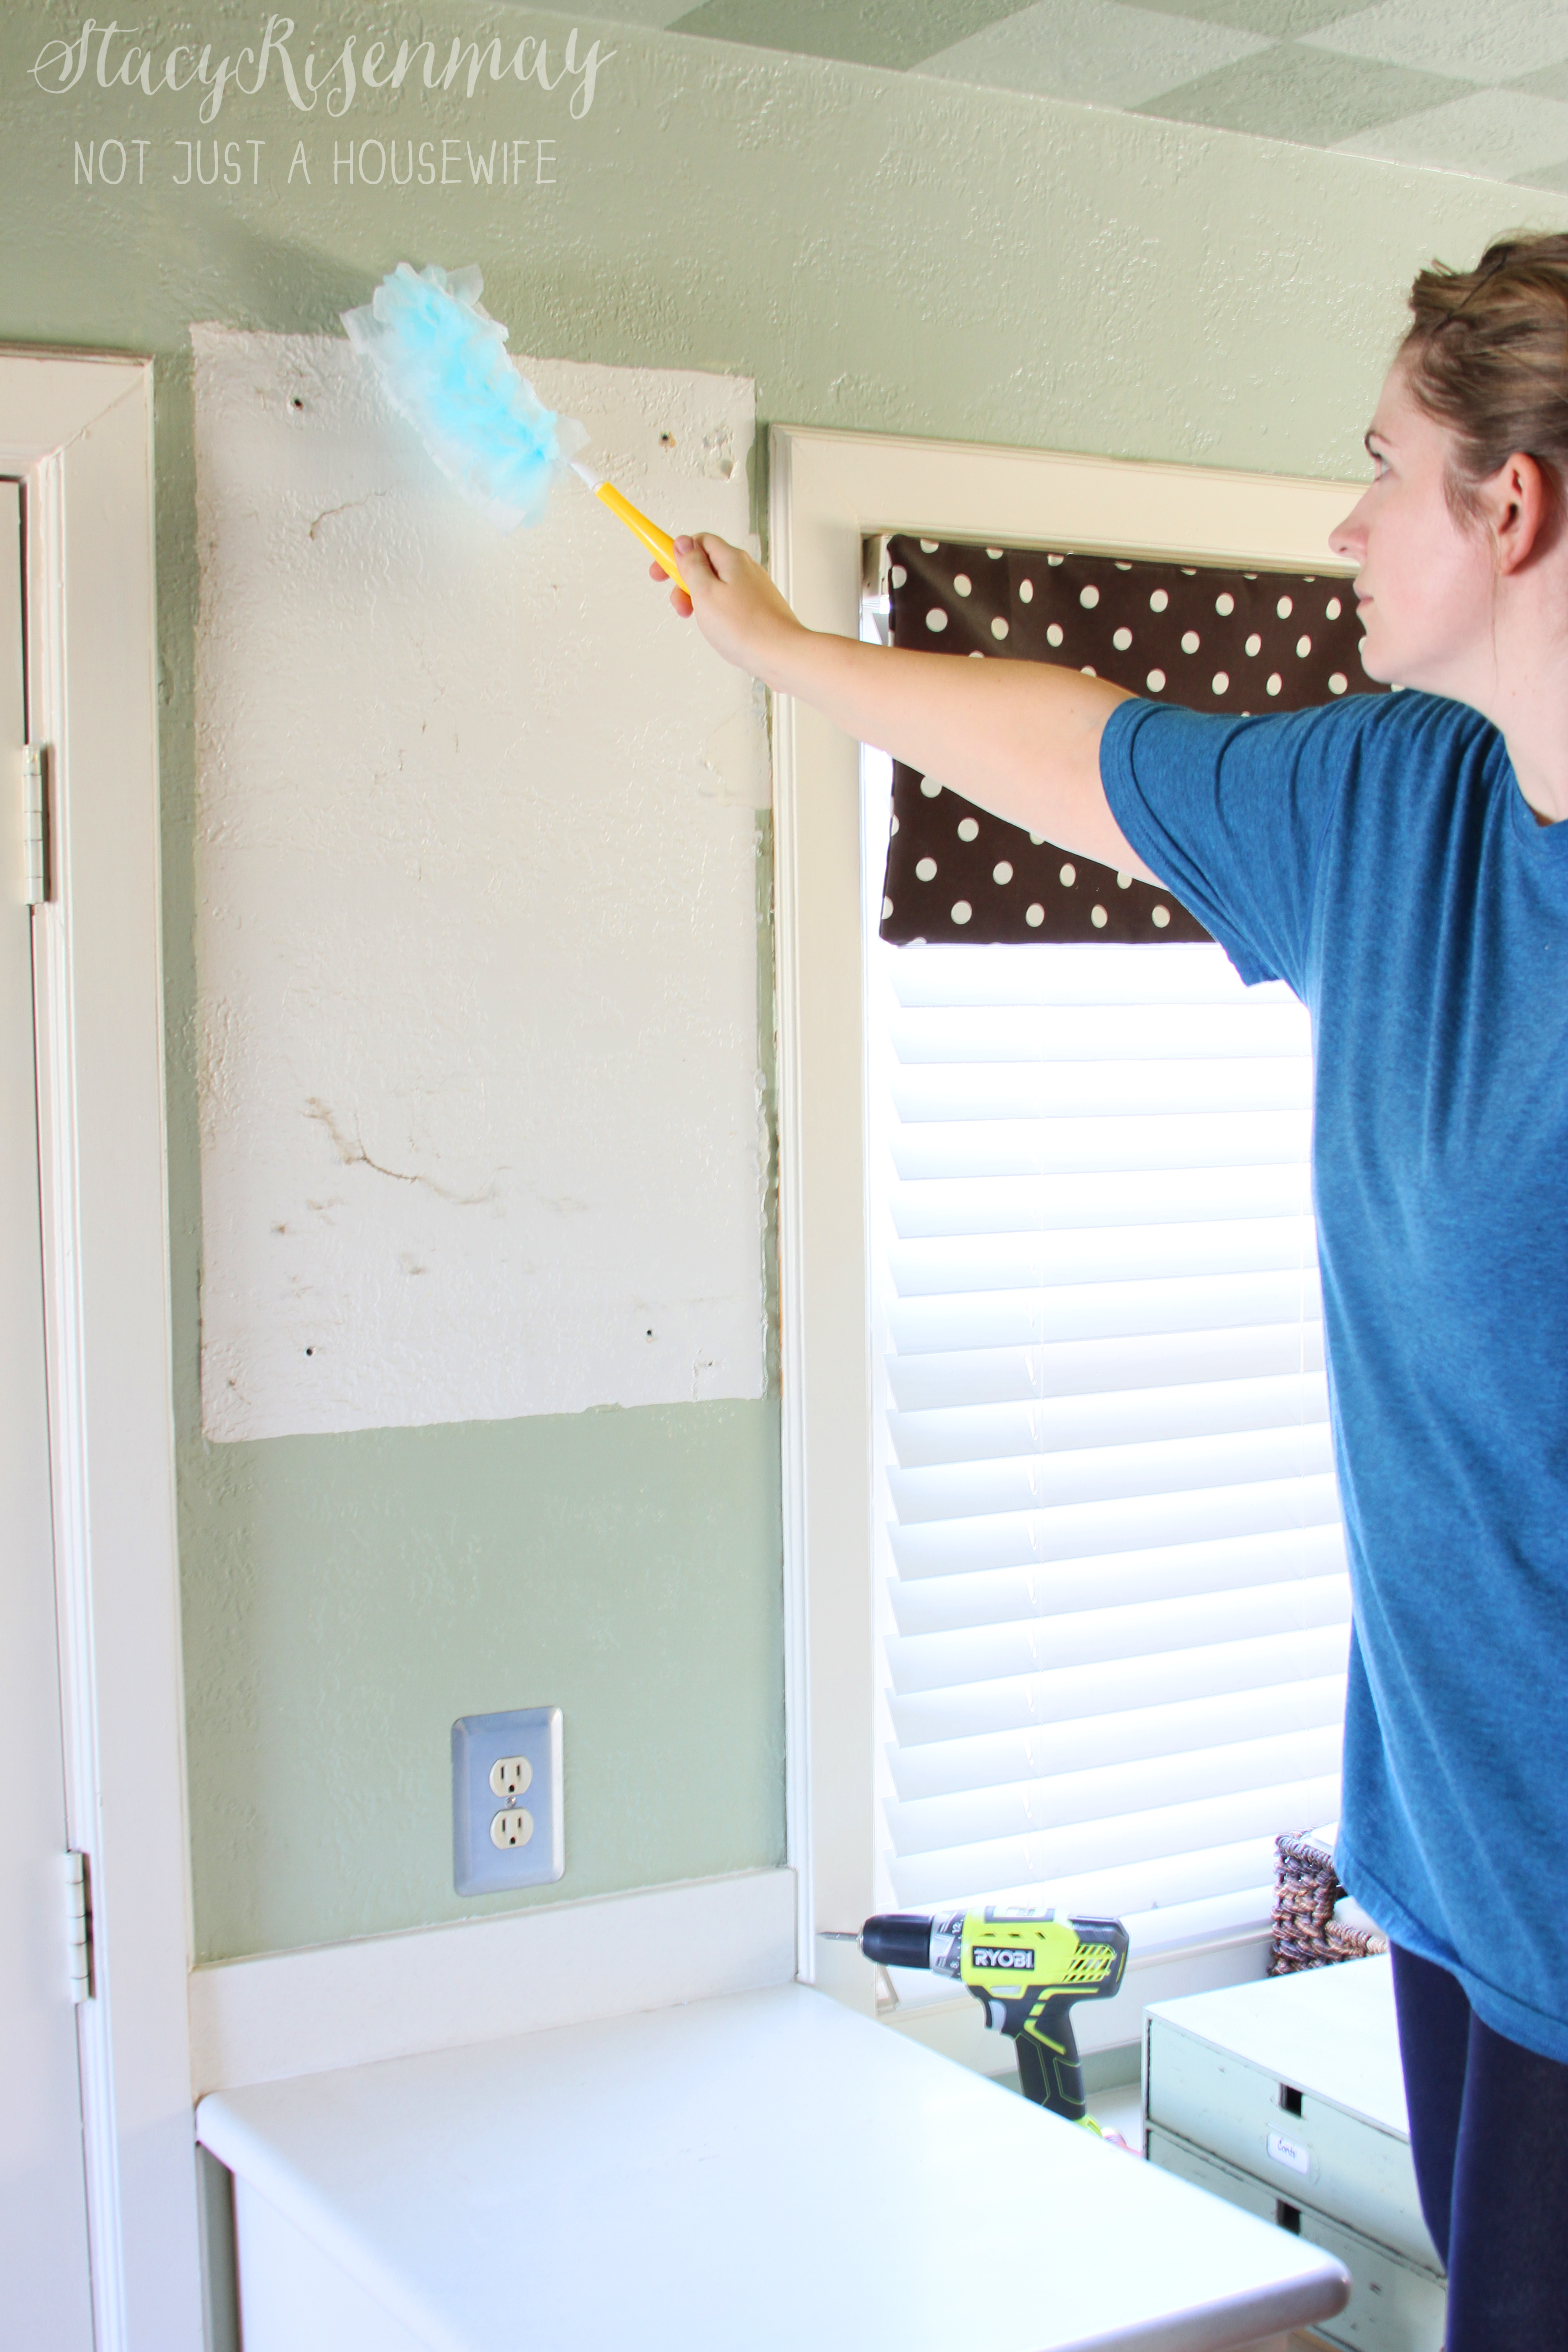
There were cobwebs galore behind the cabinet.
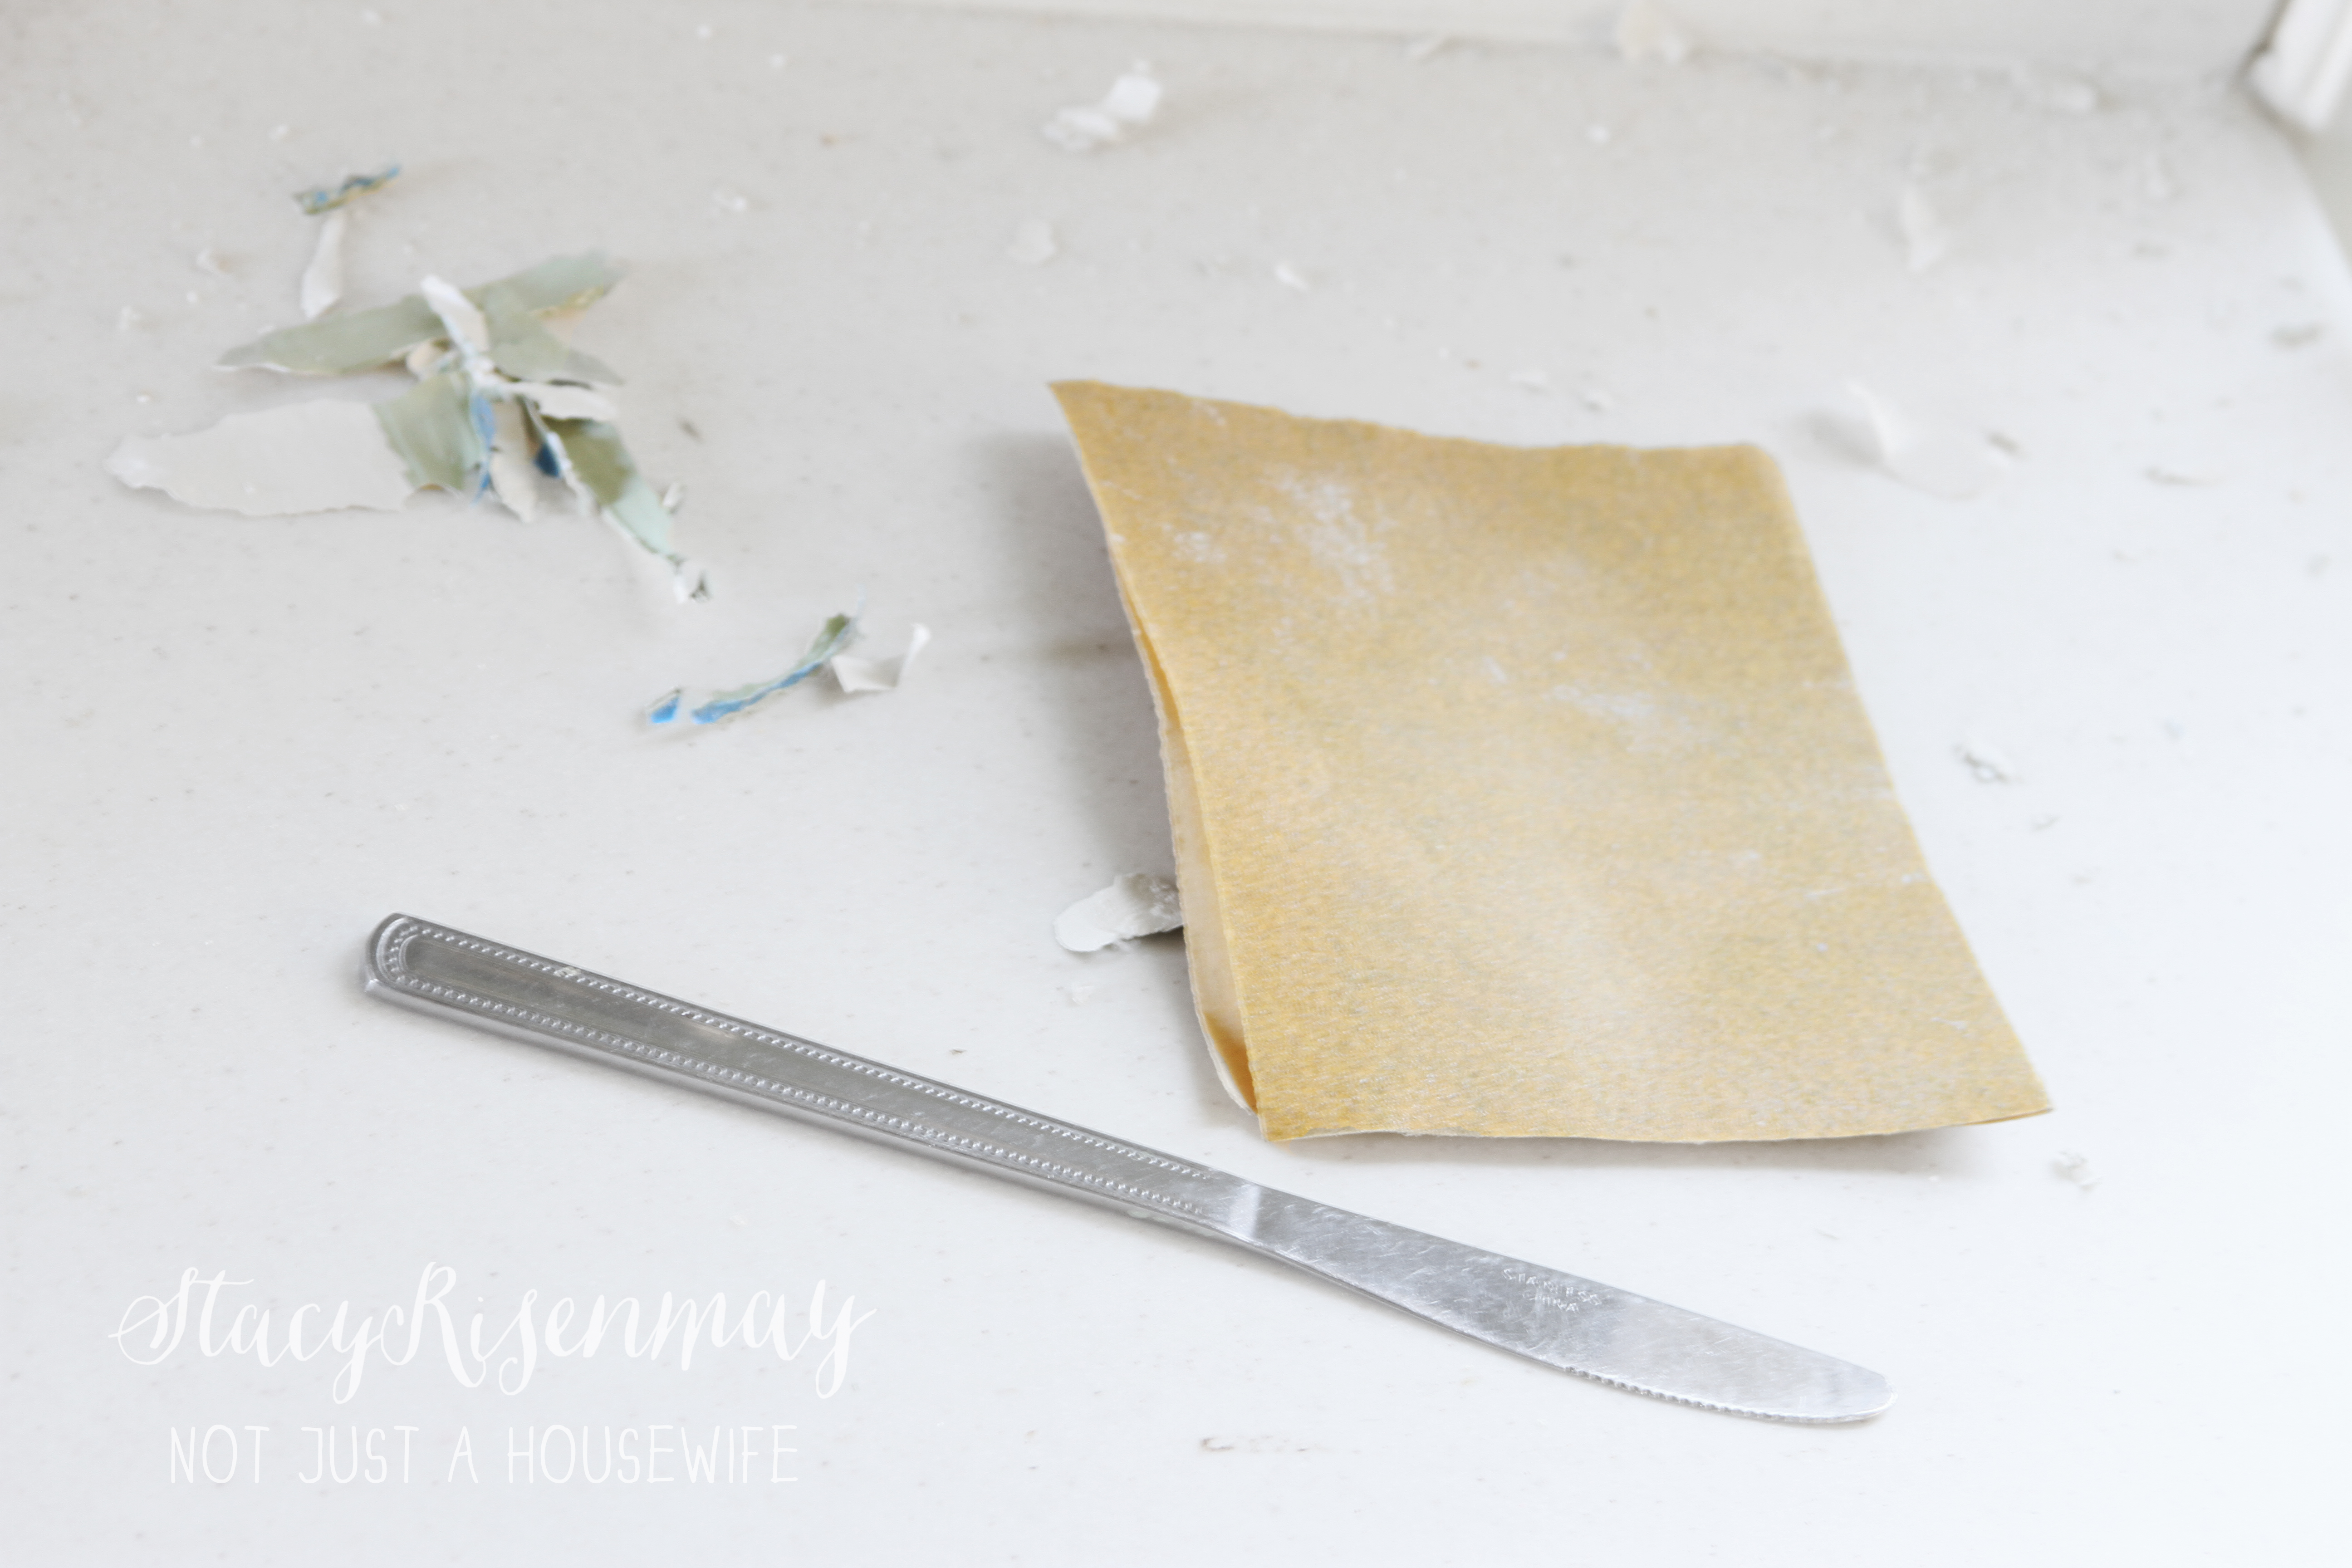
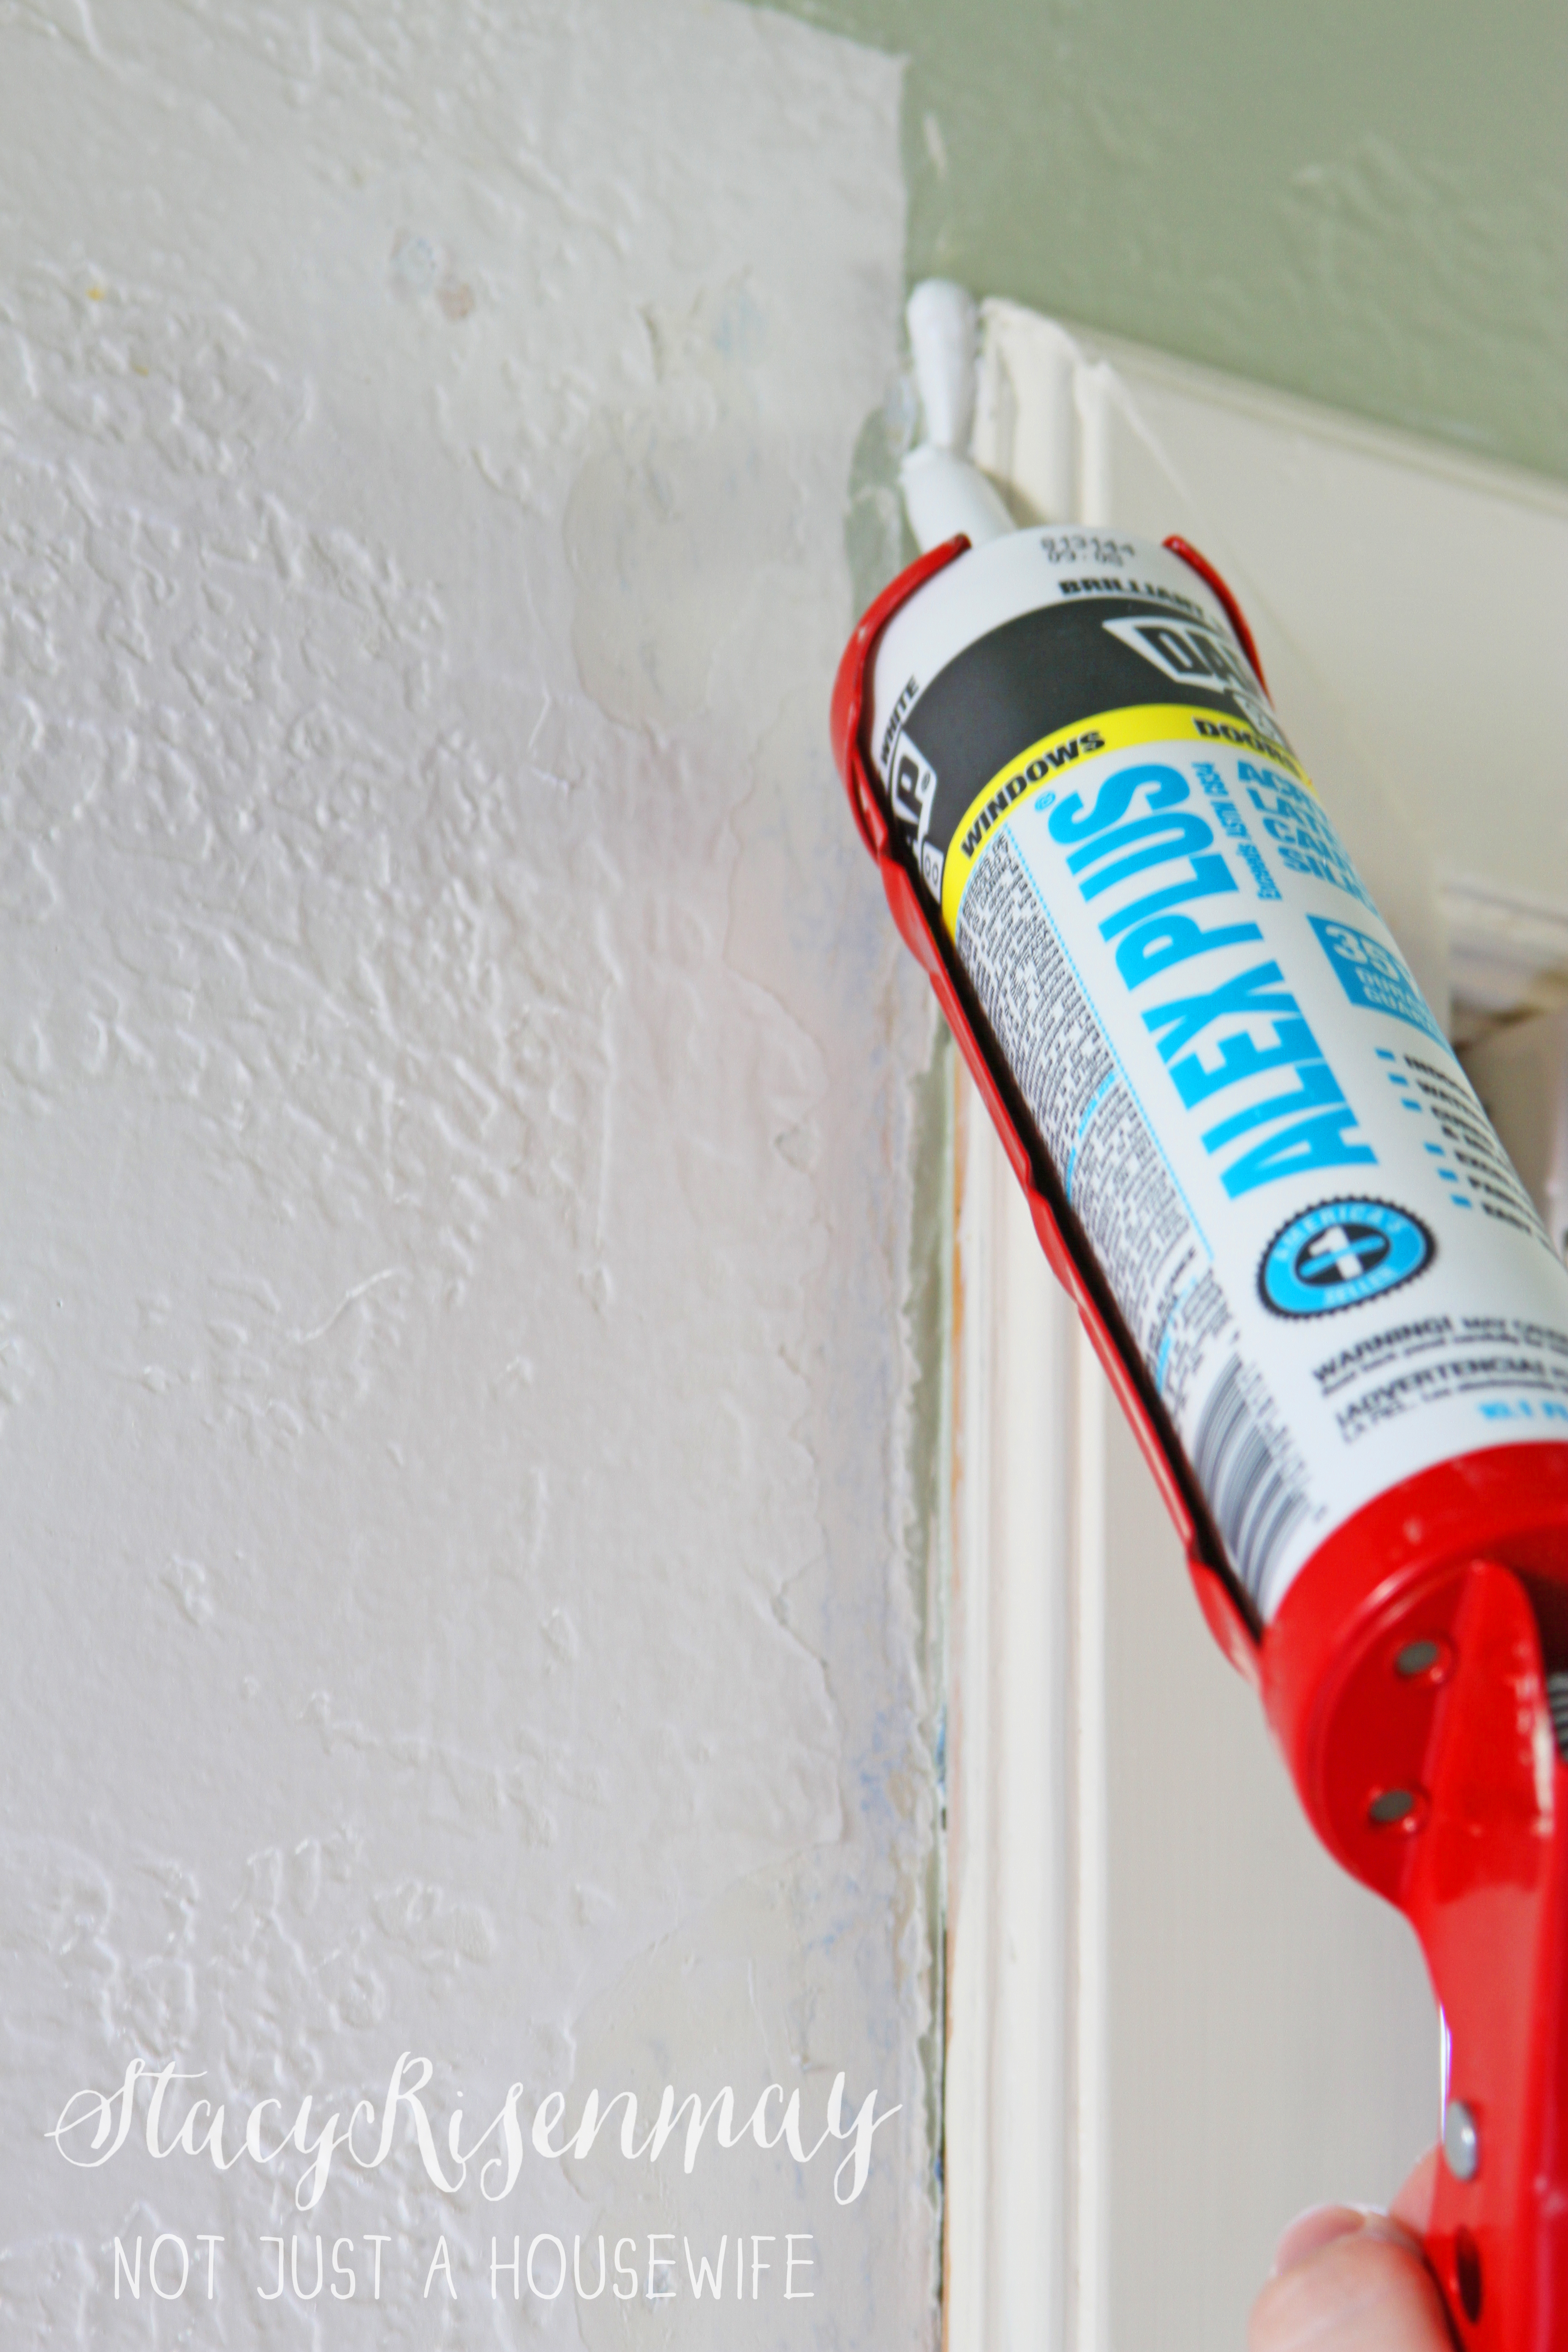
And ripping the cabinet off also took off some of the wall. I had to patch and sand. While I was at it, I caulked around the window and door frame too.
You may not need to do this step, but if you do, always use paintable caulk.
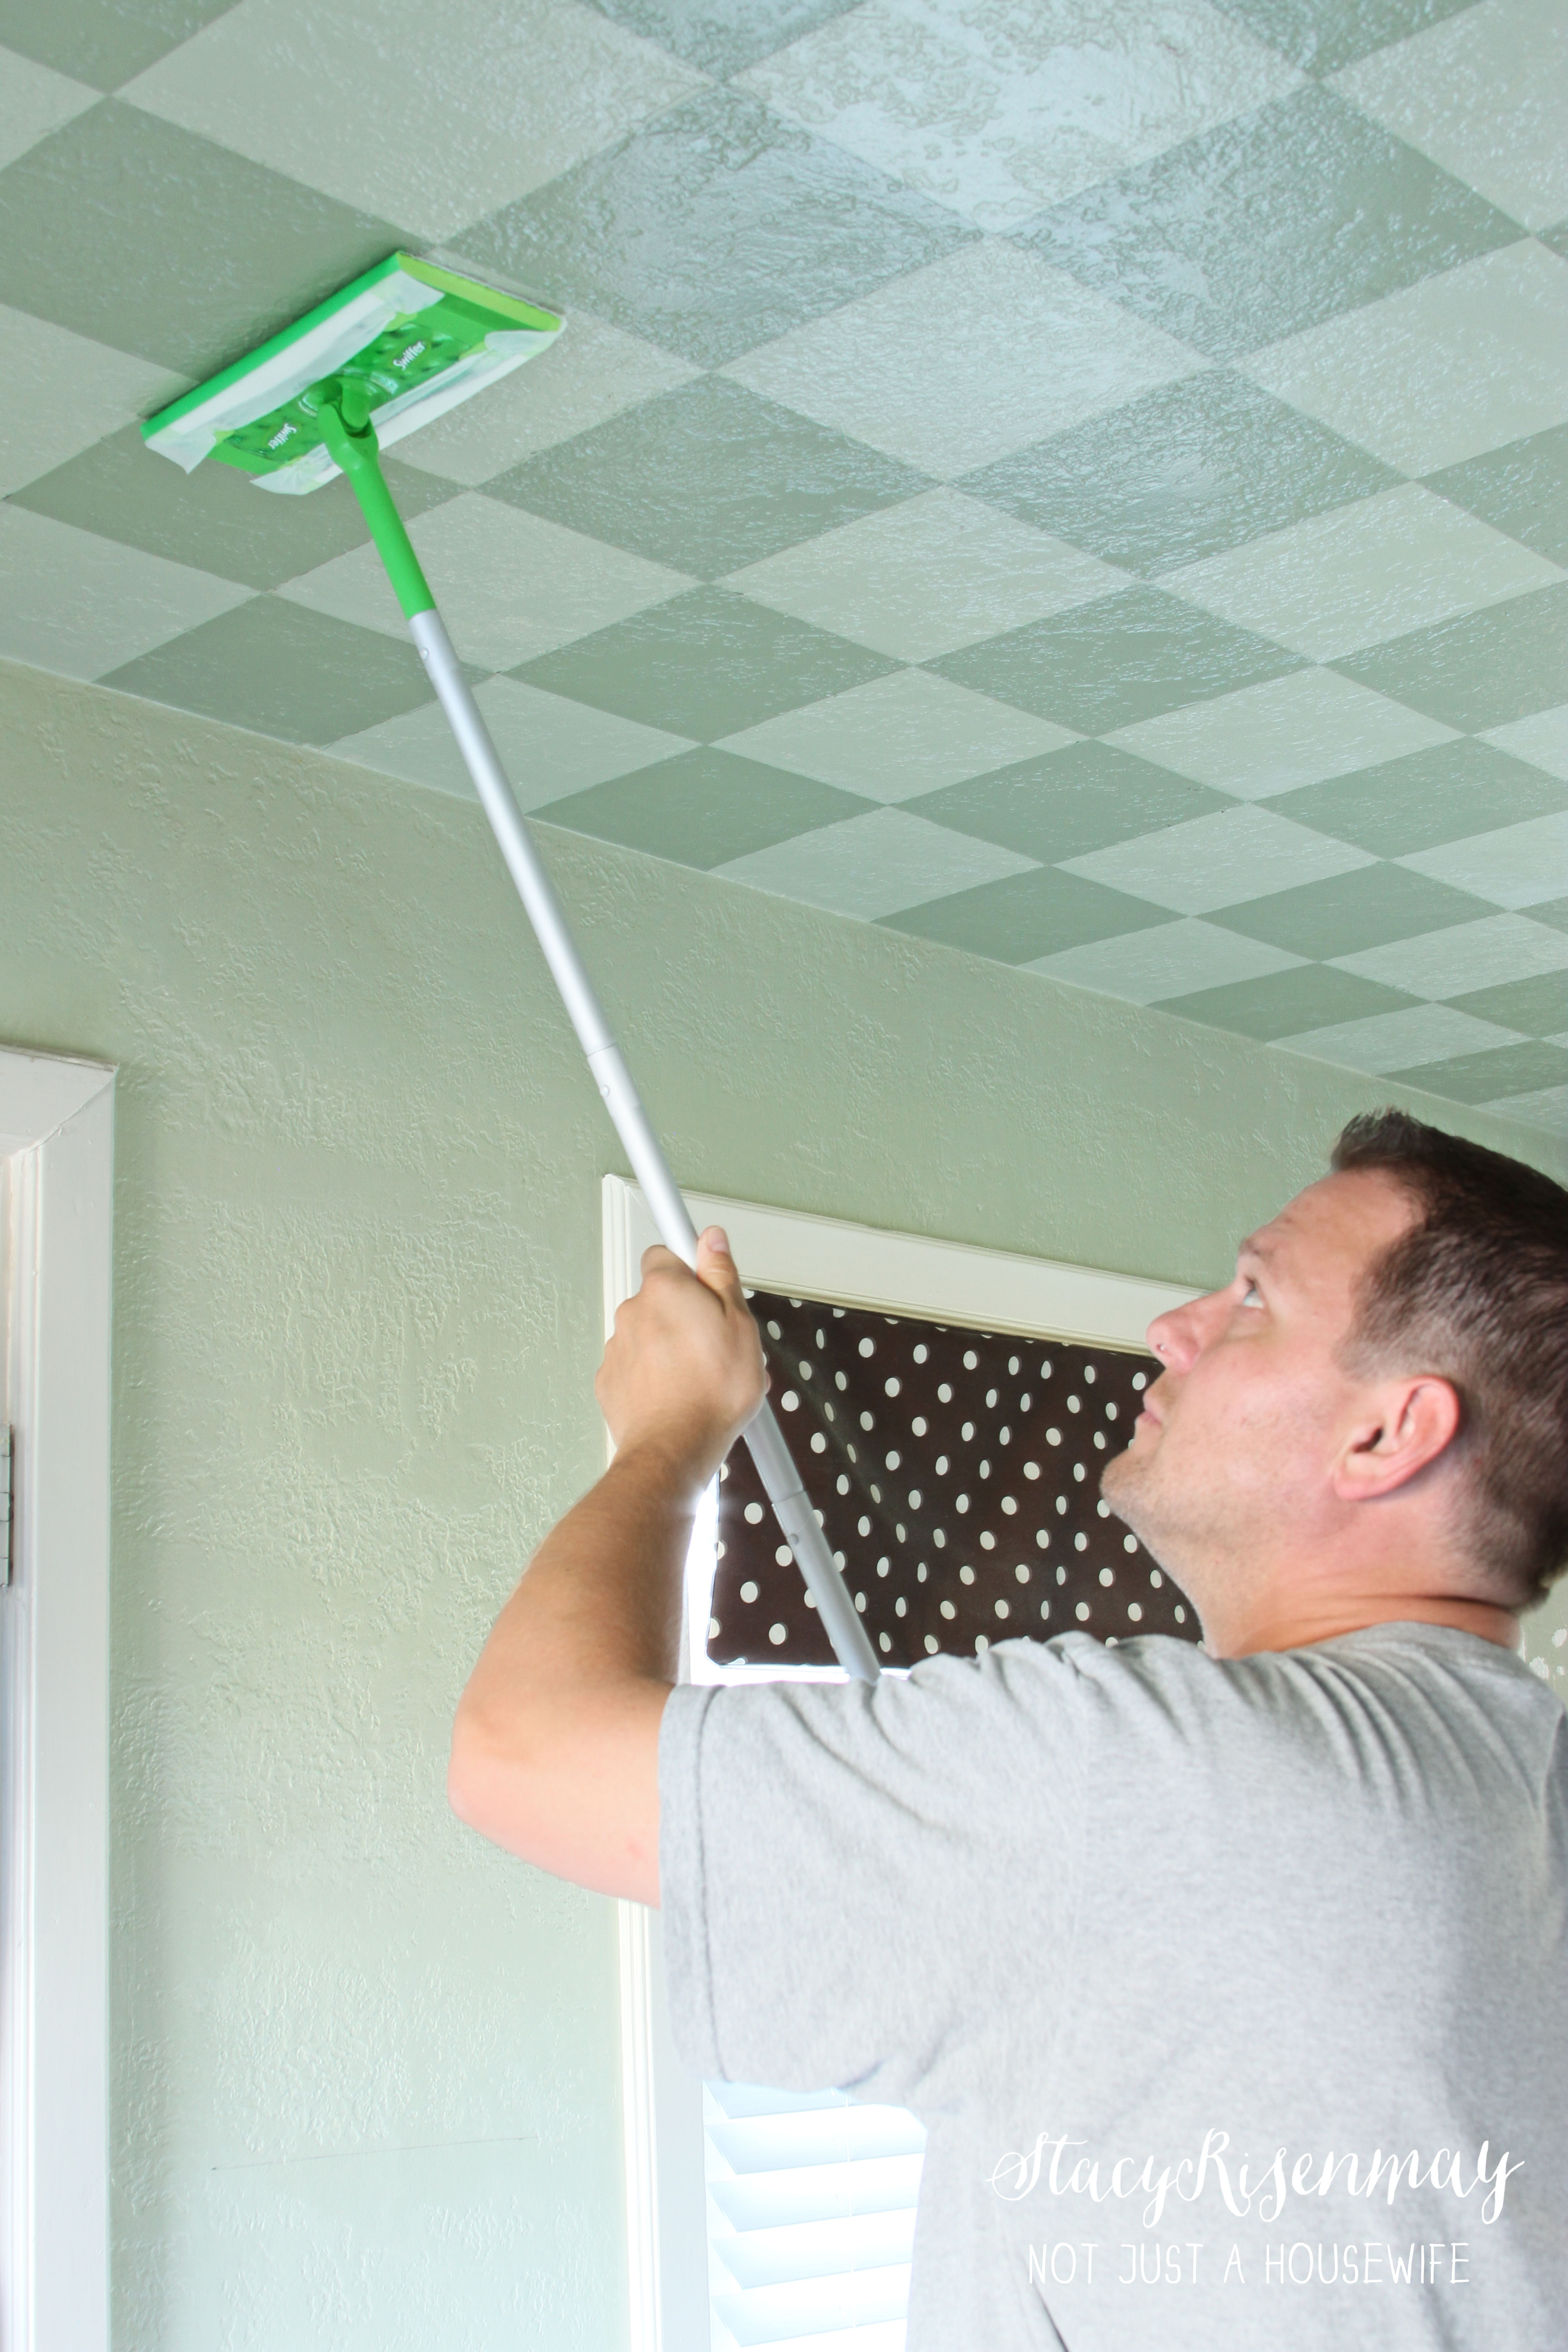
While I was on the counter painting the wall to match the rest of the kitchen, I saw the ceiling up close and personal. Do you know who else has been seeing my ceiling up close and personal? Flies. Lots and lots of flies. Fly spec are gross. The Swiffer and my husband to the rescue!
Since taking on the whole writing a book thang, my husband has taken on more jobs around the house. I have let go of my control freak tendencies and it has been great (for the most part). I marked the wood and he cut it while I was painting the wall. Now if only he could quit his job, think of all we could do!

Building a Floating Shelf
For the floating shelves, I used plywood. You will need to cut two sides, a top, a bottom, and a front. The back needs to remain open so it can slide onto the wall brace later on. You can decide the dimensions of your shelf based on the size of your space and your own personal preferences.

Then cut the edges on a 45 degree angle on all the edges where they will meet another board.
Use a brad nailer to nail the boards together. Use a sandable, paintable putty to fill in the nail holes. Let it dry and then sand smooth with a fine grit sandpaper (220 at least).

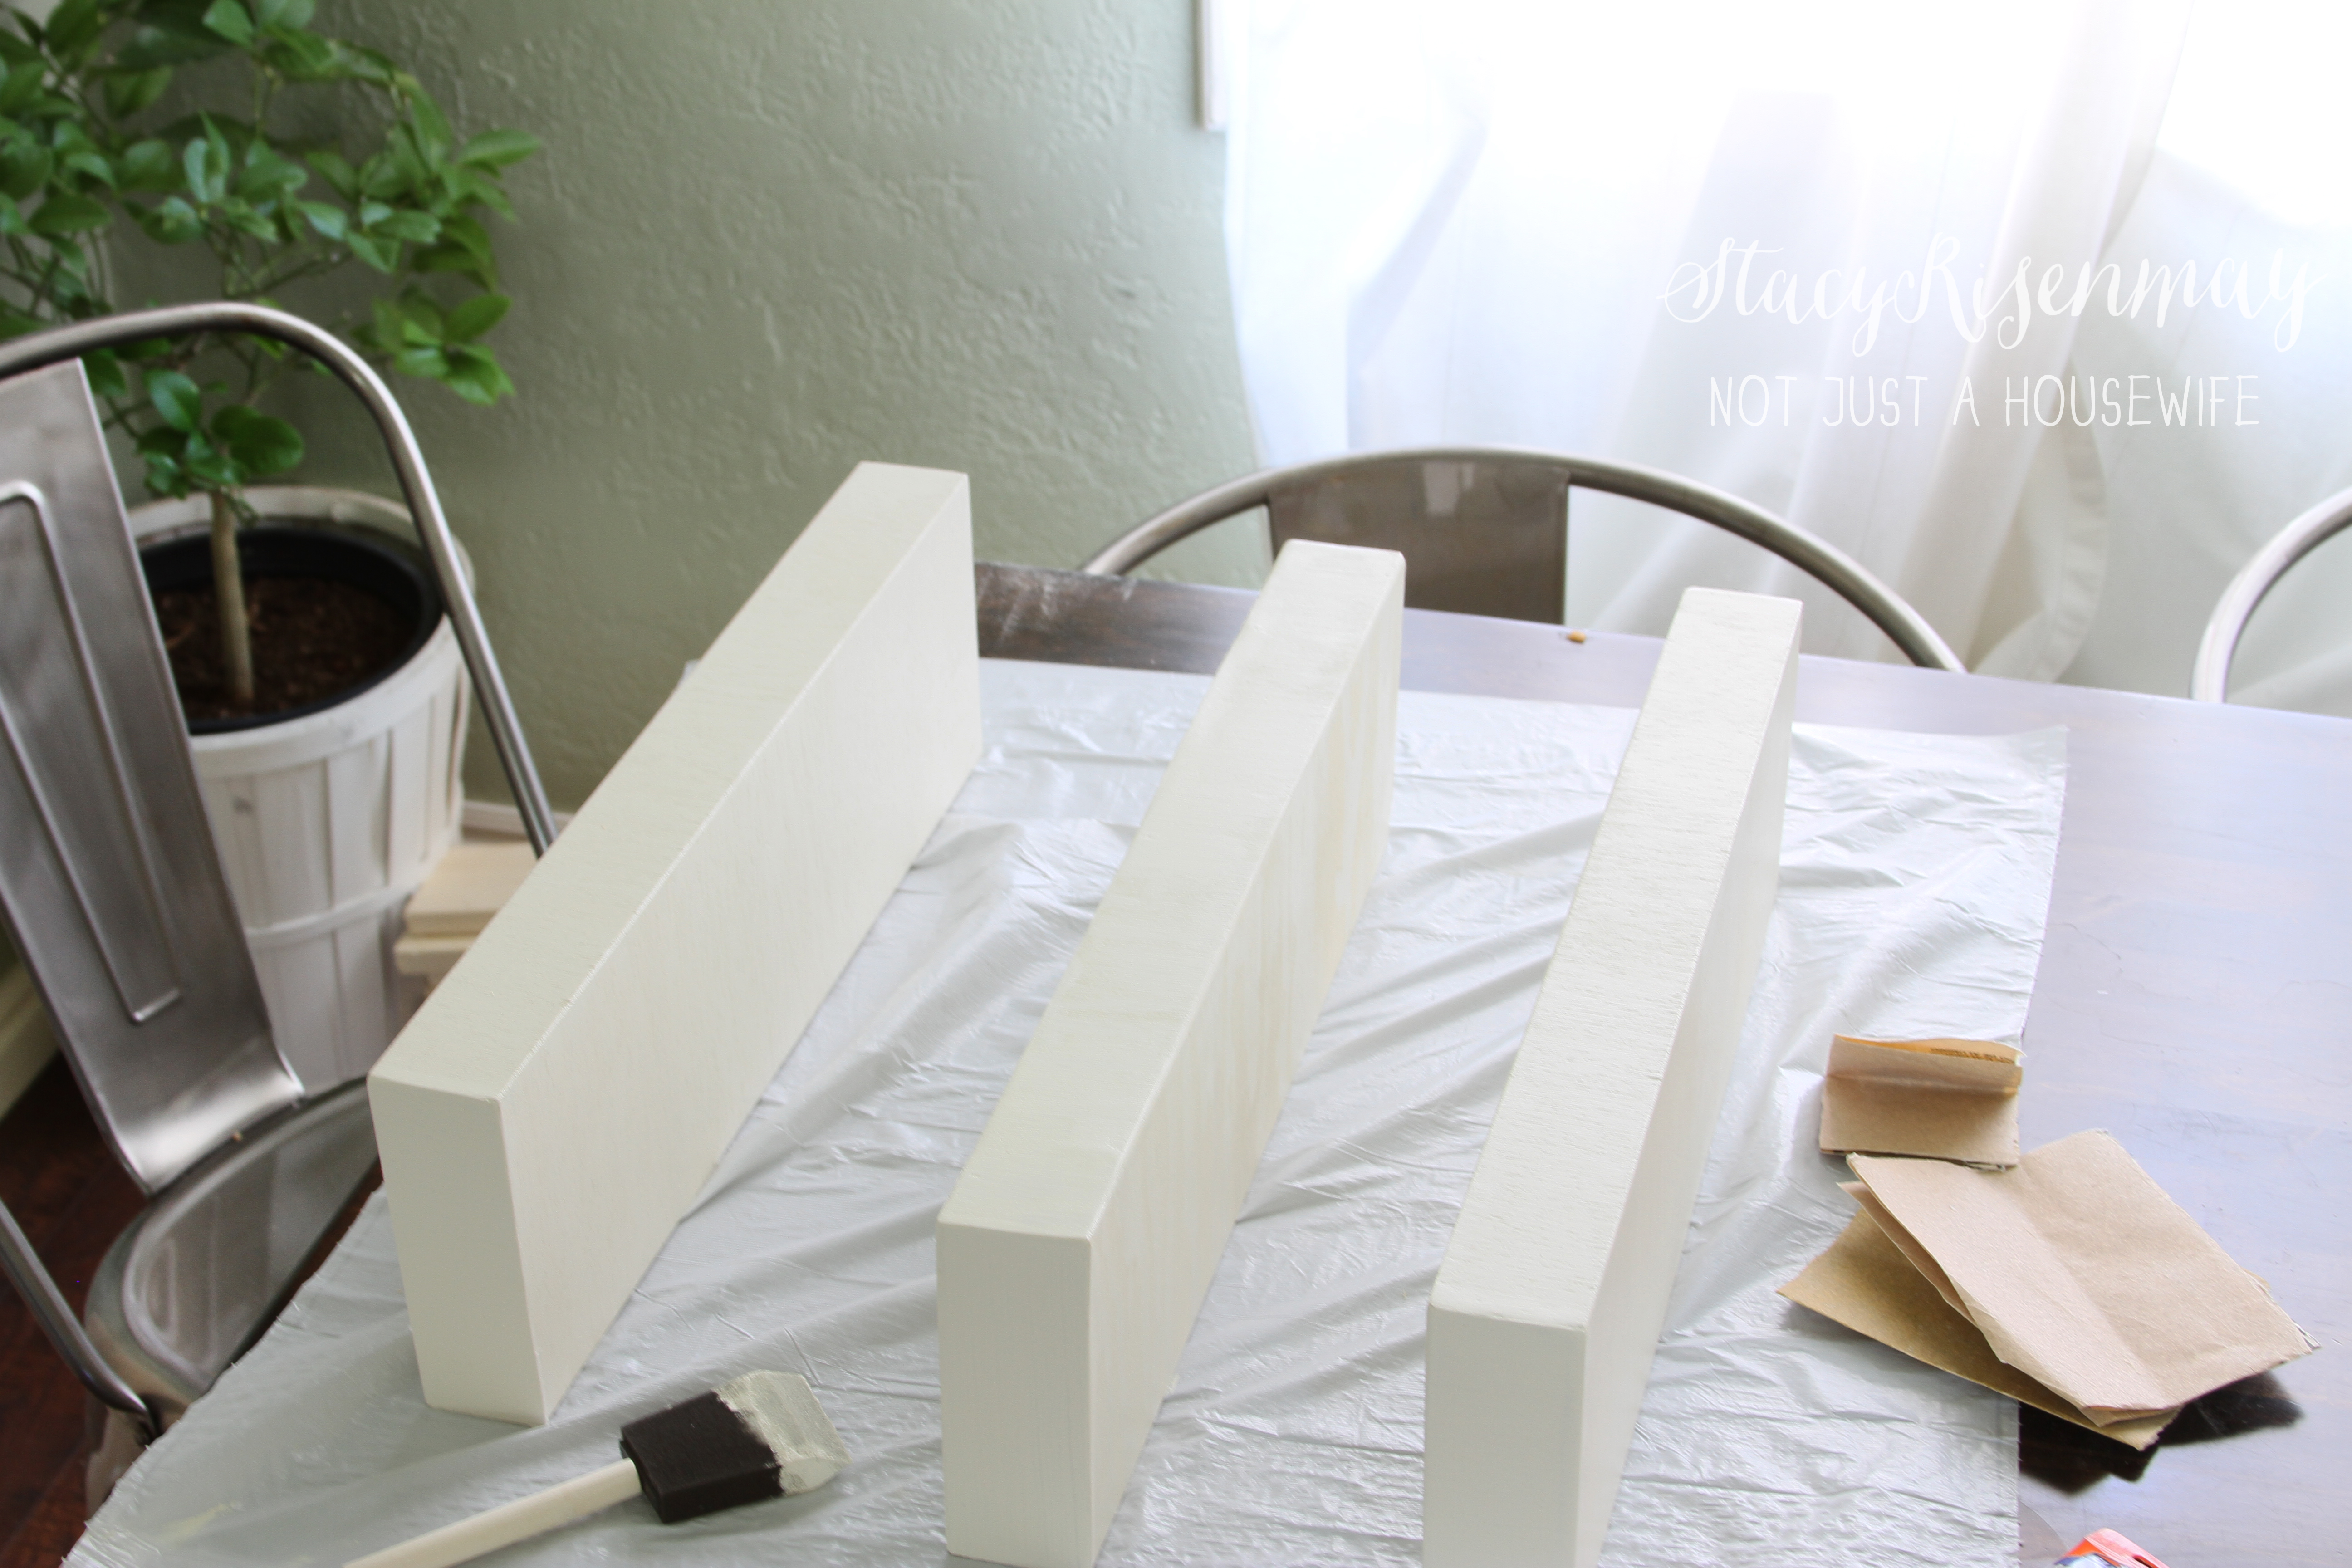
I like to use a foam brush when painting. It took three coats of paint to cover the shelves. Plywood is really absorbent so be patient, as it may take more coats depending on the color you used. Add something like Floetrol to your paint if you are seeing brush strokes. It will slow down the dry time and allow you to smooth it out.
While the shelves are drying, you can hang the brace that your shelf will fit onto. I usually use a 2x4 that I cut in half (or ¾ depending on the depth of the shelf) to act as the brace. Cut a board to fit inside the space in your shelf. One you have it the right length and height, drill the pilot hole. Usually three will do unless your shelf is very long. Draw a line on the wall with a level where you want the shelf to hang. Screw the brace into place. Make sure you are attaching it into a stud especially if the items going on the shelf will be heavy.
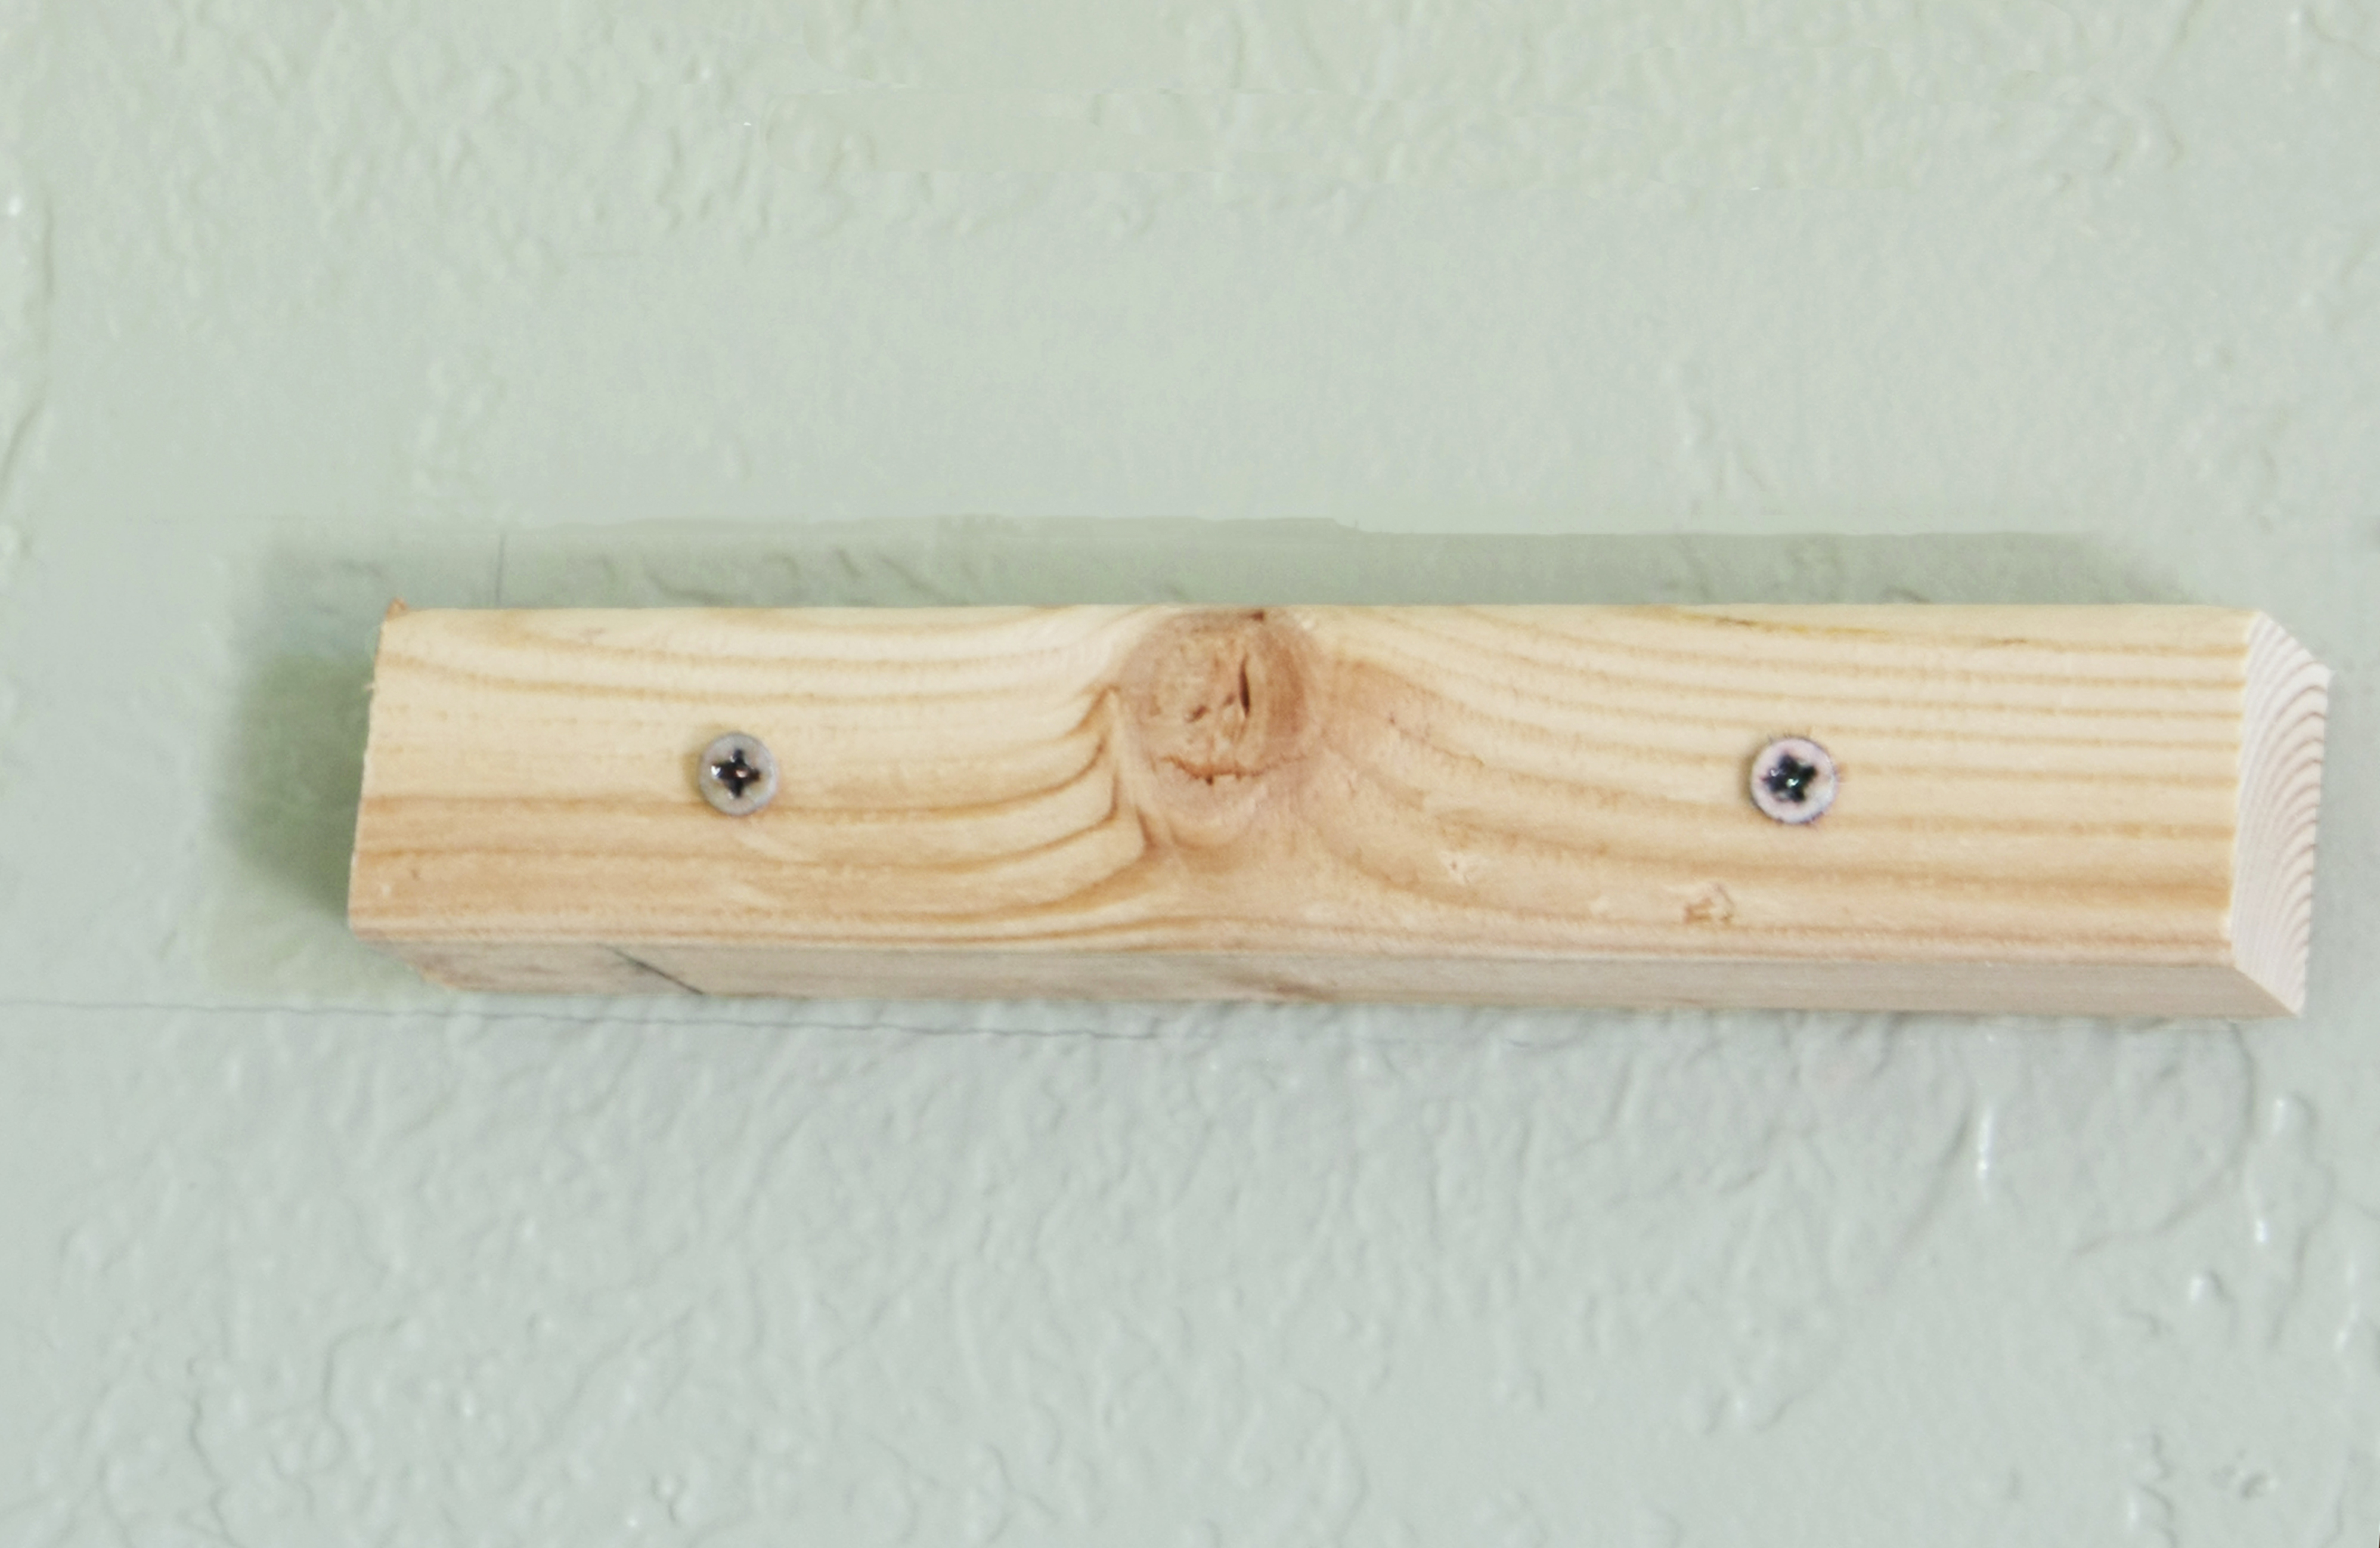
If you made the brace the correct size, the shelf should slide right on. My braces were not quite tall enough so I added a paint stick along the top and then slid the shelf on. Sometimes I caulk around where the shelf meets the wall if I feel it needs to be more secure.
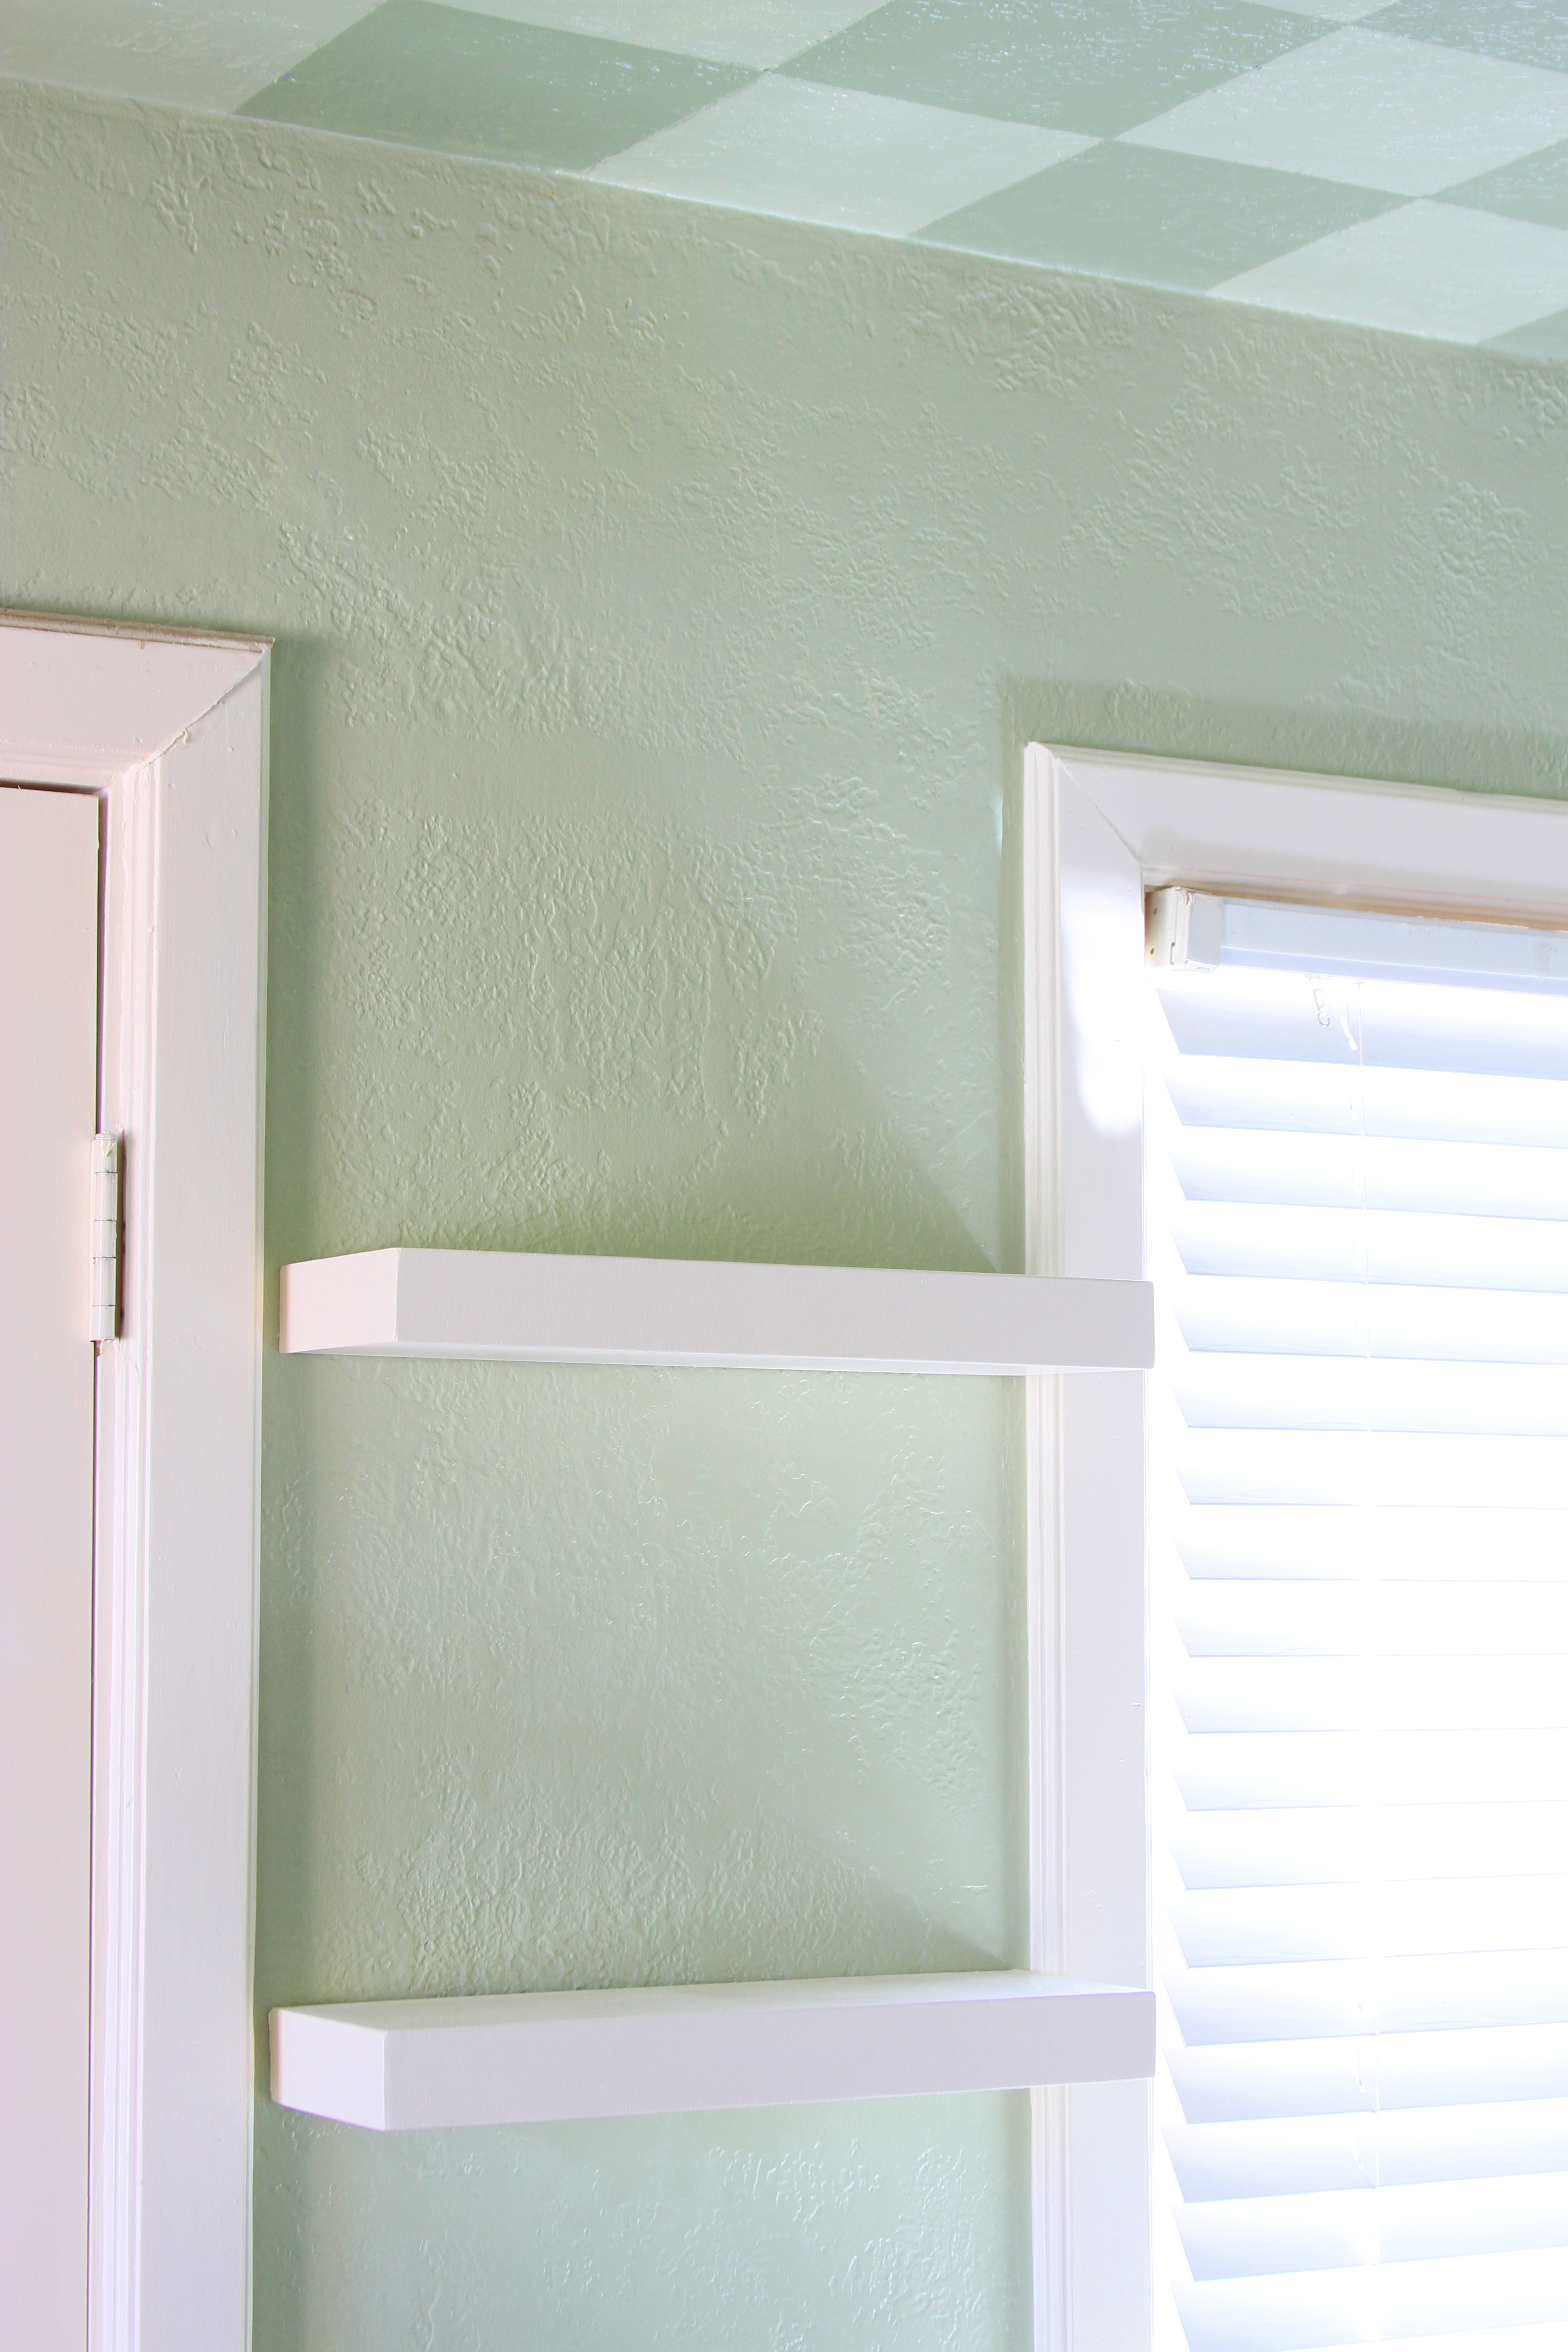
Then comes the really fun part! You get to style them :) I am going to figure out what will go where and then reveal the whole kitchen wall with the matching pairs of shelves on both side of the window. I can't wait to show you!
For more creative ideas visit the Find It At Home Depot website!


I love those shelves. I can't wait until we buy again so I can make some and hang them on my walls. Great job!
i like your "open space" idea for the kitchen. Thank you for the tips on the DIY shelf making. It would be a big challenge for me, but I am inspired now for my next project.
you mean the green Swiffer box on the doorstep is not just a commercial ?? I keep looking for one but not to be.
I love this and going to pin it because I'm getting our house ready to sell and this could be a neat addition for the bathroom remodel. The fun never ends. Also thinking in my next home scaling this concept up and doing it for a bookshelf.
Thanks for sharing you've got me thinking about the house again instead of the garden. That's good! Hope you have a great day. Carole @ Garden Up green
Your shelves look FANTASTIC, Stacy! I can think of about 100 places I need these in my life!
Love the shelves, great project.
LOVE this idea! I have a small wall with no cabinet next to the sink in the kitchen with no cabinet either, similar to yours.
Since I hate having things on my countertop, I think I might try this to provide a little bit of "display area" for my kitchen without having to add clutter to the countertops. :-) And I think I even have some left-over plywood from another project, so this project might even be free, woot!
Is that brace really going to be strong enough to hold bowls and cups? I would think you would need some longer braves that extend into three shelf more.
The picture angle is a bit deceiving. The brace is only about 1 1/2 inches shorter than the shelf.
These look great - I love floating shelves!
Beautiful job! I have been wanting to take down some of my upper kitchen cabinets, too and I am such a chicken. We're not exactly the best DIYers. Where do you store all your dishes and pantry items without any cabinet space though?
I only have floating shelves on this one wall. The other walls have cabinets :)
These shelves are awesome. I am currently remodeling my bathrooms and kitchen and in the kitchen I wanted to do a concrete counter tops along with these type of shelves. However, would the same type of shelves work for heavier load, like plates and bowls? Would I need larger set ups for anchors? Love the way you built these block looking shelves from regular wood.
I was wondering where you got your dishwasher and sink I've been looking for one.