
I am excited to be partnering with 3M DIY to share a tutorial on how to make a simple table.
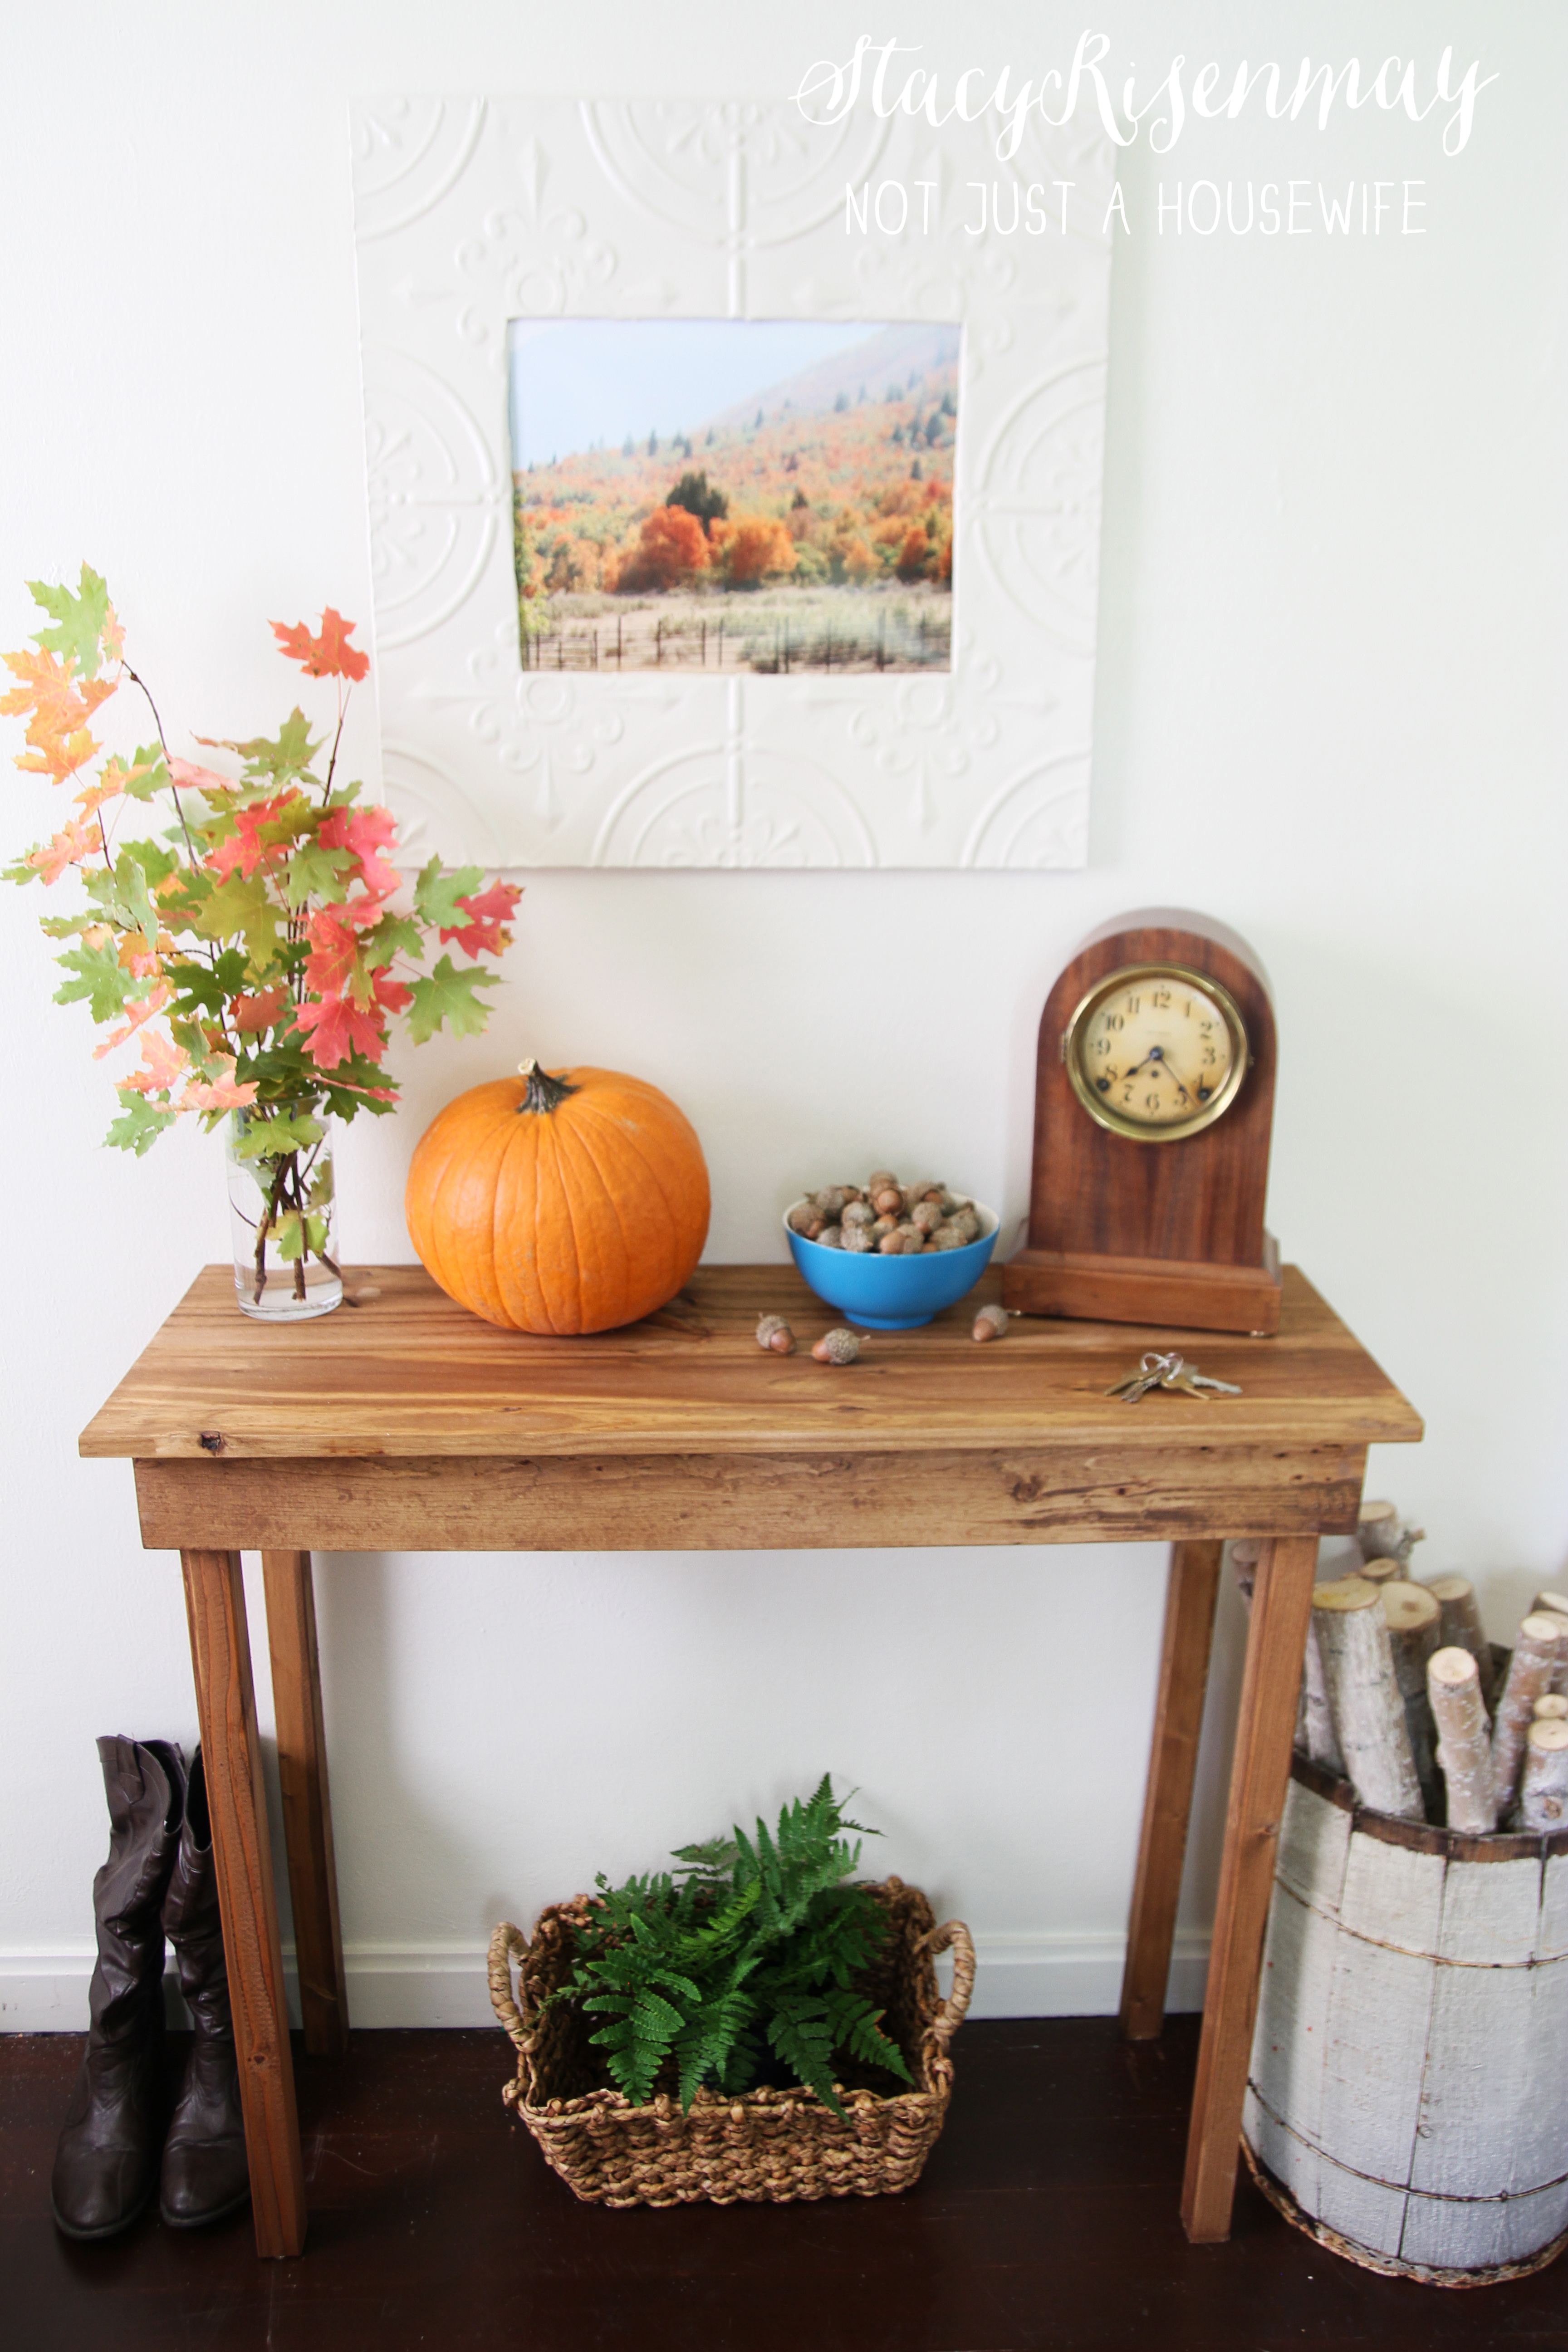
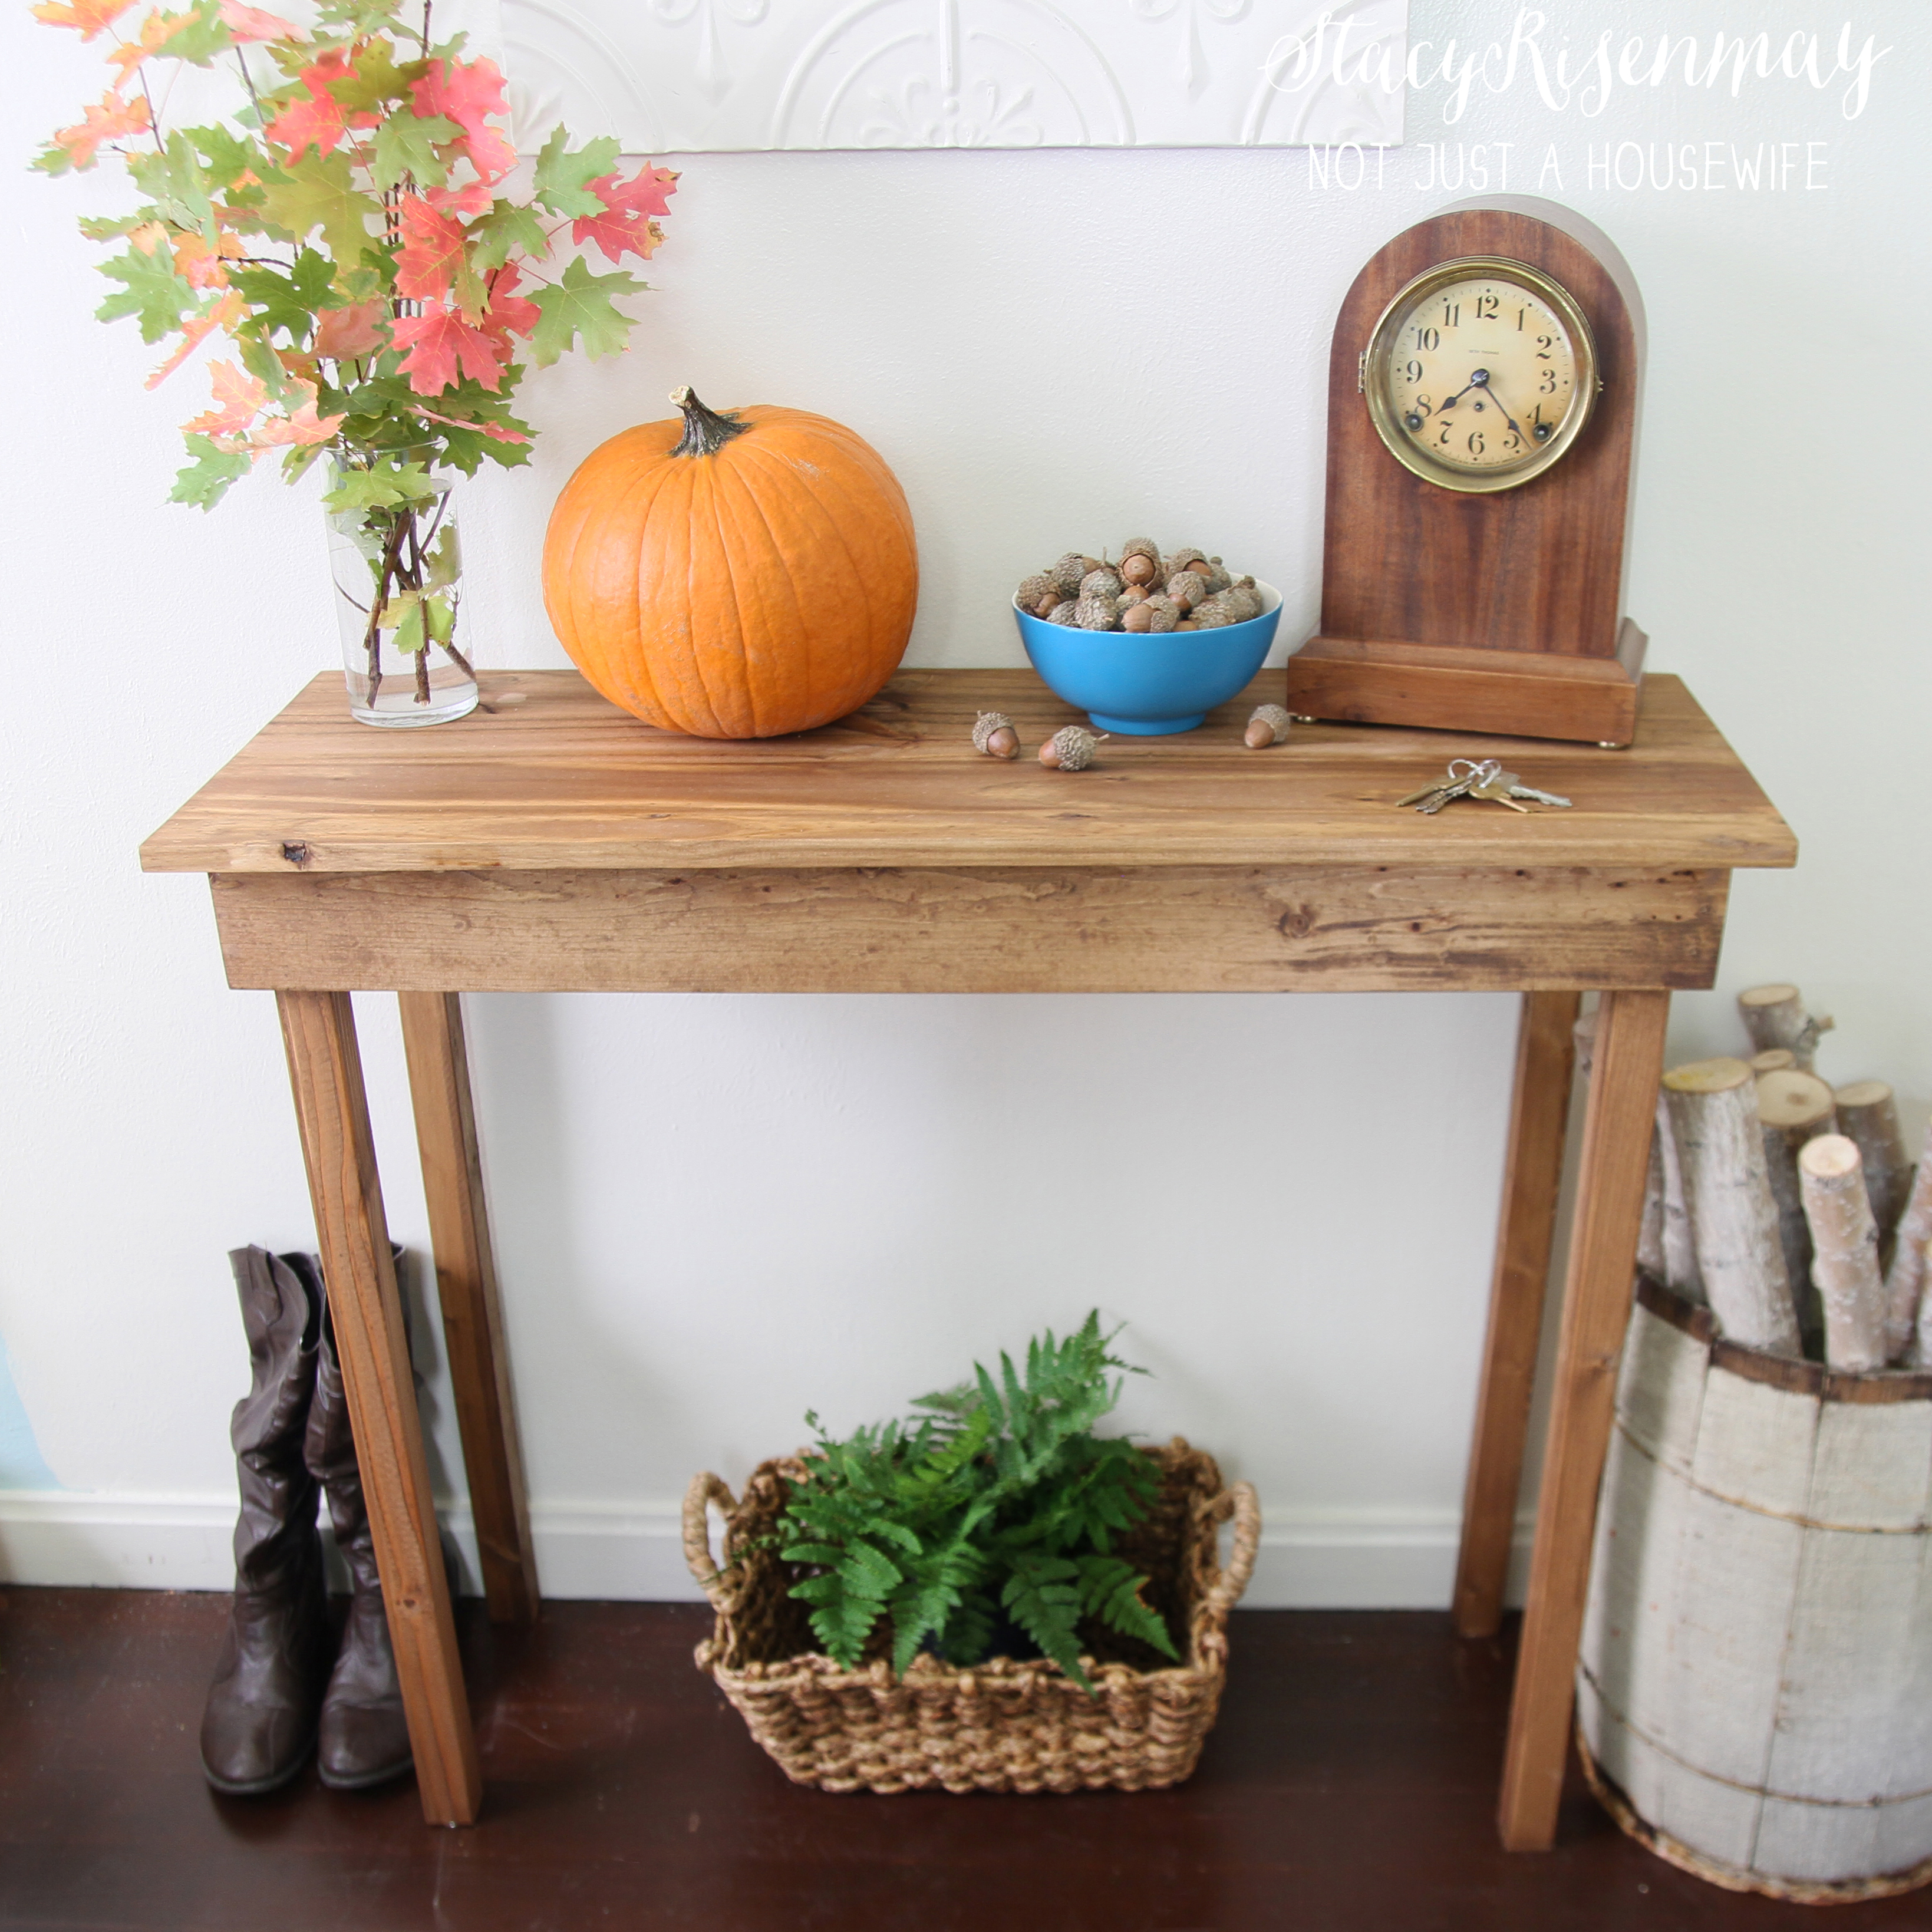
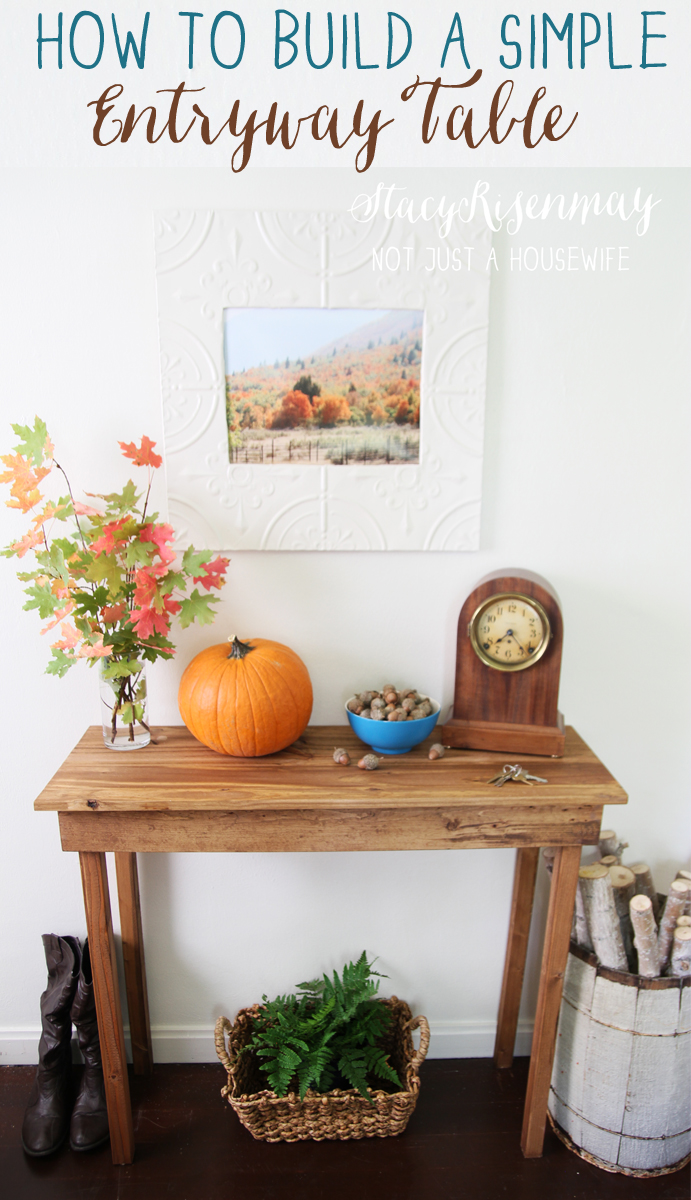
I needed an entryway table (for reasons I will disclose later!). I shopped around at thrift stores, online yard sales, and at regular retail stores. I couldn't find a simple table and I couldn't find one for less than $50. I had a lot going on and wasn't sure I wanted to tackle building one but then I realized I could use the same basic ideas as my simple side table and just adjust the measurements. I already had some of the wood and so I went for it!
Here is what you will need.....
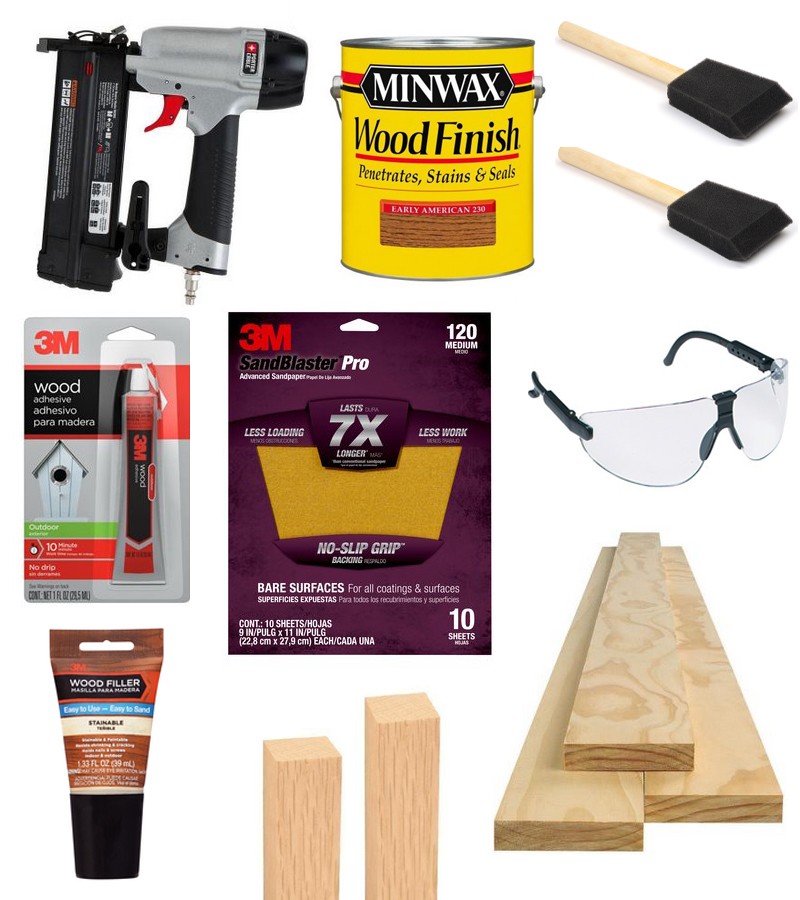
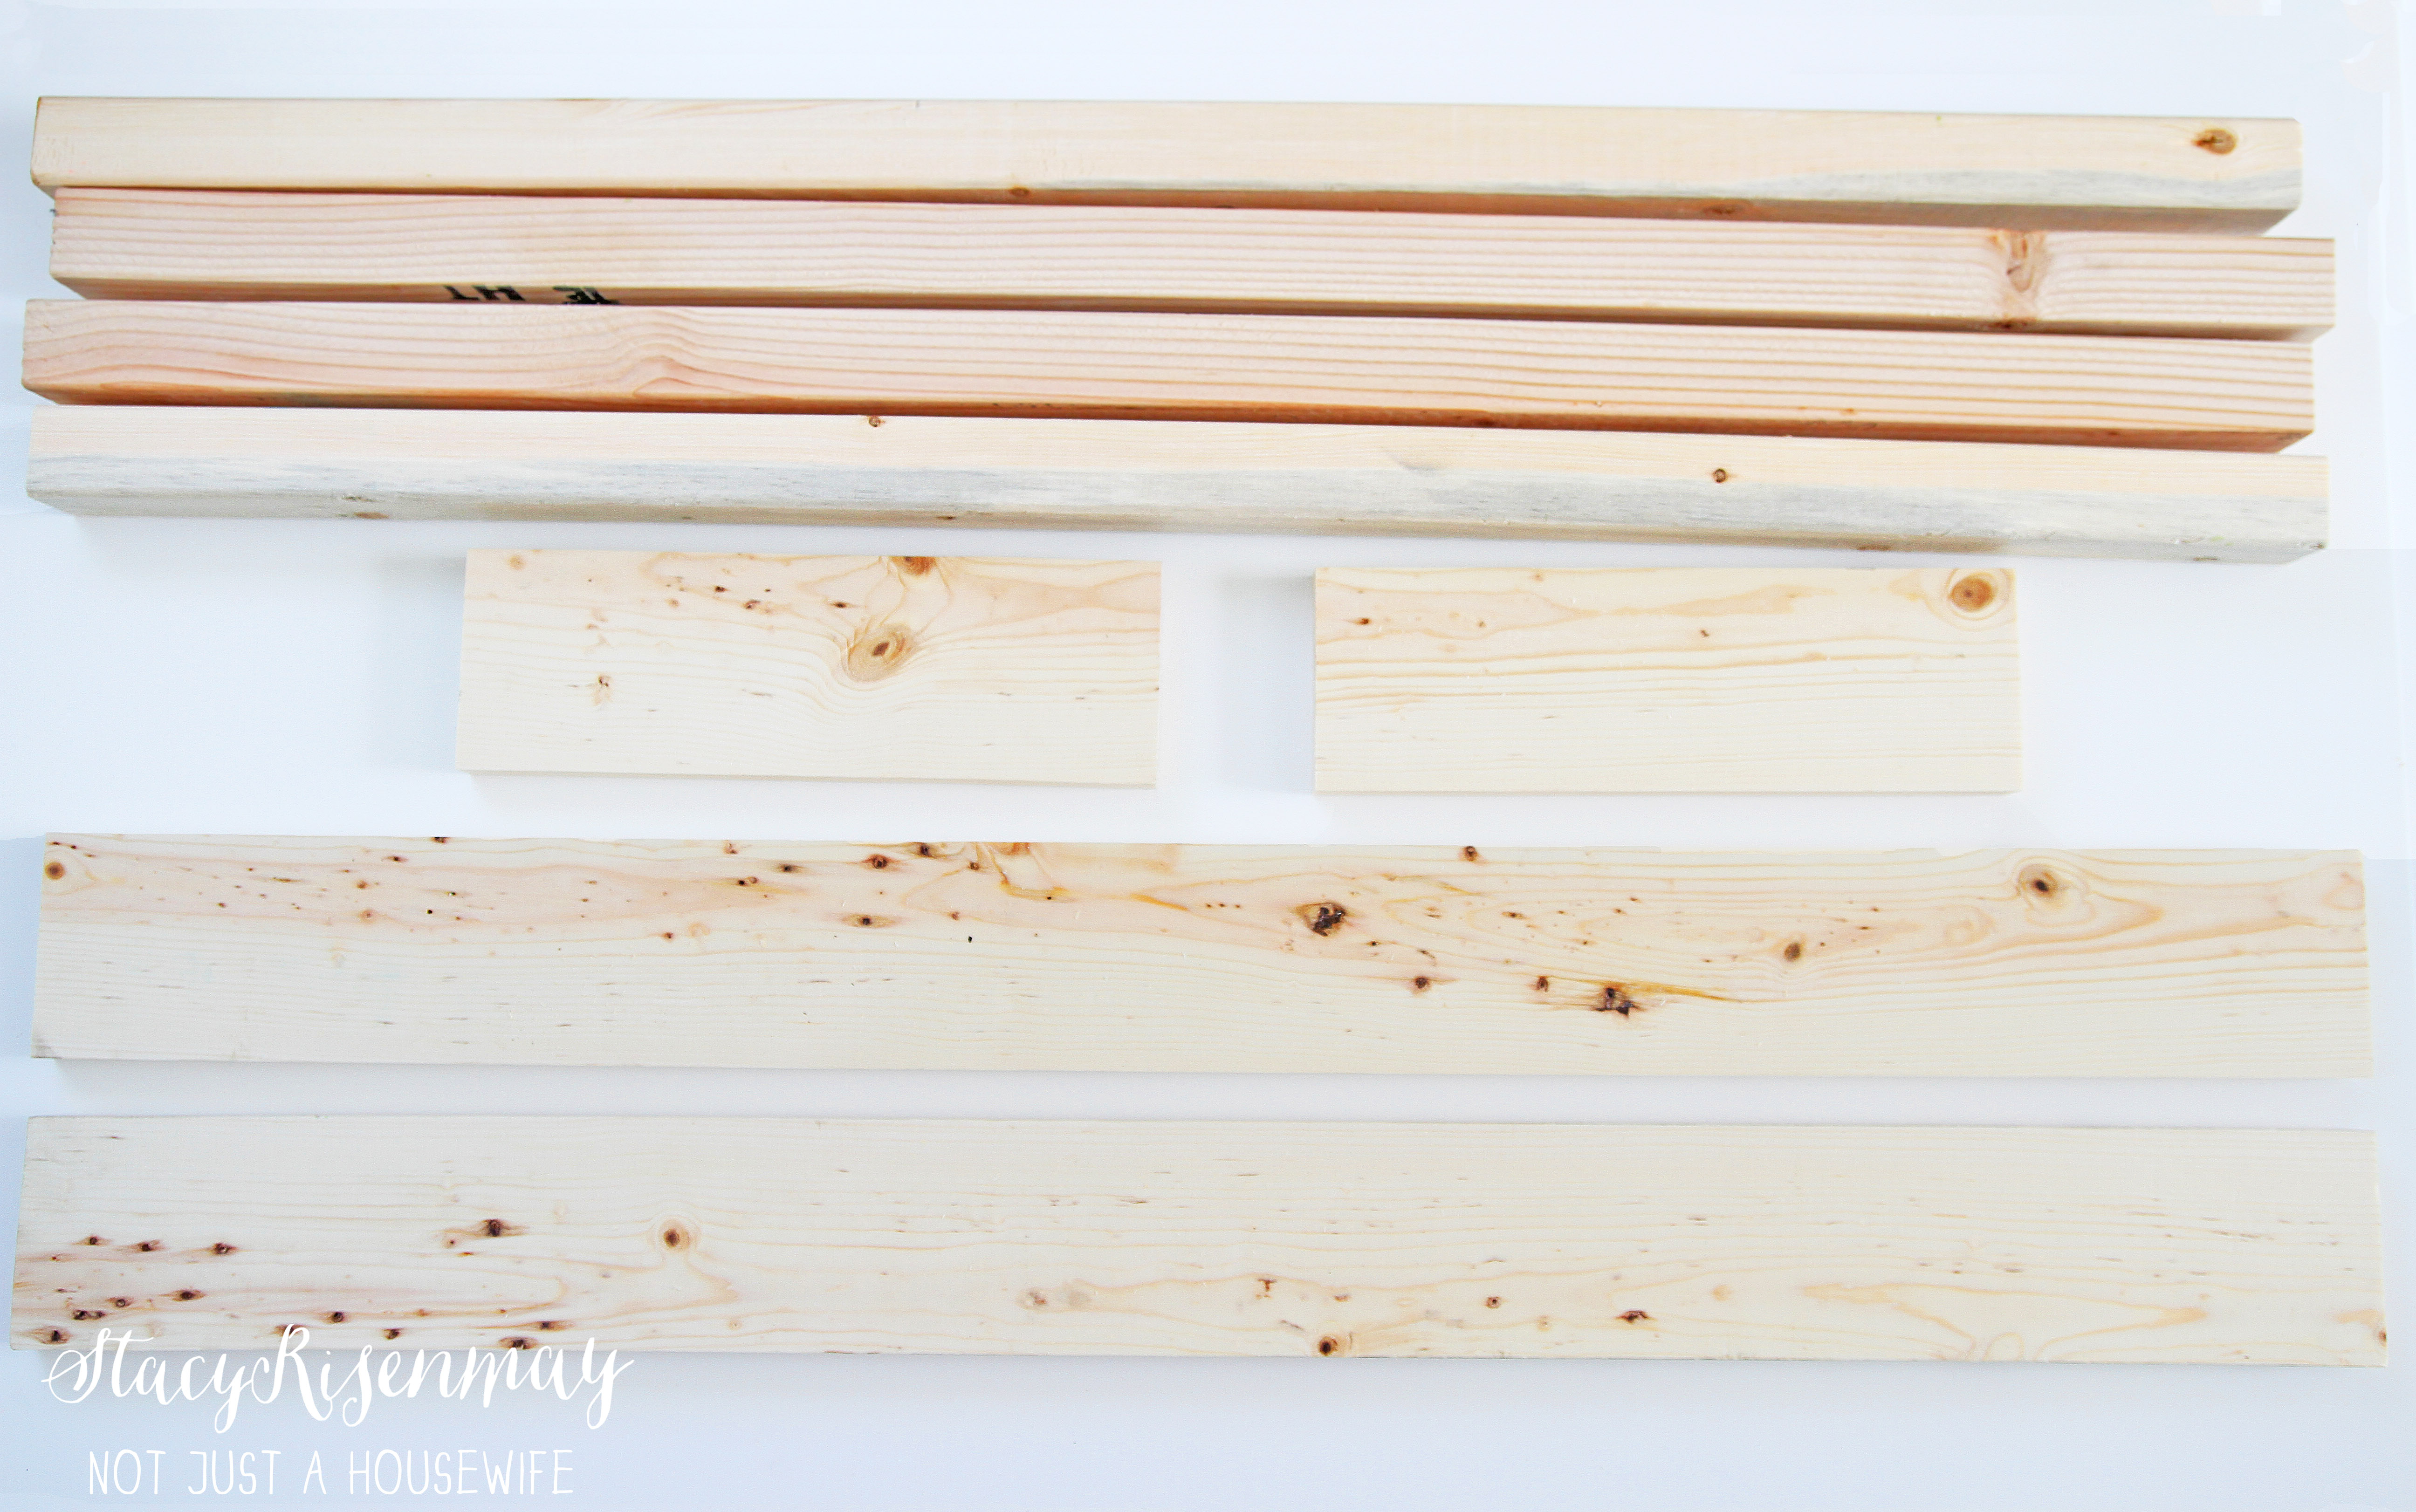
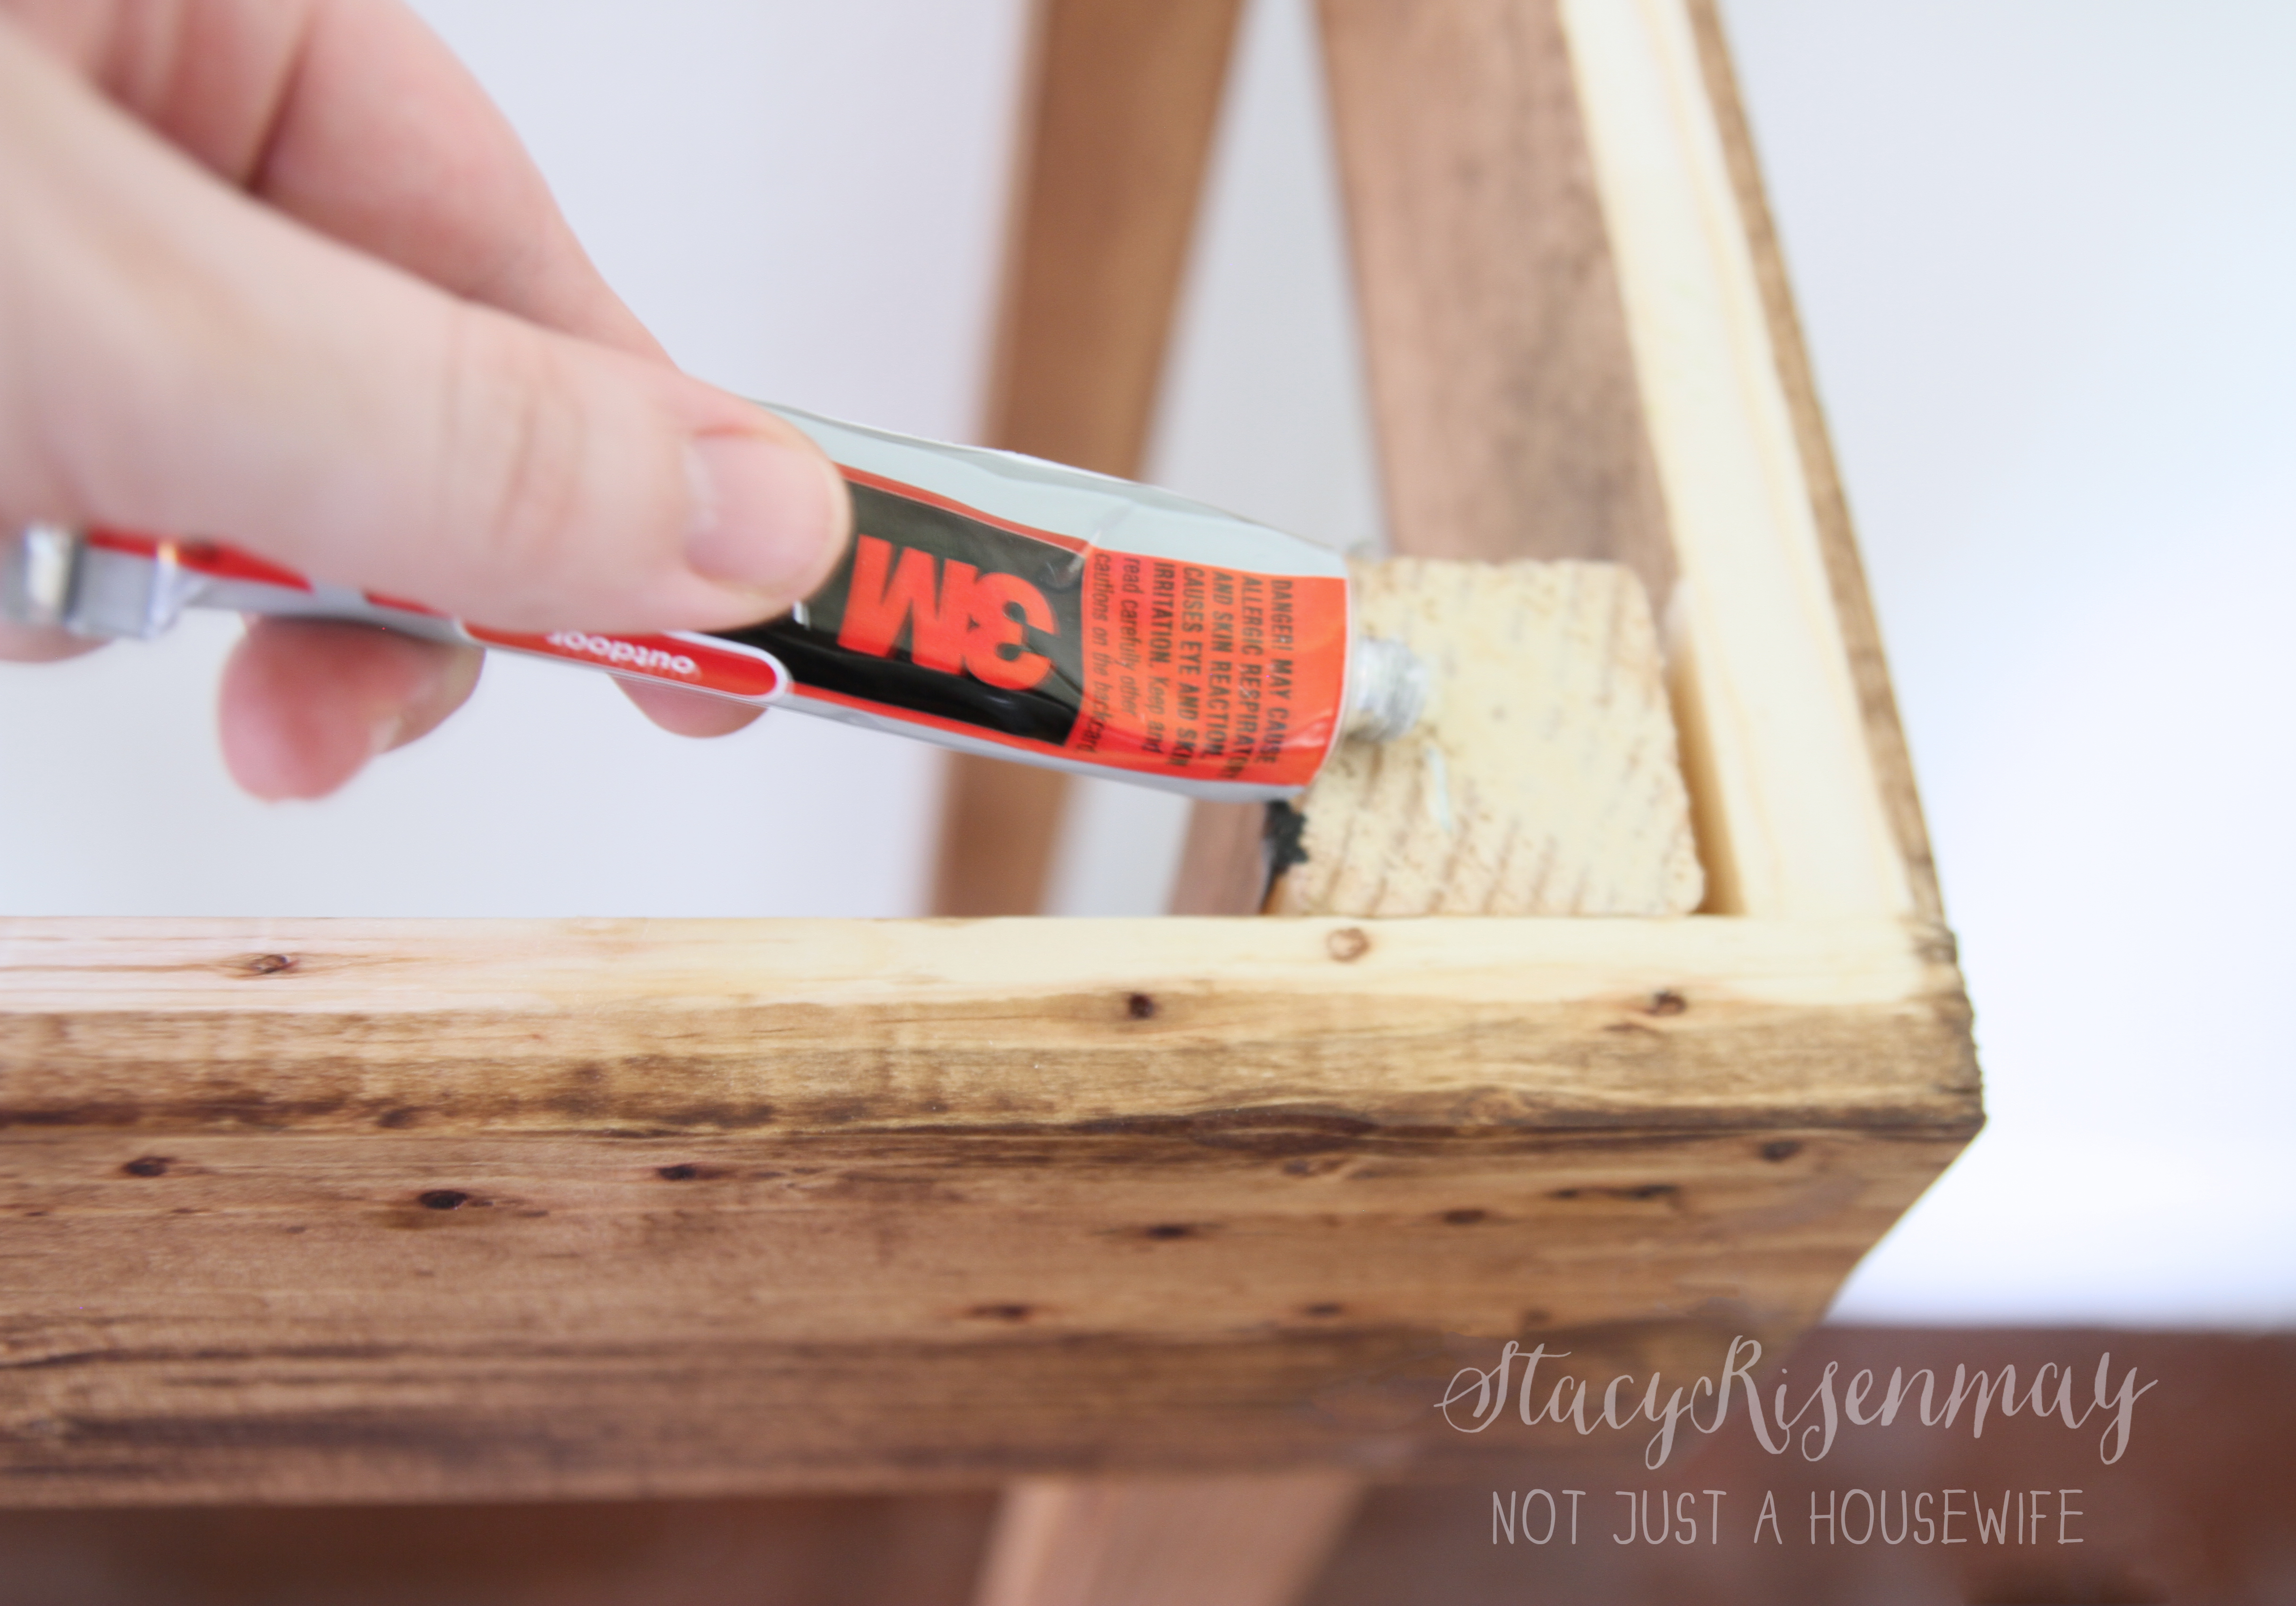
Supplies:3M™ Wood Filler , 3M™ Advanced Abrasives, 3M™ Wood Adhesive, brad nailer, stain or paint, brushes, 3M™ Safety Eyewear (3M™ Safety Products), 1x4 boards, 2x2 boards
Originally I was going to make it taller (the size of legs shown in picture) but them realized the proportions would be a bit off so I cut them a little bit shorter. The beauty of building your own furniture is you get to decide the size! I cut the 1x4 boards and the 2x2 boards on my mitersaw.
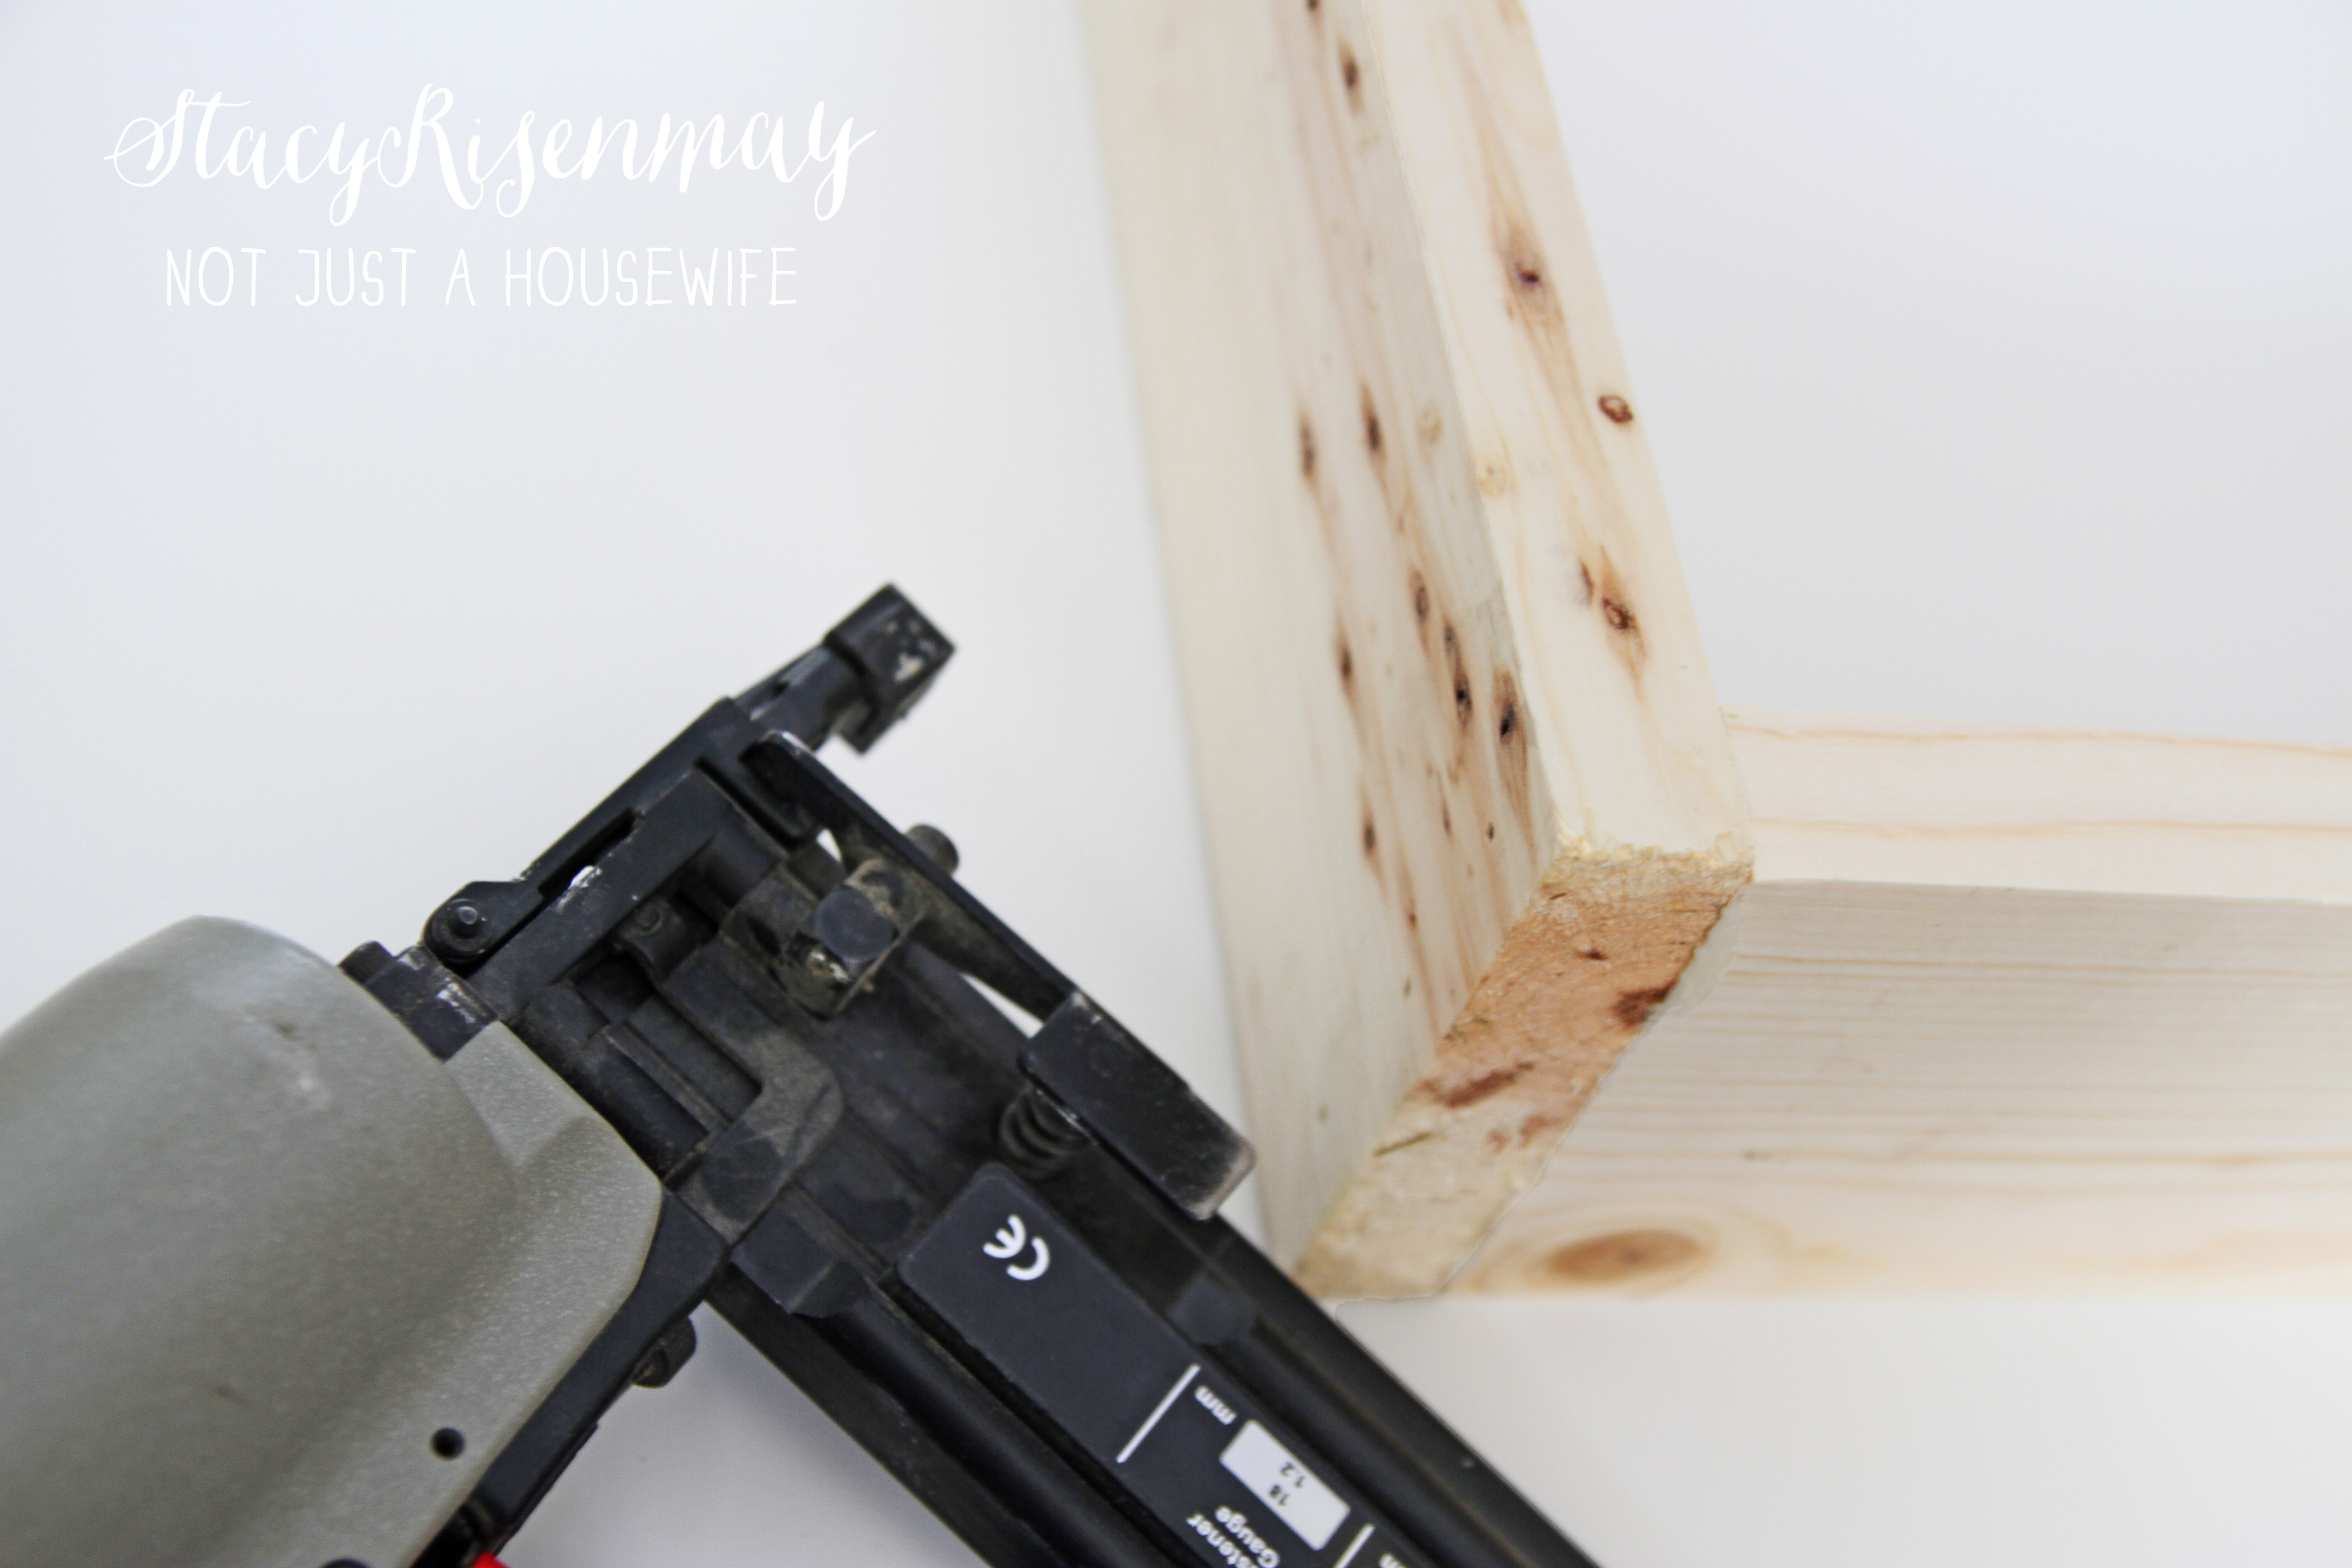
Before I nailed, I used wood glue.
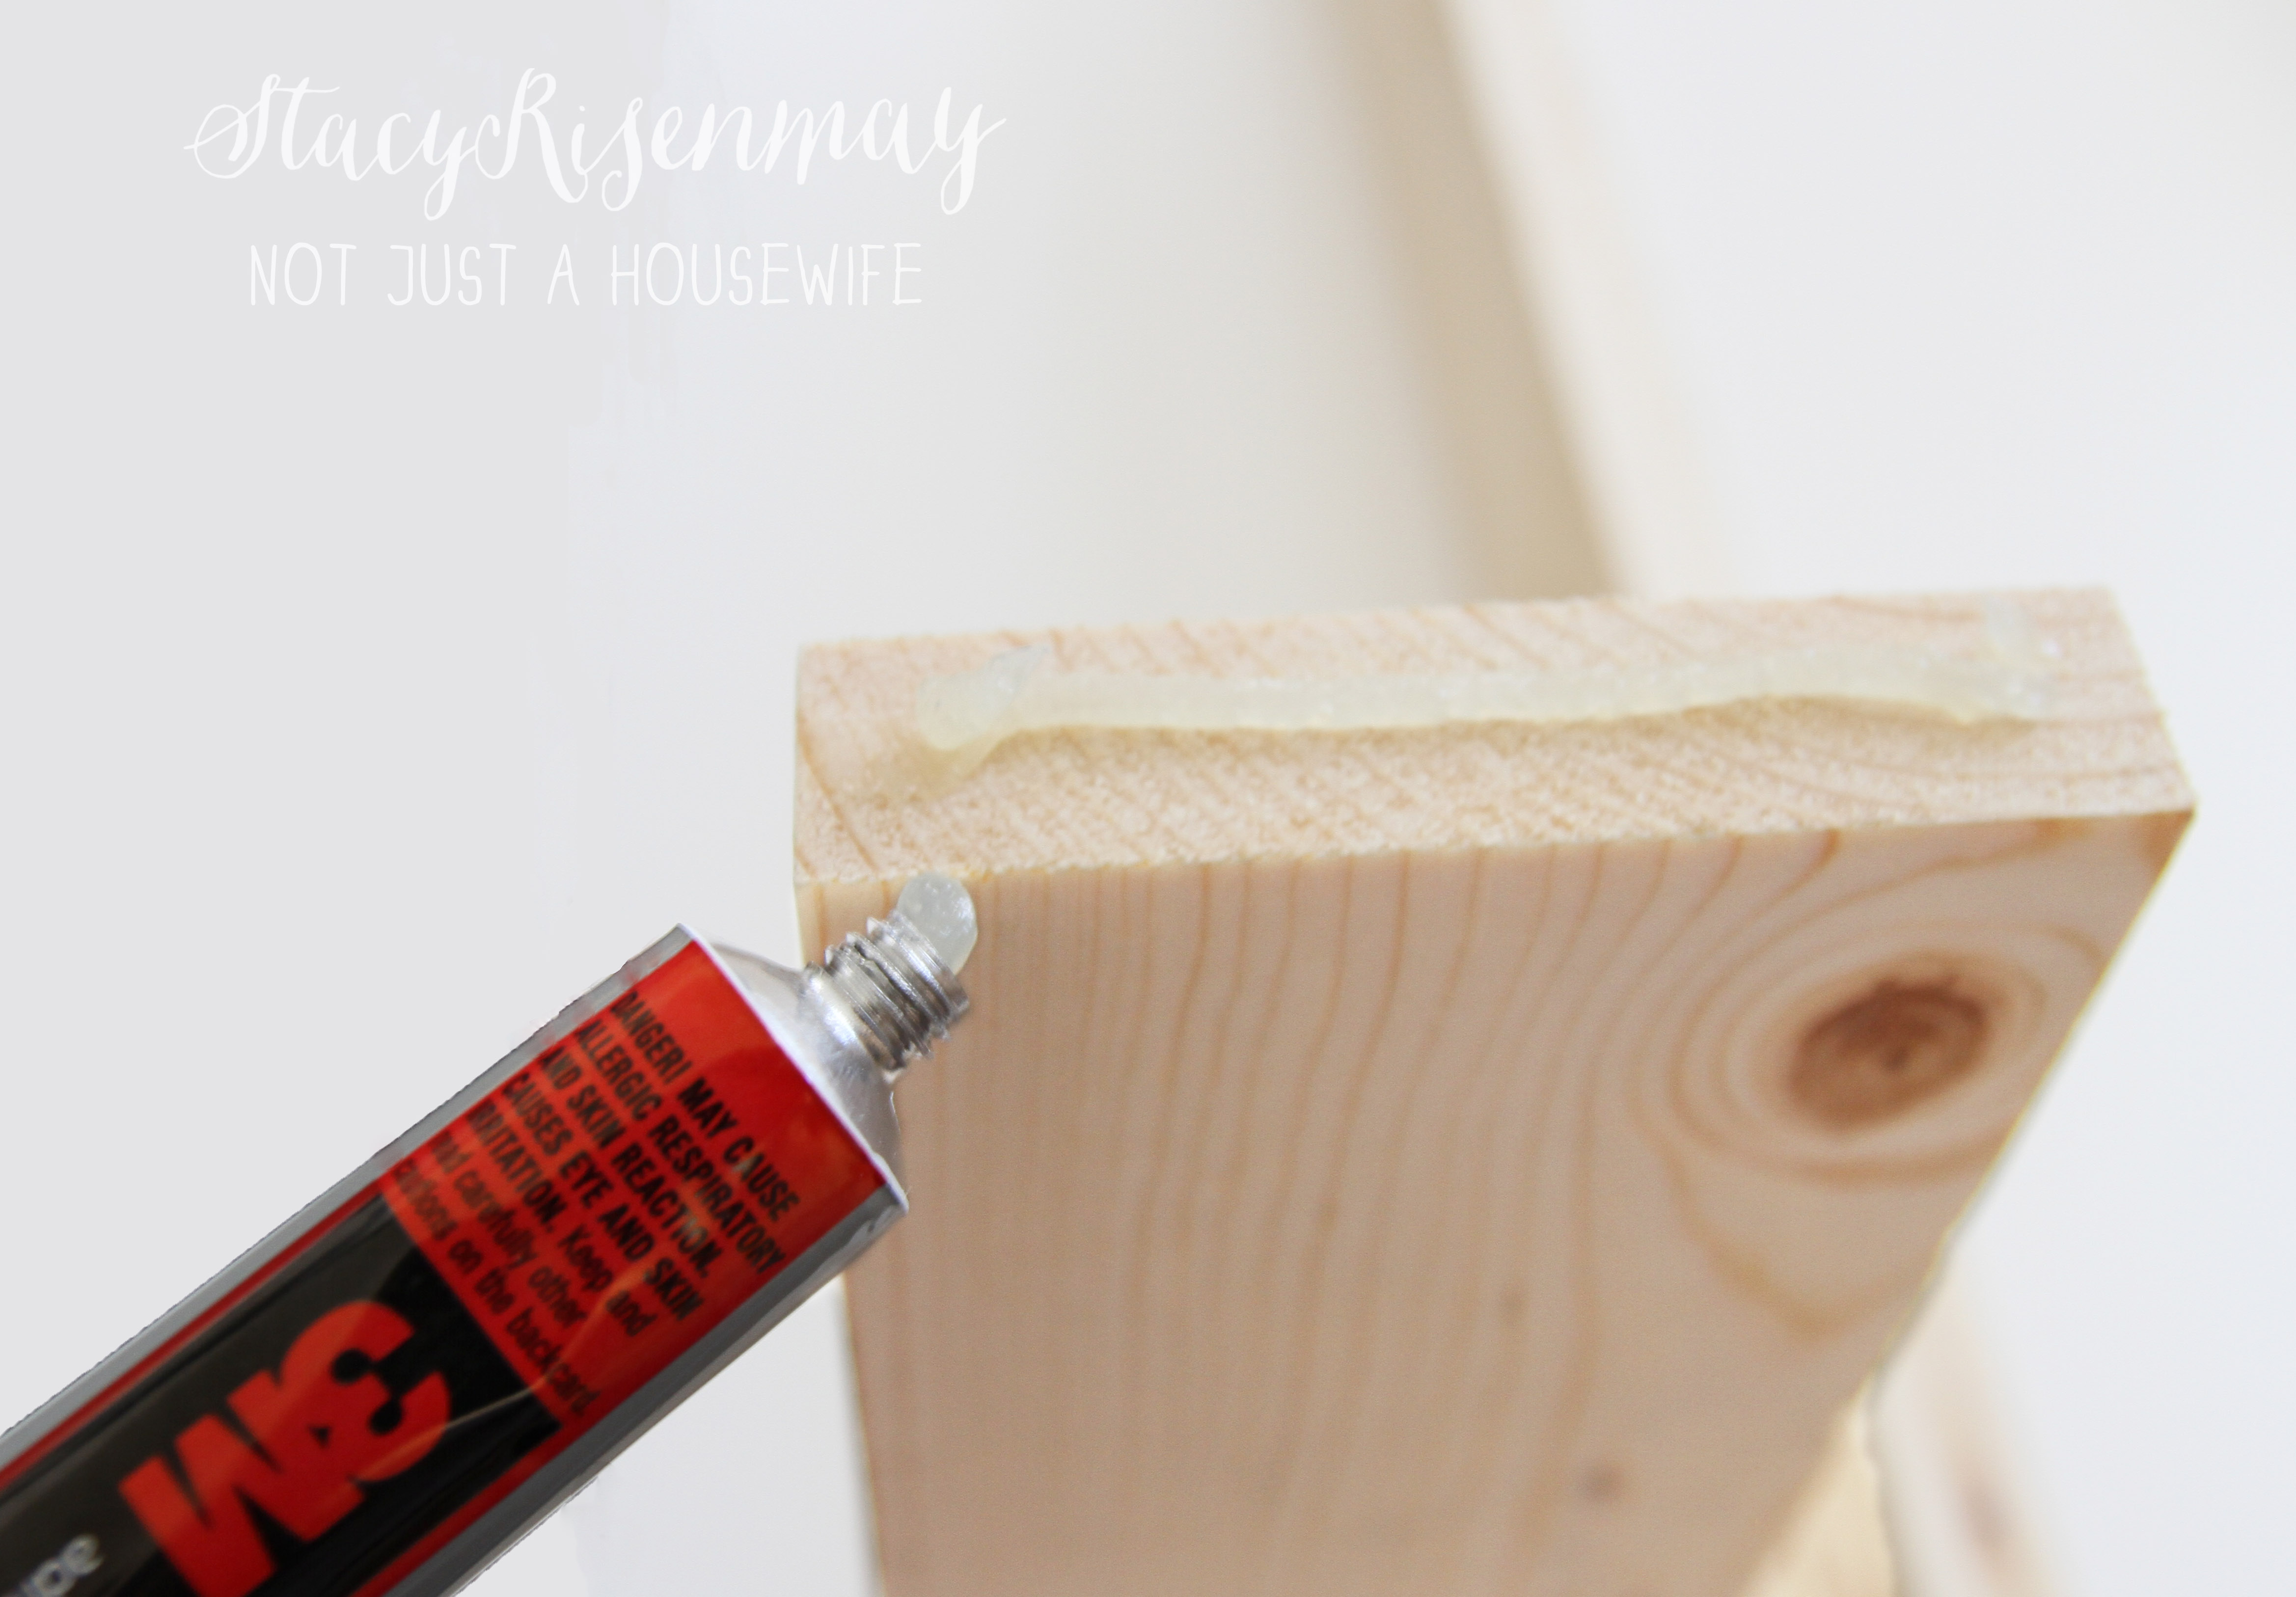
I chose to do a butt joint but you could also do a mitered joint. See this post for pictures of the difference.
After I had the two sides and the front and back all nailed together, It was time to attach the legs. It is very important to make sure your legs are exactly the same length so your table will be stable. Also, use a level before gluing and nailing the legs into each corner.
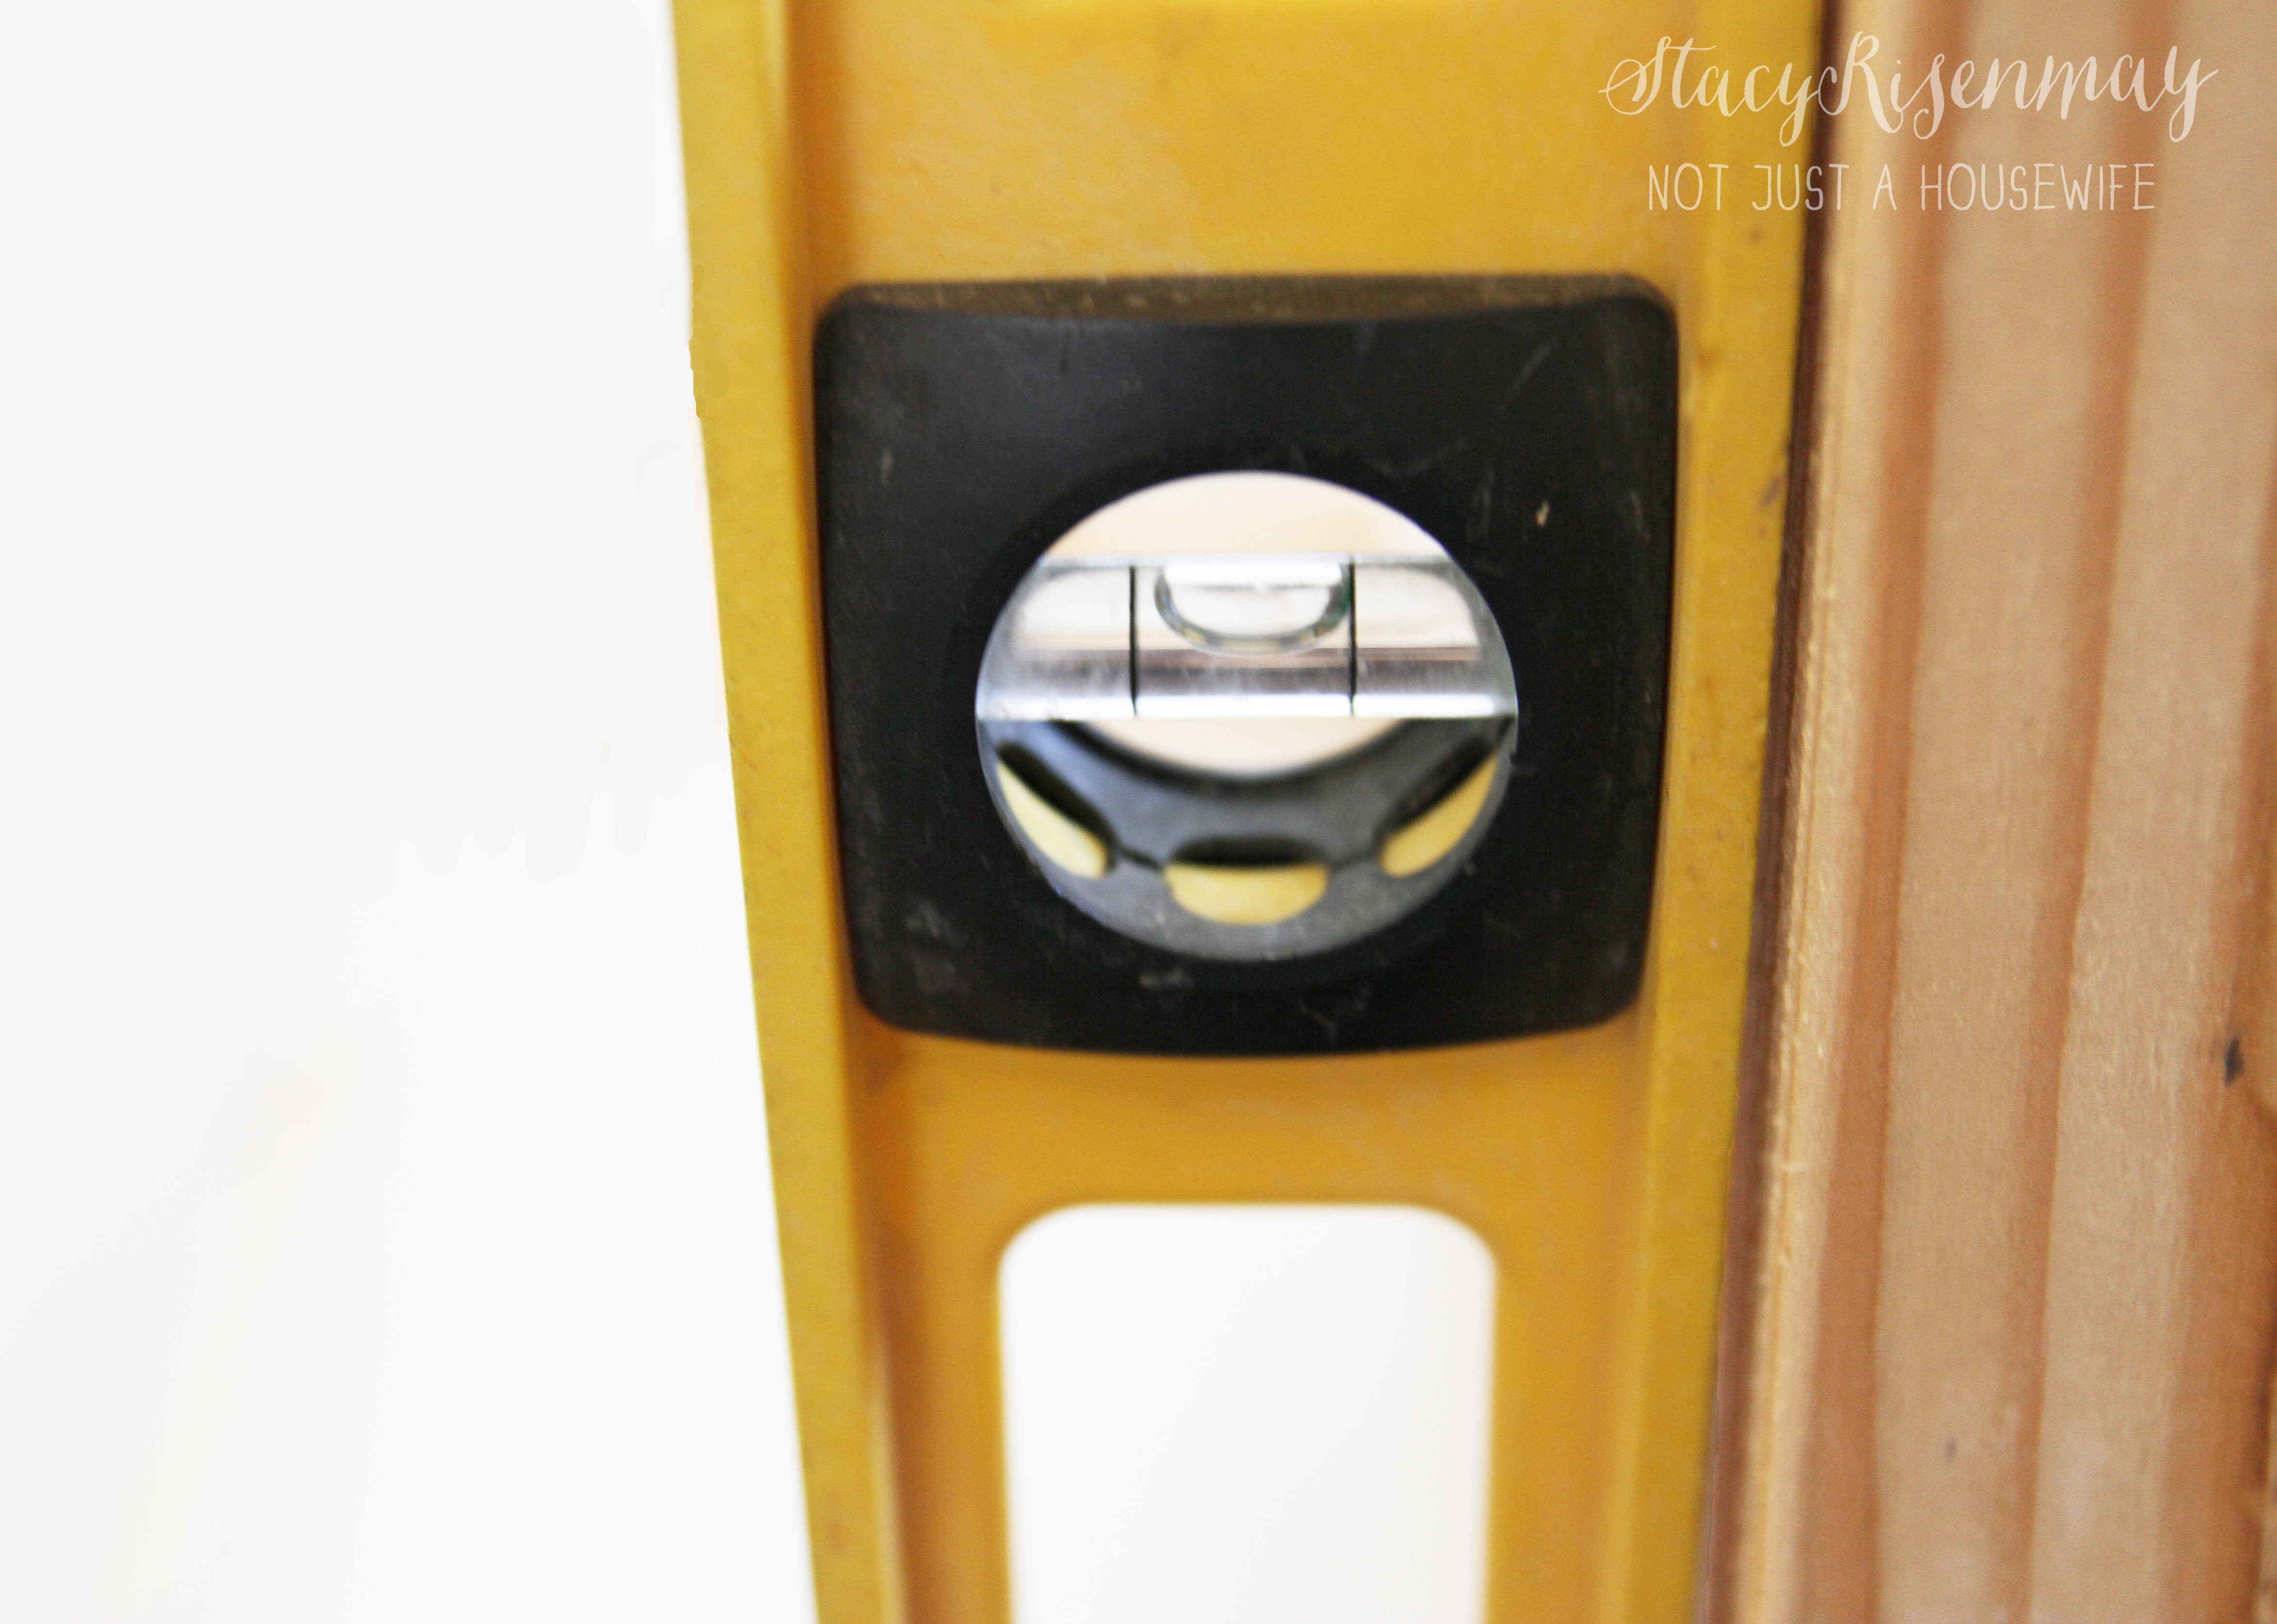
The top of the leg should be flush with the top of the base. If it sticks up your table top will not attach properly.

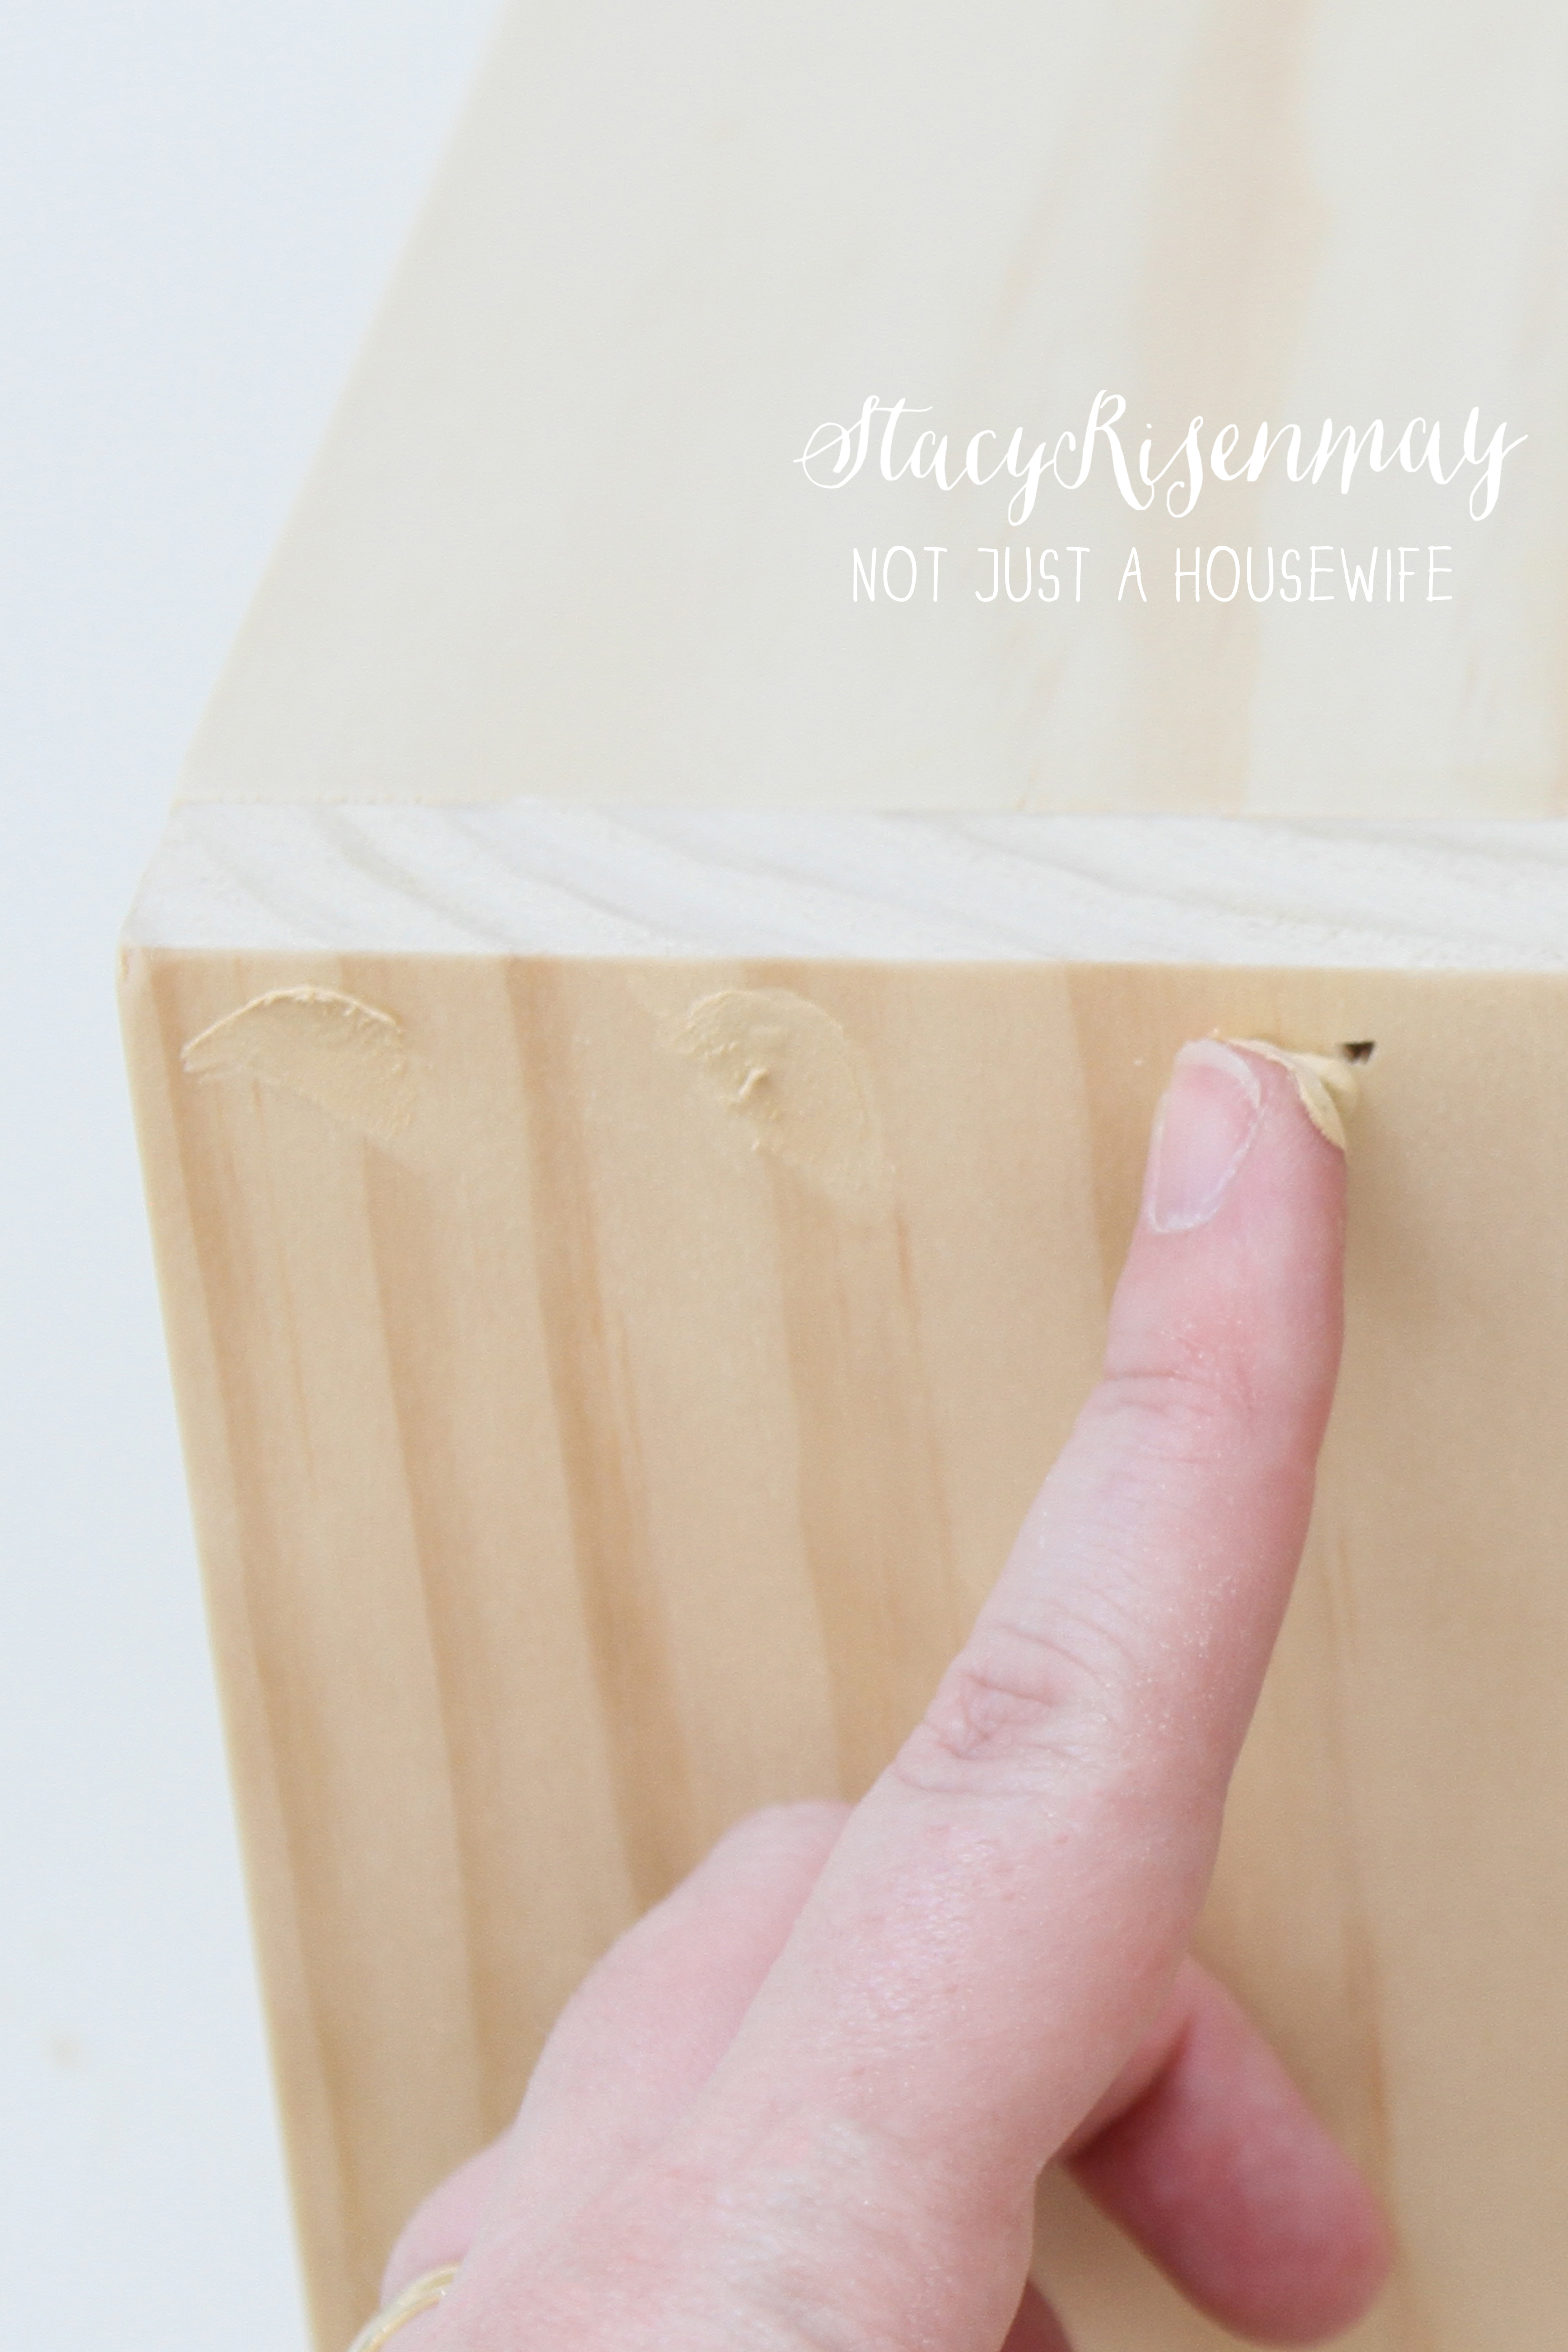
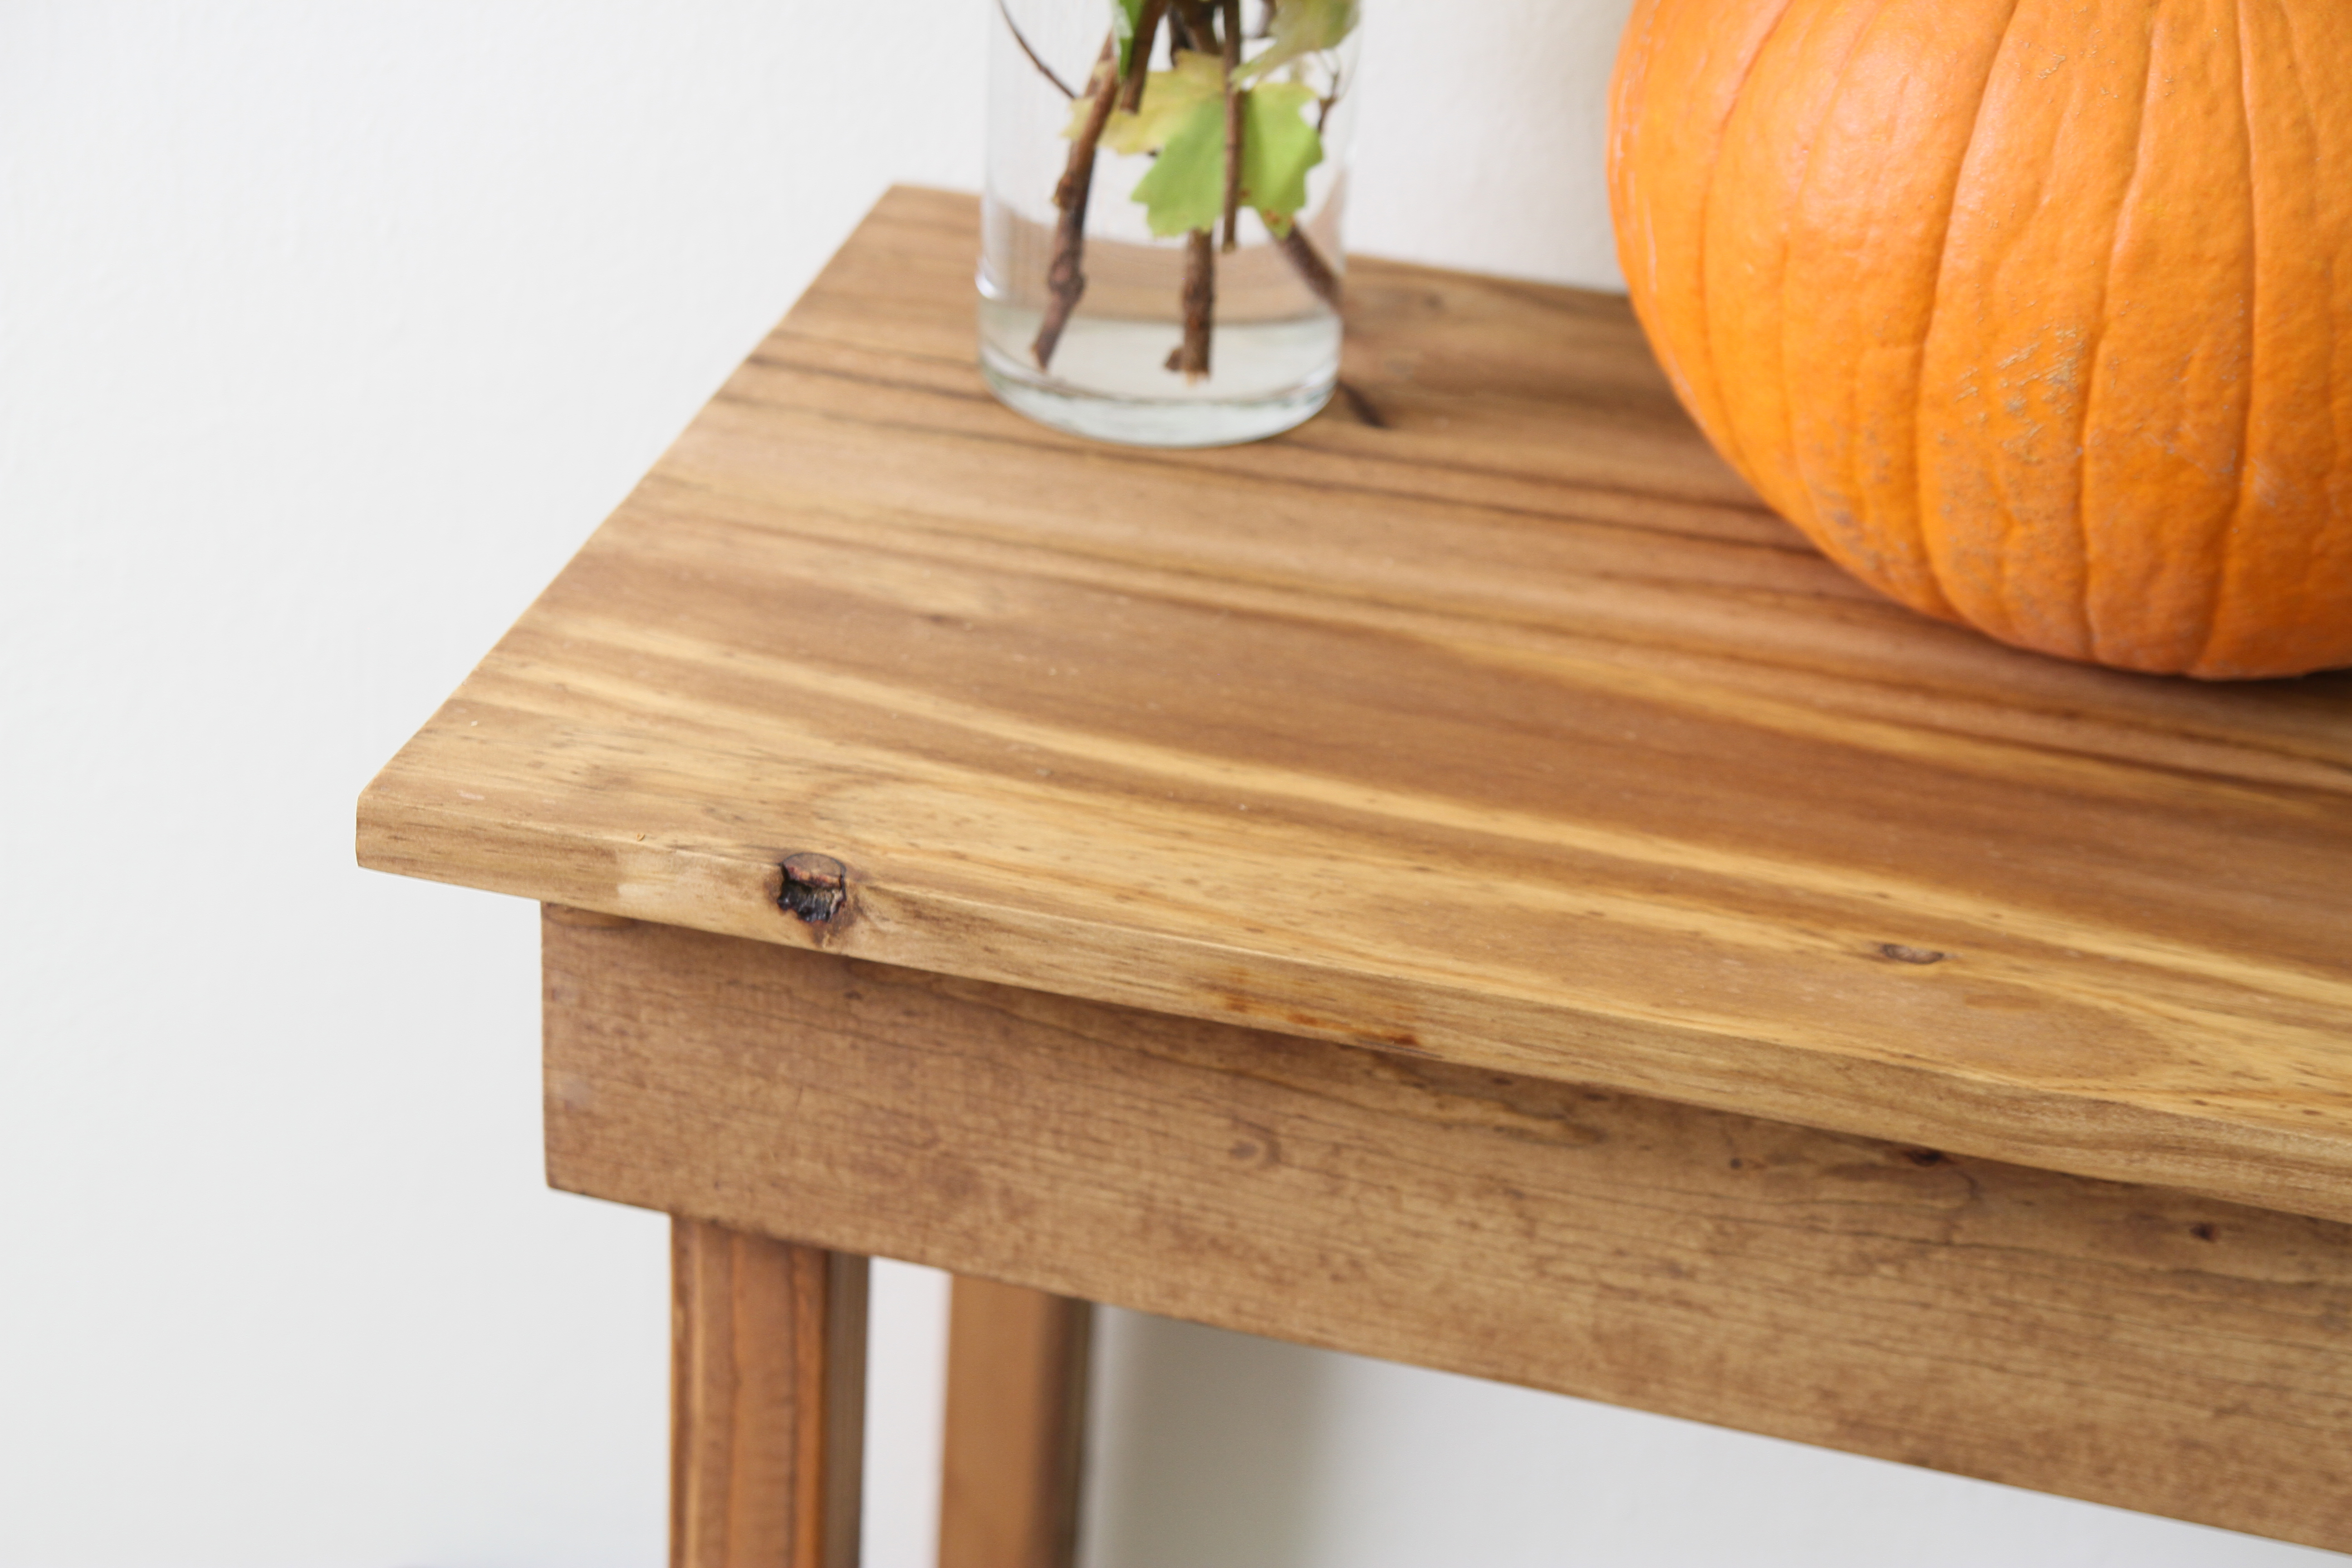
Fill any nail holes with 3M™ Wood Filler . Let it dry and then sand it smooth.
I chose to stain both the base and the top before attaching the two together. You can always stain them after. I used Minwax® Early American.
I am going to detour a little bit and give a little public service announcement. PLEASE use a wood conditioner before staining especially if you are using a soft wood like pine. The stain will absorb differently at different places without the conditioner and come off very splotchy. I was going for "rustic" but rustic is different than splotchy :)
I stained the inside of the table to show as an example. This is the same board you will see the front of on the finished table. And look at the difference! If you use an oil based stain, use and oil based conditioner. If you use a water based stain, use a water based conditioner.

Alright, moving on....
Once the stain was completely dry, I attached the top.
I let the glue dry for a bit before decorating the table.
I did not seal the table with polyurethane like I normally would. I will explain later in another post. But after staining, you should seal the wood with your choice of wood sealer.
I love this color! It matches perfectly with all the Fall things I gathered. I am normally a Dark Walnut person but I am glad I tried something else this time.
Follow along for more inspiration! 3M DIY Instagram, 3M DIY Twitter, 3M DIY Facebook, 3M DIY Pinterest
I am proud to be a 3M- sponsored blogger, and, as part of my responsibilities, I get the opportunity to evaluate products from 3M DIY. Opinions are my own and additional product used in the project were selected by me.


LOVE this table! I need one so badly, pinning this for later!
Love this, Stacy! Aaaand I love 3M too :) #score Will have to give this DIY a try!!
Love it! Great job!
This is so beautiful! I have been wanting an entry table for a long time, and haven't gotten one because of the same reasons you said! This is such a great way to make one myself and it's so simple! Thanks for sharing :)
Love this table! Great design!
Love it! Simple and pretty! I'm dying to try my hand and building some furniture (or I mean, my dad too...:)
Adorable! I would love a mini version of this in my half bath!
Love this table and pinning it so I can make it later.
I love this! Such a nice, simple project. It looks great!
LOVE YOUR LITTLE TABLE, I WOULD LOVE TO FEATURE IT, IF THAT WOULD BE OK PLEASE LET ME KNOW,
LAUREN
LOVE THE TABLE , AND I WOULD LOVE TO FEATURE IT, IF THAT WOULD BE OK PLEASE LET ME KNOW,
LAUREN
I need a larger version of this for my studio and I know right where it would go. Thank you for the tutorial!
This is such a lovely table!
Wow! The table looks great and you make it look so easy! Thanks for such a detailed how-to.
Hi there! Your table is simple and beautiful. Are the wood dimensions in another post? It would be super helpful to other DIYers out there if you included dimensions.
Thanks!
I don't usually give dimensions on simple builds because everyone's space is different and what might fit in my space may not fit into your space. That is a main reason why people build their own things, so they can make them the size they need. But here are the lengths of boards I used.
Front and back boards (1x4s) 36 inches
Side boards (1x4s) 11 inches
legs (2x2s) 32 inches
Top board 13 1/2 x 38 1/2
I hope that helps :)
Thank you Stacy! My dad is a very literal guy, so the dimensions are going to be very helpful. And, what you said about customization completely make sense. My only thought is that photos online can make things look deceivingly smaller or larger (or taller or shorter) that they really are, so having the dimensions on a tutorial could help some spatially handicapped (or beginning furniture DIYers, ha!) then customize a piece to their space.
Regardless, I appreciate your reply. Cheers!