
Scroll down for the linky party :)
I have be meaning to do this post since I first started my blog but I never have gotten around to it. I want to show you the things I built/refinished before I ever started my blog. I have been painting furniture since I was 15 years old. The first piece of furniture I glazed (antiqued as I call it) was when I was a newly wed almost 11 years ago. I wish I had pictures of the things I have made for other people. I am kicking myself for not thinking to take pictures!!!
This is favorite thing I have ever built! It is also my favorite color :) When we lived in Las Vegas years ago we rented the upstairs of a large beautiful home. It had a one acre backyard with a nice playground, HUGE sandbox, and grassy areas to run and play. What it do NOT have was closets. Weird. I know. So I built a couple of cabinets. The other blue one is later in the post. This is now in our family room and hold DVDs and blankets. I love the finish I was able to get by painting, sanding, and rubbing on water based stain onto the paint.
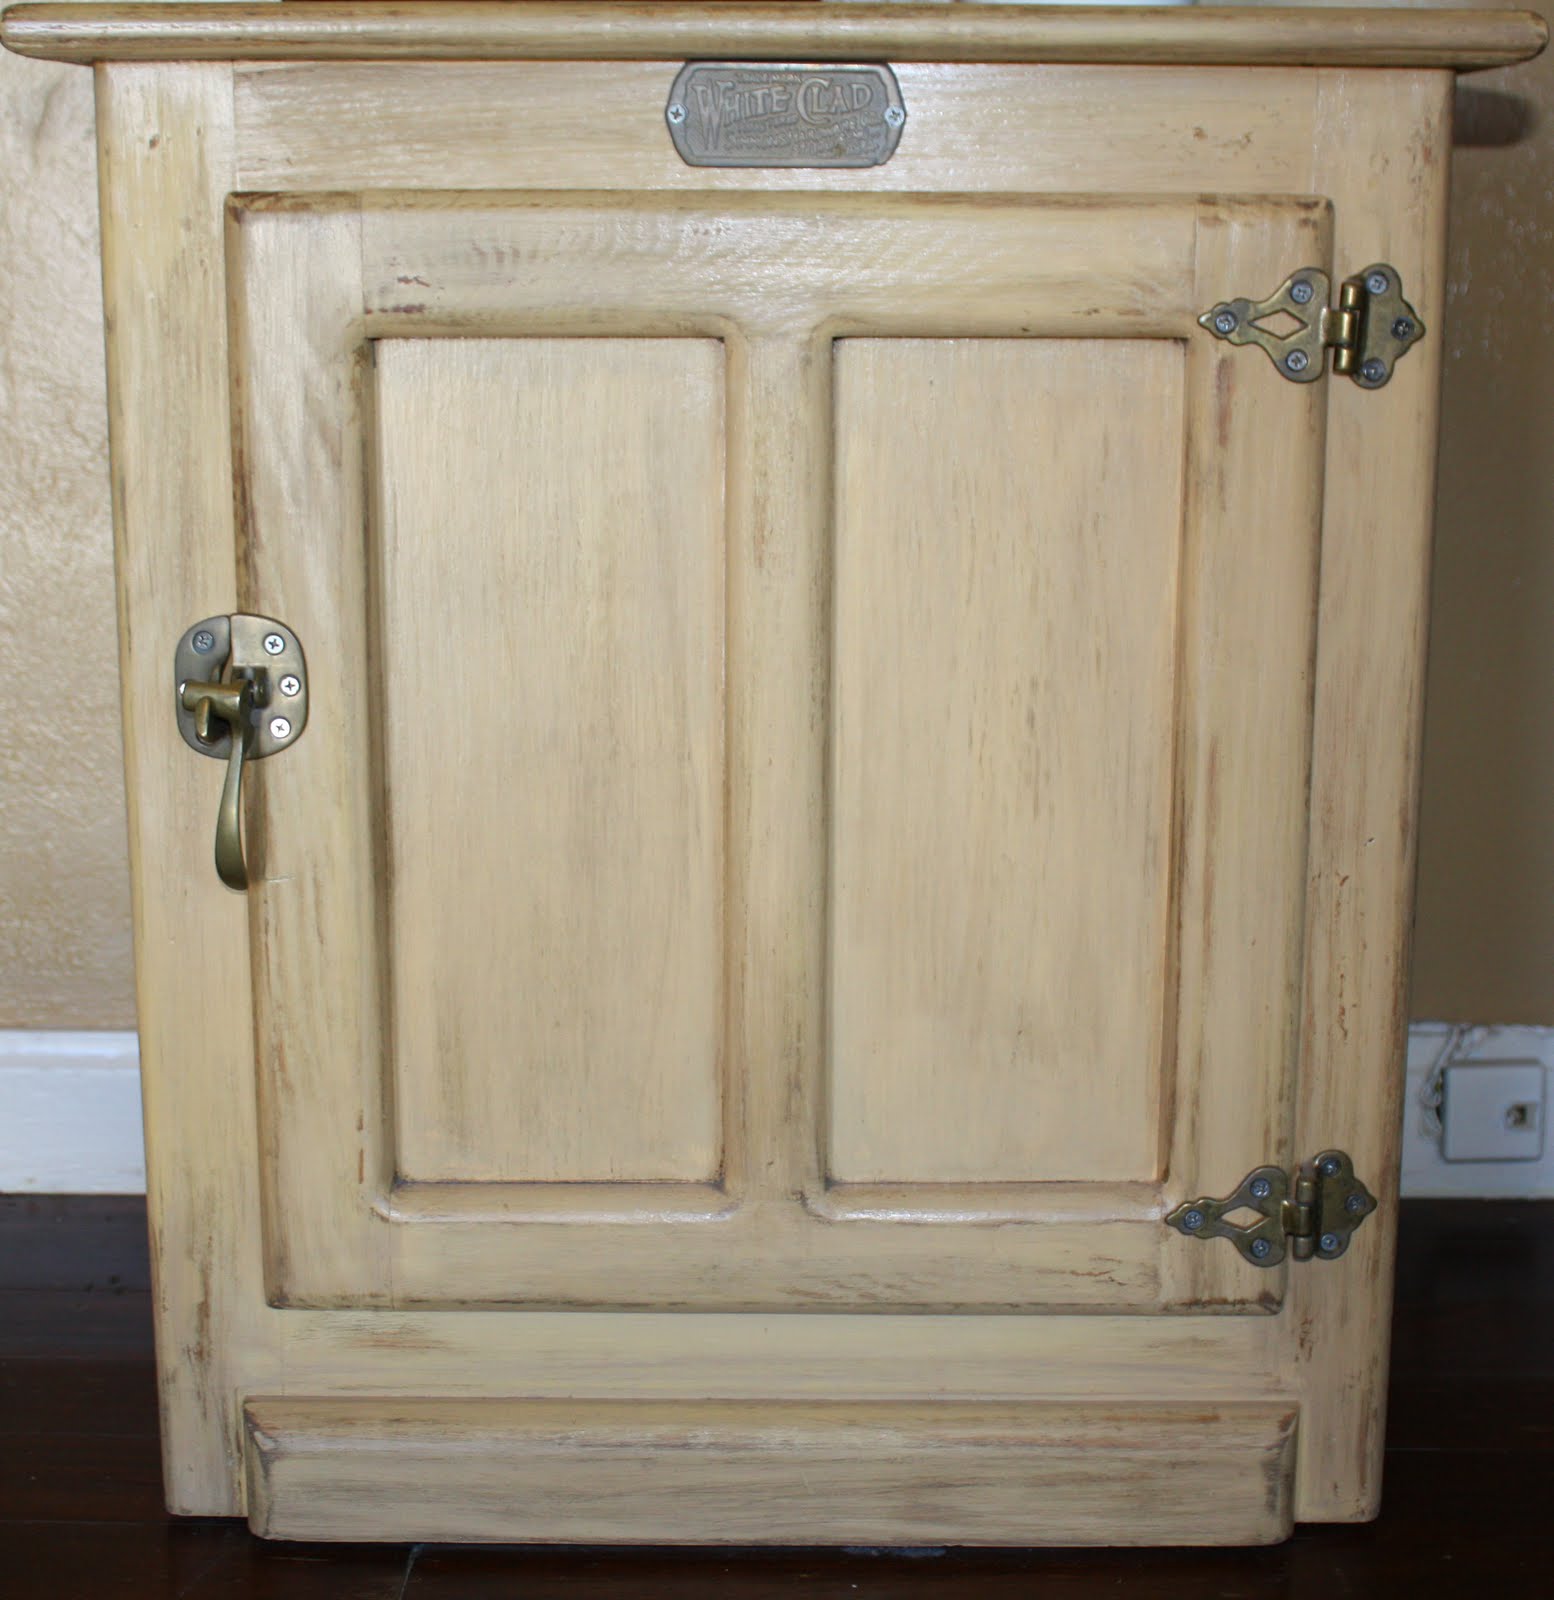
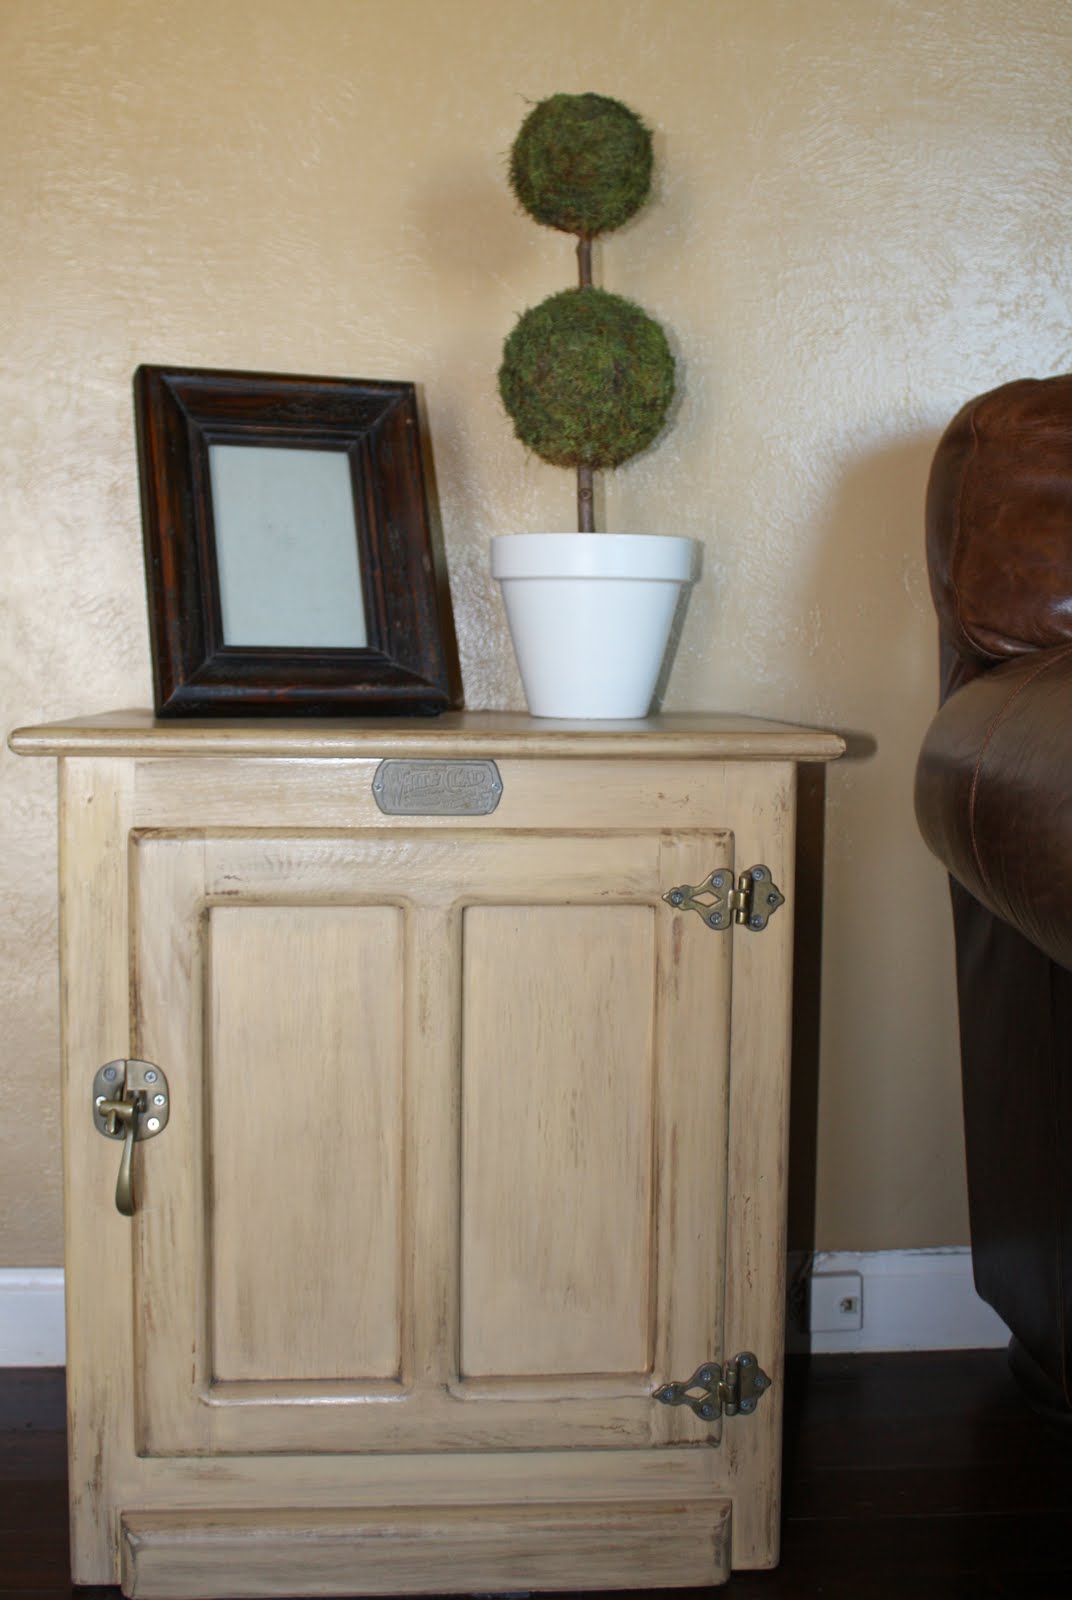
This side table was a gift when we got married. It was a light oak and while the table itself was well made and beautiful, I was not in love with the lighter color. I am a dark rich stain kinda girl. I painted it a gold color and then sanded it to rough it up. I did not prime it first. I lightly sanded it first, painted it, and sanded it again to let the oak color come through a little. The hardware on this table was shiny brass. I soaked it in straight ammonia for a few days and it gave it this wonderful patina.
This entertainment center started out in life as a Kmart special. Fake laminate wood and all. I did build the doors for it though. I wanted to hide the TV when it wasn't in use. I used an oil based primer before painting it cream. Then I glazed the heck out of it. It was the first big thing I antiqued. It has survived several moves over the past 8 or 9 years with only a few nicks that needed to be touched up.

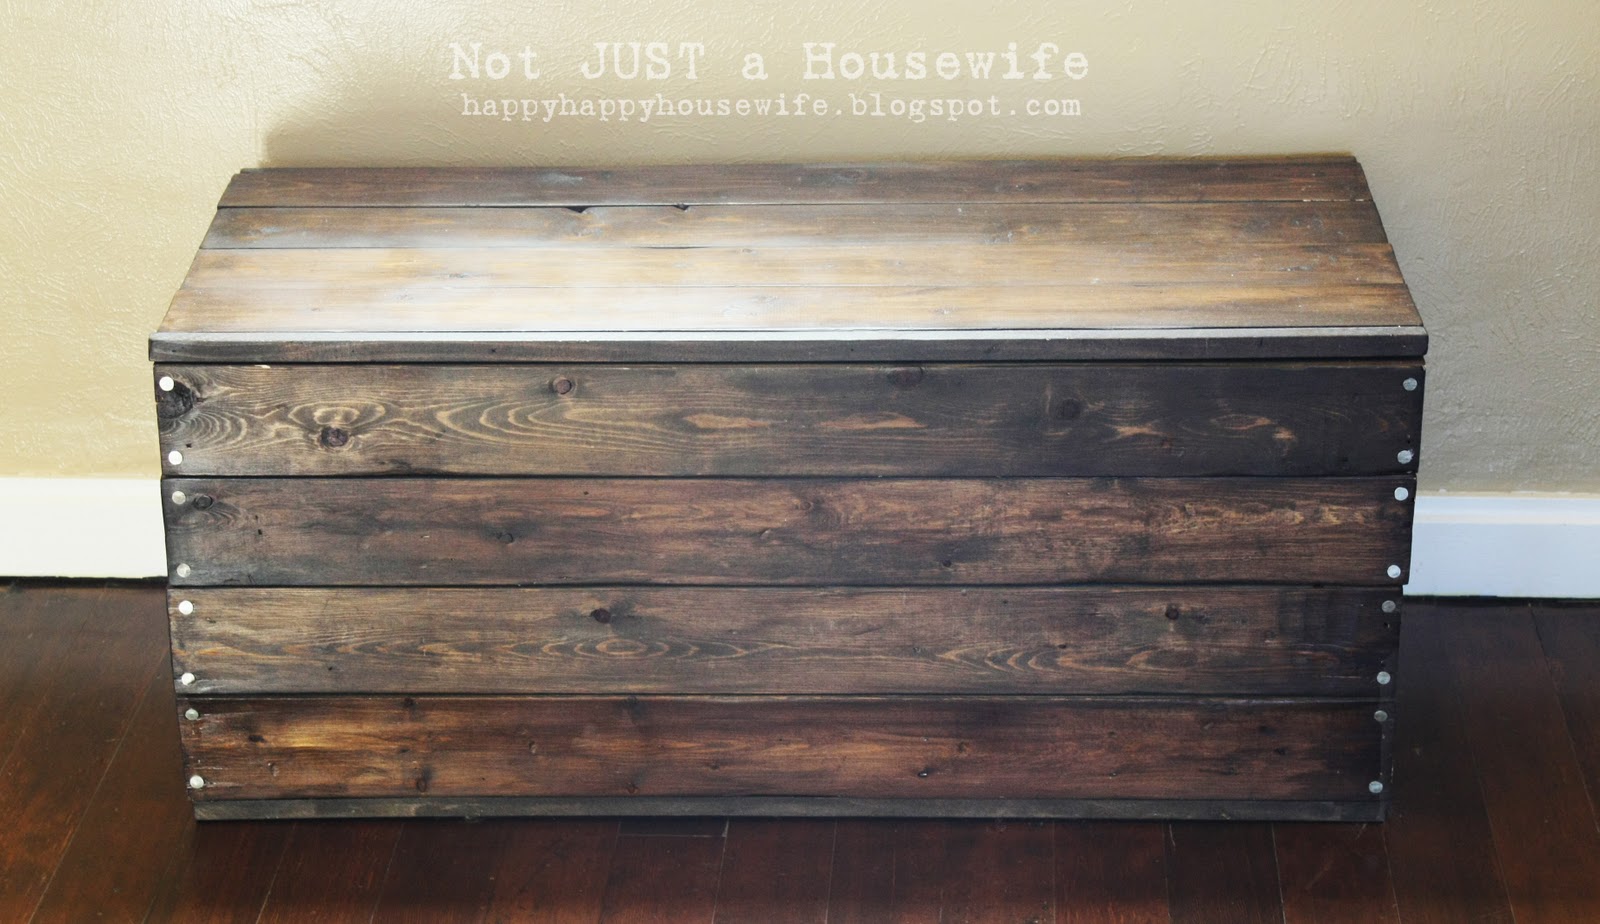
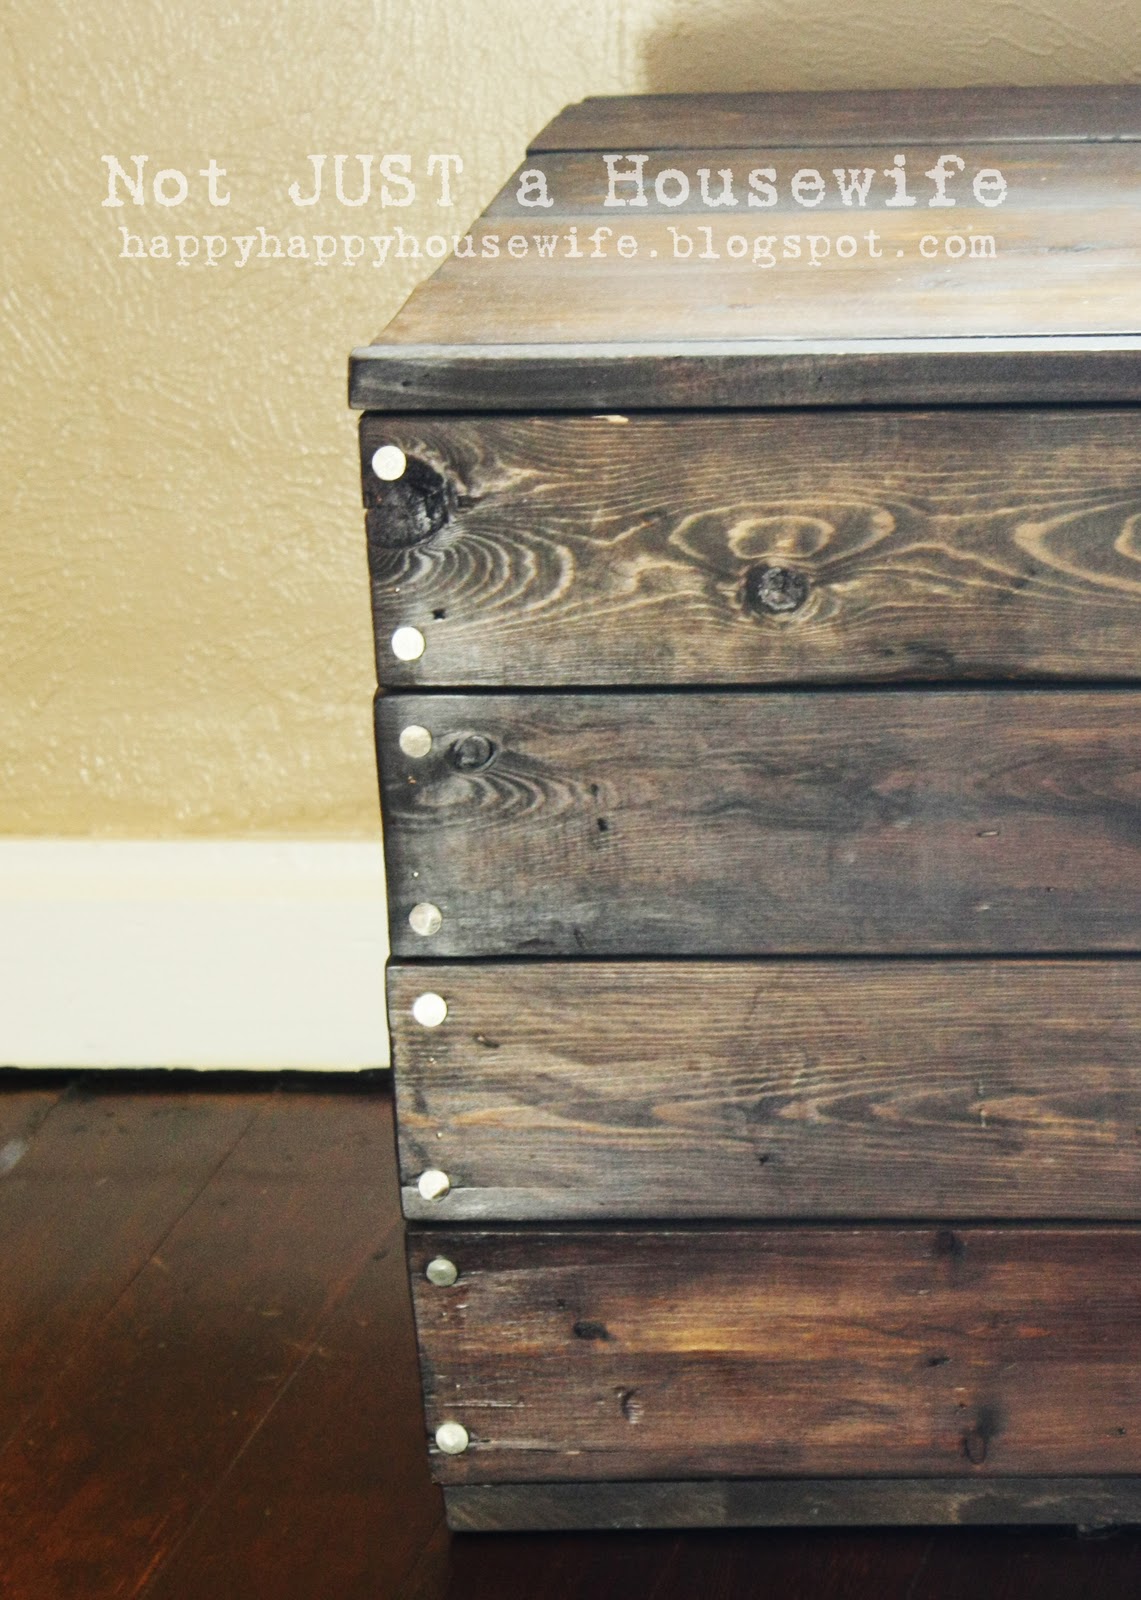
This is the very first piece of furniture I ever built. I was newly married and made it with a circular saw and a hammer and nails. I wanted it a little uneven. I wanted it to look like an old shipping crate. I used the big headed nails for added detail. It stores our board games in the family room. My boys also sit on it to look out the window for dad to come home.
I built this bench after we moved into this house. I needed more seating but couldn't afford the love seat that matched my couch. I am glad I didn't get the love seat now. I don't think I would have liked having all my seating match.

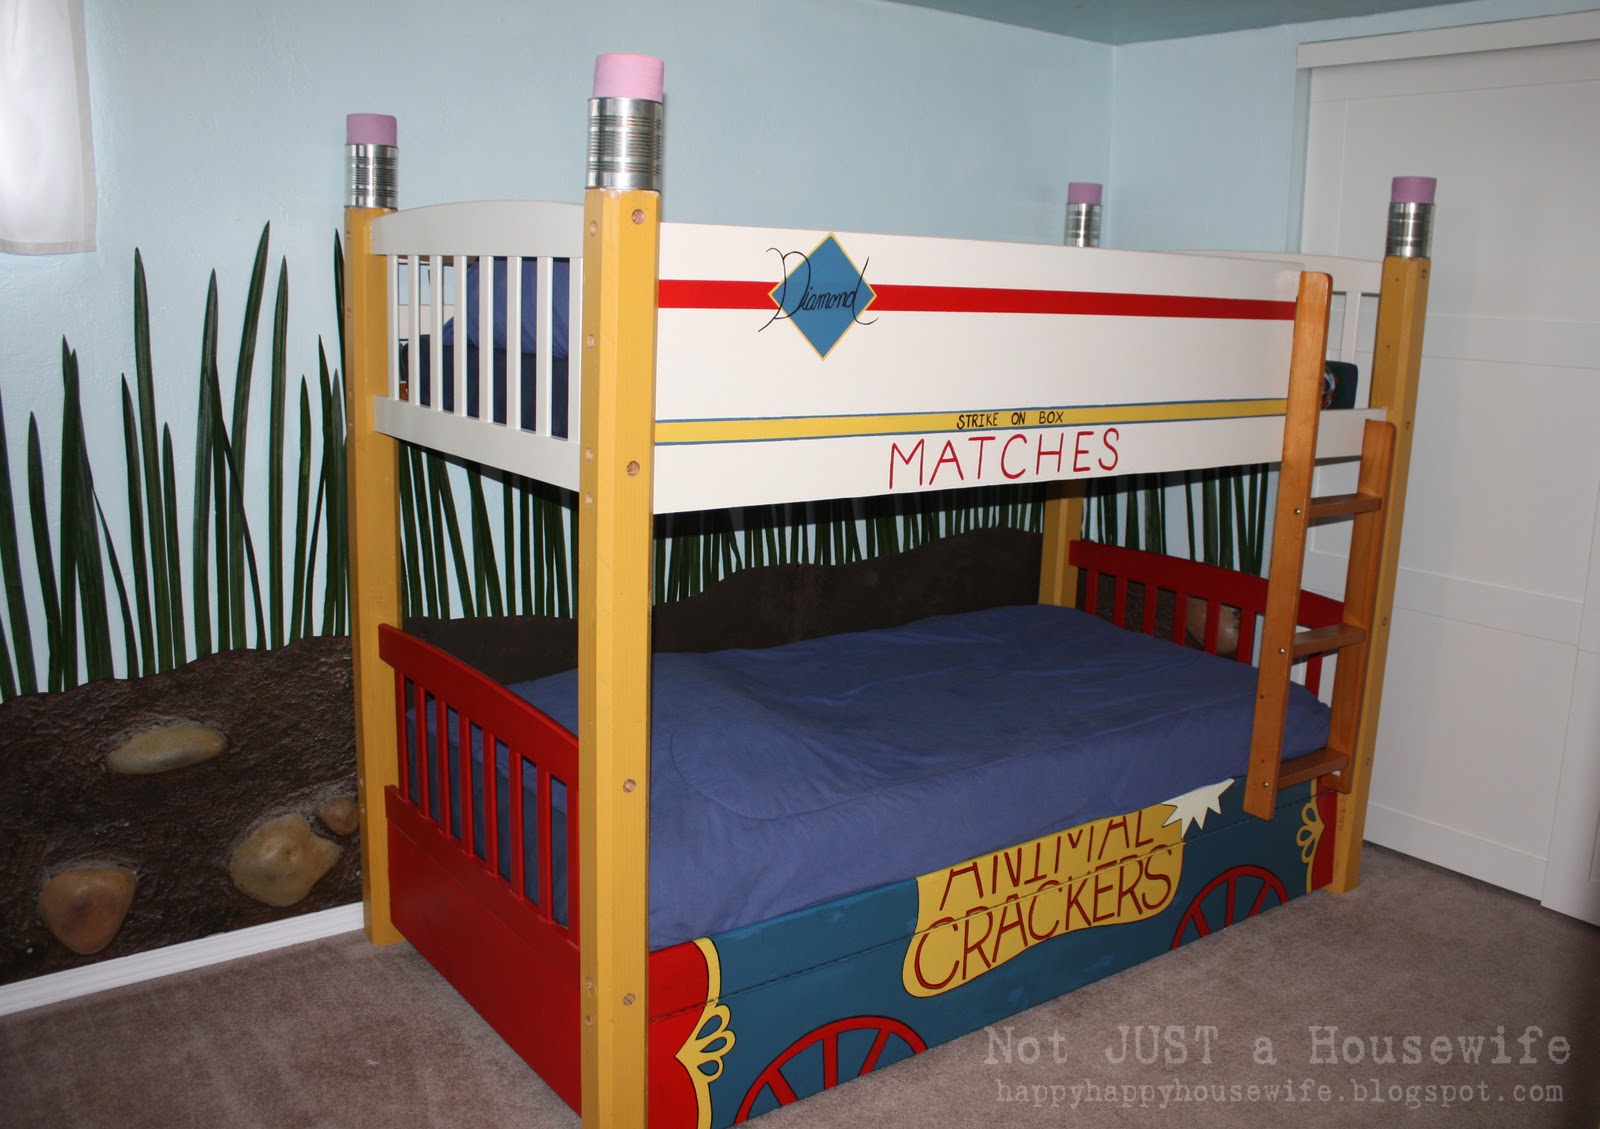
I have posted about this bed before. But in case you missed it, I will explain. I used parts of an existing bunk bed and made the other parts. My boys wanted a room like the Bugs Life part of California Adventures Theme Park. The posts are 4x4 fence posts run through a table saw to take off the corners. The metal part of the giant pencils are pumpkin pie filling cans. The erasers are a bunch of cirlces I cut out of wood and glued together. The sides I hand painted to look like a match box and a cracker box. The bottom board lifts up and a twin trundle bed pulls out.
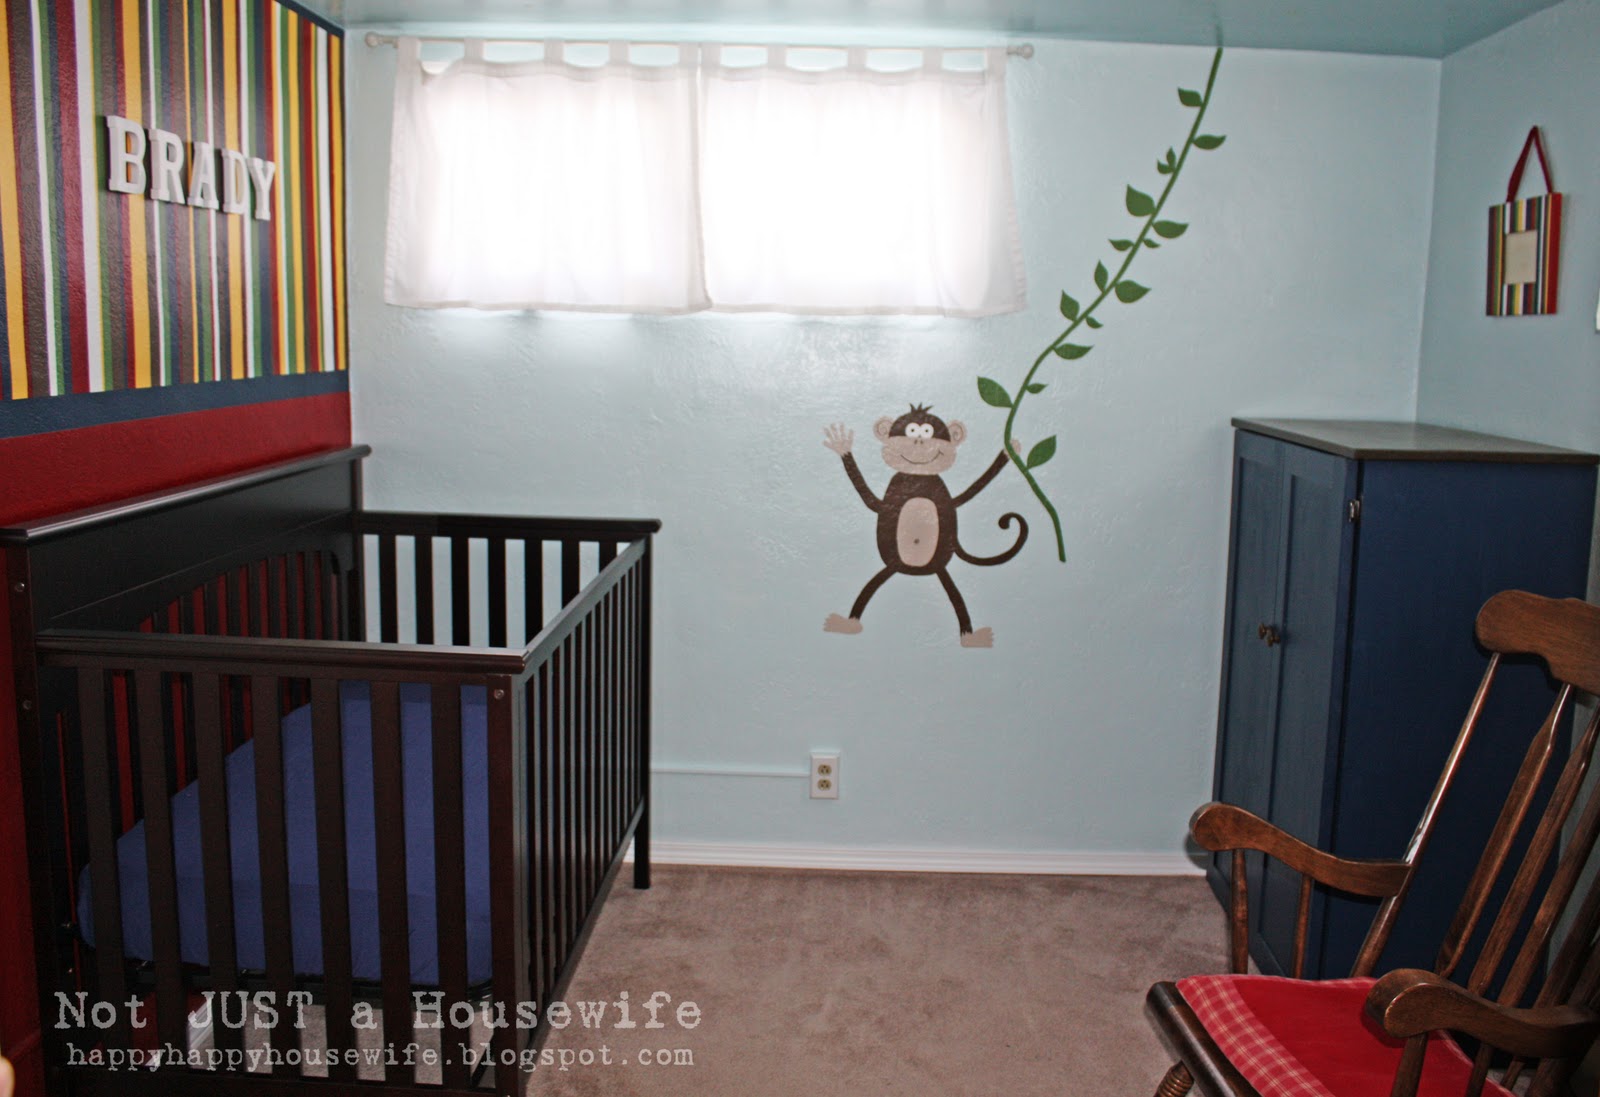
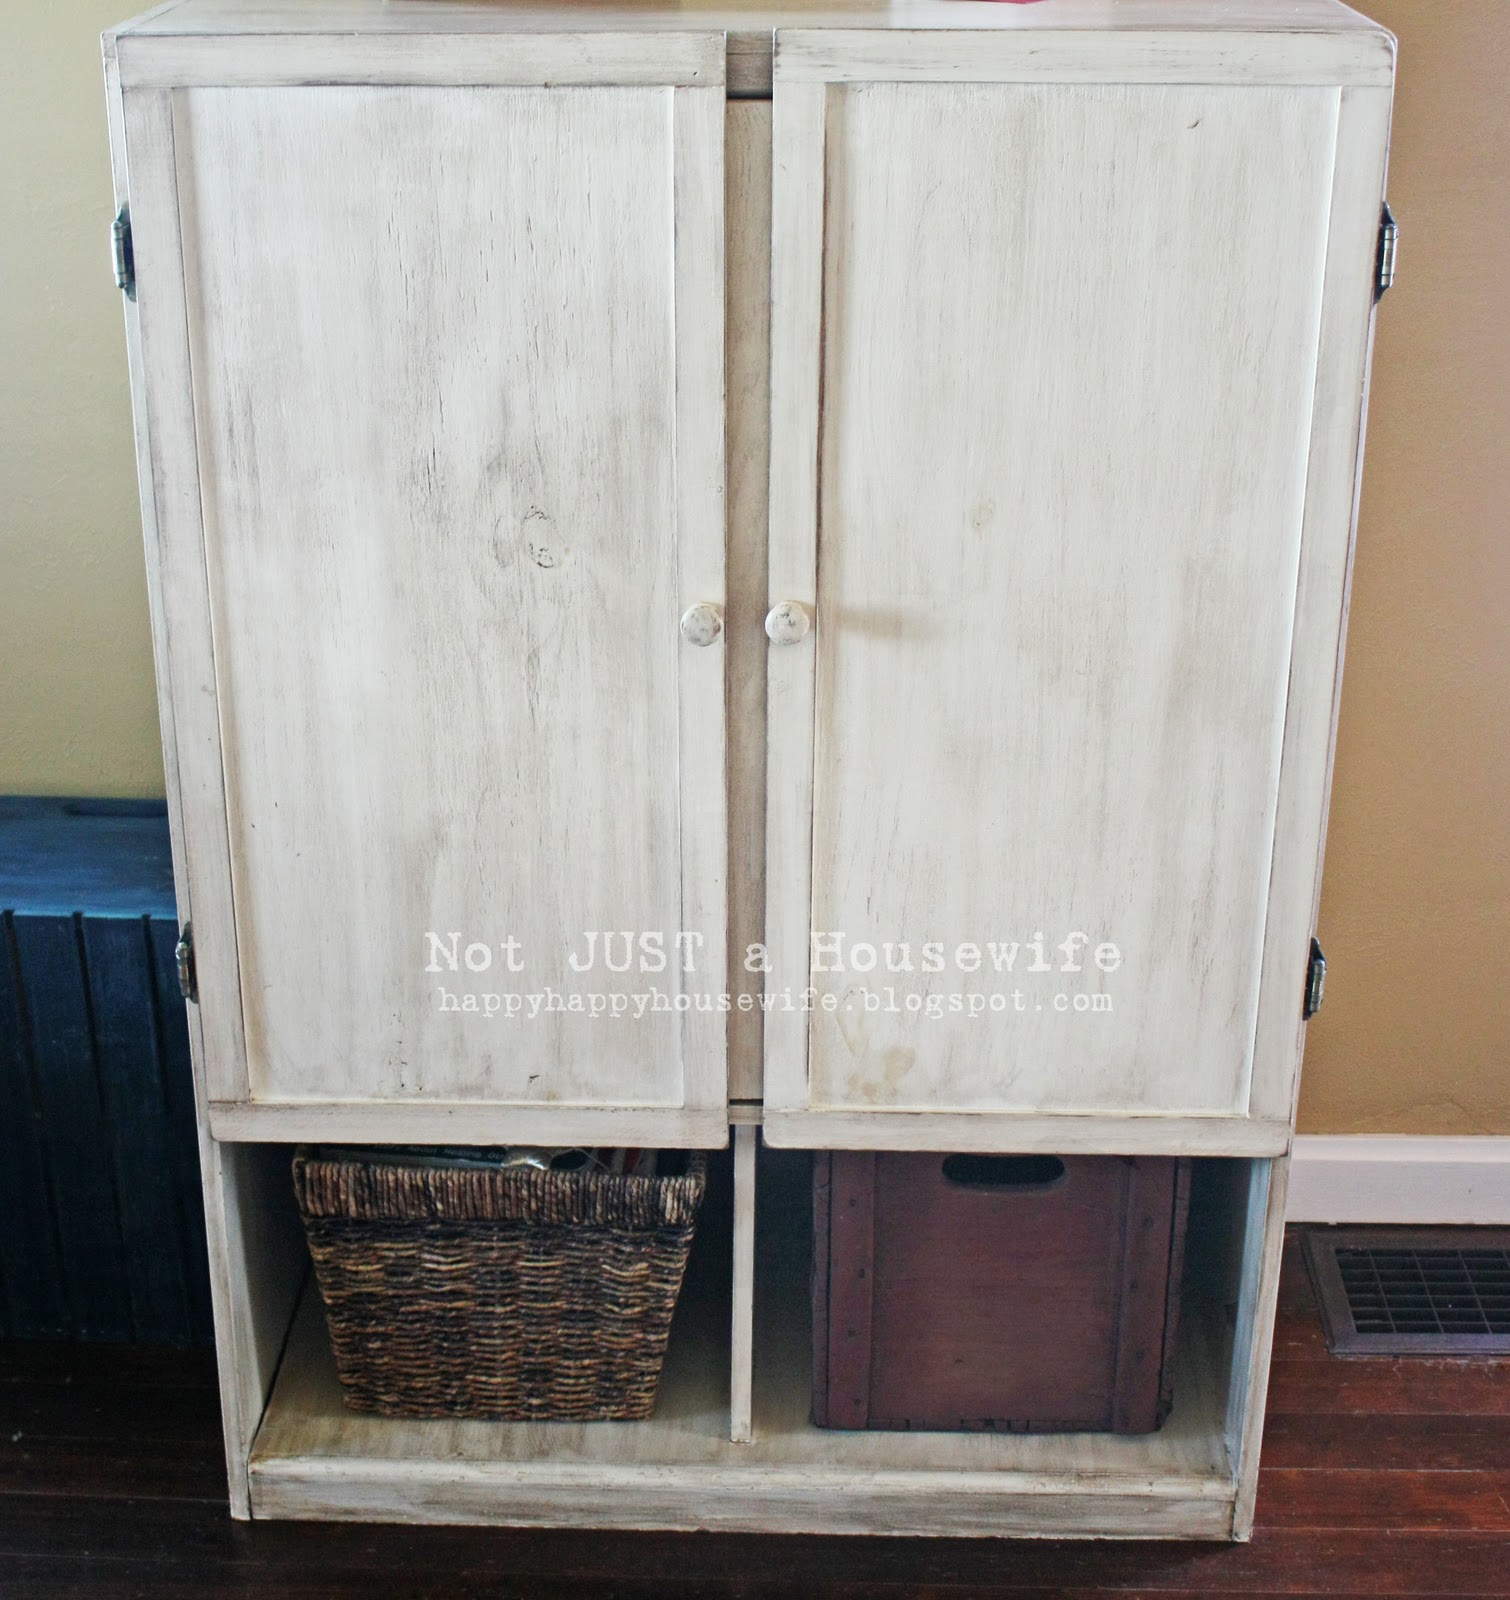
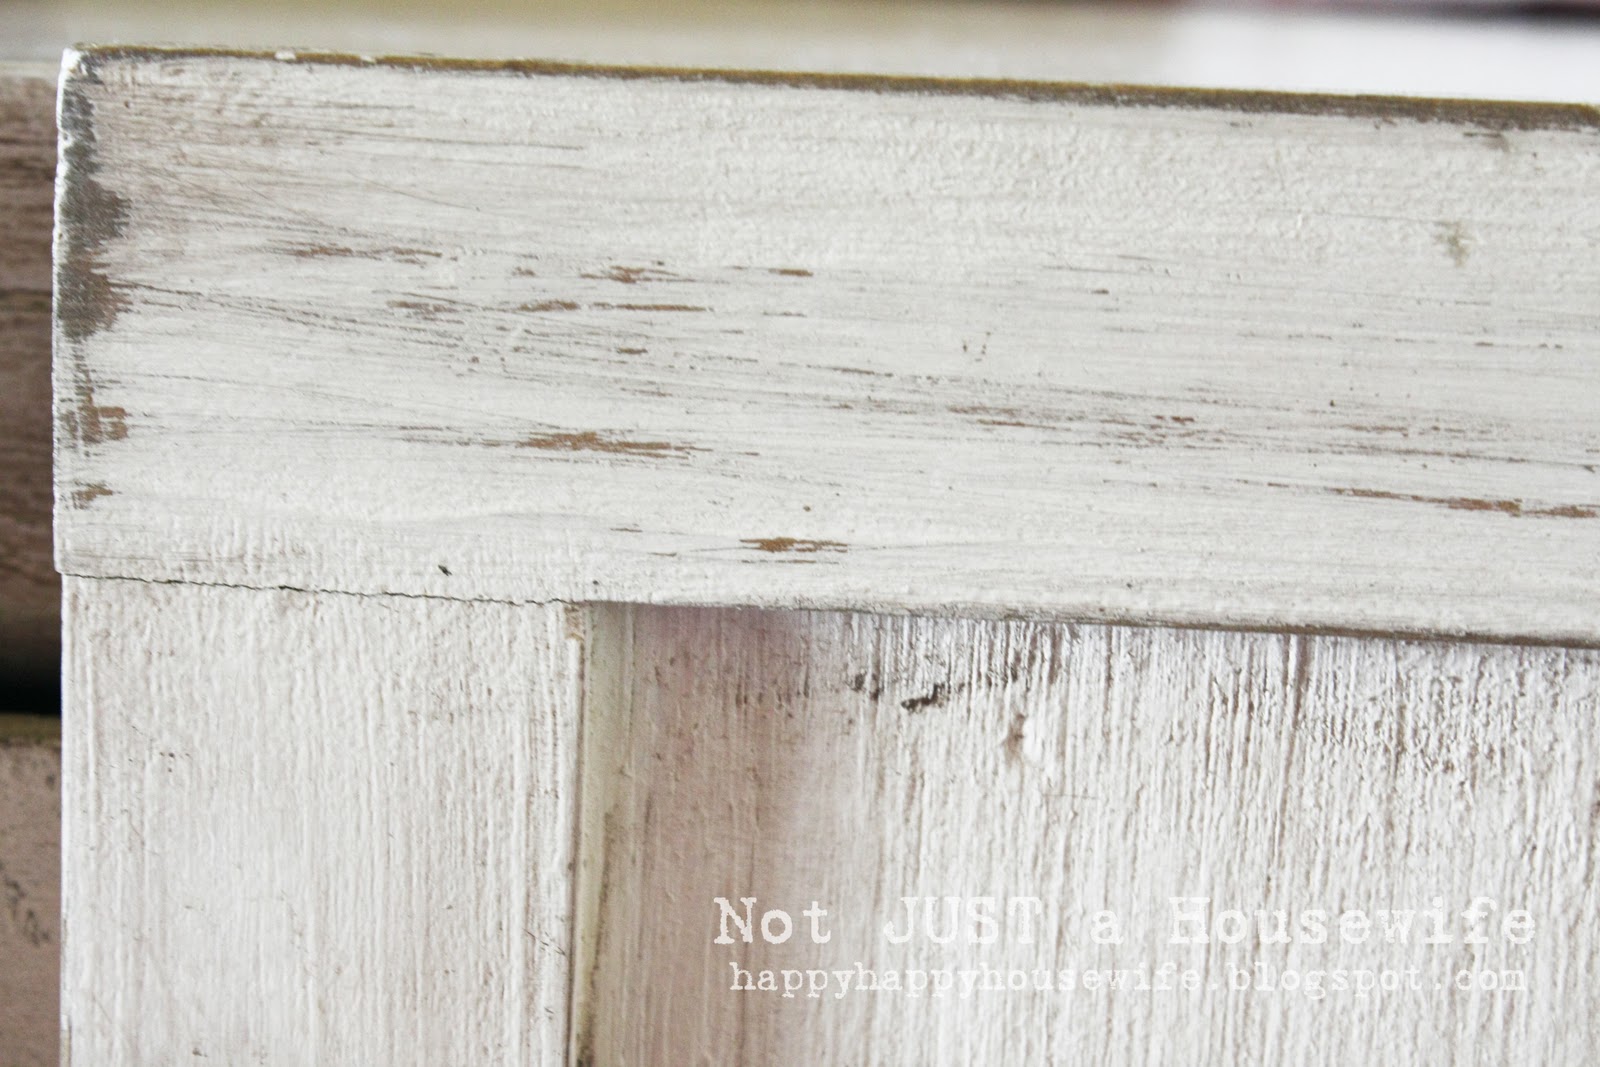
This is the blue cabinet that I made when I built the red one. It holds all my baby's clothes. Sorry I don't have a better picture. I am too lazy to go take another one. It now has 3 cute white baskets on top too.
Next week I will post the furniture from my office and kitchen. Thanks for letting me share!


Love all your projects. I've been thinking about doing a before I blogged post, too. Building your own cabinetry is awesome, and of course that bunk bed is just bananas. It's the standard for which any kid's room is judged. Thanks for sharing.
I'm so impressed by people that can refinish furniture! Great job!
Those bunk beds are adorable! My boys would LOVE them!
Wow. Your super creative! Love all that you have done!
Oh my goodness-there's more??? This is amazing! I know my way around the tools, but still find them very intimidating. This makes me feel motivated!
Hi Stacy! I would like to give you this award:
http://beadsbuttonsbubbles.blogspot.com/2011/02/versatile-blogger-award.html
LOVE all of your work. The cieling=amazing! & all of your finished furniture even more amazing!!! <3 love them, thank you for sharing them on your blog!
Lovely! And so funny ... I have that same white clad ice chest side table and matching chest that my bf and I made over! I will have to shre on my blog and send you the link!
Love it all!! I am still working up to actually building something...it's intimidating! But you have given me some inspiration :) I hope you'll share your furniture adventures at Lovely Crafty Weekend!!
Your creativity is amazing, cannot imagine the way you have transformed the old furniture's. Good work.
Oh wow! Just found you through mad in crafts linky party. You are so talented! I LOVE the bunk beds - your kids are lucky to have such a creative mum!
http://www.jembellish.blogspot.com/
I can't believe all the pieces you have made! They are darling!