• Skip to primary navigation
  • Skip to main content
  • Skip to primary sidebar
  • Skip to footer
Stacy Risenmay
  • Home
  • About me
  • PRESS
  • Contact Me
  • My Book
    • Facebook
    • Instagram
    • Pinterest
    • Twitter
menu icon
go to homepage
subscribe
search icon
Homepage link
  • Home
  • About me
  • Project Gallery
  • Our House
  • PRESS
  • Contact Me
  • Privacy Policy
    • Facebook
    • Instagram
    • Pinterest
    • Twitter
  • ×

    White Distressed Bench {That Started Out a Big Fat Fail}

    By Stacy 8 Comments

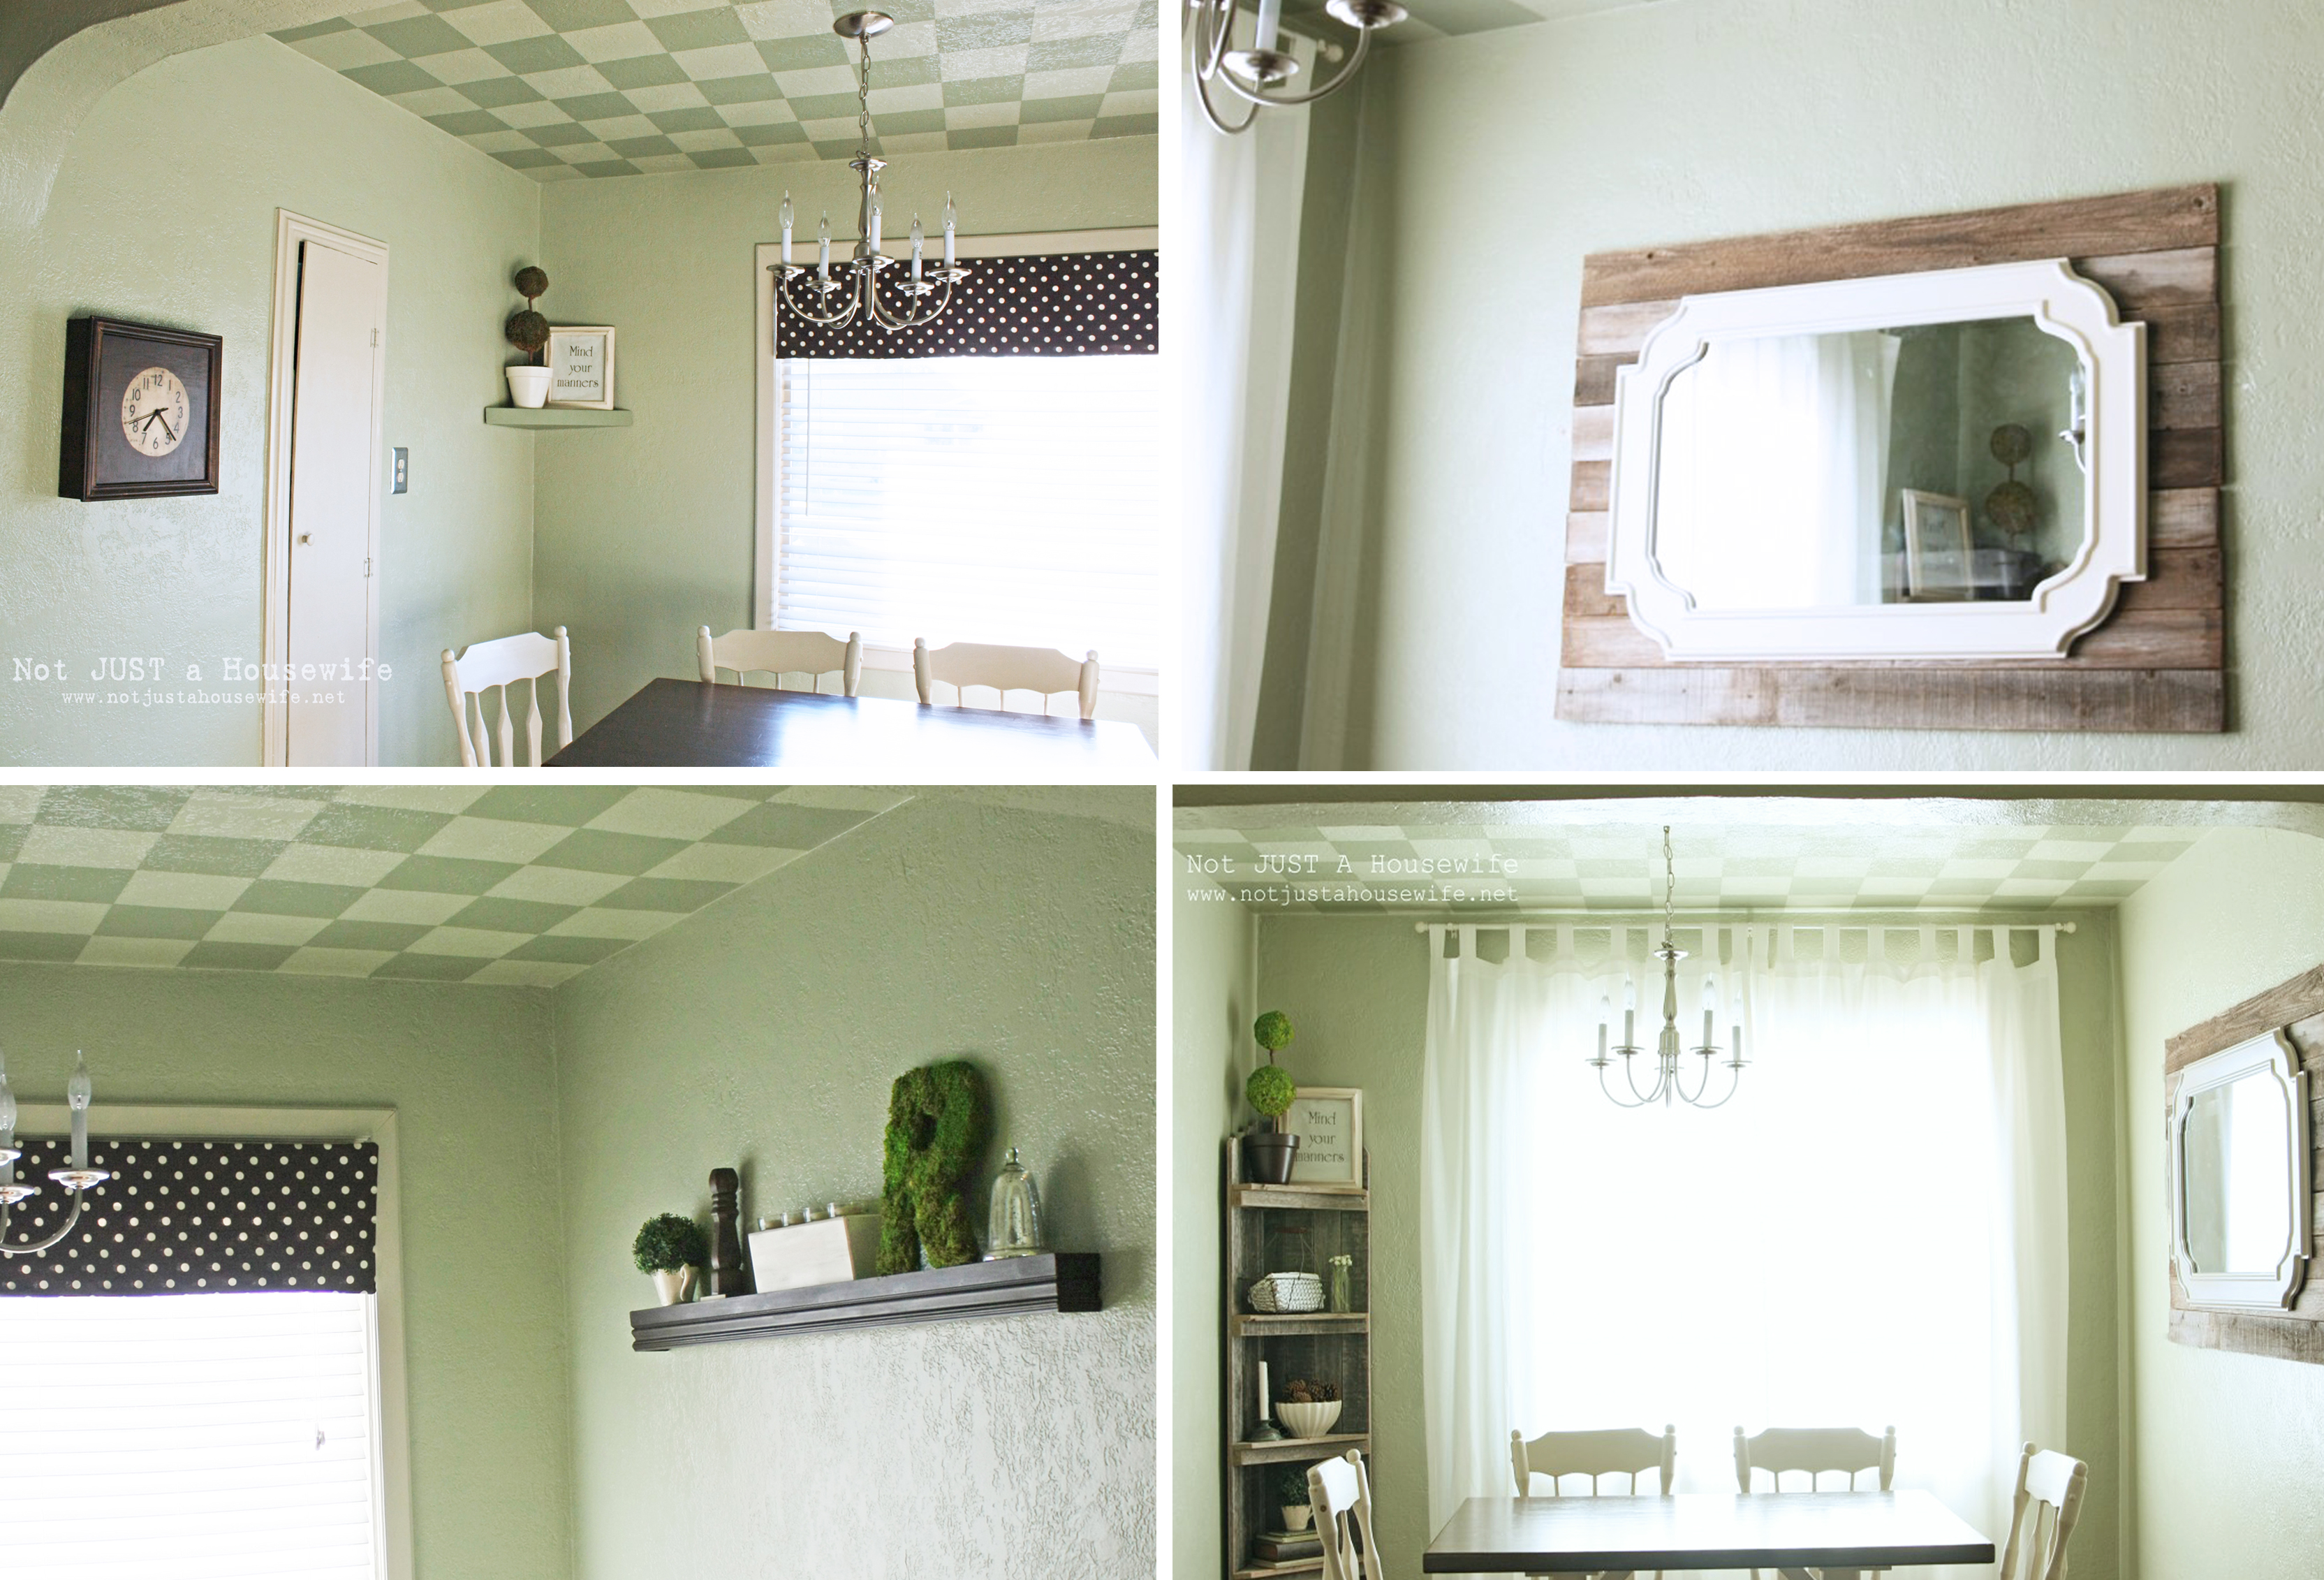
    I have never loved my little dining room nook. I have tweaked it multiple times and each time I like it a little better but I never have loved it. Not only that but it is by far the hardest room in my house to photograph because of the large window and the small space. I don't have a wide angle lens so it is hard to a straight on shot and the large window always makes the pictures turn out hazy. There are not many angles that get a good shot.

    before-dining-room

    But I am determined to get it right this time. I am determined to fall in love..... and get the perfect shot.

    Our dining room table was given to us when we were in Las Vegas, poor, and in college. I had never seen a table like it and I loved it. The chairs I have seen all over the place. They were okay. The set started out as an orange-ish stain. I refinished it about 9 or 10 years ago and I built a bench to go with it as our family grew.

    I realized if I was going to love my dining room, more than just a few little things needed to change. I got new chairs (From Target... on sale!) and decided to refinish the bench.

    I had seen a photo on Pinterest of a heavily distressed white table that was styled similarly to what I had in mind. I knew I didn't want to do that to my table but thought the bench was a good candidate. I have distressed furniture in the past and didn't even think twice about it.

    And then this happened.......

    fail

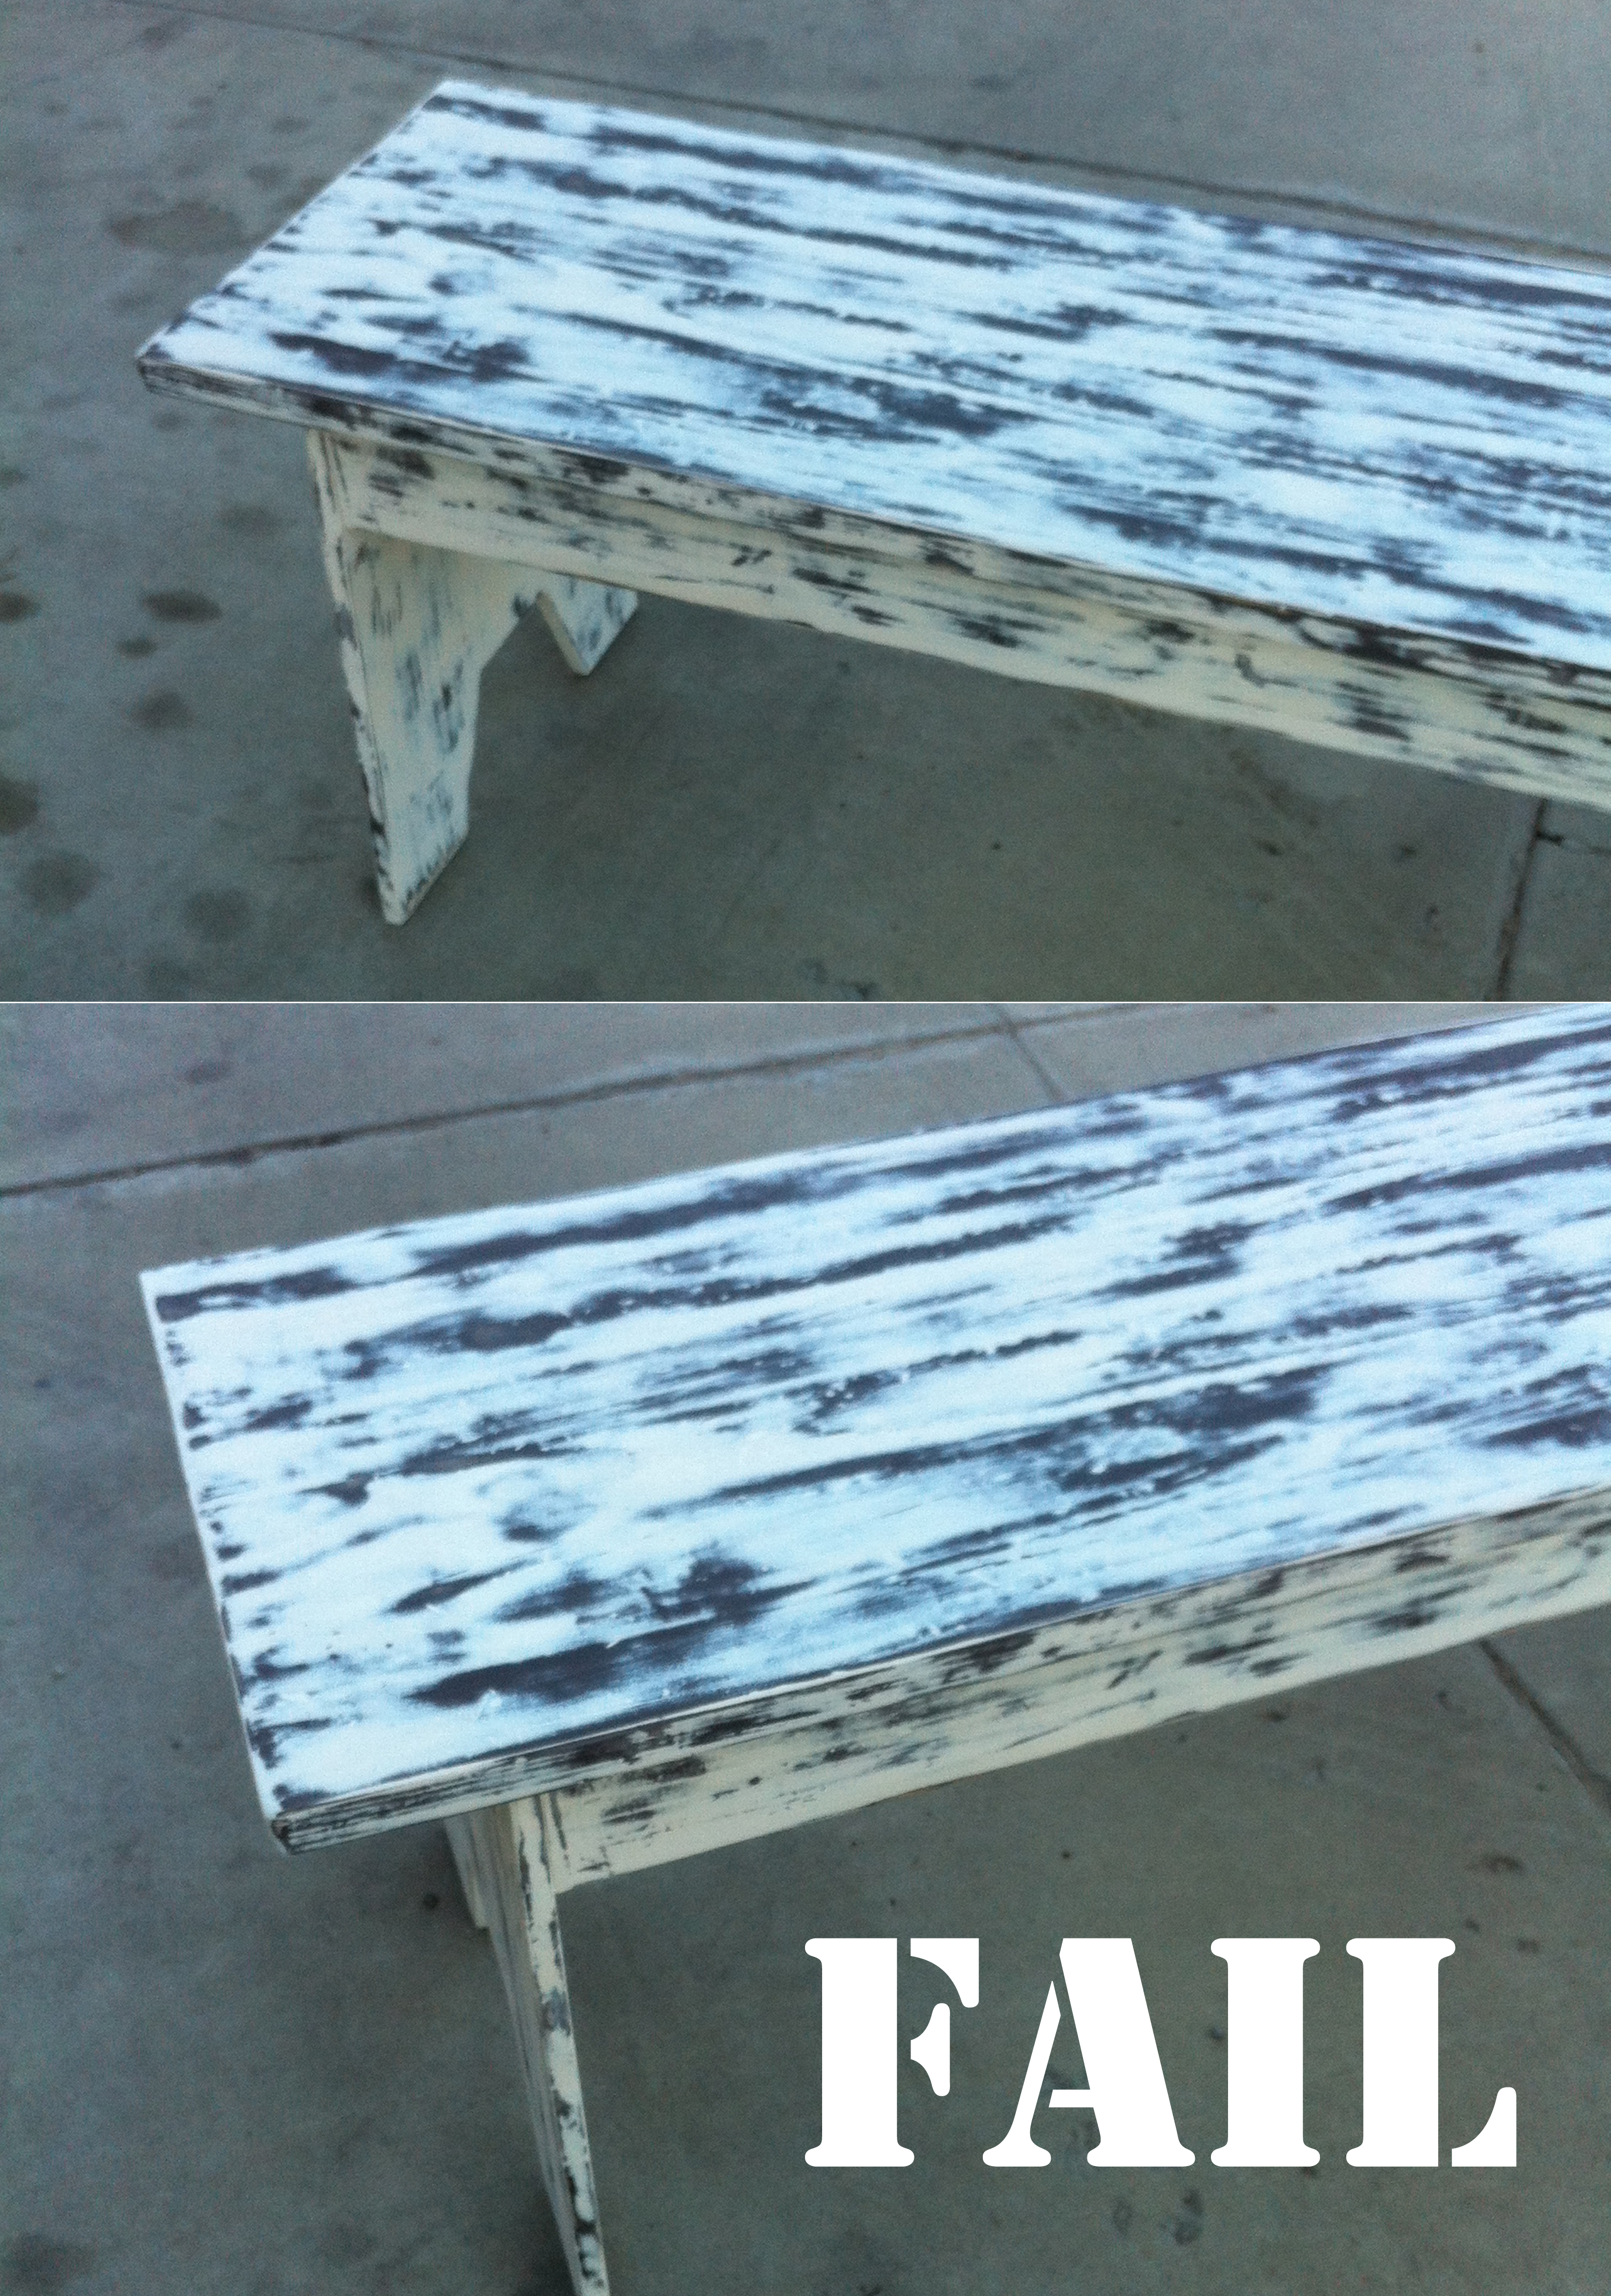
    The Dalmatian bench.

    Or maybe even the Zebra bench.

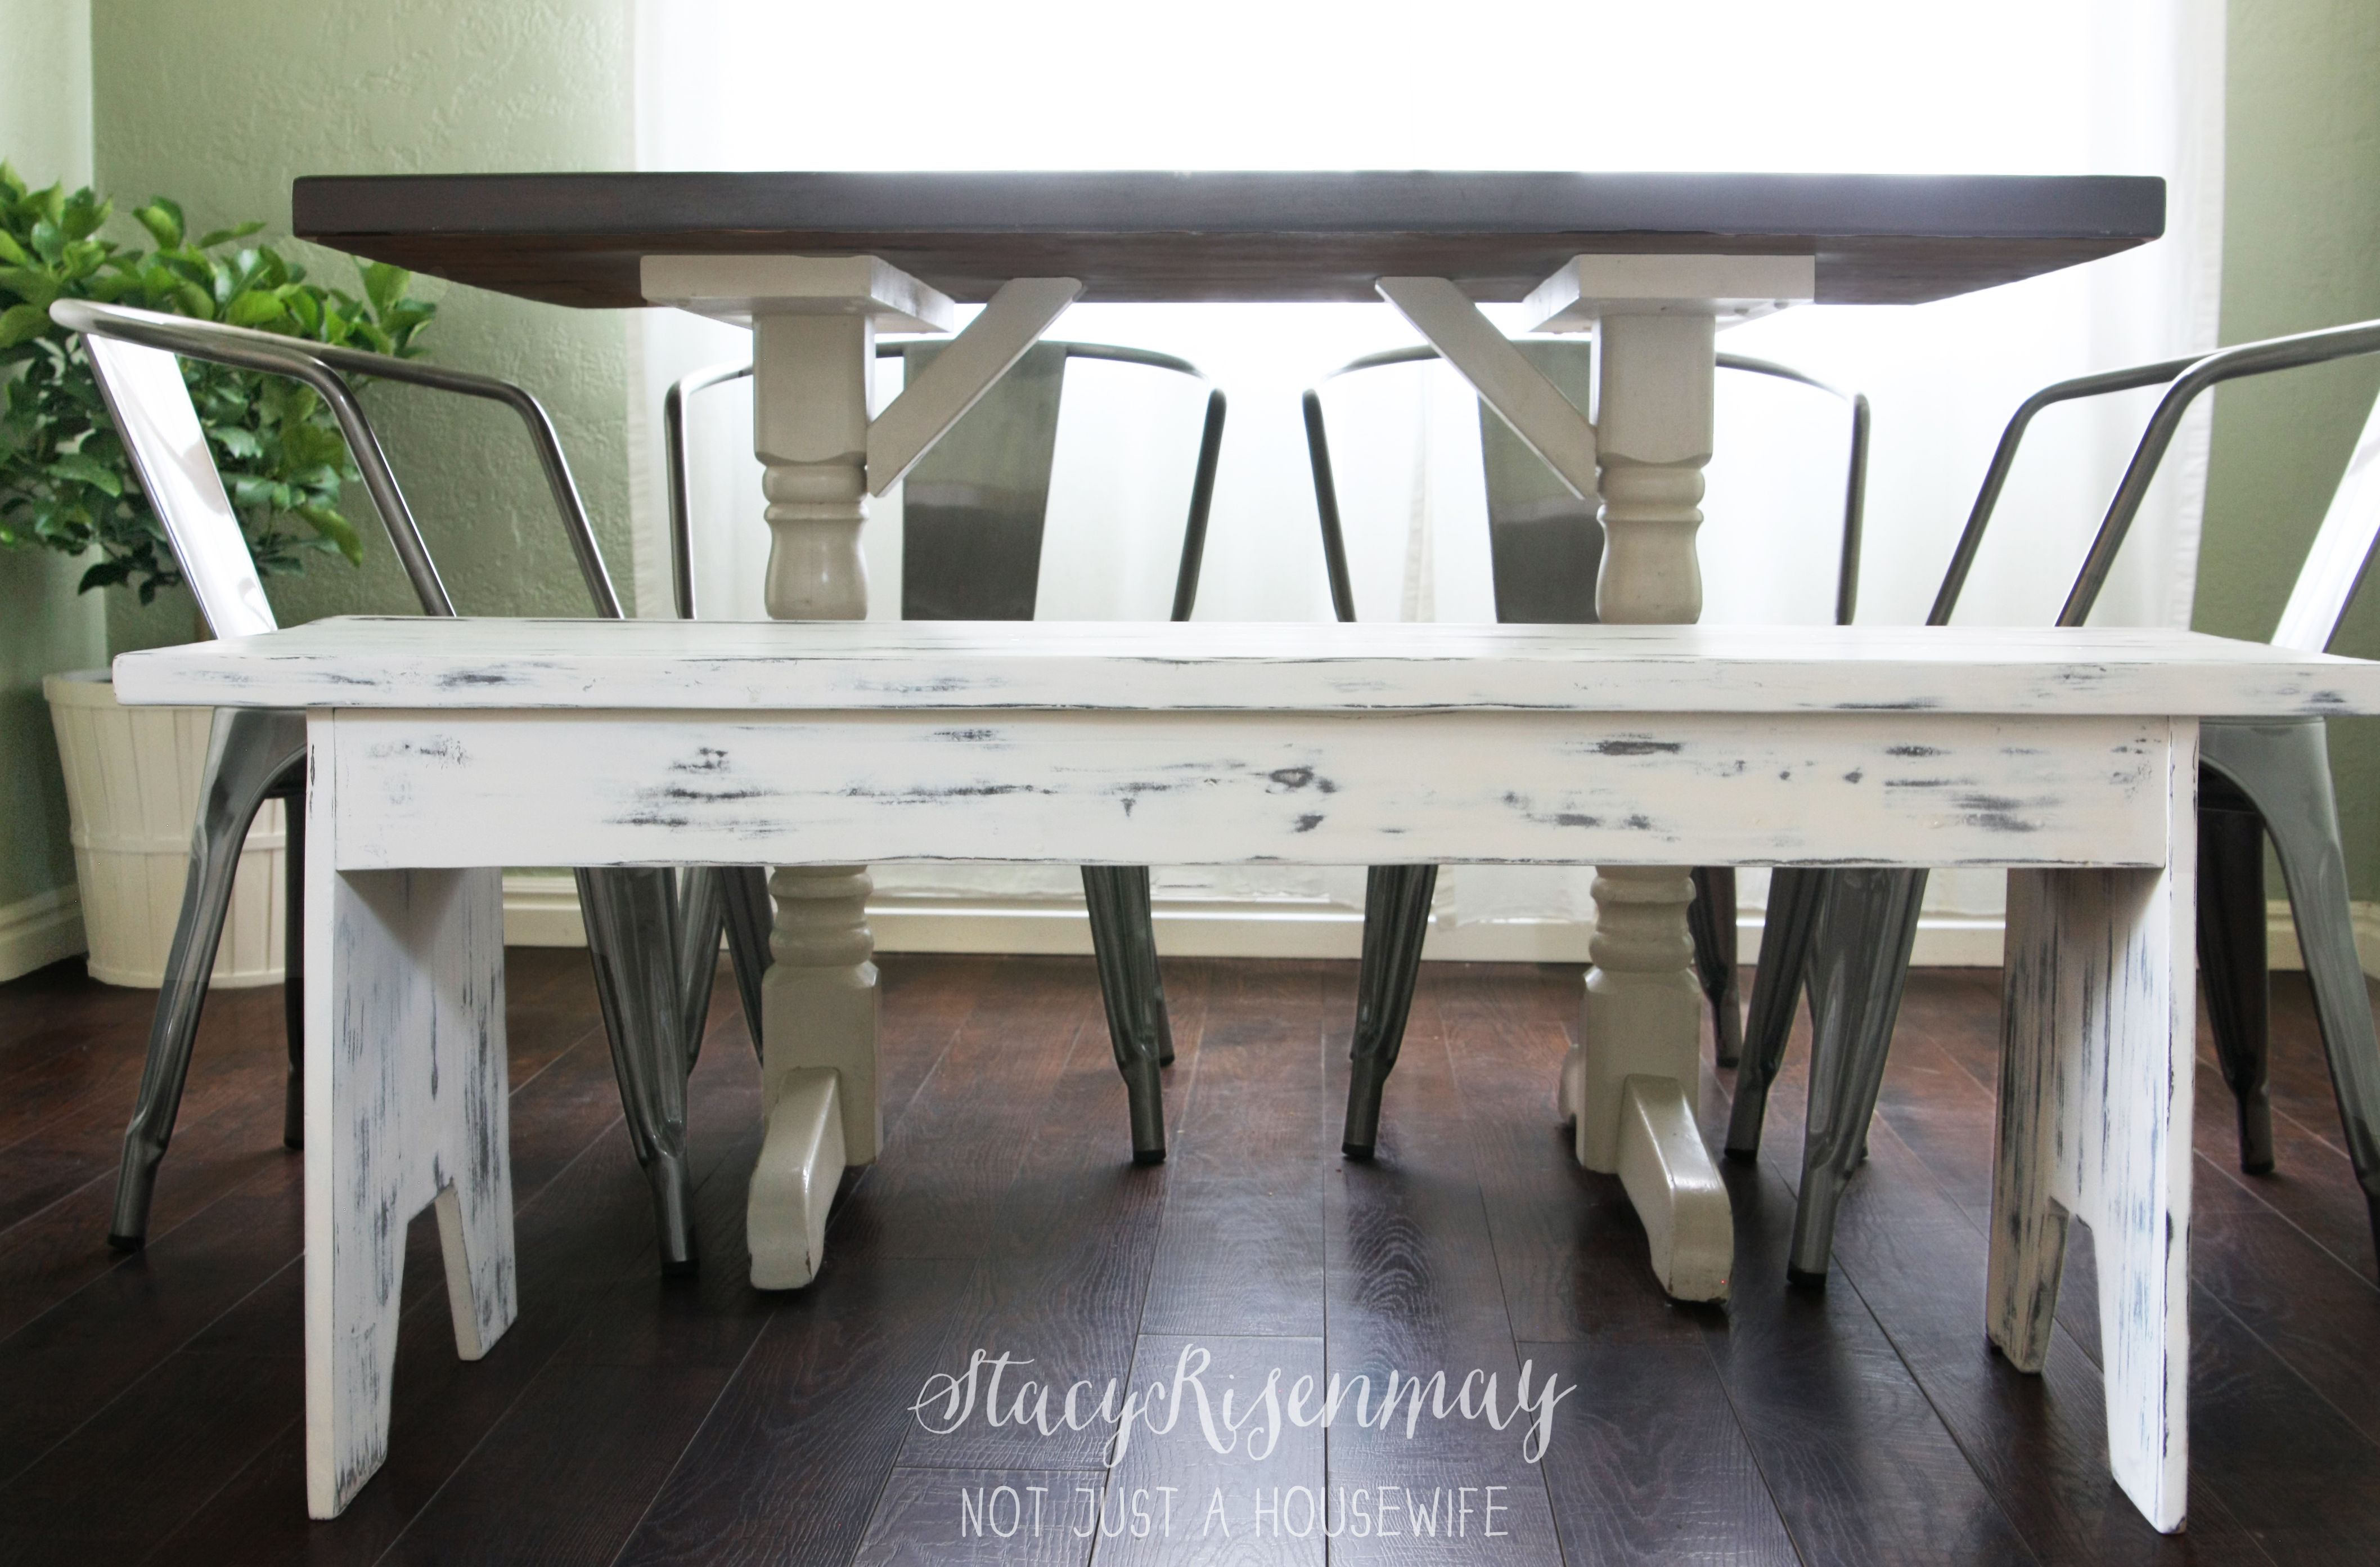
    In my defense, I knew halfway through it wasn't working. I knew I had two options. I could paint another layer of white over it and start sanding again, or keep going and see if it would look better with more brown and less white. I figured it I didn't like it I could always paint over it.

    The pictures actually make it look better that it did in real life.

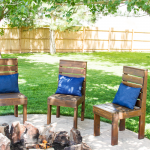
    So I did paint it again and started over. And I got this:

    Distressed white bench

    It wasn't as heavily distressed as the table in the photo I found, but it works for me! I am more comfortable with some distressing rather than a ton of distressing.

    white distressed bench

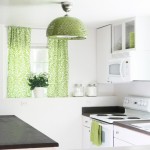
    I will be ready to reveal the dining room in the near future, but for now you get this sneak peek. The mirror will stay the same, the table get "refreshed", I am adding shelves, I bought a new light fixture, and I will be adding other colors to the space. I can't wait to finish and share it with you!

    You will also like:

    • Christmas Home Tour 2016Christmas Home Tour 2016
    • What a Difference Shutters Can Make!What a Difference Shutters Can Make!
    • Inexpensive Wall ArtInexpensive Wall Art
    • 40 Ways to Use a Steam Cleaner40 Ways to Use a Steam Cleaner
    • My Hallway has me seeing SPOTSMy Hallway has me seeing SPOTS
    • Life LatelyLife Lately
    • *NEW* HomeRight Sprayer + Giveaway!*NEW* HomeRight Sprayer + Giveaway!
    • Homemade Graham Crackers for S'mores {Giveaway}Homemade Graham Crackers for S'mores {Giveaway}

    « Painting a basement
    More or Less {American Dream Builders} Episode #6 »

    Filed Under: DIY & Tutorials, Furniture, Home Decor, Painting 8 Comments

    Subscribe

    for your weekly DIY fix.

    Reader Interactions

    Comments

    1. Heart and Haven

      April 18, 2014 at 11:36 am

      Nice save! The 1st try looked like it was moldy, ewww. I'm glad you didn't give up, cause the 2nd much better fits your style.
      Can't wait to see all the new changes :-)

      I'm in the process of updating my dining room too. We added our loft bedroom over the kitchen/dining room (we have cathedral ceilings), so now the kitchen has a "normal" 8' height. I removed the wall sconces we had and bought a new chandelier (can't wait to get it!), and plan to add some wainscoting and perhaps either a graphic wallpaper or stencil to the top portion.

      Reply
      • Stacy

        April 18, 2014 at 5:05 pm

        Oh my word! How cool! A loft bedroom sounds fun :)

        Reply
    2. Marci

      April 18, 2014 at 3:00 pm

      Oh wow! I'm glad you posted the fail, and then the redo. It is nice to know that even pros like you don't get all your projects right the first time! Also, love how the bench turned out! Can't wait to see the whole room!

      Reply
      • Stacy

        April 18, 2014 at 5:06 pm

        I am not really a pro, but thanks :) Things always look so good in my head but executing them sometimes...not so much!

        Reply
    3. Kathleen

      April 18, 2014 at 5:36 pm

      I'm new to your blog and I must say, your ceiling is fabulous!

      Reply
      • Stacy

        April 18, 2014 at 5:42 pm

        Thank you...for both :)

        Reply
    4. Kathleen

      April 18, 2014 at 5:40 pm

      Oh, and I love the bench.

      Reply
    5. Mindi

      April 21, 2014 at 10:16 pm

      It looks great, such a sweet bench I love it! I grew up in Vegas, how fun that you lived there....anyway thanks for sharing the fail it makes me feel better that it happens to cool people like you too!

      Reply

    Comment Below! Cancel reply

    Your email address will not be published. Required fields are marked *

    This site uses Akismet to reduce spam. Learn how your comment data is processed.

    Primary Sidebar

    stacyHey! I'm Stacy and am a DIY addict. I love to get my hands dirty, whether it's sawdust, paint, or dirt. My goal is to help YOU learn to fix up your home and yard. No matter the style or size, I think everyone should love their home. And it doesn't takes a big budget to get there. Let's DIY together!

    Subscribe to My Blog!

    Search this site

    categories


    Subscribe

    Footer

    Welcome! I'm sharing our adventures as we fix up our 1938 cottage. Whether it is big or small, I think everyone should love their home and I don't think it takes a lot of money to make a space your own

    About Stacy

    • Facebook
    • Instagram
    • Pinterest
    • Twitter

    My Favorites

    copyright

    All images and content are copyrighted via Stacy Risenmay unless otherwise stated. If you'd like to share my work, please link back to this blog.
    Thank you for visiting!


    Footer

    ↑ back to top

    About

    • Meet Stacy
    • Privacy Policy
    • Contact

    Categories 

    • Home Decor
    • Outdoor Projects & Gardening
    • DIY & Tutorials
    • Kid Activities
    • Recipes
    • Travel
    • Cleaning
    • Houseplants
    • Staining
    • Painting
    • Power Tools
    • Holiday Ideas

    Newsletter

    • Sign Up! for emails and updates

    As an Amazon Associate I earn from qualifying purchases.

    Copyright © 2020 Brunch Pro on the Brunch Pro Theme


    Privacy Policy
    Welcome! Thanks for visiting.
    Hi! I'm Stacy and I want to help YOU become a DIY rockstar! Sign up for my email list so each project, tip, and trick will go directly to your inbox :)
    Your information will *never* be shared or sold to a 3rd party. Pinky promise :)
    Welcome!
    Hi! I'm Stacy and I blog about fixing up our 1938 cottage. Join the thousand of others who get my posts sent to their inbox for FREE!
    Your information will *never* be shared or sold to a 3rd party.