This post is sponsored by HomeRight but all ideas and opinions are 100% my own :)
Today is the day! I am finally sharing my sister's kitchen makeover. I have painted serval kitchens before and my own twice. This was the biggest kitchen I have ever painted and it took a little longer than I thought. I was planning on painting the doors and drawer fronts in my sister's unfinished basement since it is so cold and snowy here. But her contractor started mudding drywall sooner than expected and I had to bring them to my house and paint them in my one unfinished room. I had to paint the doors in shifts since there was so little floor space in there. But despite the bumps along the way, I got it done and I love it! Today along with the reveal, I am sharing my tips for painting kitchen cabinets.
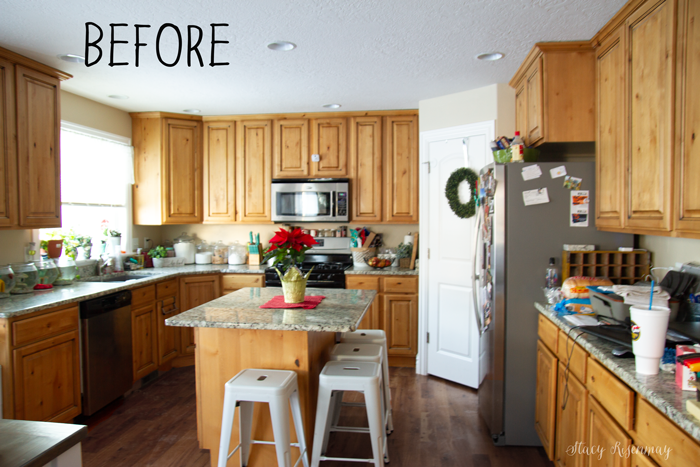
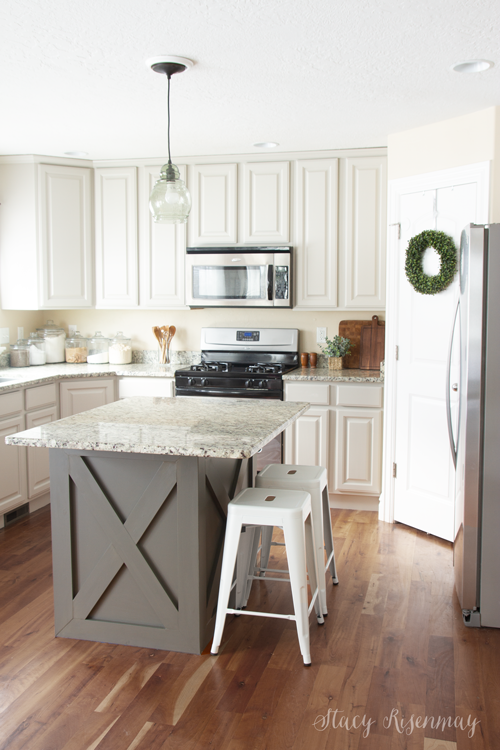
Right off the bat, I am struck with how much brighter her kitchen looks. I love light and bright kitchens!
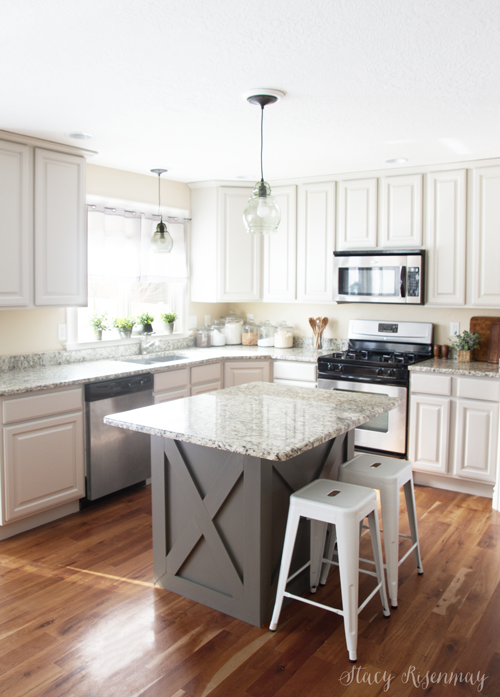
My sister did not want to paint her walls (even though I offered to do it). I understand because the whole house is the same color and it is an open floor plan. So since the wall color was staying, we needed to pick a color that was complimentary. She wanted a really light gray and we found one that was warm enough to pair with the wall color while still being gray enough. It is called Tanglewood by Behr but mixed in Sherwin Williams enamel paint.
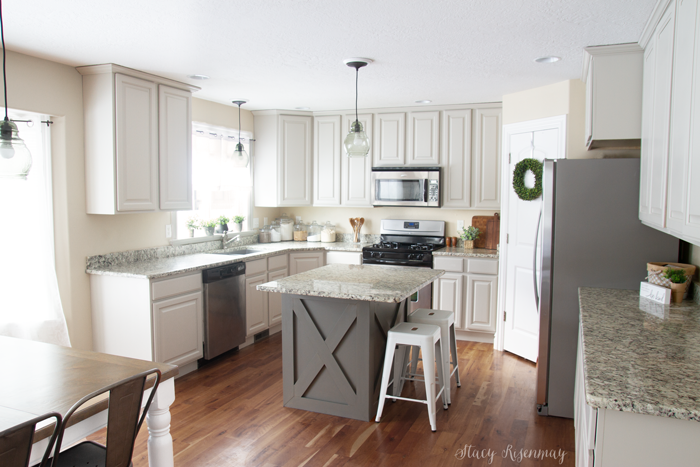
W also wanted it to look good with her granite countertops.
Tips for Preparation
1. Place hinges and screws and any other hardware in sandwich baggies and label them if necessary.
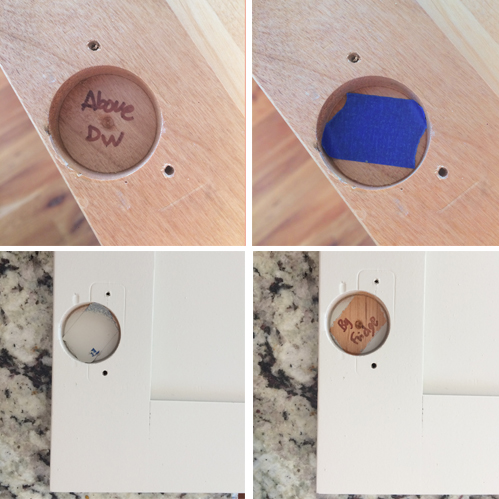
2. Label the cabinet doors by writing on the inside of the holes where the hinges went. Then place a piece of tape over it. When you are done painting, remove the tape and you will know where the cabinet goes.
3. Clean the cabinets really well with soap and water to remove and food, grease, or dirt.
4. Use a deglosser (liquid sandpaper) to get rid of the shine on the cabinet bases, doors and drawer fronts.
5. Lightly sand with 220 grit sandpaper. Nothing major, just a little bit on the places that will get the most wear. Wipe off any dust.
6. Tape off walls, ceilings and floors. Lay down tarps or paper on the floor and cover counters with a plastic tarp.
I chose to only spray the sides of the cabinets. The fronts of the cabinets I hand painted so I didn't have to worry about covering and protecting the insides of the cabinets. To ensure a smooth finish that would match the sides and the doors, I added Floetrol to the paint (it extends the dry time and helps it go on smooth) and used a quality foam brush. Multiple thin coats are the key to a smooth finish.
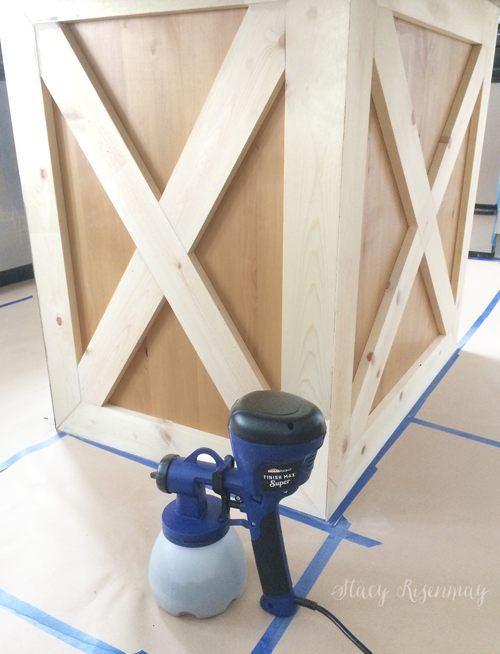
I added some 1x4s to create and X on the sides of the island that didn't have cabinets and drawers. After I nailed and puttied it, it was ready to paint!
Tips for Painting Kitchen Cabinets
1. Use a paint sprayer. It is faster, and you get a much smoother finish. I have brushed and used a roller on cabinets over the years and trust me, you don't want to tackle a whole kitchen full of cabinets without a sprayer! I love the Finish Max Super. I use the green spray tip for a super smooth finish.
2. Make sure to thin the paint to the right consistency. Thick paint will come out splattery and possible leave bubbles. Even though the Finish Max Super says that most paints don't need to be thinned, I still have thinned all my paints to be on the safe side. How much will depend on how thick the paint starts out.
3. ALWAYS test the sprayer on a piece of cardboard or scrap wood before spraying it on your cabinets. Make sure the consistency is right and the flow is not set to high. To get a super smooth finish, you need the output of paint to be pretty low. The goal is to have a semi fine mist.
4. Slow and steady wins the races and thin and many make a smooth finish. Don't let your impatience get the better of you. Many thin coats will be a much better result that a couple thicker coats.
5. Make sure to let the paint fully dry in between coats.
6. Paint the backside of the cabinets first. Let them dry overnight before flipping over to do the front. Sometimes the first side painted get a little buggered up so it is best to have it be the inside of the cabinet door instead of the pretty side. You can easily touch them up with a foam brush later.
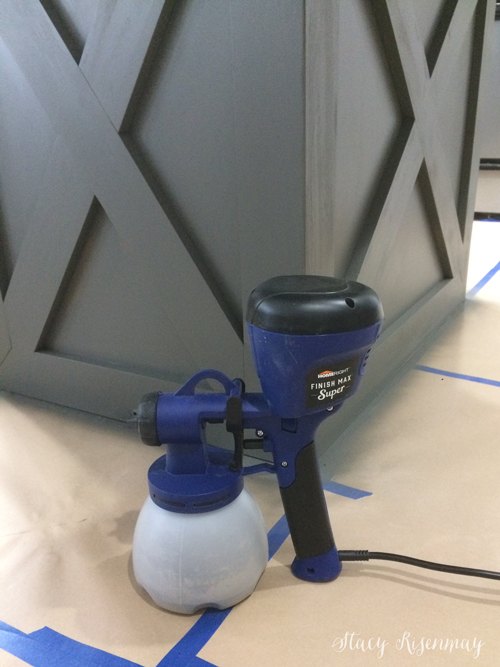
The island is painted with Mined Coal by Behr. I used the Finish Max Super paint sprayer.
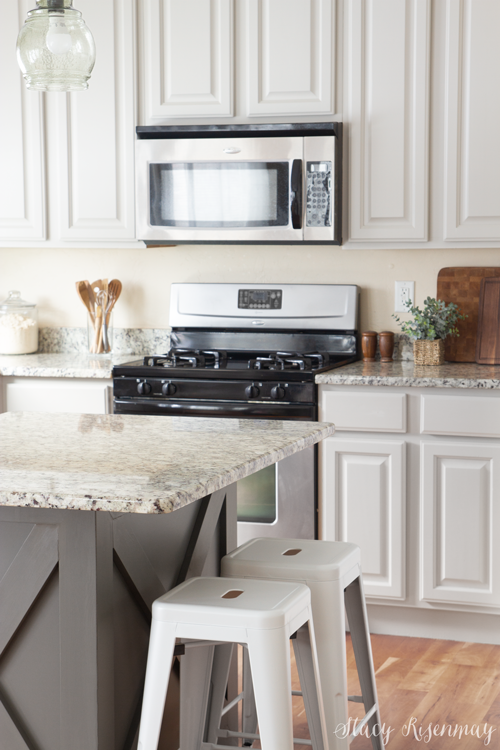
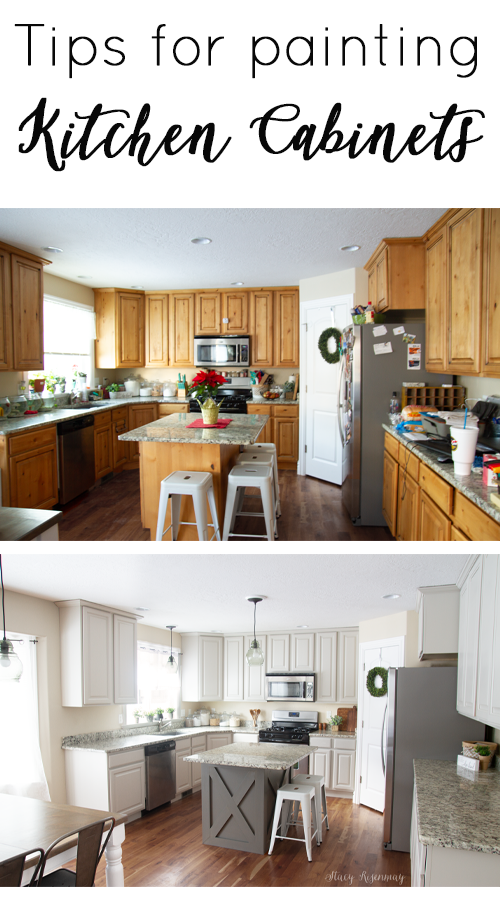
Let's address the clutter in the before picture verses the minimalist decor in the after. To be fair, my sister was trying to store all her craft supplies in the kitchen until her basement was finished. So by simply moving her craft stuff down into her new craft room, we solved 90% of the problem. She also was hanging on to every cup, bowl, pan, and baking tin that she had ever owned. I told her her glass/cup cabinet looked like a thrift store because she didn't really have any that matched and there were soooooo many. She laughed and laughed, got slightly offend for a minute, and then Marie Kondo-ed the heck out of her cabinets and got rid of all the things that didn't bring her joy. She literally hadn't used half the stuff in YEARS. It was time.
If you missed the dining room table makeover I did for my sister last month, you can see it HERE.
Have you ever tackled a kitchen makeover? What did you do to freshen it up? If not, what would you LIKE to do to your kitchen?
Pin for later:
You will also like:




This was such an amazing gift! Wonderful job! What a loving sister you are!!! I LOVE this!
Looks great.
Super job and love the darker island. Makes a wonderful contrast. Totally agree with spraying the cabinets and thinning the paint a bit.
Let your sister know I love and you made super changes
Cindy
Wow! What a transformation! It does look so much brighter.
I love the Xs on the sides of the island! What a fun way to change it up!
I so want to makeover my kitchen. Thanks for the tips. I will save them for when I get the courage and time to do it. Your kichen cabinets look fantastic!
I want to paint my cabinets so badly! I think this might give me the push (and the courage) to do it!
What brand of paint and exact color was the white you used? This is exactly what I'm looking for. Love the color contrast with the island. I'm in the process of sanding down my cabinets now.
I’d like to know the same thing.... what color is on the cabinet?
Oh never mind I see now you mentioned Tanglewood by Behr. The color looks light beige on line instead of a grey. Will have to go look at it the store.
Can you tell me if the sprayer that you used requires an air compressor and if so, what size compressor do you recommend?
Thank you, Roberta Torres
It does not require an air compressor.