
I used to have a birthday party blog. But then this blog took off and then the birthday blog domain got stolen, so I shut it down. I decided to transfer the cakes that I have made over to this blog :)
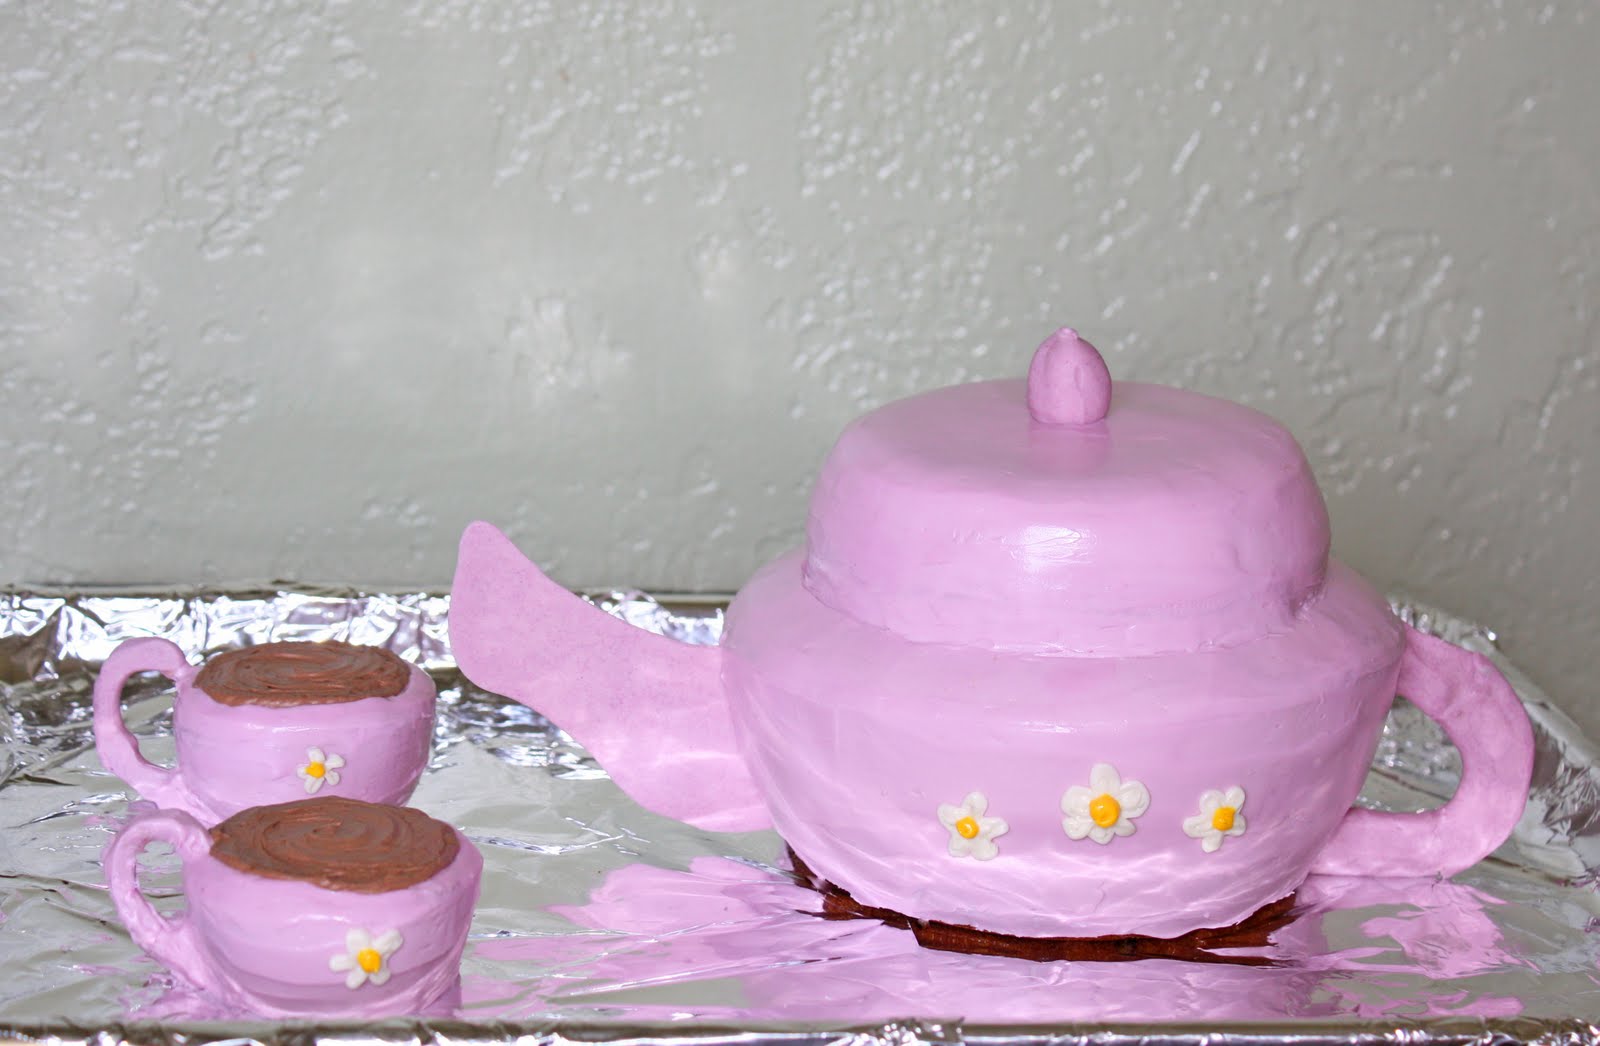
The Teapot Cake
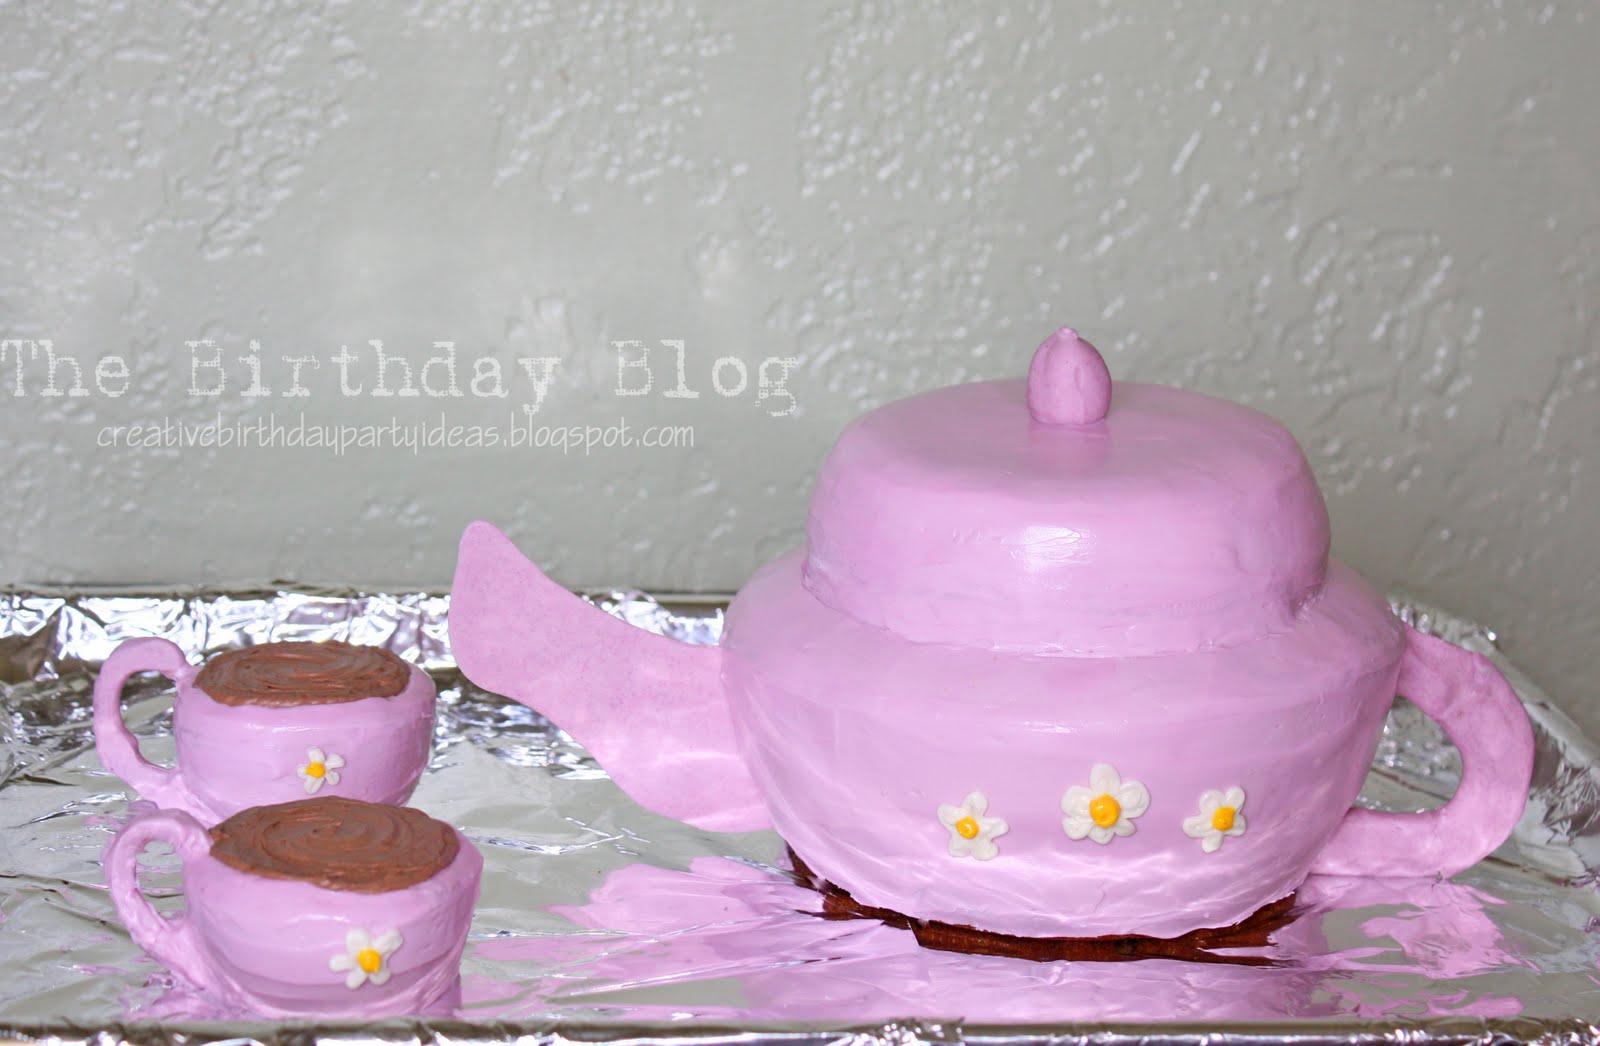
This cake probably isn't for beginners, unless you are up for a challenge. It isn't super hard. But if you are new to cake decorating it may not be your cup of tea. . . okay, that was bad. But you get the idea.
The pictures are a little out of order. I'll explain in the order of the pictures.
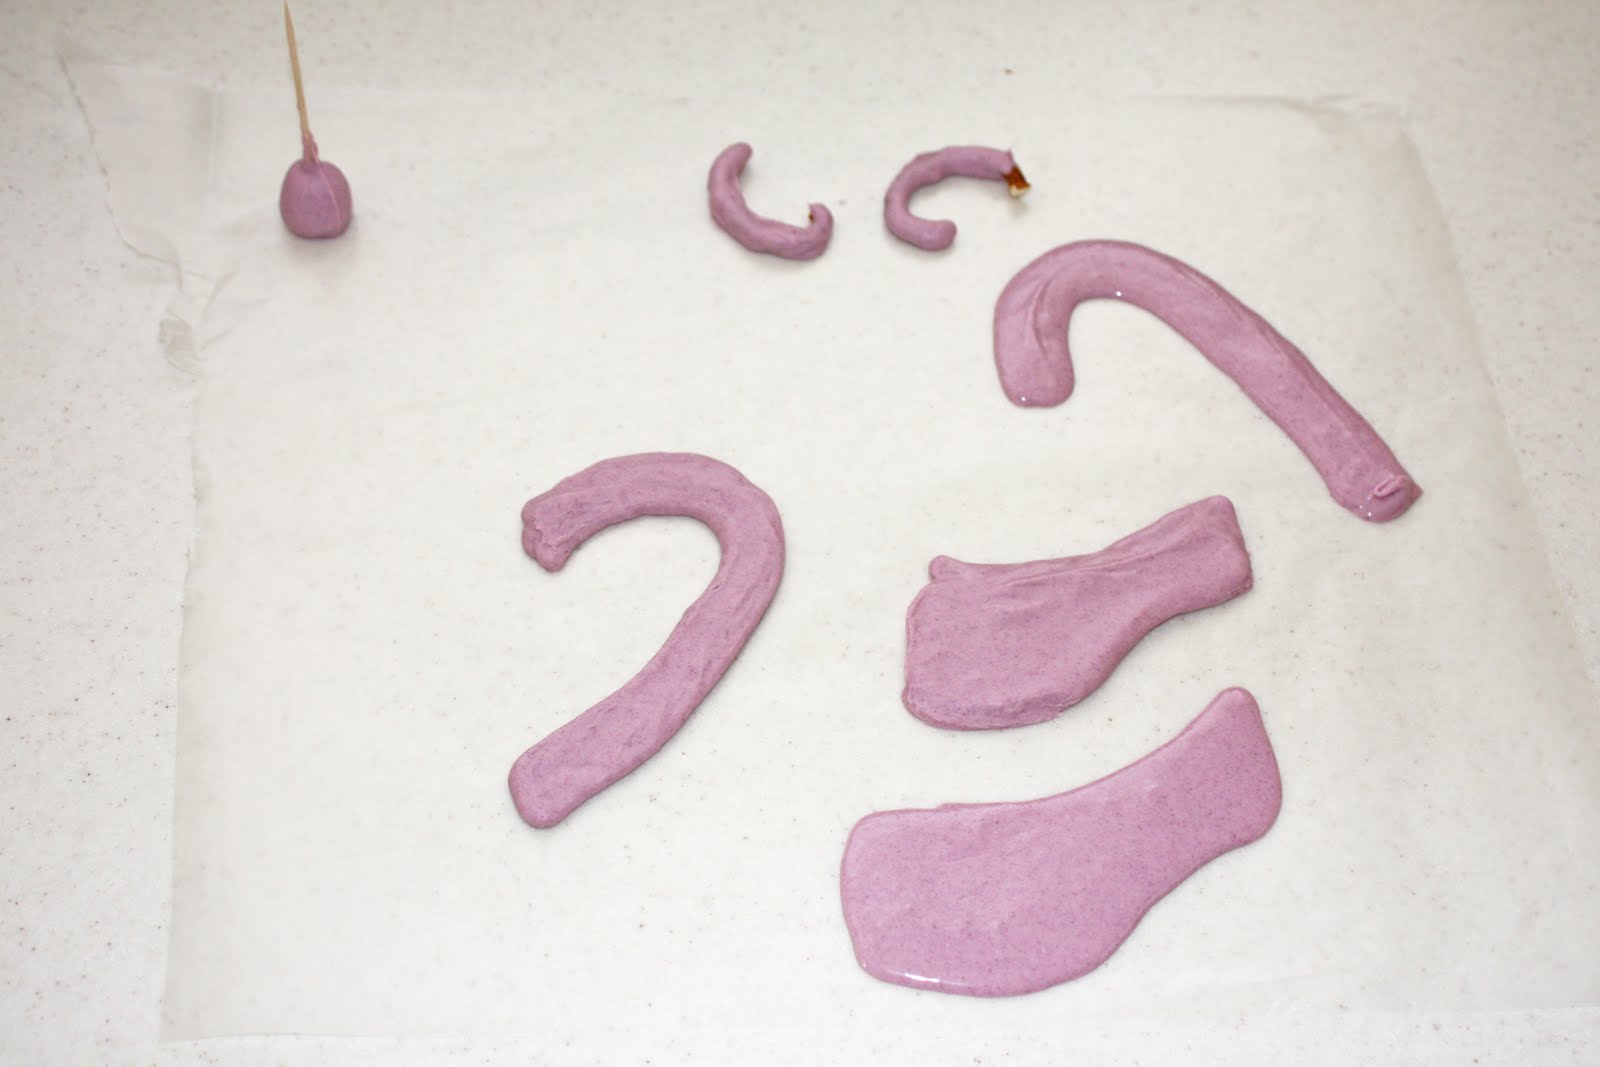
The spout, handles, and the top little knob on the lid are all made out of chocolate. I used what I had in my pantry - chocolate chips. I used about one cup. I melted them in the microwave for 30 seconds. The chocolate is ready when the chips are glossy looking and when you stir them about 90% of them are melted. Keep stirring until all the chips have melted. You don't want the chocolate to get too hot. I added food coloring and then spooned it into a sandwich baggie. I free handed it but you could also draw on the wax paper the shapes you want. Shake the paper or used your finger to get the chocolate to settle. I would make multiple pieces of each thing in case you break them later on. You will be sticking them into the cake so make them longer than you want them to be. I used a gum drop for the knob. I stuck a toothpick in it so it would be easy to dip. I used half of a pretzel dipped in chocolate for the tea cup handles.

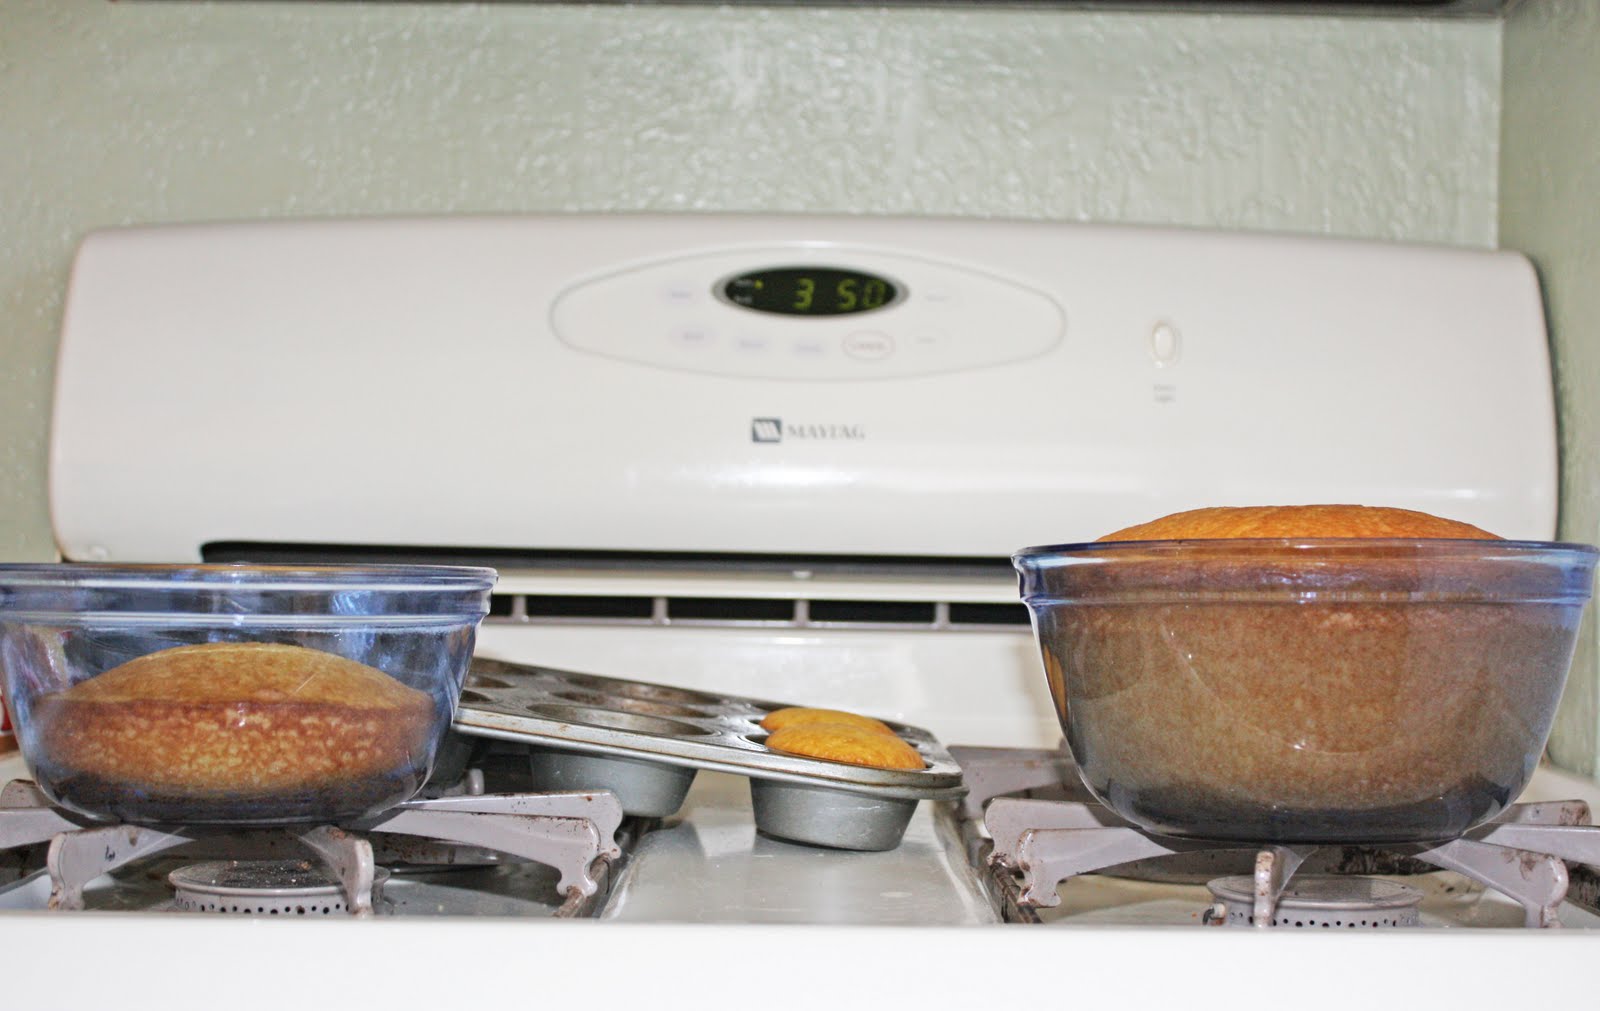 I baked two cupcakes. Then the rest of the cake batter went into these bowls.
 I wanted the dome shape on the larger cake, but I didn't want it on the cups and lid so I used a serrated knife to cut them off. The cut side of the lid will be the bottom.
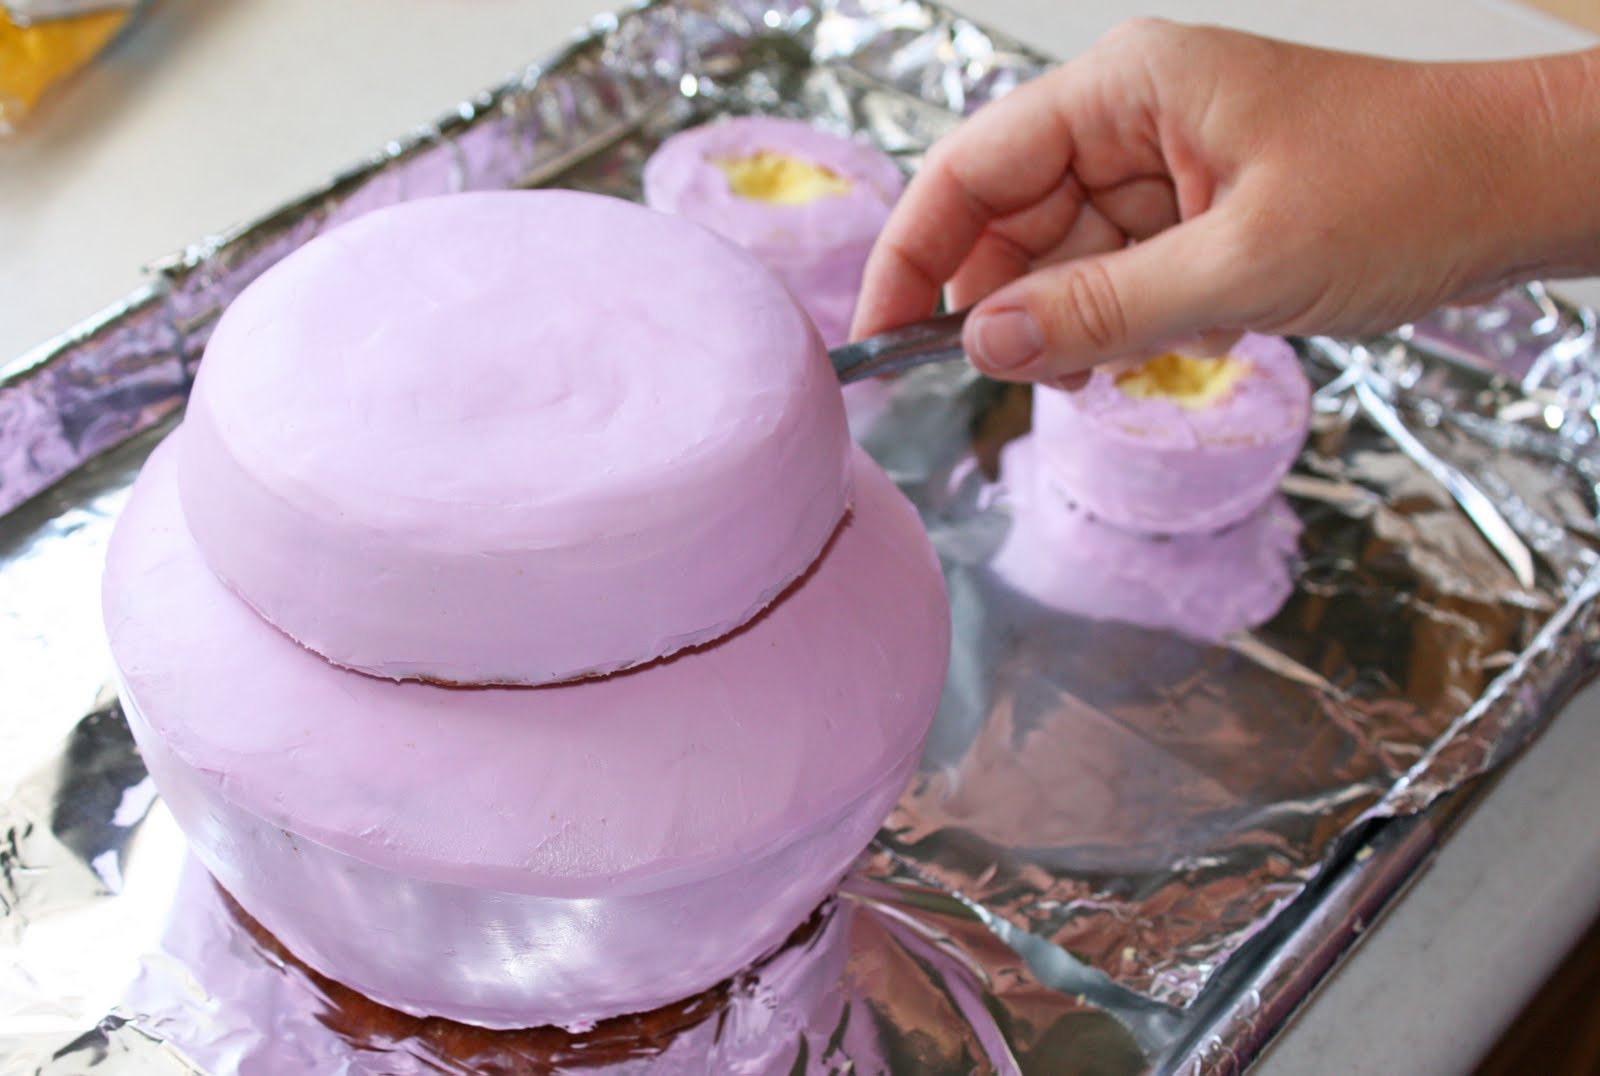 I frosted the pieces separately and then put the lid on the pot. I then piped some frosting to fill in the gap. To get the smooth finish, I stuck the cakes in the freezer after I crumb coated them. Then when I went to put the second layer of frosting on, it sort of hardened. I was then able to use the butter knife to smooth it out. If your butter knife has grooves along the blade then use the other side (top) that doesn't. I use this technique quite often. You can see in more detail in the post right before this one (alien cake).
 When it was time to put the spout and handles on, I used a sharp knife to cut slits in the cake. It makes pushing the pieces in so much easier.
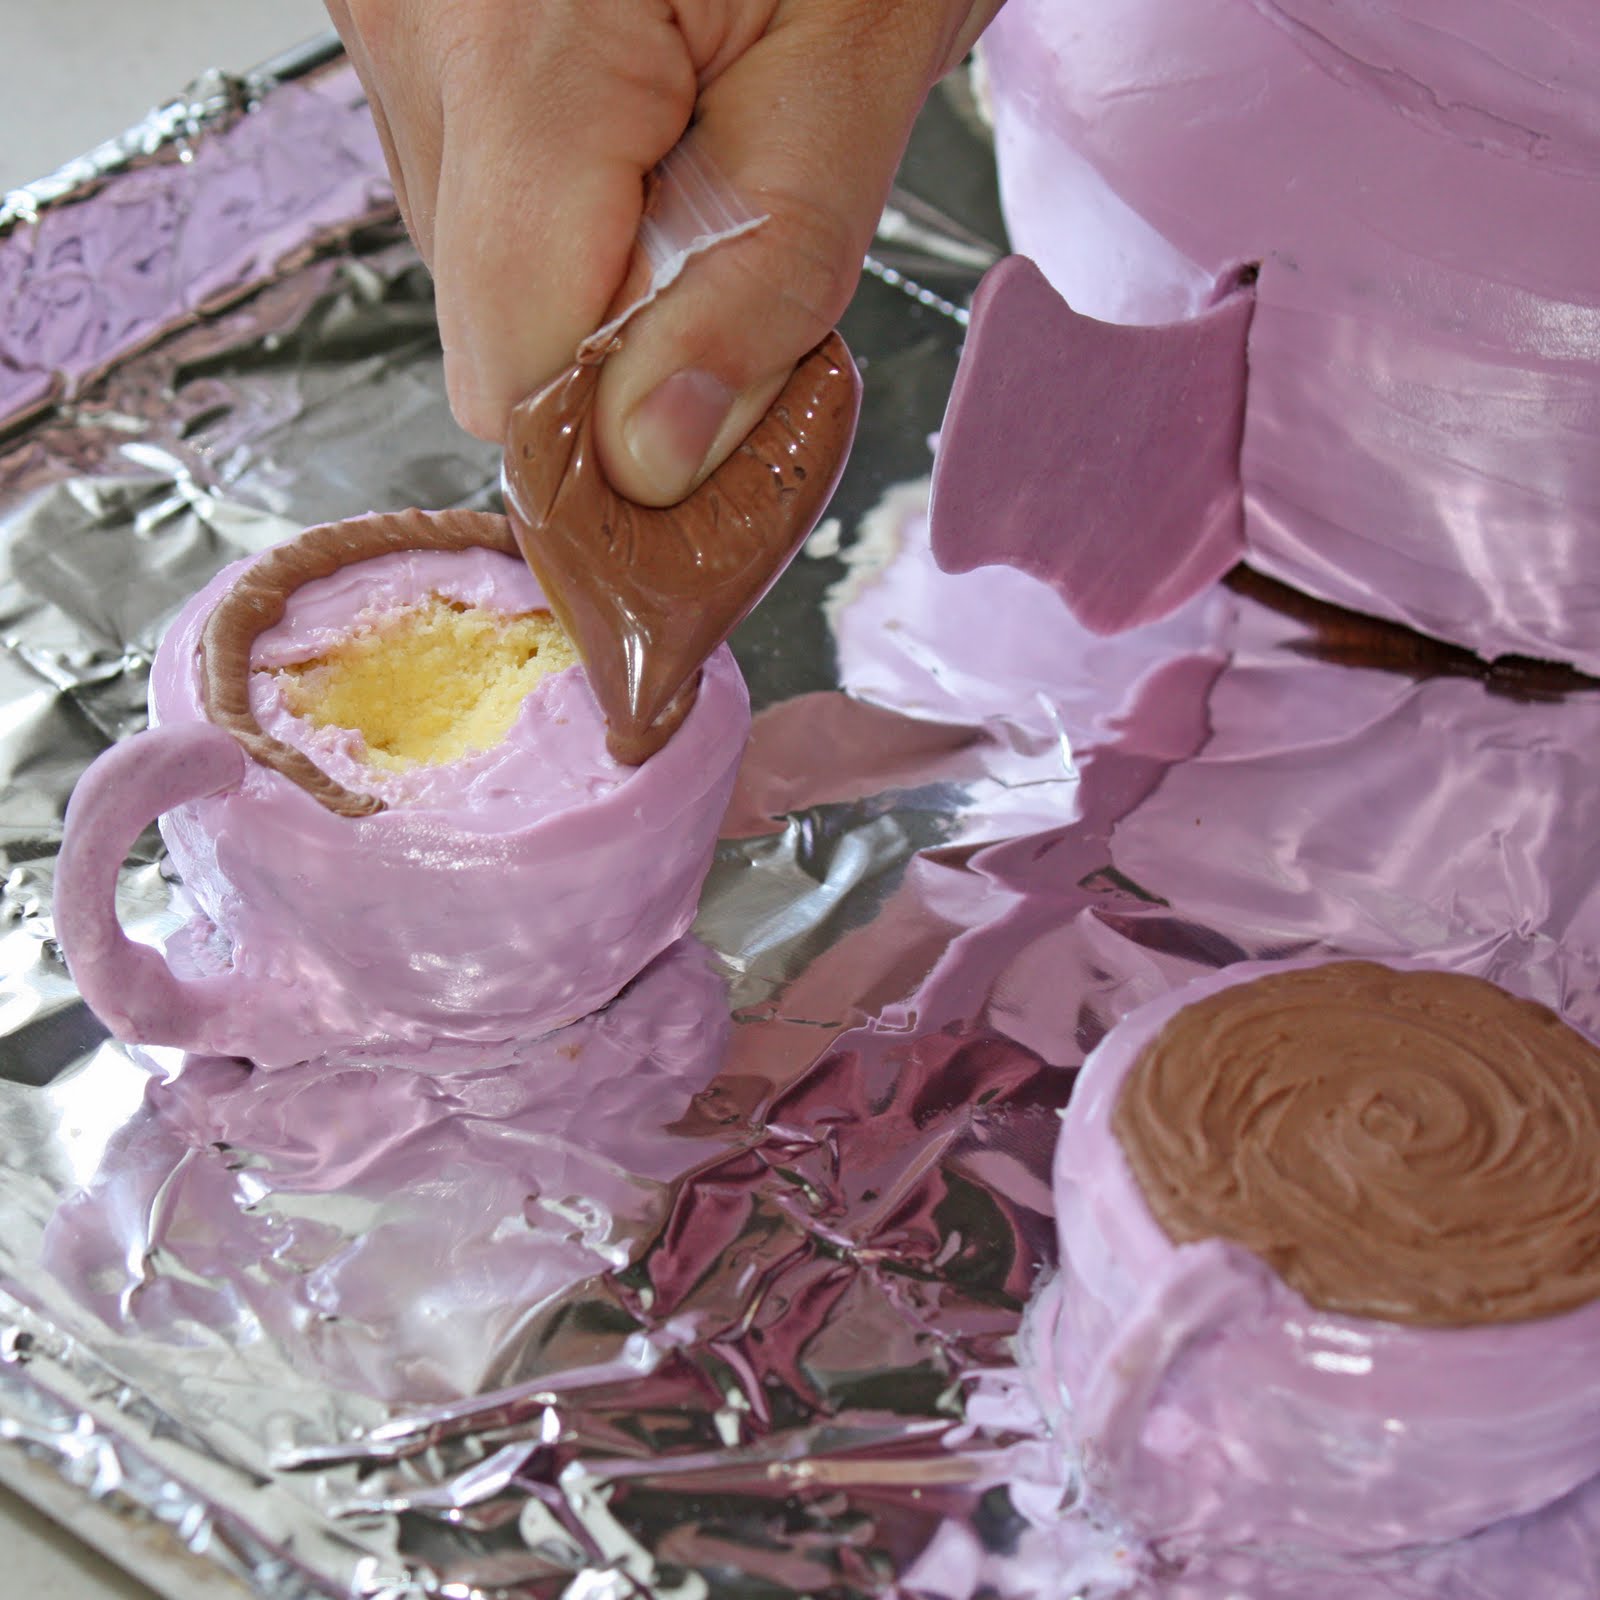 For the tea, I piped on some chocolate frosting. It is easier to out line it first. Good luck with this one!


Comment Below!