• Skip to primary navigation
  • Skip to main content
  • Skip to primary sidebar
  • Skip to footer
Stacy Risenmay
  • Home
  • About me
  • PRESS
  • Contact Me
  • My Book
    • Facebook
    • Instagram
    • Pinterest
    • Twitter
menu icon
go to homepage
subscribe
search icon
Homepage link
  • Home
  • About me
  • Project Gallery
  • Our House
  • PRESS
  • Contact Me
  • Privacy Policy
    • Facebook
    • Instagram
    • Pinterest
    • Twitter
  • ×

    Giant S'More Cake

    By Stacy 2 Comments

    Once upon a time I had a birthday blog. But then this blog took off, and the birthday blog domain got stolen, so I shut it down. I am transferring the cakes I made to this blog since I still get emails about them :)

    The Giant S'More Cake

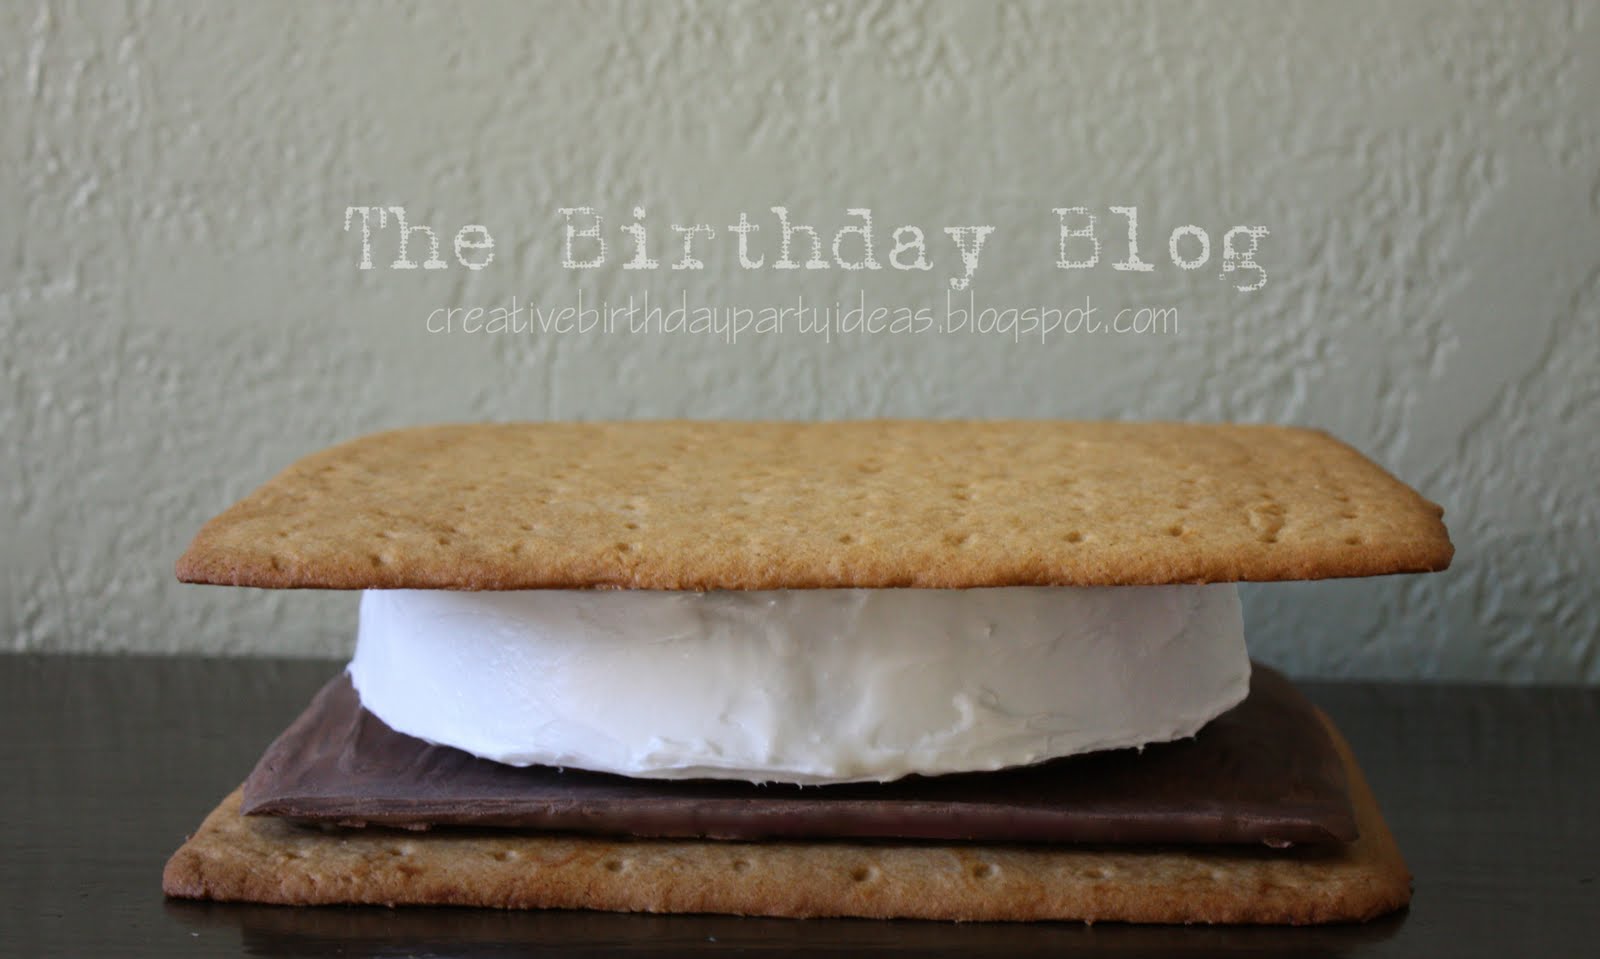
    My niece wanted to go up the canyon for a BBQ for her 10th Birthday. My sis in law asked if I would surprise her with a giant s'more cake. I thought it would be a fun challenge.
    This cake would be fun for the camping party!

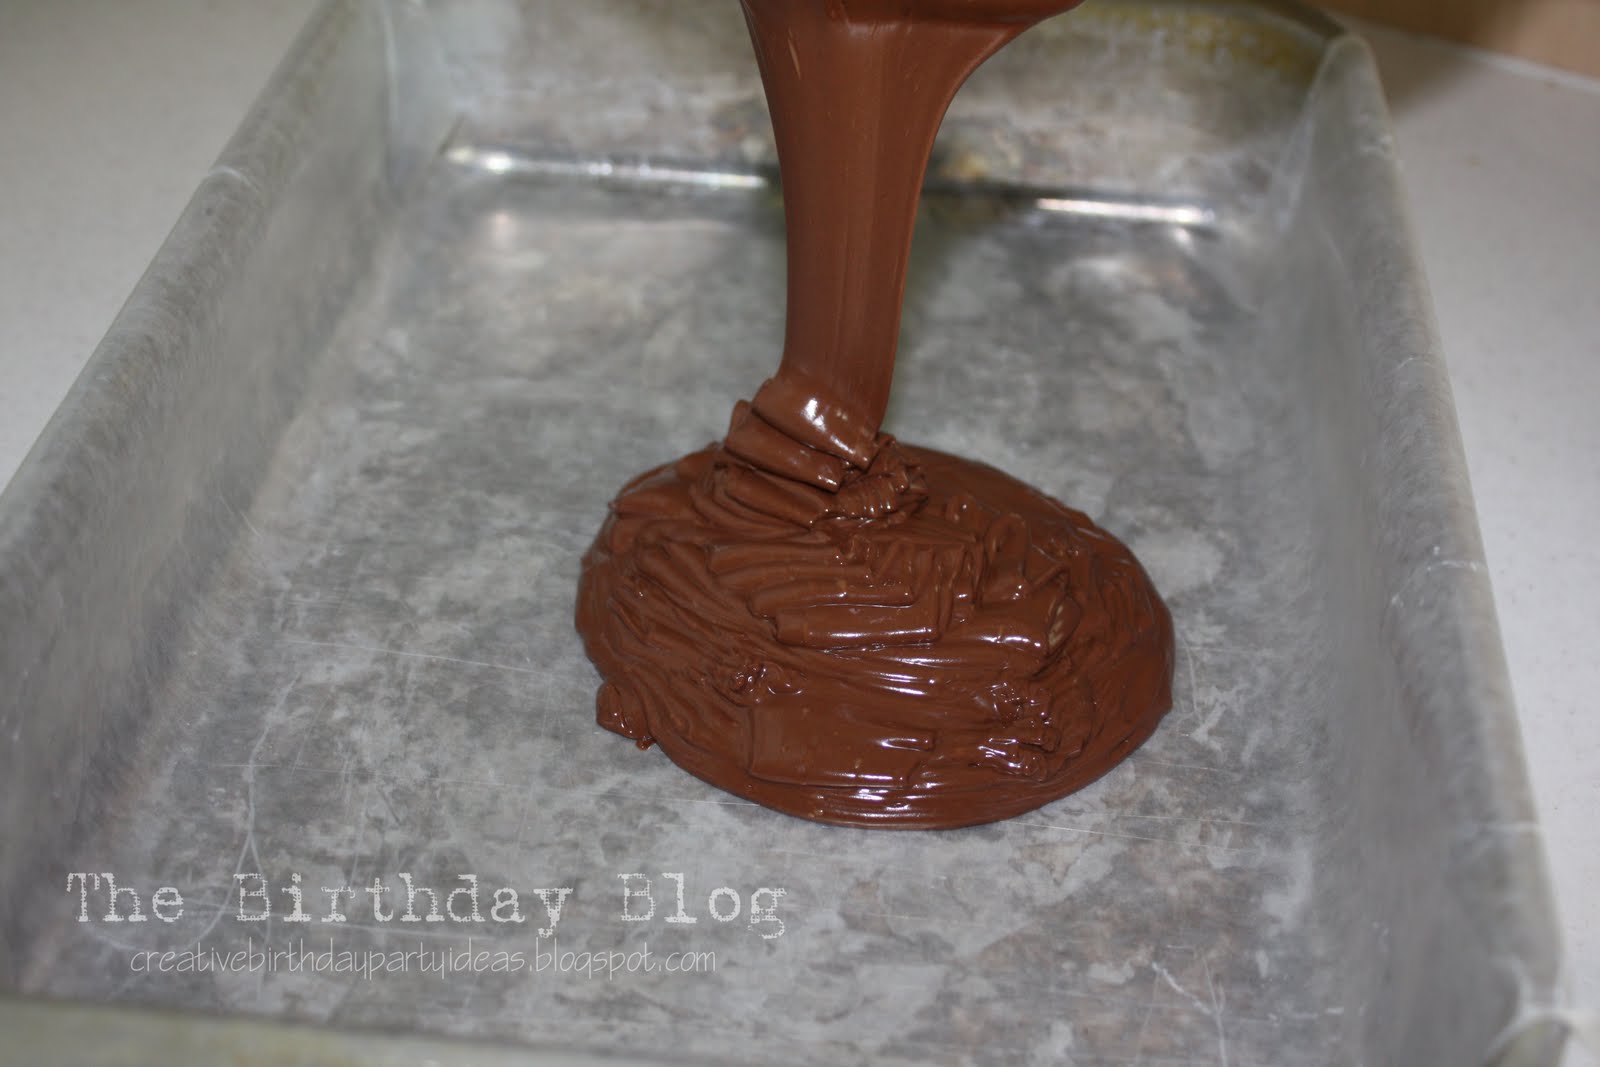
    I chose to use actual chocolate for the s'more. If you don't want to deal with melting it down and everything, you could also use chocolate frosting.
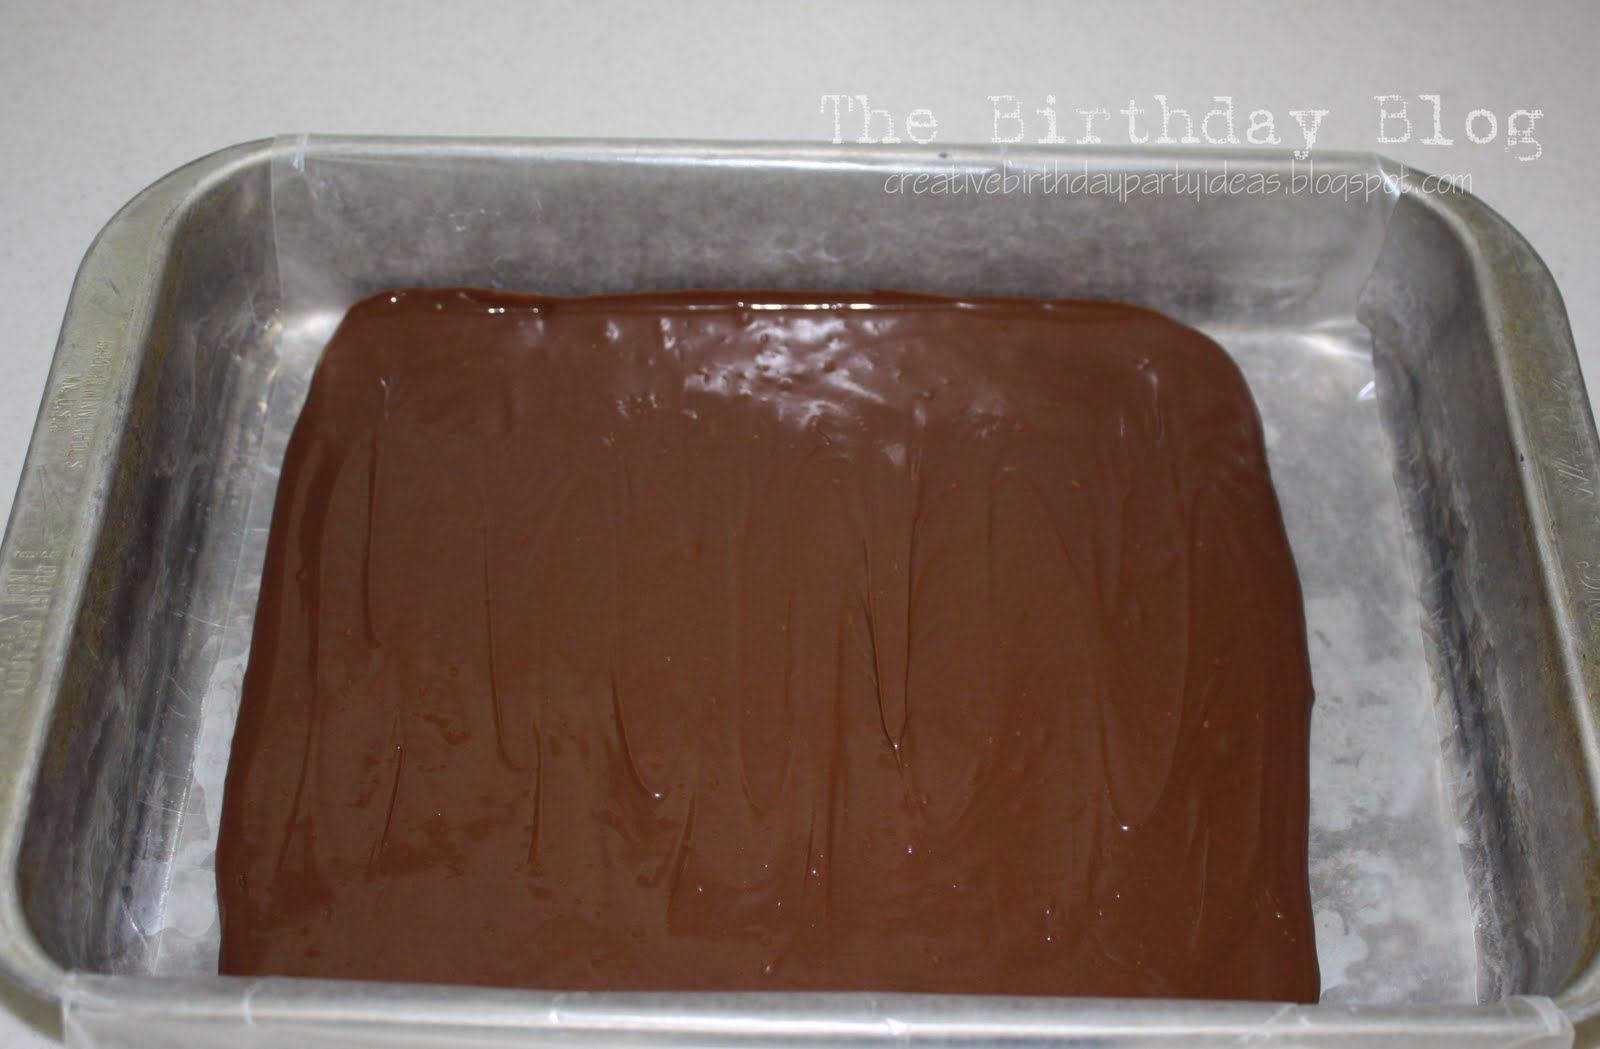
    I melted a large bag (24 oz) of chocolate chips. I put them in a bowl and microwaved them for 30 seconds. stirred, and then 10 more seconds. There will be some chunks and that is good. Keep stirring until it is smooth and then pour it into a pan lined with wax paper. Let it set up. It may take several hours. After it hardens if it has streaks use this trick I learned from the food network. Get a dry rag and "buff" the chocolate. The streaking is usually only on the surface and you can lessen the streaks by doing this.

    I came up with a homemade graham cracker recipe.
    2 sticks of butter
    1 cup brown sugar
    ½ cup dark corn syrup
    Cream these together and then add
    2 tsp baking soda
    4 cups flour
    4 tablespoons water
    chill for 30 minutes before rolling out
    This dough is so yummy! And since it doesn't have raw egg it is safe to eat. It tastes like cookie dough :)

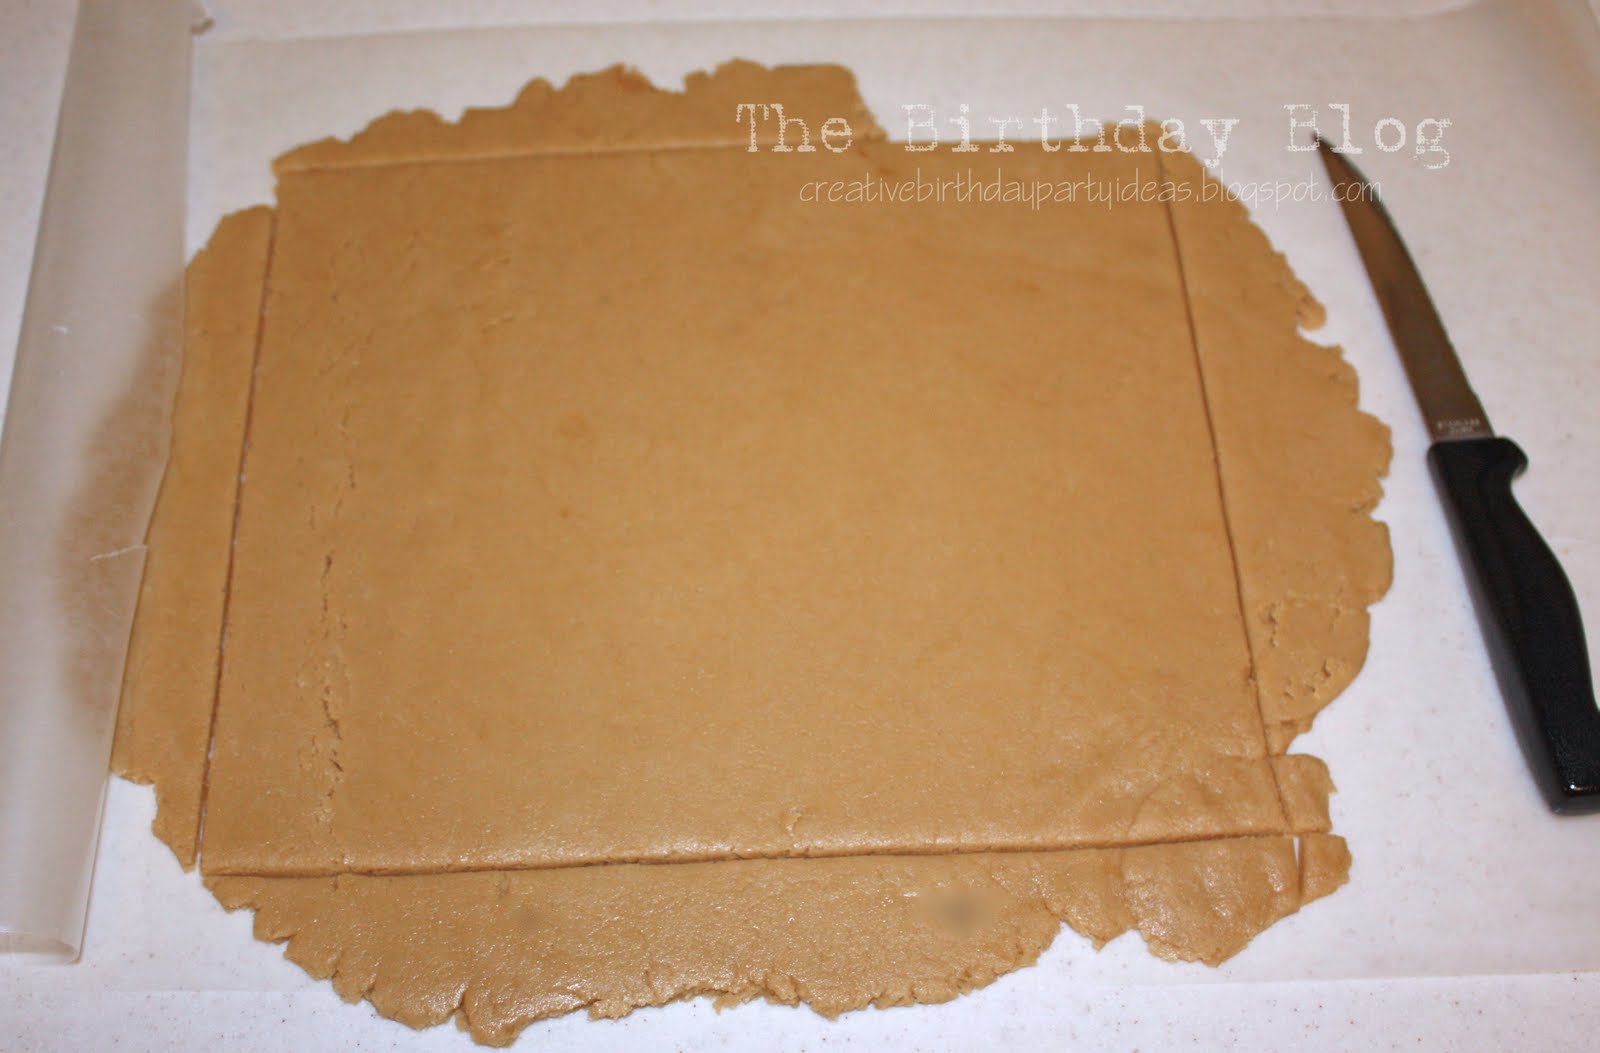
    I cut mine to be about 9 inches by 10 inches. You can use an 81/2 x 11 piece of paper as a guide if you are worried about it being straight.

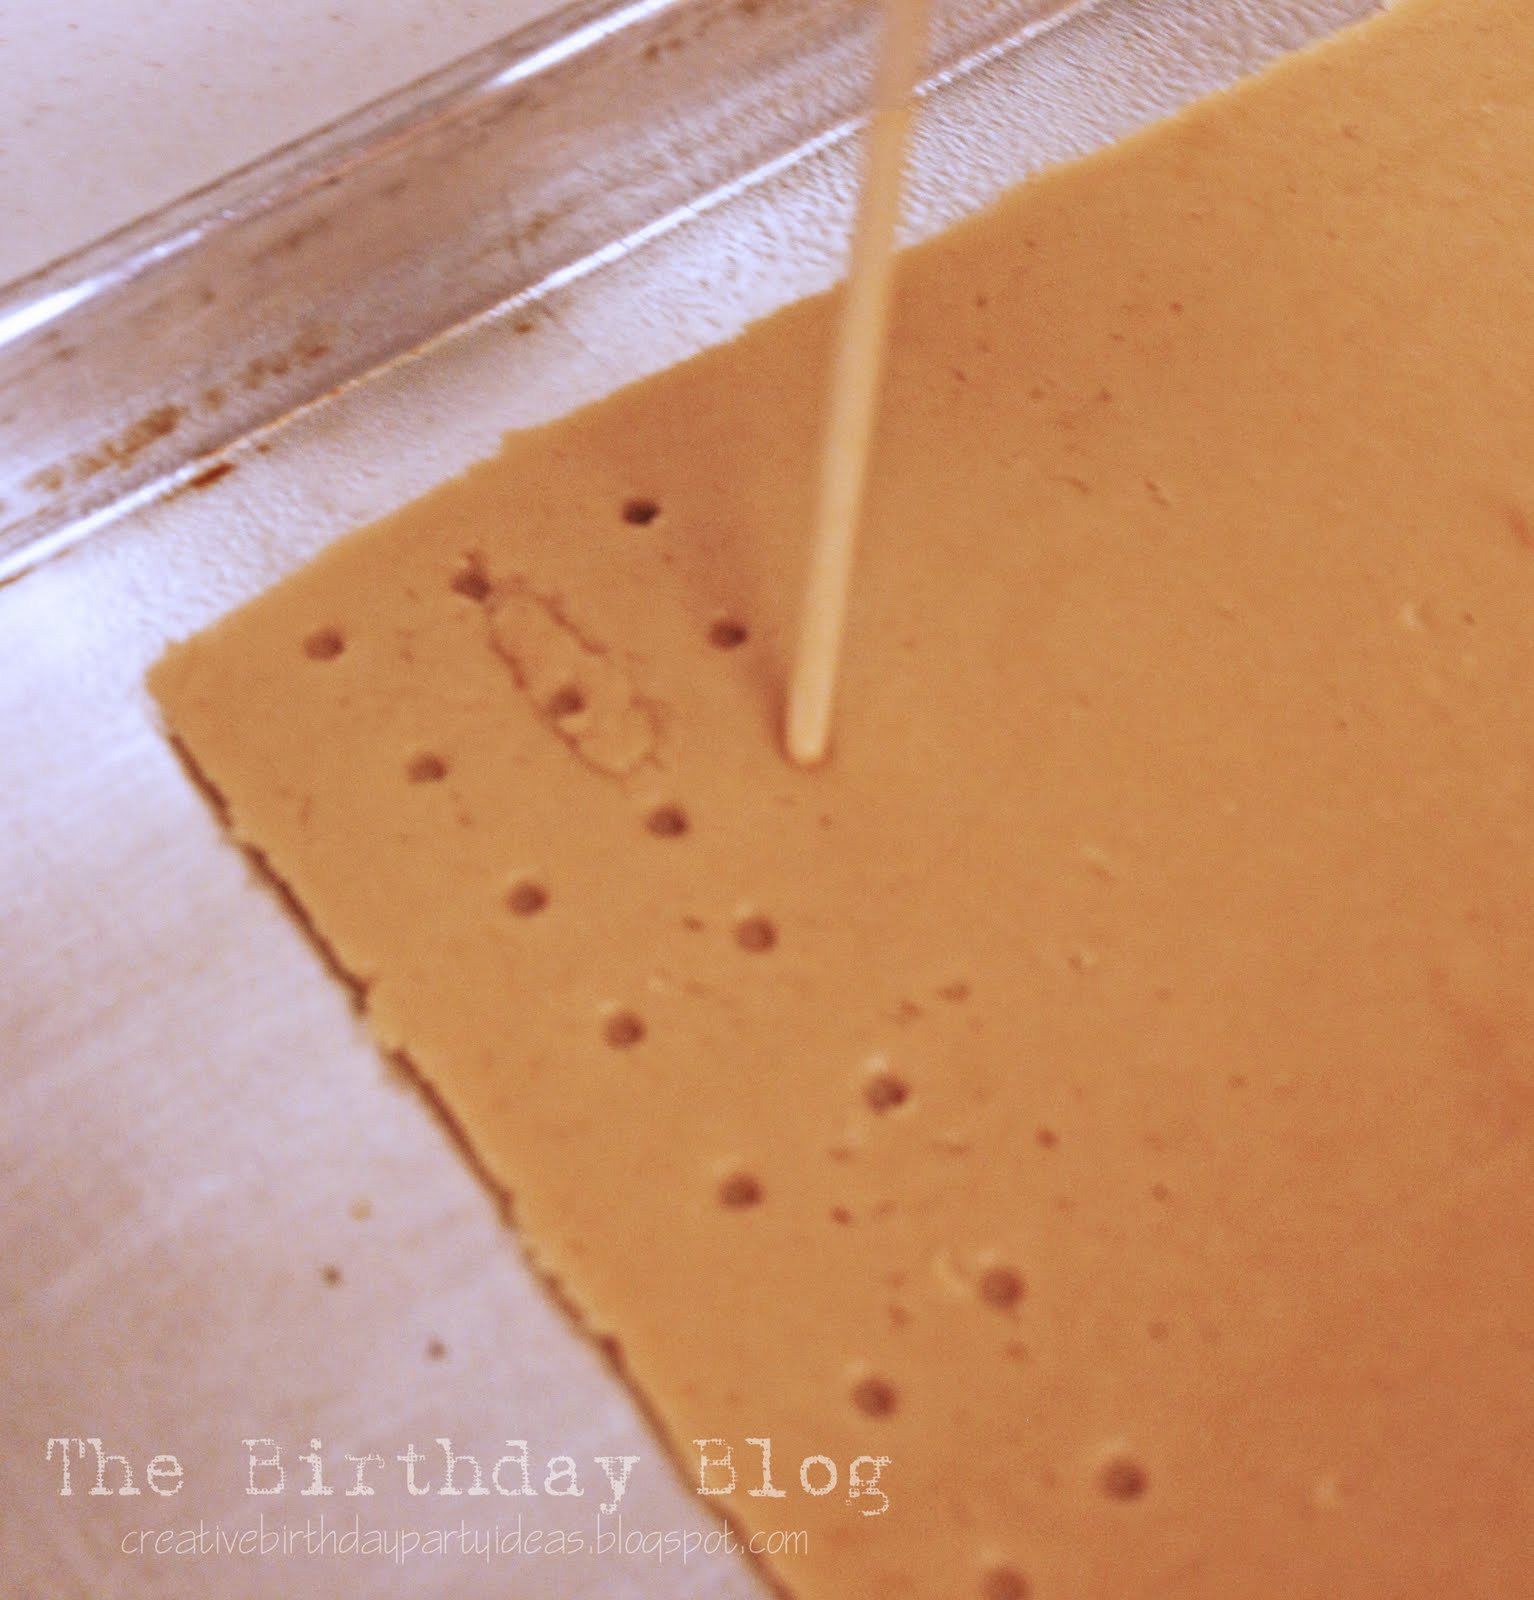
    I used the flat end of a wood skewer (kabob stick) to make that pattern like on a real graham cracker.

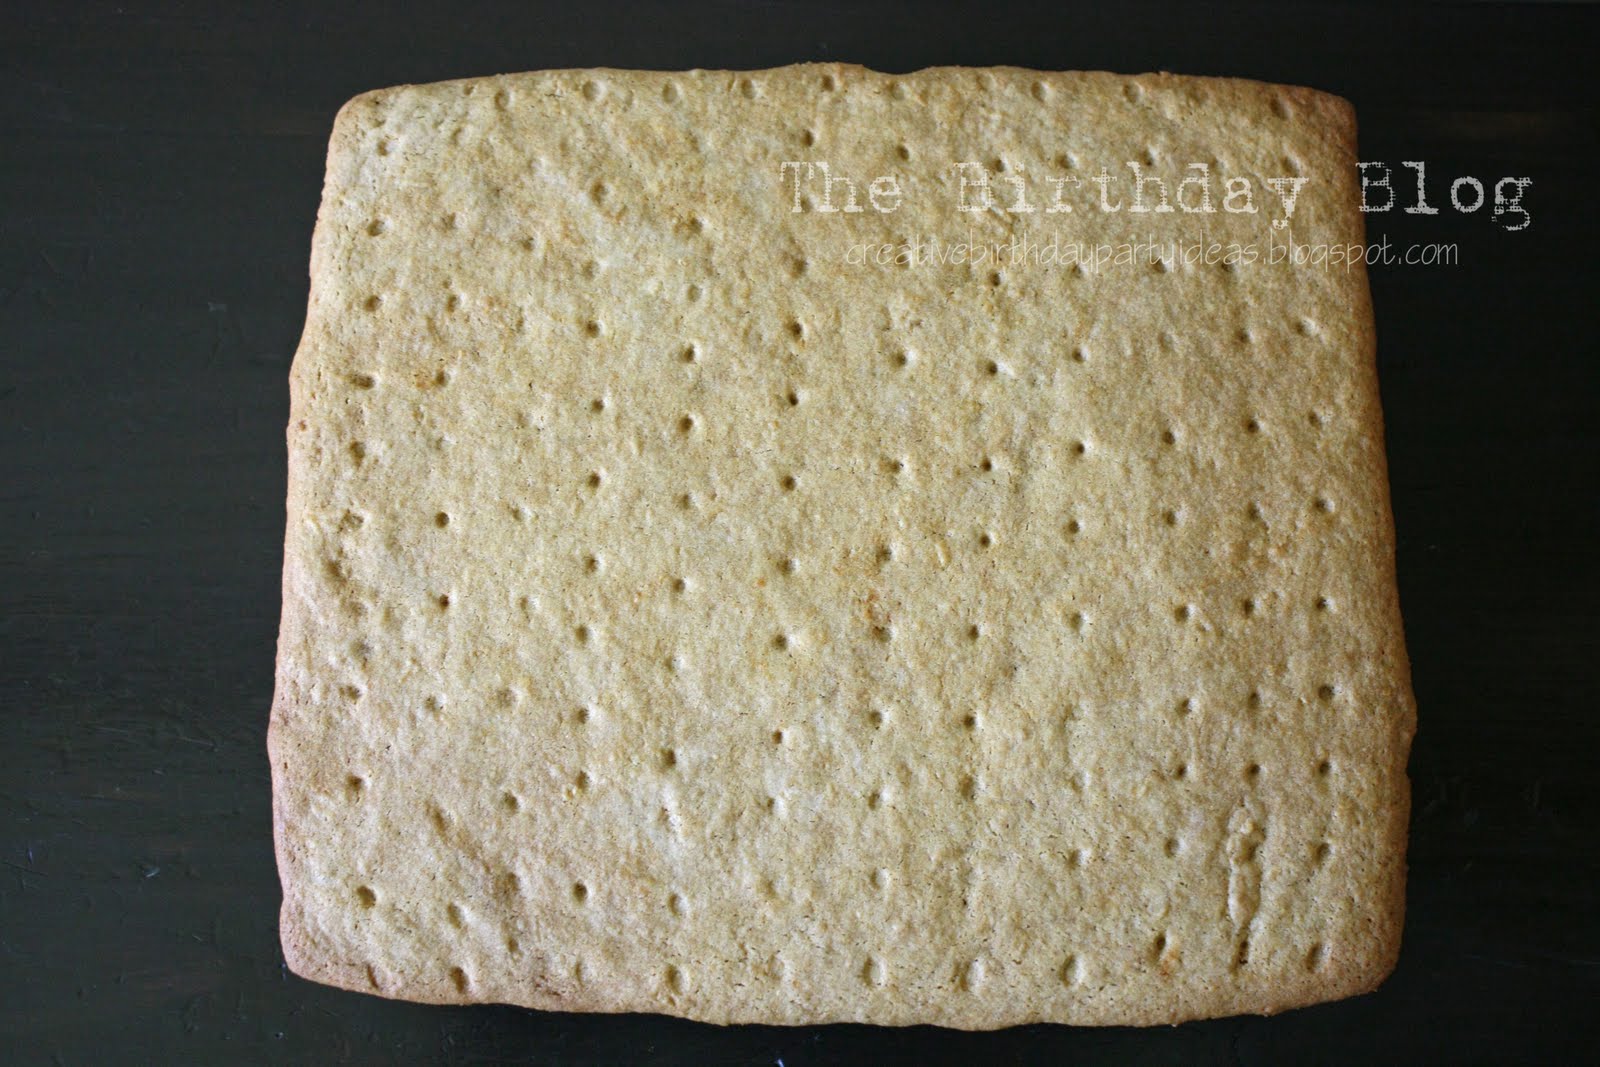
    Bake each cracker for 15 minutes each at 375 degrees.  This way they will be hard enough to hold their shape and crunchy like a cracker. If you want it softer (like a sugar cookie) bake it for less time.

    I made one round cake and frosted it with white frosting. If you are feeding a lot of people and want more cake, make 2 round cakes and stack them. It would be yummy to put marshmallow cream  in between the cakes!

    You will also like:

    • Dining Room Update {French Country}Dining Room Update {French Country}
    • Barn Wood LampBarn Wood Lamp
    • My most embarrassing moment.....My most embarrassing moment.....
    • Bathroom Reveal!!!Bathroom Reveal!!!
    • Why I went to Iowa.....Why I went to Iowa.....
    • DIY Valentines WreathDIY Valentines Wreath
    • Our Backyard PlansOur Backyard Plans
    • Rainbow GardenRainbow Garden

    « Teapot Cake
    Monkey Cake »

    Filed Under: Cakes, Kids Activities 2 Comments

    Subscribe

    for your weekly DIY fix.

    Reader Interactions

    Comments

    1. Demara

      August 11, 2014 at 8:42 am

      Just a couple of questions-
      I am assuming that the recipe makes enough for both crackers? About how thick do you roll it out?
      Thanks- think my boys will love it!

      Reply

    Trackbacks

    1. Smores Recipe Round Up says:
      May 22, 2013 at 6:00 am

      [...] NotJustAHousewife [...]

      Reply

    Comment Below! Cancel reply

    Your email address will not be published. Required fields are marked *

    This site uses Akismet to reduce spam. Learn how your comment data is processed.

    Primary Sidebar

    stacyHey! I'm Stacy and am a DIY addict. I love to get my hands dirty, whether it's sawdust, paint, or dirt. My goal is to help YOU learn to fix up your home and yard. No matter the style or size, I think everyone should love their home. And it doesn't takes a big budget to get there. Let's DIY together!

    Subscribe to My Blog!

    Search this site

    categories


    Subscribe

    Footer

    Welcome! I'm sharing our adventures as we fix up our 1938 cottage. Whether it is big or small, I think everyone should love their home and I don't think it takes a lot of money to make a space your own

    About Stacy

    • Facebook
    • Instagram
    • Pinterest
    • Twitter

    My Favorites

    copyright

    All images and content are copyrighted via Stacy Risenmay unless otherwise stated. If you'd like to share my work, please link back to this blog.
    Thank you for visiting!


    Footer

    ↑ back to top

    About

    • Meet Stacy
    • Privacy Policy
    • Contact

    Categories 

    • Home Decor
    • Outdoor Projects & Gardening
    • DIY & Tutorials
    • Kid Activities
    • Recipes
    • Travel
    • Cleaning
    • Houseplants
    • Staining
    • Painting
    • Power Tools
    • Holiday Ideas

    Newsletter

    • Sign Up! for emails and updates

    As an Amazon Associate I earn from qualifying purchases.

    Copyright © 2020 Brunch Pro on the Brunch Pro Theme


    Privacy Policy
    Welcome! Thanks for visiting.
    Hi! I'm Stacy and I want to help YOU become a DIY rockstar! Sign up for my email list so each project, tip, and trick will go directly to your inbox :)
    Your information will *never* be shared or sold to a 3rd party. Pinky promise :)
    Welcome!
    Hi! I'm Stacy and I blog about fixing up our 1938 cottage. Join the thousand of others who get my posts sent to their inbox for FREE!
    Your information will *never* be shared or sold to a 3rd party.