

It is that time of year when many are hosting dinners for the holidays. I thought it would be fun to share some DIY napkin ring ideas for your next table setting. Customize your place settings with these easy DIY napkin rings. They are the perfect addition to your holiday table decor!
This post contains affiliate links.
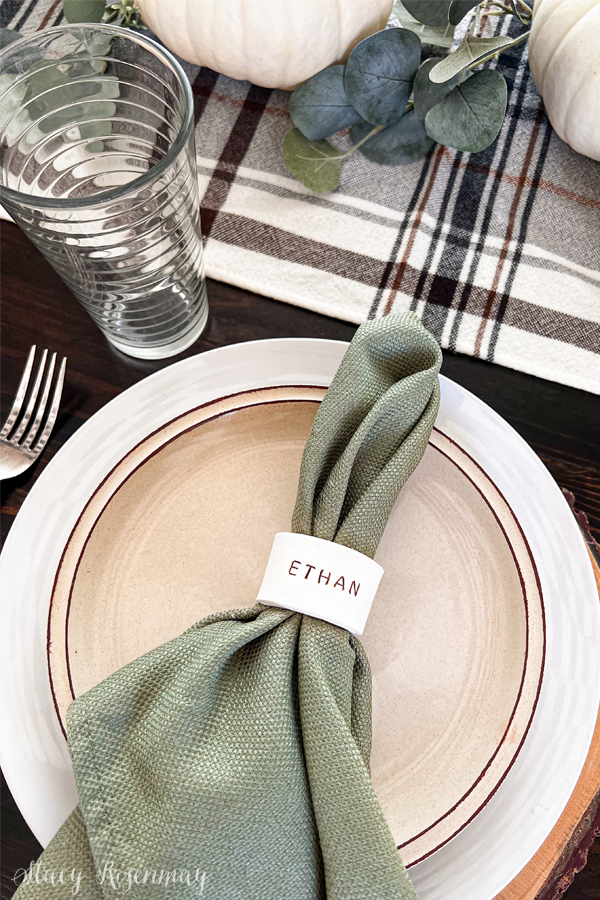
Napkin Ring Ideas
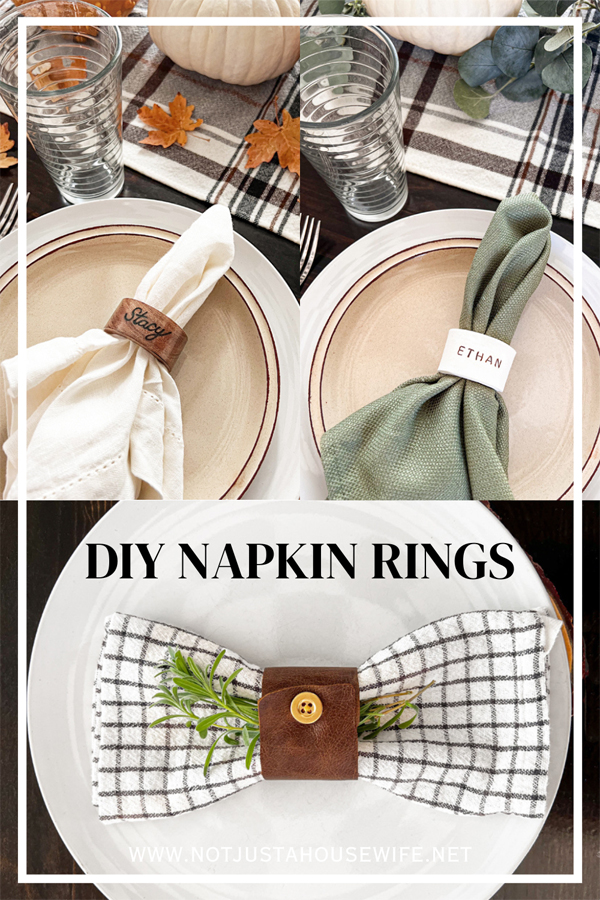
Whether you are hosting just a few, or you have a house full, these napkin rings are simple to make and are a great way to elevate your cloth napkins. They are such easy ideas that anyone can make. With just a few craft supplies, I have created 3 versions with different materials but now my mind is full of other ideas too!
Wood Burned Napkin Rings
Wood napkin rings are super affordable and since they come stained and sealed already, this is a super simple project. It won't take long to customize these wood ring napkin holders. If you have really nice handwriting, you can freehand it. I decided to write it on the wood napkin ring with a pencil before trying to wood burn it.
I couldn't find my really pointy tip, so I used this rounded tip which ended up working really well. A wood burner is a very inexpensive tool that I think all crafters should have.
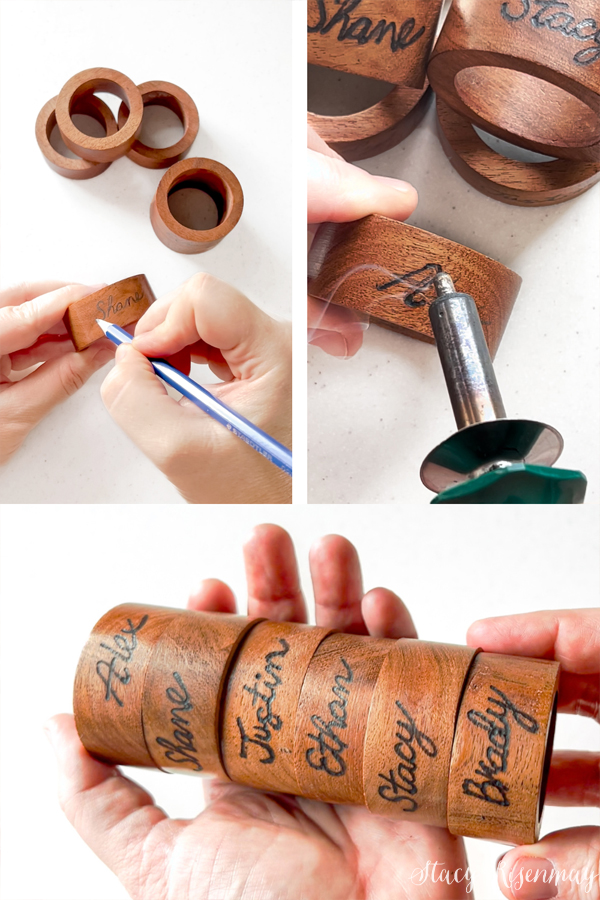
Once you are done wood burning, you can erase any pencil marks that are showing to clean it up.
You can also use wood burning letter sets. I have used them for other wood burning crafts in the past. Last year I shared some wood burned plate chargers that went viral on social media. So many of you shared your versions with me and I loved it. Wood burning is a fun DIY project to do. I have also made reusable wood burned gift tags.
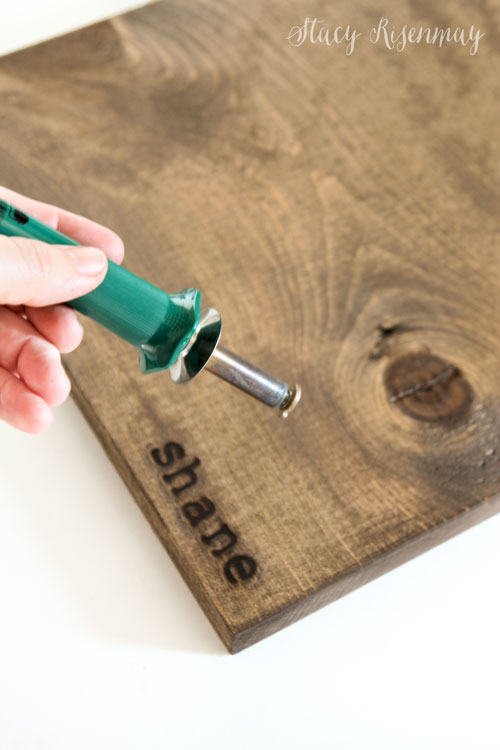
I like the idea of using the names of your guests, but you could also wood burn holiday related words into the napkin rings. These beautiful napkin rings are sure to make your guest smile.
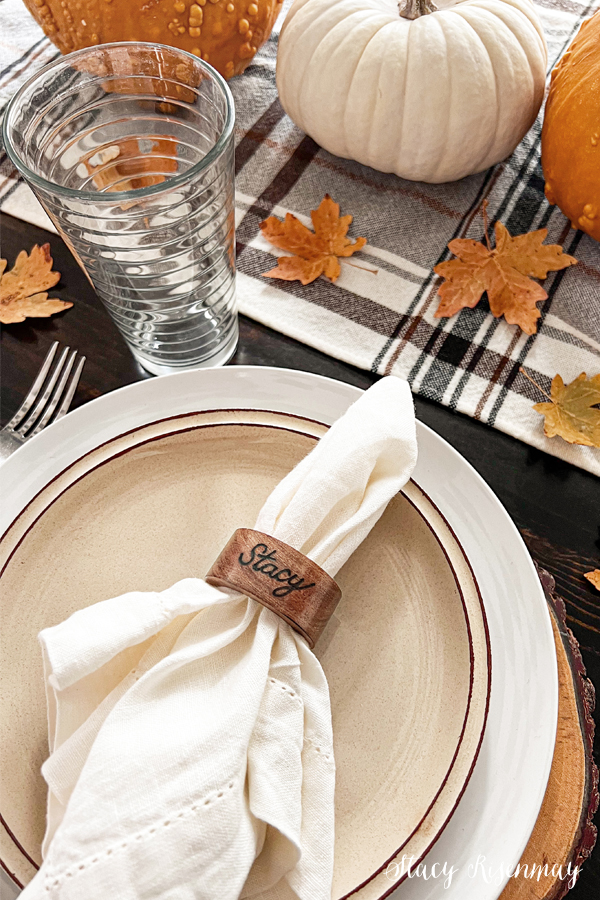
Clay Stamped Napkin Rings
I love using polymer clay! It is easy to work with, it never dries out, and once you bake it it is hard and paintable. For these napkin rings, I rolled out the clay into an inch thick "snake" and then used a rolling pin to rolled it flat. I made sure it was about ¼" thick.
Use a ruler or straight edge and a knife to cut the edges. Then cut the clay to be 5 inches long.
It is time to add the letters into the clay with these metal letter stamps! You can choose to do the names of your guests, or you can use seasonal words like "blessings", thankful", "celebrate", or "merry".
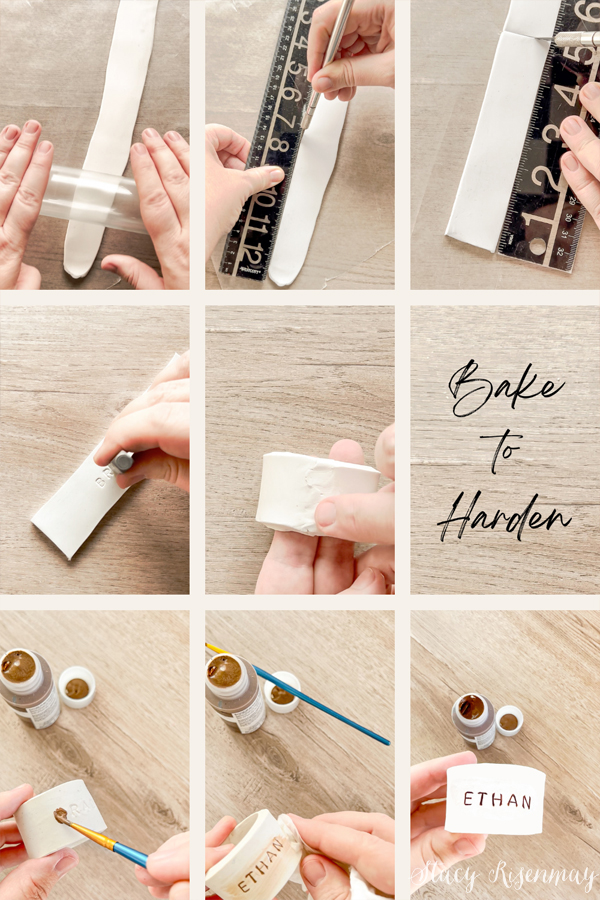
To help the words stand out more, I like to add paint. Once you wipe it off, the paint is removed from everywhere but the impressions of the letters. I used brown this time, but other paint colors like gold and silver are beautiful choices too! It is such a simple napkin ring idea, but a personal touch makes a big impact.
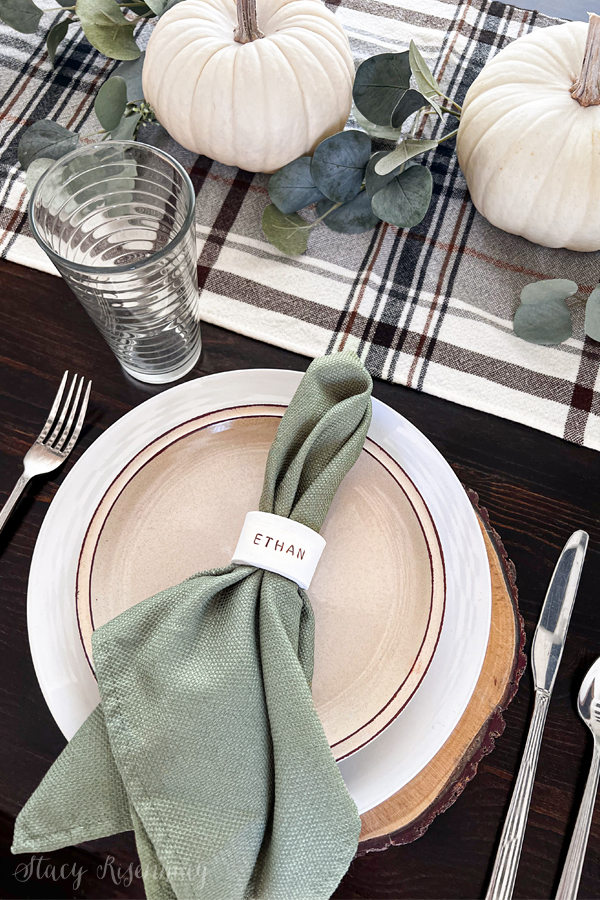
These metal stamp letter sets are so fun to use for clay. I have made christmas ornaments and gift tags as well.
Leather Napkin Rings
Remember when our old couch broke and wore out so we cut all the leather off? We saved it in a tote and have spent the past several years using it for all kinds of projects with it. One of my favorites was this leather woven pillow. We are finally down to the last bits of scraps. This was the perfect project for the small scraps I have left. You can buy pieces of leather (or faux leather) online as well.
You can use scissor to cut the leather but I like to use a rotary cutter and a straight edge. I made these leather strips 6 inches long since the ends would overlap.
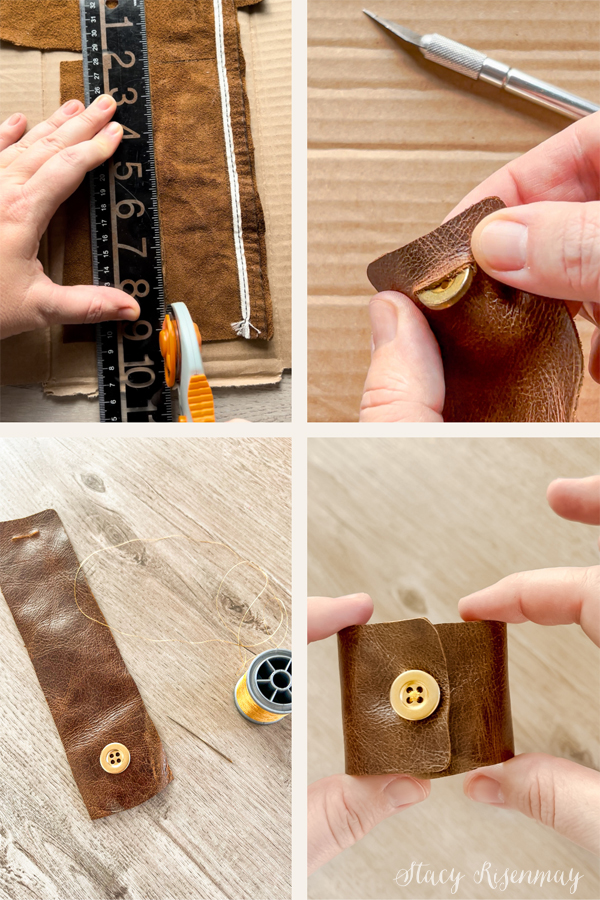
Use a razor blade knife to cut a slit in one end for the button. Test to make sure the button will fit through the hole. You want it to be kind of snug. Once the slit is cut, you will sew on your button to the opposite end of the leather strip.
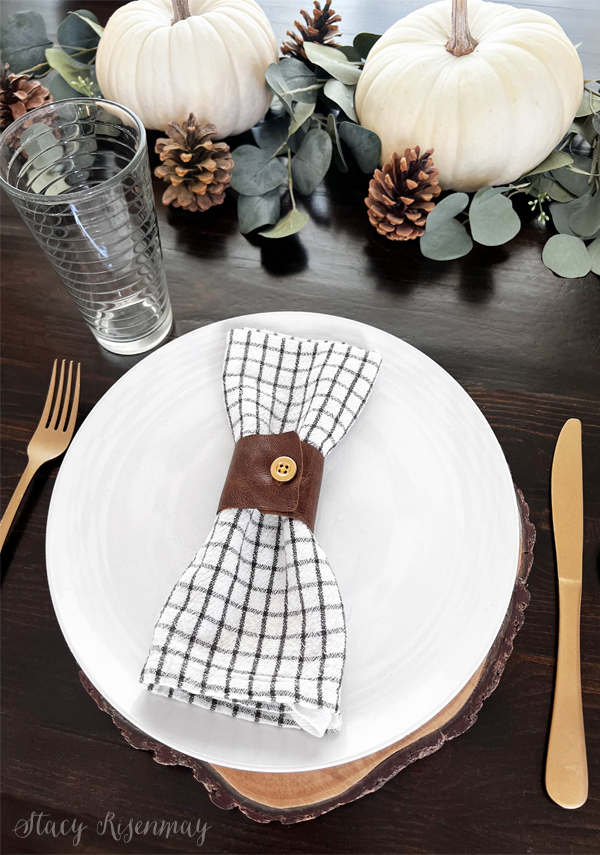
Then simply button it up and you have a leather napkin ring! These gorgeous napkin rings great with greenery or fresh flowers tucked inside. Fall leaves, cinnamon sticks, or faux flowers from the craft store would work too.
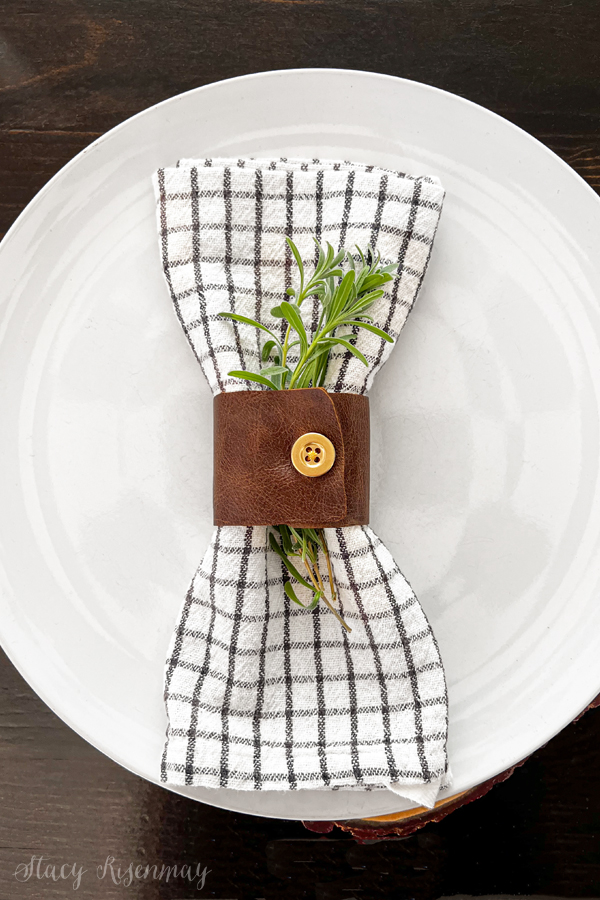
Whether you use these for your Thanksgiving table, Christmas, Hanukkah, or any other special occasion dinner party, they give your dining table that extra touch to make your guests feel special. This holiday season, consider creating your own napkin rings! Get creative and make your own versions.
PIN For Later:




Love all the rings. Great job as usual.