

Saving seeds from the flowers and vegetables we have grown as home gardeners is a great way to save money. We can also share them with neighbors and friends who garden. In my area, there are even meetups call seed swaps or seed savers exchange! But there are some important things to know before you can start saving seeds for the next year. Here is how to collect and save seeds!
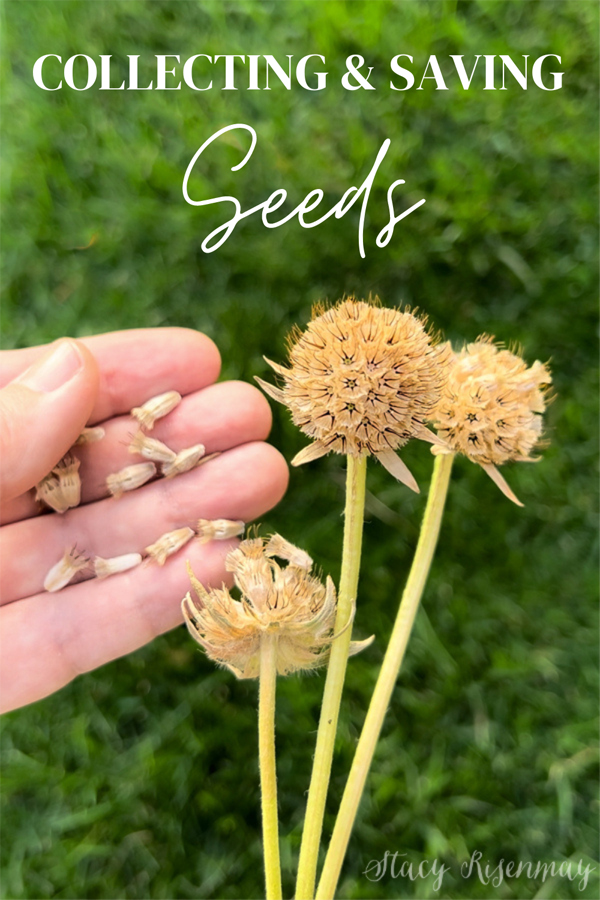
How To Collect And Save Seeds
It will never cease to amaze me that you can place a tiny seed into the ground and it will grow a large plant that produces FOOD! Or flowers or trees or anything green and living. I get the science behind it, it just seems so beautifully mind blowing. So I guess it makes sense that it takes some knowledge and care to get it right when it comes to not just growing, but in also collecting and saving the seeds for use the next year.
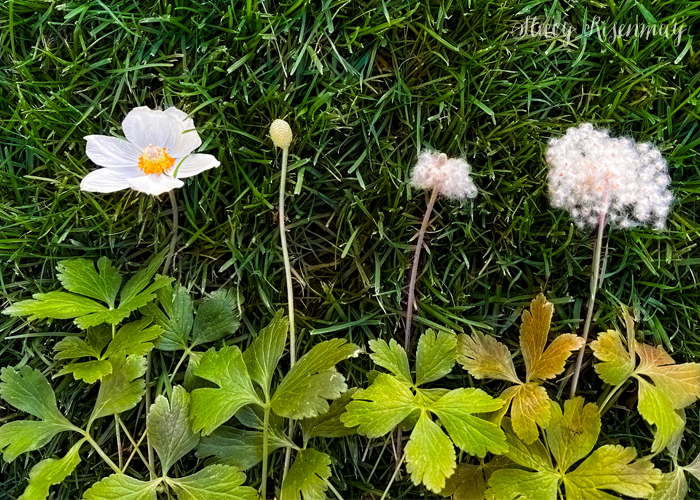
Hybrid VS Heirloom
The most important thing when saving seeds from your garden is to choose a seed or plant that is not a hybrid variety. When you see "hybrid"on the seed packet it means that the genetics of the plant have been altered by combining the characteristics of two types of that plant. Hybrid plants are great because they usually result in plants that have more disease resistance or create a new color or variety. However, if you save seeds from a hybrid, you will not get a plant that produces like the one you collected from. In fact, some may not grow at all. The results are going to be unpredictable.
If you plant non-hybrid or an heirloom seed (open-pollinated varieties) you can save the seeds from that harvest each year and always get the same results as the parent plants. Seeds packets will be labeled so you can tell if it is a hybrid or not. So the first thing to know before collecting seeds, is knowing the seed type.
Hybridization can also occur naturally in your own garden when cross pollination occurs. Cross pollination is when pollen from one plant pollinates a flower of a different plant which can result in the characteristics of two different varieties being combined in next years plant. This is something else you need to be aware of before choosing which seeds to collect and save. For example, if you plant multiple kinds of pumpkins and you save seeds from them, the next year you may or may not get true to what you had the previous year. You may end up with odd varieties that I like to call frankenstein pumpkins. If you want a pumpkin that is true to the species, then collecting seeds may not be the best option unless you only planted one kind. But sometimes it's fun to experiment and see what you get!
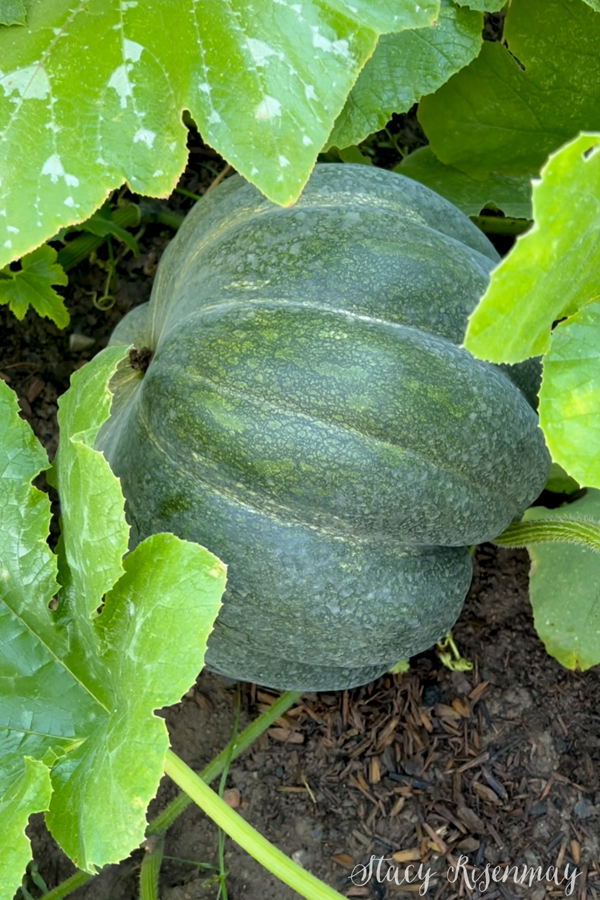
Let's break down which varieties of vegetables that can cross pollinate with others. Things in the broccoli family like cauliflower, cabbage, and brussels sprouts can cross pollinate if planted close together. Some melons will cross pollinate like honeydew and cantaloupe (but not watermelon). Peppers will cross pollinate with other types of peppers, and some types of squash cross pollinate with other squash.
As far as flowers go, for the most part, flowers cross pollinate within their own type. Like if you plant more than one color of zinnia or sunflower, it may affect the colors you get the second year.
It is important to note that the results of cross pollination happen the next season. It will not affect the first year crop.
Collecting the Seeds
When selecting a plant to save seeds from, pick one that is strong and disease free. Look for a plant that has a high yield (meaning it produced the most fruit). It will be tempting to save your very best for you to eat, but if you save the best from each plant, then your whole crop the next year will be as good as your best the year before. You will continue to improve your results from year to year.
Fruit & Vegetable seeds
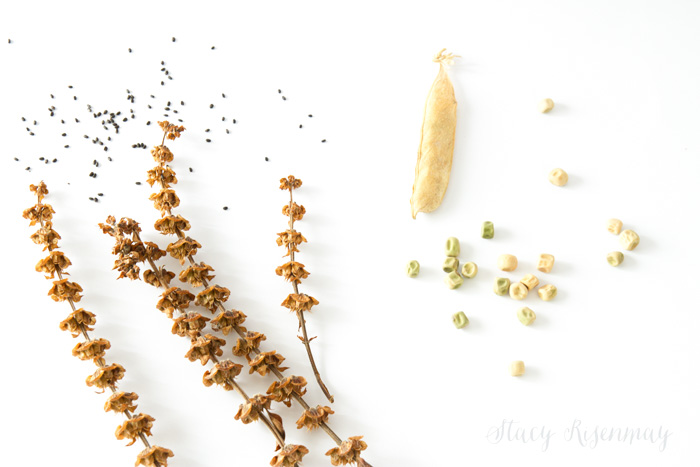
Wait for the fruit or vegetable to completely ripen before harvesting the seeds. The seeds need to be fully grown in order to germinate the following year. In some cases it means letting the fruit grow bigger and longer than you normally would let it like cucumbers, beans, and squash. With peas and beans, I leave them on the vine to dry out and pick them when they are yellowish tan and papery.
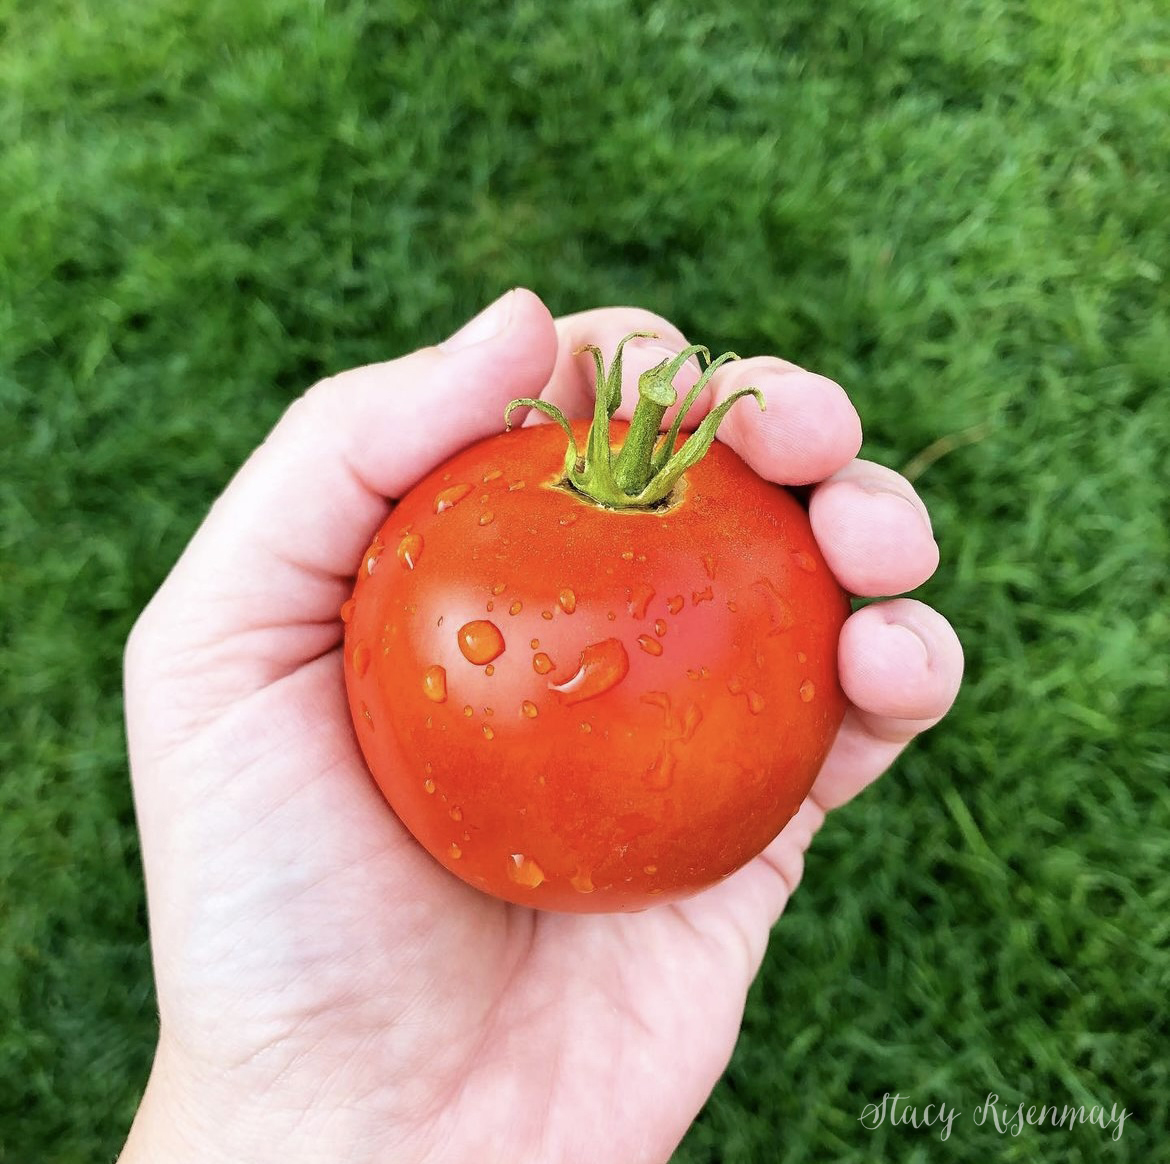
When I collect the "wet seeds" from things like pumpkins, squash, or cucumbers, tomato seeds, I wash the seeds and then dry them with a paper towel. I then lay them on a paper plate so they are not touching each other. I let them sit out on the counter for at least a week or two.
Another method is to add the seeds to a glass jar of water and let them sit for a few days at room temperature until the viable seeds (or good seeds) sink to the bottom. The rest of the stuff stays at the top of the jar. You may have to do some testing and trial and error. A lot will depend on the temperature and humidity in your home.
Herbs and Flowers
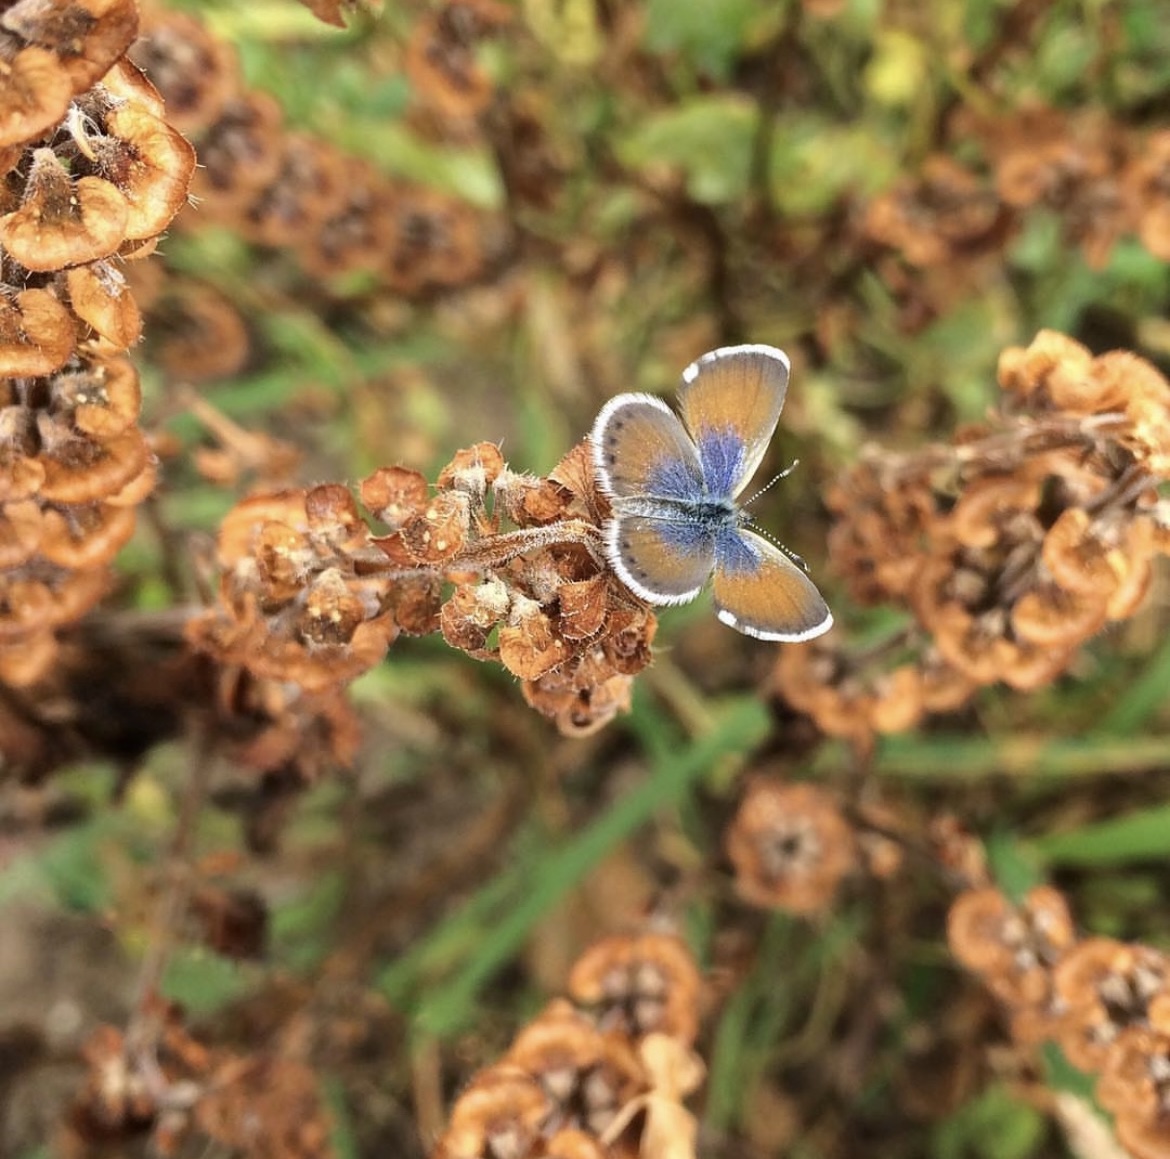
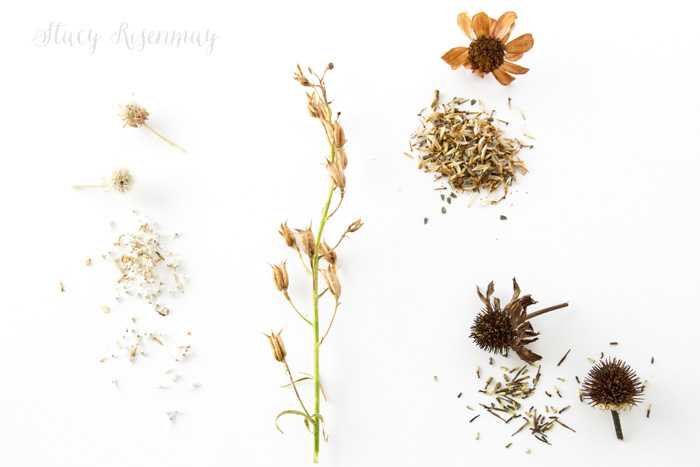
I wait until the flower head dies and dries out on its own. If the seed heads or seed pods are still green and pliable, they are not ready yet. The seeds need to be fully mature before they can be harvested.
When they are brown and brittle and the seeds easily come out or come off, that is the right time to harvest the seeds. I snip the flower heads or seed pods off and bring them inside. Some will produce teeny tiny round seeds (like the basil) and some will have larger flat seeds coming from the center of the flower (like zinnia flowers). You won't know if you have a hybrid seed until the next year. Sometimes it is fun to experiment and see what you get!
Seed Storage
When my son was younger, he wanted to collect some pea pods for himself. I left extra pods on the vine so he could have some too. Once the pea pods had dried on the vine, we picked them. I told him that he shouldn't put them in a plastic bags or they may mold. He loves putting treasures in baggies and didn't listen to me. Sure enough, even though the seed pods seemed dry, they molded. If you want to store the saved seeds in mason jars, plastic containers, or another airtight container, ensure that the seeds are 100% dry before you place them inside.
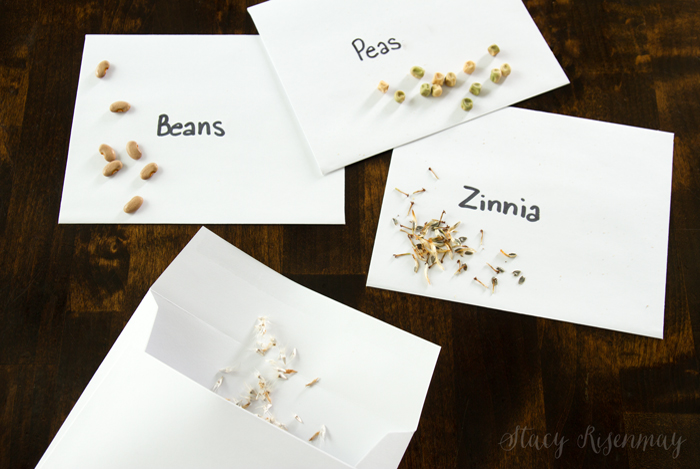
Once all the seeds are collected, (removed from flowers, fruit, or pod) and have been dried, I store them in paper envelopes or brown paper bag. The paper will breathe so it is less likely the seeds will mold. Plus it's easier to label them. I always add the date so I know when they were collected. I have used seeds that were a few years old before but beyond that they don't seem to germinate well. Each year the germination rate will go down because of age. Keep the dry seeds in a cool, dark place. You can also store them in your refrigerator for long term storage. Just ensure they really are all dried out because fridges can have high humidity.
Stratification
What is stratification? Some seeds need a period of very cold temperatures in order to germinate the next year. It is usually perennial flowers and herbs and some woody perennial bushes that need to be stratified. Annuals don't need any special treatment or stratification.
Sometimes it will say whether the seeds need a cold period on the seed packets but many times it does not, so it is a good idea to look up your specific seed type online before storing them away for winter.
There are several different ways you can stratify seeds. The first way is to place the seeds on a moistened paper towel, fold in half, and place in a plastic baggie. Then put the baggie in the fridge for up to three months. Do this 1-3 months before you plan on planting them. The time will depend on the variety of seed.
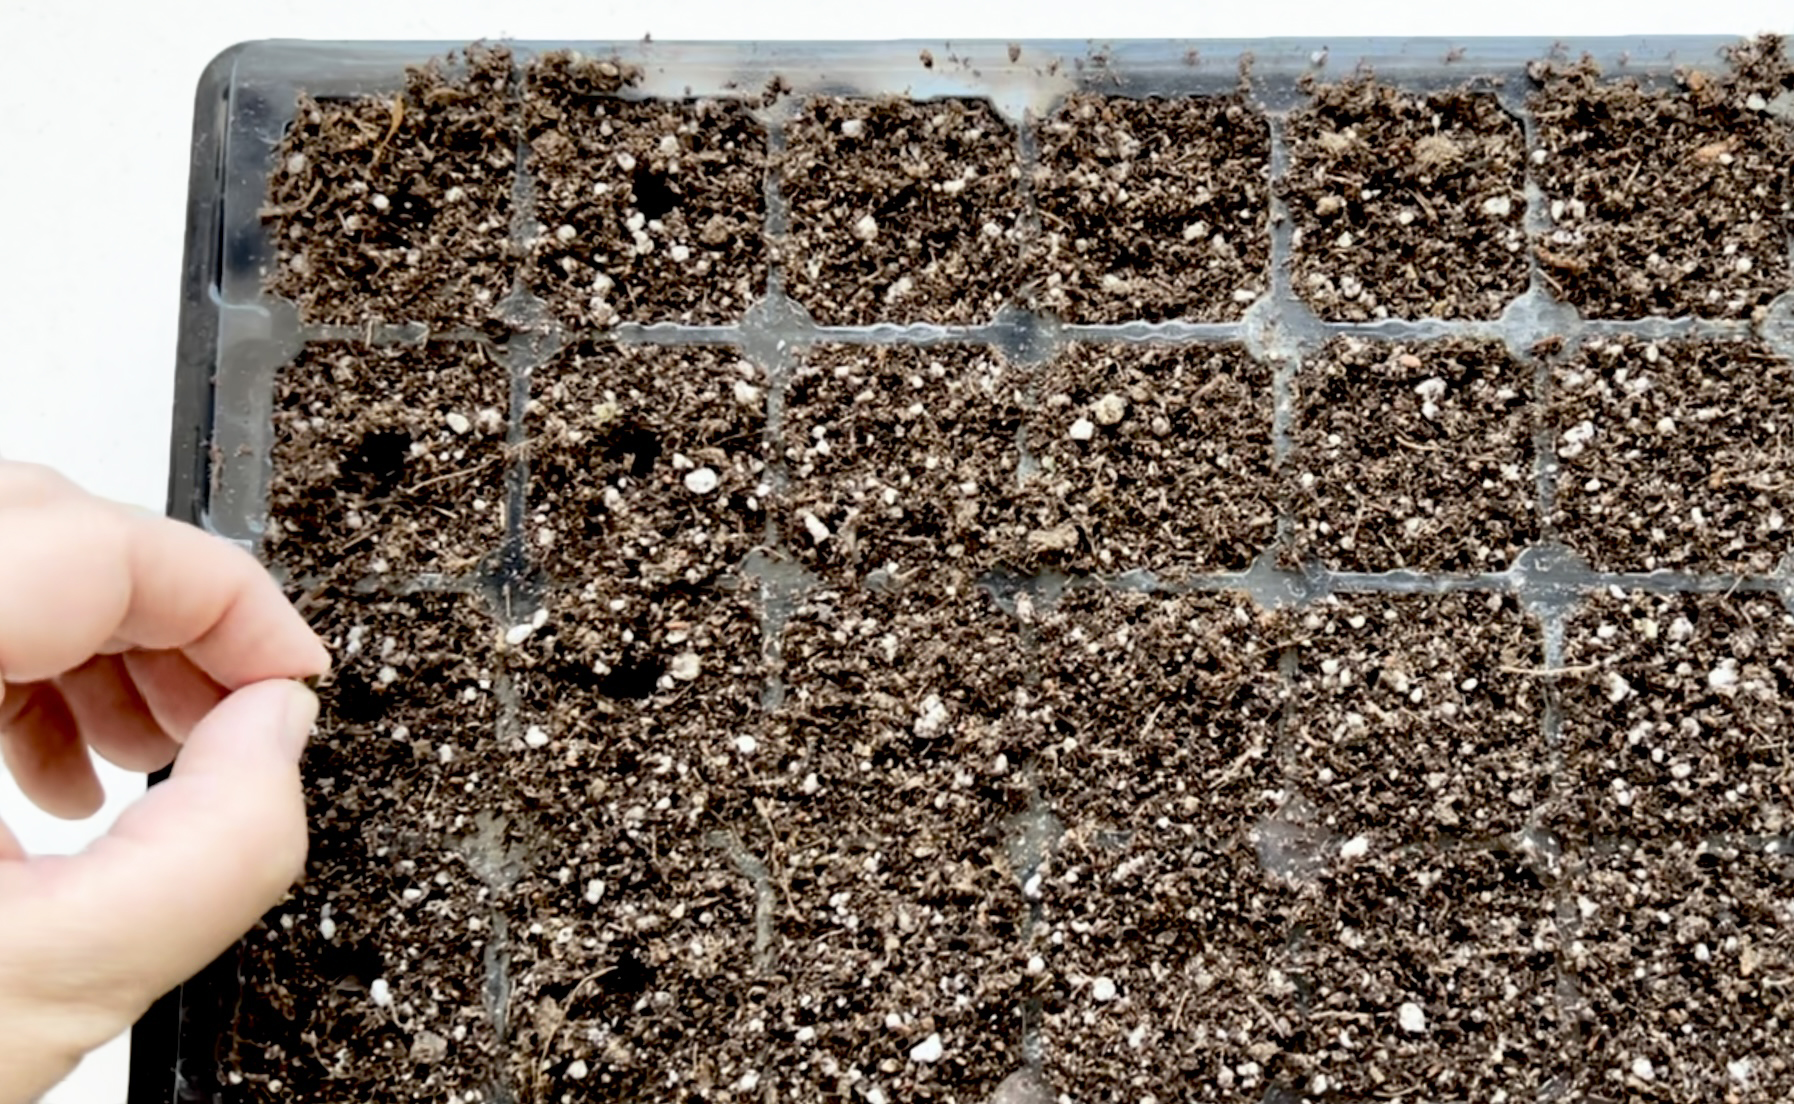
Another way to do this is to get your seed cell trays and fill them with damp soil, then plant the seeds like usual. Place the seed trays outside for the winter (at least one month before it warms up). Bring the trays inside to start the growing process on your shelves with grow lights. You can see my seed starting setup HERE.
Some seeds can break dormancy with a dry stratification method where you simply place the seeds in the freezer. This is enough for many wildflower species.
And finally, you can winter sow your seeds in plastic containers outside. Many people use milk jugs that are cut in half for this method.
At the end of the growing season, it is up to you to decide which are the best plants to collect and save seeds from. Keep in mind the possibility of cross pollination, and whether it started out a hybrid or an heirloom (open-pollinated plants).
PIN For Later:
Do you save your own seeds from your garden or flower beds? What are the types of seeds that you save?



great memories from reading this. One year my brother decided to dump his cucumber seeds in the end of the watermelon row just to be done with helping us plant the garden. Of course, Mom had explained that the watermelon could taste like cucumbers rather than nice juicey watermelon. You are guessing right nearly all the watermelons tasted like cucumbers that year. Luckly one of our uncles had some extra melons to share with us. Must be a boy thing.
I've been looking for ways to improve my productivity, and these tips are just what I needed. Thanks!