
Starting plants from seeds saves you so much money! It is so much cheaper than buying grown plants from garden centers. It also gives you an early start on the growing season, which can result in earlier harvests. And if that wasn't motivation enough, it is also REALLY satisfying to watch. It helps me in the late winter and early spring when I seem to be struggling the most with S.A.D. as well. It gives me that burst of hope and excitement that warmer weather and gardening will be happening soon. If you have the right supplies and the knowhow, it is super easy! So here how I start seeds indoors from the planning process to planting! I also have a video below with great footage of the process.
Starting Seeds Indoors
Planning
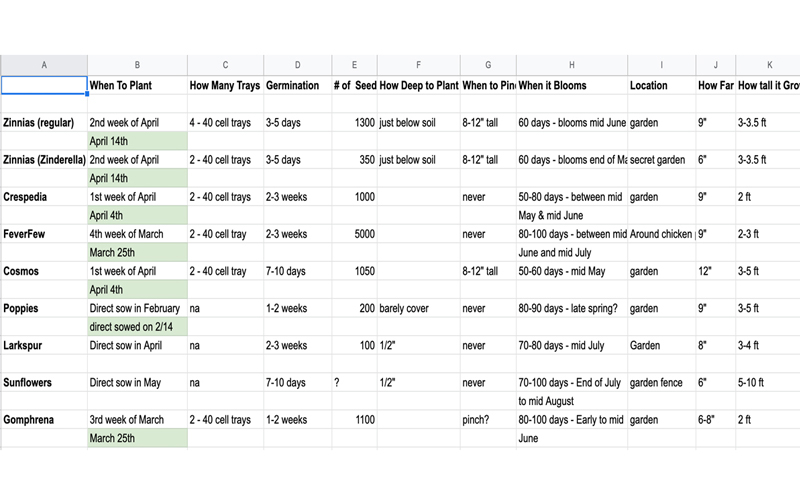
The first step is planning! I have a google doc where I keep track of all the information about each type of plant I will be growing. This sheet is all about flowers, but the same principles apply to veggies. I also keep track of when I planted. Then you can look back year to year and make adjustments as needed. I learned that I started things a bit too early this year given that we had a really cold spring. I will probably start them a week or two later next year just in case we have the same issue. The most common mistake made when starting seeds indoors, is starting them too early. Planting at the proper time is vital. You need to figure out your last frost date (I usually add a week because mother nature is wack). Then look at the info for the plant you are growing. Most seed packets will tell you how many weeks before your last frost it needs to be started indoors. Also keep in mind that some flowers and veggies do better if sown directly outside. Some, like carrots, can't be started indoors.
I also take this time to order any supplies I need. This winter I bought more cell trays this year since I would be planting more flowers than normal (remember my cut flower garden announcement?) Every year I also order more fertilizer and seed starting mix. And of course seeds!
My Setup
Supplies: (affiliate links)
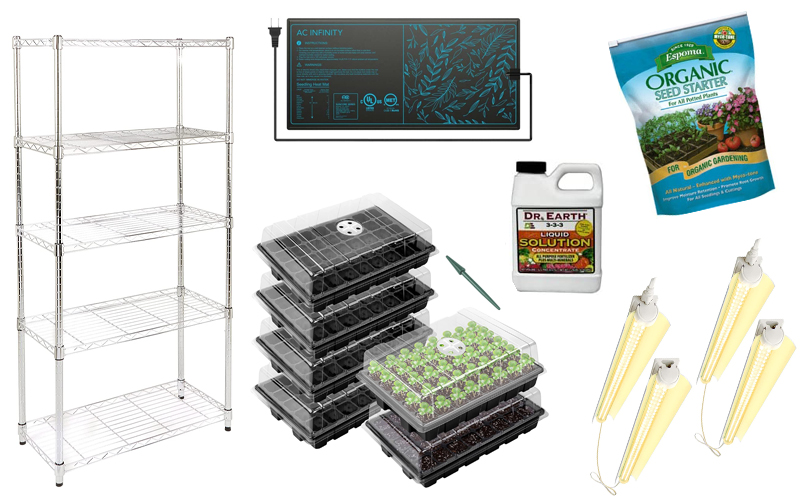
Shelves: I use the same type of wire shelves that I use for our food storage down in the basement. They are relatively inexpensive and are so sturdy. The wire makes it easy to hang the grow lights.
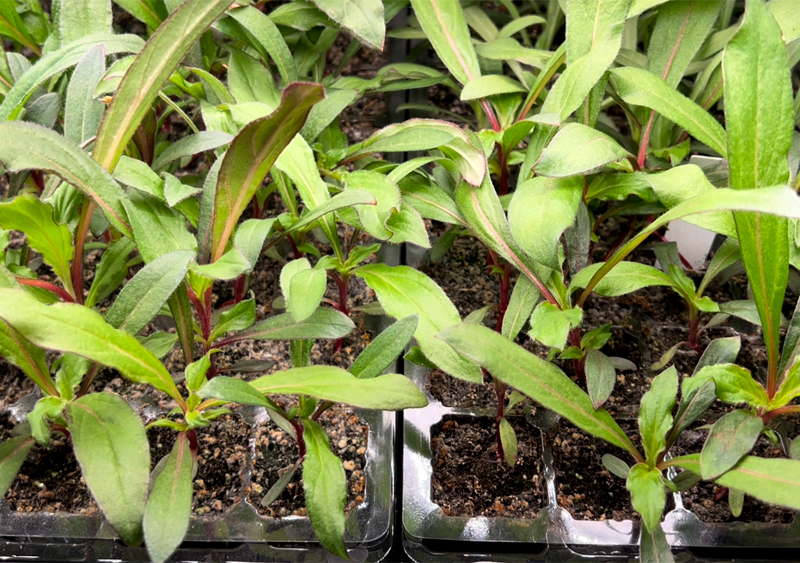
Seed Cell packs: I have tried using egg cartons and peat pots in the past but have found that they mold easily. Plastic sets are reusable and don't have that problem. I like the 40 cell trays since they are a bit bigger and the plants can stay in them longer. In fact, I kept mine in there until is time to plant. It is nice not to have to transplant into larger containers if you can avoid it. Make sure to buy a set that has the bottom watering tray as well as the dome. The cells have drainage holes and will suck up the water from the plastic trays. By bottom watering, you won't disrupt the seeds.
Grow lights: I attach grow lights with either zip ties or string so I can adjust them as the plants grow. I would like to get some chain and hooks I think since they would be reusable. I'll test that out next year. The seed trays are reusable year to year, Make sure to clean them out really well and sanitize with a bleach solution.
Power Strip: I think of of the best things you can buy is a power strip with a timer. Seedling need 16 hours of light a day. If you have a timer, you are not having to remember each night and morning to turn them on. It also helps if you go out of town for a day or two.

Sowing the Seeds
When planting you seeds, please use an actual seed-starting mix as your growing medium. Yes, seeds CAN grow in regular garden soil or potting mix, but you will have better germination rates and consistent results with a seed starting mix. This mix is free from large particles and is fluffy, making it easier for the tiny roots to get a good start. Fill the seed tray but don't pack the soil in there. Each cell needs to be full but still light and fluffy. Watching my video below will give you a good idea how to do this.
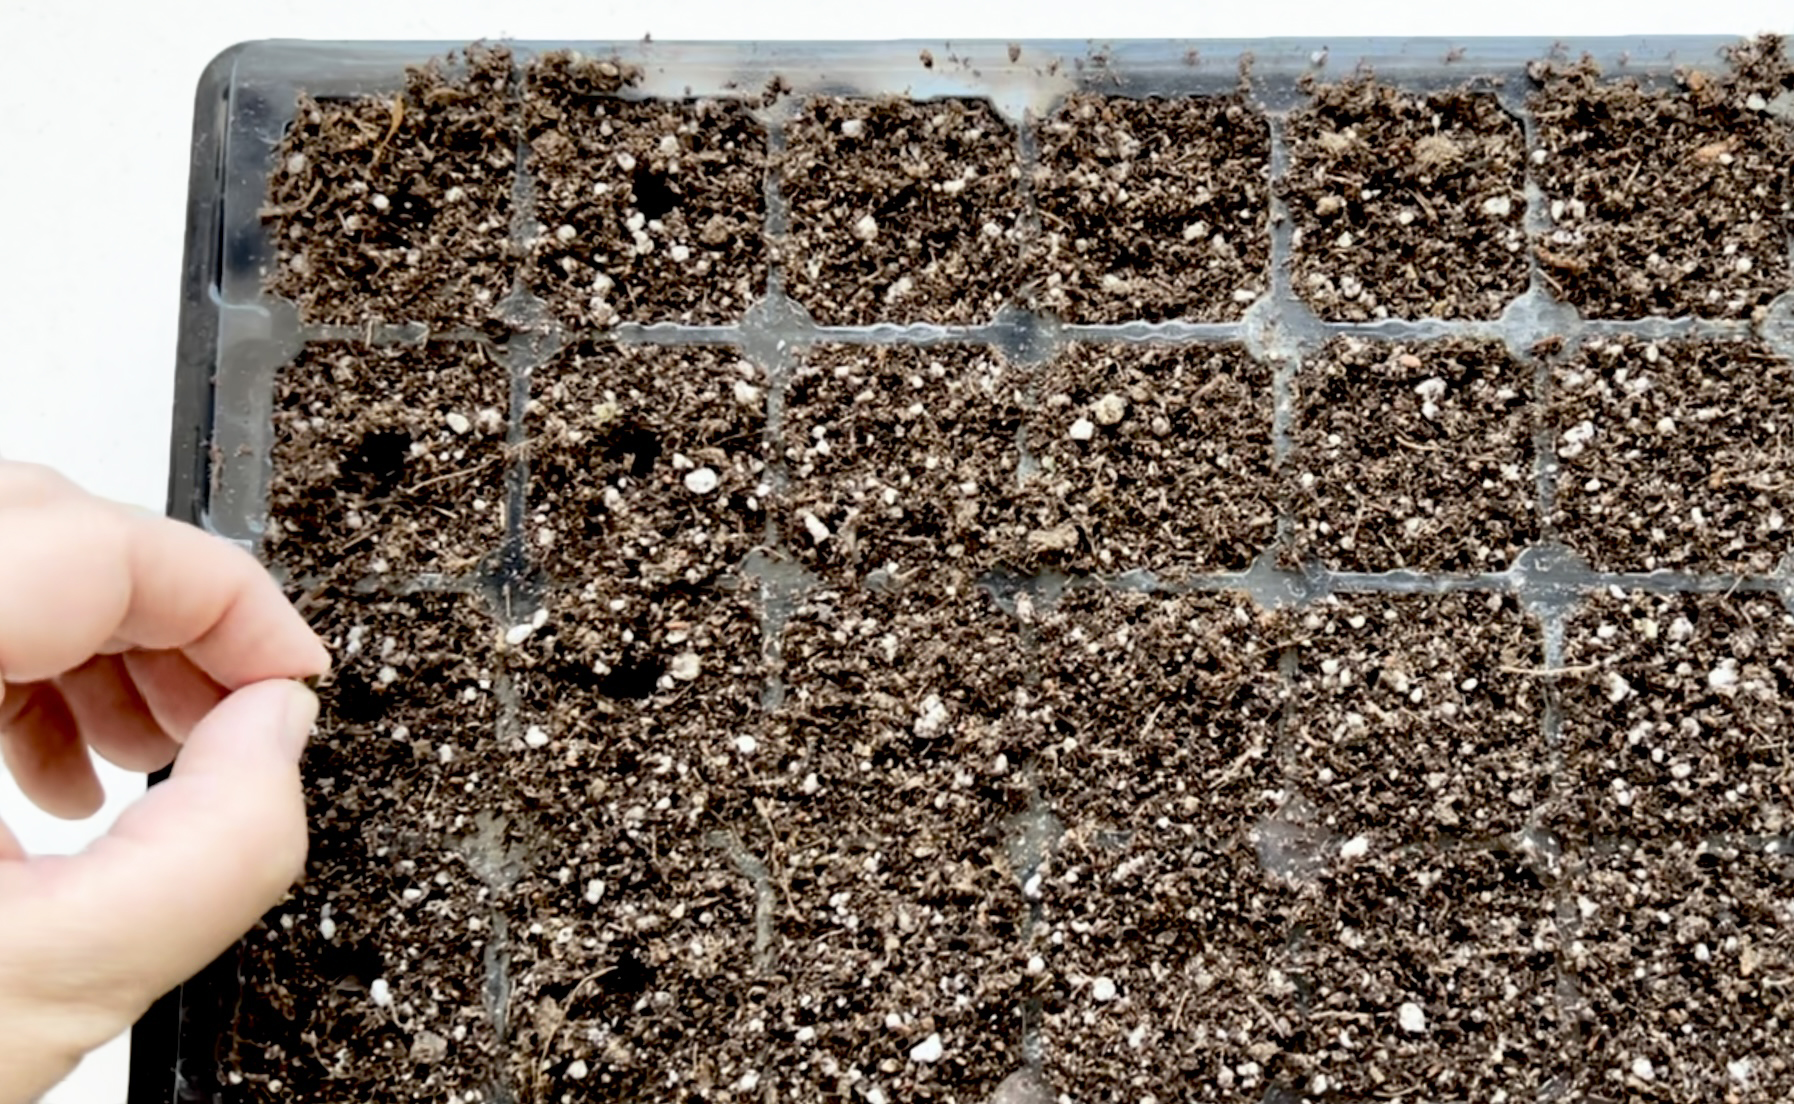
Each type of seed will have different depths at which they should be planted. Generally speaking, large seeds will get planted deeper and the tiny seeds are closer to the surface. But that is not always the case so make sure and read the instructions on the back of the seed packet or google for info on how to sow seeds.
Seed Germination!
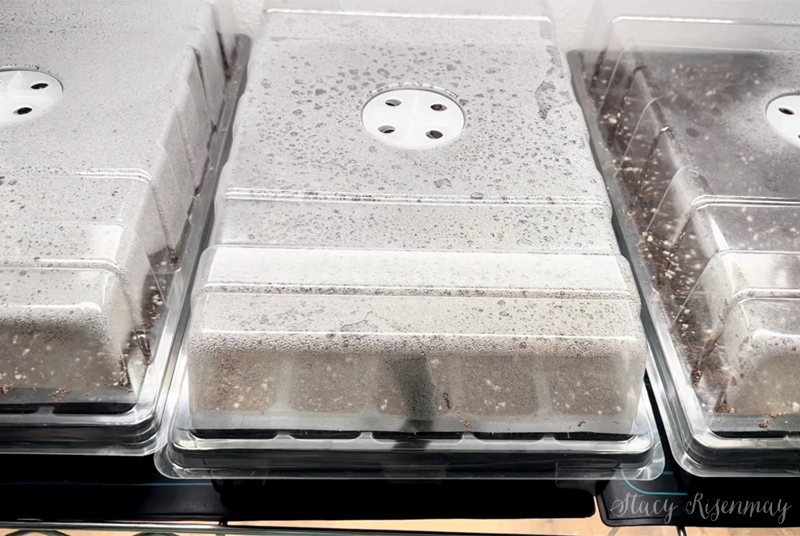
Place the seed cells into the bottom watering tray and place them on heat mats on the shelves. Then add the clear dome covers. If you don't have dome covers, you could use plastic wrap. Seeds in these conditions will germinate quicker than they would outside so check on them often. They can germinate as quickly as a couple of days later depending on the variety. Once the seeds have germinated, you can turn off the heat mats and remove the plastic cover.
Lights, Water, & Air Circulation
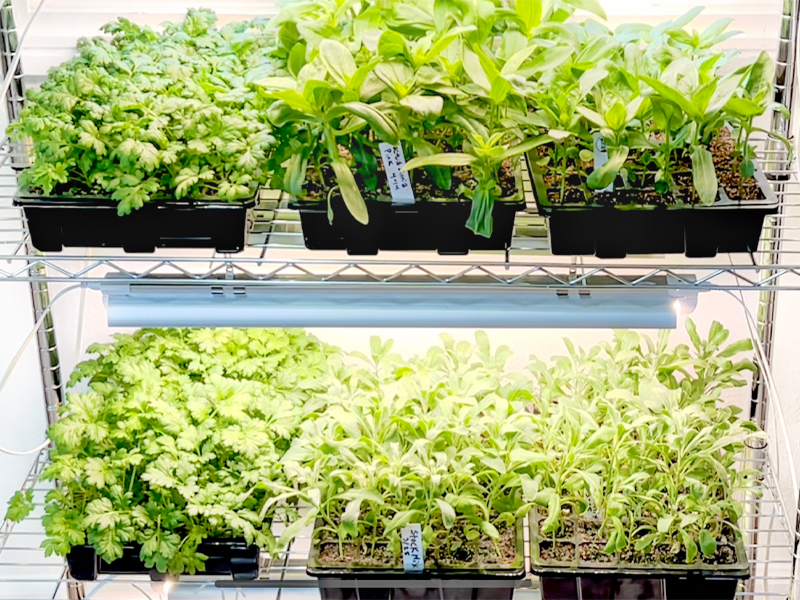
Lights; The bright light from grow lights is so important. The growing seedlings need a lot of light. I have tried growing them by a sunny south-facing window but have found it is just not adequate light. Plus they grow crooked as they try to lean into the light instead of straight up. Lower the grow light to 3-4 inches above the tiny seedlings. If the light source is too high, the little seedling will reach to get to it and it will results in leggy seedling. There is not much you can do to fix them once they get that way.
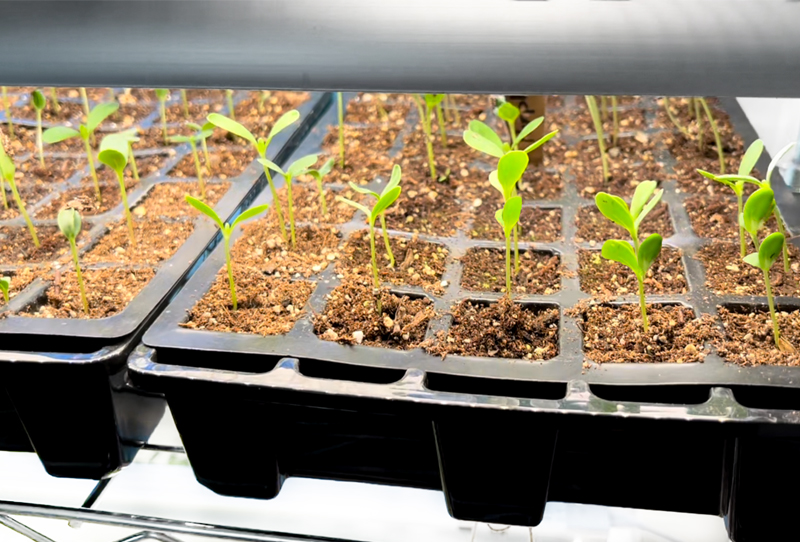
Water: Keep an eye on the water level. Once the seedling start to get their true leaves, they will go through water pretty quickly. Plan on checking the water everyday. Water with a pitcher or watering can by lifting up the corner of one of the cells and filling the bottom tray.
Air Flow: You will need to run a fan for at least and hour or 2 a day. I know this sounds weird, but it is one of the best things you can do for your seedlings. The fan blowing on them recreates outside conditions and will help strengthen them. When wind blows on the stems, it stimulates a hormone call auxin which strengthens the cells in the stems. Wind also prevents fungus and mold from growing on the soil surface which causes damping off ( a fungal disease where the base of the plant rots and dies). So blast that fan for healthy seedlings!
Thinning
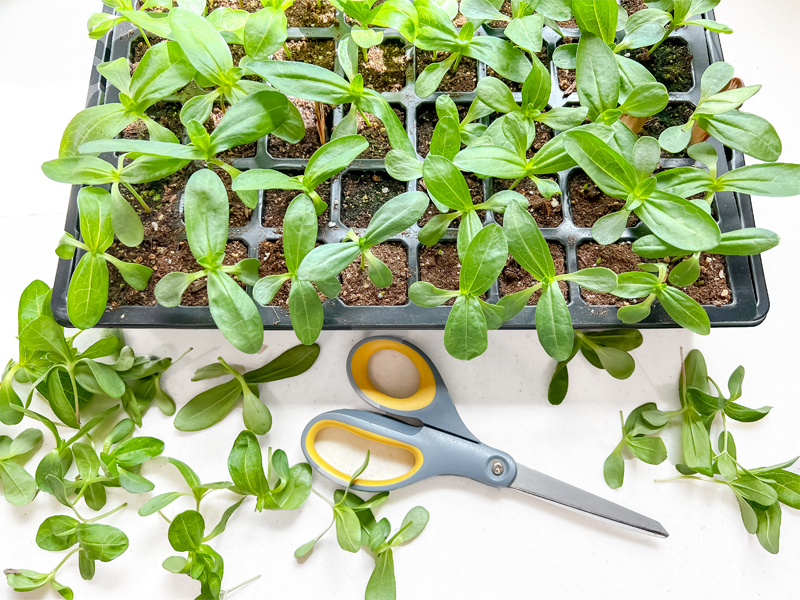
If you planted more than one seed per tray, you will need to thin them down to one seedling per tray when they get their second set of leaves. Don't pull! Use scissors to snip the weaker one, keeping the biggest one. It can be hard to do, but is worth it. Once you thin the young seedlings, you will notice a big jump in growth.
Fertilizer
When the seedlings are 3-4 inches tall and have secondary (or true) leaves, they will need to get some more nutrients. Seed starting soil doesn't have much nutrition, so a liquid fertilizer (or water soluble one) is needed. Fertilizers always have 3 numbers on the front label. The first number is the amount of nitrogen, the second one is the amount of phosphate, and the third number is the amount of potash. Use one that has the same number for all 3 numbers.
Hardening Off Your Seedlings
Your young plants have been growing in a pretty controlled environment, if you planted them outside without getting them use to it, they would more than likely die. Take them outside to a shady spot for a couple hours a day. Gradually increase the amount of time they are out and how much sun exposure they get. Do this for at least a week and a half to two weeks. It greatly reduces the risk of transplant shock. This is the scariest part for me! I'm always afraid I am going to forget them outside and all my hard work will go down the drain. Set a time on your phone. That has really helped me!
Planting!
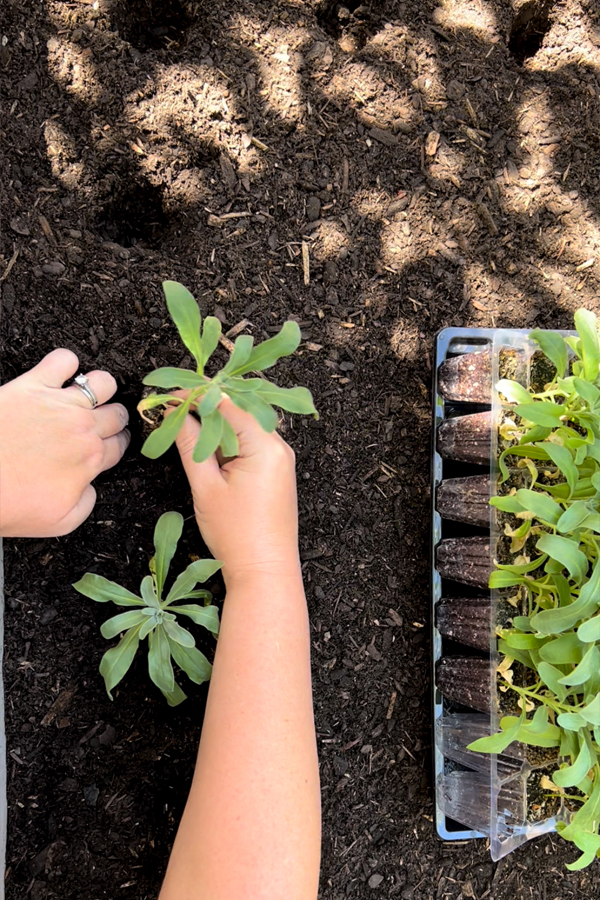
Once the night time temps are warm enough for you type of plant, you can transplant them outside! That is a very rewarding day :) I usually check on the new plants a couple of times a day for the first week while they are getting use to their new home.
Video Of Starting Seeds Indoors
I worked really hard over the course of months to make this video and would love it if you checked it out. I am hoping to share an updated blog post once the flowers bloom late this summer. It has been such a weird weather year so I am hoping they make it through this drought and upcoming heat wave.
Try, & Try Again!
One thing to remember is, if your seedling die for any reason (mother nature, forgetfulness, etc) please don't be discouraged! First of all, you are only out a couple of bucks for seeds. Take it as a learning experience. I have killed many seedlings. Ask any flower farmer or gardener and they will tell you the same thing. Figure out what went wrong and change it for the next time you try.
Have you tried starting seeds indoors before? I'd love to hear about your experience. Please tell me in the comments below!


Great job on the blog AND the video. I used to record training videos for work so I appreciate how much work that was.
I just converted my sunporch to a place I can do crafts and start seeds last year and you have motivated me to make some improvements, namely the lights and fan. Do you really think a heat mat is important? I live in the north bay area and it doesn't usually get terribly cold in the winter.
Anyway, thanks for all your hard work!
Lamar
I think of all the things needed, heat mats are the one that that you could go without. It speeds up germination and really helps if the area is cool. You could definitely try without!