
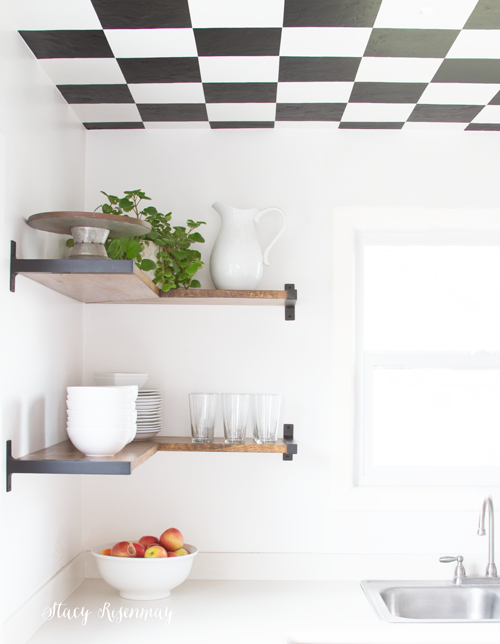
It seems like forever since I took down the upper cabinets... maybe because it was! Shane and I decided to take them down in an effort to make this space appear larger by adding open shelving. That is why we also painted it a bright white. The kitchen is SUPER tiny. As in most people have closets bigger than our kitchen. It is the one room I wish I could add on to it but we will have to settle for making it FEEL bigger.
Shane was hesitant at first to take down the cabinets (if you recall from our He Said She Said video). Heck, even I was wondering if we would miss the cabinets. But now that it is all said and done, we are both SO GLAD we just went for it!
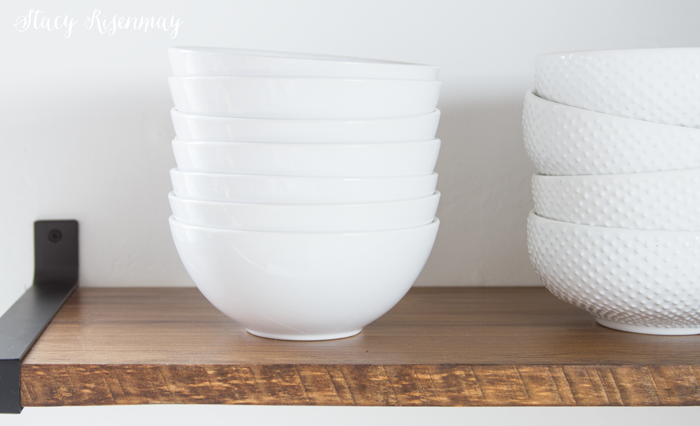
I bought the brackets for these shelves from IKEA (which I spray painted matte black) about 9 months ago and had a very specific look I was going for. When I realized that the opening was bigger than I thought and that regular boards were too thin to fit correctly inside of the brackets, I had to come up with a plan B. The space where the wood goes into the bracket is 1" and even though boards say they are 1" by whatever, they are really about ¾ inches thick due to them being sanded down. I could have used stair treads since they are 1 inch thick but they are rounded and I really wanted a more rustic look. I headed to a local lumber yard that sells rough cut lumber and picked out some pine boards that would be thick enough as well as having the beautiful saw marks that you can see well below.
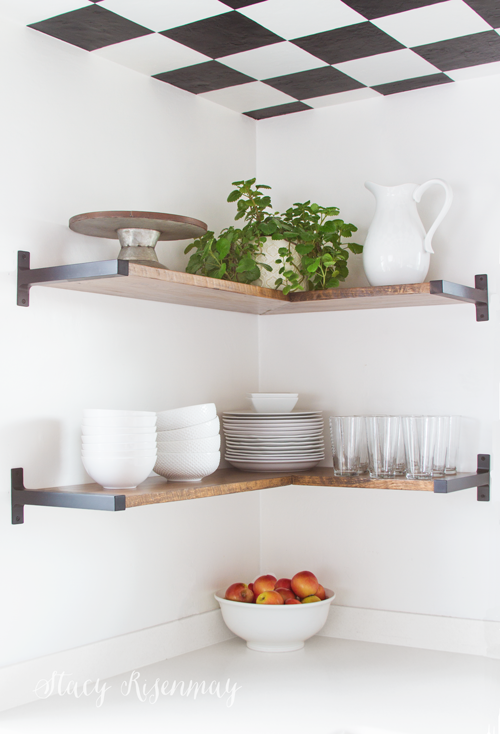
I have four shelves all together. There are two on each side of the window above my sink. I still have to go through all my cabinets and the pantry and figure out where everything will go, but I sure have had fun playing around with styling them!
Shelf Tutorial
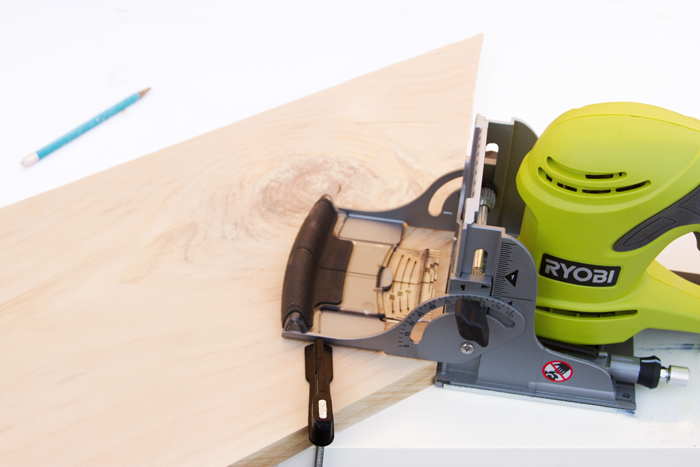
This was my first time using a biscuit joiner and I have to say it was really easy and I am now HOOKED! I cut the boards to the legnth they needed to be and then cut 45 degree cuts to make an L shape. In order to connect them I needed to cut out grooves for the biscuits.
First I laid out the boards and drew a line across the seam where I wanted a biscuit to go. Every 6 inches or so is good.
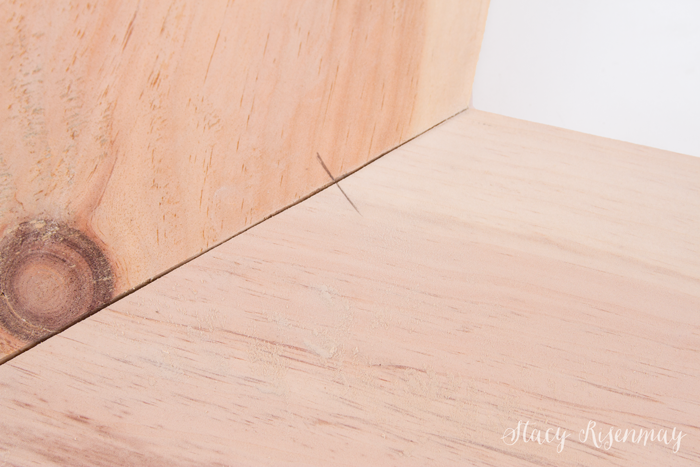
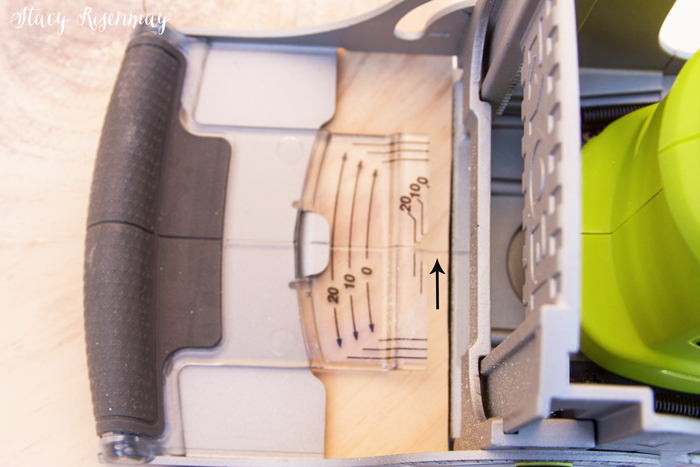
There are three sizes of biscuits. I chose the largest (20) given the size of the project. I lined up the pencil mark to the line on the joiner and cut the wood (see arrow below).
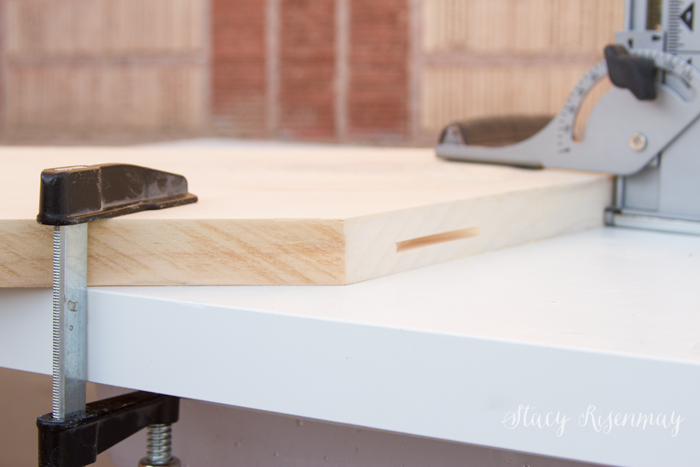
Pull the trigger and get the blade up to full speed before pushing the blade into the wood.
If you are working with a large piece of wood it is best to clamp it to your work space.
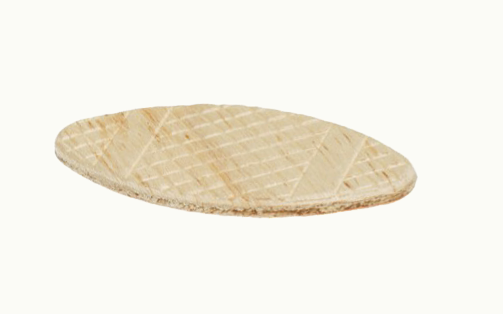
In case you are not aware of what a biscuit is, it looks like this. It is compressed and once it gets wet from the wood glue it expands and makes a tight joint.
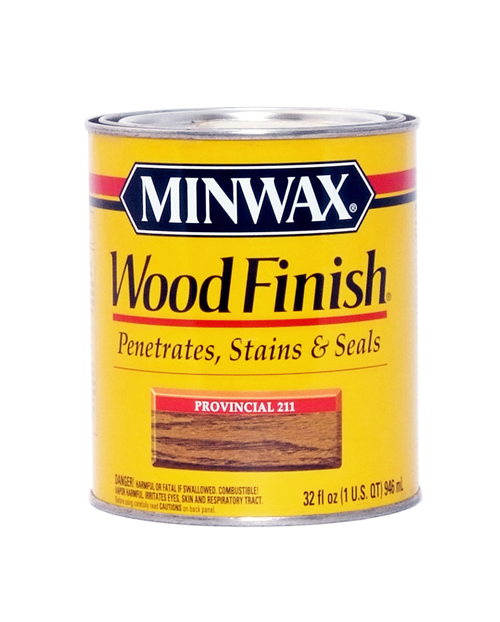
Once the shelves were all glued and had dried, I stained them using Provincial from Minwax. If you are a long time reader you are probably thinking "What? You didn't use Dark Walnut?" Yes, I have been a long time lover of walnut but have been branching out lately. Plus I didn't want the shelves too dark since I wanted to see the saw marks and other imperfections. Provincial and Early American are my go to stains for a medium brown.
Make sure to use the wood conditioner before staining. It makes a big difference! It will make it so the wood accepts the stain more evenly and it isn't splotchy. I talk more about that in my entry table post.
 After I stained, I sealed them so they would be easy to wipe down. As far as the installation goes, I knew the brackets on the end would not be enough especially at the corner. I have used the type of floating shelf bracket like this before (see below) and wanted to do something similar to help distribute the weight. I couldn't use these exact ones because they were too big so I opted to use really big, really long screws. I drew a line where the shelf would go and then screwed several screws along each line making sure there were some close to the corner. In our case, these walls are all exterior walls so they are pure brick and concrete. But if they had been regular walls I would have screwed into the studs.
Normally I would just drill a hole into the shelf that was the same diameter as the bracket/rod and then slide the shelf on, but because I was pushing the shelf into the corner I had to notch out a larger section. However far out your rod bracket (or screw) sticks out from the wall is how long and deep your notch has to be.

(Source: Natural Accents)
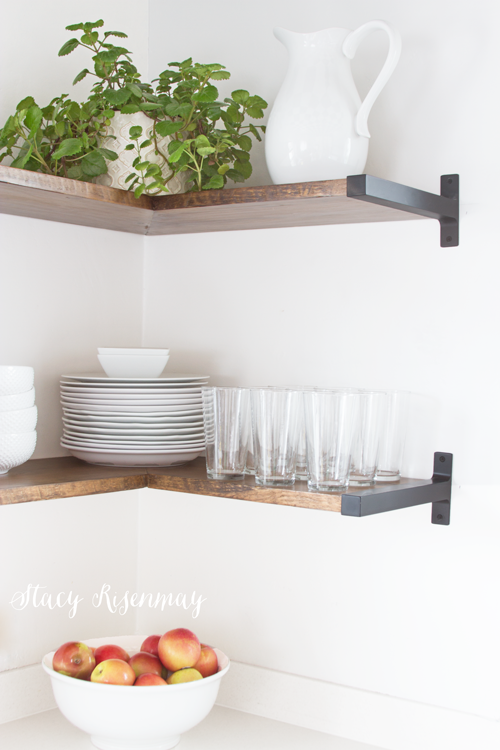
The stack of plates alone weighs quite a bit and the shelves have held up really well.
I am quite sure it will wear off, but I have been more accepting of having to do dishes because I can stare at my cute shelves :)
Would you ever do open shelves? Do you already have them? I am curious how people like them after living with them for a long time. Leave your thoughts below!
I teamed up with Minwax to bring you this post. The ideas, thoughts, and tips are all my own! Follow Minwax on Facebook for even more project ideas.


Beautiful shelves. Love your ideas. Not sure I could do open shelves as I am messy but my kitchen is tiny too. Merry Christmas to you and your family.
These are just gorgeous!
Those are so beautiful! I love the idea of open shelving!
These are just beautiful Stacy! I love them!
Love, love, love these. Every decision you made was spot on. Beautiful project. And I'm so impressed by your willingness to learn new skills with power tools and DIY tricks. How did you drill into the brick wall? I have been stymied by this problem myself and gave up on attaching anything to a brick wall. I have open shelves in the kitchen (built by my brother, not me). Very handy for grabbing things quickly. My shelves have become a cluttered mess because I jam too much stuff on them, as I do everywhere in the house. They are not, by any means, the artistic statement you have made. Downside is they attract dust and grime (wish I had a range hood) and I find tiny dead gnats and things in less frequently used dishes. But it definitely is grab and go without opening a cabinet with sticky fingers and rummaging.
Thank you! There are drill bits made for drilling into brick and concrete. They work great when new but the downside is they dull faster than other bits. I went through two doing these shelves since there was a lot of drilling.
These corner shelves would be perfect in our kitchen. And I love the stain you chose!
Wow! These are beautiful!!!
Your shelves look beautiful!
I love corner shelving! These turned out so beautiful and they're so original. I can't wait until I have a house again and I will be referring back to these.
Love the shelving idea. Any idea how much weight the shelves will hold? I want to do shelves of mason jars full of dry goods in my pantry but want to make sure the shelves are sturdy enough to hold the weight.
They look great!
Something for your readers: Stock lumber from your local big box hardware store is not quite the dimensions that they say. 1" by lumber is really 3/4" thick. The other dimension is 1/4" shorter until you reach 8" wide, then it's 1/2" shorter.
What she ended up getting from the lumber yard was 4/4 (Four quarter) which is actually the width it says it is. 1 1/2" would be called 6/4 (six quarter) and 2" thick would be 8/4.
Love the shelves! Will probably steal this idea for my kitchen.
i bought the brackets from ikea that you have used. i too have found will have to custom cut the shelving. i do not have a corner to go around but i did by the supports where 2 boards can join to make it longer. i do not want the shelving for any thing heavy just to have for placement of a large painting and some things i would like to display. every thing else will be in deep drawers. i am glad that i used penterest and used the works open shelves kitch ikea that is how i found this posting. i did find ikea has stainless steel shelving that will fit this bracket. thinking maybe i might go that route.
thanks again
This is JUST what i was looking for! Can't wait to share this with my husband and have him finally convinced to take down my corner cabinets :)) thank you!
I love the open shelves and have really been thinking about doing them in my dream apartment inside of my dream barn.
Both which are just dreams at the moment.
These are GORGEOUS! I'm very excited to do this project for a little coffee bar in an awkward, unused space in our kitchen. I'm a little confused on how you supported the corner, however. Do you have pictures of that process? How many "really long screws" did you use in total? Do the screws go into the wall/shelf at an angle? Any help or resources are much appreciated!
Thank you,
Lyndsay
I would love help with this step too (sorry, I know this post is super old). Just not sure how you attached the corners to the wall? What were the screws attached to? Any help you can give would be great! Thanks!
I screwed 5 inch screws into the wall. My walls are cement and brick so I used a masonry bit to drill holes. For traditional drywall, make sure and find studs.
I didn’t screw the screws all the way into the wall. Only about halfway.
I had drilled holes into the shelves themselves. The screws that stuck out went into the holes in the shelf.
There are shelf brackets that do the same thing (instead of using screws). There’s a picture in the post.
The ones I had were too thick for these shelves so I opted to use screws instead.
I hope that helps! Let me know if you have more questions.
I love them! I would be more incline to do dishes too staring at these adorable shelves. I love the color and the smart way you put them up. It's always driven me nuts when buying wood...a 1x2 isn't really a 1x2 etc. A tiny kitchen can be a good thing when you can make it look like a jewel box and you have! Wonderful job.
love these! what type of spray paint did you use for the brackets?
I have a space exactly like yours and will do these. I wanted them for awhile now but you blog confirmed that I like the look and will do it soon.
I do want to get a biscuit joiner but I'll use some long drilled holes and dowels for now.
Thank you for inspiration. I'm a not just a housewife as well:)
Did you use the 7.5 in or 10 in brackets?