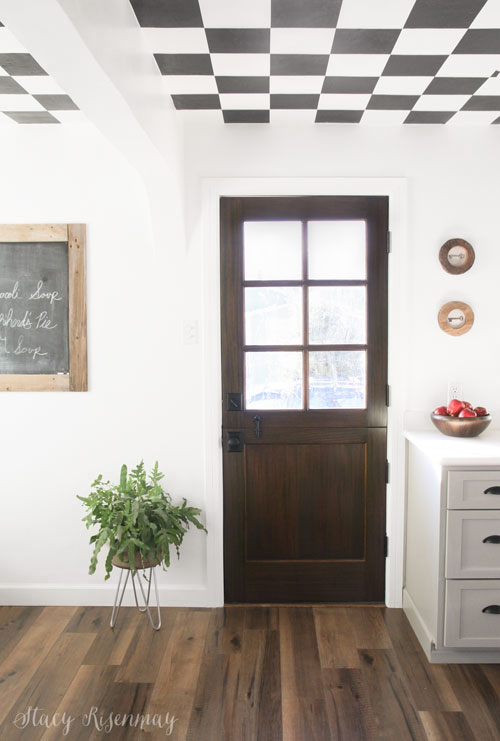
Aaaaah! I have been so pumped to share this latest DIY project with you! I have always been smitten with Dutch doors ever since I was a kid. And it was my dream to have a cute little cottage with a dutch door in the kitchen. Well I have been living in my cute little cottage for 14 years and finally can say I also have a Dutch door in my kitchen. It came unfinished so I stained and sealed it myself. While I love to see Dutch doors painted fun colors on Pinterest, I knew I wanted this exterior door to match my front door. So today I am sharing my stained Dutch door!
Stained Dutch Door
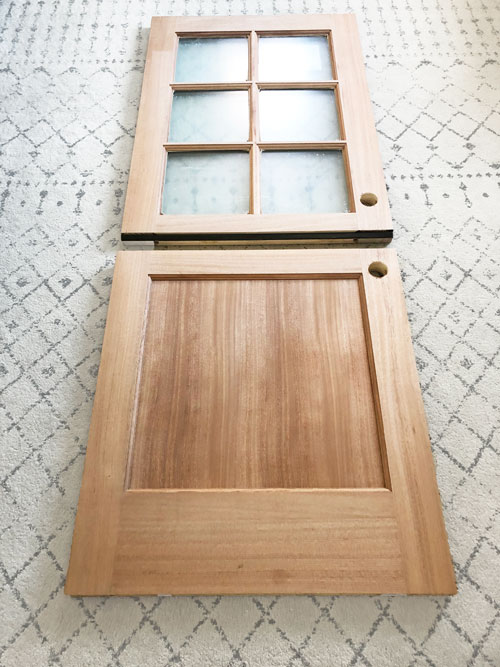
Custom Door From Woodgrain
I ordered this stunning mahogany door through the same company I got the new baseboards through when I did my new flooring last year. Woodgrain has a TON of doors to choose from and you can find a dealer in your area HERE. I chose to have a simple design to match the interior doors that are original to the home. I wanted windows to let more light in the kitchen. My old cheap door had windows and I liked that a lot.
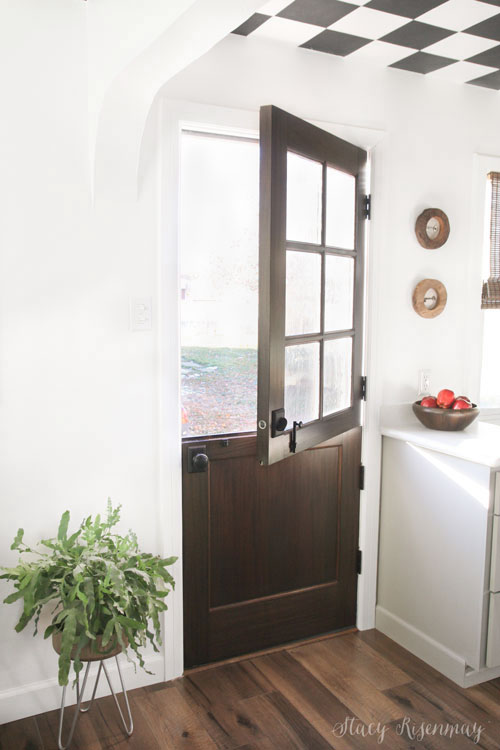
Gah! Isn't she gorgeous? I love this stained Dutch door!
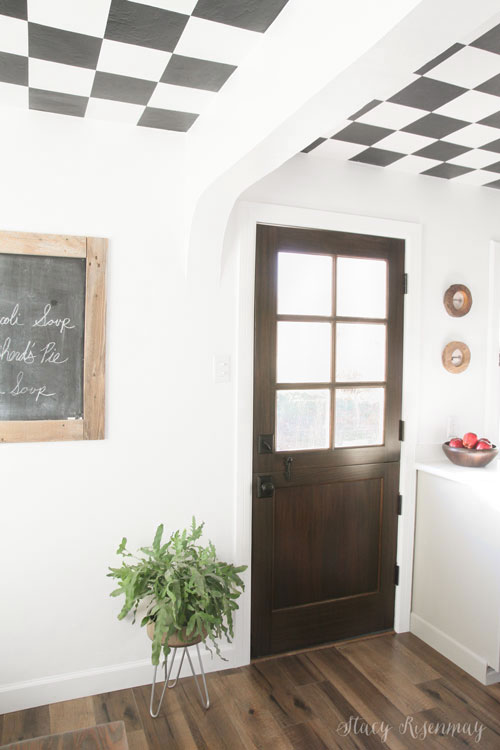
I'll share more after shots in a minute, but first I wanted to share the process of finishing the door.
Cutting The Door
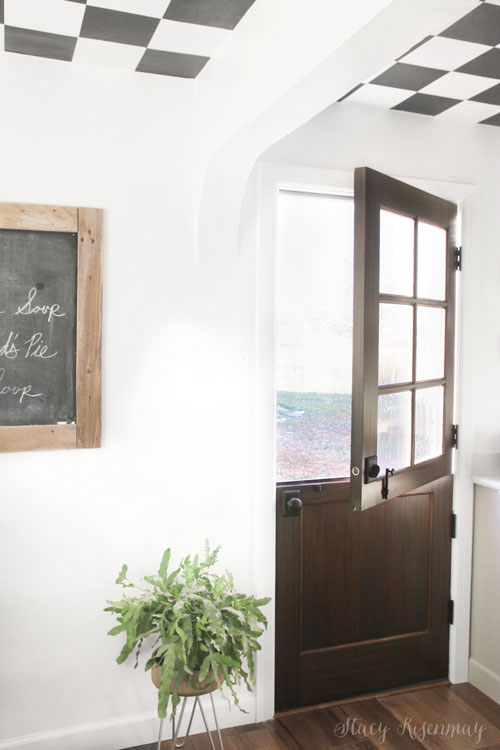
The door came in one piece. I called a local door company and had them cut it in half. If the door was going to be an interior door, then I could have simply cut it in half with a circular saw, but since it is an exterior door, you need a special cut that overlaps each other with a weather strip to make it waterproof. You'll be able to see what I mean in the photos of it with just the top open.
Stained Dutch Door
I sanded the door with a 220 grit sandpaper to get it as smooth as possible. Then I vacuumed the dust off with the brush attachment. If I would have wiped it with a wet rag, it may have raised the grain. Su either vacuum or brush off the dust with a dry rag.
I added oil based wood conditioner so the stain would absorb more evenly.
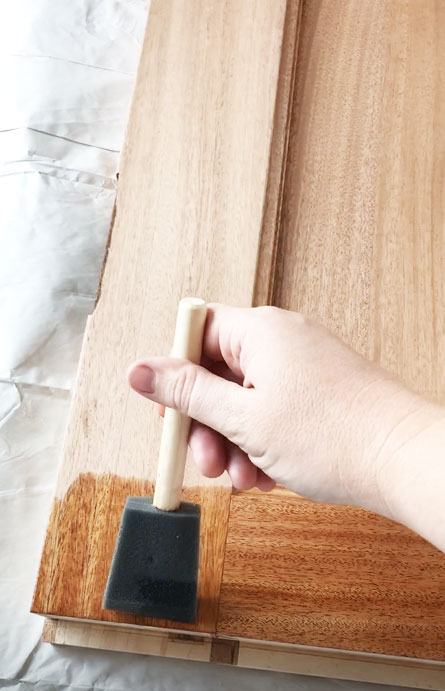
After a few minutes, wipe off the extra wood conditioner. Now you are ready to stain!
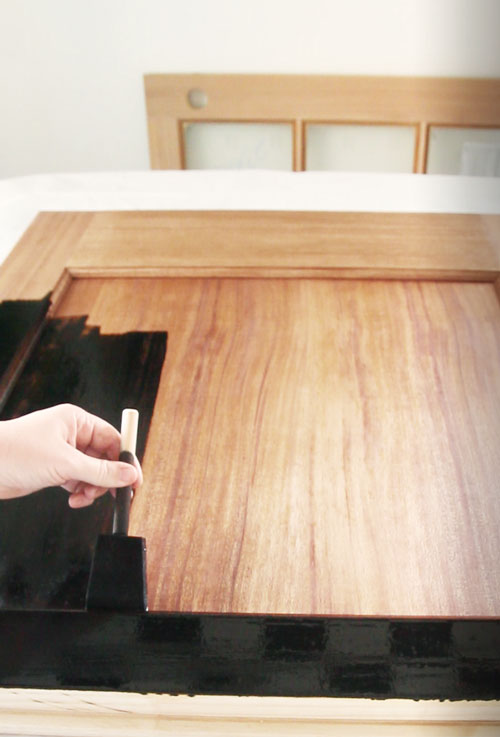
I chose a dark walnut color so it would match my rounded front door. I applied it with a foam brush and let it sit for about 10 minutes before wiping off the excess stain.
Sealing The Door
Let's chat about sealers...
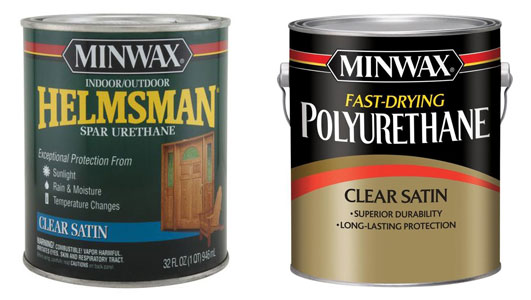
One side of this door would be inside and the other half would face outside so I applied 2 different sealers. On the outside I applied a spar urethane (Helmsman by Minwax). This door faces south and there isn't a covering on the porch, so it is very exposed to sunlight and moisture. Spar urethane is the best type of sealer for UV rays and moisture. It has more resin in it which makes it a bit more yellow. It also has more of a smell. It says interior/exterior on the label but because of the lingering smell (which goes away after a week or two) and the extra yellow tint, I choose to only use it for exterior projects. For the inside of the door I used polyurethane.
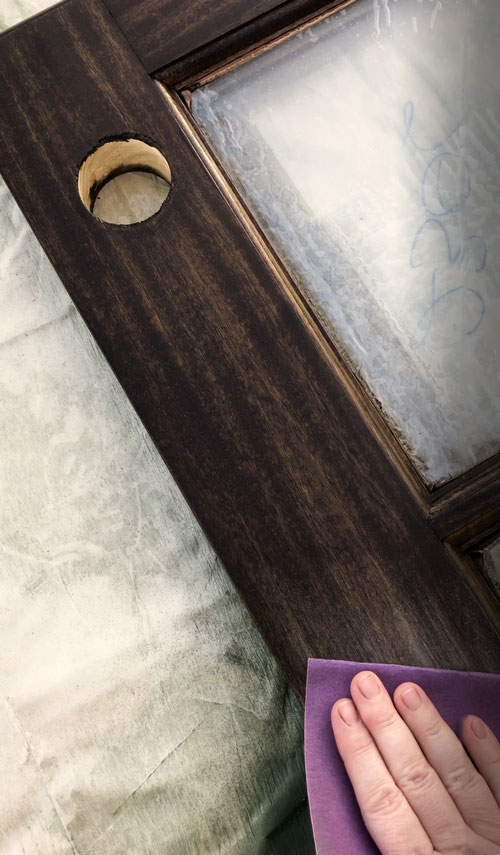
With any sealer, always sand in between coats. Use 220 grit sandpaper and just lightly sand until it is hazy. Sand with the grain.
I did three coats on the exterior and two on the inside. I used my sprayer but you can also brush the sealer on as well.
Isn't she a beaut?
One reason I wanted a Dutch door was because of Kevin. Bless his canine heart, he barks every time someone comes to the door. The kitchen door is the one all the neighborhood kids come to. Having the lower part of the door closed helps the kids who are a little nervous around Kevin. Then I don't have to hold him back with my foot awkwardly so he doesn't sniff them to death ;)
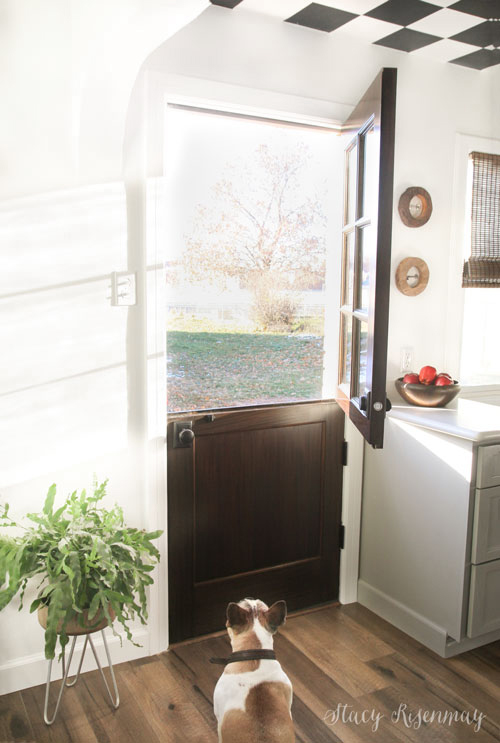
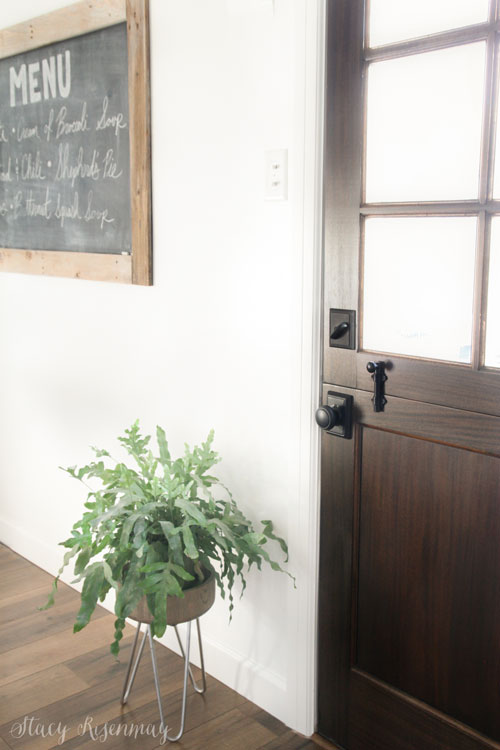
The latch, when slid down into place, keeps the door together and it opens just like a regular door.
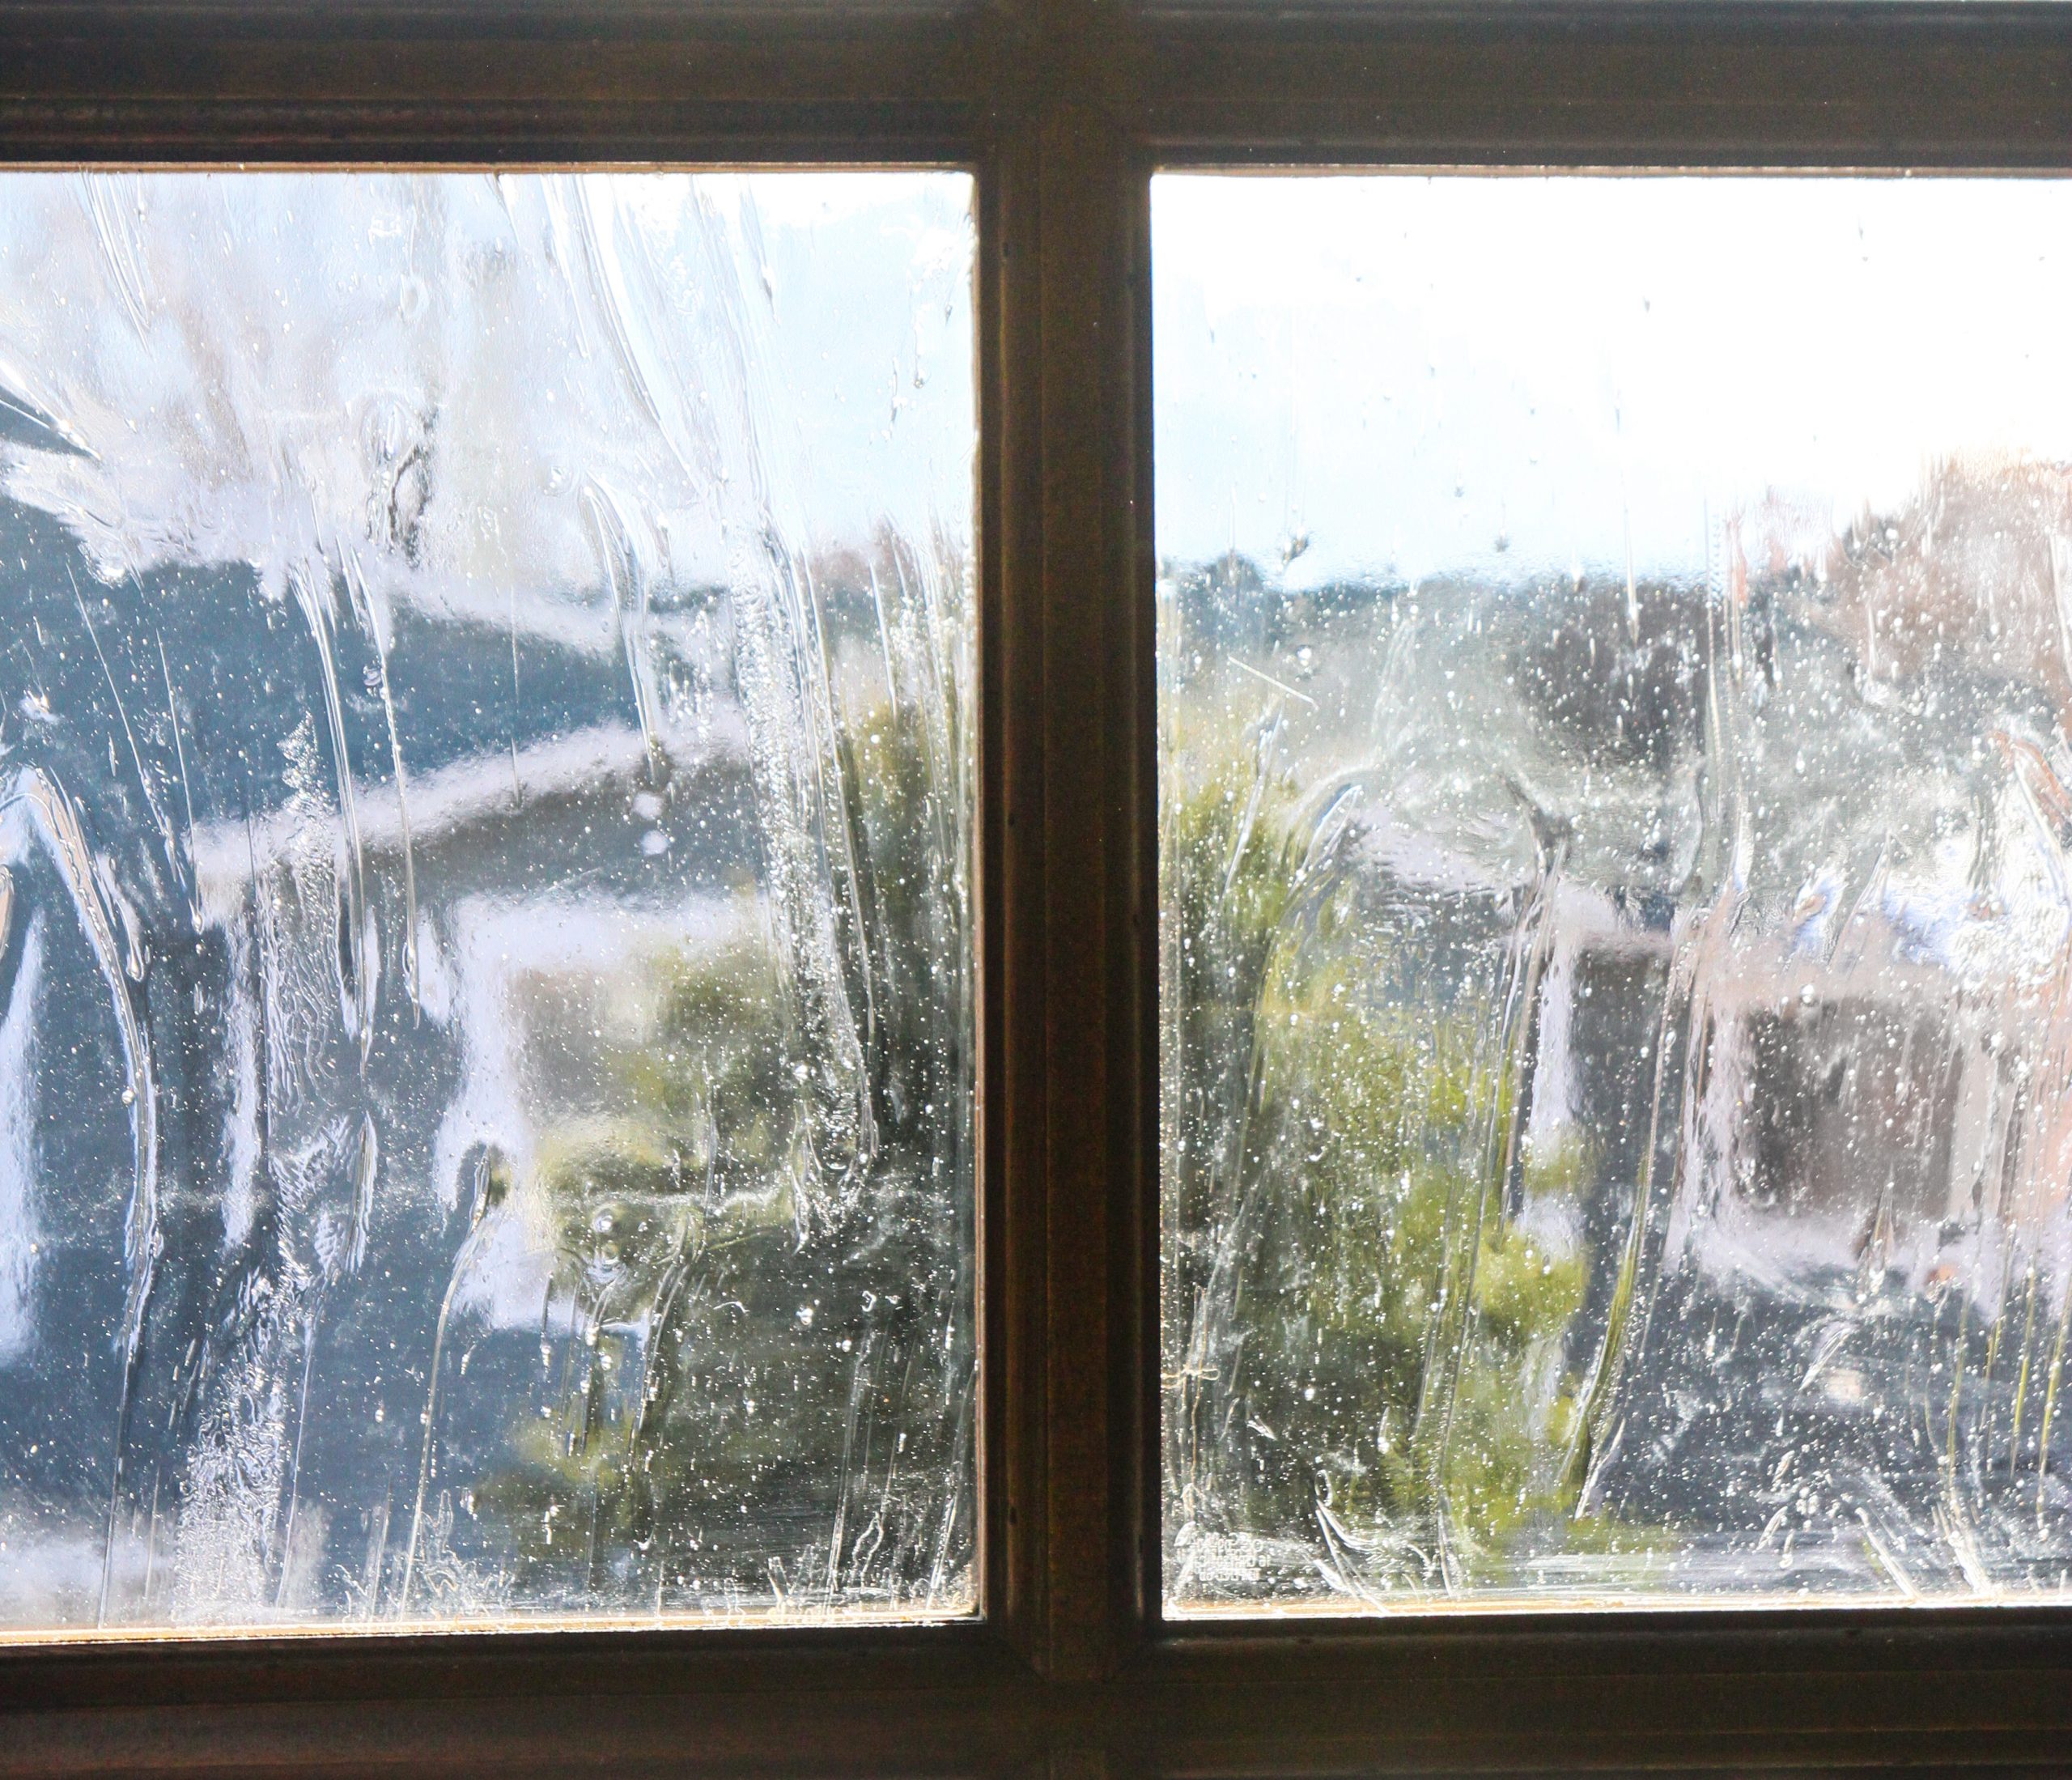
You guys! This glass is SEEDED! That means it has tiny bubbles in it. I am obsessed with seeded glass. Anytime I see a jar, light shade, or anything else with seeded glass I buy it just for that reason. This glass also has waves and looks antique. This is a horrible picture, but glass with light shining through it is a bugger to photograph without it looking blown out. It is much more sparkly and glorious in person.
The knob and deadbolt are from Home Depot. It is made by Schlage and the design is from the Addison trim line in matte black.
What are your thoughts on Dutch doors? What about a painted door versus stained Dutch Door?
I was compensated for this post by Woodgrain but the ideas, choices, and opinions are 100% my own.
You will also like:






Dutch doors? Love, love, LOVE them!! Just reminds me of opening the top part and looking onto a beautiful cottage garden...ahhh, beautiful!! Yours turned out so very nice!!
I wish ours had a better view. It is the driveway, whomp, whomp. But I can see the school playground as well and watch my youngest play at recess so I guess that is pretty good too :)
You did a great job! It looks so nice with your floors, too. How wonderful it must be to live somewhere where you can have a dutch door and not be eaten alive by mosquitoes!
We don't have mosquitoes that come in the house but we do have flies in the summer. It will have to be a spring and fall type thing. Although it is new & we are excited about it so we have even had in open on days this winter when its at least 50 degrees :)
You always do a beautiful job; very handsome, very professional. Interesting to read the details of having a dutch door made. It's adorable. We'd be swamped with mosquitoes without a screen, but it's a sweet look.
Thank you :)
Our plague is house flies in the summer. We'll have to limit how much its open during those months.
We used to have one in our old house and I rather miss it! Painted ones definitely have their place, but if you’re going for a beautiful mahogany version, it would be a terrible shame to cover it up - yours looks absolutely super! Incidentally, here in the U.K. they are known as stable doors rather than Dutch.
I kind of like stable doors better! I grew up with a barn with stables for the horses that had this type of door. Makes sense!
I love seeded wavy glass as well. It's like a prism when light shines thru. Good job on your door!
Yes! It is like a prism! So pretty. I wish I could capture that in a photo.