
Last year when we got a new sofa, I skinned the old one and put the leather in a tote. My boys have had fun making a ton of leather projects including their own moccasins. I decided it was time for me to make a project with some of the leather scraps. I made leather pillows for my son's room last year but I really wanted one that had more texture. I decided to weave one! It was easier than I thought to make this woven leather pillow.

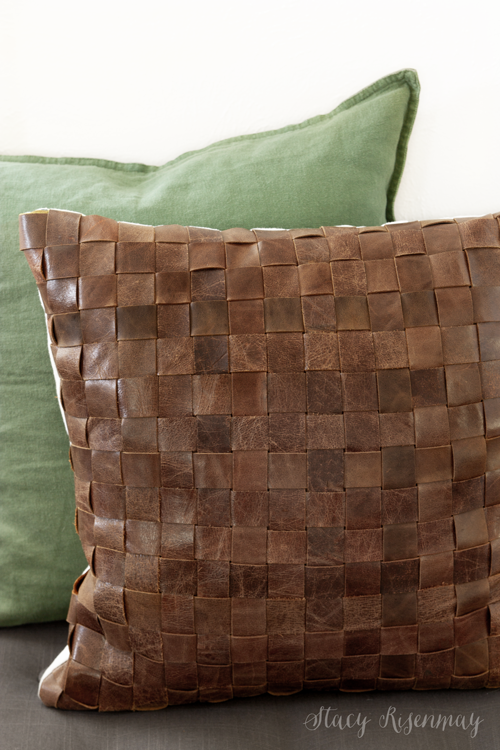
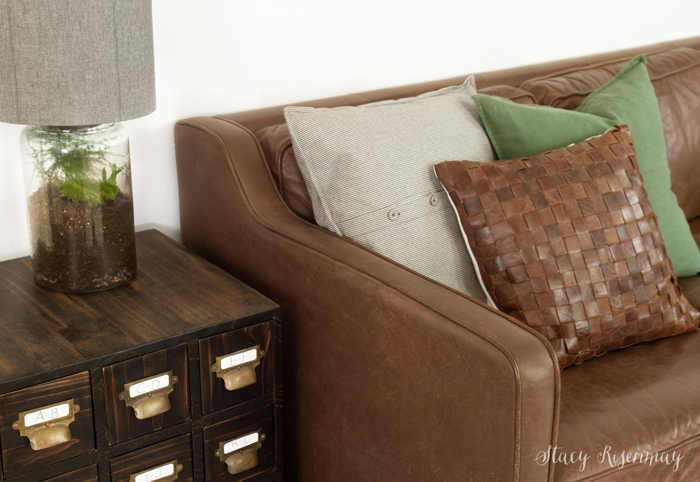
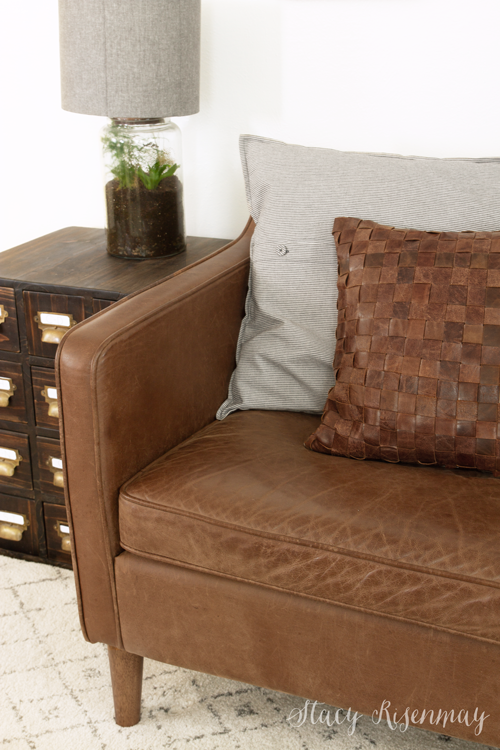
Whether it is on our gray arm chair, the black bench, or our sofa, this woven leather pillow looks amazing in our family room.
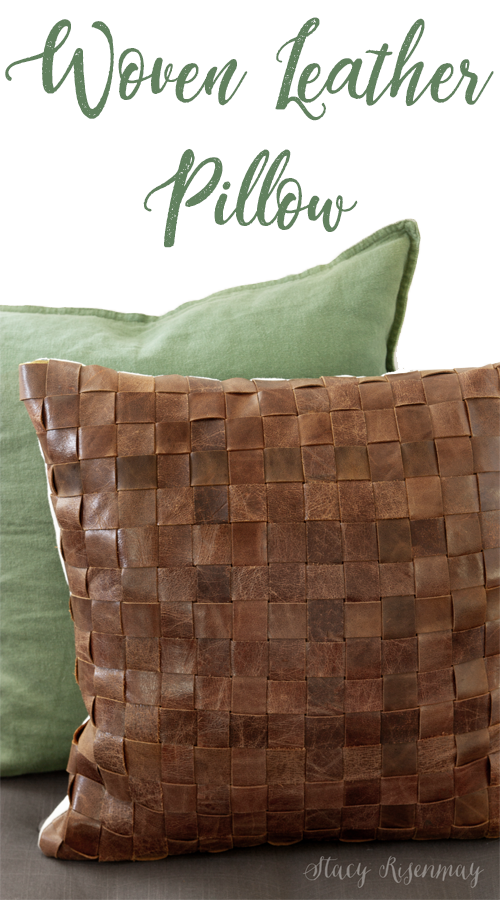
DIY Woven Leather Pillow
*Some links are affiliate
Supplies:
Leather scraps
Tape
Sewing Machine
Fabric for lining and back
Ruler
Step 1
I used a carpenter square to ensure that the leather was cut into a perfect square and measure notches every 1 inch. I used a rotary cutter to cut the 1 inch strips of leather. I wanted the pillow to be roughly 16 inches by 16 inches so I cut 32 strips of leather.
Step 2
I lined up 16 strips side by side and taped them to my work surface so they wouldn't move as I worked.
Step 3
I channeled my inner 1st grader and weaved the strips together row by row. I loved doing this as a kid almost as much as pin art.
Leather was a bit easier to work than construction paper ;)
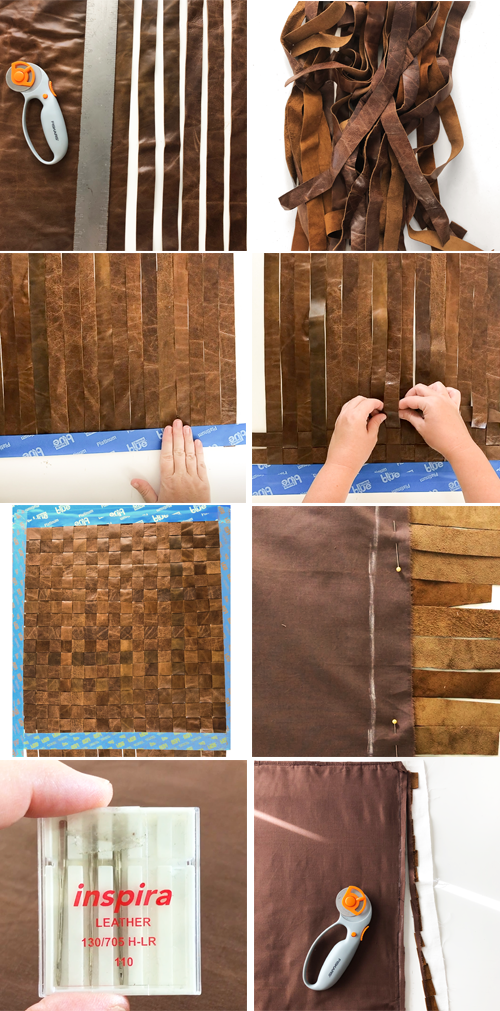
Step 5
After weaving, I taped the other edges to ensure that the leather stayed together.
Step 6
I turned the leather over and pinned some brown fabric to the back. This was in case you could see through the leather pieces. It acted as a liner. I used a leather needle on my sewing machine and sewed the liner onto the leather. After that was done I sewed the back onto the pillow envelope style. I chose white but kind of wish I had done more of the brown. You could also do a full leather back as well.
Step 7
Before turning the pillow right side out and stuffing it, I used the rotary cutter to trim off the excess fabric and leather.
Have you ever sewed leather or done any other types of leather projects? I'd love to hear what things you have made! I still have a lot of leather and am looking for more ideas :)
PIN For Later:


I really like this. We recently got rid of a broken leather recliner and I wanted to skin it but decided it would just be another think I had saved. Errrrr. How hard was it to sew, did the needles make all the difference? I love your blog...and covet your garden!
Thank you! It was super easy to sew with the leather needles.
I love it when you sew! ;-)
Haha! Just don't look too close at my seams!
Love those cushions really make the couch look even better. How hard is it to sew thick leather?
The leather sewing needle was great! It felt like I was sewing regular fabric.
I love this pillow! You could try coasters, leather covered boxes or hampers, trays, valances? I wish I had hung on to my leather scraps!
I did make leather tab curtains for my son’s room!
Would you be interested in selling me a piece of your leather?
How large of a piece would you want? I will have to check my tote. I keep having the boys go get me some for projects and I haven't looked to see how much we have left. Email me at notjustahousewife @ Yahoo. com