• Skip to primary navigation
  • Skip to main content
  • Skip to primary sidebar
  • Skip to footer
Stacy Risenmay
  • Home
  • About me
  • PRESS
  • Contact Me
  • My Book
    • Facebook
    • Instagram
    • Pinterest
    • Twitter
menu icon
go to homepage
subscribe
search icon
Homepage link
  • Home
  • About me
  • Project Gallery
  • Our House
  • PRESS
  • Contact Me
  • Privacy Policy
    • Facebook
    • Instagram
    • Pinterest
    • Twitter
  • ×

    How To Drill A Drainage Hole

    By Stacy Leave a Comment

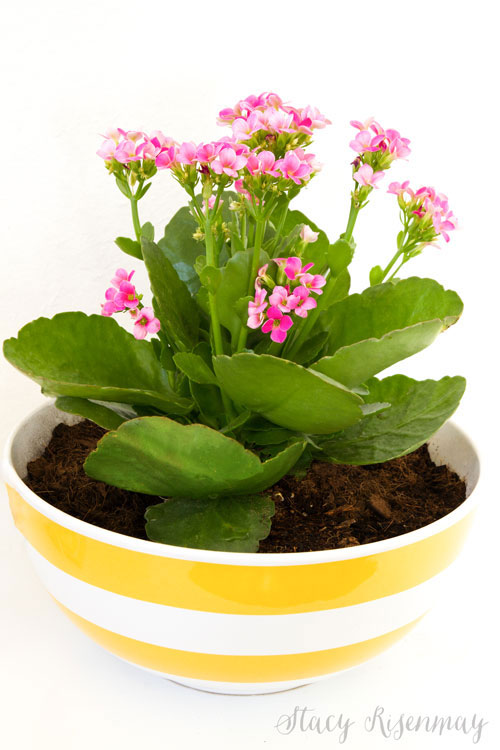
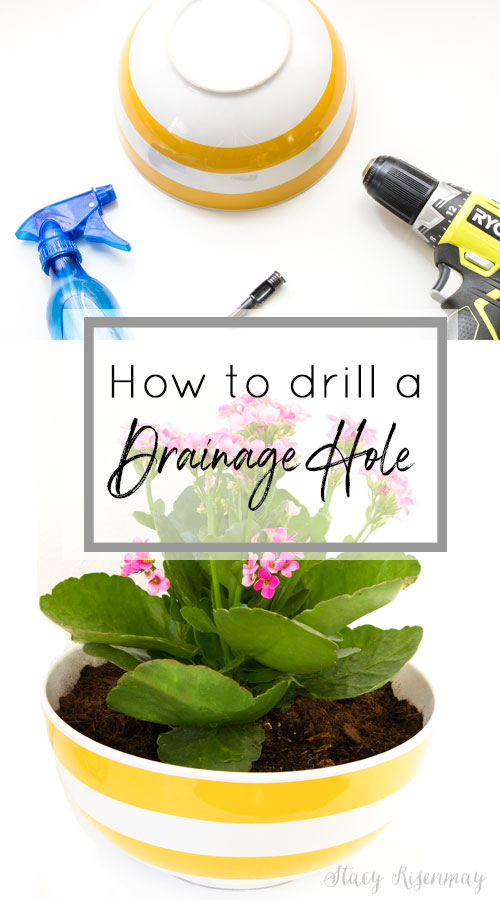
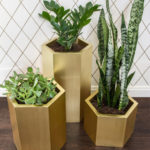
    Sometimes you find the perfect pot (or something that isn't even pot) but it doesn't have a drainage hole. Now while you can use it as a catch pot (put the grower pot your plant comes in directly in it), sometimes you want to plant directly in it. All good plant parents know, they NEED drainage! And learning how to drill a drainage hole is super easy!

    This project was originally shared in my book, Natural Accents.

    Turn just about anything into a planter by drilling a drainage hole!

    How To Drill A Drainage Hole

    Supplies:

    • Drill
    • Diamond Bit
    • Spray bottle with water
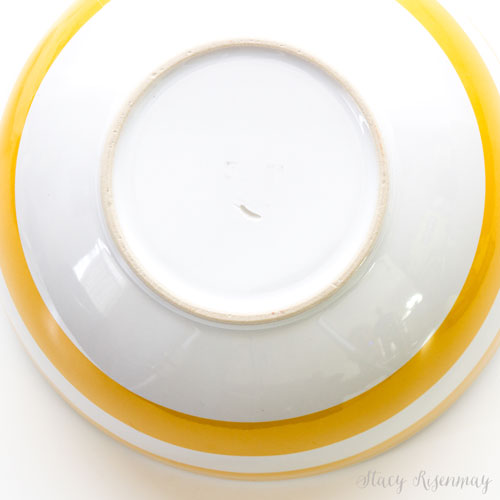
    • Ceramic, glass, or clay container
    supplies to drill a drainage hole

    Step 1: Make a Notch

    The surface is smooth and can be slick, especially since you will be adding water. So if you make a notch, the bit is less likely to slip. Wet the surface with the spray bottle. Hold the drill at an angle and drill long enough to make a little mark.

    how to drill a drainage hole to create a planter

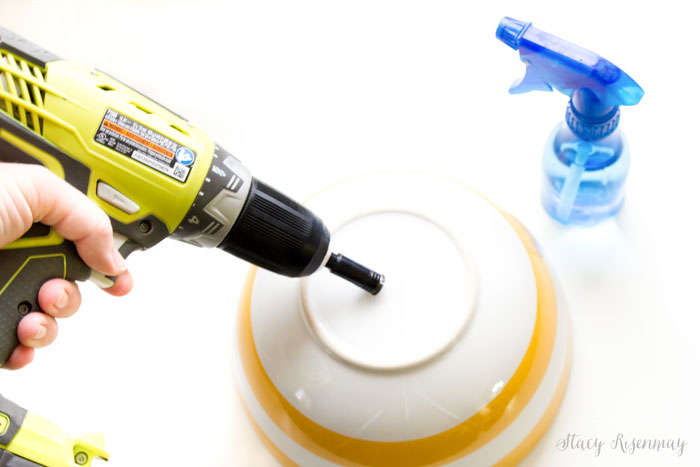
    The reason you need to use the water, is to keep the diamond bit cool. Without it, the friction would create heat, which would melt the glue holding the diamonds onto the drill bit.
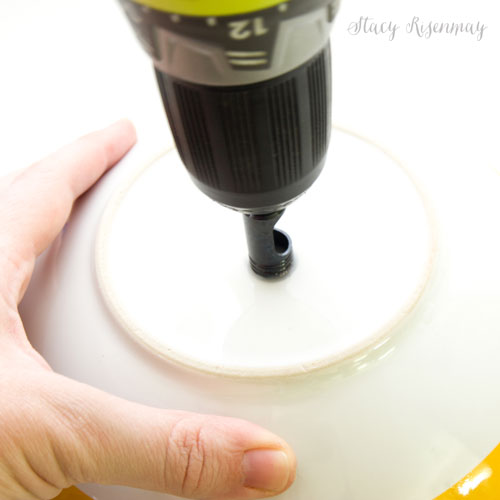
    Step 2: Drill!

    Once you have the notch, continue drilling at an angle. While drilling, slowly bring the drill upright until you are drilling straight down. Add more water if needed. Use some pressure (but not too much force) as you drill.

    drilling a drainage hole to create a planter
    How to drill a drainage hole in ceramic, glass, or clay containers

    Step 3: Prepare for the Break Through

    Check periodically to see how much you have gone through the container. Once you are close, you will start to feel a difference in how the drill feels in your hands.

    process of drilling a drainage hole

    When I feel like I am getting close to breaking through, I tighten up my upper body so I can control the drill better and so the drill won't slam into the surface I am working on.

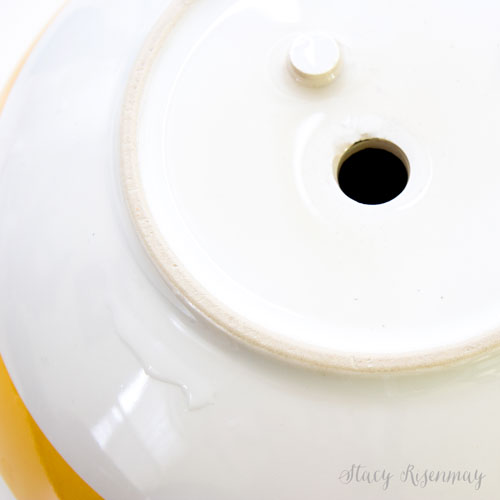
    It is so satisfying when you finally break through and see a perfect little drainage hole! For larger containers, multiple holes are recommended.

    Hole drilled in the bottom of a ceramic bowl so it can be a planter

    You could turn pretty much anything into a planter once you know how to add a drainage hole! The possibilities are endless. What would you create? I think I need to go thrifting soon.....

    PIN for later!

    How to drill a drainage hole in ceramic, glass, or clay

    You will also like:

    • Clay Head PlanterClay Head Planter
    • 15 DIY Planters You Can Make in a Day!15 DIY Planters You Can Make in a Day!
    • Houseplant Care For BeginnersHouseplant Care For Beginners
    • My Favorite Planters For Under $50My Favorite Planters For Under $50
    • Crushing On: Large Indoor TreesCrushing On: Large Indoor Trees
    • Hexagon PlantersHexagon Planters
    • 15 Easy To Care For Houseplants15 Easy To Care For Houseplants
    • DIY Modern Planter BoxDIY Modern Planter Box

    « Getting Your Patio Summer Ready!
    Crushing On: Pedestal & Footed Planters »

    Filed Under: DIY & Tutorials, Houseplants Tagged With: diy, drill, houseplants, planter Leave a Comment

    Subscribe

    for your weekly DIY fix.

    Reader Interactions

    Comment Below! Cancel reply

    Your email address will not be published. Required fields are marked *

    This site uses Akismet to reduce spam. Learn how your comment data is processed.

    Primary Sidebar

    stacyHey! I'm Stacy and am a DIY addict. I love to get my hands dirty, whether it's sawdust, paint, or dirt. My goal is to help YOU learn to fix up your home and yard. No matter the style or size, I think everyone should love their home. And it doesn't takes a big budget to get there. Let's DIY together!

    Subscribe to My Blog!

    Search this site

    categories


    Subscribe

    Footer

    Welcome! I'm sharing our adventures as we fix up our 1938 cottage. Whether it is big or small, I think everyone should love their home and I don't think it takes a lot of money to make a space your own

    About Stacy

    • Facebook
    • Instagram
    • Pinterest
    • Twitter

    My Favorites

    copyright

    All images and content are copyrighted via Stacy Risenmay unless otherwise stated. If you'd like to share my work, please link back to this blog.
    Thank you for visiting!


    Footer

    ↑ back to top

    About

    • Meet Stacy
    • Privacy Policy
    • Contact

    Categories 

    • Home Decor
    • Outdoor Projects & Gardening
    • DIY & Tutorials
    • Kid Activities
    • Recipes
    • Travel
    • Cleaning
    • Houseplants
    • Staining
    • Painting
    • Power Tools
    • Holiday Ideas

    Newsletter

    • Sign Up! for emails and updates

    As an Amazon Associate I earn from qualifying purchases.

    Copyright © 2020 Brunch Pro on the Brunch Pro Theme


    Privacy Policy
    Welcome! Thanks for visiting.
    Hi! I'm Stacy and I want to help YOU become a DIY rockstar! Sign up for my email list so each project, tip, and trick will go directly to your inbox :)
    Your information will *never* be shared or sold to a 3rd party. Pinky promise :)
    Welcome!
    Hi! I'm Stacy and I blog about fixing up our 1938 cottage. Join the thousand of others who get my posts sent to their inbox for FREE!
    Your information will *never* be shared or sold to a 3rd party.