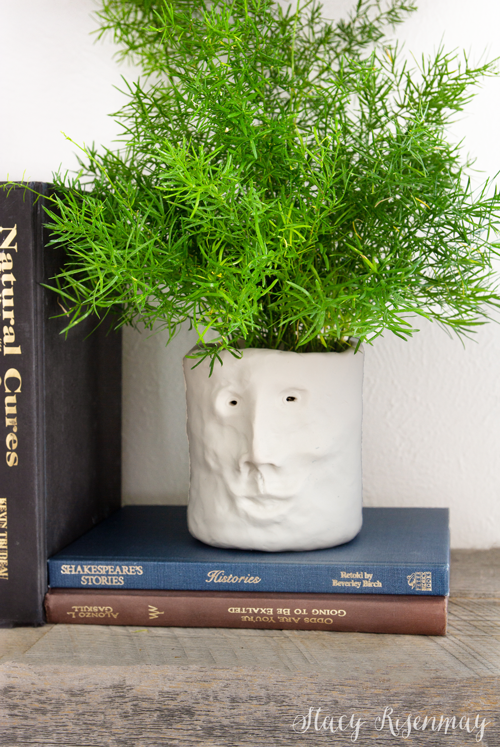
This project has literally been on my to-do list for 2 years. I kept putting it off because it was a smaller project and not really a need. I also have never sculpted a face and was hesitant to try. Even though I wanted it to be whimsical, and it didn't need to be anatomically correct, I still wondered if I could make look like what I had pictured in my head. Surprisingly, this project only took about a half and hour and was so easy! Here is my clay head planter!

Supplies
*Affiliate link
Glass Vase ( I buy mine at the Dollar Store)
Straw
Rolling pin (Optional)
Prepare the Clay
Sculpey polymer clay is my favorite to work with. I used about half of the box for the planter. You have to warm it up by working it in your hands before you can sculpt or roll it out.
Roll it Out
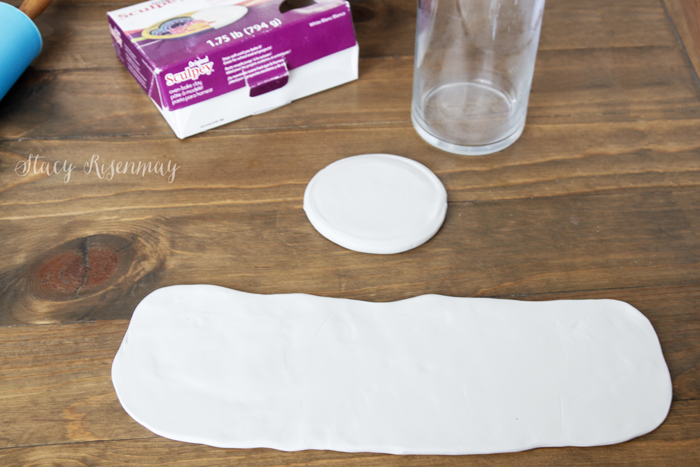
Once it was warm, I took ⅓ of the clay and rolled it into a ball. I used the bottom of a glass vase to flatten it out. This will be the bottom of the planter.
The rest of the clay that I warmed up got rolled out to the same thickness.
Form the Planter
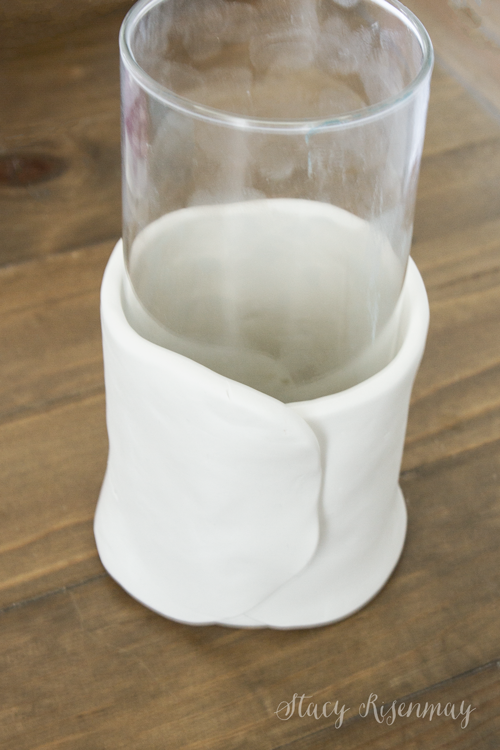
I placed the round piece on the bottom of the vase and then wrapped the other piece of clay around the vase.
*I have used glass and ceramic items to help me mold and craft things with clay in the past and was able to easily remove them once they were baked, but this time it was harder to get the vase out. You may want to coat the vase with something to make it easier to slide it out.
Sculpt the Face
I pinched along the bottom where the circle piece met up with the other piece. Then I smoothed it out to hide the seam. I smoothed out the seam along the side as well.
I wanted a primitive look so I made the whole thing look lumpy and uneven by pressing my finger tips in the clay in random places.
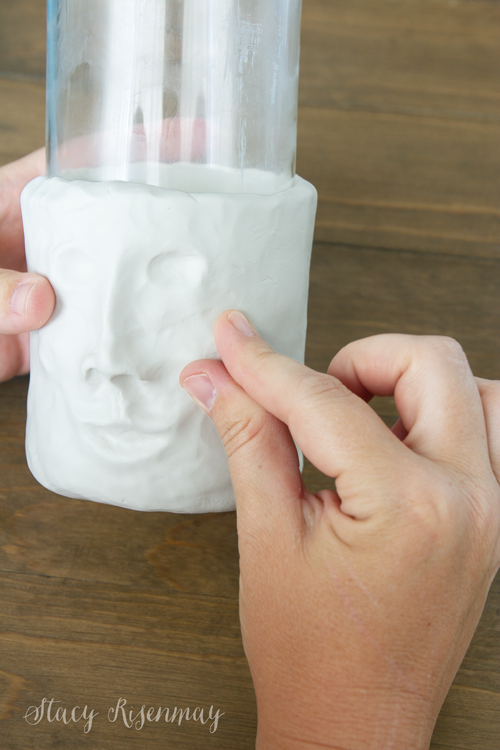
Once I had a slightly uneven texture, I started sculpting the face.
I started with the nose by pinching the bridge. It was surprisingly simple to create a face. I truly believe anyone could do it. The divot between the nose and mouth and the roundness of the cheeks are key to making the face seem more real.
Drainage
Once I had the face how I wanted it, I created drainage holes in the bottom using a straw. I probably would have been fine to only have one hole given the size of the planter but I did three since the holes are small. Drainage is so important for plants.
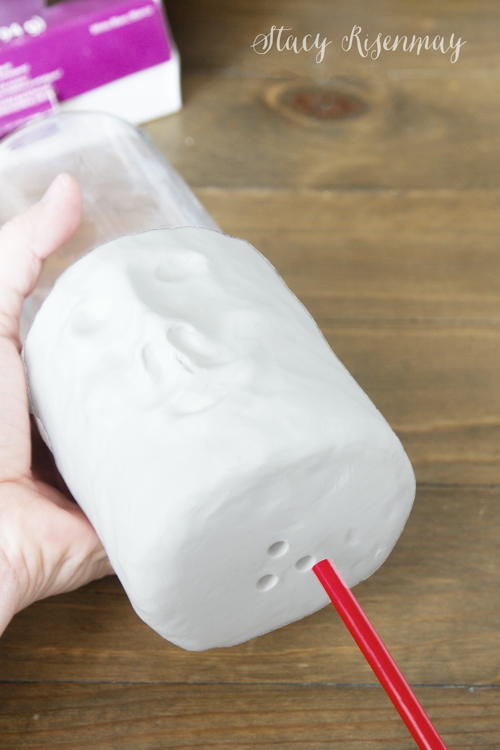
After looking at the face again, I decided to open up the eyes. A toothpick was the perfect tool!
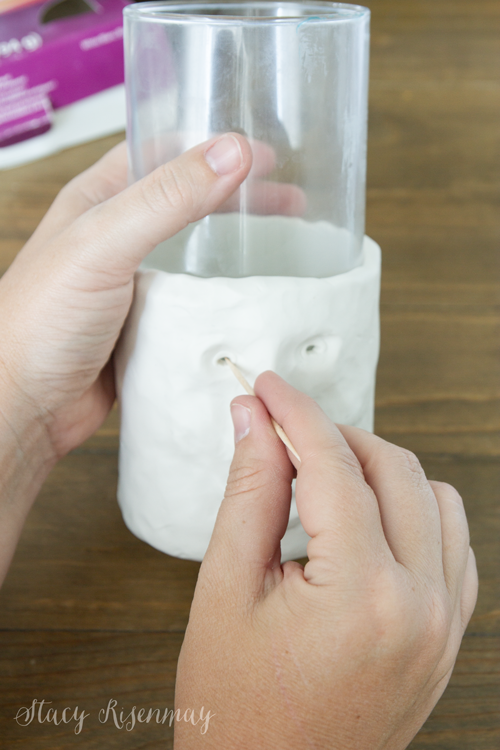
Bake it!
Follow the directions on the box and bake it in the oven. Once cooled, remove the glass vase from the clay head planter. and you are ready to put a plant in it!
Clay Head Planter
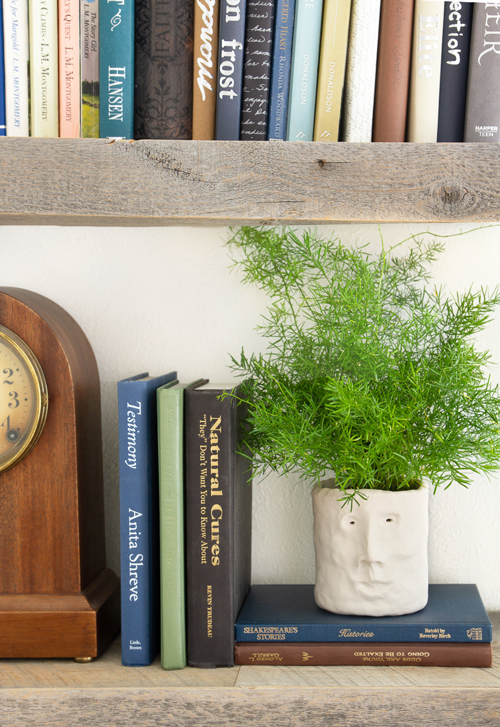
I think it is because it is white, but it was really hard to photograph the clay head planter and have it look like it does in real life. It loses some of the detail. I am really happy with how it turned out though and think it is a fun addition to my bookshelves!
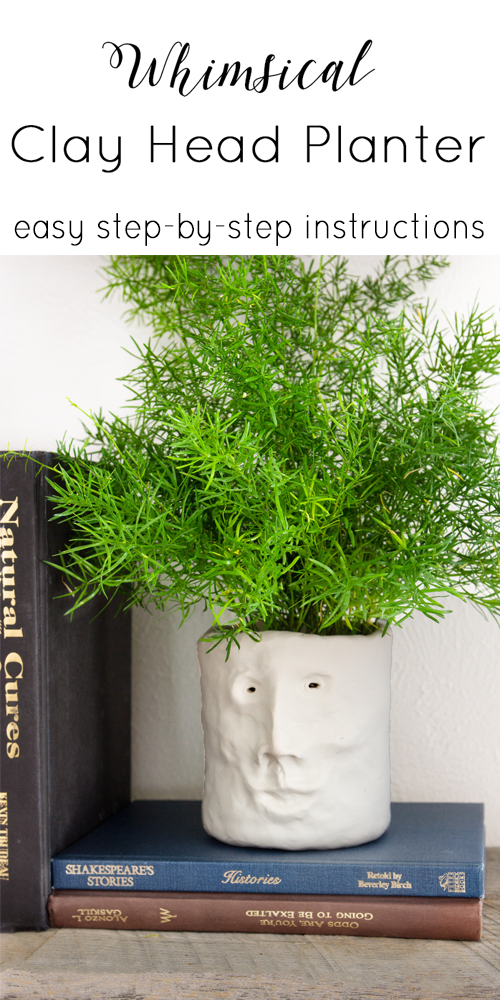
PIN For Later:
Have you ever sculpted anything or played around with polymer clay? I'd love to hear about your projects!
You can see all my other planter projects HERE.
You will also like:





Delightful green man. Looks like a fun,relaxing project. I assume you put a dish under it for drainage run off.
Thanks! Some of my bigger pots have dishes, but the smaller ones I take to the kitchen sink to water and when they are done draining I dry them off and put them back :)
This is adorable! I'm so glad you tried this project! :-)
This is sooo cute! I just might give it a try...thanks for posting and the instructions!!
What is the name plant?
It is an asparagus fern :)
This is wonderful. I hope to see more articles from you! A friend of mine uses monster clay but what she does is facial prosthetics. I also hope to try some of this and very lucky to come across your article. Thank You!
is the clay you used waterproof?
Yes!