
• Skip to primary navigation
  • Skip to main content
  • Skip to primary sidebar
  • Skip to footer
Stacy Risenmay
  • Home
  • About me
  • Subscribe
  • Shop
  • Contact Me
  • My Book
  • PRESS
    • Facebook
    • Instagram
    • Pinterest
    • Twitter
menu icon
go to homepage
subscribe
search icon
Homepage link
  • Home
  • About me
  • Project Gallery
  • Our House
  • Shop
  • PRESS
  • Contact Me
  • Privacy Policy
    • Facebook
    • Instagram
    • Pinterest
    • Twitter
  • ×

    Building & Staining An Arched Gate

    By Stacy 1 Comment

    A few years ago we turned the side of our garage into a little dog run of sorts. It is where our French bulldog Kevin takes care of his business. We have really enjoyed the pet turf. Before it could get really muddy and the weeds were a nightmare. I would love to say that we are 100 percent amazing at cleaning up after him immediately and that the run always looks pristine and clean. But that is not always the case. So I decided last year that as soon as it warmed up, I wanted to build a gate to hide the area. I went with a rounded gate to match the other gates on our property. Here how to build an arched gate!

    This post is sponsored by Wagner and contains an affiliate link to their sprayer. All ideas and project ideas are 100% my own.

    How To Build An Arched Gate

    We built a frame to fit in between the new posts. We built it out of 2x4s. It was 4 feet high because we wanted the sides to be the same height as where the start of the rounded part of the gate.

    Then I added the 6 foot fence pickets to the frame with exterior screws.

    Once the pickets were added, I used a pencil and some string to draw on the arch. I could have gone all the way to the top and made this gate 6 feet tall, but I wanted this gate to be smaller since it was so narrow compared to all our other gates.

    I nailed on a board to the top of the pickets. I have found after building 3 sets of rounded gates, that it is easier to have them all connected as I cut along the rounded line. But this step isn't absolutely necessary.

    I used a jigsaw to cut along the line I drew.

    Best Way To Stain A Gate

    Now it was time for the fun part! Staining the gate!

    I used my Wagner Flexio 3500 to apply the stain. I used the same dark brown stain that I have used on the other gates, our fence, our large arbor, and our sliding planter wall. Fence pickets are so rough so it is tough to use a roller or brush. A sprayer is so much faster too! It is so satisfying.

    I always recommend to use cardboard or scrap wood to test your spray pattern and output before spraying your actual project. There are 9 speed power settings, variable paint flow, adjustable spray width, different pattern size and direction (horizontal/vertical and wide/narrow). You have so much control over the spray!

    It also come with an additional spray tip and canister for fine finishes like when I painted my kitchen cabinets.

    Once I had both sides stained as well as the posts, I let them fully dry over night before installing the gate. We ended up using the same fence post bases as the garden X fence. They pound into the ground and then you simply add the post and screw it in.

    I added a cute crystal door knob (like the other gates). I am thinking of adding solar lights to the posts. What do you think? Yes, or no?

    It is even Kevin approved :)

    Have you ever built a gate? What projects are on your spring and summer to-do list?

    Other Arched Gates on our property:
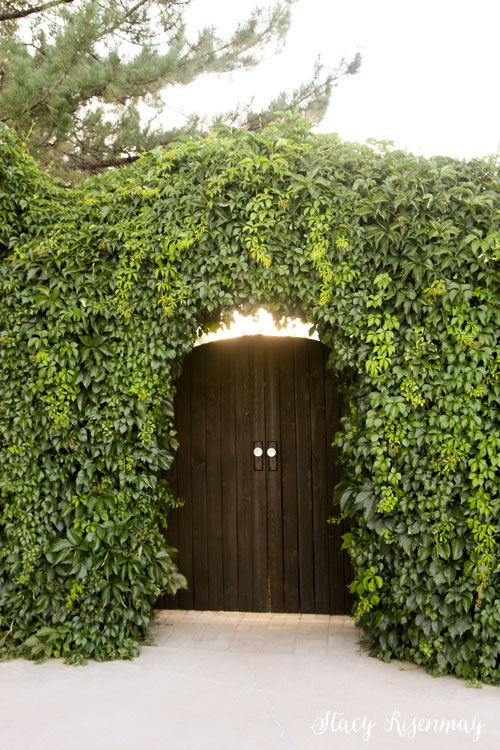
    Backyard Gate
    Building An Arbor
    Secret Garden Gate

    « How To Turn Any Pot Into A Hanging Planter!
    Backyard Wedding On A Budget »

    Filed Under: DIY Projects & Tutorials, Outdoor Projects & Gardening Tagged With: diy, diy project, gate, outdoor, paint sprayer, Power Tools 1 Comment

    Subscribe

    for your weekly DIY fix.

    Reader Interactions

    Comments

    1. Danita

      May 04, 2025 at 9:05 am

      Just Brilliant!

      Reply

    Comment Below! Cancel reply

    Your email address will not be published. Required fields are marked *

    This site uses Akismet to reduce spam. Learn how your comment data is processed.

    Primary Sidebar

    stacyHey! I'm Stacy and am a DIY addict. I love to get my hands dirty, whether it's sawdust, paint, or dirt. My goal is to help YOU learn to fix up your home and yard. No matter the style or size, I think everyone should love their home. And it doesn't takes a big budget to get there. Let's DIY together!

    Search this site

    categories

    Subscribe to my newsletter!

    Footer

    Welcome! I'm sharing our adventures as we fix up our 1938 cottage. Whether it is big or small, I think everyone should love their home and I don't think it takes a lot of money to make a space your own

    About Stacy

    • Facebook
    • Instagram
    • Pinterest
    • Twitter

    My Favorites

    copyright

    All images and content are copyrighted via Stacy Risenmay unless otherwise stated. If you'd like to share my work, please link back to this blog.
    Thank you for visiting!


    Footer

    ↑ back to top

    About

    • Meet Stacy
    • Privacy Policy
    • Contact

    Categories 

    • Home Decor
    • Outdoor Projects & Gardening
    • DIY & Tutorials
    • Kid Activities
    • Recipes
    • Travel
    • Cleaning
    • Houseplants
    • Staining
    • Painting
    • Power Tools
    • Holiday Ideas

    Newsletter

    • Sign Up! for emails and updates

    As an Amazon Associate I earn from qualifying purchases.

    Copyright © 2020 Brunch Pro on the Brunch Pro Theme


    Privacy Policy
    Welcome! Thanks for visiting.
    Hi! I'm Stacy and I want to help YOU become a DIY rockstar! Sign up for my email list so each project, tip, and trick will go directly to your inbox :)
    Your information will *never* be shared or sold to a 3rd party. Pinky promise :)
    Welcome!
    Hi! I'm Stacy and I blog about fixing up our 1938 cottage. Join the thousand of others who get my posts sent to their inbox for FREE!
    Your information will *never* be shared or sold to a 3rd party.