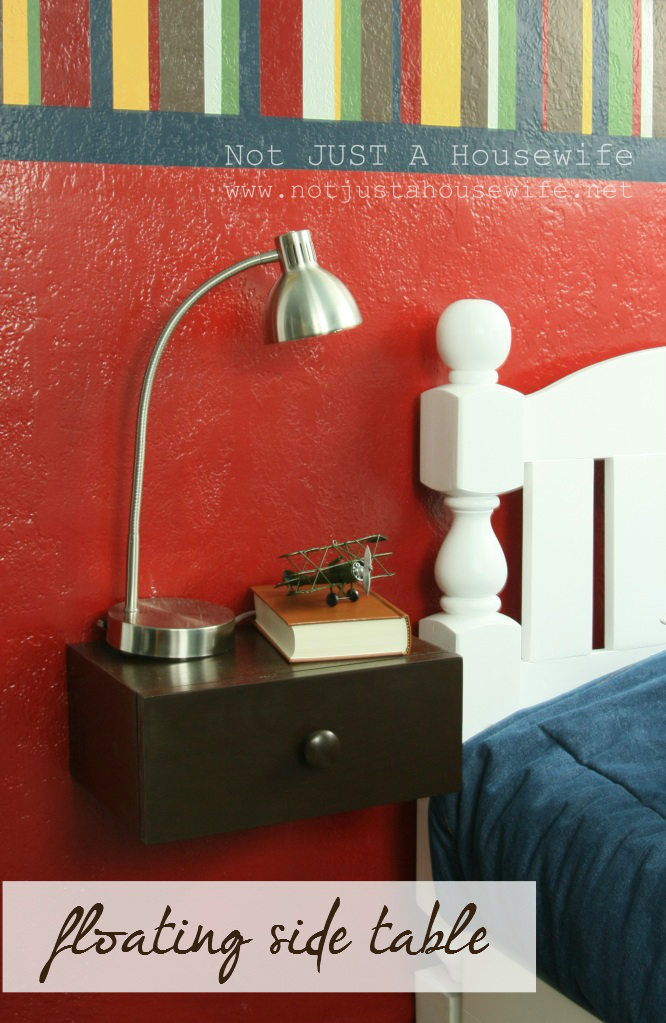
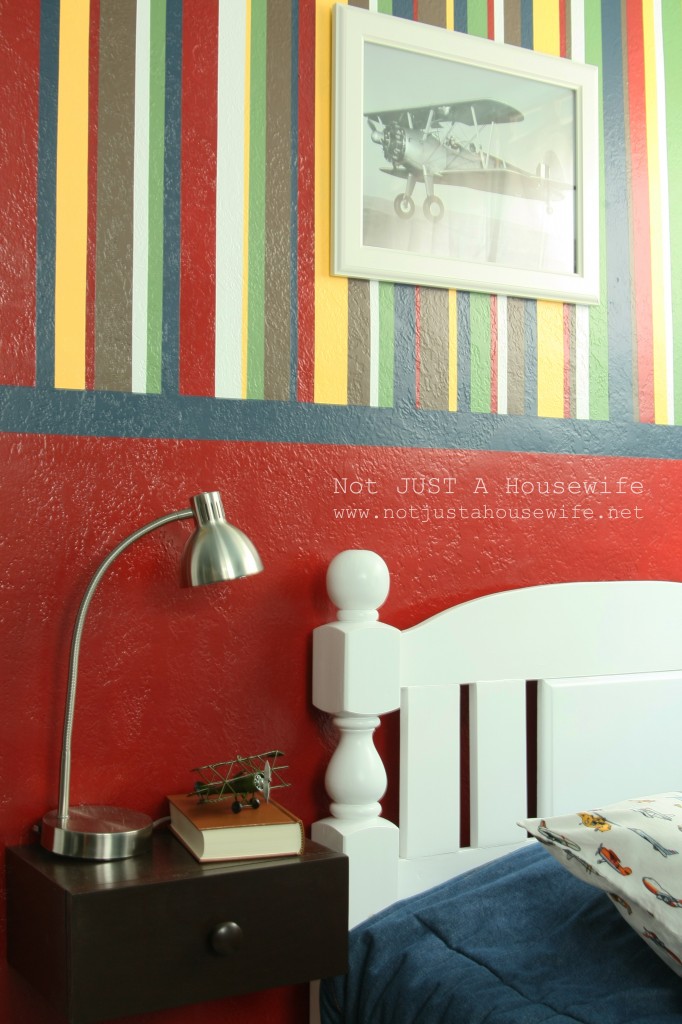
I love this little side table! It is such a space saver and was really simple to build.
Like I mentioned in the reveal post of my son's new space, he wanted a side table with a lamp. I had a side table that I had built but then had a "duh" moment when I realized that his bed has drawers. If I had a regular side table the drawer would be blocked. So I moved on to plan B.
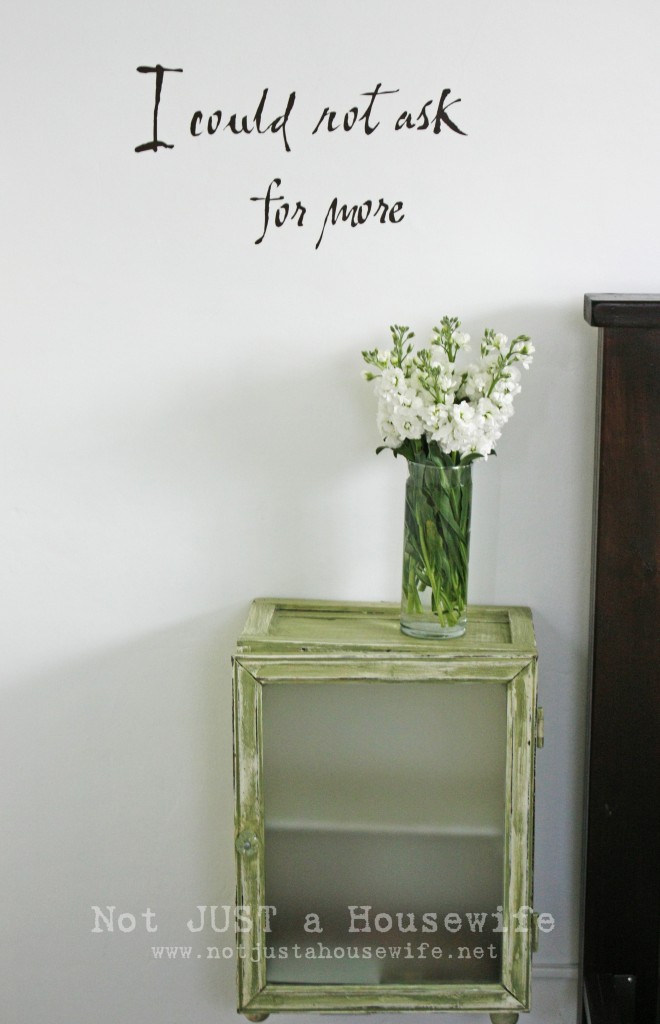
I decided to make a side table that didn't have legs and then mount it to the wall. I had done something similar in my bedroom with an old medicine cabinet.
Fist off, you need to decide on the size that you want. I didn't want the door to hit into it when the door opened so I measured based on that. I cut some wood I already had out in the garage to the right size.
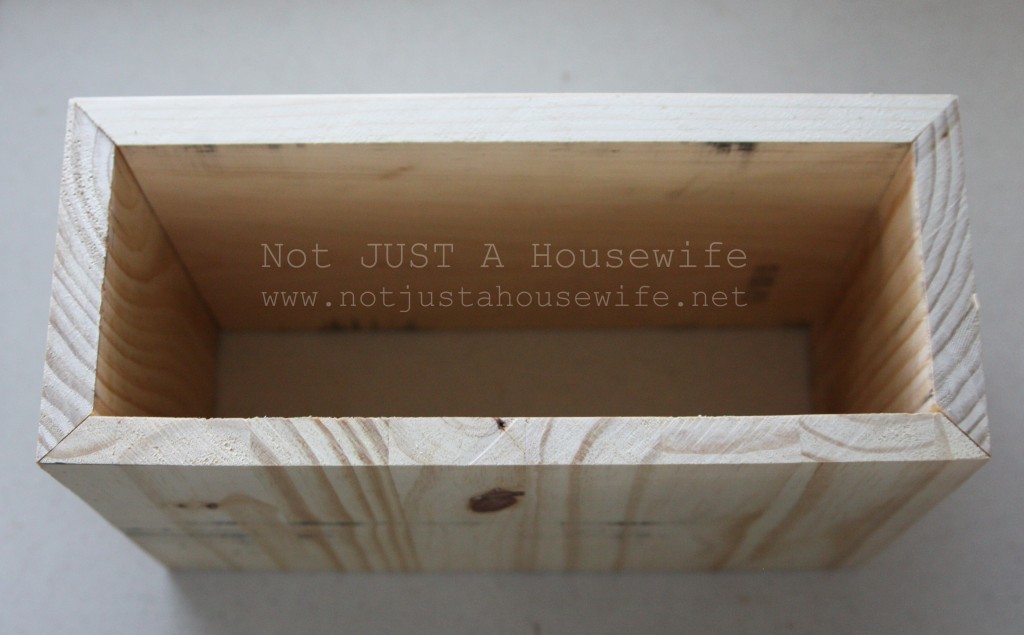
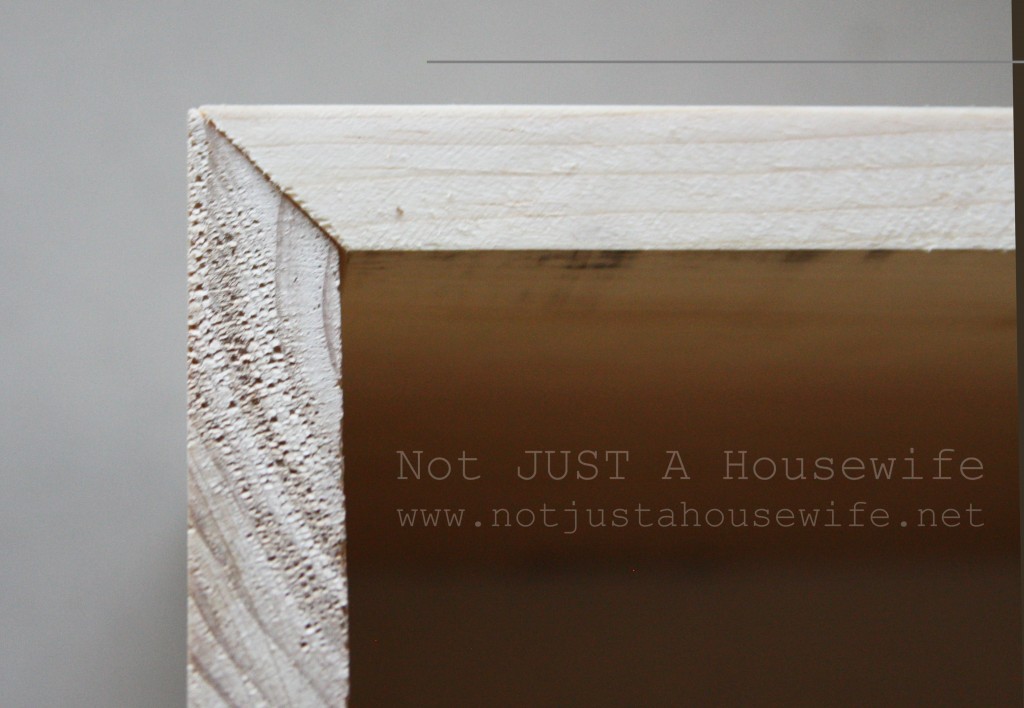
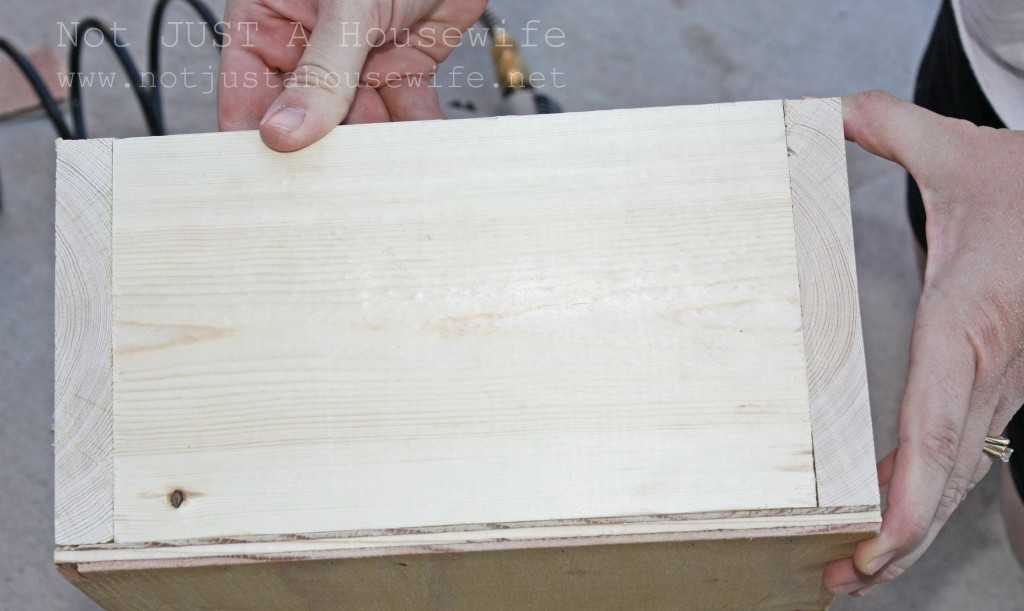
The using a table saw with the blade at an angle, the pieces got cut at a 45 degree angle so the fit together like this:
I like to do this so there are not any noticeable seams. Especially if you are going to stain it.
Another option though is to do a butt joint. Here is picture from my shadow box tutorial showing an example of a butt joint. It means the pieces of wood are butt up against each other.
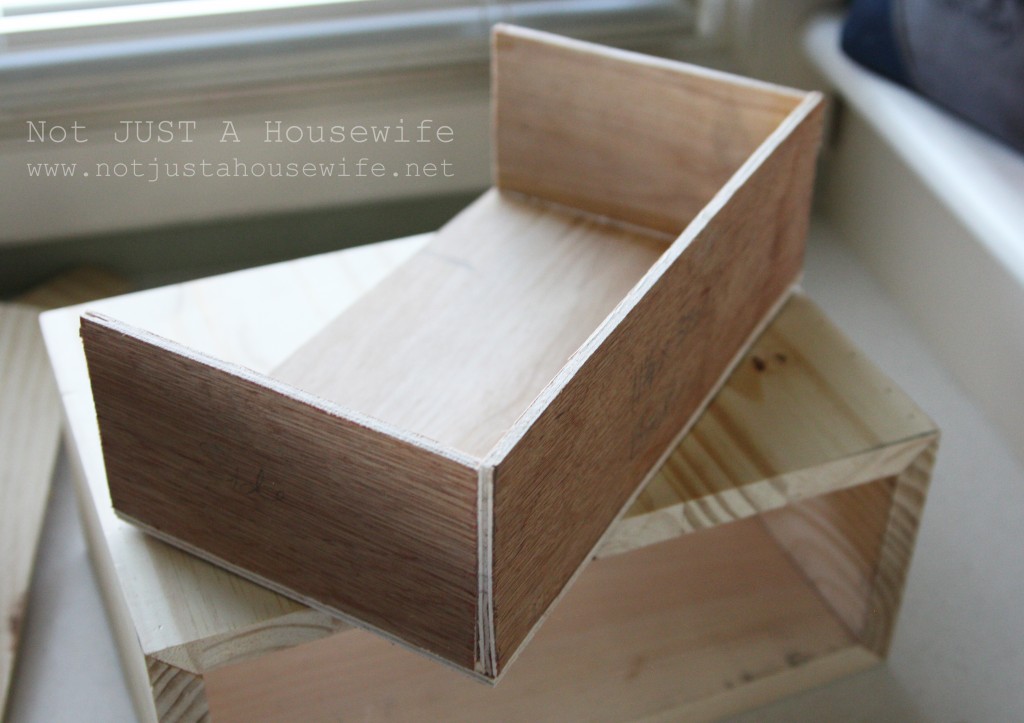
Then I used some scrap plywood to make the drawer. I only did three sides of the box and used the drawer front as the 4 side which means I nailed through the front of the drawer to attach it. If you don't want nail holes on the drawer front then make the fourth side out of plywood and then you can nail through the plywood into the drawer front and you will never see the nail holes.
I was going to be using a Walnut colored stainable putty so I was not concerned.
Remember that you will have a board on the wall that this table will be attached to so don't make your drawer as deep as the shelf. Leave at least 3 inches of space or the drawer won't shut. Also, don't make the drawer as tall as the shelf. Leave at least an inch for wiggle room.
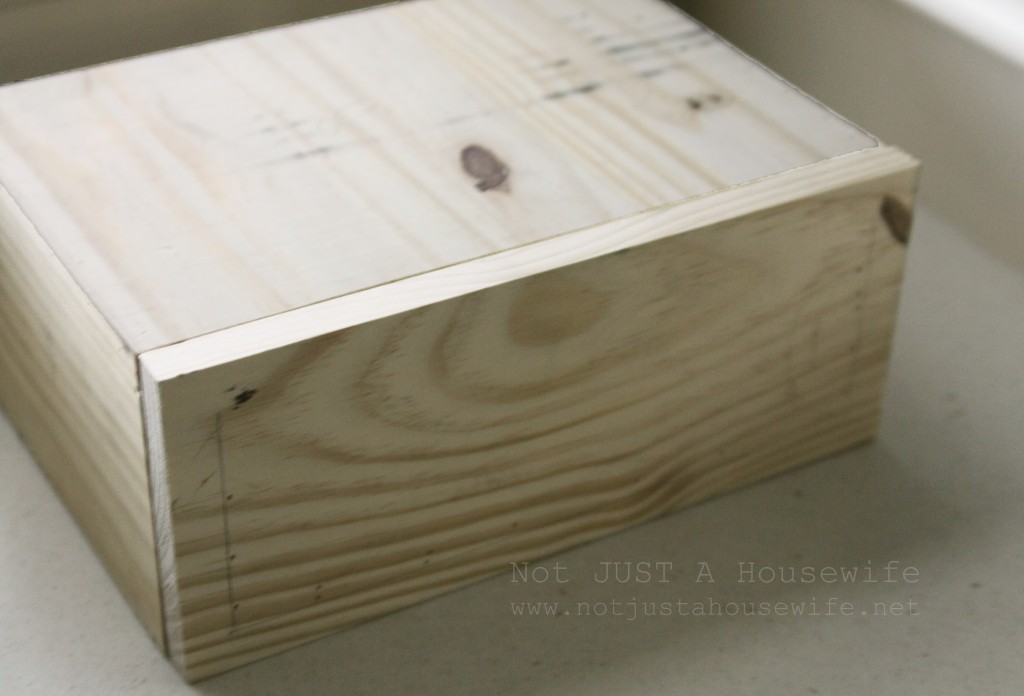
Here you can see the nail holes on the drawer front. I traced the drawer so I knew where to nail and so I could make sure it was centered. Then I puttied the nail holes. Sanded, and stained it using my favorite stain.... Gel Stain in Walnut from Minwax. Best. Stuff. Ever! I put a lot on because I wanted it really dark and rich.
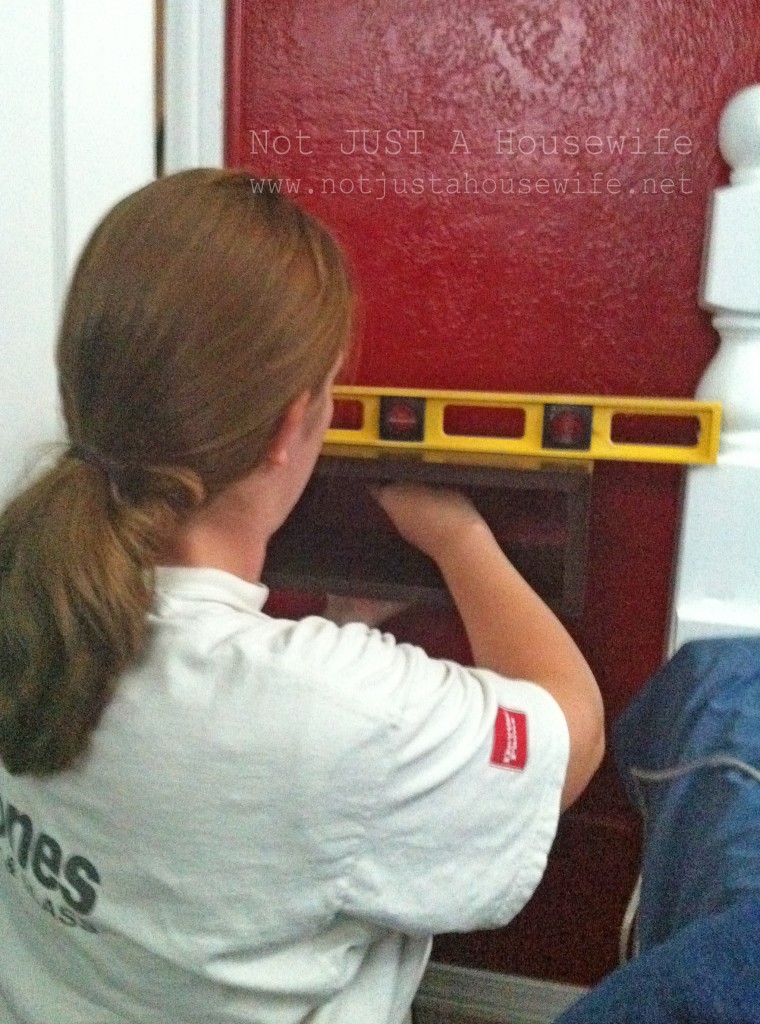
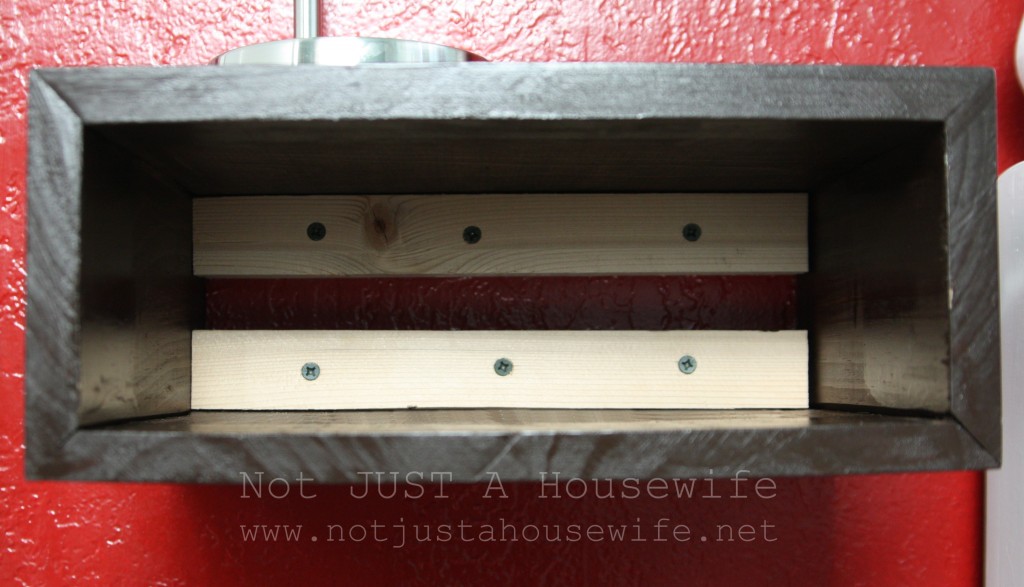
As far as haning it goes, I hung them the same way as I did the floating shelves (with a drawer) in my office. The difference was that I held the drawer up where I wanted it with the level on the top. I made sure it was where it needed to be and then traced the inside of it with a pencil. When I set the shelf down, there was a rectangle on the wall. This way I knew where the 2x2 boards needed to go.
(Pardon the bad cell phone picture taken by my son!)
The other difference was this time I used two boards on the wall. It was because this table/shelf is so much bigger than the ones in my office. I wanted the fit to be snug.
I slid the shelf/table on and then screwed the shelf onto the boards on the wall. I screwed from the top and from the bottom.
And there you have it! One shelf/table/drawer!!!
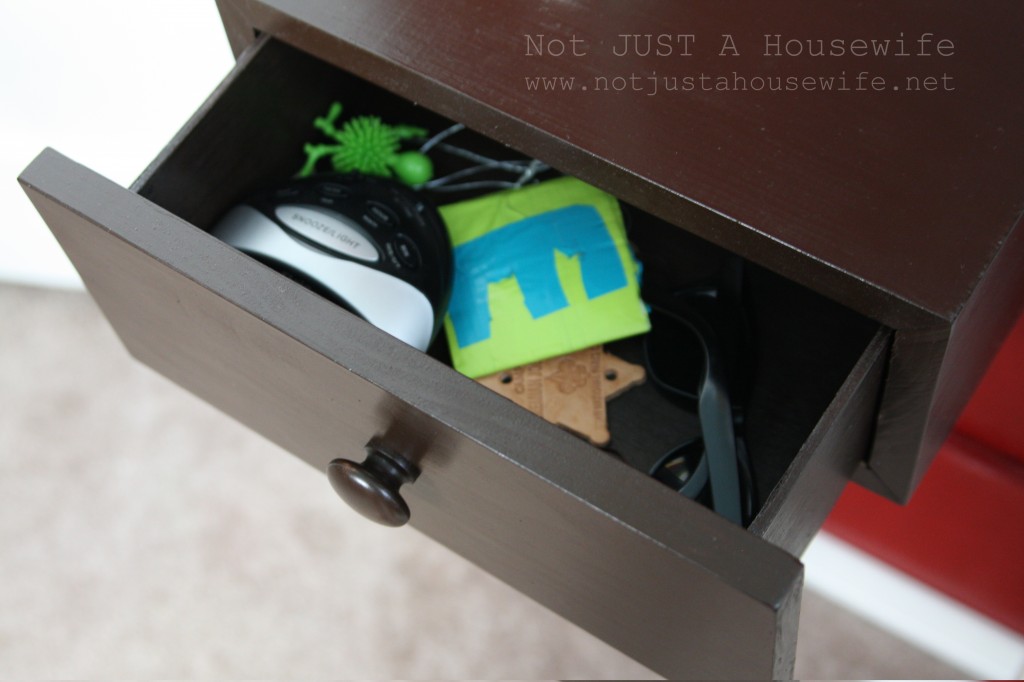
And it is perfect for holding all sorts of treasures :)

You will also like:






I love this idea... I am totally sharing it on facebook! I like how much space it saves!
Very cute!
Carmen
I love how much space it saves but that he still has room for everything. Thanks for sharing how you made it!
Love it Stac!! This totally helped me picture how I am going to do a project!!
Hi friend! I saw your post on Utah Bloggers and of course I had to come over and visit! This is an AWESOME idea. I really like the feel to it. I'm gonna pin it so others can see it too AND so that I can use it later when my kiddos are older and won't climb on it and rip it off the wall! :) I'm glad I stopped by! I've decided to be your newest follower! You should come over and visit sometime and we could be blog buddies if you want. :) Totally up to you.
what a nifty little idea!!
That is the neatest side table! So clever. Thank you for sharing it. I'm pinning this one!
Love it!! It's the perfect size -- and doesn't take up valuable floor space. Love those stripes too. ;)
Awesome! I love that you could build really any size for your needs (if space was an issue). Beautiful job!
such a cute and simple idea! Nicely done!!!
Great idea! And that room is so cute, too!
Love it, Stac!
Such a great little statement on the wall. I love the stripes on the wall too!
This is a great idea, so that you still have a place for all your little doo-dads, but you also aren't taking up floor space, so it makes the room seem less cluttered. Good job!
Serena
Thrift Diving
Gorgeous drawer!! How did you put the plywood sides/bottom together? It looks like glue maybe? I made a drawer for our bathroom vanity beneath the sink recently (http://house-capades.blogspot.com/2012/04/visual-music-bathroom-vanity-makeover.html) and I had trouble with how to put the plywood together...I used little right-angle brackets and screws and it's holding up great but was a bit tricky with all the screws avoiding the drawer sliders that I used.
Great little idea that adds so much storage and practical use without taking up any space. I love your striped walls and the colors. Certainly a room a little guy can grow into!
I love this Stacy!!! That drawer is awesome and the paint on the walls...... Amazing!
You rock as usual!!! You amaze me with your butt joints and mitered corners and basically anything you do with power tools! Very inspirational :)
What do you use to make the wood stick together when building the drawers or the shelf itself? Are you just using a strong wood glue? Ive never done anything like this before, so I want to make sure I do it right
I used a brad nailer (nail gun) to nail everything together. They cost about $80 and need an air compressor. You could also screw them together if you sink the screws (screw then below the surface of the wood). Email me if you have any other questions :)