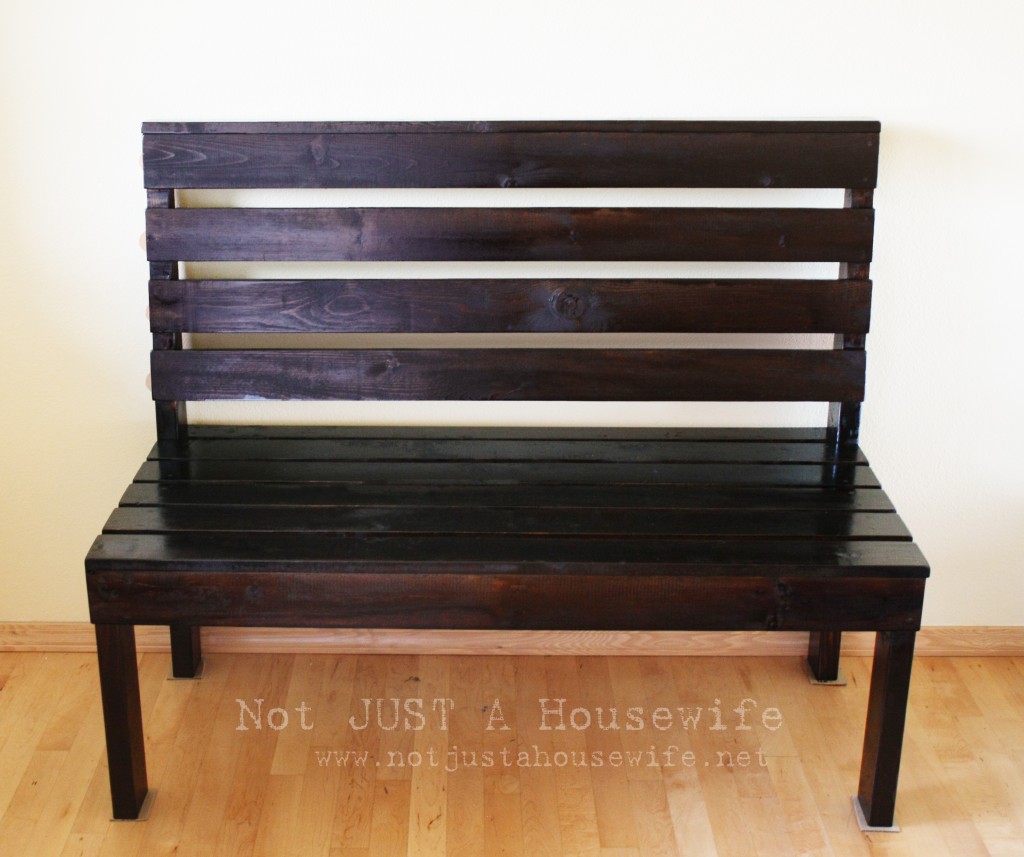
While I was in Washington helping decorating my brother-in-law's new house, I ended up building an entryway bench. I kind of loved it and wanted to strap it to the top of the van to bring it home! I wish I could have seen it all finished. You see there is this thing about the Northwest ...
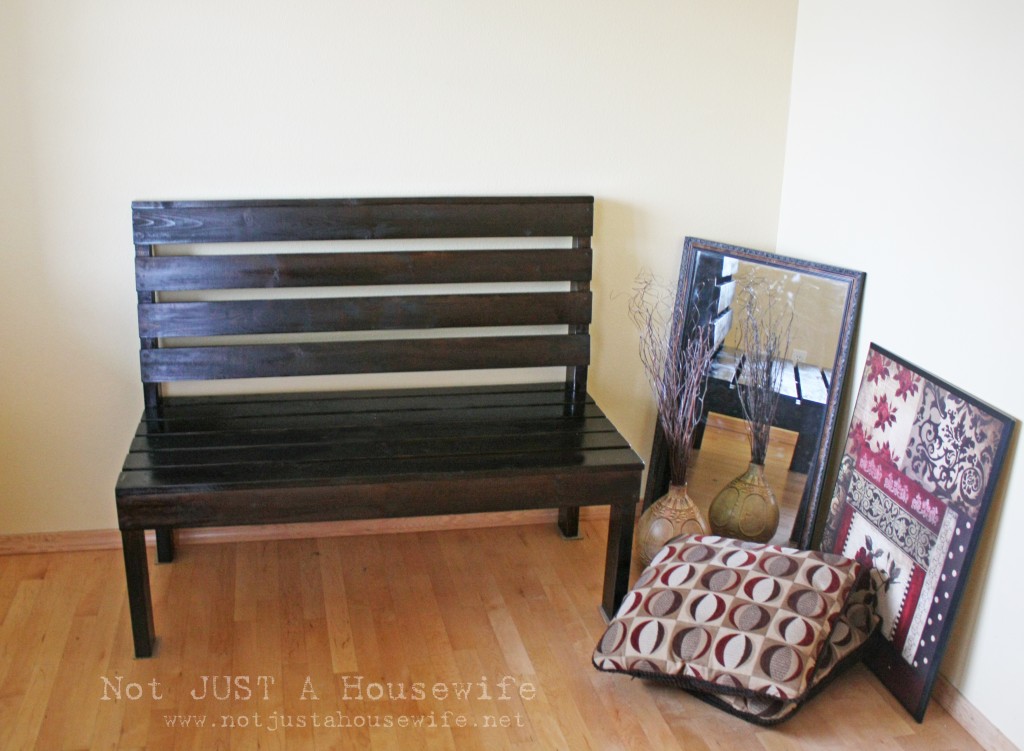
It is humid! I was all in love with how green it was and almost wanted to move there until I realized that the chilly humid air made stain take FOREVER to dry!!! I am use to dry Utah air that allows things to dry quickly. I did not factor in the extra dry time. So I was not able to seal it with the wipe-on poly and see it with the pillows and other decor. You can even see the little pieces of cardboard under the legs of the bench since it was still tacky when we brought it inside.
My sister-in-law loves red so I went shopping in her office where all the boxes of her things from the old house were. The cheapest way to decorate is to go shopping in your own home :) I grabbed some things to use in the entry.
When my sister-in-law and I were shopping at antique stores, we came across an old church pew. We both loved it, but not the price tag. It was very simple in its design. So when we decided to have me build one instead of buying one, I decided to make it similar to the antique pew we had seen.
When I build things I do not follow any plans other than my own sketch. I think of what I want it to look like first and then decided how big I want it to be. Because of this, I measure and cut as I go. I do not cut all my wood at once and then assemble. I have found that even when you are following a set of professional plans, that sometimes things can be a little "off" here and there and it is better to measure along the way before cutting. I always end up with really solid pieces of furniture without gaps and other issues because of this.
One of the main reasons I build furniture is because I need something to be a certain size to fit a certain space. So when I show tutorials I don't generally share each and every measurement of every single piece of wood I cut. The point of the tutorial is to show you HOW. Then you can take it and make it to fit your size of space. You can make it custom to fit your needs :)
Building an Entryway Bench
This bench was 47 inches long, 22 inches deep, and 39 inches tall. It was built using:
*affiliate links
(3) 8ft 2x4's
(5) 8ft 1x4's
(1) 8ft 1x3
stainable paintable sandable wood putty
Minwax oil based wood stain in Walnut
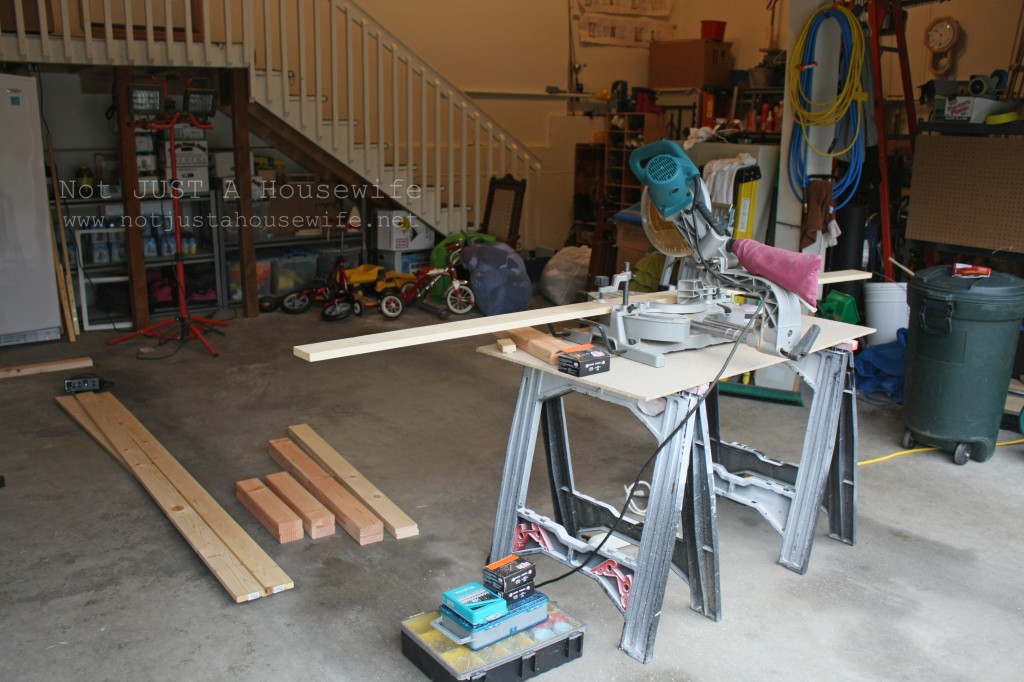
Before we get started I have to give a big shout out to my Sister-in-law and Brother-in-law's neighbors who graciously let me use not only their tools, but their garage. I took it over for a couple of days :) It was a very nice place to work.
I went cut the boards to be 47 inches. Why not 48 since that is half of the eight feet that the board started out as? The blade when it cuts, shaves off part of the board. So you wouldn't have an exact 48 inches anyway. Plus, the ends of 2x4's can be rough so I cut them off.
Cut Boards for Legs
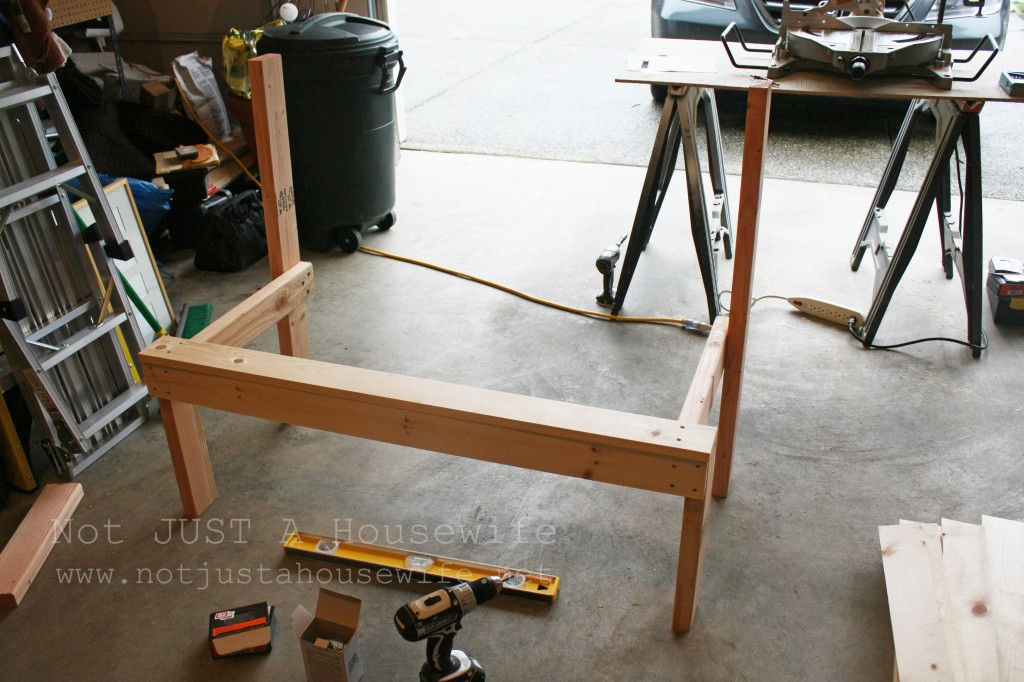
Then I cut the four legs. Two at 39 inches and the other two at 17 inches.
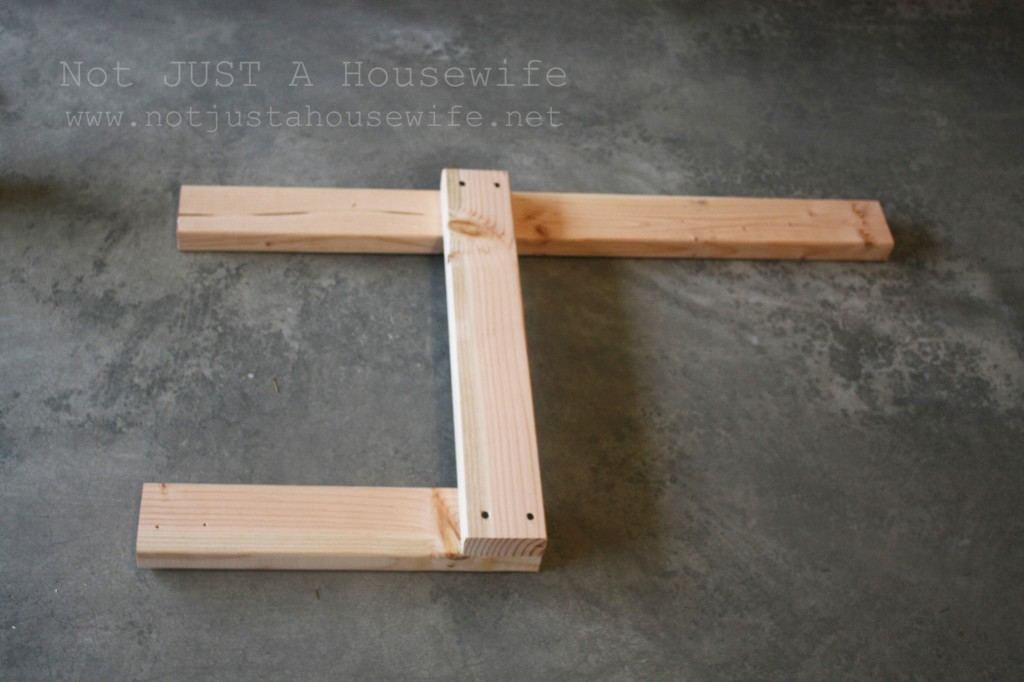
Attaching the Legs
The piece that you attach the legs with will determine the depth of the bench. I wanted the bench seat to be about 18 inches deep so I cut it it to be 22 inches. This is because, as you can see in the picture above, about 4 inches are attached to the 2x4 back piece.
Also remember to make the 2 sides of the bench opposites of each other. You want the piece that attaches to 2 legs to be on the inside (see below).
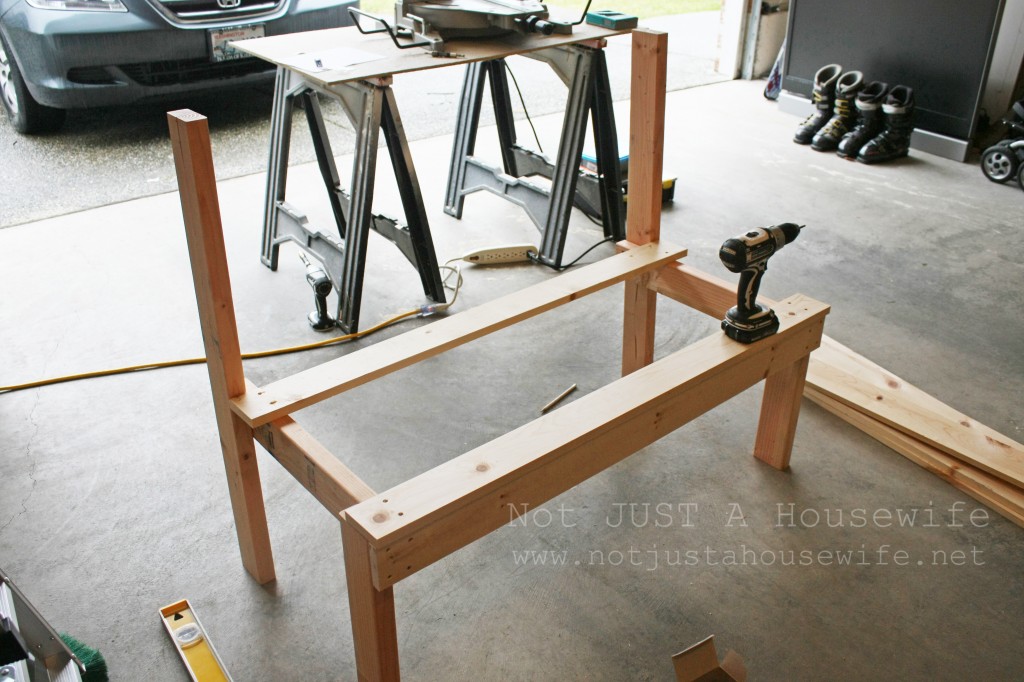
I attached the front slats first to hold it together. I had to call my husband to run over for a second to help hold it up while I screwed it together. This was a crucial step to making sure the whole bench was square and set straight so it helps to have another person. It also helps if they are cute and patient :)
The board on top is the first one of the seat and the one on the front covers up the joints.
Building the Seat of the Bench
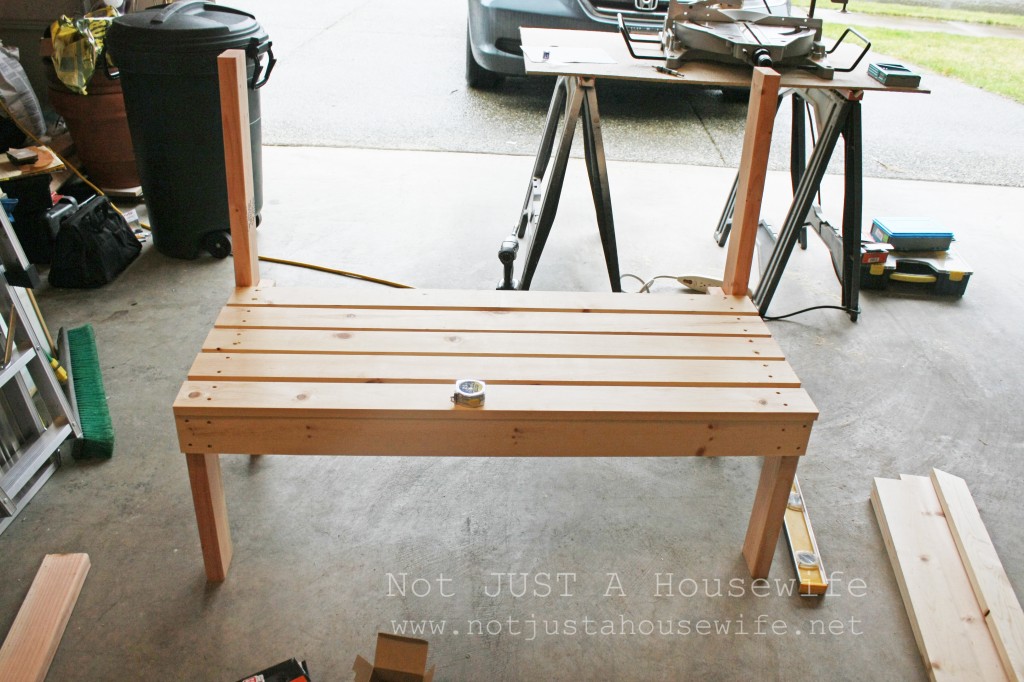
The next board I screwed on was the board up against the back of the bench. This way, I can evenly space the seat boards in between and I don't have to stress over the math of how big each gap will be. I totally eyeballed it but you can do the math if it makes you feel better. :)
Use the Right Screws
I am going to talk for a minute about screws. I originally didn't buy wood screws when I bought the lumber because the friends who let me barrow their tools thought they had some. It turned out they were drywall screws. I was dropped off at the house and then everyone left. I was stuck there for the first part of the project without the right screws and no way to get new ones. I went ahead and started because the first screws wouldn't show in the final project and therefore wouldn't need to be puttied. But MAN IT SUCKED trying to use those coated screws.
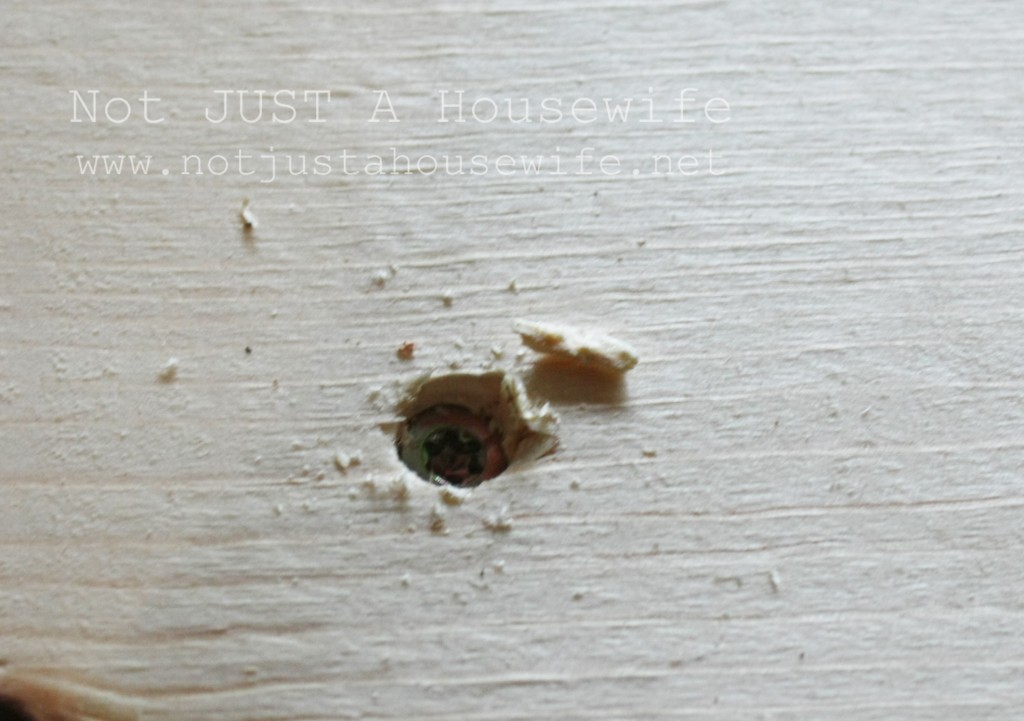
If you have the right screws they will automatically sink into the wood making it easy to fill them over with putty for a finished look. Be careful when using soft wood like pine that you don't sink them too far.
Cut Back at an Angle
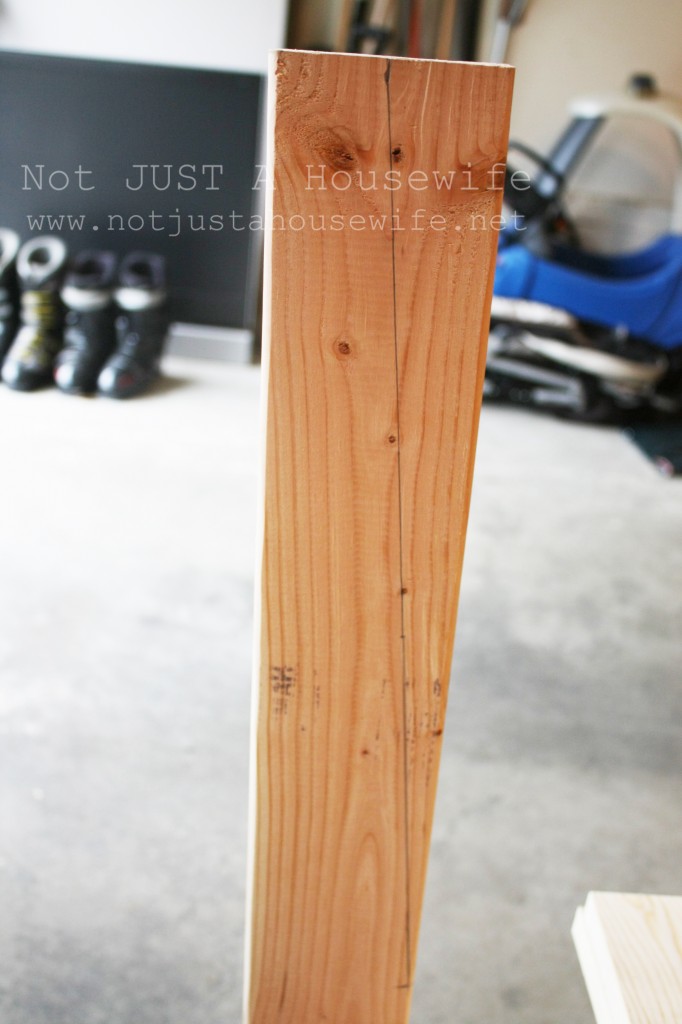
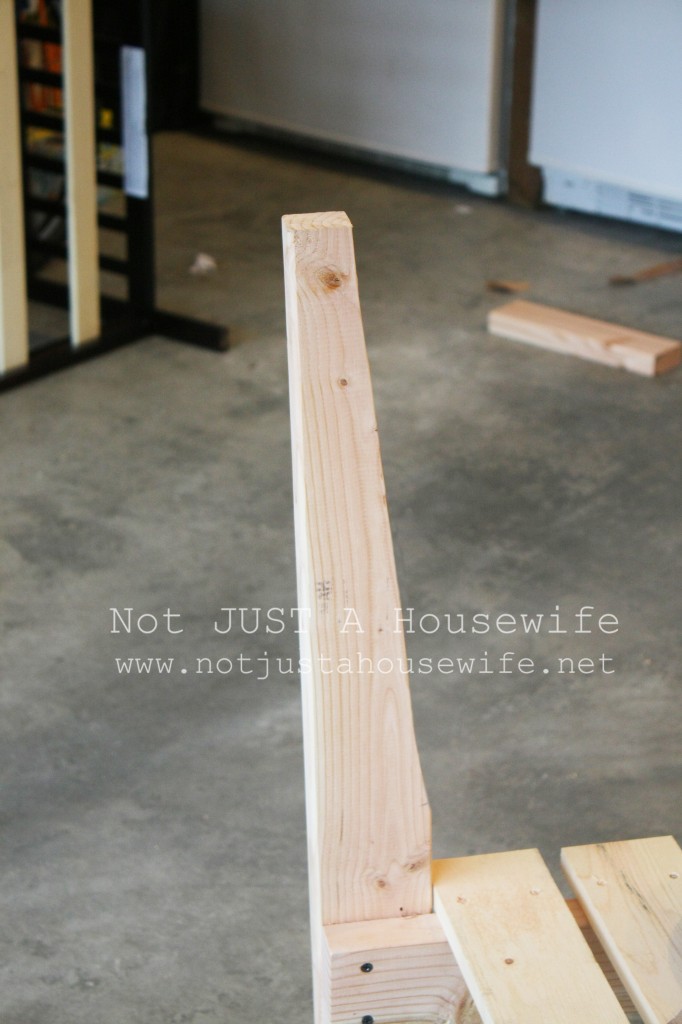
This next step would have been easier had I done it BEFORE assembling the bench. But because I had never made this bench before and I made up the plans, there are always little things along the way that I learn from. So if you make this, I recommend cutting this at the beginning when you could clamp it to a flat surface. If I would have done it from the beginning I would have measured about 20 inches up from the bottom (to start the line).
I wanted the back slanted. I drew the line to be cut and used my jigsaw to cut it.
Add Boards to Back of Bench
I used the same concept on the back of the bench as I did on the seat. I started with the top one. I made sure it was flush and pretty. Then I screwed on the bottom one. Then I eyeballed the ones in between.
Add Seat Support
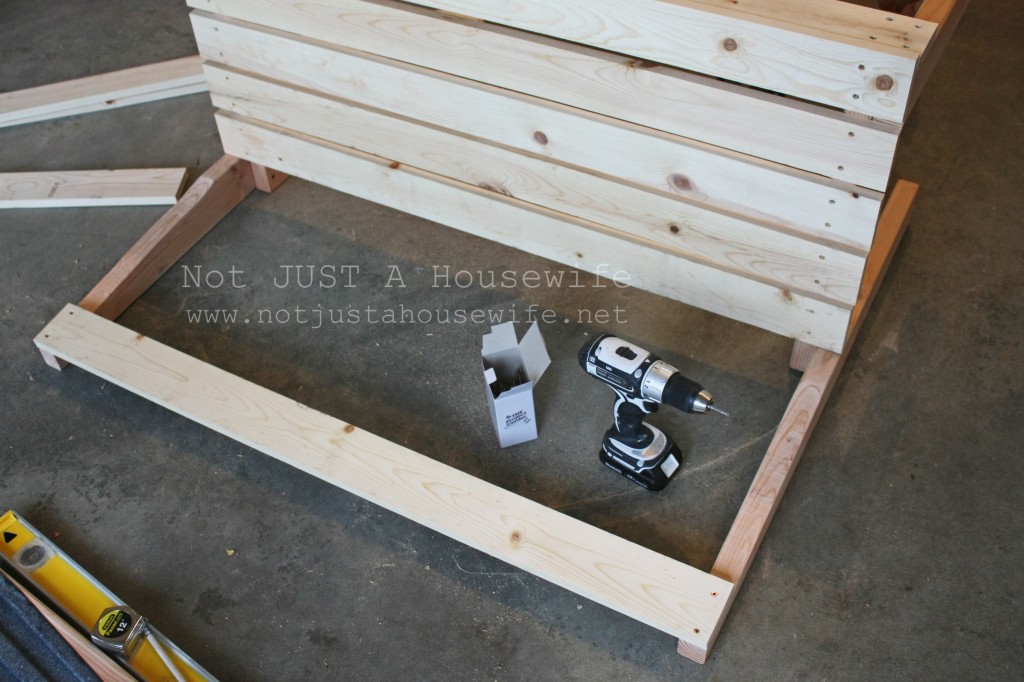
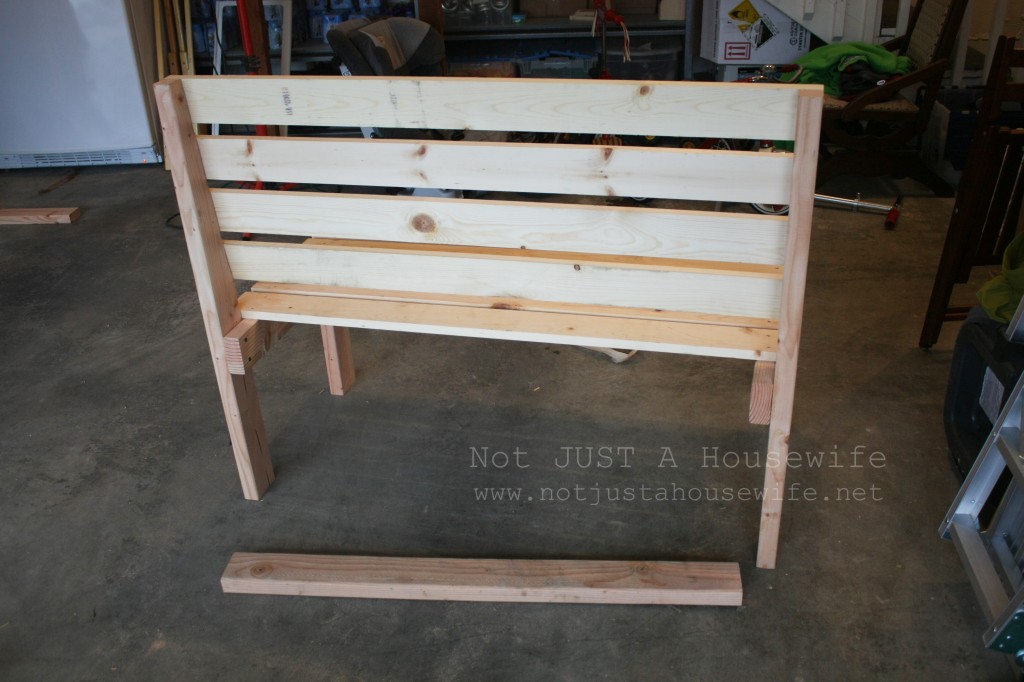
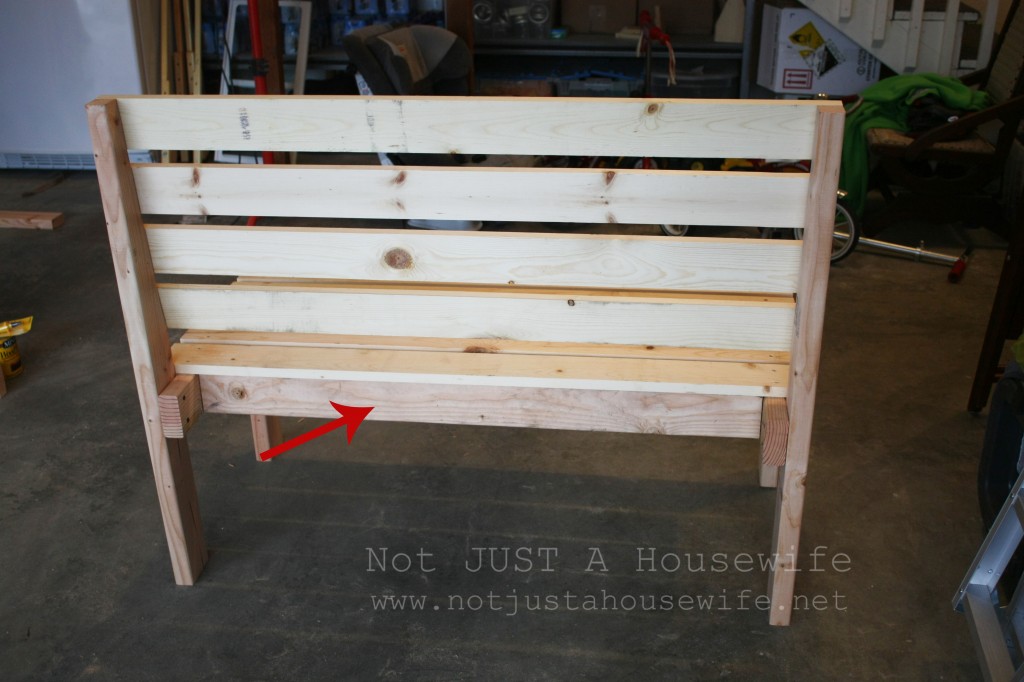
Now it was time to add a little support in the center below the seat. The first step was to add a board in the back (underneath). Cut a board that is the width between the two 22 inch boards (the ones that connected the legs together in the first step). You can see where the board was added in this next picture.
I screwed this support board in from the side of the bench. That is why it is set in a bit. I had to put it past the legs or else I would have had to of used a VERY long screw :)
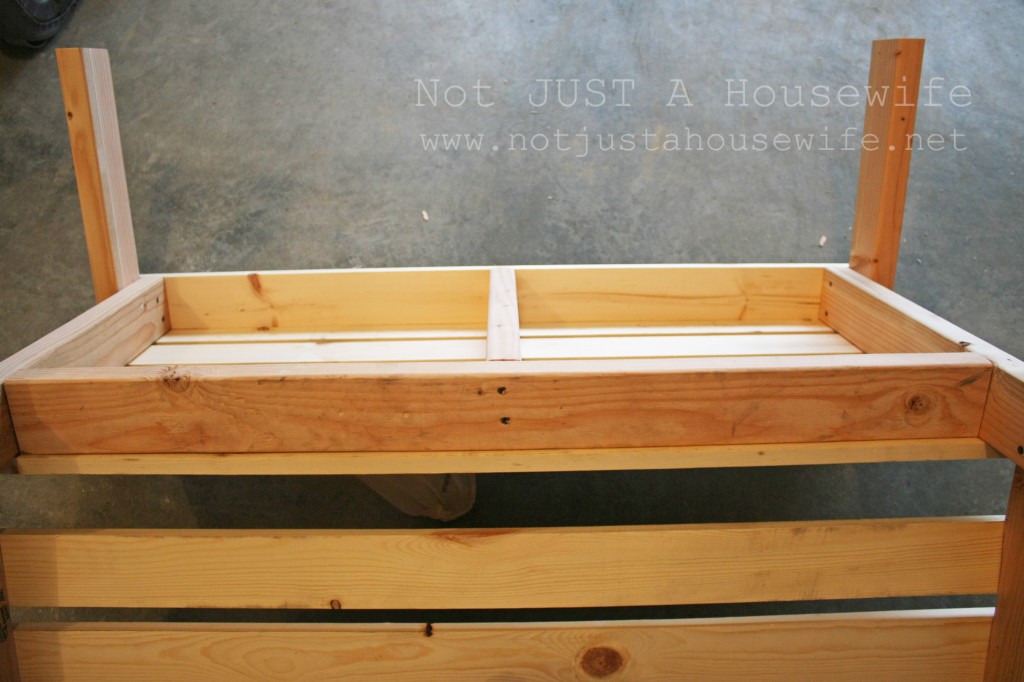
Then I flipped the bench upside down.
I cut a board to fit right in the middle. This board is right smack dab in the center of the seat running perpendicular to the boards of the seat. It will prevent the boards from sagging when sat on. You can see in the picture where I screwed it together.
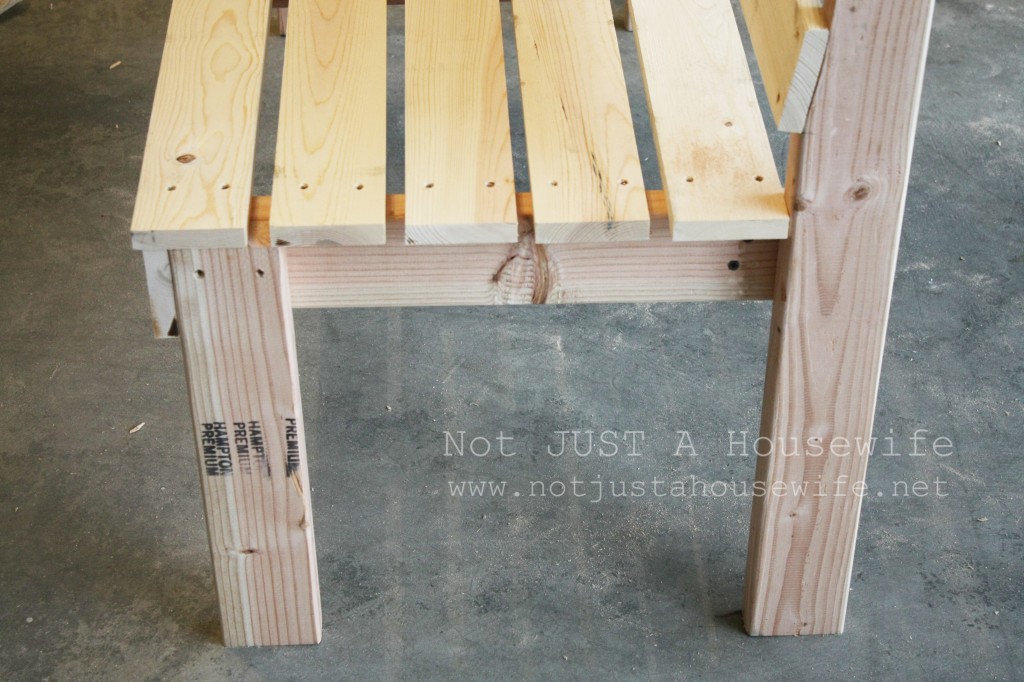
Here is a side shot of the bench so far.
Finishing Pieces
If this bench were going outside I probably would not have worried about doing anything else with the side. But this was for an entryway and I wanted a more finished look so I added a piece.
You need to measure in between the two legs and cut a 2x4 that size.
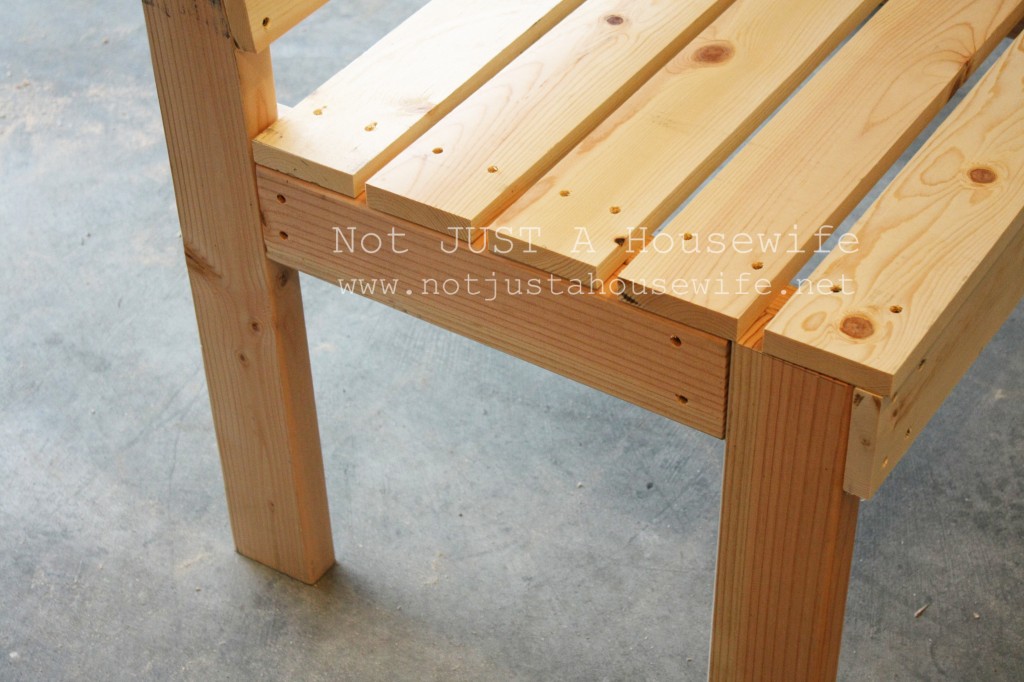
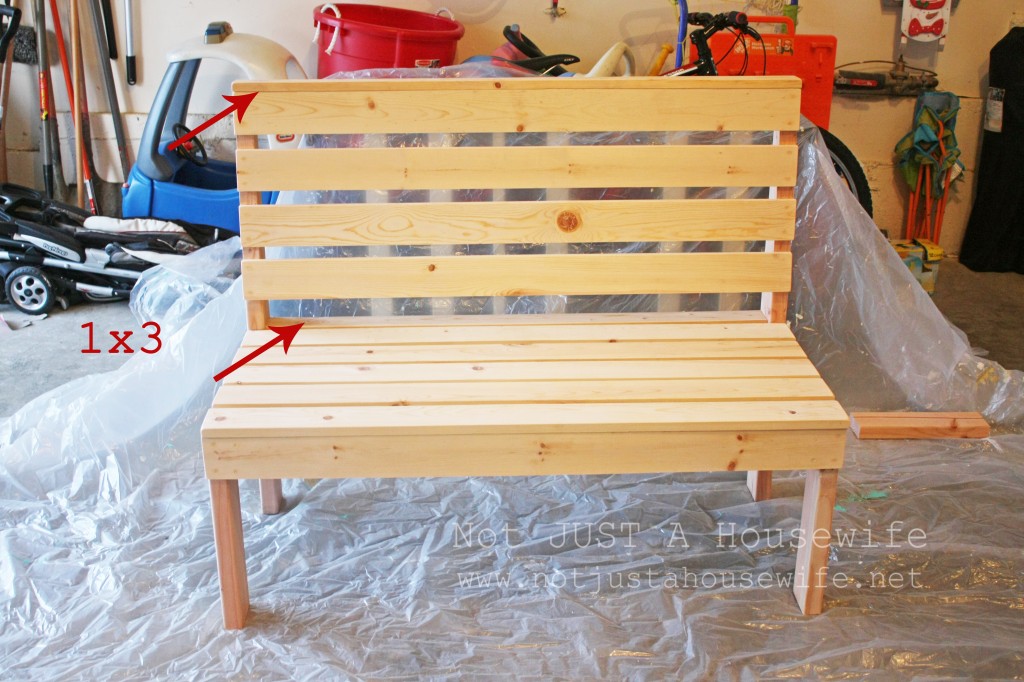
I do not have pictures of this next step. I sometimes get caught up in trying to finish and forget to take pictures. So hopefully these arrows help me explain.
This is where the 1x3 boards come into play. In order to have a gap between the seat board that is up against the back legs and not have it overhang, you need a 1x3 for the last seat board. It will also be shorter than the other seat boards since it goes in between the back legs.
I also added a 1x3 board to the top to make it look more finished.
Stain or Paint the Bench
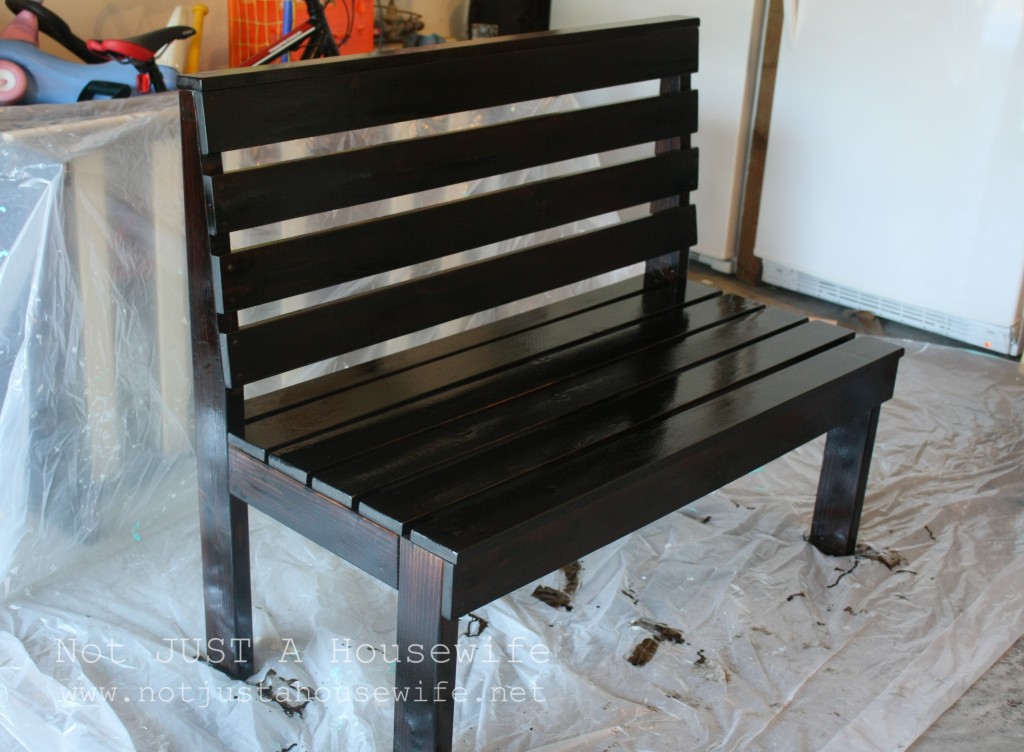
Here it is all stained! I did two coats of the walnut oil based stain.
Like I said before, I wish I could have been able to seal it before I left. I felt bad leaving a job for them to do after I left. But I loved building an entryway bench!
UPDATE:
I built some outdoor chairs using this same concept. You can see them HERE.
You will also like:






Super cute bench Stacy! This would make a great bench for a kitchen table too!
You are amazing! I love the bench! You make me want to take over the power tools and create something as beautiful!
Wow, you certainly accomplished a lot while you were there. I bet your sis in law really appreciated it. Beautiful job on the bench.
Love the bench! It's incredible that you come up with these designs on the fly. Thanks for sharing.
I bet your sister loved it too. I just gotta know... are you also able to leap tall buildings?
~Bliss~
This is great! I'm a fly by the seat if my pants diy-er ...I just love your posts and projects..keep it up girl! Kimber
Thanks so much for the post! I love that you have an idea in your head and just go for it. One day.... I'll be brave enough to try that with woodworking, too!
You did a great job. Thanks for the post.
Looks fabulous! Love the dark stain color and the simple design of the bench. I bet it will look amazing with pillows on it.
Omg, that is amazing! I can't believe you did that just from your head! Well done you!
- Adele @ Mammy Made
So beautiful, I wonder if I can get my dad to help me build one. I just trust his judgement more than mine! lol
YES! LOVE! And I love that you built this on your own and from scratch! It's perfect and I love the black.
Donna
I have to say, whoever has Stacy as a sister-in-law is SOOOO lucky! I love the bench!!
And here I totally thought it was a pallet. Looks great!
You are so cool. Seriously! This bench is beautiful.
That is gorgeous! Pinned it :)
I have to say that I am truly impressed by this bench! I never think to build something myself. The way you break it down really makes sense. Thanks for sharing! You've inspired me:)
Awesome tutorial! One of my friends just bought a house and wanted to get a bench to put in her entry, but needed a kind of funky size and hasn't been able to find one. This will be the perfect solution for her, should she dare take up the task of making her own! You are so talented, I wish you lived in my neighborhood and could help me with some of my creative needs!
WOW!!! You have some mad skills Stacy. I love your bench. Your tutorial was very nice as well. I might have to give this a go (if I can't find anymore headboards :-) ) Your website is awesome. I'm going to have to follow you now. You're very inspirational.
I have been meaning to tell you that I show your fun projects to the Hubs all the time. I'm always like, "Look what Friend Stacy built!" He loves to build projects himself, so he can appreciate what you do. He says he is very impressed that you sketch things out and just go. Being an engineer, he draws up his plans to the last detail on his drafting software before he begins. ;) He wanted me to tell you that his favorites are your block lamp, the bench, the shoe cabinet, your bathroom counter, and laundry chute. You should totally pat yourself on the back knowing that you impress the guys as well!
Wow! Love this bench ;D I've been searching for a sofa table and realized after reading your tutorial I could just make one (eliminating the back part) using your pics as a guide ... thank you for sharing your talent & creativity #OffToExplore
Dear Stacy,
My name is Mara Greenwald and I am reaching out to you on behalf of Procter & Gamble. I really enjoyed reading this post. We would love to have you join our blogger outreach program.
If you are interested, please reach out to me at mgreenwald@bluechipww.com. I look forward to working with you!
Best,
Mara Greenwald on behalf of P&G
This was the best tutorial I have come across on pinterest. Thank you for simplifying things by covering the smallest of details.... nice job.♥