
Hi, my name is Stacy and I am a pillow addict. I make, collect, and change them out quite regularly. I recently shared a photo on Facebook that said pillows were the stuffed animals for grown women. Ha! There is probably some truth to that.
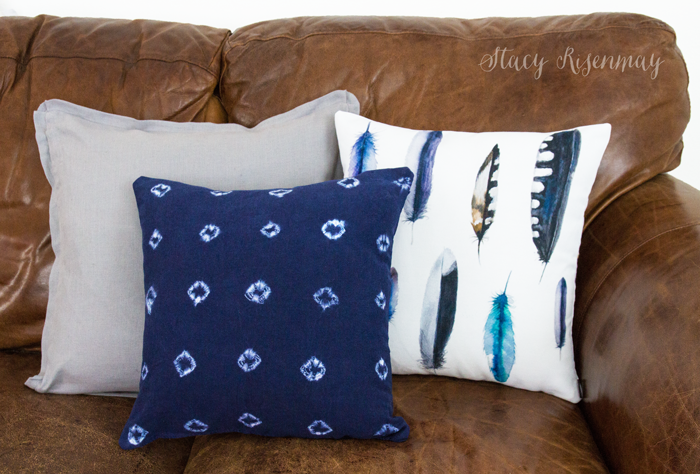
I have been drooling over African Indigo mud cloth pillows and throws for months now but with a price tag of anywhere between $60 to $120 per pillow I could not pull the trigger.
One day after looking through countless images of them, I decided it could not be all that hard to create a knock off version. Would it be authentic and as cool as the originals? Nope. But it would be a fraction of the price and I figured it would be fun to try.
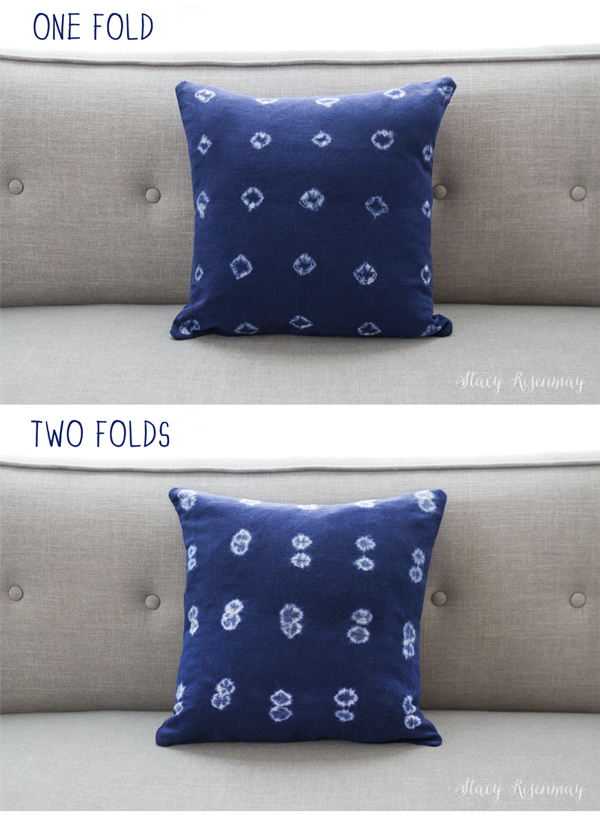
It was a pretty easy process. I channeled my inner 3rd grader and did it tie dye style. You can see exactly how in the video below. It is only one minute and this is the type of project where it really helps to see it done verses just photos.
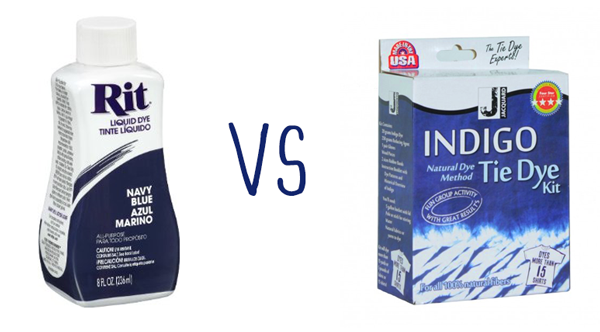
I also experimented with different dyes. The first dye I bought was the natural indigo dye (affiliate). It was inexpensive and came with gloves, rubber bands, and enough dye to dye 15 yards of fabric! I had high hopes. It didn't come out as saturated as I was wanting. Even though there are lighter mud cloth pillows out there, I was really going for the darker versions.
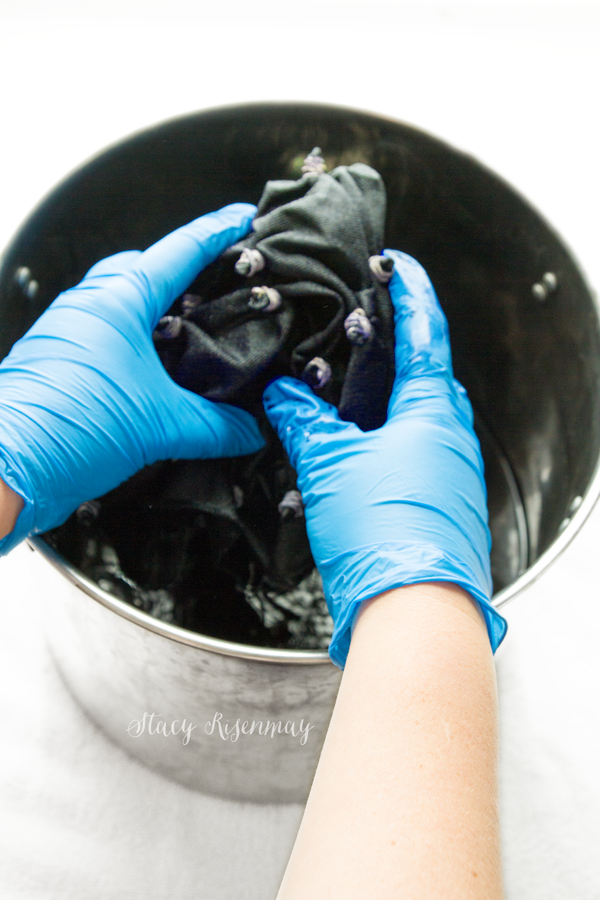
The natural dye is what is shown in the video. I mixed it according to directions. It is kind of neat because when it comes out it is light and kind of greenish looking. As it is exposed to oxygen, it begin to darker and become that beautiful indigo blue.
When the result was not as dark as I wanted, I decided to try navy Rit dye (affiliate). I didn't want to have to do this process three times so I added ½ the water it called for to make the dye more concentrated. I wonder if I had done that with the natural dye, if it would have made the outcome darker for that as well.
Since my bucket was full of the natural dye, I used a large metal stock pot to dye the fabric with the Rit dye.
Here is the difference between the two dyes side by side. The fabric on the left sat in the Rit for 30 minutes total. The other one sat in the natural dye for the recommended time of several minutes. I repeated the process 3 times.
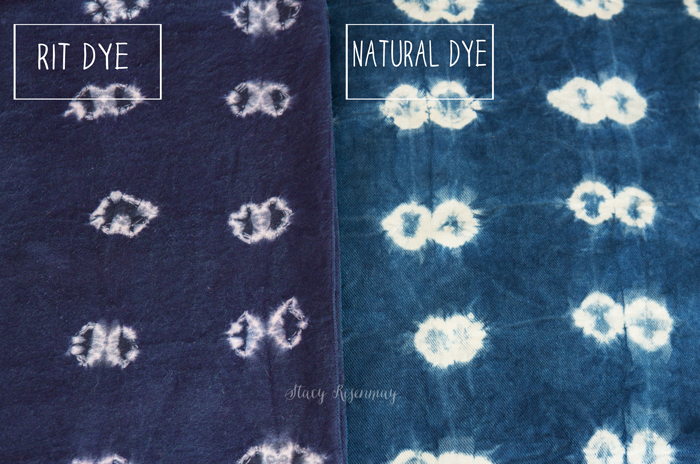
If any of you know a lot about the natural dye, I would be interested to know if you think that reducing the water would work to make the dye darker. It says that you can't let the fabric touch the bottom since sediments have collected there. I wonder if I had held it in the water longer that could have helped as well.
Either way, I had fun making them! My kids were off for spring break when I did this so they tie dyed some shirts. I may have thrown quite a few random things in there while we were at it. It got addicting!
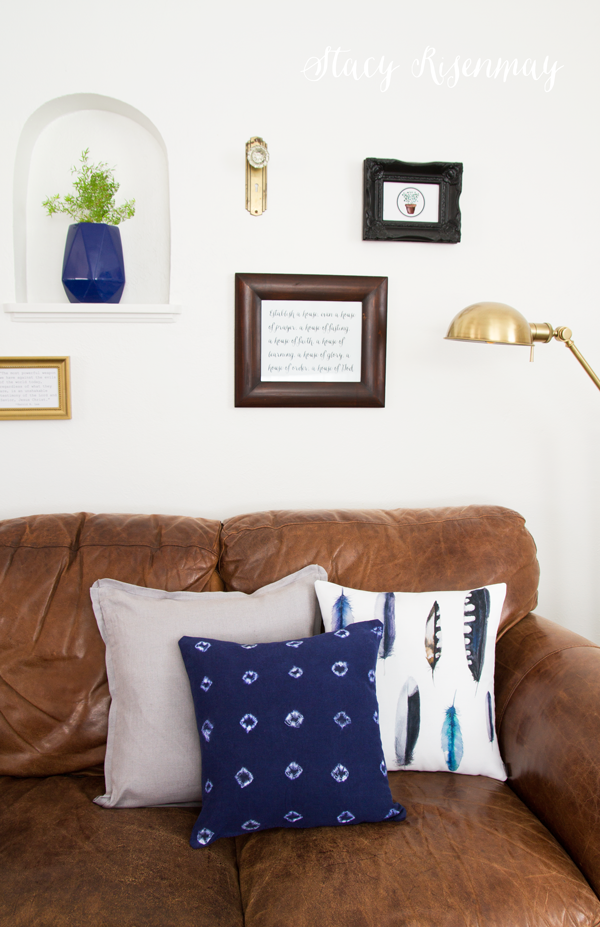
Even with buying two different dyes, I only spent about $20 total and I made 4 pillow covers. That sure beats paying $60 to $120 per pillow! The fabric was white denim from Joann's. I would have used my coupon but it was already on sale for 40% off. Any thick cotton fabric would work.
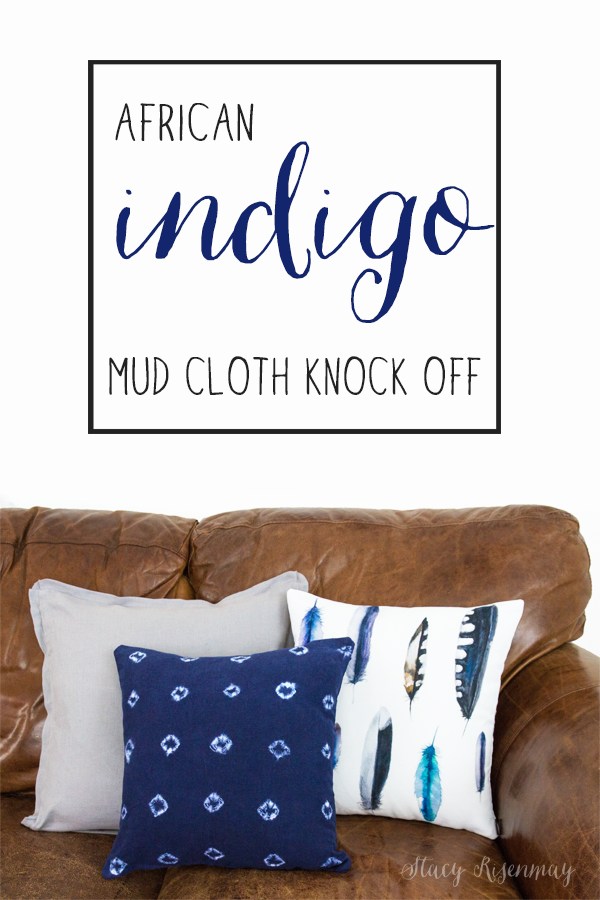
The feather pillow is from my friend Lucy's shop.
Have you ever dyed anything? What was the last thing you dyed? If you have tips please share in the comments!


Hey Stacy, You re-dye the cloth and take it out. Still not dark enough, re-dye it in the same dye pot. :) Each time it gets a bit darker. :)
I re-dipped it at least three times but I guess I should have done it more :) It was fun to experiment and now I'm trying to think of other things I could dye so I can try it again.
This looks so fun to make. I'm going to have to try it and I loved your video too!
I have a pillow addition too. These turned out so great and you saved a ton of money doing it yourself. I love the color and the style!
I have dyed lots of clothing and sheets before. It's really fun!! It's been awhile though. I want to do it again after seeing your post!
I love this. I've been looking at Indigo died pillows too and can't justify spending $50+ on a decorative pillow, so I'll be doing this soon. Thanks for sharing on Merry Monday. Pinned.
Stacy, these are absolutely gorgeous! Both of the dyes created such a neat effect, but I think I like the deep saturated color of the Rit best. Pinned and sharing on FB this week. Thank you for linking up with Merry Monday!
Seems fun to make! At first I thought it was how your fabric was, didn't realize that you were dying it. I did dye a few things, mostly jeans. I also try to dye a top, but it looks like when the fabric has spandex in, it won't adhere :(
Just wondering where you got the feather pillow.
I should have linked to it! I will add it to the post. My friend Lucy has a Society 6 shop.
Thank you for every other great post. The place else could anyone get that kind of
info in such an ideal way of writing? I have a presentation subsequent week, and
I am on the search for such info.
We are a market leader within the manufacture of
Ayurvedic medicine, herbal treatments, physique and skincare products, and wee additionally
develop educational supplies for our franchisees and visitors.
One can never have enough pillows, blankets, or baskets! The faded look of the natural one speaks to my heart, can you get the same effect from Rit? Don't tell anyone, but I have never dyed anything in my life.
I want to know the same thing! I love the natural one but would like to try it with the RIT. Has anyone tried this?
That was great! I'm crushing on some velvet TD-effect pillows. After seeing this, it's worth trying to DIM. Is the dye permanent? I might also make a couple bathroom hand towels.
This came out really nice. I really like both of them but I too am a fan of the very dark. One thing I wanted to mention when you said you had to keep the fabric off the bottom of the container because of sediment. I would use a rack of some sort inside the container to keep it from touching the bottom. You could leave it in longer without having to physically hold it.