• Skip to primary navigation
  • Skip to main content
  • Skip to primary sidebar
  • Skip to footer
Stacy Risenmay
  • Home
  • About me
  • PRESS
  • Contact Me
  • My Book
    • Facebook
    • Instagram
    • Pinterest
    • Twitter
menu icon
go to homepage
subscribe
search icon
Homepage link
  • Home
  • About me
  • Project Gallery
  • Our House
  • PRESS
  • Contact Me
  • Privacy Policy
    • Facebook
    • Instagram
    • Pinterest
    • Twitter
  • ×

    Checkered Ceiling Tutorial

    By Stacy 18 Comments

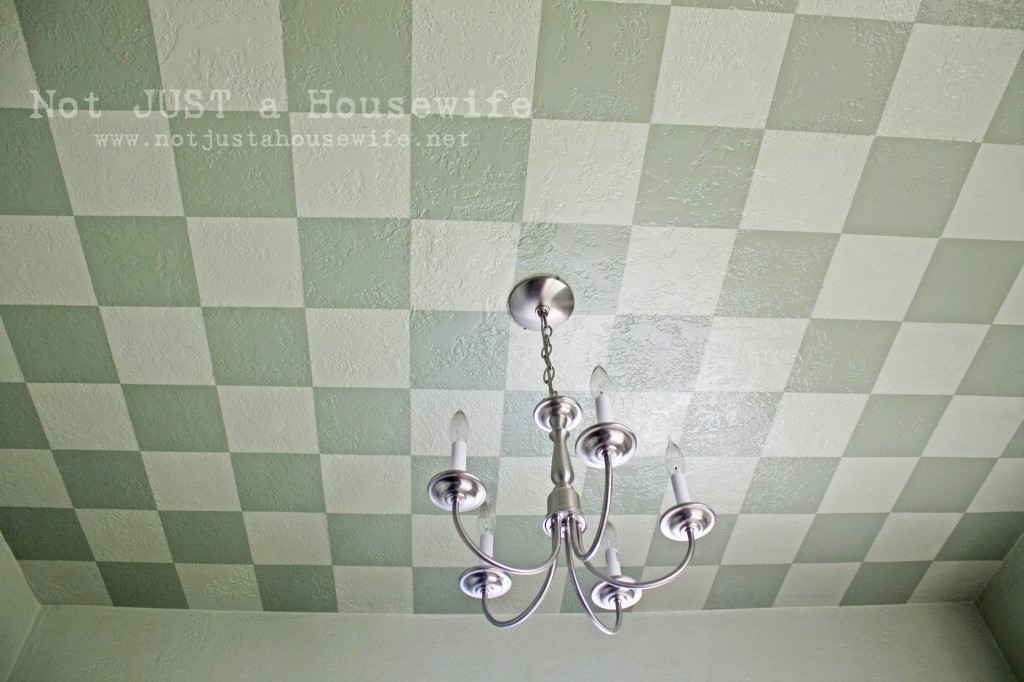
    I am finally getting around to sharing the tutorial for my checkered ceiling. I posted it over at Centsational Girl a week or so ago but thought I would post it here too.

    The first thing you need to do is measure your ceiling. Once you have your measurements you can sit down and figure out how big each square needs to be. Uggg. I hate math so this was the least fun part of the whole process BUT probably the most important. Measure, measure, measure.

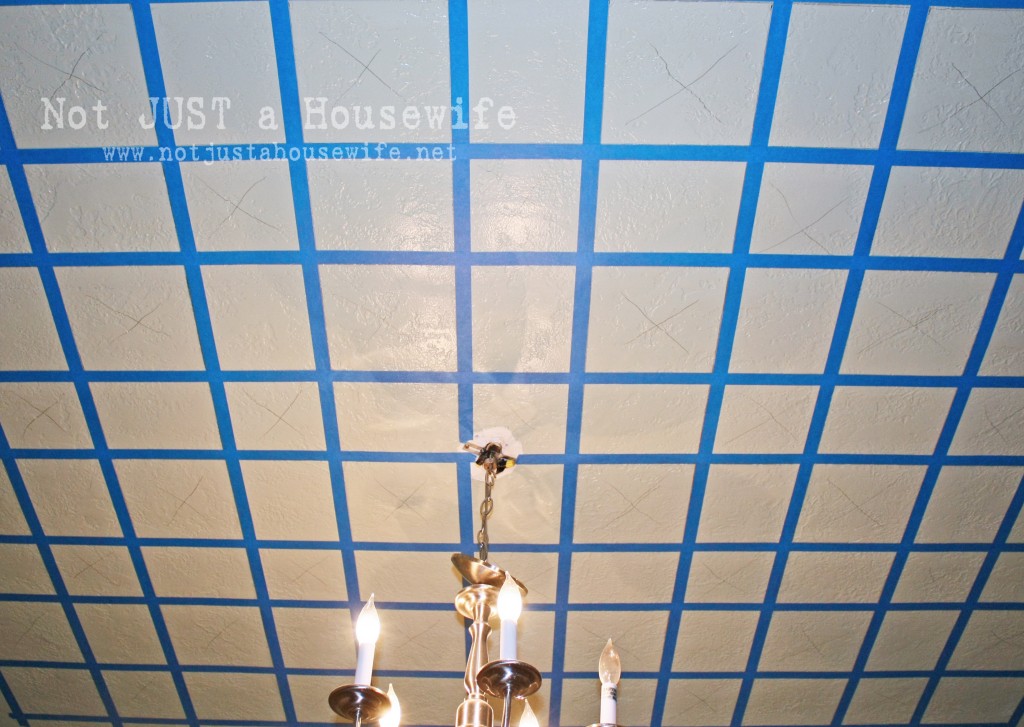
    Then get a laser level that will stick to your ceiling. Mine uses adhesive strips. This whole projects is easier if you have a helper so grab a willing assistant too :) After you make marks along the perimeter, then use the laser level to line up the marks on either end. My husband and I use a long piece of molding as our straight edge to trace the laser line across the ceiling. Once you trace all the lines going one direction, then trace them going the opposite way to create your squares. I guess it depends on the size of your ceiling but this really didn't take as much time as it sounds like it would.

    I marked every other square with an X to show which ones would be painted the darker green.

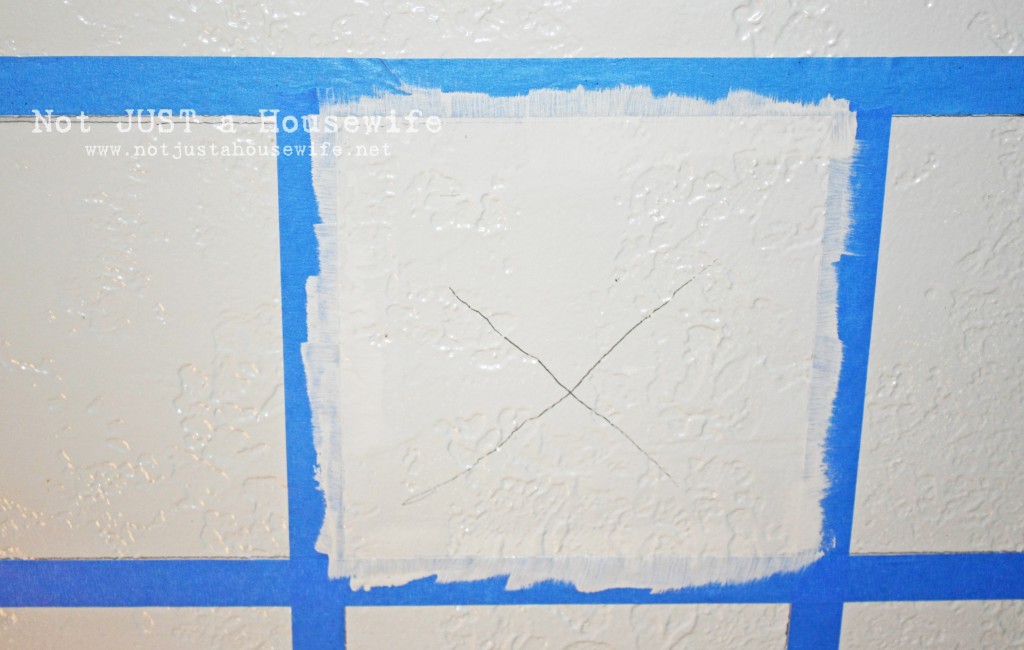
    When I taped, I didn't cover the line up. This way it would get painted. I figured I would have less pencil lines to clean up when all was said and done. P.S. Magic Eraser will get pencil off really well.

    This is the part I kind of dread telling you. You will need to tape twice. I am sure there are other ways I could have approached this project, but I knew that doing it this way would create really straight, clean lines. You will tape so that every other row will be painted. You can't tape all of it at the same time because you have to tape outside of the line for one row which puts the tape inside the next row. Can you see how some of the square look smaller? That is why.

    My secret to getting beautiful lines when painting stripes or squares is this step right here. Use the base paint to seal the tape. My ceilings are mega textured. Even with good quality painters tape you would get some leaks. This way, any leaks are the same color as the ceiling and you don't notice them at all. I know it adds one more step but it is totally worth it. You wouldn't want to have gone to all this trouble so far only to have fuzzy lines.

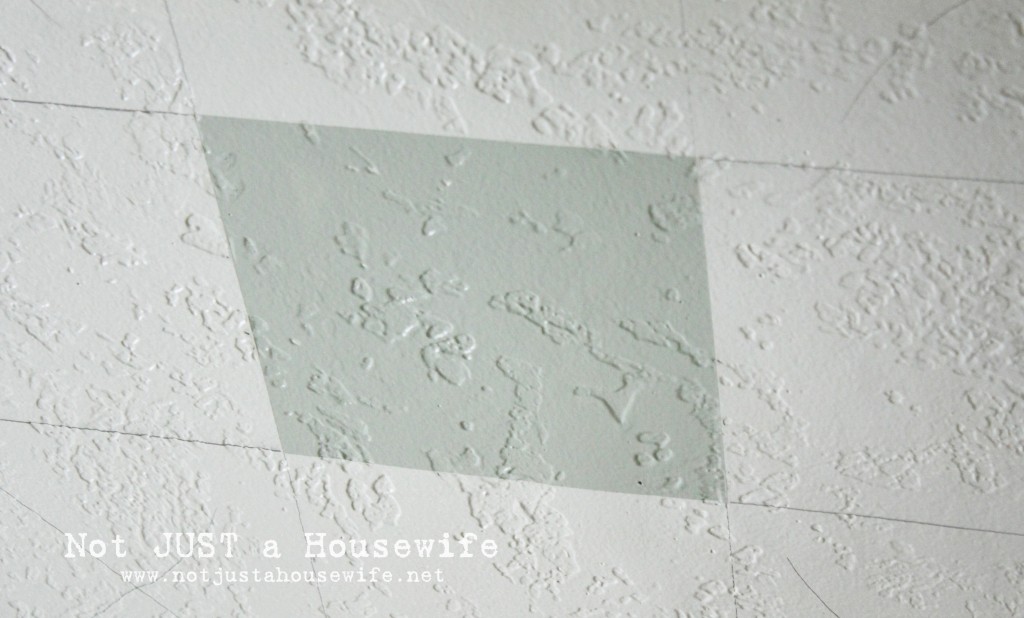
    I brush (or roll) towards the tape.

    I wish this picture was even more clear so you could see exactly how clean those lines are.

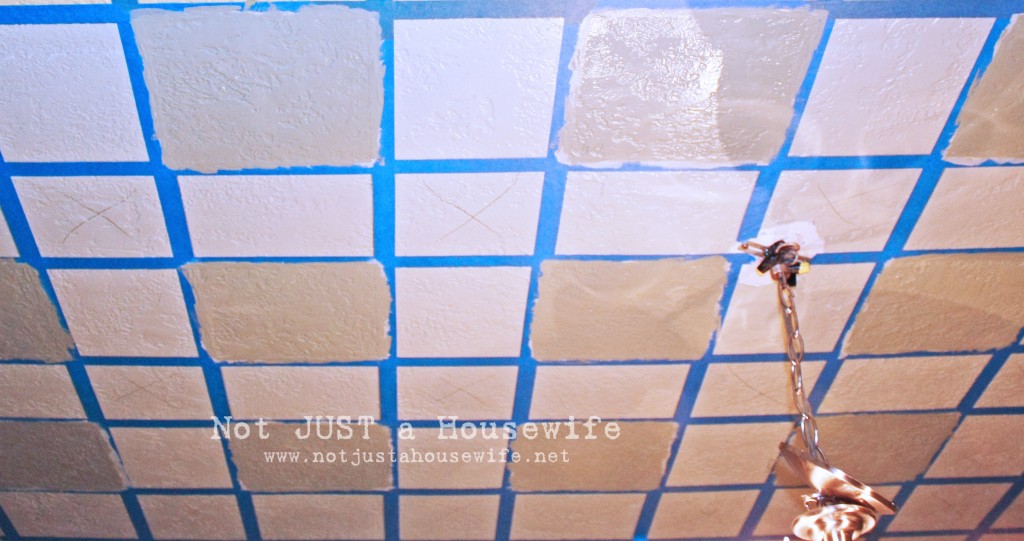
    Here it is with half of the squares painted. Sorry for the bad picture quality. I have 4 little boys so I have to work at night :) Darn flash.

    Next you need to rip off the tape. I take the tape off while the paint is still wet. Otherwise you may have it rip the paint off as well. Go slow.

    Wait for the paint to dry for at least 24 hours. You will be taping over the newly painted squares and you don't want to risk the paint coming off.

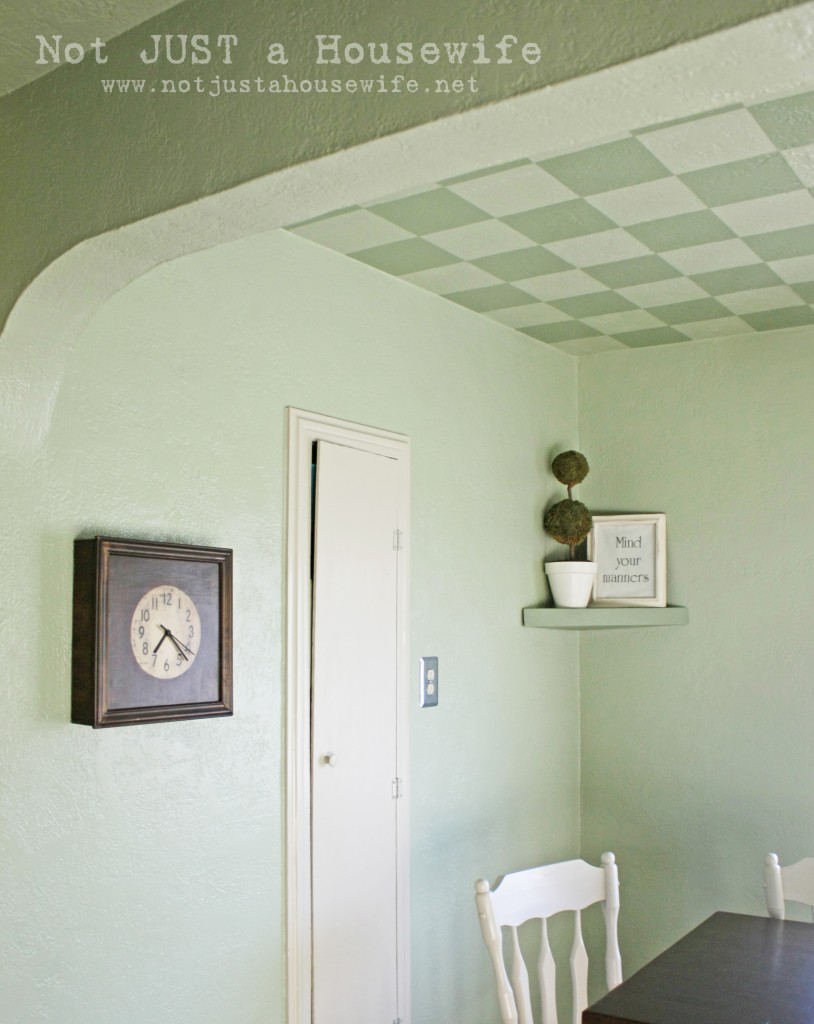
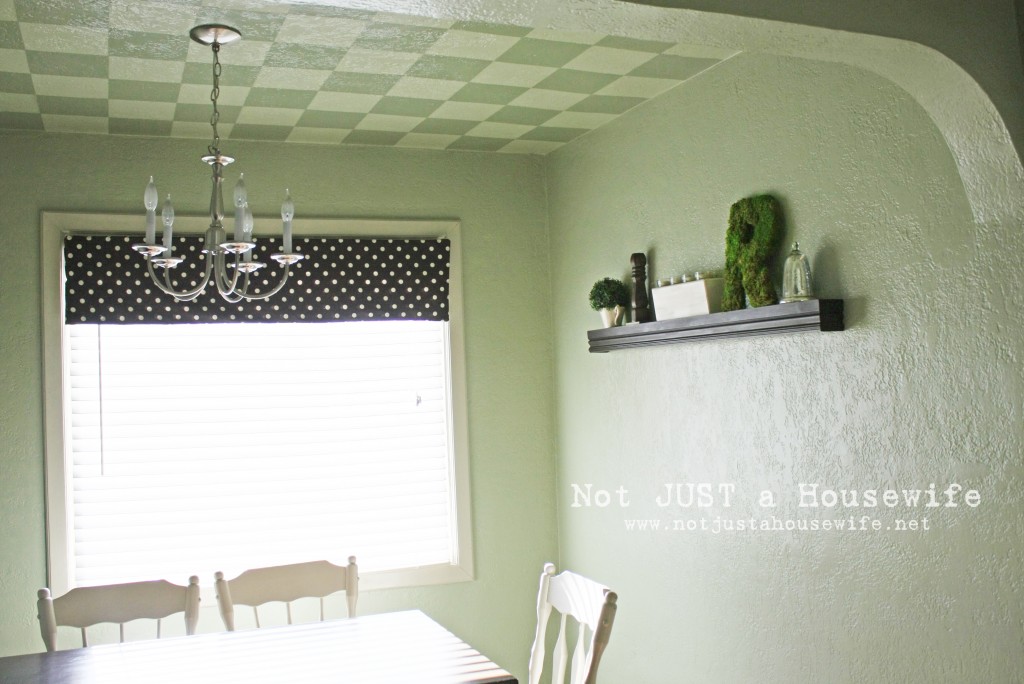
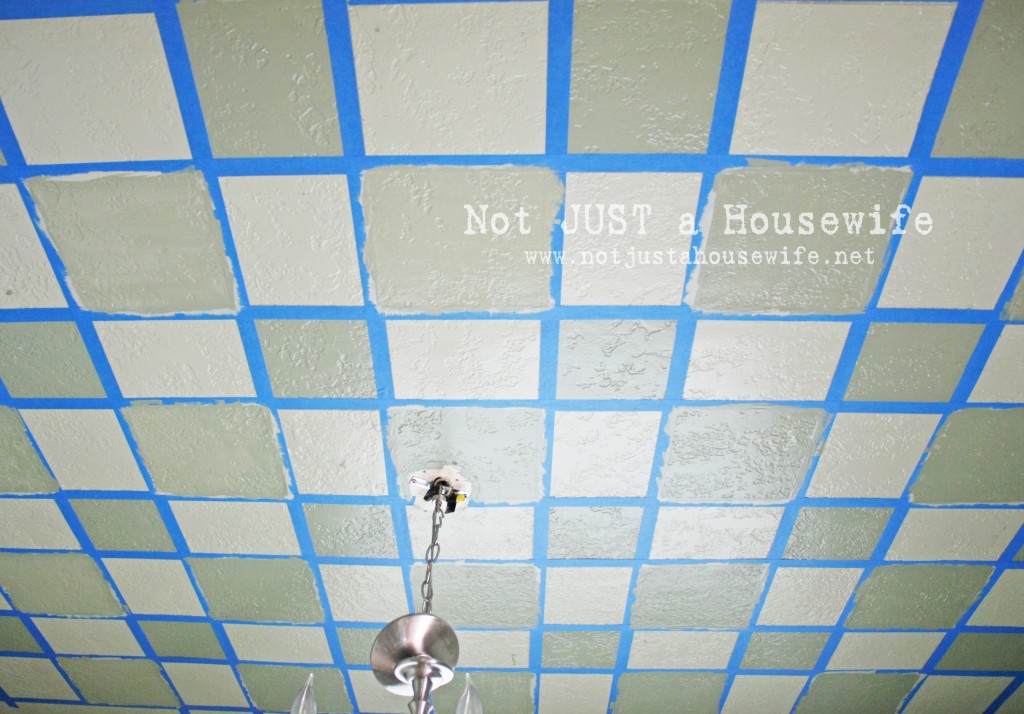
    And there you have it! It was probably more work than my stenciled ceiling in my bedroom, but I personally think it was worth it. I have had this on my to do list for over 6 years! I am happy it is finally done and I get to enjoy it everyday.

    You will also like:

    • Halloween Mantel Sign {Sprayer Giveaway!}Halloween Mantel Sign {Sprayer Giveaway!}
    • Blogging Q&ABlogging Q&A
    • Haven Bound {Being a Mentor}Haven Bound {Being a Mentor}
    • July...Oh My!July...Oh My!
    • Wall Mounted Planter {Styled X3}Wall Mounted Planter {Styled X3}
    • Glass Etched OrnamentsGlass Etched Ornaments
    • Etched MirrorEtched Mirror
    • So this just happened....So this just happened....

    « French Country Kitchen
    4th of July Bread!!! »

    Filed Under: DIY & Tutorials, Painting 18 Comments

    Subscribe

    for your weekly DIY fix.

    Reader Interactions

    Comments

    1. Jo-Anna

      July 04, 2011 at 7:55 am

      This is an amazing project! It looks fabulous!
      Jo-Anna

      Reply
    2. April

      July 04, 2011 at 9:30 am

      It looks great!! I wish I had your patience for painting ceilings!

      Reply
    3. Heart and Haven

      July 04, 2011 at 3:13 pm

      Great job! I don't think I'd have the patience for that project. I hate painting over my head as it is...but with all that detail work, yikes!

      Reply
    4. Lauren@SimplyLKJ

      July 04, 2011 at 3:21 pm

      You must have the patience of a Saint! I HATE painting celings period. It looks AMAZING!!

      Reply
    5. Sandra

      July 04, 2011 at 3:38 pm

      Love the tip to tape and then roll on another coat of your base paint. That's faster than caulking isn't it? Love it!

      Reply
    6. Haley Davis

      July 04, 2011 at 7:27 pm

      OH MY!! What a great idea!! Lovin' it!

      Reply
    7. laxsupermom

      July 04, 2011 at 8:26 pm

      Love the tip about painting again with the base coat after taping. You did such an amazing job with this. Love how it turned out. Thanks for sharing.

      Reply
    8. Lindsay

      July 04, 2011 at 11:59 pm

      Gorgeous!! Thanks for the tip with the tape/base paint. Genius! You did an amazing job!

      Reply
    9. Comeca Jones

      July 05, 2011 at 2:44 am

      Creative genious!

      Reply
    10. Comeca Jones

      July 05, 2011 at 2:44 am

      Sooo Creative 1 love it!

      Reply
    11. Heather

      July 05, 2011 at 9:18 am

      Love it! Have any ideas for my living room? Add it here, love to see what you come up with. http://500dollarwedding.blogspot.com/2011/07/contest-remodel-my-living-room.html

      ps... I love your scrap wood lamp, that for sure will be going in the reading room!

      Reply
    12. somedaycrafts

      July 06, 2011 at 12:41 am

      You are the QUEEN of stenciled ceilings. LOVE THIS ONE!!!! You got great style!

      Reply
    13. Debora Cadene

      October 17, 2012 at 7:05 am

      Wow!! Your ceiling looks amazing, but I have to tell you, the first thing I thought when I saw it was, "are you out of your mind? Painting the roof is worth it after all is said and done, and its really not one of my favourite things to do, but you have taken it to a whole new level. Good job for sure.

      Reply

    Trackbacks

    1. Top 10 Best DIY Ceiling Projects - Top Inspired says:
      October 16, 2013 at 3:39 pm

      […] DIY project and photo credit to  notjustahousewife.net […]

      Reply
    2. Grilled Pizza Recipe - Todays Creative Blog says:
      June 28, 2014 at 7:01 am

      […] I built the corner floating shelves, and refinished the table. I even have a tutorial for the checkerboard ceiling! […]

      Reply
    3. Top 10 Best DIY Ceiling Projects says:
      February 16, 2015 at 12:53 am

      […] via  notjustahousewife.net […]

      Reply
    4. 10 Borderline Genius DIY Ceiling Projects | Design Bump says:
      July 13, 2015 at 8:33 pm

      […] via notjustahousewife.net […]

      Reply
    5. 10 Borderline Genius DIY Ceiling Projects | Hi Cydia says:
      March 9, 2016 at 2:20 am

      […] via notjustahousewife.net […]

      Reply

    Comment Below! Cancel reply

    Your email address will not be published. Required fields are marked *

    This site uses Akismet to reduce spam. Learn how your comment data is processed.

    Primary Sidebar

    stacyHey! I'm Stacy and am a DIY addict. I love to get my hands dirty, whether it's sawdust, paint, or dirt. My goal is to help YOU learn to fix up your home and yard. No matter the style or size, I think everyone should love their home. And it doesn't takes a big budget to get there. Let's DIY together!

    Subscribe to My Blog!

    Search this site

    categories


    Subscribe

    Footer

    Welcome! I'm sharing our adventures as we fix up our 1938 cottage. Whether it is big or small, I think everyone should love their home and I don't think it takes a lot of money to make a space your own

    About Stacy

    • Facebook
    • Instagram
    • Pinterest
    • Twitter

    My Favorites

    copyright

    All images and content are copyrighted via Stacy Risenmay unless otherwise stated. If you'd like to share my work, please link back to this blog.
    Thank you for visiting!


    Footer

    ↑ back to top

    About

    • Meet Stacy
    • Privacy Policy
    • Contact

    Categories 

    • Home Decor
    • Outdoor Projects & Gardening
    • DIY & Tutorials
    • Kid Activities
    • Recipes
    • Travel
    • Cleaning
    • Houseplants
    • Staining
    • Painting
    • Power Tools
    • Holiday Ideas

    Newsletter

    • Sign Up! for emails and updates

    As an Amazon Associate I earn from qualifying purchases.

    Copyright © 2020 Brunch Pro on the Brunch Pro Theme


    Privacy Policy
    Welcome! Thanks for visiting.
    Hi! I'm Stacy and I want to help YOU become a DIY rockstar! Sign up for my email list so each project, tip, and trick will go directly to your inbox :)
    Your information will *never* be shared or sold to a 3rd party. Pinky promise :)
    Welcome!
    Hi! I'm Stacy and I blog about fixing up our 1938 cottage. Join the thousand of others who get my posts sent to their inbox for FREE!
    Your information will *never* be shared or sold to a 3rd party.