
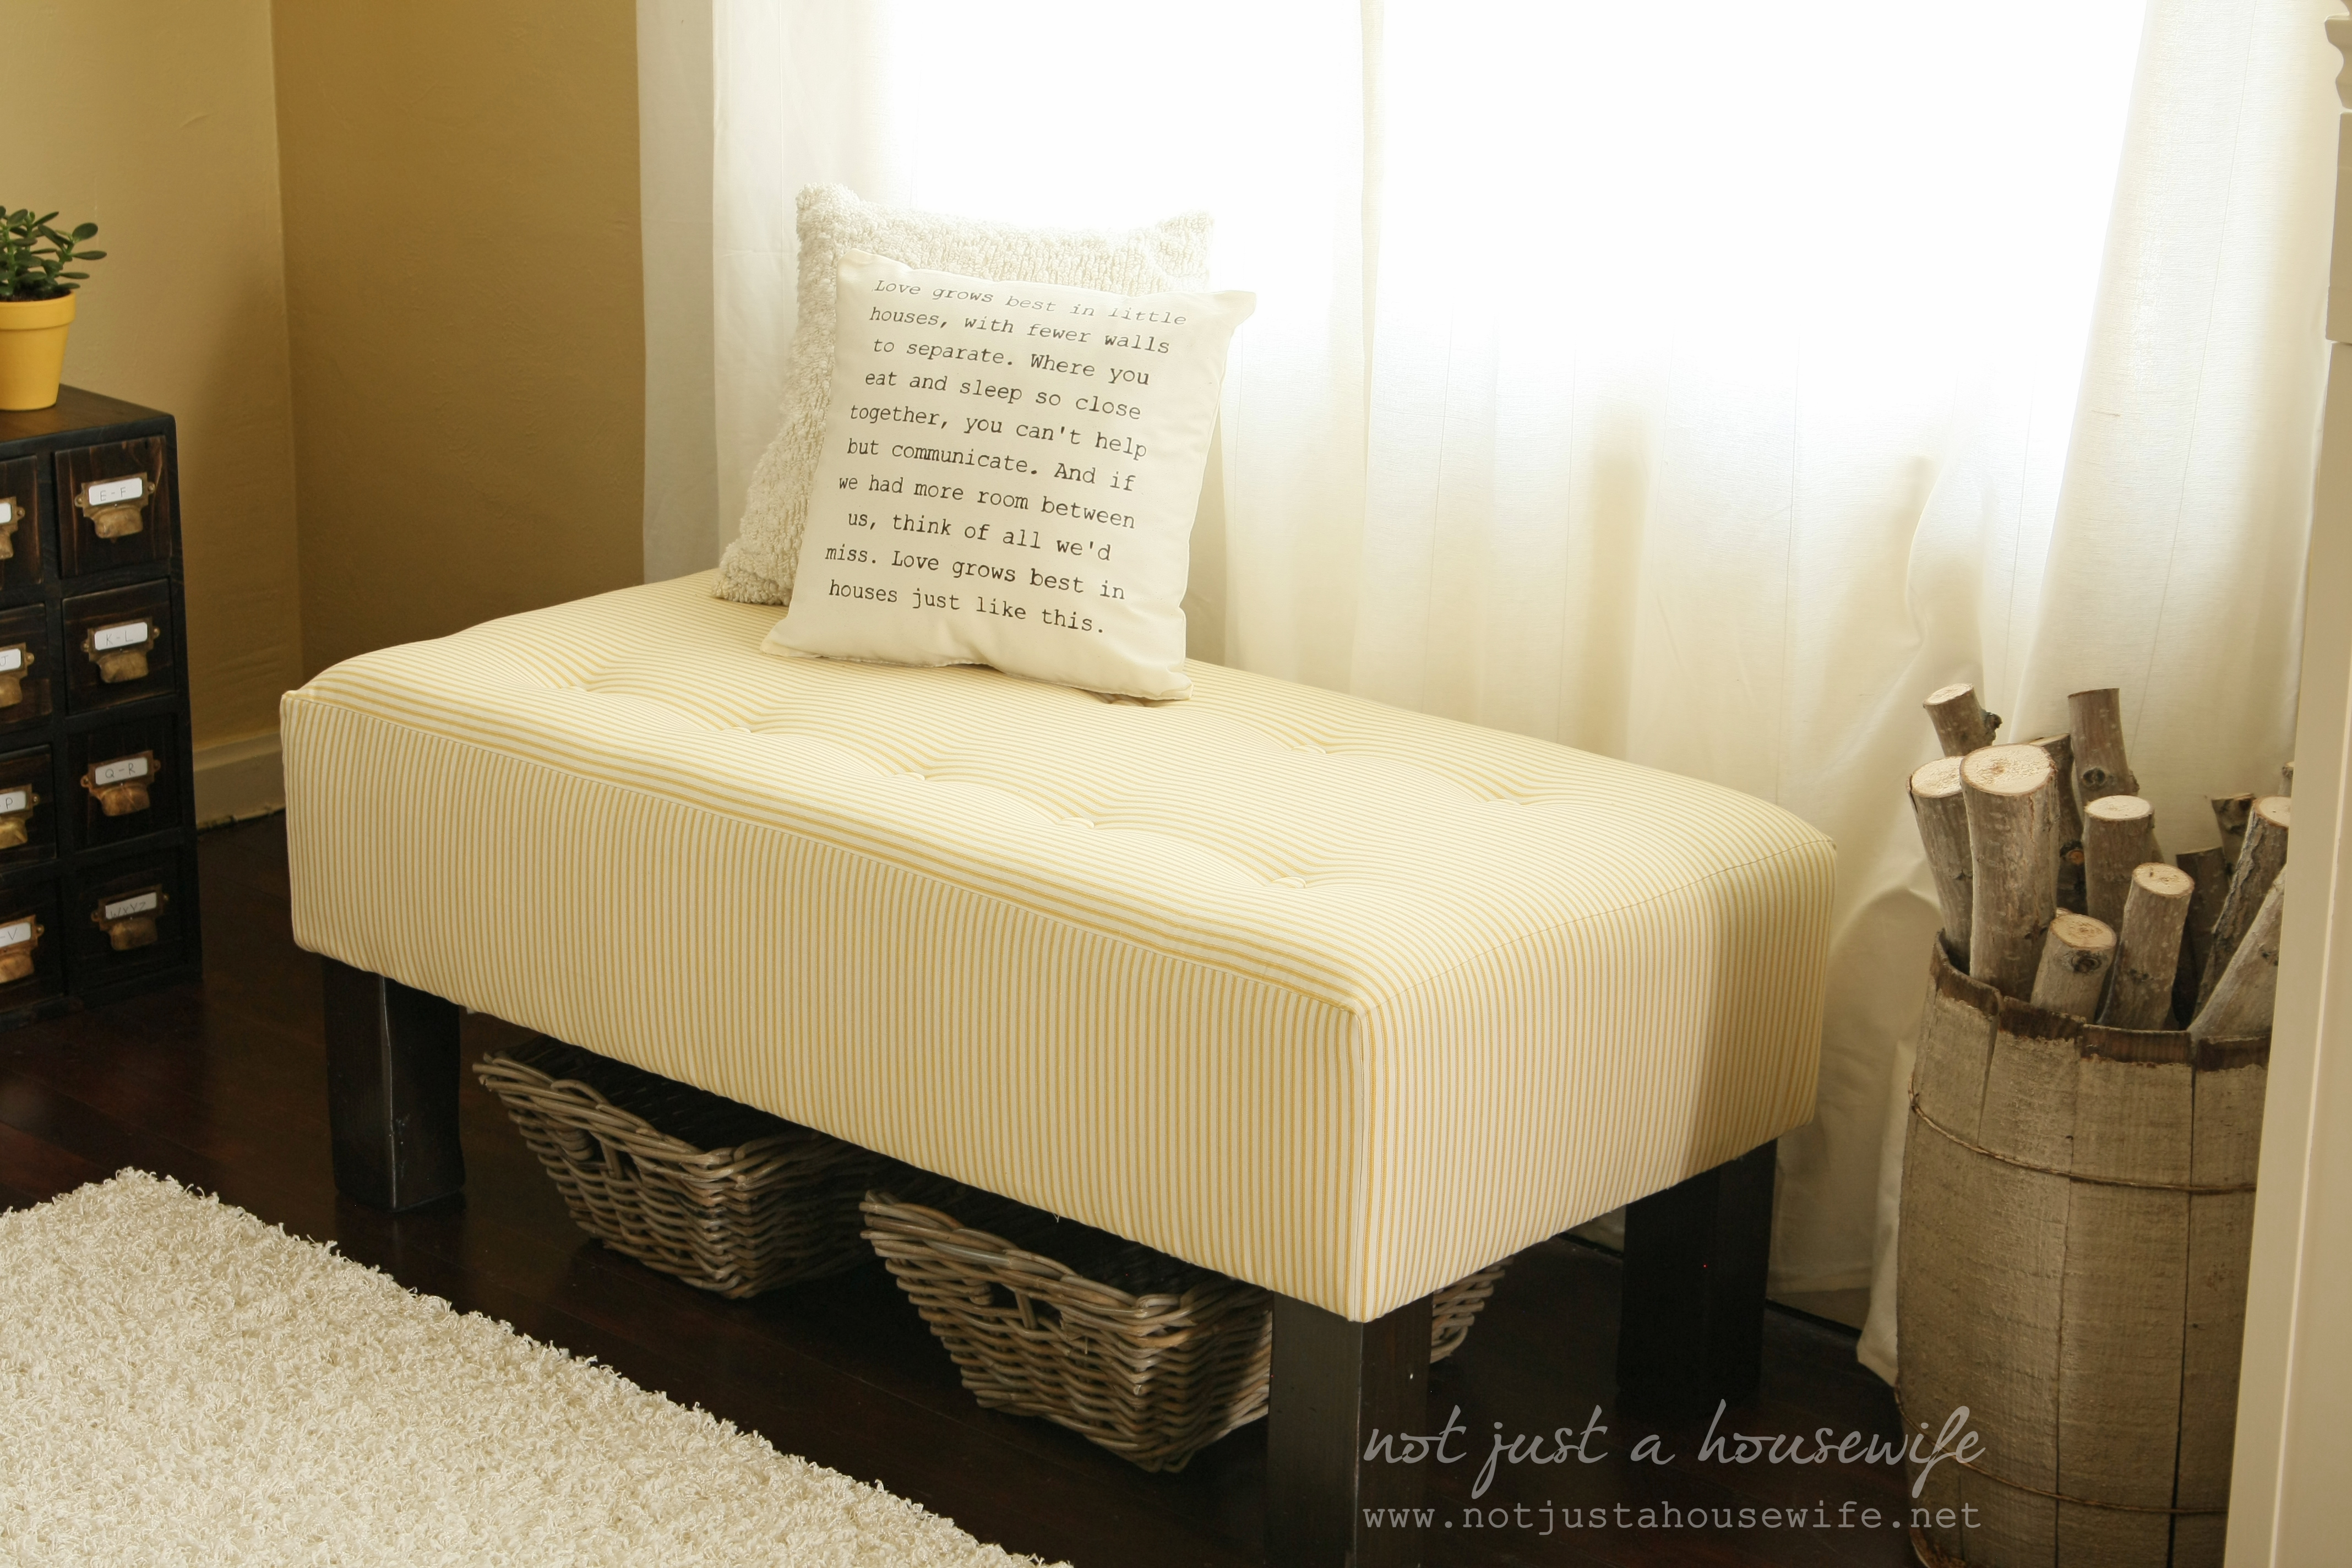
I built this bench when we first moved in this house which was long before I started blogging. We had poured all our money into buying the home and had very little left over to furnish it. We needed more seating so I used some particle board, a little foam, batting, some 4x4's, and fabric I got for free to build a tufted upholstered bench.
When I redecorated my family room recently, I needed to reupholster it to match the new decor. It would have been a good idea to have taken a picture of it while it was torn apart but it was one of those "I forgot I was a blogger" moments that has me hitting my forehead and saying "DUH!" But I think it is simple enough that showing you the underneath and talking you through it you will totally get it. If not, you can email me and ask any other questions :)
I built a basic box. I have 4 little boys and little boys like to jump on things so I added boards across the center to give more support.
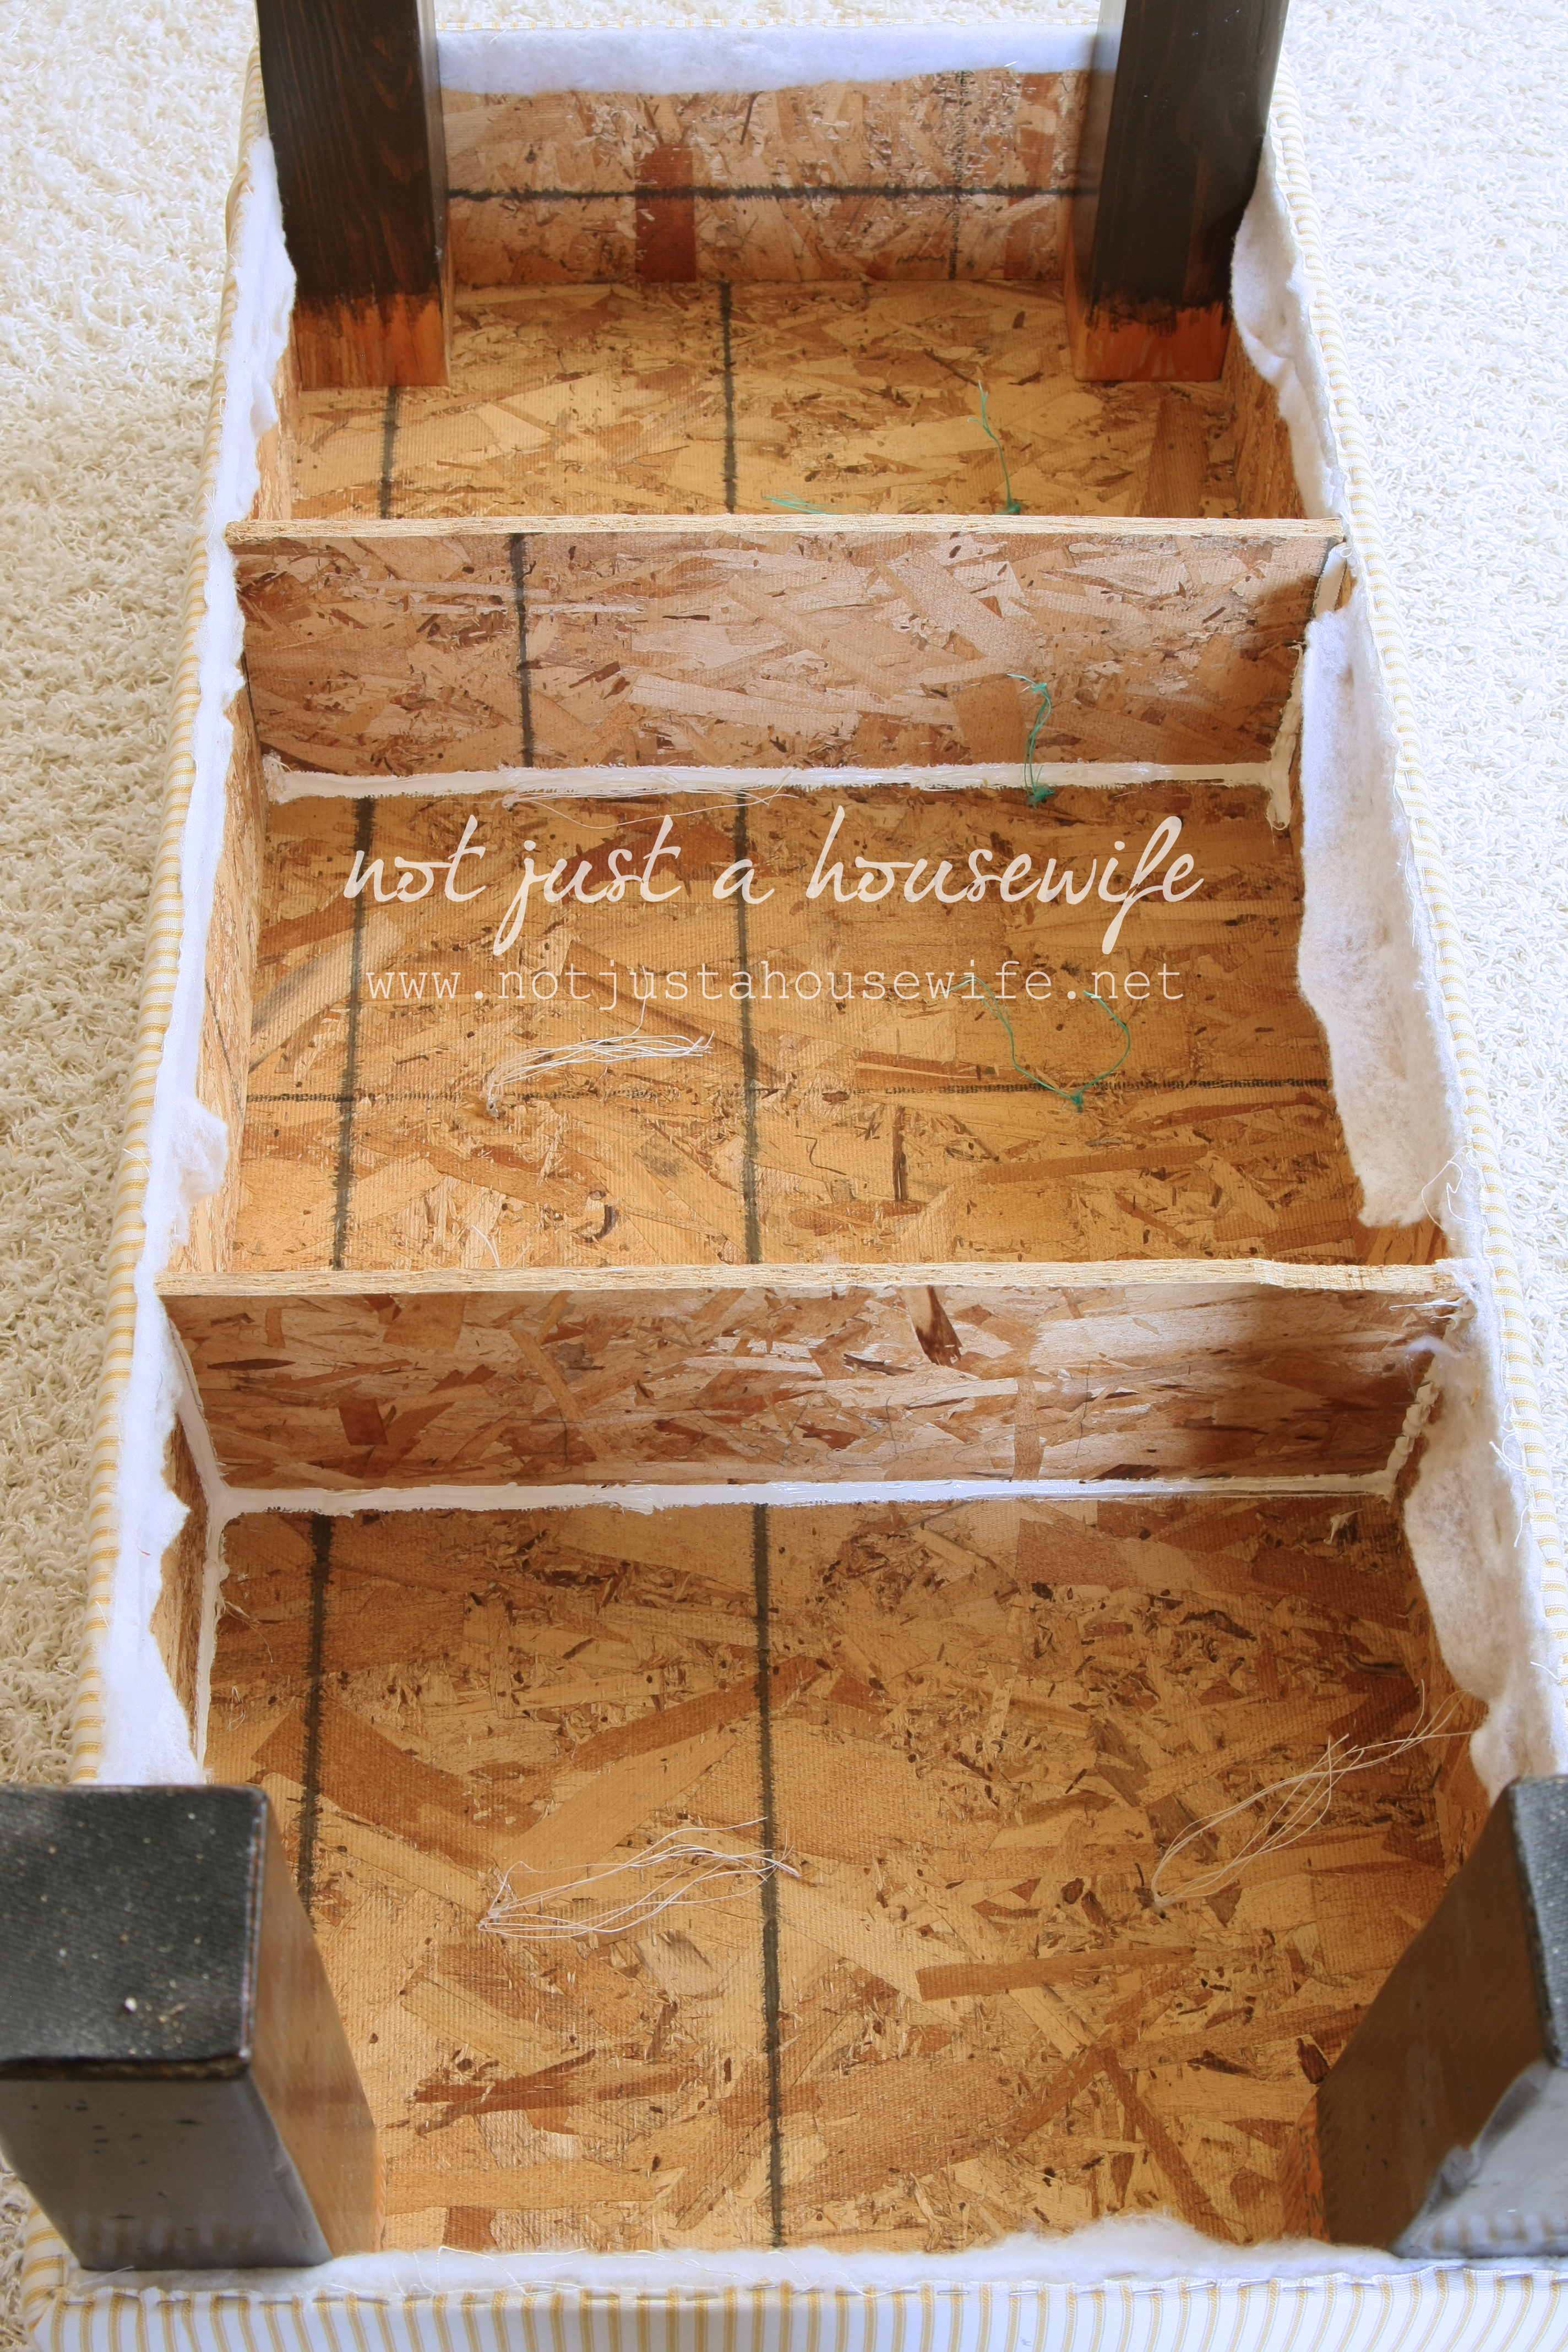
I noticed that it had a little bit of a creaky noise if you moved around when sitting on it so I used caulk along to the seams to quiet that. It is one of my little secrets :) Caulk is awesome!

I then cut a 4x4 post into the 4 legs and screwed them into place.
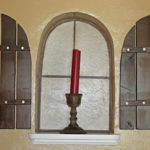
Before I added the foam and batting I measured where I wanted to buttons to be and drilled holes with a drill bit that was slightly bigger than the needle I would be using. For each button I drilled 2 holes next to each other about an 8th of an inch apart. Those holes are what the needle goes through when you tuft. And I did two so I could go up through one, then down through the other, and then tie a knot.
Then I cut a 4 inch thick piece of foam to fit the top of the bench. I wrapped batting over that to hide the seam between the wood and the foam.
Now the first time around my mom offered to sew the top because she is my mom and knows me well. I am not a very good seamstress. After breaking a record number of needles in Home Ec in Jr. High I was politely asked to just observe the others for the rest of the term..... seriously. BUT this time I was determined to try it on my own. After a quick lesson from my mom I did it myself! And unsupervised to boot. And I would love to point out that the fabric is STRIPED. Small stripes that were a bugger to line up and keep all pretty.

(an instagram of me sewing the cover....my only proof I did it :P )
Since I barely survived sewing it, I do not think I am the right person to do a tutorial. If you need more info you can email me or search online for instructions. Or you could borrow my mom. She is pretty sweet :)
Not only did I conquer the stripes, but it fit like a glove. I slipped it on and then flipped the whole thing over. I used a stapler to attached the fabric to the underside. It took a long time. I wanted to make sure that the seam wasn't being pulled more in one spot than another. I wanted everything straight as possible. And I had to make sure the corner seams were right at the corner of the bench.
Once it was all covered it was time to tuft.
I LOVE these little button kits. I buy them at WalMart. They make fabric cover buttons.
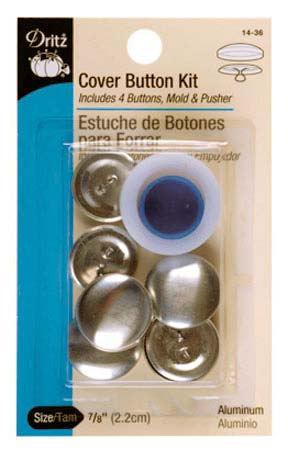 (source: dritz.com)
I bought a big 'ole needle at a fabric store. It is 8 inches long. I have heard of people using fishing line or coat thread as their thread but I actually used non waxed dental floss, doubled up. This is my third tufted project. The first that I did was about 8 years ago. Dental floss has always worked well for me. But you can use anything that is strong and doesn't stretch.
Like I mentioned before, I stick the needle up through the bottom (hole #1), I thread the button on, and poke the needle through the top going down to the bottom again through the second hole.
I have a helper push down on the button (so that it has that indent you want with tufting) while I tie a triple knot below. Ten buttons later I was done!
This project from start to finish is a big project. It is fairly simple but it is time consuming. But I am thankful I did it and have no regrets because I adore it. I also was able to have seating when we had very little money.
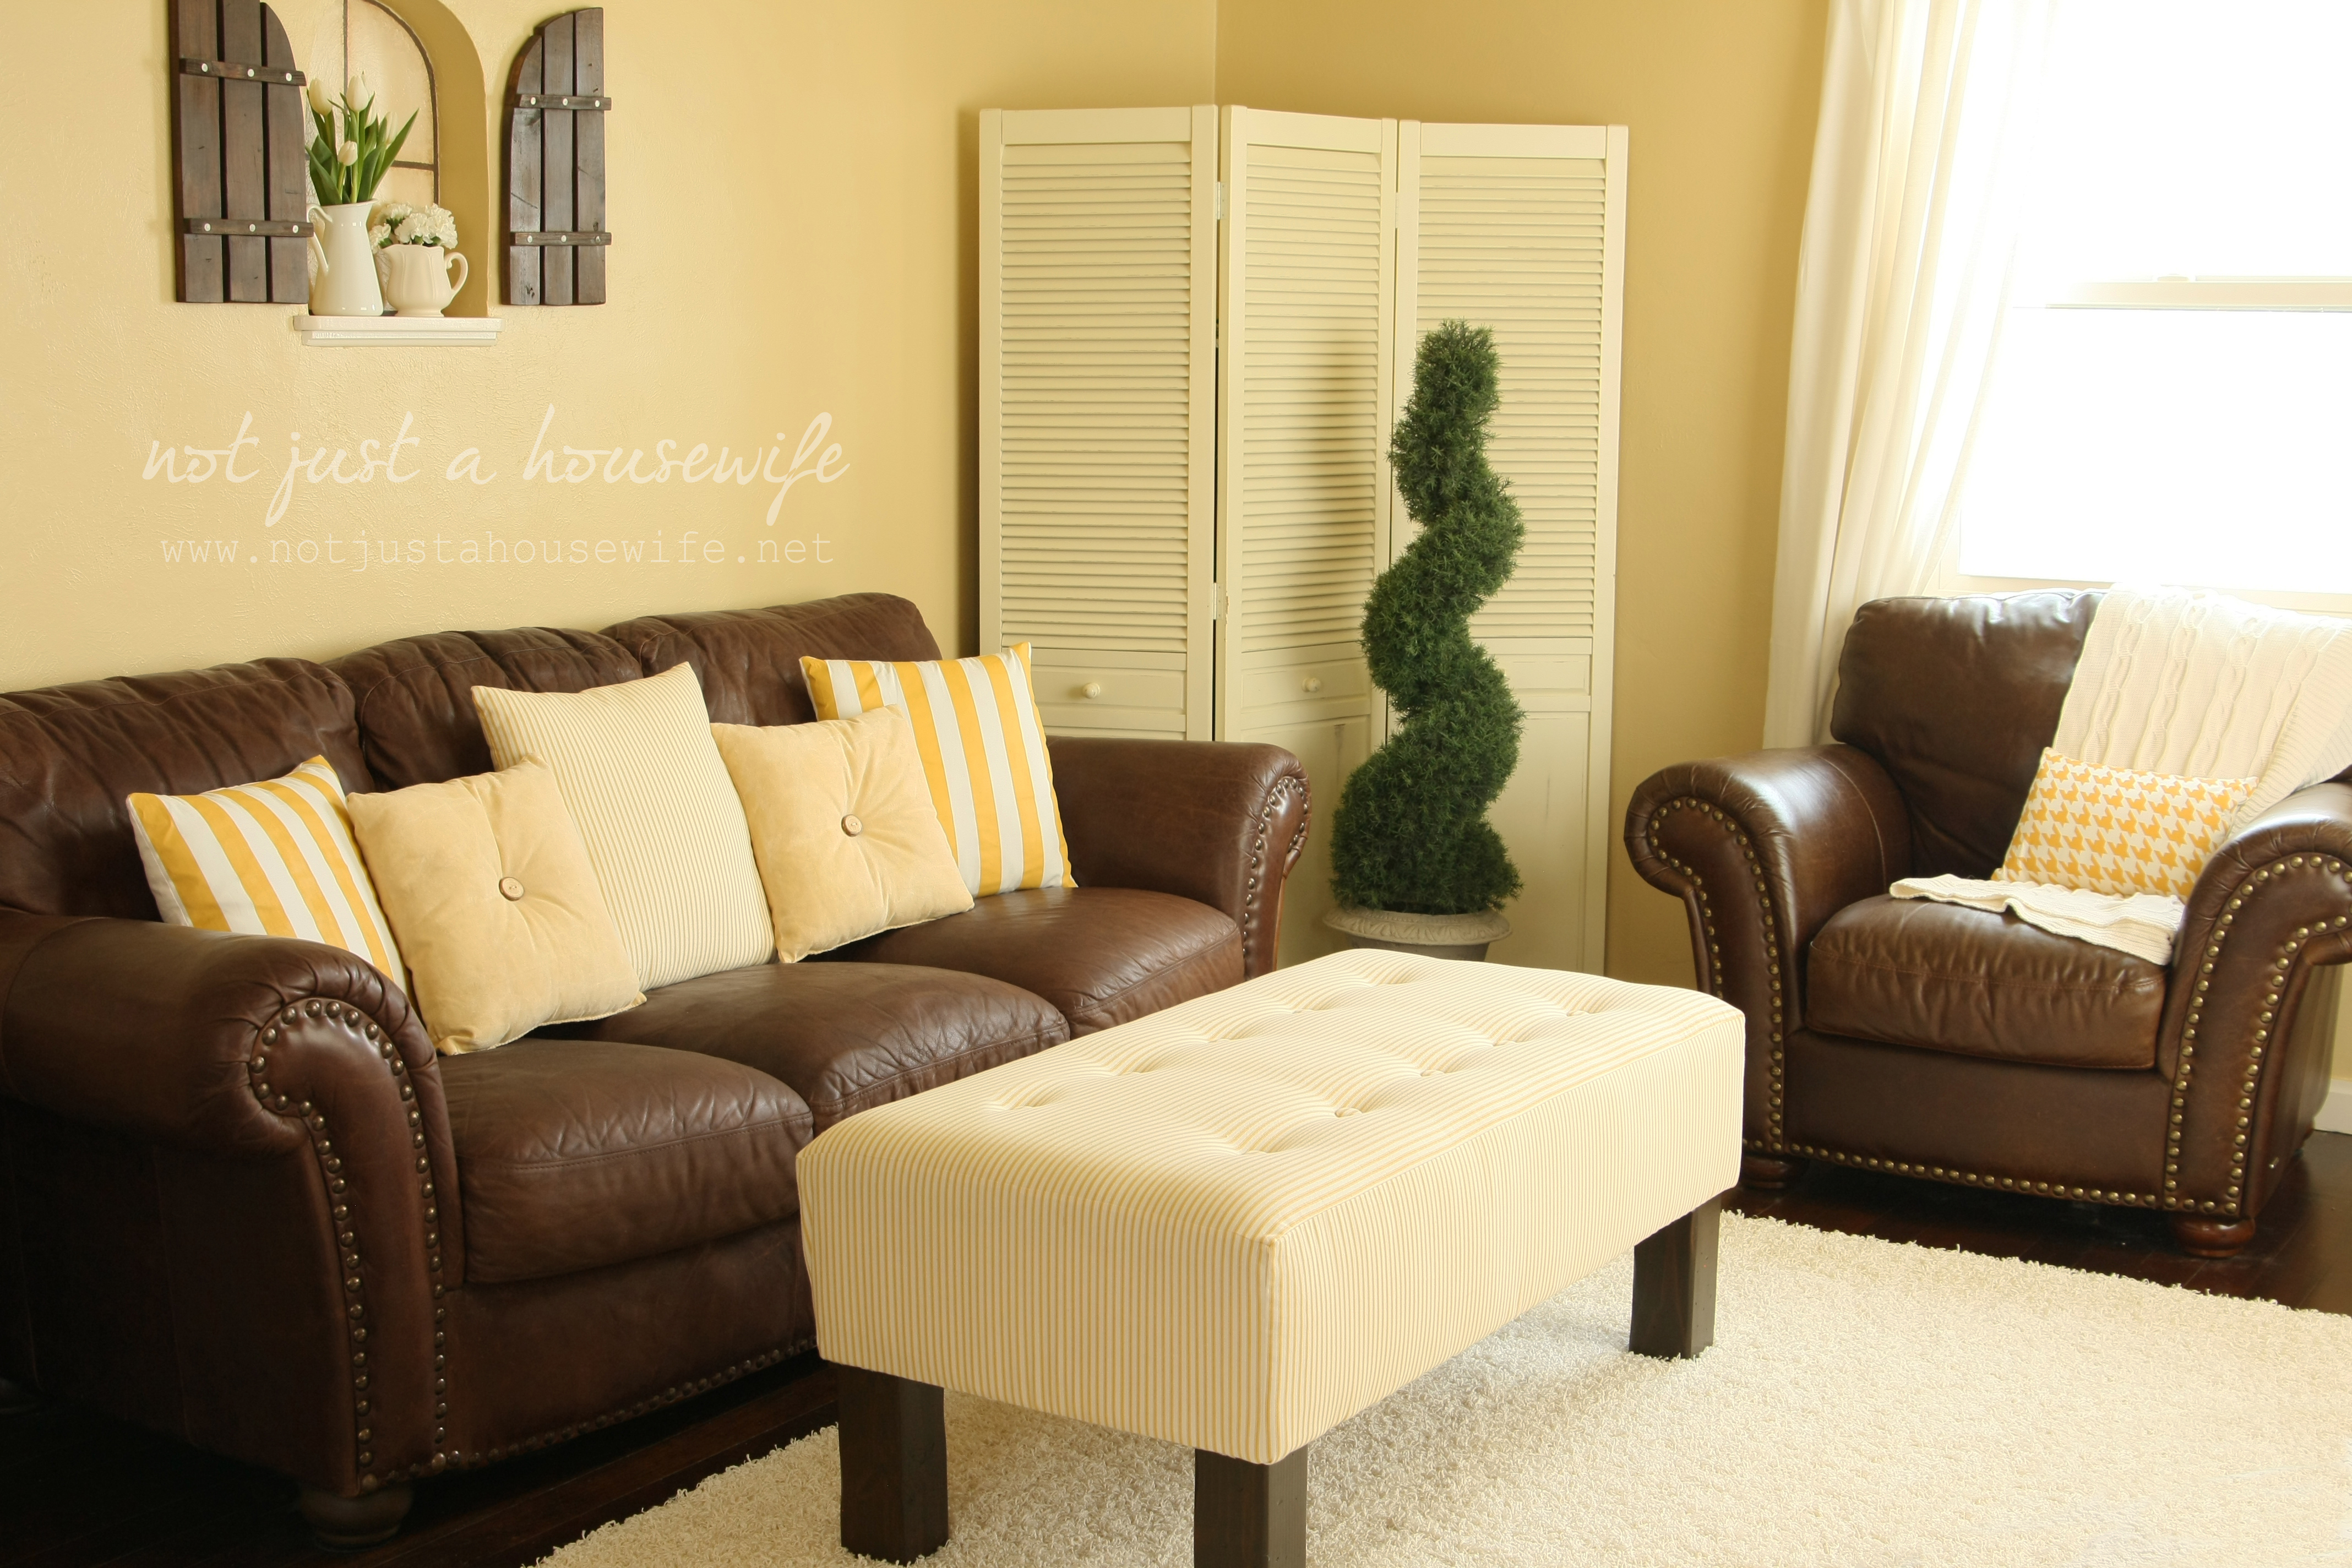
We also use it as an ottoman/coffee table when we need to. And my hubby and I have also been known to play board games on it as well. I know, don't be jealous of our super adventurous lifestyle...... We are pretty wild around here :P
Where ever it is in the room, it is gorgeous!

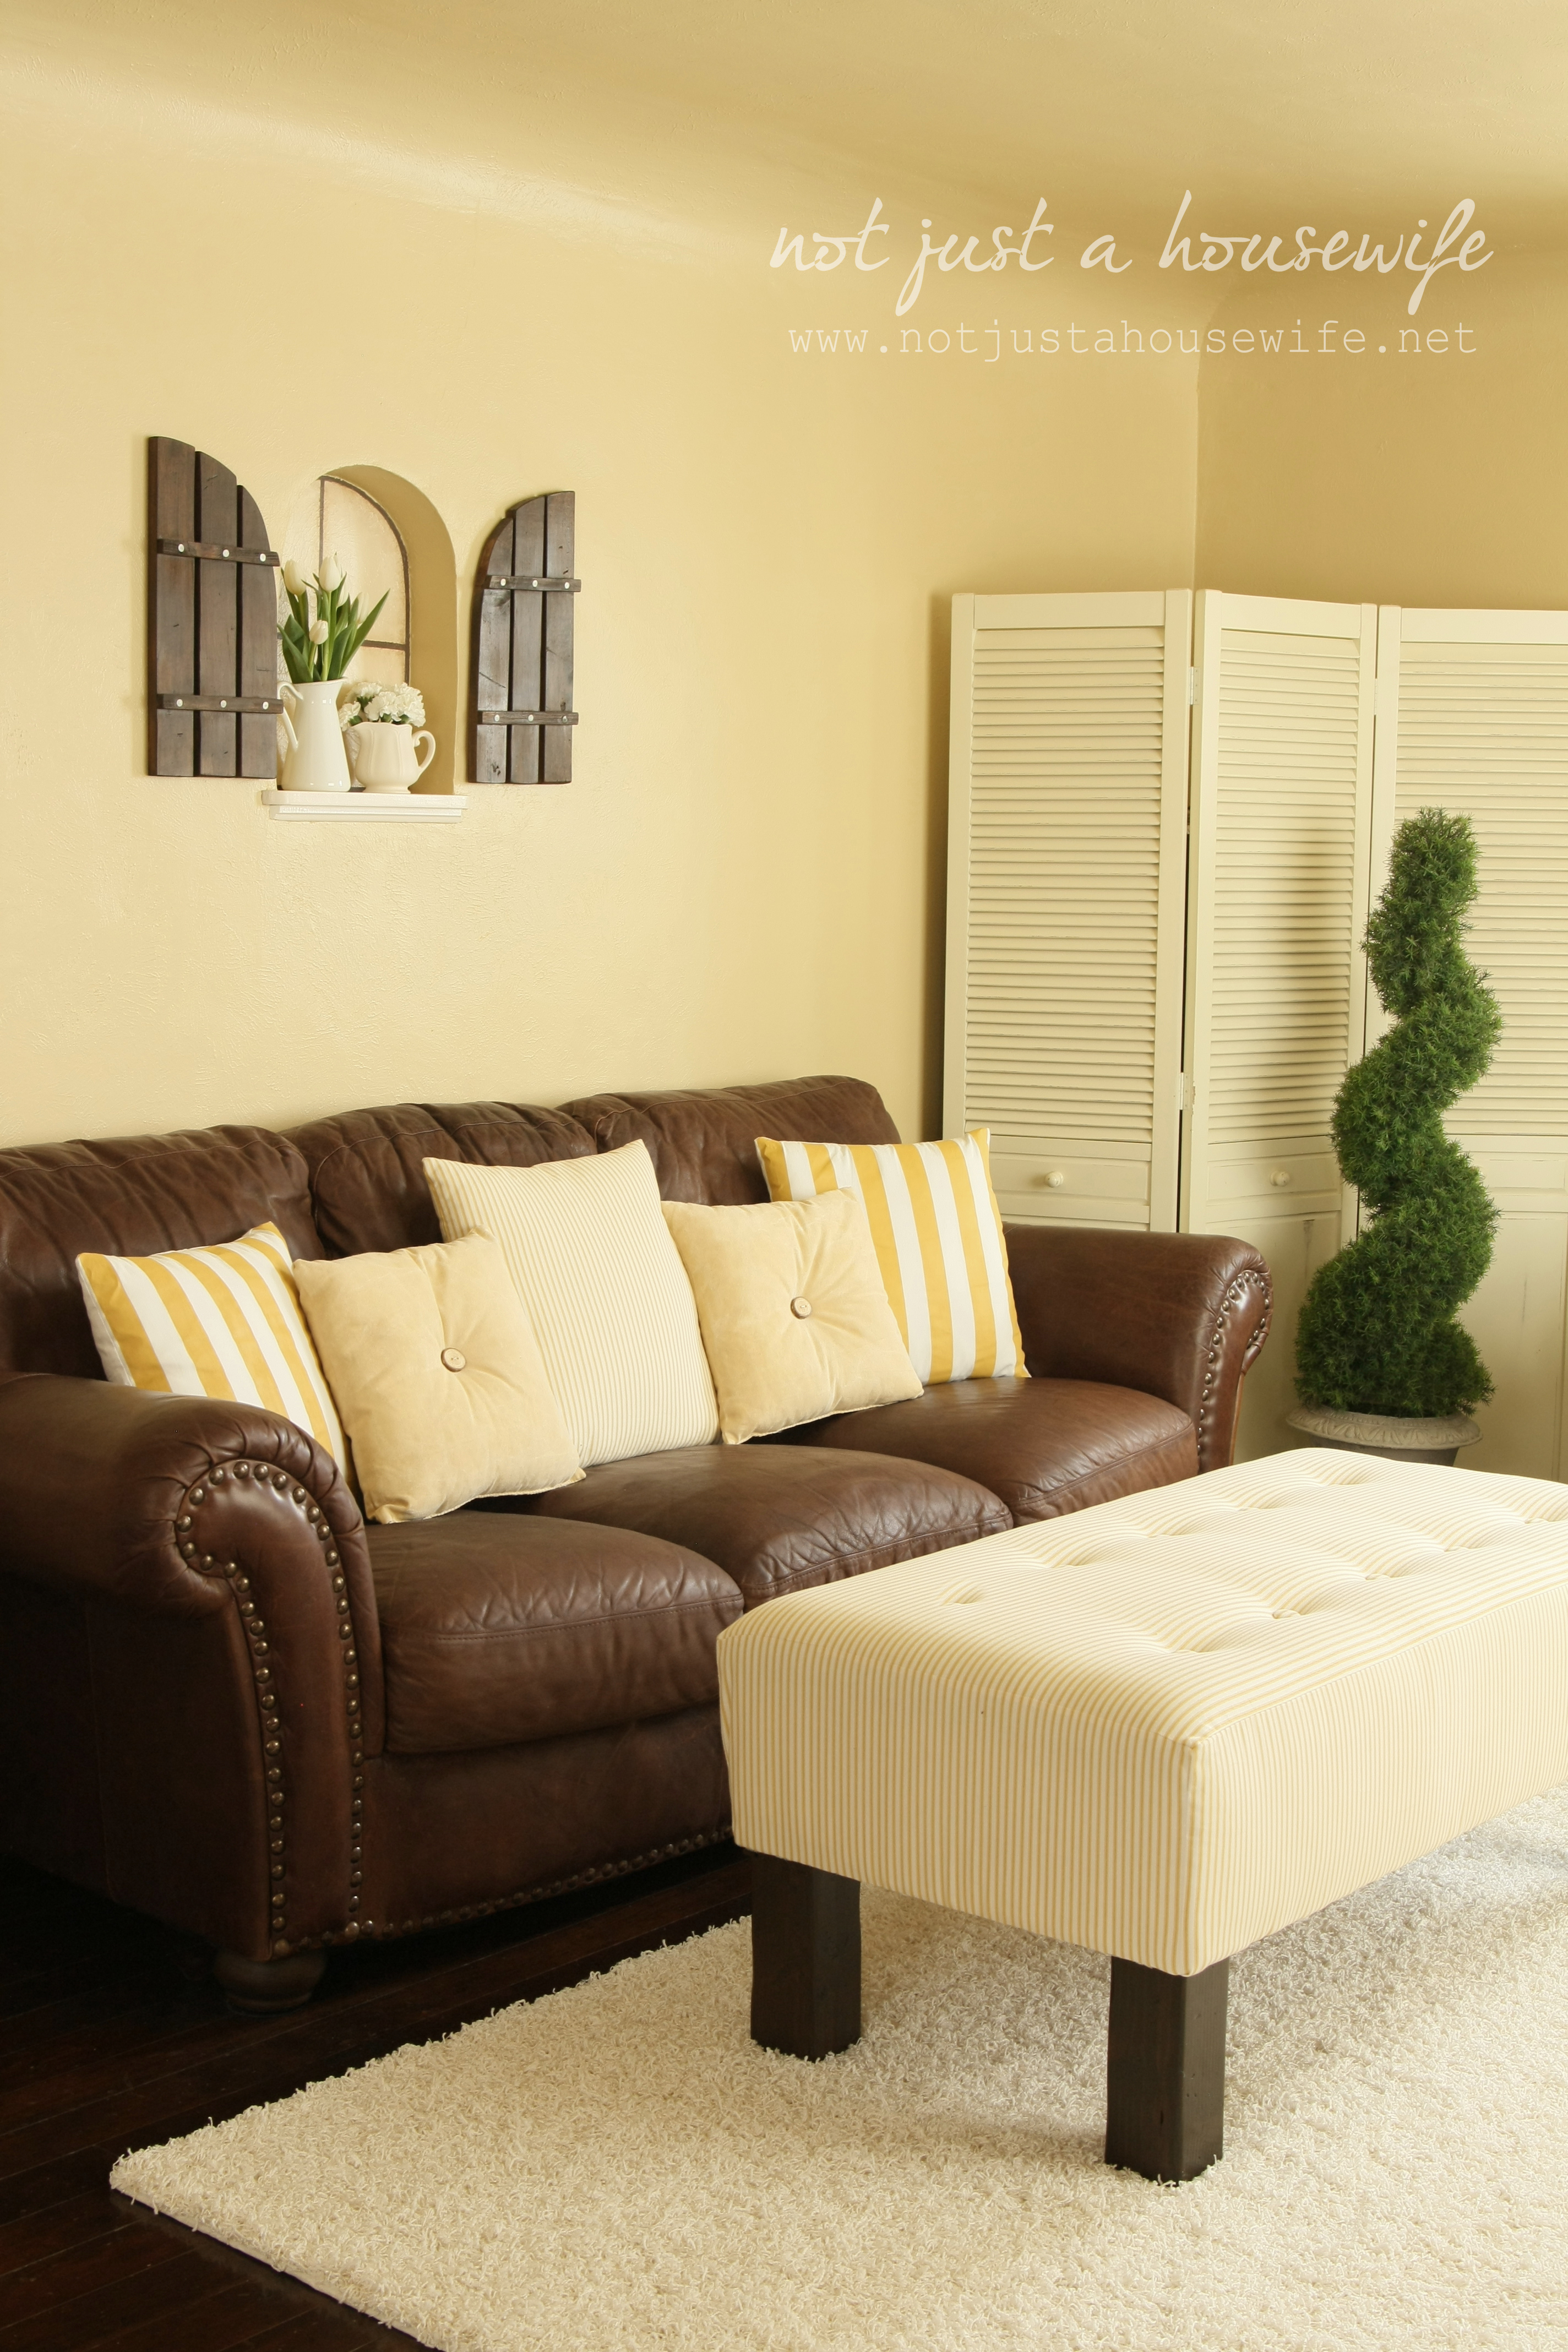
Which place is your favorite?


It's gorgeous! I like it better by the wall!
Wow, love it! You are clever...to build and re-upholster...that's GREAT!!!
Blessings,
Cindy
I love this. I would like to make one, but I'm not very good at "winging it". Would you mind terribly giving me the measurements - of the box and the length of the legs? Thanks.
The finished bench is 4 feet long, 23 inches wide, and 20 inches high. The actual box that I built is 22 inches x 47 inches x 7 1/2 inches. And the legs were cut to 16 inches. :)
Oooohh! I just love your bench! It is gorgeous! Thanks so much for sharing! I would love for you to link this up Thursday on my blog! http://www.juliakendrick.com
Julia
WOW! That bench is beautiful. I like it by the window!
You did a wonderful job, its like sunshine in your living room!!!
I am going to try to do an upholstered head board for our bed since they're so very expensive to buy, and before reading this post I was too afraid to do buttons even though I really adored them. Guess what!? I'm gonna do some buttons baby :). Thanks for the inspiraiton!
Lea.
Wow, that looks so much easier to build than I would've thought! And such a versatile piece you can use throughout the room, depending on your needs.
It is so Beautiful Stacy! I really really love it!
Your room is beautiful! Can you tell me what color your walls are?
Thank you! The wall color is called Short Bread from the Martha Stewart paint line at Home Depot :)
So fun! I love how it turned out...and I am so impressed you sewed it...because I don't sew either!!!
Ashley
That looks great. Hopefully my hubs will build me one soon.
Anywhere you put it, it is wonderful!! You sound like my daughter in home ec, or whatever they called it when she went to school, Had a cooler name by the time 30 years had passed, lol. You, and your mom, should be very proud. Striped and plaids and corduroy are bears to keep lined up. Your corners and tufting look professional. No, I'm not gushing, just typing the truth, and I have done quite a bit of sewing, again pre-blogger, even pre-digital!! I've never seen how to do the tufting to wood though. Thanks, giving me ideas....
Janet
OH, that is so, so pretty! Your home ec teacher would be proud! I like it in front of the window.
Love this, for some reason I'm in love with everything tufted right now! I am trying to figure out if I am handy enough to pull this off!:)
Beautiful! The softness fits well with the sofa, but I like it equally well as bench by the window. Do people put their feet up on it? I think that would bug me. I like the idea it can be used in different ways, but I think I'd be worried about it being soiled by accident if it was in front of the sofa. You should keep track of what lasts through four boys as they grow up and have a "survivors" post when the last one leaves home.
I know you don't know me, but I wanna come over and see all that decor! Haha!
You did an awesome job, that looks like something you could buy at Pottery Barn! Totally loving it!
Selene @ restorationbeauty.com
OH I just LOVE it!!! The colors blend SO well with your room! I want to make a headboard soon! Lets get together soon!
Love the bench! It's beautiful!
Very nice job on the bench!
The entire room looks so sunny and cozy all at the same time!
Thanks for hosting the link-up party! Just discovered your site and will definitely be a regular reader!
I love this, you did such a god job. This looks like its worth $500. I want to try and make this but I would like to make it so I can open it and have storage. How do you think would be the best way. I was thinking either some hinges or have a removable "box top" any ideas? Tip? Advise?
I recently turn a coffee table into an upholster tuffed ottoman. the hardest part is to go back down with the needle because I can't find the hole. Do u have any tricks?
Wow! That is really beautiful! I love the tufting and I'm dying to try it for myself! Stopping by from the Beneath My Heart March linky party!
Cher @ Designs by Studio C
http://designsbystudioc.com