• Skip to primary navigation
  • Skip to main content
  • Skip to primary sidebar
  • Skip to footer
Stacy Risenmay
  • Home
  • About me
  • Subscribe
  • Shop
  • Contact Me
  • My Book
  • PRESS
    • Facebook
    • Instagram
    • Pinterest
    • Twitter
menu icon
go to homepage
subscribe
search icon
Homepage link
  • Home
  • About me
  • Project Gallery
  • Our House
  • Shop
  • PRESS
  • Contact Me
  • Privacy Policy
    • Facebook
    • Instagram
    • Pinterest
    • Twitter
  • ×

    Stamped Clay Tags {For Jam & Gifts}

    By Stacy 2 Comments

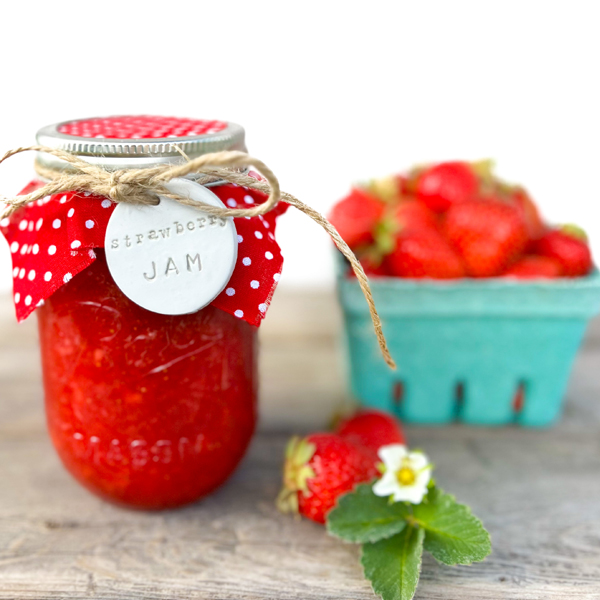
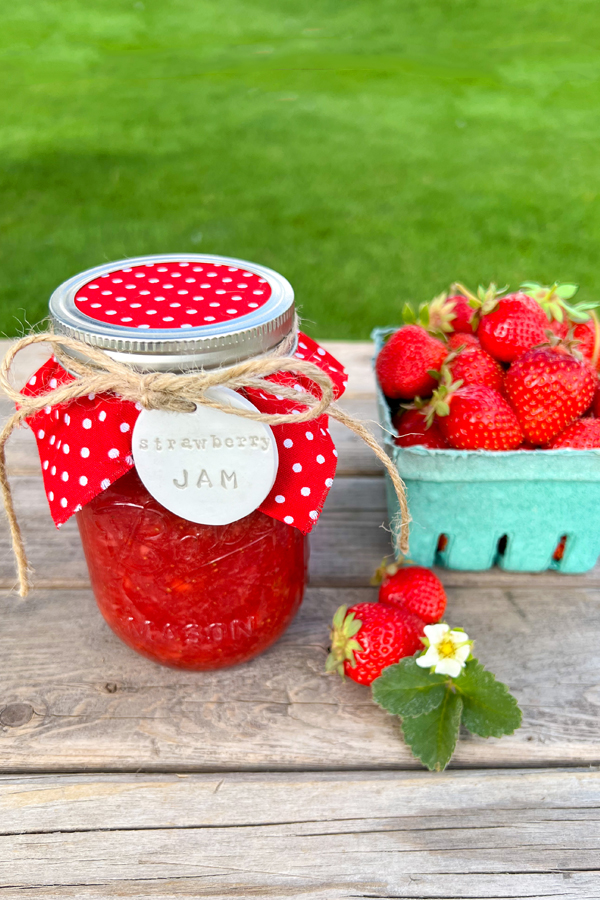
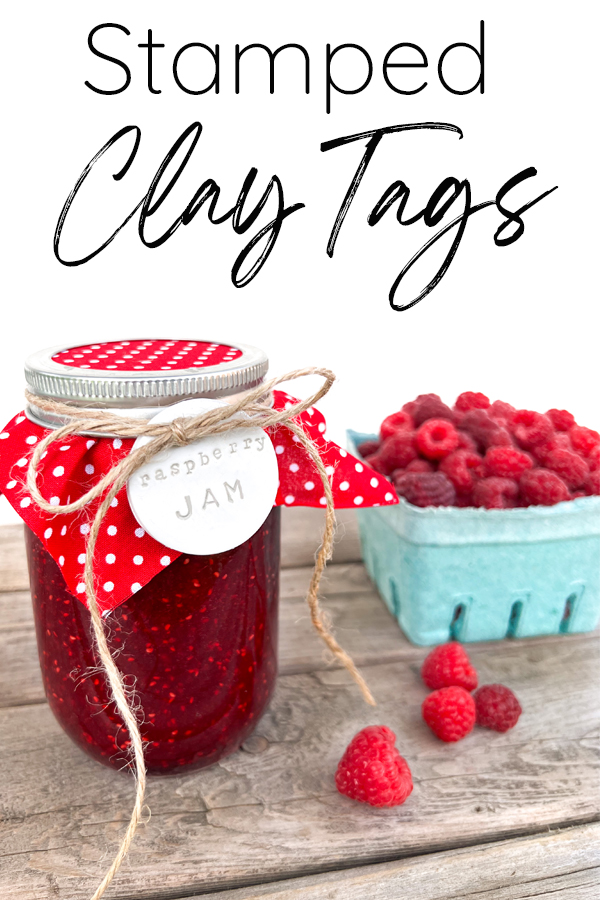
    I have been spending my days canning and freezing all the things from my garden. While I love that I can preserve my harvest to use all year long, after several days of it, it does get monotonous. I decided to take part of one day last week to do something creative. I made these cute stamped clay tags for my freezer jam, which are perfect for gifting!

    strawberry jam with stamped clay tag

    Supplies For Stamped Clay Tags:

    Polymer Clay

    Round Cookie Cutter

    Toothpick

    Metal Letter Stamp Set (Upper & Lower Case)
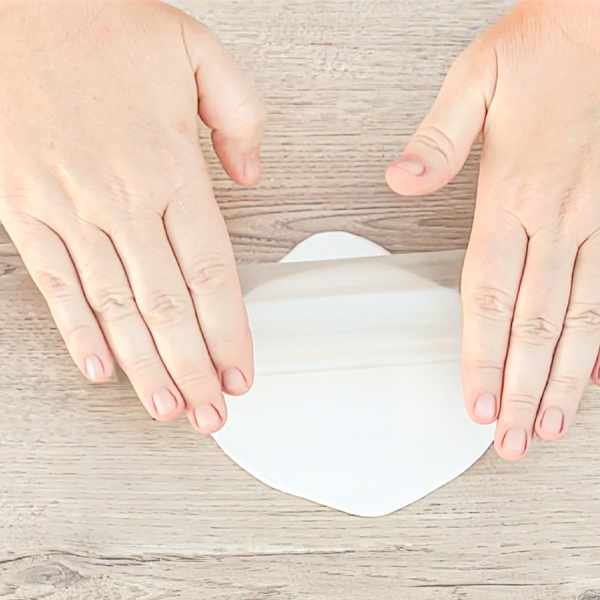
    Step 1.

    I love using polymer clay! It never dries out and is so versatile. After you warm it up in your hands to make it soft, roll it out to about ⅛ of an inch thick.
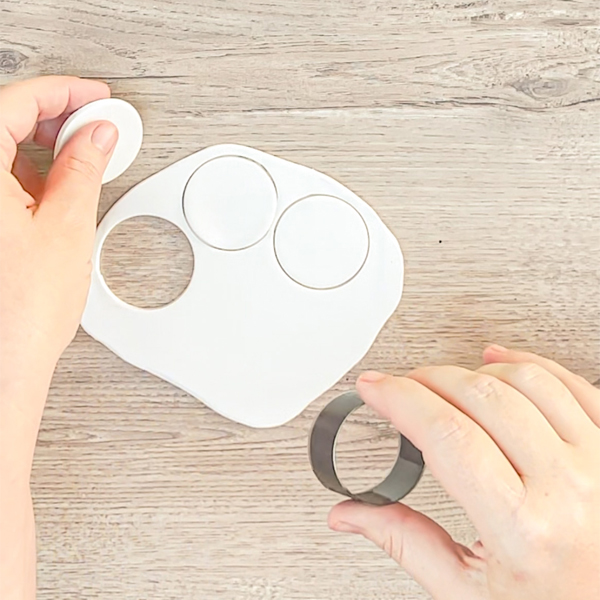
    rolling out polymer clay

    Step 2.

    Use whichever size cookie cutter you want. I love the set I linked to above because it comes with so many great sizes. You don't even have to use a round cutter. May them any shape you want!
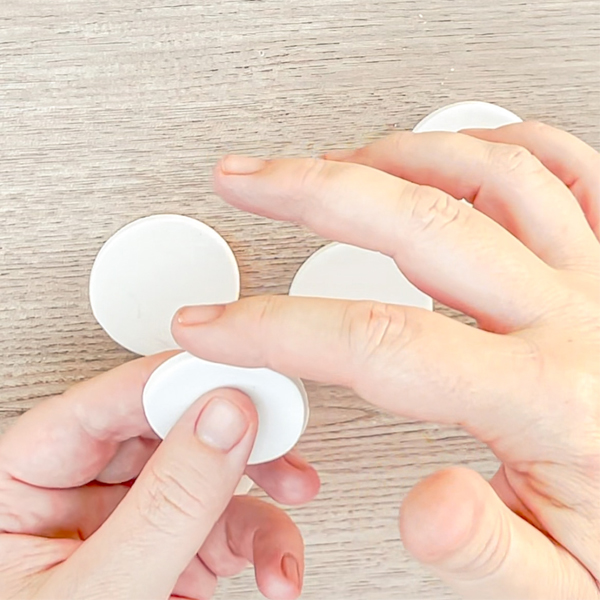
    circle cutter for clay

    Step 3.

    Use your fingers to smooth the edges. Be careful when you handle it so you don't get fingerprints on the surface. If you do get fingerprints, you can smooth them out too.

    smoothing edges of clay

    Step 4.

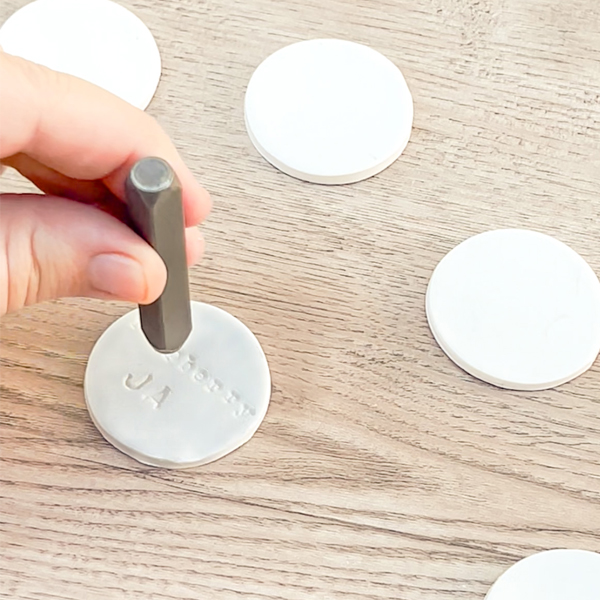
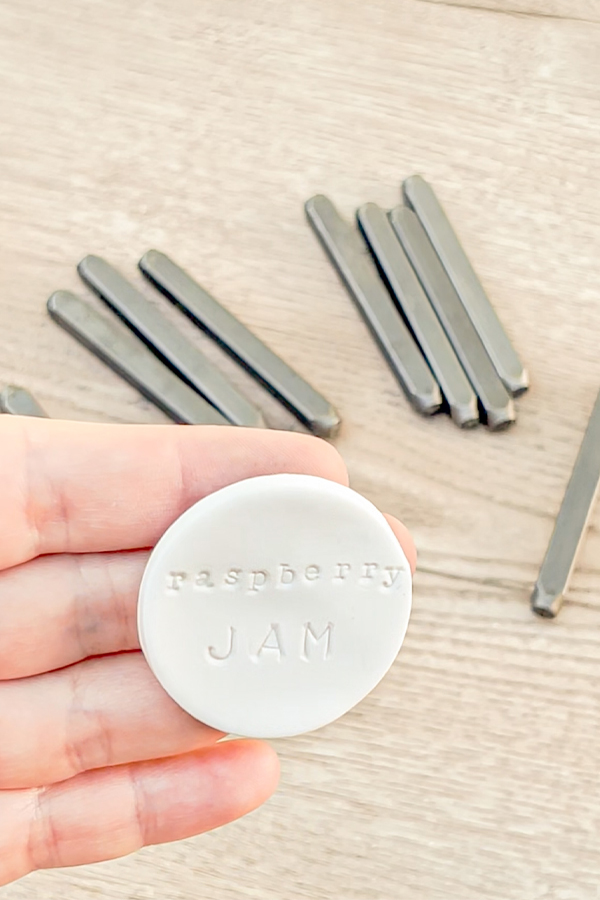
    These stamps are meant for stamping metal, but aside from just metal, I use them on leather and clay as well. I have an upper case set and a lower case set. I used these to stamp the words "Strawberry Jam" And Raspberry Jam" into the clay.

    stamping clay for tags
    metal stamps for clay tags

    Step 5.

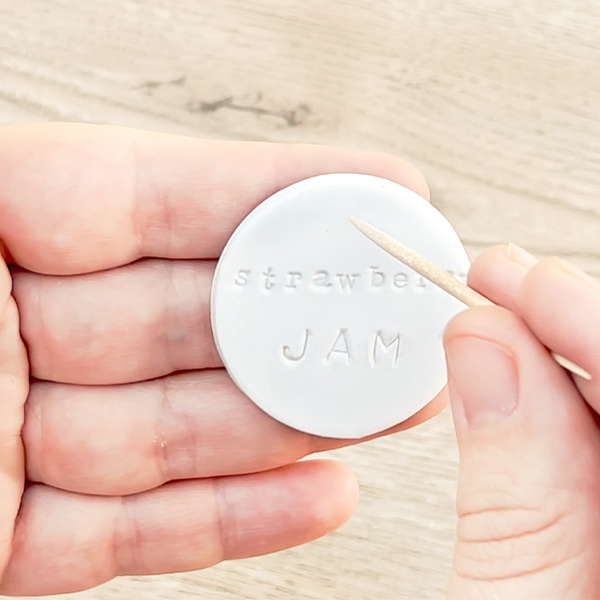
    Use a toothpick to make a hole for the tag. I have done one hole and two holes. I think I like the two hole option better. It is easier to lace onto the string and tie a bow. It lays flat better.

    adding hole to stamped clay tag

    Step 6.

    Bake according to the directions on the package of the polymer clay. Once it is done baking and wait for it to cool down.

    *Optional If you are having a hard time seeing the letters, you can add paint to the letters. Brush on the color and then use a damp paper towel to wipe off the excess. It stays down in the letters but wipes off the rest of the tag. In the past I have done silver and gold for gift tags in the past but red would be cute for the jam!

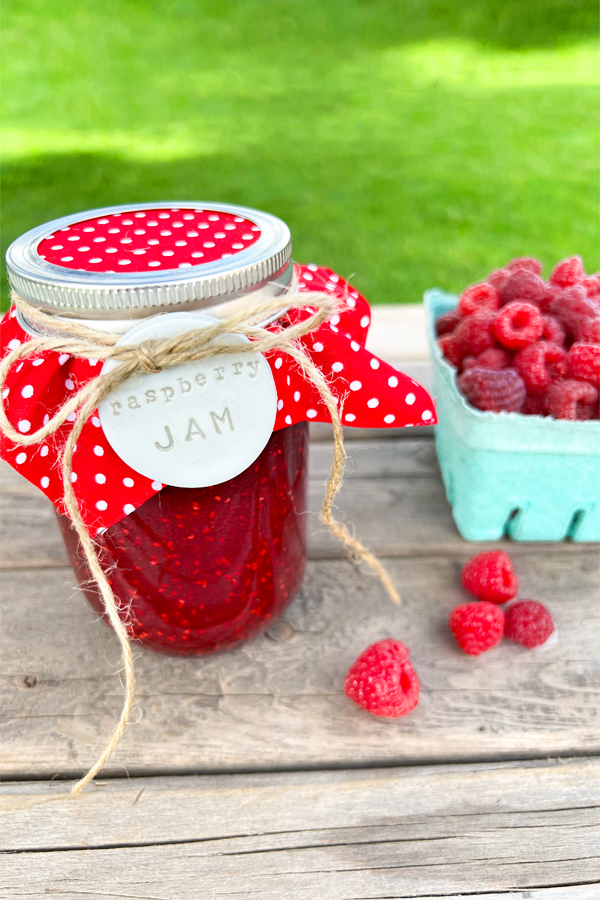
    Add the stamped clay tags to your jam jars and you are ready to share your homemade jam with others!

    jam in mason jar with gift tag

    I have made these stamped clay tags for gifts at Christmas time as well as stamped clay ornaments.

    Do you make jam? I'd love to hear what your favorite kind to make is. I don't get too adventurous. I always have an abundance of strawberries and raspberries so that is what I make each year.

    strawberry jam with stamped tag

    Pin For Later:

    raspberry jam with clay stamped tag

    « 5 Reasons You Should Plant In The Fall
    Round Frames (Third Time's A Charm) »

    Filed Under: DIY Projects & Tutorials, Favorites 2 Comments

    Subscribe

    for your weekly DIY fix.

    Reader Interactions

    Comments

    1. Cindy

      September 19, 2023 at 12:19 pm

      I like to make a spiced cranberry and my absolute favorite is a cranberry habanero. It's spicy and sweet and it gets raves.

      Reply
      • Stacy

        September 19, 2023 at 3:42 pm

        Oooo! That sounds amazing. I would have never thought of that combo. My husband would love it!

        Reply

    Comment Below! Cancel reply

    Your email address will not be published. Required fields are marked *

    This site uses Akismet to reduce spam. Learn how your comment data is processed.

    Primary Sidebar

    stacyHey! I'm Stacy and am a DIY addict. I love to get my hands dirty, whether it's sawdust, paint, or dirt. My goal is to help YOU learn to fix up your home and yard. No matter the style or size, I think everyone should love their home. And it doesn't takes a big budget to get there. Let's DIY together!

    Search this site

    categories

    Subscribe to my newsletter!

    Footer

    Welcome! I'm sharing our adventures as we fix up our 1938 cottage. Whether it is big or small, I think everyone should love their home and I don't think it takes a lot of money to make a space your own

    About Stacy

    • Facebook
    • Instagram
    • Pinterest
    • Twitter

    My Favorites

    copyright

    All images and content are copyrighted via Stacy Risenmay unless otherwise stated. If you'd like to share my work, please link back to this blog.
    Thank you for visiting!


    Footer

    ↑ back to top

    About

    • Meet Stacy
    • Privacy Policy
    • Contact

    Categories 

    • Home Decor
    • Outdoor Projects & Gardening
    • DIY & Tutorials
    • Kid Activities
    • Recipes
    • Travel
    • Cleaning
    • Houseplants
    • Staining
    • Painting
    • Power Tools
    • Holiday Ideas

    Newsletter

    • Sign Up! for emails and updates

    As an Amazon Associate I earn from qualifying purchases.

    Copyright © 2020 Brunch Pro on the Brunch Pro Theme


    Privacy Policy
    Welcome! Thanks for visiting.
    Hi! I'm Stacy and I want to help YOU become a DIY rockstar! Sign up for my email list so each project, tip, and trick will go directly to your inbox :)
    Your information will *never* be shared or sold to a 3rd party. Pinky promise :)
    Welcome!
    Hi! I'm Stacy and I blog about fixing up our 1938 cottage. Join the thousand of others who get my posts sent to their inbox for FREE!
    Your information will *never* be shared or sold to a 3rd party.