
Once upon a time I had a birthday blog. But then this blog took off and the birthday blog's domain got stolen, so I shut it down. I am transferring my cake tutorials here :)
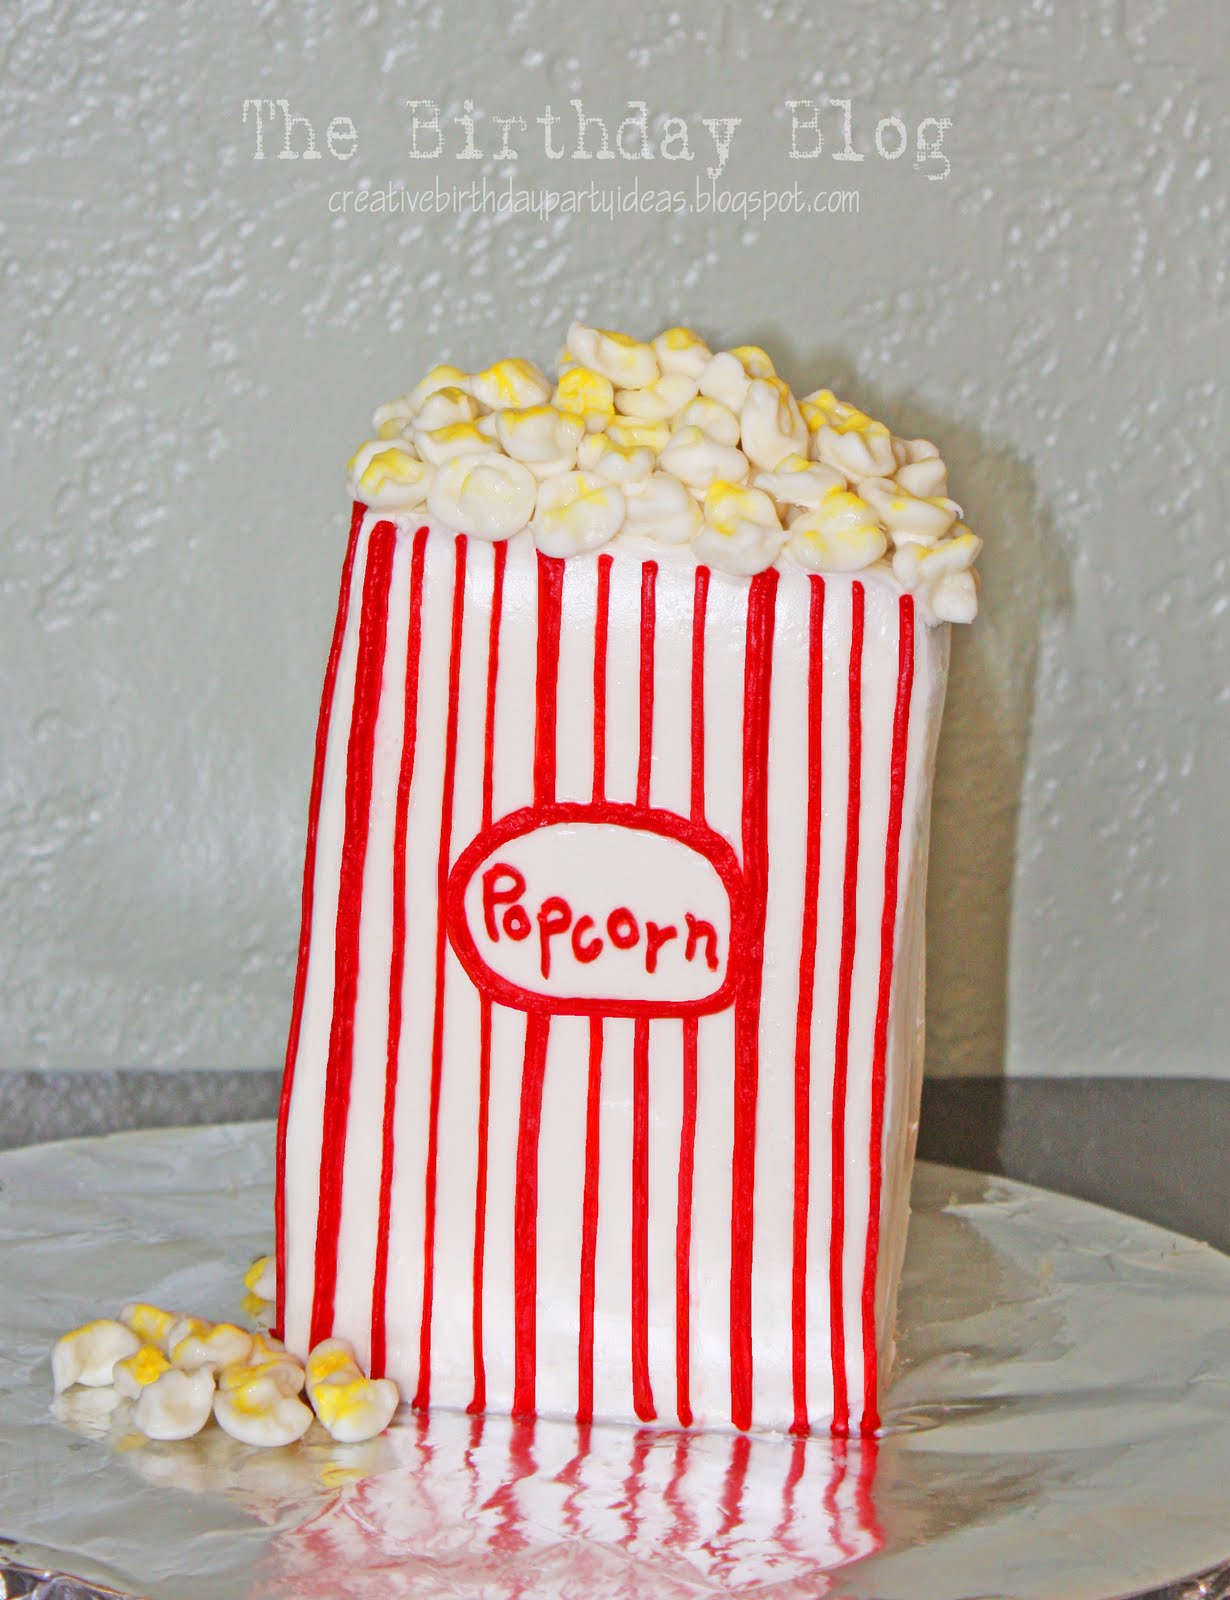
The Popcorn Cake
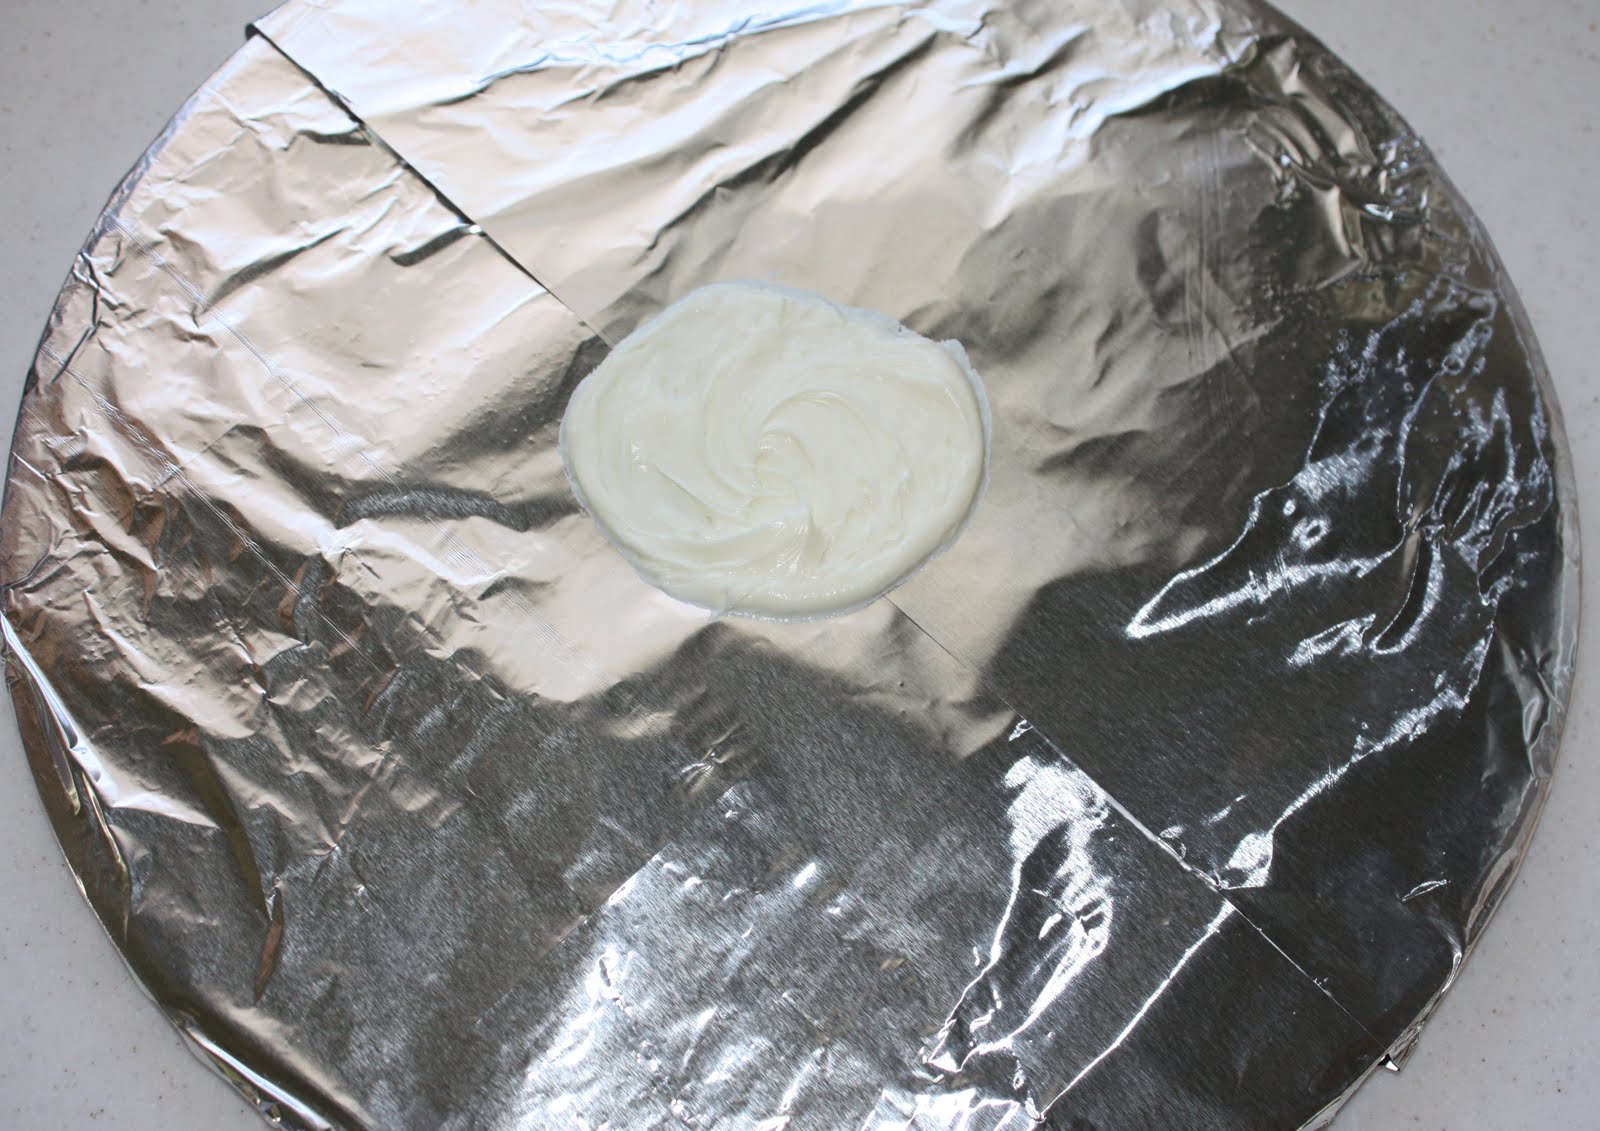
This cake got a lot of attention. It was pretty easy to make too. Instead of using a cake mix like I usually do, I made a pound cake. Cakes that are dense stack better. I baked it in a 9x13 pan and then cut it into squares. Before I started stacking them I added a dollop of frosting onto the tray so the cake would stick and not topple over when moved.
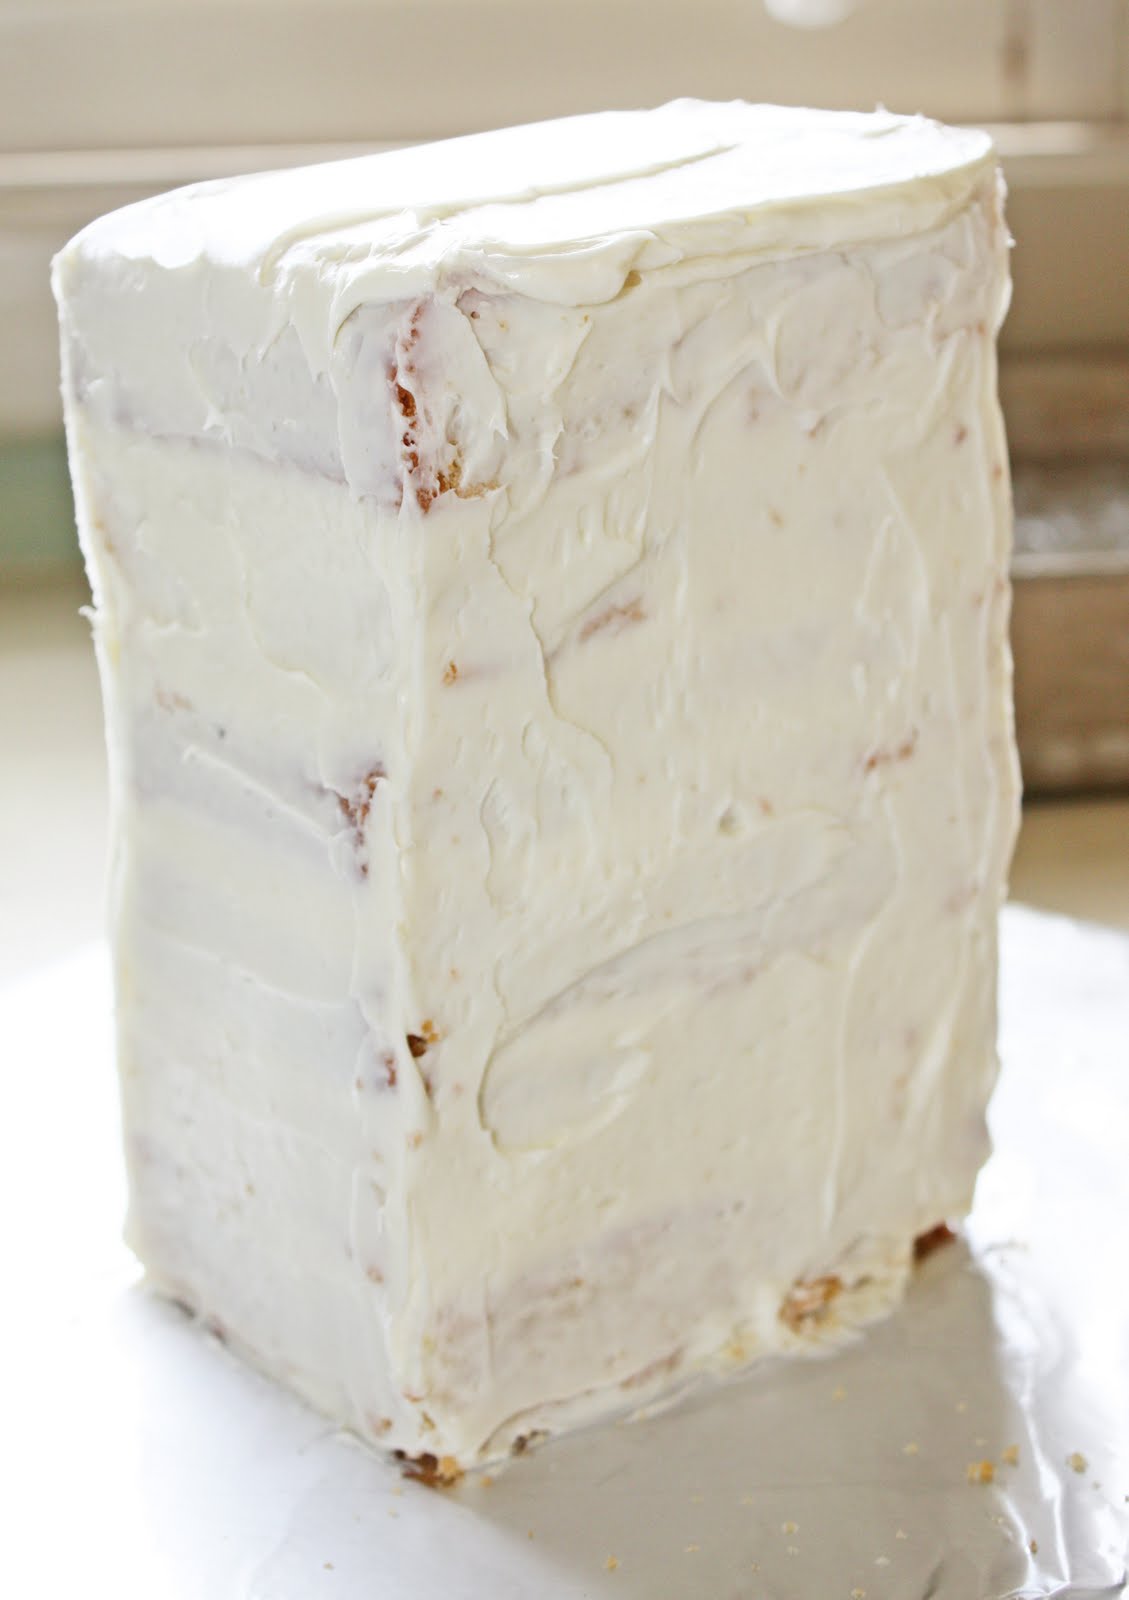 I frosted in between each layer and then crumb coated it. I stuck it in the freezer for awhile (the fridge would work also) so the crumb coat layer would get hard. It makes frosting it so much easier.
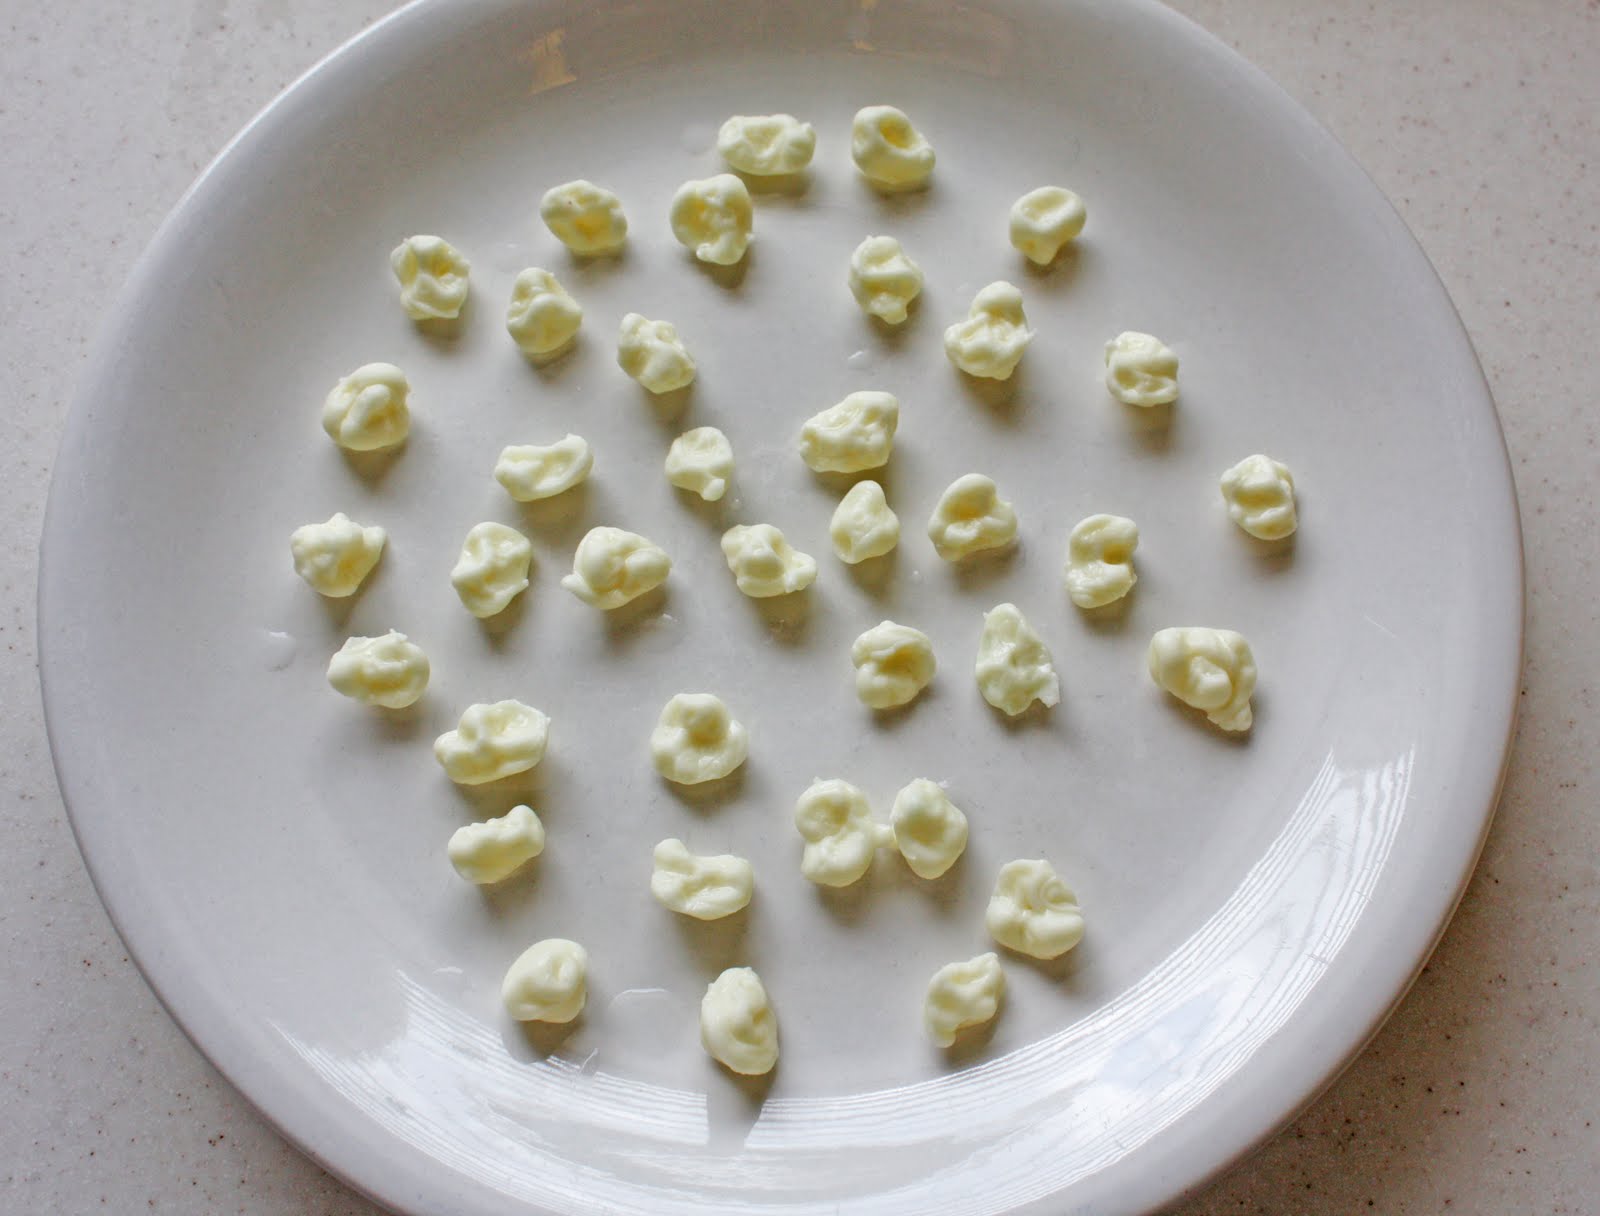
 While the cake was in the freezer I made the popcorn. I melted some white chocolate chips in the microwave for 30 seconds. I spooned it into a sandwich baggie and cut the tip off of one corner. I squeezed drops into a pan of ice water. The ice needs to be "pellet" ice. I don't know what it is really called but if you can't find it bagged, you can go to a gas station and buy it in the cups by the drink machines. There needs to be more ice than water.
This is what it looks like! Pretty cool, huh?
 When you are done with frosting the cake then you can pipe on the stripes. Don't worry if the cake isn't straight or the lines are a little wiggly. It is a BAG of popcorn. Chances are a real bag of popcorn wouldn't look straight either. And kids aren't going to be critiquing you on your technique. They won't see past the fun idea of it. I am about to suggest something that I never thought I would. If you are nervous to pipe the stripes on, or you start and can't get them straight, you could use fondant. I think the stuff tastes nasty and that is why I never use it but it wouldn't be bad just as stripes. Roll it out and cut the stripes with a knife.
When you are done with the stripes you can add the popcorn on the top. Use frosting as glue. Then for the butter I used yellow frosting that I painted on with one of my kid's clean watercolor brushes.


how many 9x13 cakes did you bake, 1 or 2?
About what size are the squares you cut. It looks like there are 6?