
I love making furniture! The smell of the wood when you cut it, the hum of power tools, and then seeing the end result is AWESOME! I think everyone should build something at least once. If I can sew then you can build :) Here is a table I made for my etsy store. I have a bunch more to make and then I am going to be making upholstered ottomans.Well, here's the tutorial!
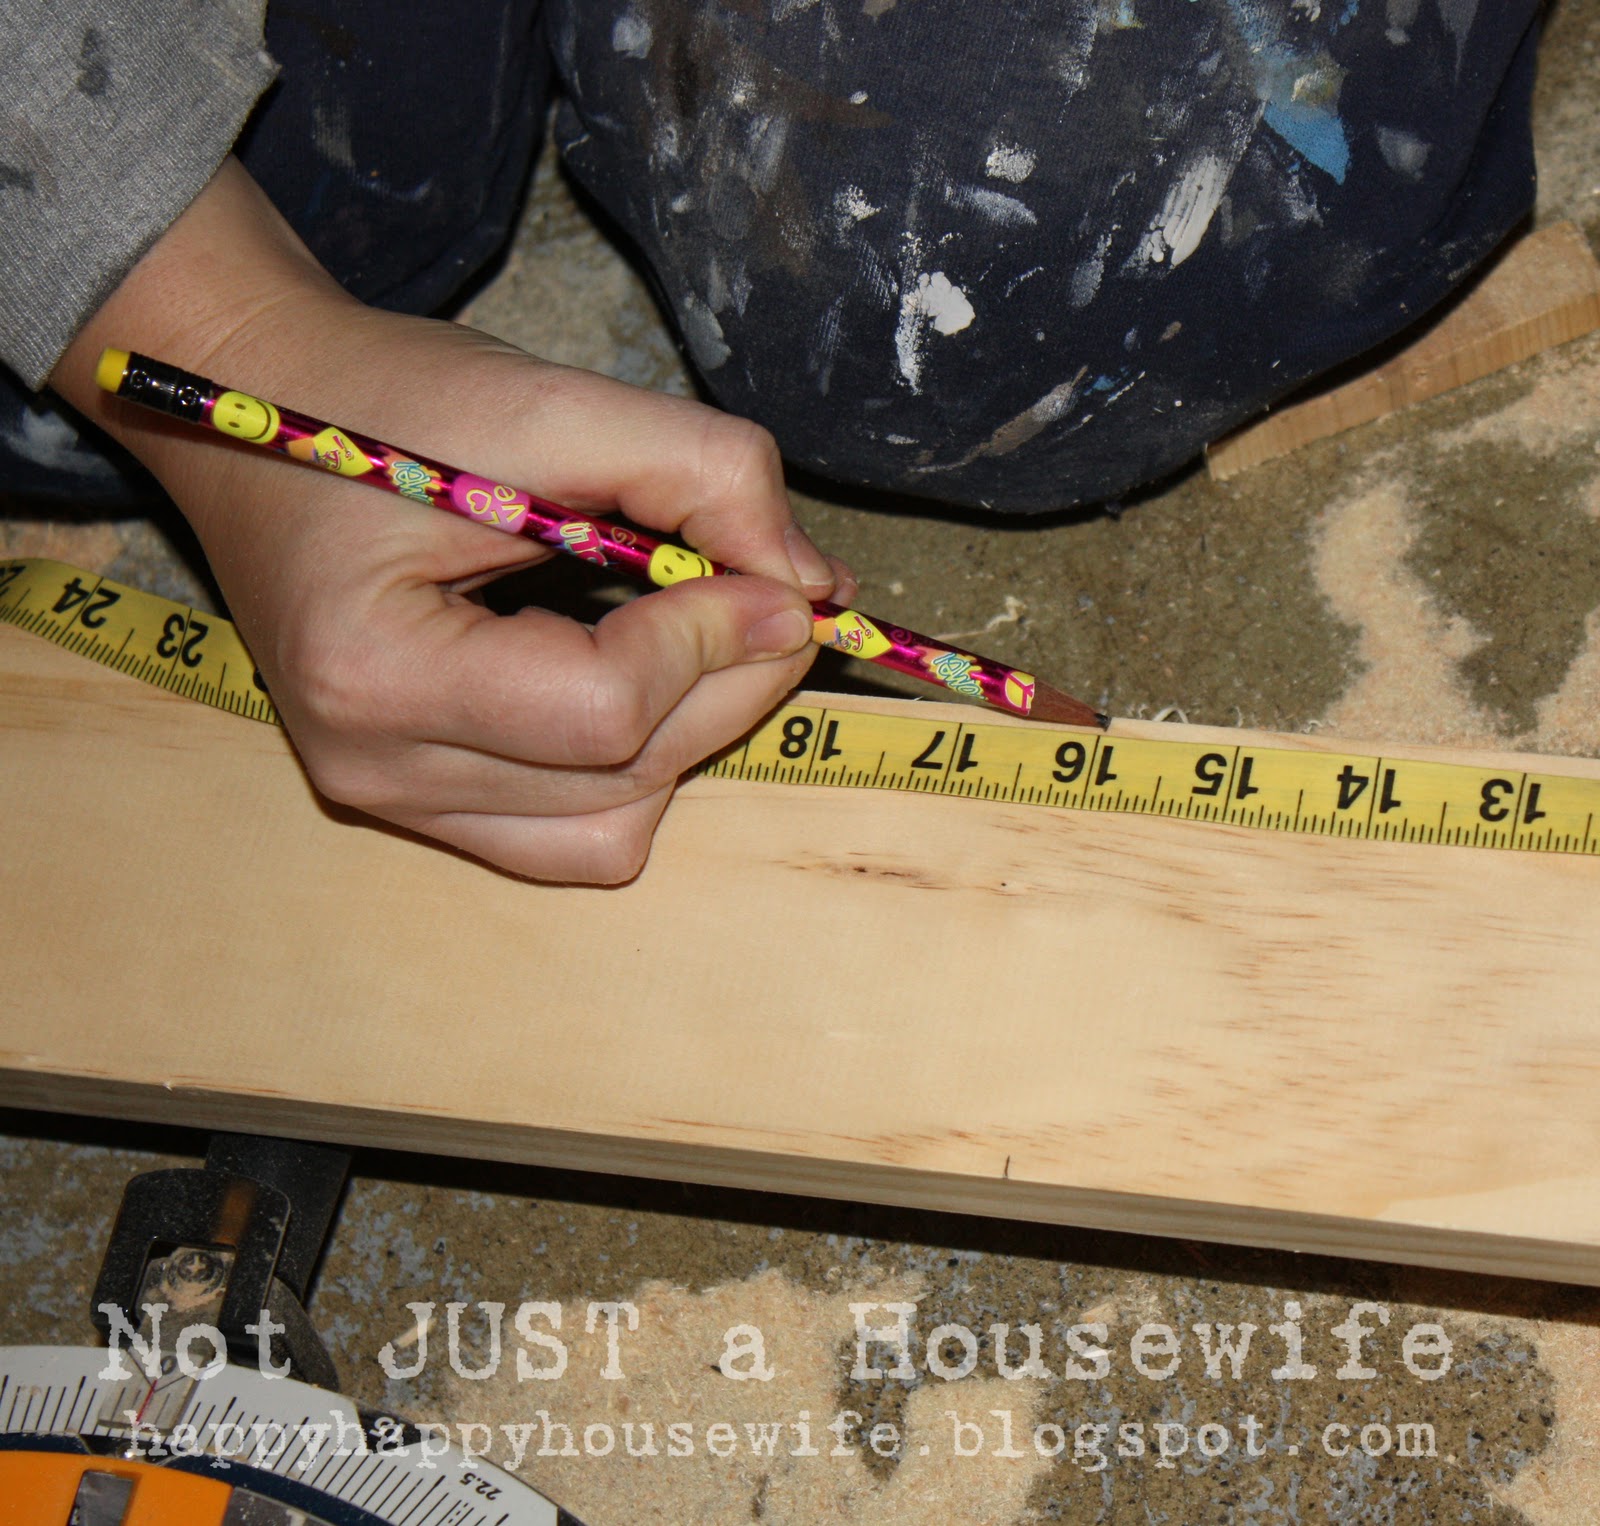
I bought a board that measured 18" by 36". I measured then drew a line down the middle so I would have 2 table tops measuring 18" by 18". You obviously only need one, but since I was planning on making a bunch I needed more. I used a jig saw to cut the wood.

Then I used 1"x4" boards for the front, sides, and back. I wanted there to be a 1 inch lip or overhang so I measured and cut 2 boards 16 inches long. That is one inch taken off for each side.

I used my miter saw to cut the rest of the boards.
Then, since 2 of the boards will go inside the other two boards to form a box, you need to minus the width of 2 boards together. In this case, 1 ½ inches. So the second 2 boards I cut were 14 ½ inches.

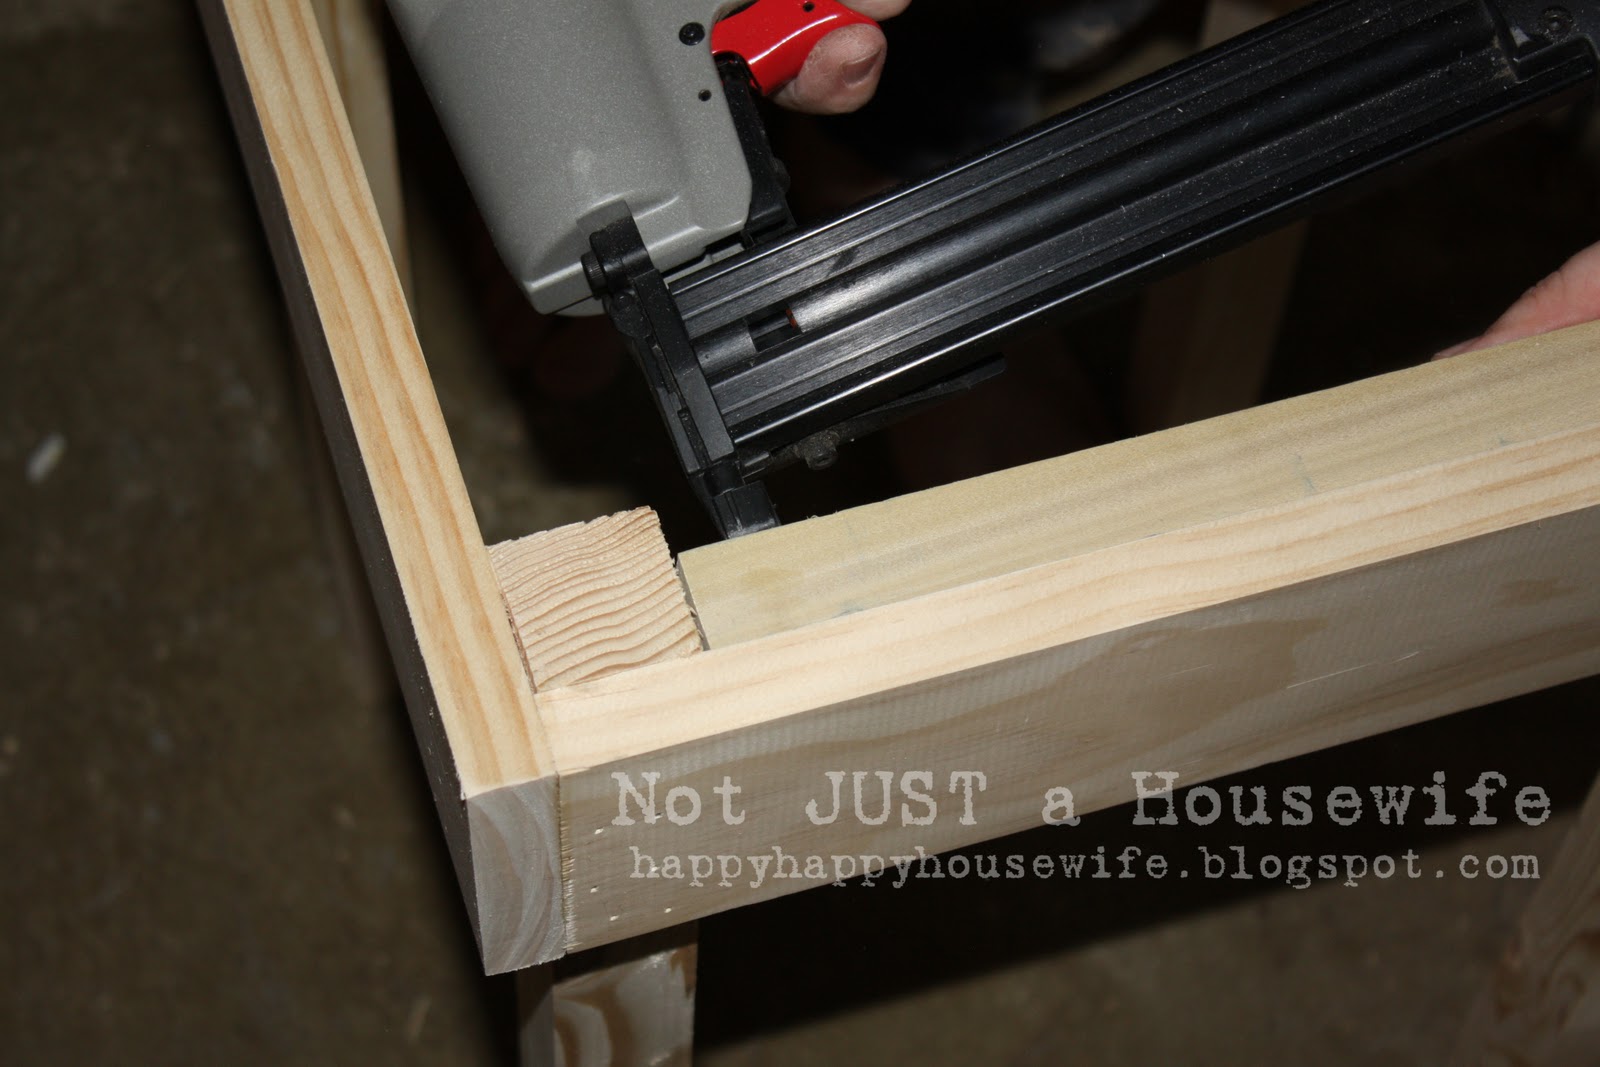
Do you see how 2 of the 1x4s fit inside the other two? That is why 2 needed to be shorter.

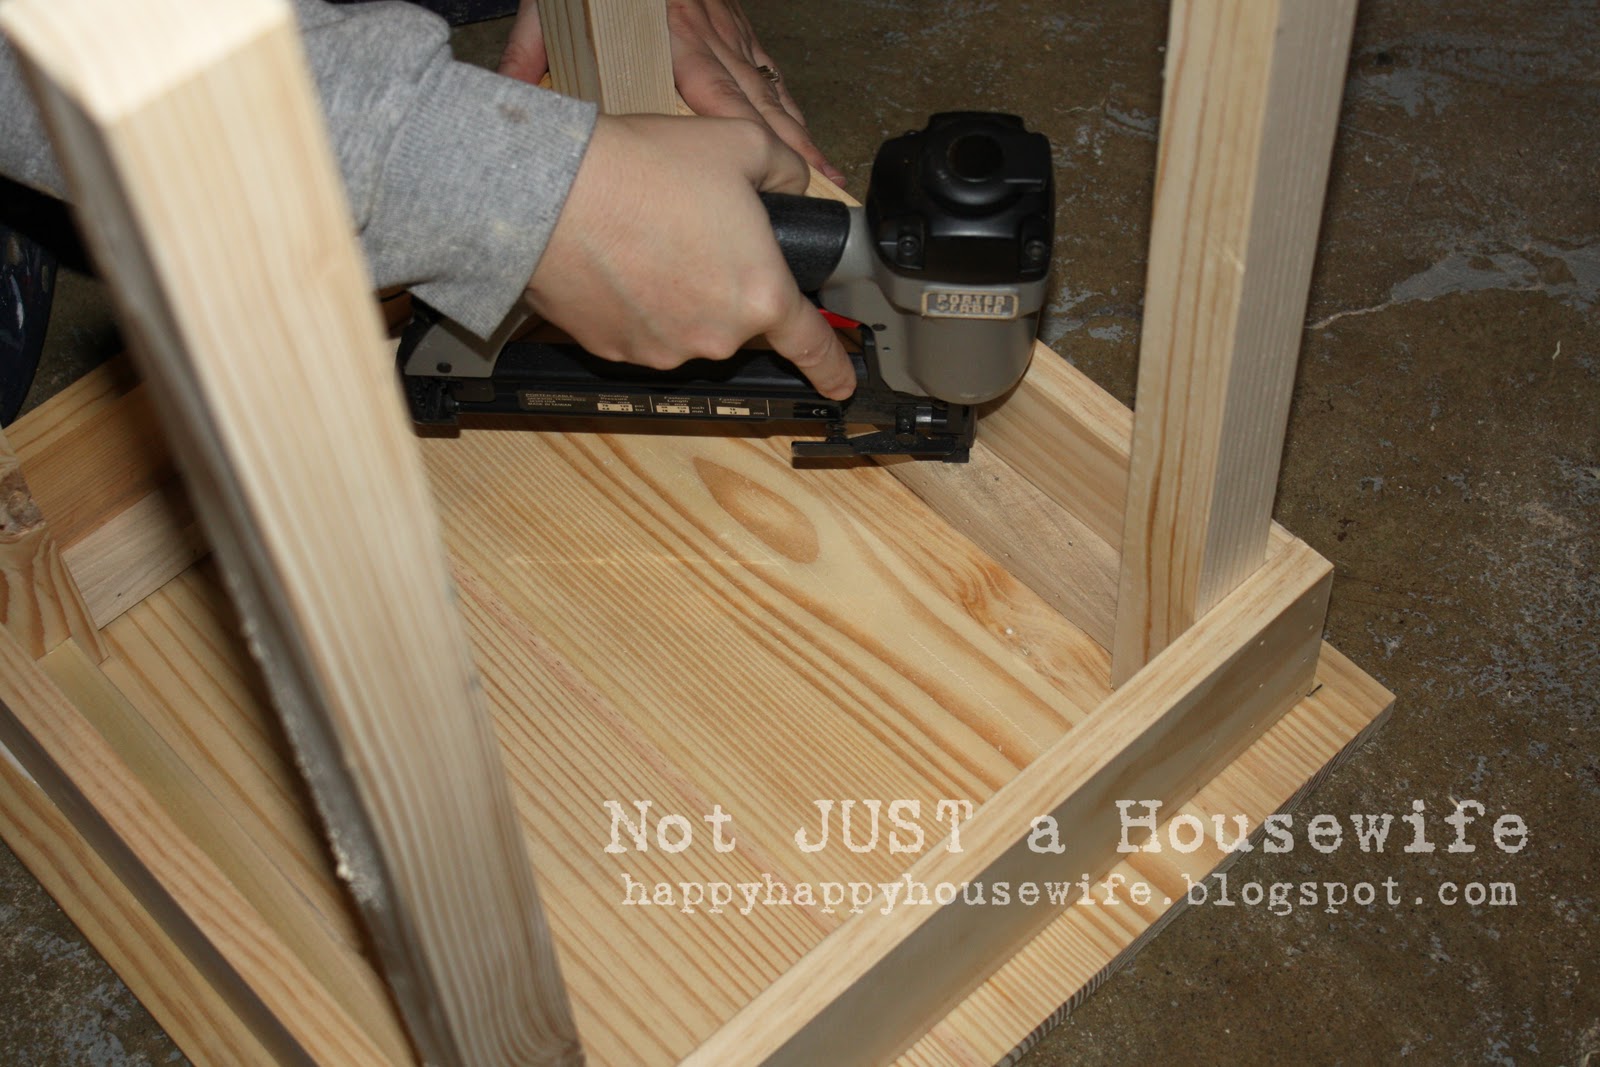
Add a little wood glue and then use a Brad Nailer (affiliate link).
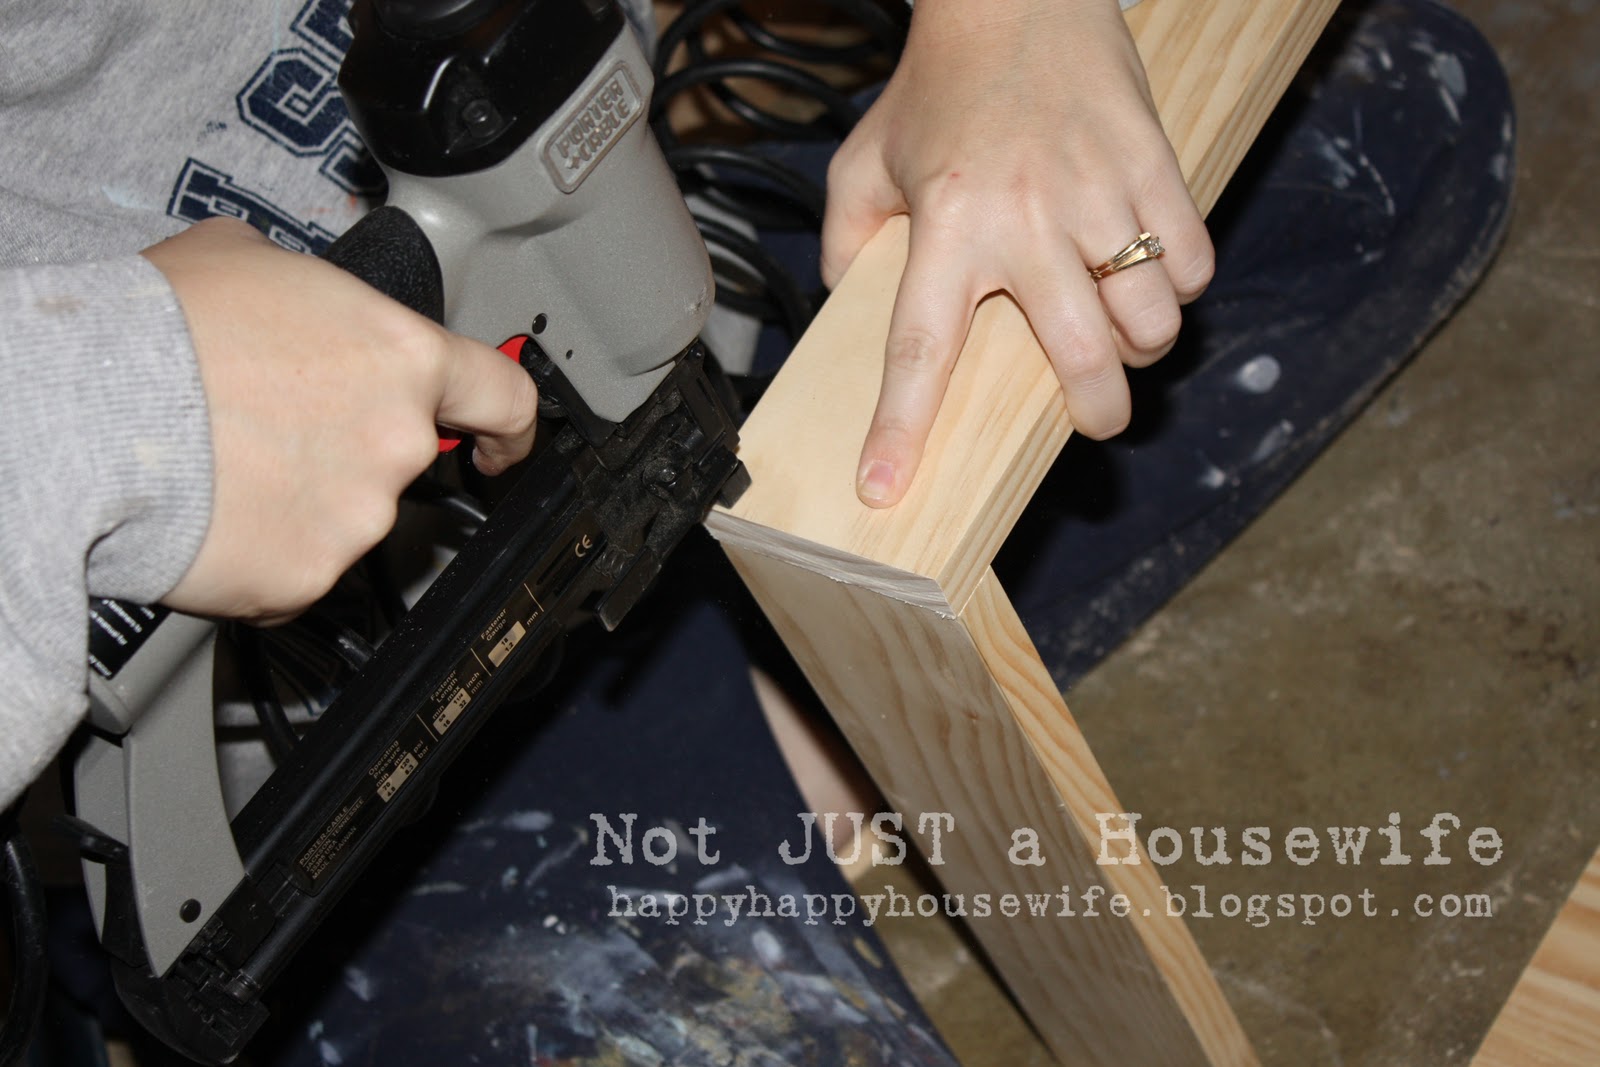
The next step is to determine how high you want your table. I wanted mine 2 feet tall. I cut some 2"x2"s for the legs. Add some wood glue and then nail them into the corners of your box. It is very important to make sure it is flat before nailing on the legs. If the legs are not flush with the top of the box then your table top will not lay flat on your base AND your table will wobble.

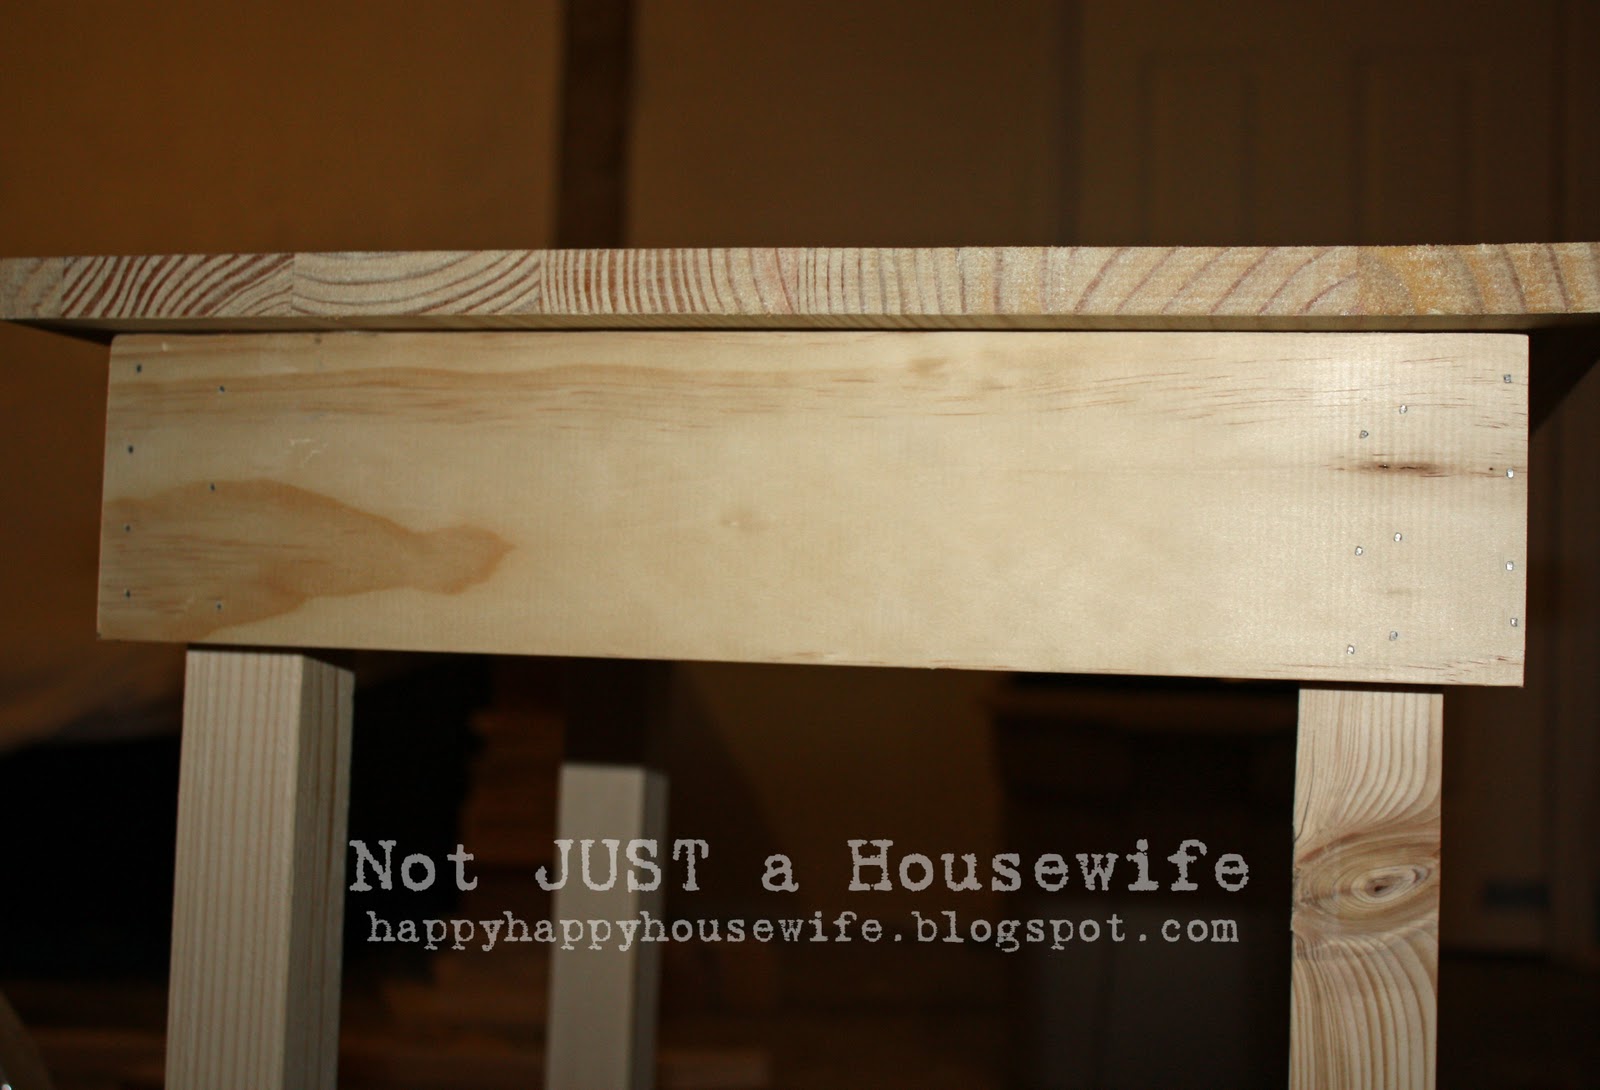
Your base is almost done :) You just need to add some 1"x1" to help hold the top on. Measure in between the legs and then cut your 1x1 that size.
Add some glue and nail. Do this all the way around the base - all four sides.
Then add glue to the top of the base, flip it over onto the table top, and nail through the 1x1. This will attach the top to the base.
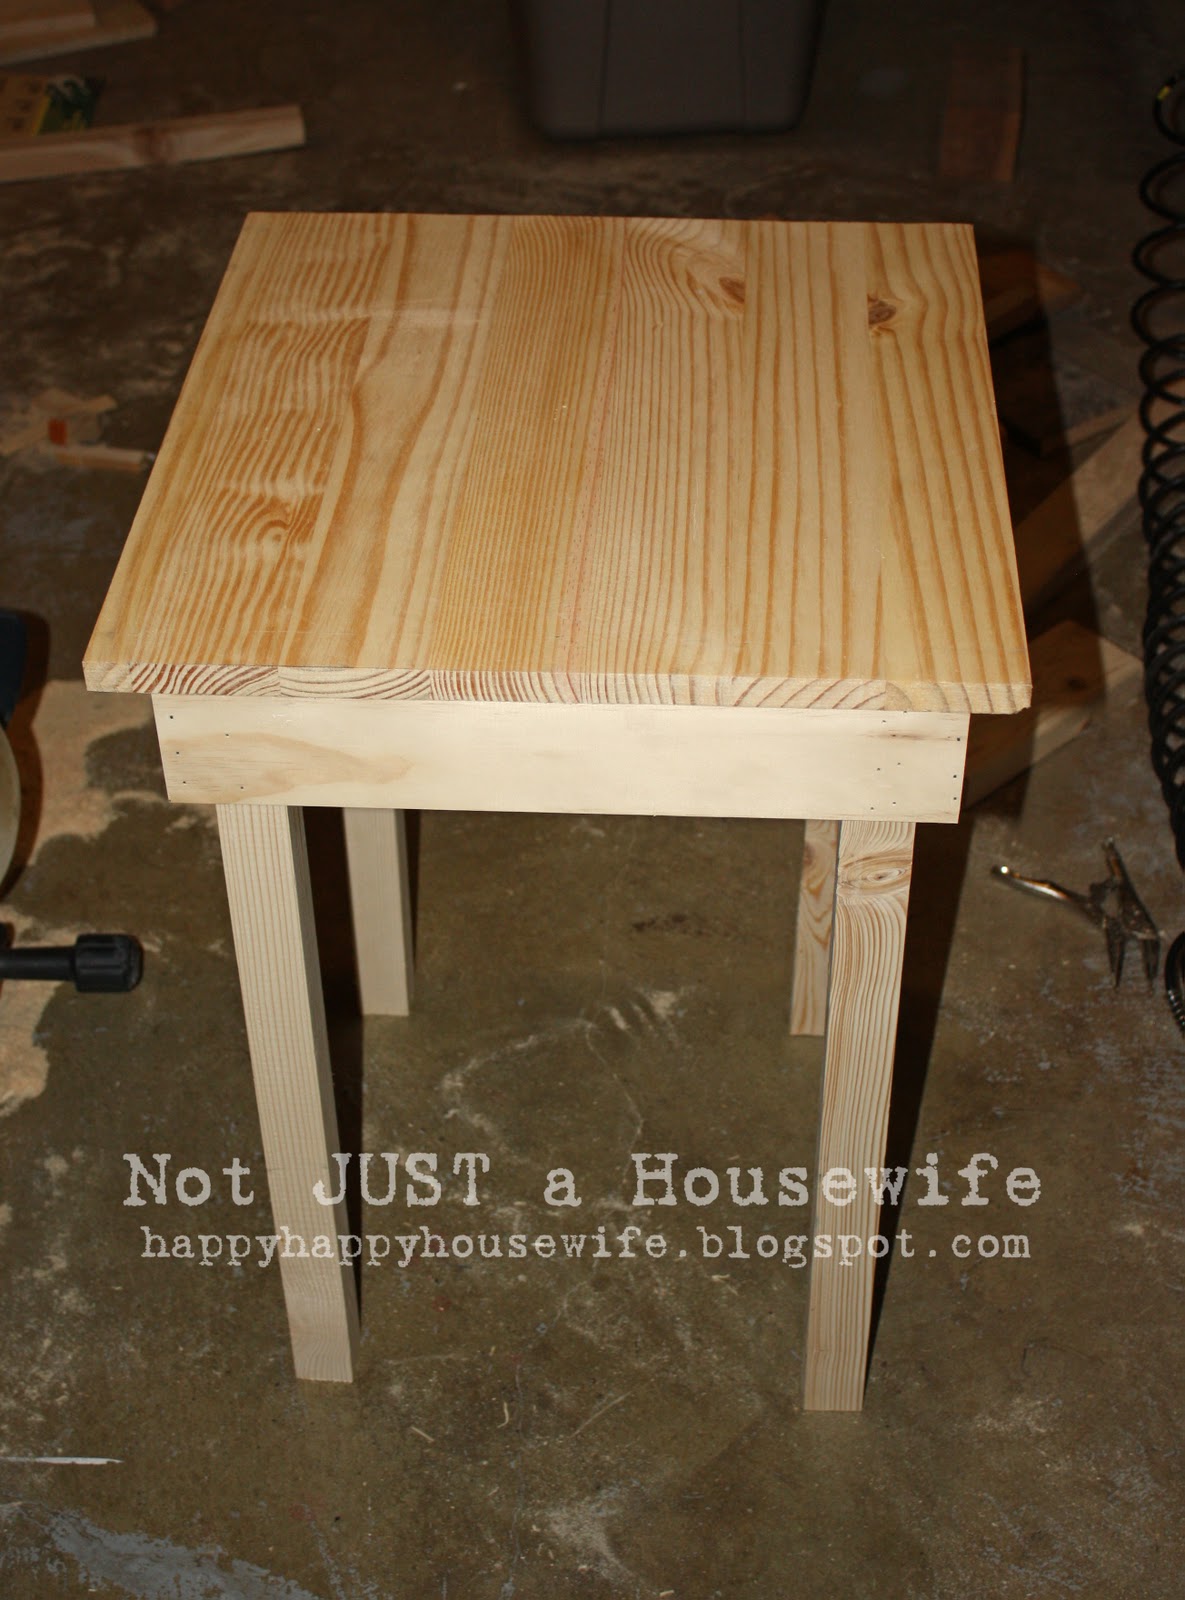
You will need to fill the nail holes with putty. Pick one that is sandable so you can sand it smooth when it dries. I HIGHLY recommend Elmers stainable, paintable and sandable wood putty. Not only do I sand where I added putty, but I sand the hole thing. Especially the edges and corners. I try to round them a little. Use a fine grit sand paper or you will end up with lines (scratch marks) in your wood.
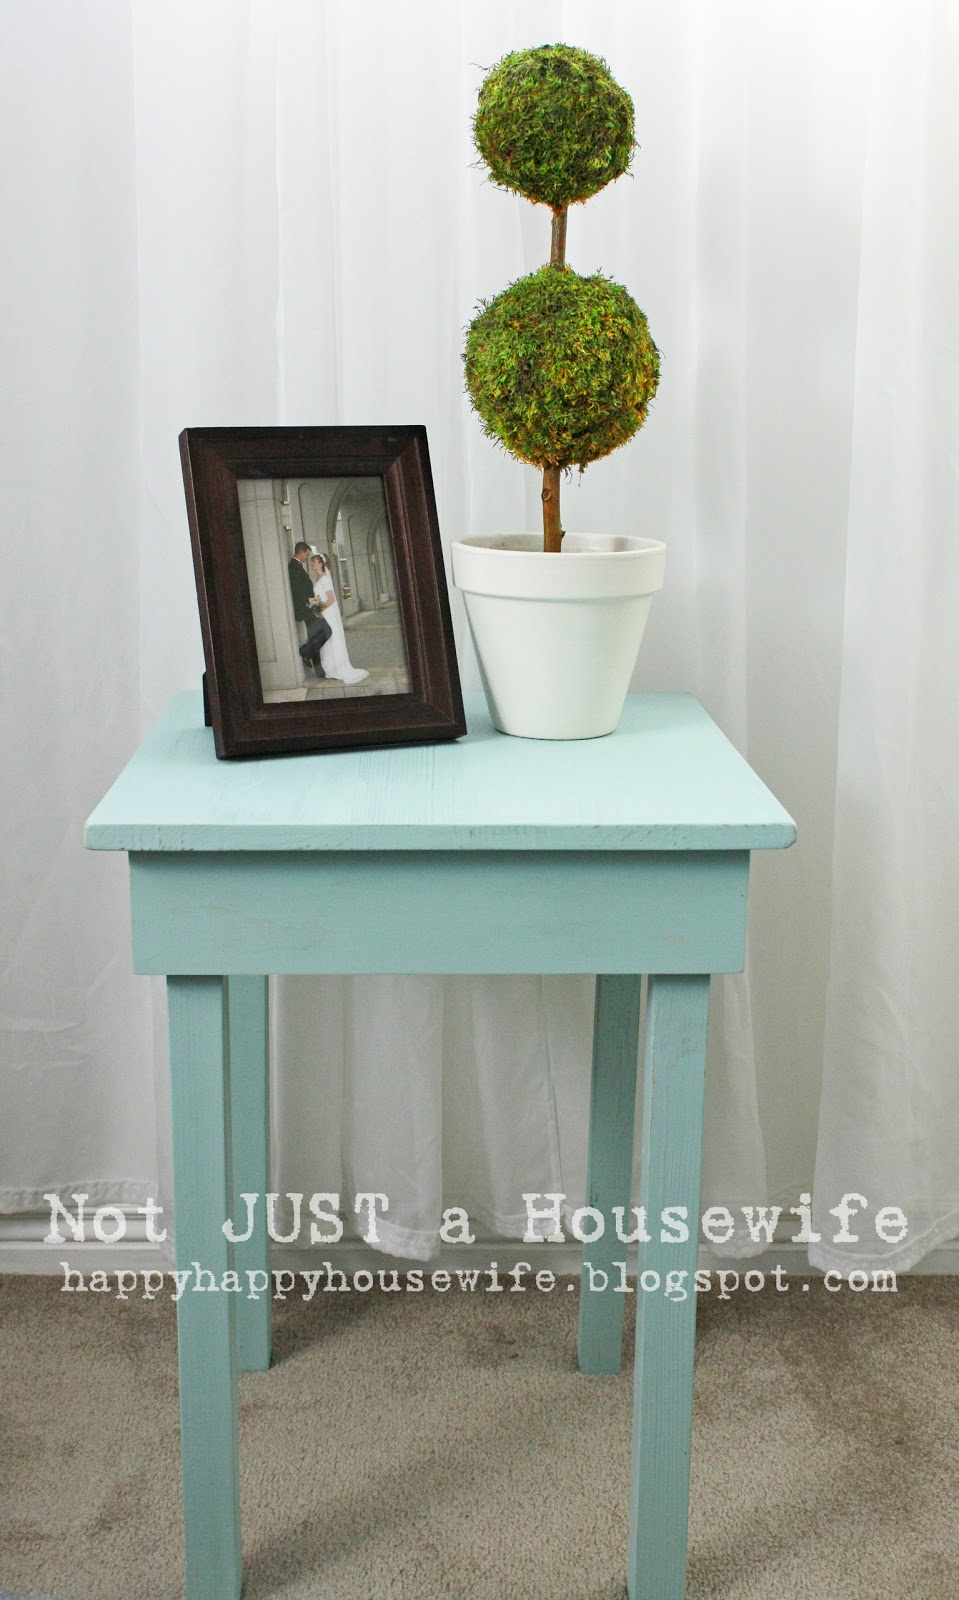
I painted mine and then (this is optional) sanded it to give it that shabby chic look. I love that! You can see it a little in the close up shots. It looks better in person, but you get the idea :)
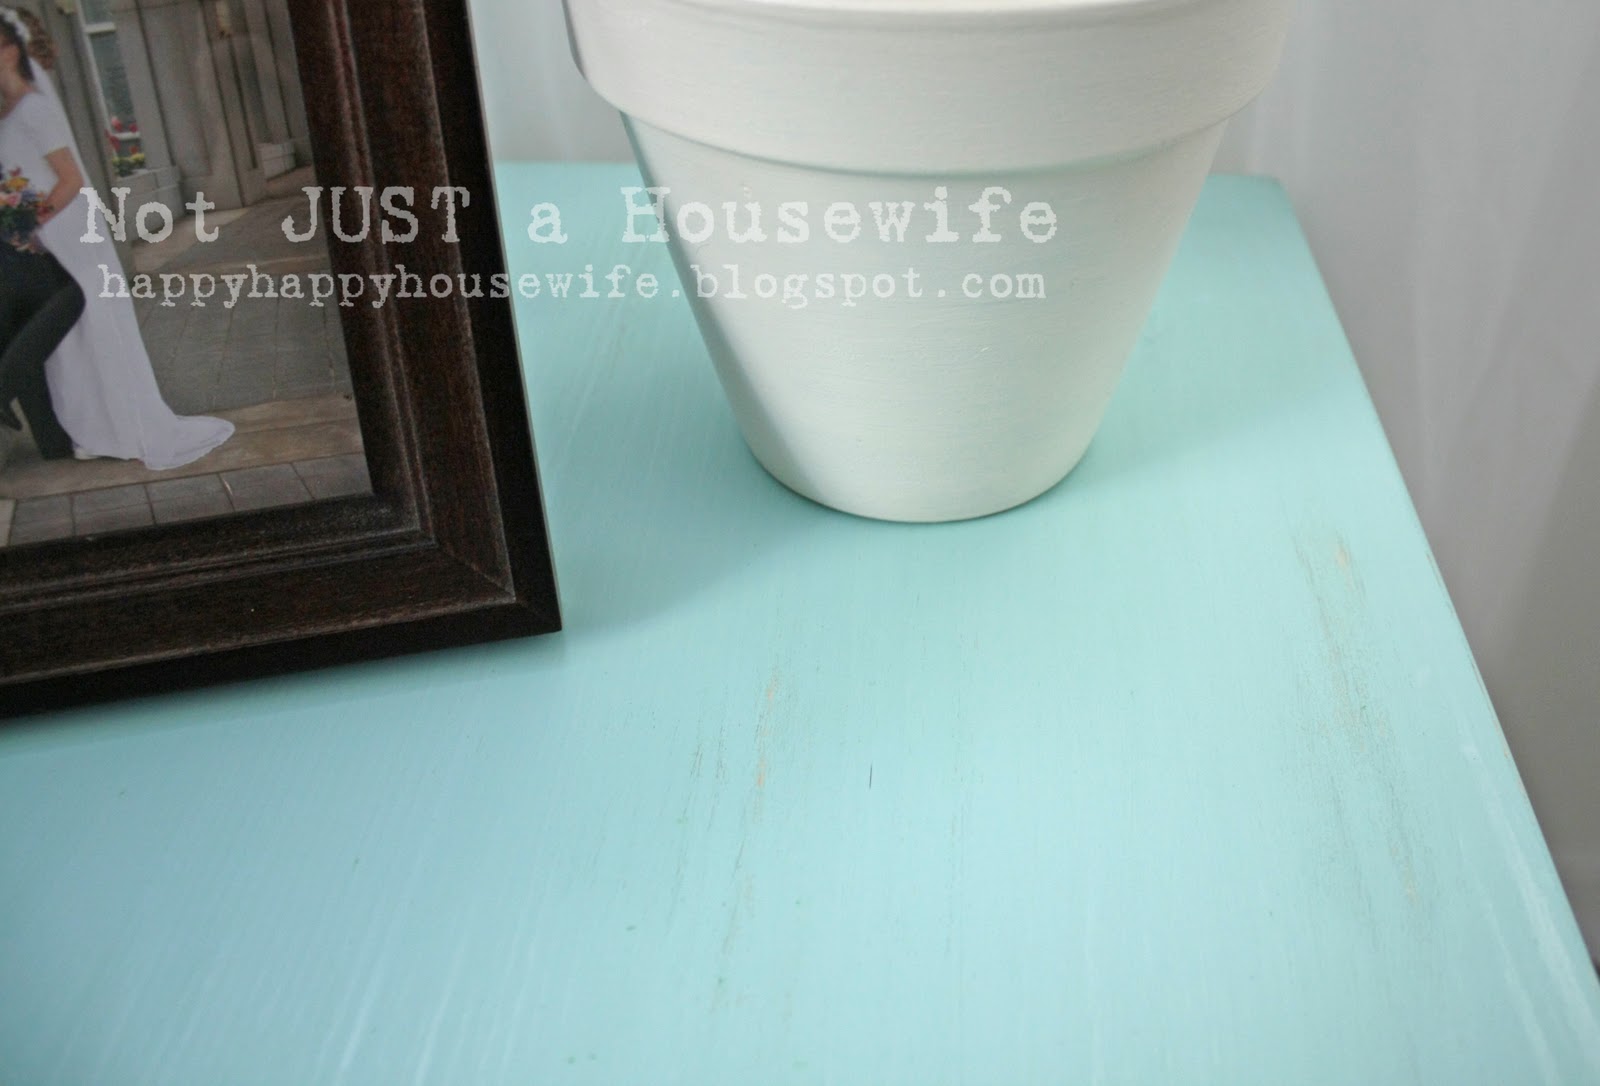

You could use it as a bedside table, in a kid's room, next to a sofa, as a plant stand, or pretty much anywhere!


this is great! i was just thinking that i needed a side table to put next the my craft desk, and then wallah here's your post. awesome!
Two words: YOU. ROCK.
this is so cool! I can't wait to get the collection of power tools all in one place so I can do this too!
I made one like that a few months ago. They are simple and very versitile. Love the color of yours.
Brooke
Terrific! What is the name of the color?
I have been getting emails about the color. I had some baby blue left over from my little boy's room and then I added green craft paint until I had the color I wanted. Sorry! I wish I could just give you a name :)
This is such a cute little table and you make it look SO easy! I may attempt this in the spring... when it warms up a little bit! Gotta get a nail gun though! :)
Tania
What a great job! I'm trying to think how I can convince my Mr. Right to do some of these for me!
Love it. Would you mind telling me what kind of brad nailer you have? It is something simple to use? I would love to purchase something similar. Thanks.
The brand is Porter Cable and I love it! It is so easy to use. It is my favorite tool. I am always looking for things to nail together just so I can use it :)
Thank you. Is there a size specification or do I just look for a brad nailer? Are there different sizes of brads? As you can see I am tool illiterate, but I love to put things together and would like to try building some things.
Sharon
It is just a brad nailer. I could give a model number but I bought mine so long ago that I am sure they have updated models now. It uses nails (brads) any where from 5/8 of an inch to 1 1/4 inch. I use those two sizes the most. 1" is handy too though. It depends on the thickness of the wood you are nailing. I hope that helped! Mine came with a nice manual with pictures. I am sure there are video online to watch as well. Thanks!
Thanks Stacy
This is beautiful! I am so impressed!
Thanks for linking up!
Ashley
http://www.simplydesigning.blogspot.com
Super cute table! I'm going to show this post to Micah for sure. :)
Love this! I may have to give it a try.
I love it! I want to make one. I just need to get my hands on some tools. Thanks for sharing!
Very cute! I'm a new follower.
This is an excellent project. Well done it looks fabulous! Sonia
SO cute! Good job! I want to know where you got that topiary! (Or if you made it) I love it! I'm a new follower too! :)
Thanks! I made the topiary. A stick from my backyard, moss from the craft store, and styrofoam balls. I stuck the stick through then I glue gunned the moss to the balls. I added a little glue to where the stick went through the balls to keep it secure. Super easy project :)
Hi I was all engrossed in you photos and how you made that really cute table in that fab color. I was impressed that you had your hair back and the safety goggles on. And the work clothes.....and then I see you are barefoot. I laughed so hard at that. i think after that I will have to check back more often because that is definitely something that I would do. Great minds think alike as they say.
Thanks for that
HA! I know. I have a thing with shoes. I get teased all the time for not wearing them. I know I should. I wear them when I work outside but it was too tempting this time since I was in my warm basement. Thanks for your comment :)
Hi! I came over from U create to see your awesome side table. I of course love the table, but what I really want to comment on is your sweatshirt. Utah State! Hey! Aggies all the way!! :)
Hi, I LOVE the table and I am interested in making it. I am just wondering about how much it cost you in supplies? Thanks.
I broke the price of mine down and it came to 17.92. I made mine out of ash though.
I can't find my paper where I broke it all down but I know it was less than $20.00 per table. I made 6 at a time to sell on esty so I don't know if it would be different if you were buying supplies for just one. The boards I used made 2 18x18 tables with a 12" peice left that I used to make a 12x18 table. The price of wood depends on where you live as well.
Thank You. I can't wait to tackle this project!
LOVE this and i am so ready to tackle the project but SO intimidated by power tools!!!
Just moved the oldest into her own room. Then moved all the furniture around to get the final layout. And she needs a side table. Remembered I saw a tutorial on your page. So here I am.
Thank you for the measurements! We're off to Lowes. They give me the funniest looks there. I guess they don't many housewives with kids in tow buying wood for her own projects. Little do they realize I'm not Just a housewife. =]
Love it. I want to build my own simple kitchen island - will use your idea to expand on. Thanks for sharing this!
Love this! I featured it on my blog today, feel free to check it out!
Jen
http://jen-simplyliving.blogspot.com/2011/03/stuff-i-like-sunday-7-8.html
Having internet problems. Could you/I make this into a downloadable pdf?
This is great. I needed a side table. I am just divorced and my ex-husband was the wood working enthusiast, but now I want to do something for myself. Thanks for your post. I am going to make this!! Thank you.
I love it! I've been needing a small craft table in my tiny craft room that is 18x23 inches but really tall- I am just going to have to make one from this tutorial! Thanks!
I came across your blog yesterday and I set out to Lowe's for wood. I'm using your tutorial to build myself a side table for my dining room. I've got the base of it put together already and I'm so excited to see the finished table. This is my first wood project without help from someone else! Thanks for the great how to!
Stacy, what the hell are you doing sawing and nailing wood in bare feet??? You got the goggles on...that's good...how about some protection for your feet!! One of these day's you're going to regret not wearing them. There. You've been warned! Sorry to sound like your Dad ;)
I love the fact that you are working barefooted. Oh yeah, love the simplicity of the table, too.
Love the table, super simple instructions and great pics. I'm a barefoot enthusiast too and have been scolded for the same thing! Only I was cutting ceramic tiles with a wet saw, safety goggles on and toes naked. I stumbled on your blog on accident trying to figure out how to assemble a table without ugly nails or screws....thank you for the lovely blogs, I'll be back often!
my dad build stuff all the time its very simple to build anything you just need the right measurments and when your finished just put a coat of something over it mabye paint or whatever you prefer.
Hi, any chance you have a shopping list & cutting list for this table?
Awesome! About how much did the wood cost you all together?
Wow! In the end I got a web site from where I know how to genuinely take helpful data
regarding my study and knowledge.
my page Instagram Followers Free (Charis)
This was my afternoon project. A little wider and taller, but definitely used your instructions. It saved me a trip to Ikea and some $. Thanks!
Looks great. Yes, girls can build. I'm going to make this. I can't find a table the dimensions I need. And, I get to show my boys about building.
I made this side table and it came out great. Thank you
I made this table and it came out wonderfully. Thanks
That is a Beautiful table and it looks so easy to make, my grandbaby's are needing bed side table's ,I can't wait to start
this project Great Job !! Rosa
I actually made this table. Not perfect, but good enough. And bonus--I received a brad nailer for my birthday since your building plan interested me so much. Thanks ever so much!! Plus--it was such a fun project.
Is there a version of this where a lower shelf is incorporated for extra storage?
your instructions are great BUT it would be nice to have a materials list then a parts list so we the lookers can get the parts together so we can follow the instructions with out having to go get something for each step. have the part ready and then just put it together,
You are totally right. I wrote this post in my early blogging days before I really knew that there were blogs with plans set up that way. There are a lot of things I would have done differently back then if I knew what I know now :)
That is a lovely wood project ,congratulations.
Apple Barrel has a color called Key West...which is pretty close to this color.
Where did you buy a board "18x"36"? Was it plywood?
Nice looking table I am confused about the top. Thanks
This is great