
I worked with Glidden Paint for this fun project. I was compensated for my time working on this project but the ideas, tips, and thoughts are all mine!
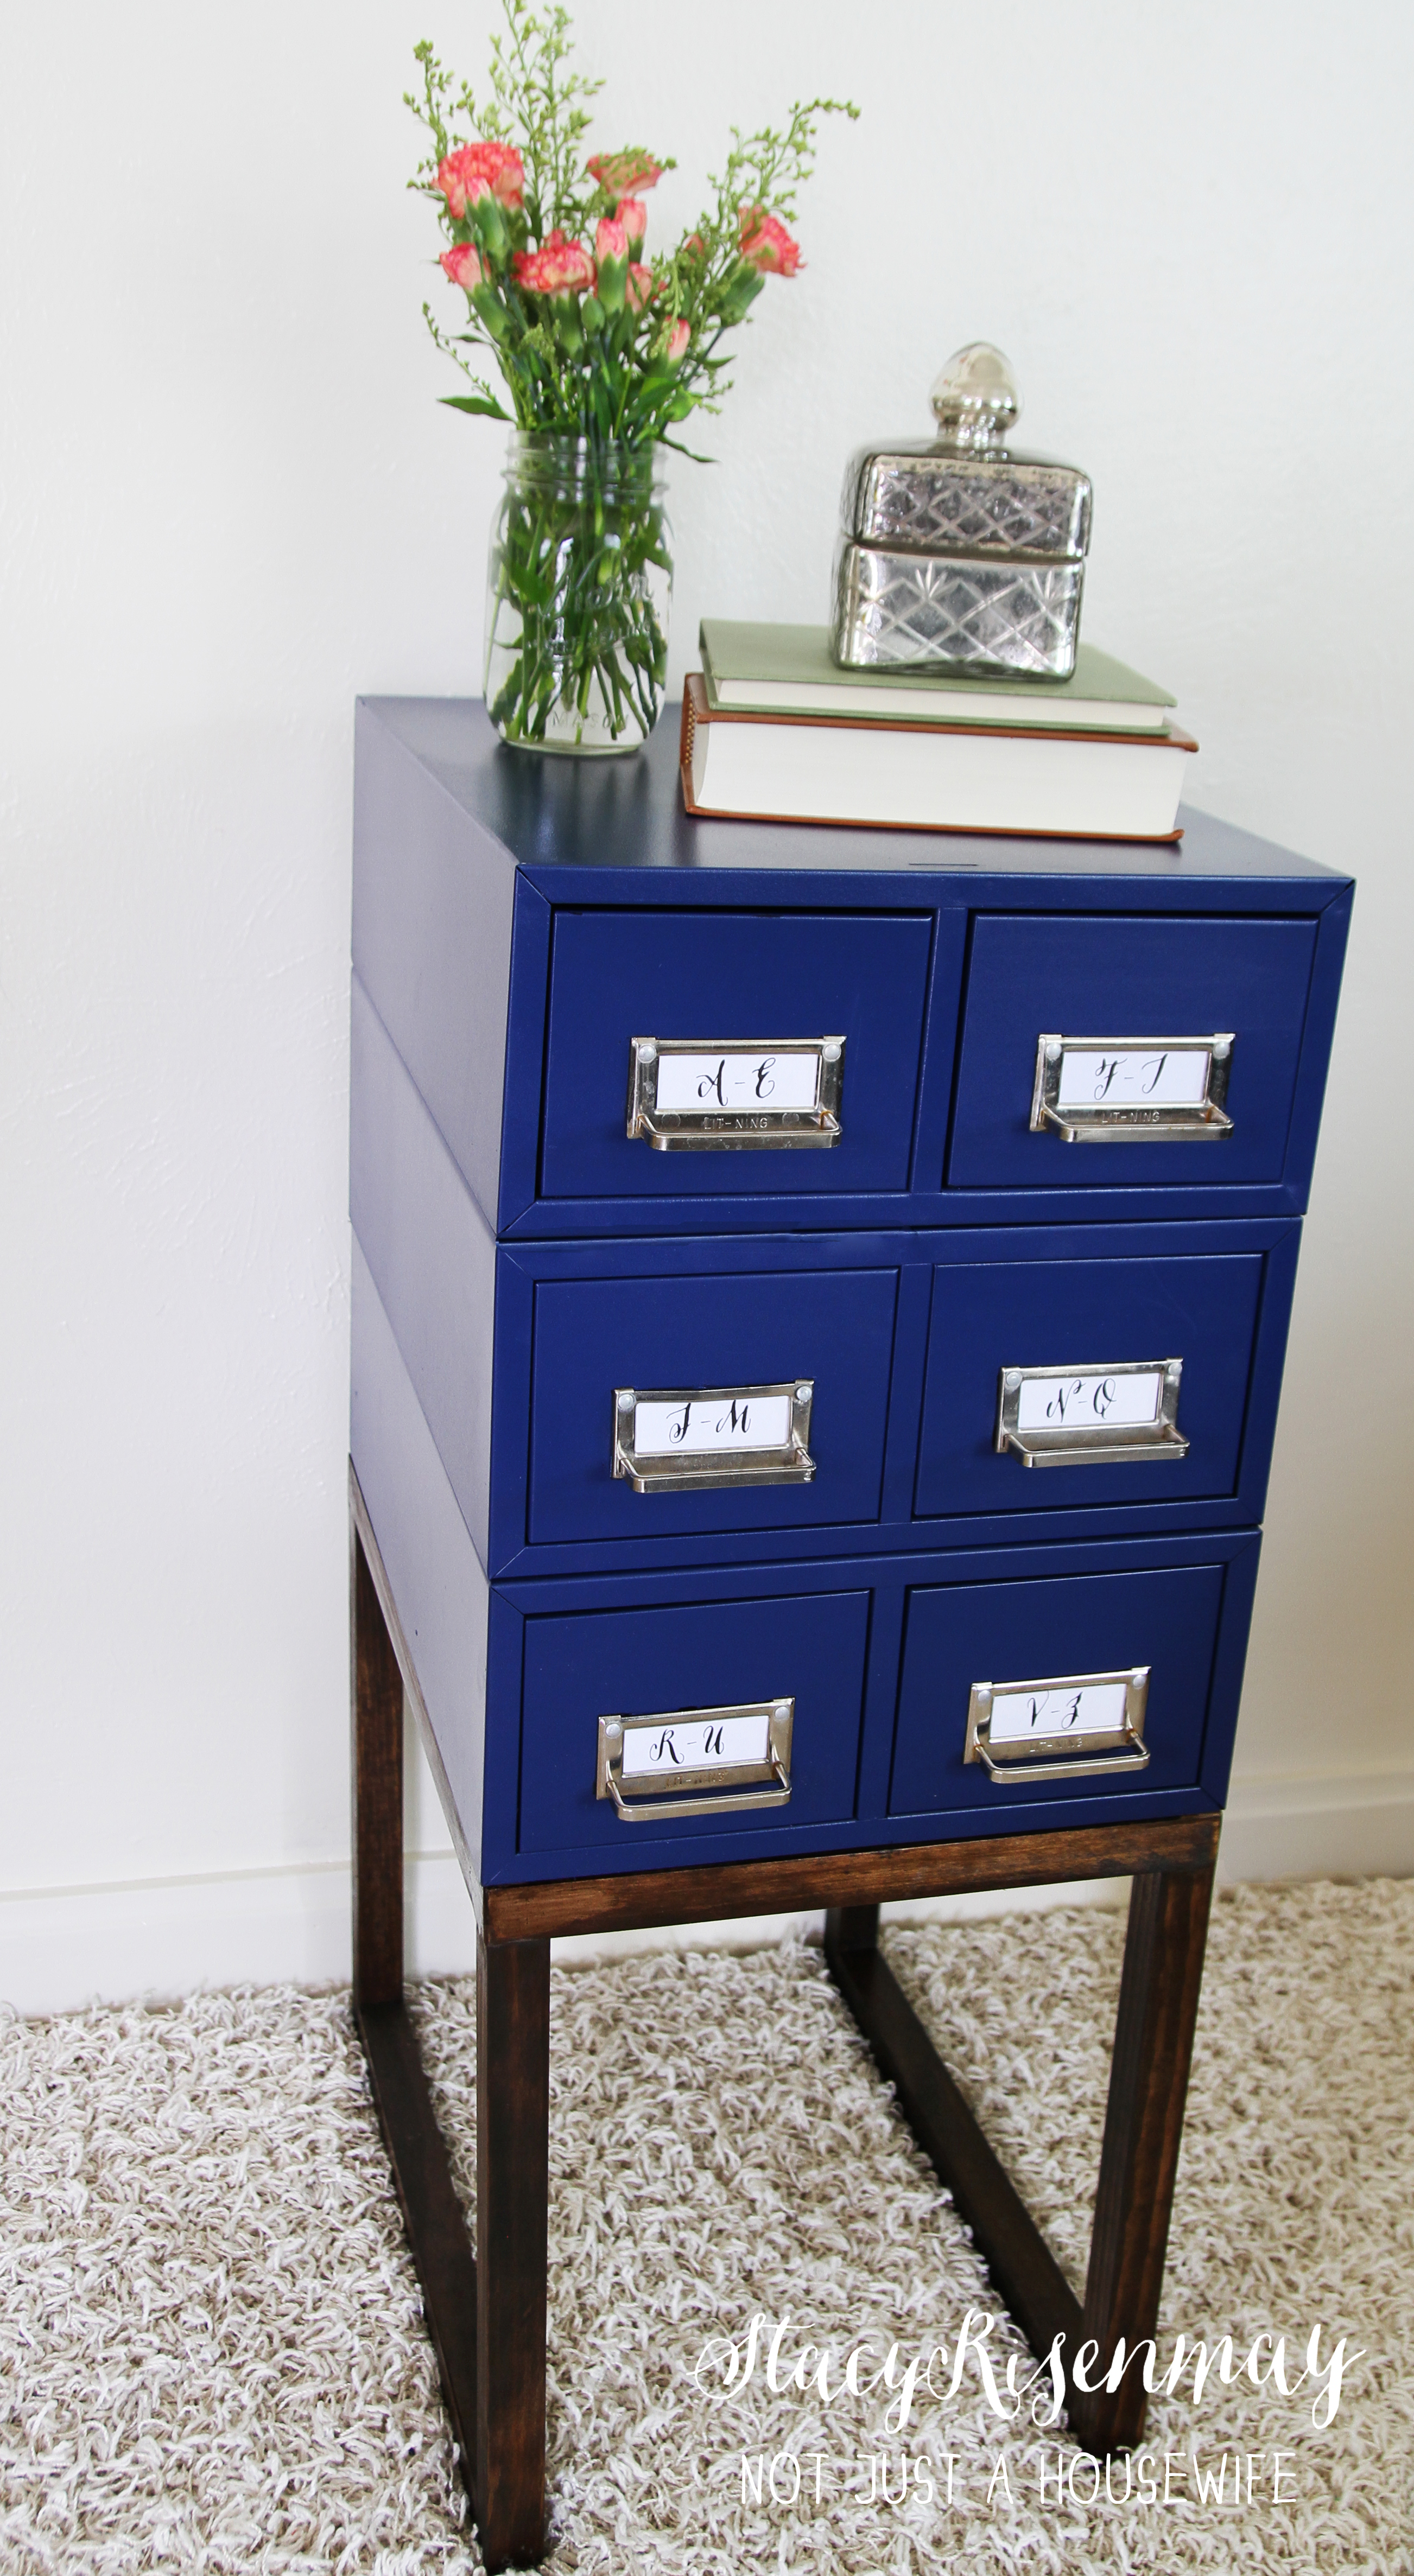
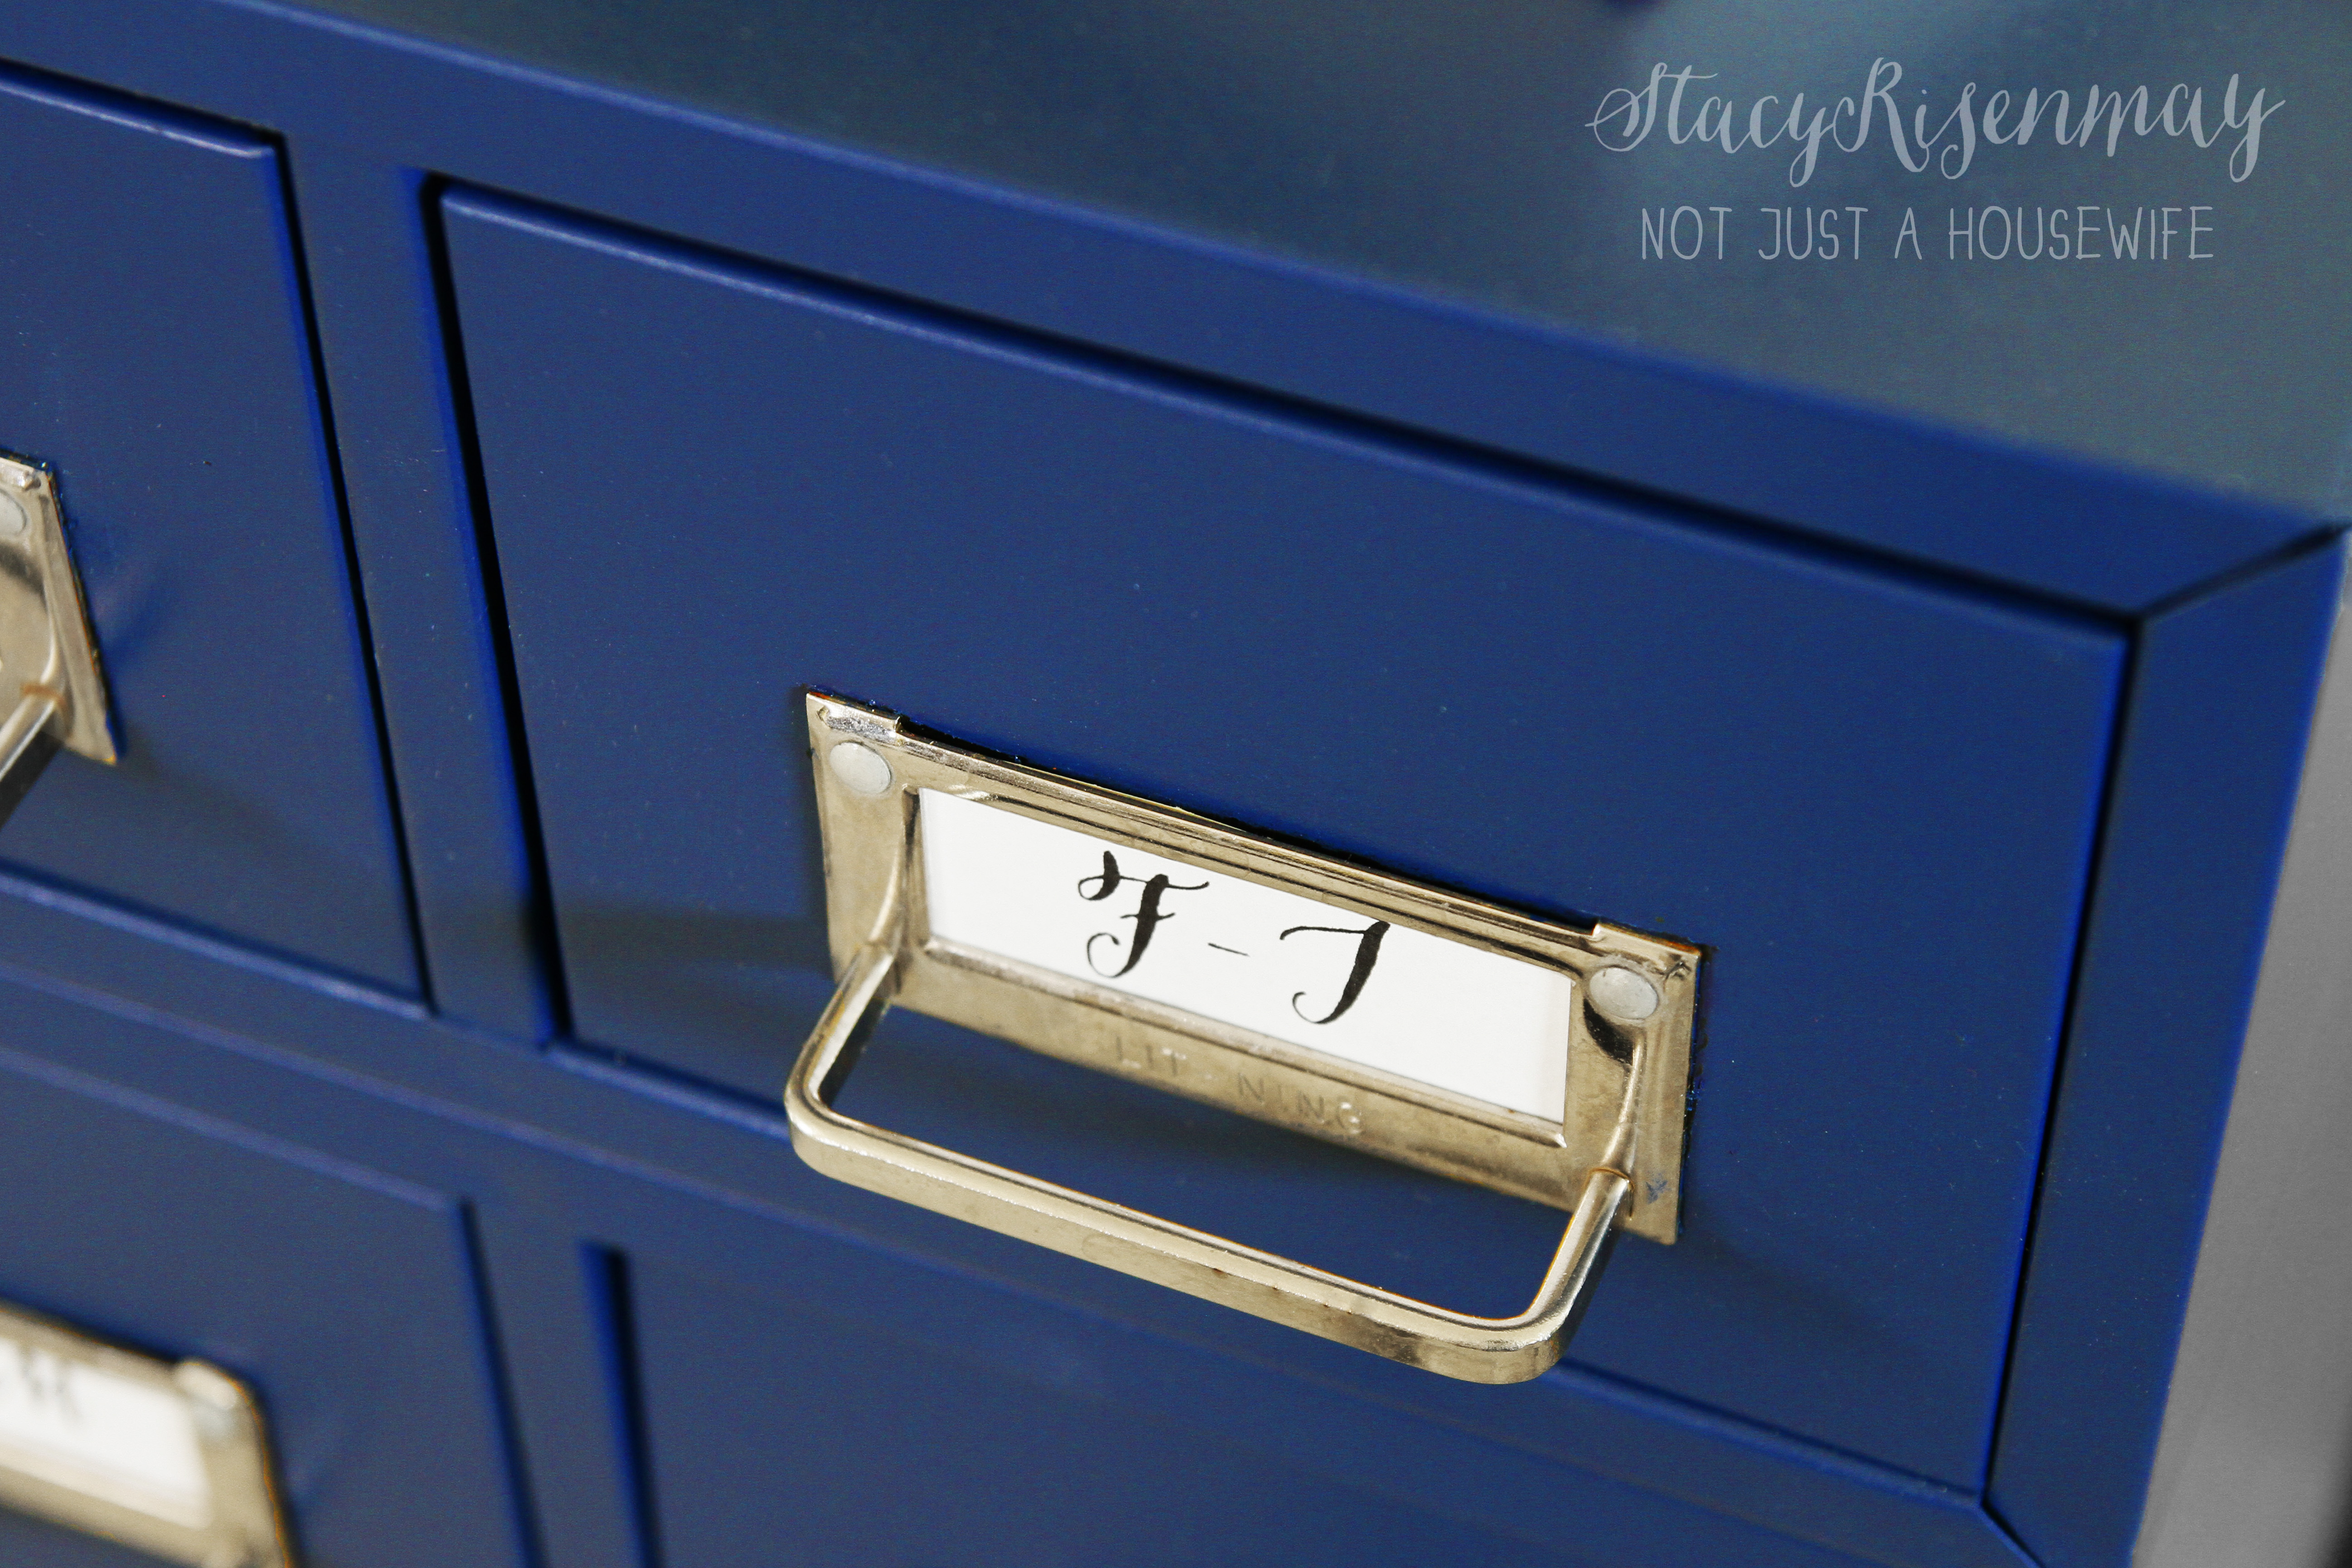
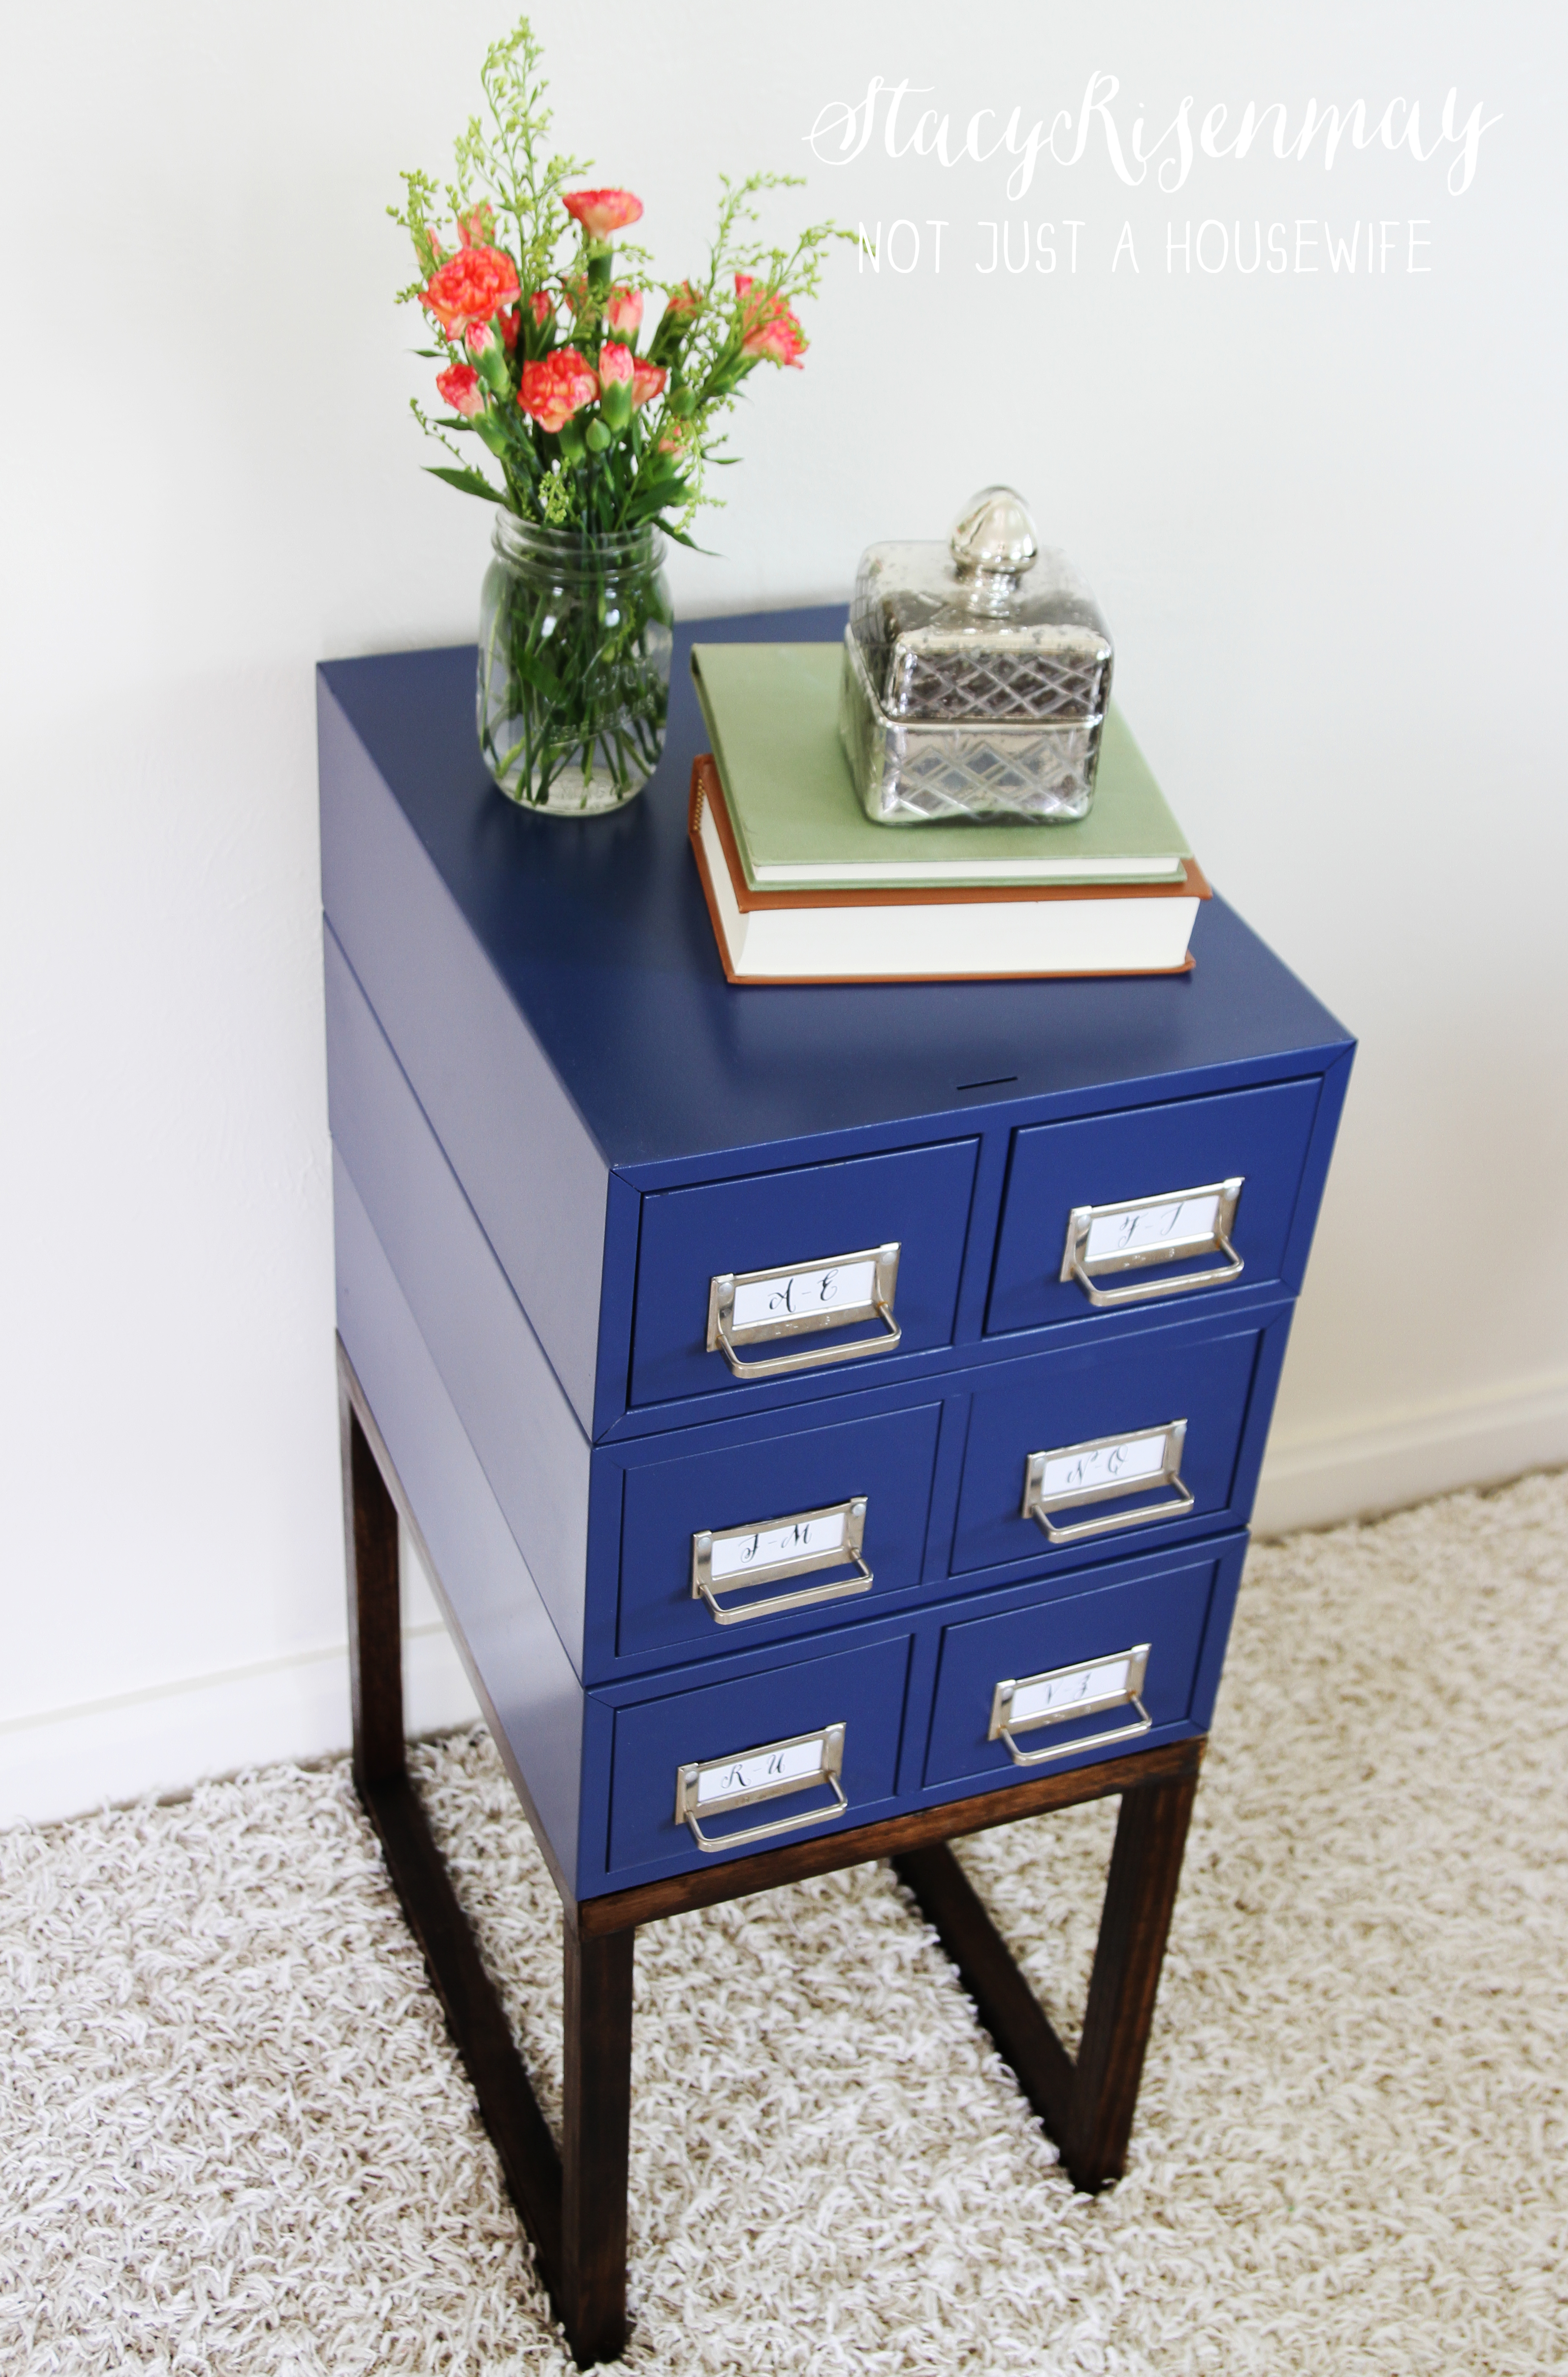
Remember when I was debating on which color to paint the metal card catalogs I had in my garage? I finally decided on NAVY! Rich Navy from Glidden Paint to be exact :) And I could not be more happy with the result. If I could marry a piece of furniture, this guy and I would be engaged right now.
In case you missed the last post, this is how they started out.

I painted them and built a base for them. It is now the perfect bedside table for my future new bedroom.

Let's break down how I transformed the card catalog drawers.
The Base
To build the base, I used 1x1. I measured the height of the three card catalogs stacked up and then figured out how tall the base needed to be. As a general rule, a bedside table should be the same height as your mattress.
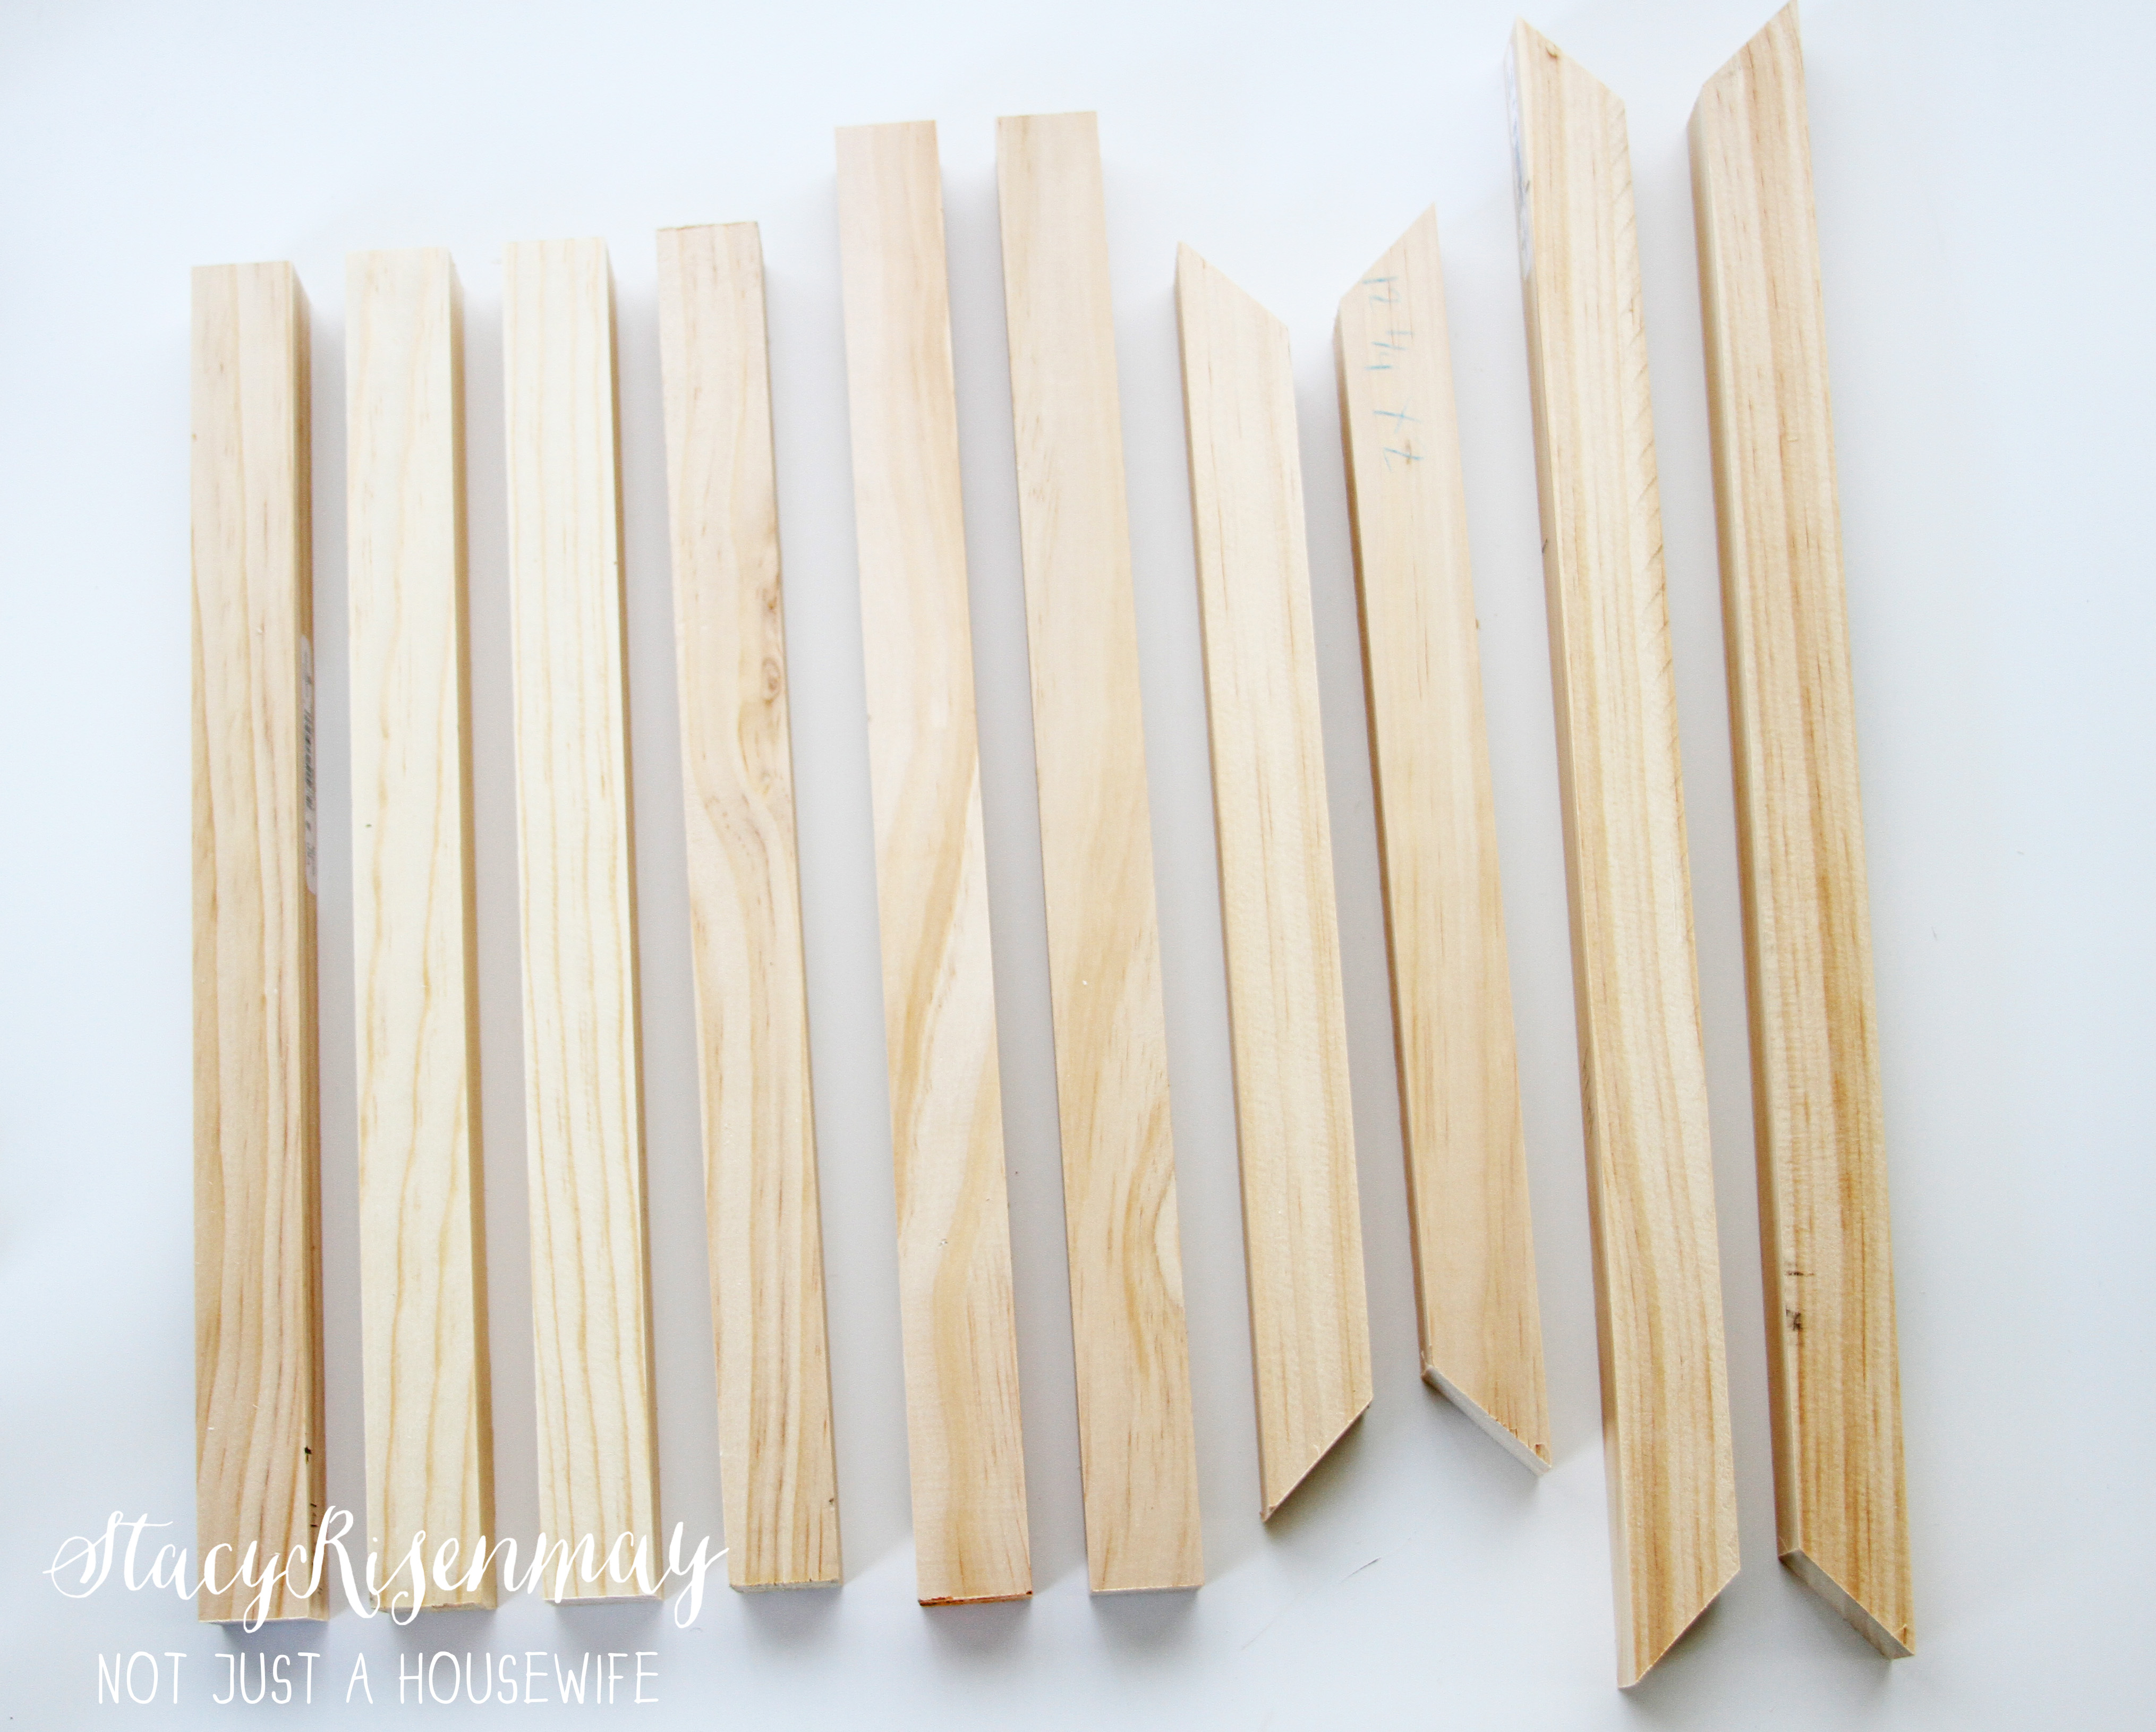
I nailed the mitered pieces together to form the top part of the base. I mitered them because I didn't want to see any seams. The ends of boards will stain darker that the other parts of the board. I wanted the stain to be even.

Then I nailed the legs together. I did butt joints because the ends do not show in this case (they are facing the floor) and I thought it would be stronger.

I puttied the holes in both the top part and the legs. Then I SCREWED the top to the legs. I wanted it to be as sturdy as possible. I sanded it smooth once the putty was dry and then stained it with Minwax® Dark Walnut.

The Top
Before painting the card catalog, I sanded it with a fine grit sandpaper.

I wiped the dust off with wet paper towels and then when it was dry, I taped off all the handles.
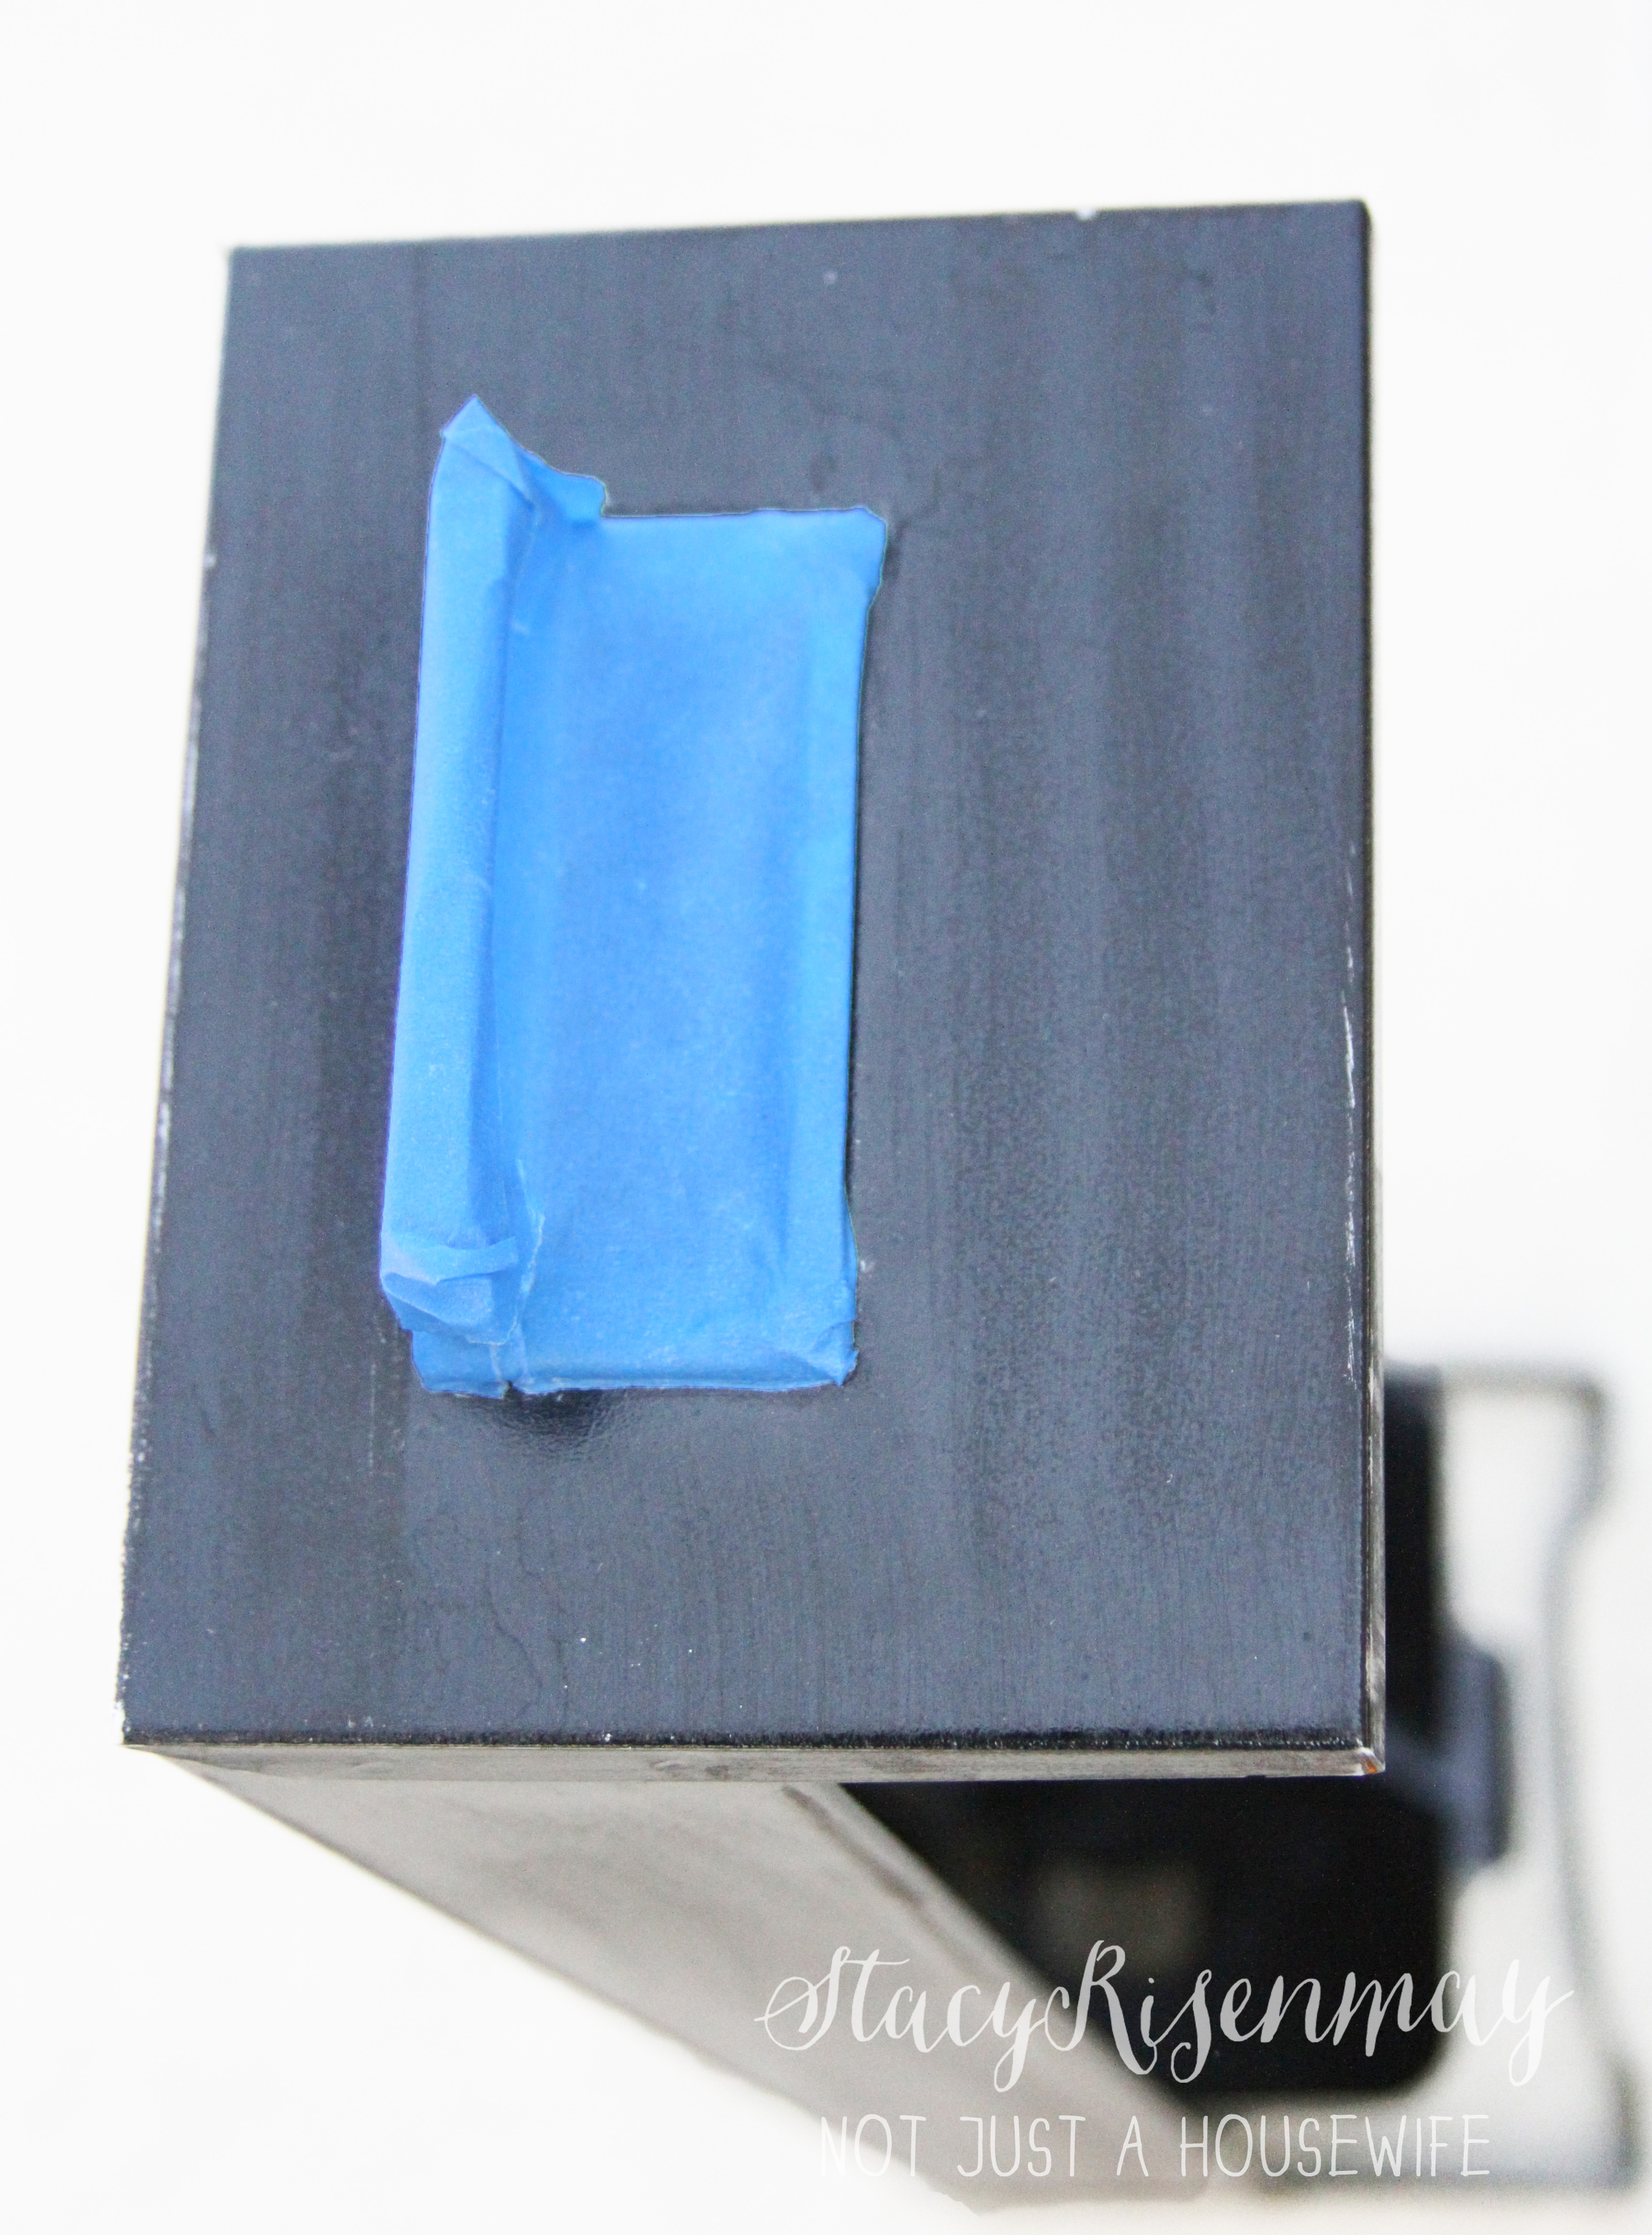
For best results if you are painting metal, use a good primer that will really bond with the surface like Gripper primer from Glidden Paint. Then when the primer has had enough time to dry, paint it the color you want. Rich Navy that I used is from the new simplified color pallette Glidden Paint has created.
I used my HomeRight paint sprayer to get a smooth even finish.
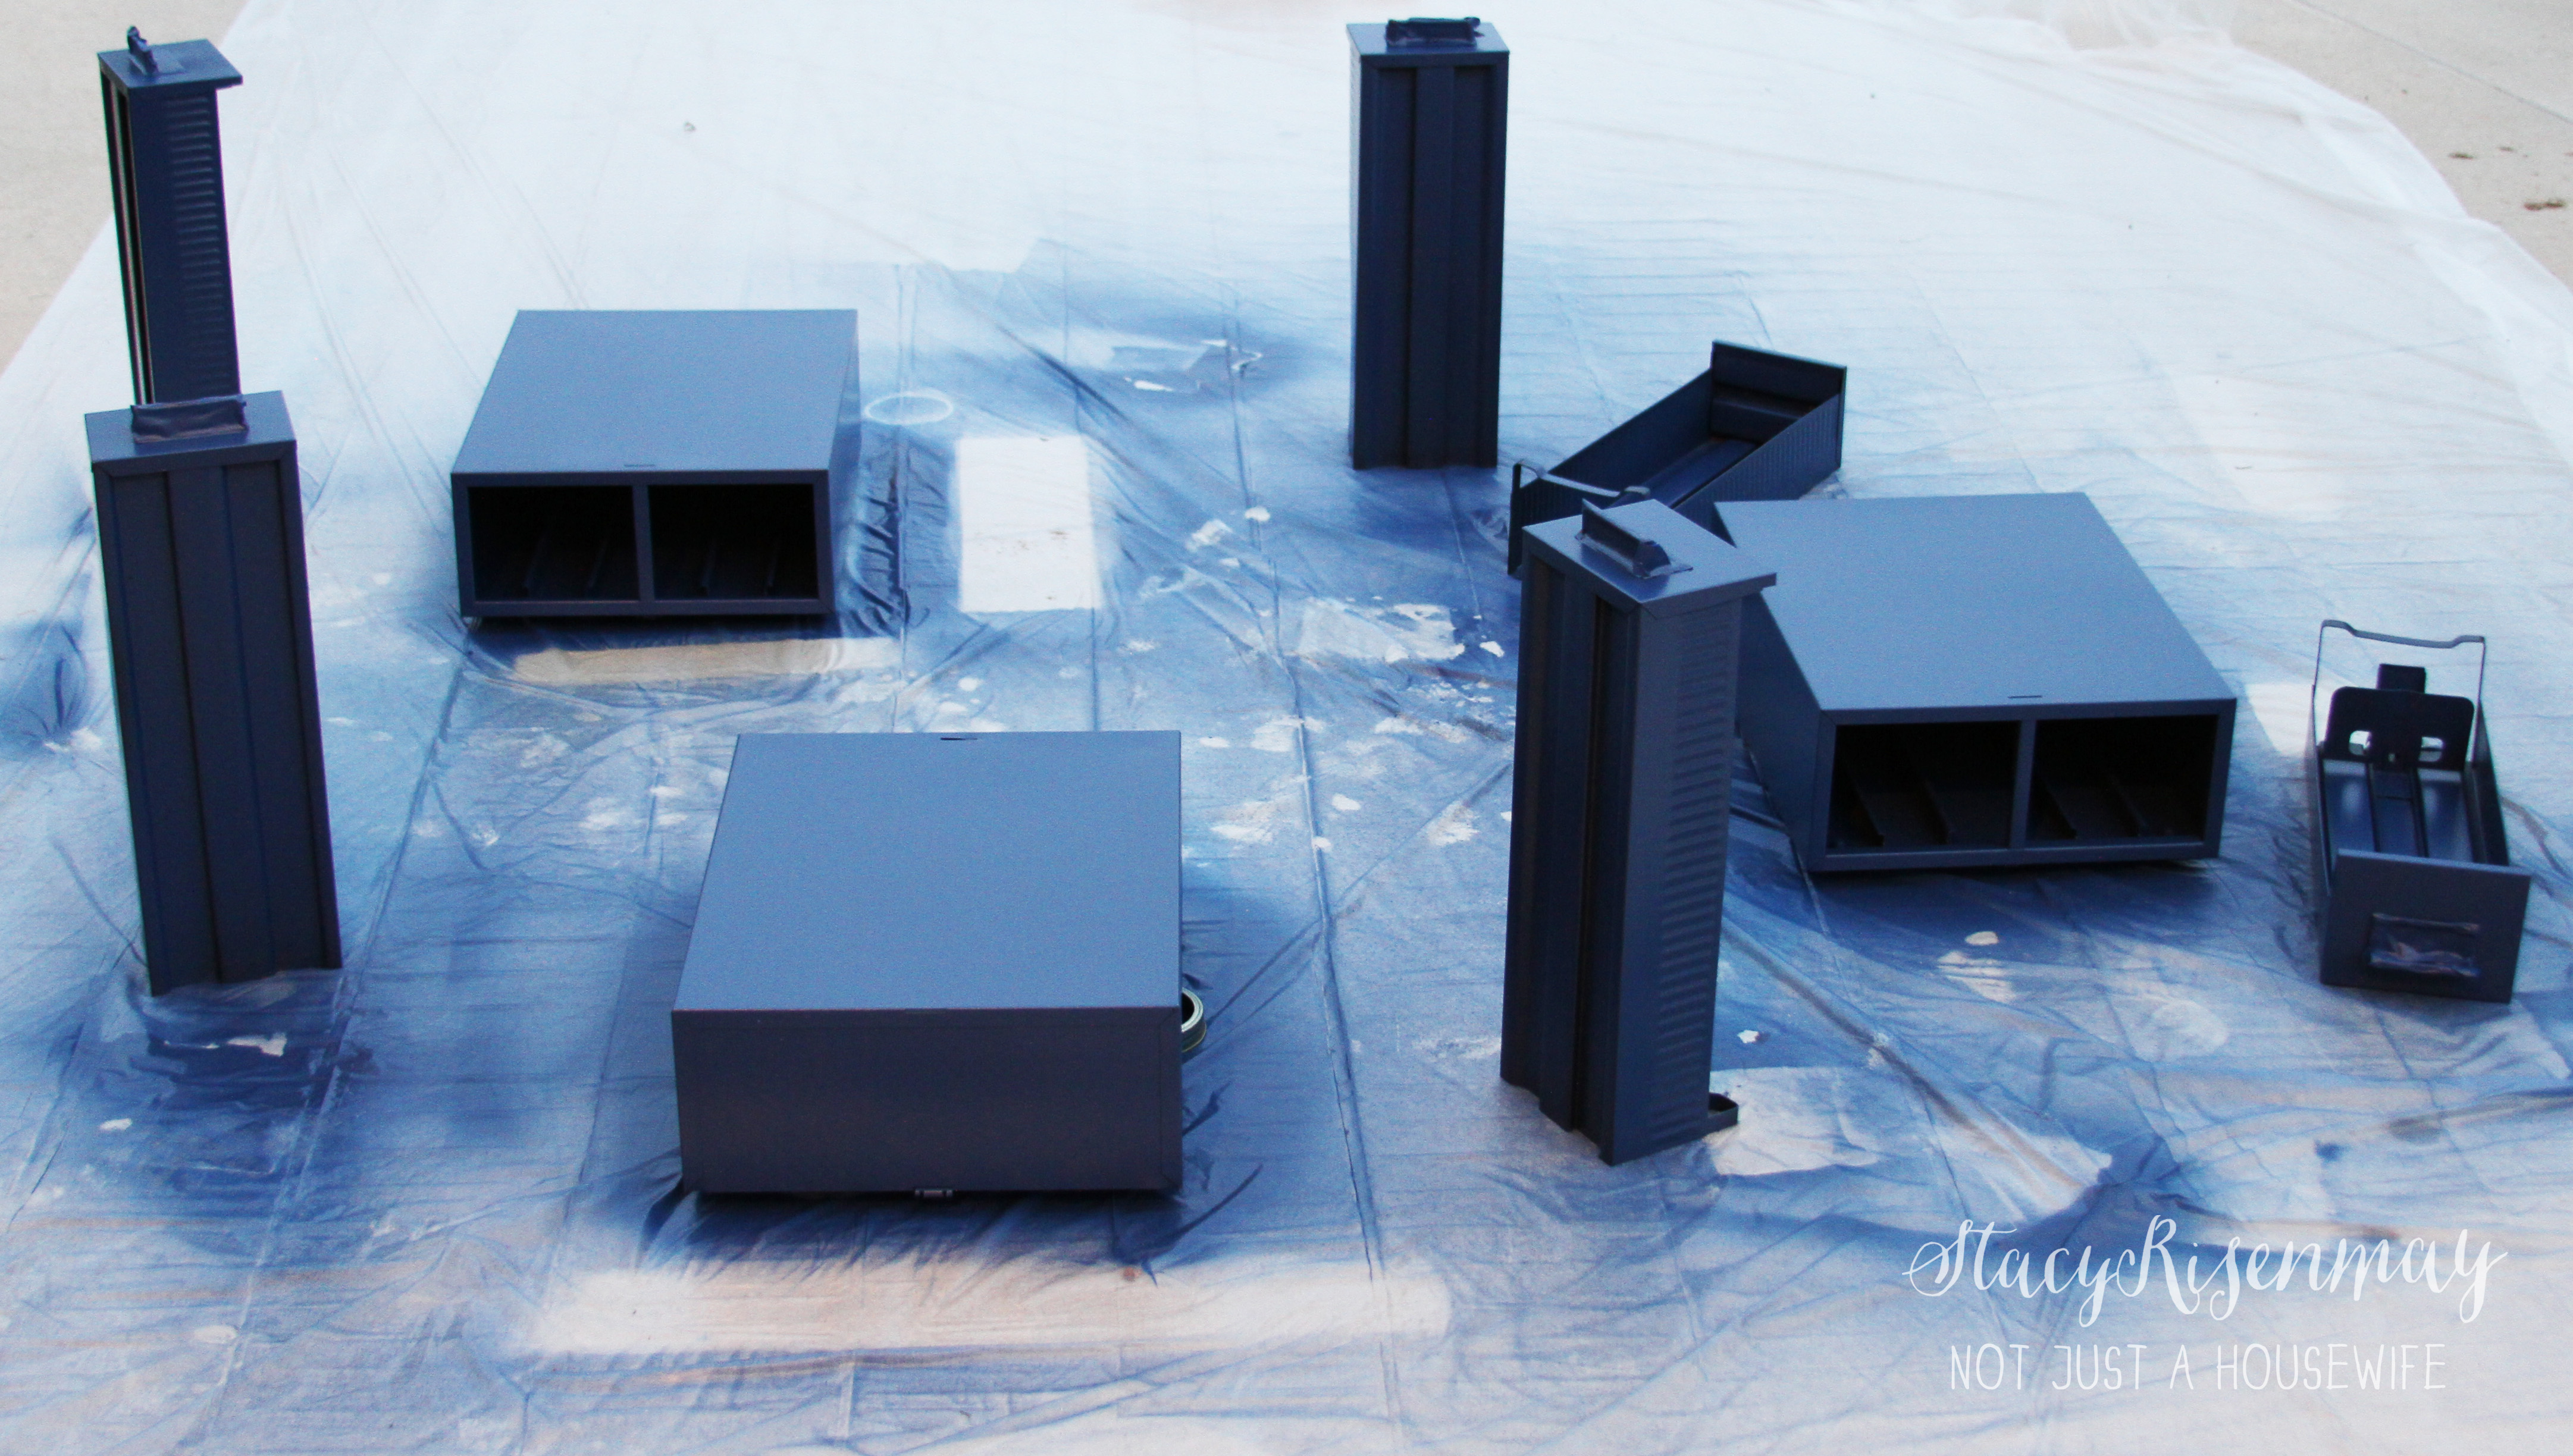
I mean, seriously? Look at the finish!
As of right now each catalog drawer is connected to each other with an interlocking system. But if you lift and jiggle each one, you can take them apart. I am thinking of using rivets to connect them permanently. The catalogs are connected to the base with screws. There were holes in each corner that little rubber feet were in. I didn't need the rubber feet anymore so I took them out and used their hole for the screw.
To be honest I have no idea where to put this until I get enough money to finish our bedroom in the basement. But where ever I put it in the time being, it will look fabulous.
I have been sponsored by the Glidden® brand paint for PPG to write this post but the thoughts and opinions expressed are my own.


Wow, what an incredible project! I LOVE the color you chose, and can't wait to see it in its final home. I'd love to find some old card catalogs! I should start actively looking again.
I LOVE this piece, Stacey! That blue is gorgeous and I love how you built the legs for it - genius idea!
Very pretty! I love the color and anything else blue! You did such a great job and I am sure it will look great wherever you put it in your home!!
So cute! I LOVE that blue!! And the stand you made?! Amazing!
What a great idea to combine them into one piece. The final product is gorgeous! I especially LOVE that shade of blue.
what a great project! it turned out fantastic!
I love this! Such a great idea. It turned out awesome!
This is beautiful! I am now totally on the hunt for some card catalogs!! The color you chose is absolutely perfect and beautiful! Blue is my favorite color!
Genius!!!!!!!!! That Blue is the perfect shade and goes great with the dark stained legs.
I love the old card catalogs, and this is a great way to use one - and it's beautiful, too.
Looks beautiful! I love how the base brought it all together and the color couldn't be more perfect!
I love the color you chose, Stacy! It tuned out so pretty!
What a beautiful shade of blue!
This came out so gorgeous - I never would have thought to use Glidden - you've opened a whole new world!!
That's great! I have been intimidated to paint metal but you make it look easy.
You are just so creative! I really love this piece and the color is beautiful!
it looks so pretty!! I love the color and pretty much everything about this!!
Perfect piece, perfect color!
Oh my stars! I love this project.
Something awesome out of... well, not awesome.
You rocked it girl and that NAVY is ridiculous gorgeous.
This seems like such a simple idea, and yet it never would have occurred to me! I love the way your brain works! That color is fantastic too! I've been working at bringing that color into my house more too!
I REALLY love how this project turned out. That blue was the perfect pick!
I love it what a great side table and the smaller drawers are much more practical than one large drawer.
It turned out amazing! I love that color you chose. I need to get a paint sprayer. We had one and it broke. I would do a lot more painting if I had one. :)
How sturdy is the catalog on the base? It seems that it would be top heavy if there were anything in the drawers.
Hi, I enjoy reading your blog posts and you have some brilliant ideas. Thanks for sharing hem
I am curious about this card catalog you have done up to make a a side table. Did you do it to store cards for a specific use or just as an interesting table ? What size and type of cards does it hold and what would you use them for? Wold you use it for storing something else besides catalog cards?
I like the table and how it looks, but am loath to have something like that which wasn't also useful for storage in some way.
Thanks,
Nan
I have 3 of these begging for a new purpose in life. Did your drawers schreech and scratch while opening? Metal on metal? I don't know how to fix that. Any suggestion would be very helpful. Thanks!
Your card catalog nightstand is gorgeous. Love the navy color. I have several of these metal card catalogs. I now know what I will do with them. Thanks so much for the inspiration. Now following you on social media.
Would love for you to visit my blog and see how I transformed a 33-drawer metal cabinet with a bit of paint, also.
http://altered-artworks.blogspot.com/2014/03/from-plastic-bins-to-industrial-chic.html
I really like the card catalog side table but have a question that was not addressed in the article. How did you attach the base (legs) to the card catalog section?
I actually haven't attached them yet. I was trying to decide if I wanted to use epoxy or drill holes in the bottom and screw it on. It has been by my bed for a long time and it has stayed on the base even when bumped so I haven't been in a huge hurry to decide. I think either way would work. If you go the epoxy route I would recommend using a heavy duty 2 part epoxy.
Oh I really love this project!! I saw some of those vintage card catalogs and wondered what to do with them so I passed them up. Came out fantastic! Thank you for sharing on Merry Monday! Pinned & Sharing on FB. Have a great week!
Kim
I can't believe I've never seen this project before! LOVE it! Thanks for sharing at the Creative Gallery :)
I found you on Share It One More Time and am so glad that I did. Your blog is lovely, and I am envious that you found metal card catalogue drawers. I have been looking for these. This is a great tutorial and I'll keep it in mind should I ever find any. :-)
Wow, Such a great idea and turned out amazing! Thank you for sharing with us at #HomeMattersParty .We would love to have you again next week.
I found two of those metal card catalogs at a thrift shop last year. I painted the large one red and out it on metal hair pin legs and it turned out fabulous! I found your blog post shortly after and now and I’m the middle of building the base for the second one. Which I painted navy also! Can’t wait to finish it tomorrow! Thanks for the tutorial
How did you attach the base to the top?
This is fabulous!