
I did not mean to go so long in between bathroom renovation posts. Sometimes things take a bit longer than you thought. Luckily it was not due to unforeseen complications but rather busy life that got in the way. April always tends to be one of our busiest months full of concerts, track meets, and other school activities. Add in a business trip and a sickness that wiped out the whole family for a week and well, I am welcoming a new month with hopefully more progress!
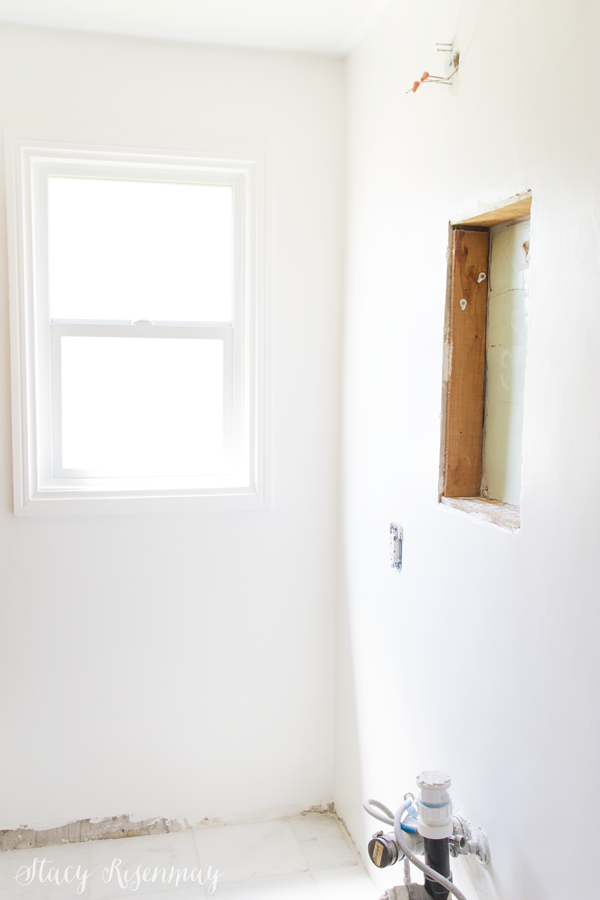
We left off last time with the multiple layers of flooring ripped out, the shower tile ripped out, and the plastic tiles popped off the walls. The window paint had been mostly stripped off and there were holes in the walls from past electrical updates. It wasn't pretty!
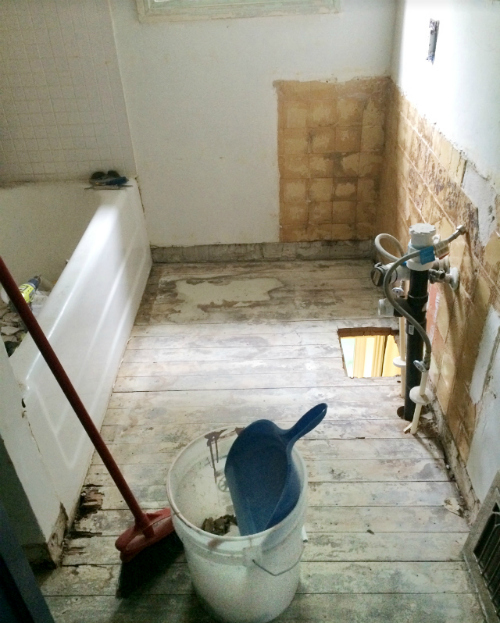
Do you see the old termite damage near the tub? That that was the first thing I had to address. I had seen a Facebook live by my super handy girl Brittany, where she used Bondo to fill large holes in wood. I never would have thought of that but I ran out and bought some and it worked great!
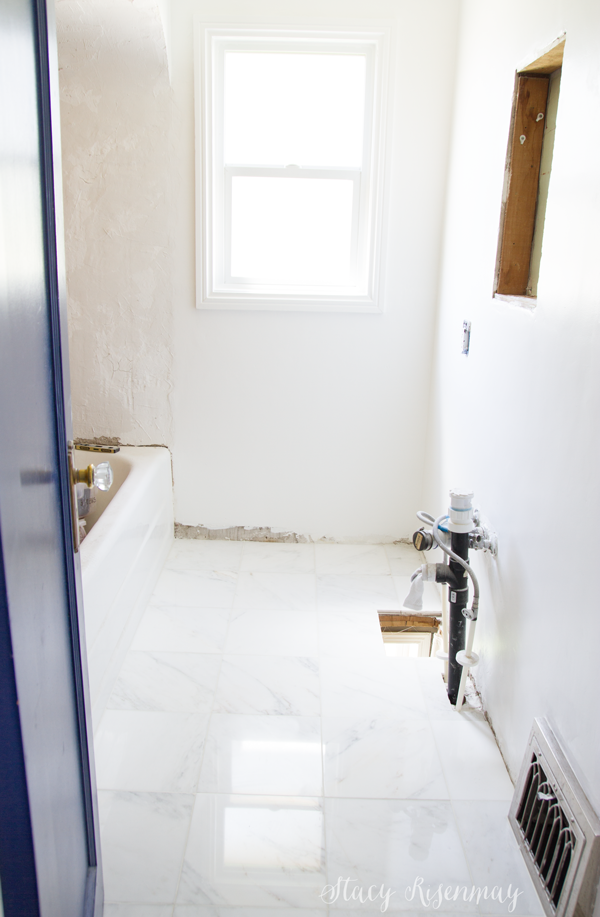
The stars of this update are definitely the tile and the wallpaper. The tile is from Home Depot (they generously sent it to me for this project) and is a gorgeous white marble. It is the same tile that I used for my downstairs bathroom only the tile downstairs has a lot more grey in it while the tile in the upstairs bathroom is mostly white. It just goes to show that when doing a tiling project you should always order more than you need just in case. Since it a natural stone and not man made, if you order more later, you might find the coloring is different. I am super happy that it turned out more white. I think it fits my design plan for this specific bathroom better than the grey would have.
I went ahead and tiled the whole floor because you never know, the future owners or I may want to change the vanity at some point. If that ever happens, I don't want to have to re-tile because of it.
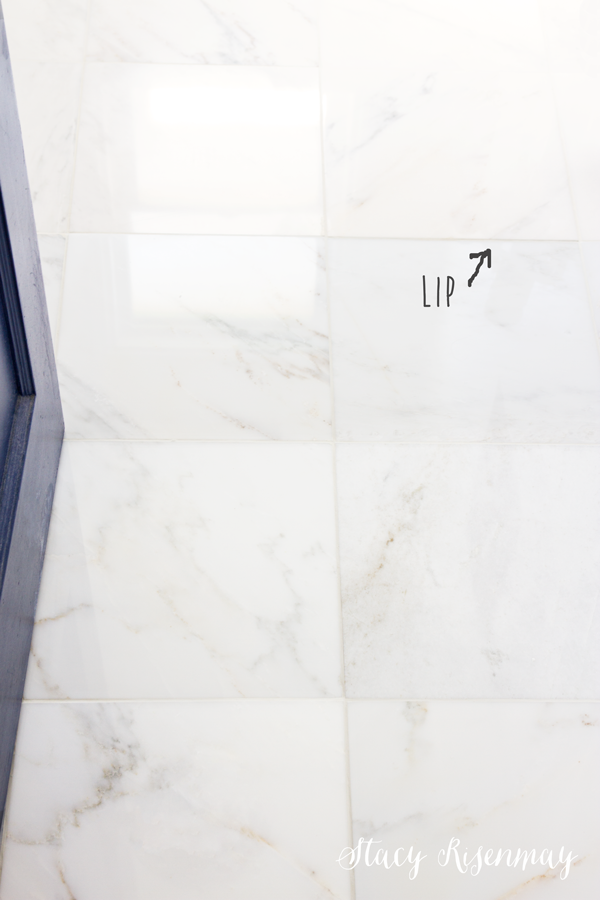
Tiling is my least favorite DIY job. It stresses the perfectionist in me right out! With marble tile, you want to go with a 1/16th inch grout line which is super hard to do and have everything line up perfectly. The closer the tile, the more obvious any mistakes are or difference in tile height. I may or may not have cried towards the end when it was 2 am and I was a giant stress ball. There a couple of tiles that have a noticeable lip and it drives me batty. After reading dozens of articles, and going to tiling chat groups it made me feel better about it because even professionals end up with lippage. I'm trying to let it go.... Shane on the other hand has no problem with it. In my next life, I want to be as laid back as he is :)
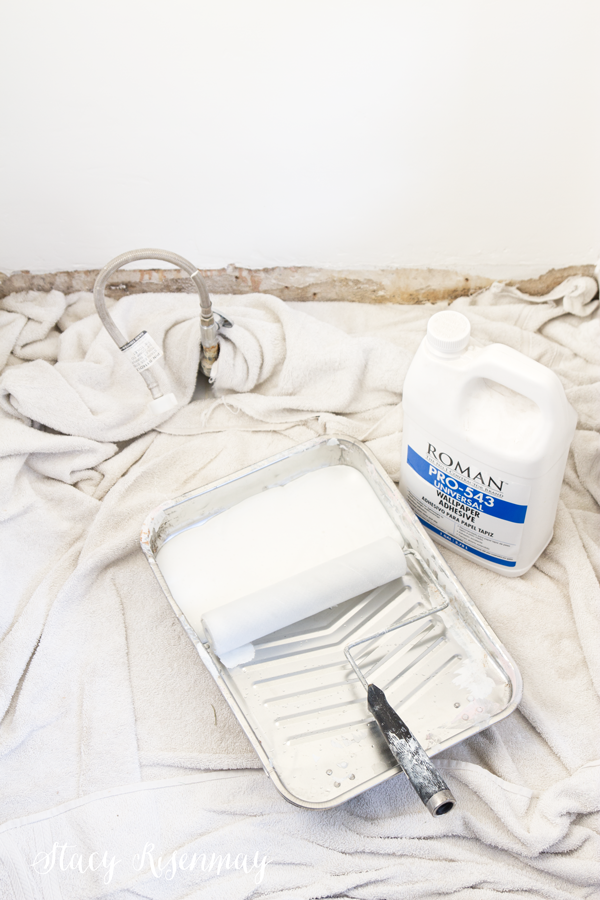
You guys, I WALLPAPERED! It was a first for me. I waited until Shane was home because I wasn't sure if I would need help getting it straight or not. I adore this wallpaper! It is from Milton & King and they have a ton of different collections but I fell in love with all the shibori styles. I wasn't considering wallpaper at first but when Milton & King contacted me about trying out their paper, and after having a look around their site, I KNEW I had to use some somewhere. The normally boring toilet corner seemed the perfect spot! Can't you just imagine some chunky wood floating shelves hanging above the toilet?
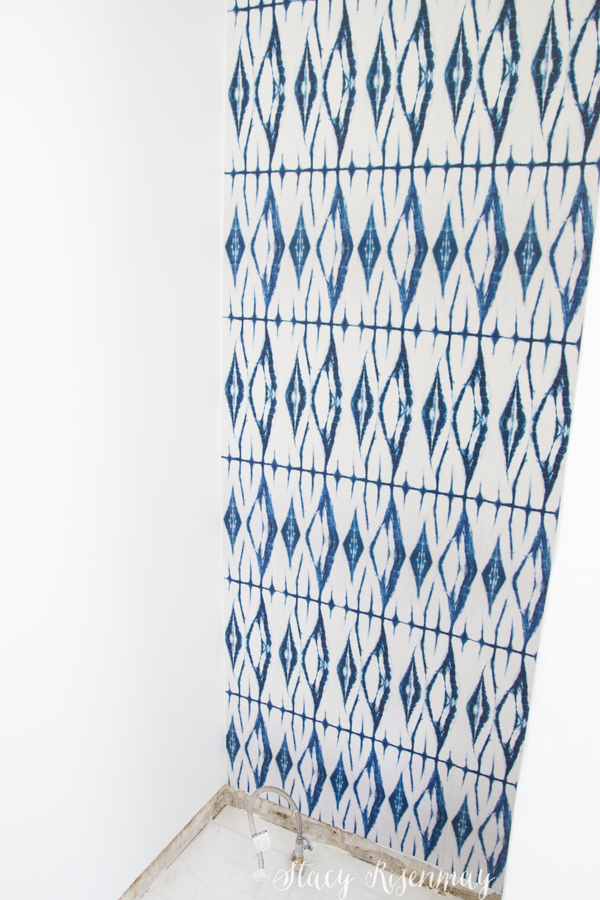
I grew up with a mom who installed wallpaper like a champ. She did it for friends, neighbors and family all the time. It was the kind you had to soak in water and it was quite messy. This kind doesn't have paste alreasy on the back which means no soaking. I used a premade wallpaper paste and a special adhesive roller cover. It was a lot easier than I thought!
I am more giddy about the mirror situation than a person should be. I had a vision and I couldn't find anything that fit the vision. I think I have come up with a genius solution! Fingers crossed I can make it come to reality because I really want a certain look AND to get to use the original cut out for a medicine cabinet.
Things left to do for phase 1 of bathroom renovation:
Have custom baseboards made to match the original ones (the old ones had water damage and cracks)
Make the mirror/medicine cabinet
Build a custom vanity
Install the toilet
Add new lights (recessed lights for ceiling and fun new light for above the mirror)
Build floating shelves
*Phase 2 will be the tub and shower area.
Because it is spring, my time will be divided between outdoor projects (gardening, yay!) and the bathroom. I am hoping to have phase 1 done by the end of the month :) Fingers crossed!!!
Products were provided by The Home Depot and Milton and King for this project but ideas and opinions are all mine!


Stacy, it is going to look amazing! You go girl. (P.s. Thanks for the shout out.)
Wow Stacy, you've done a fabulous job! The finished bathroom will be worth every moment of frustration!
What is that hole in the floor near the window for? Wouldn't it be kinda hard to mount the toilet on that?
I love that shibori wallpaper, and I can't wait to see how you are designing and building your new vanity!!
Thank you! The hole is the laundry chute! The laundry room is directly below the bathroom. I decided one day after moving in to cut a hole in the floor and it has been the best decision ever!
You're awesome! Unfortunately we are our worst critiques, and thankfully husbands have a tendency to overlook our imperfections. I can't wait to see it all finished. You inspire me! I'm thinking we need to plan a trip down to see you soon.
You take on such challenging projects. I'm in awe of your mad skills. Love the tile; will it have a rug on it? I can't see the lip or imagine it, but maybe a throw rug will mean you won't see it at all. Love the wallpaper. Good choices. Can't wait to see the whole room done.
Thank you! Because of where the vanity will be, a rug won't work. I will just have to learn to overlook it :)
Wow! You did an amazing job! I love the blue and white wallpaper. The graphic is amazing!