
Oh the upstairs bathroom. The eyesore of our home. The journey of remodeling it started with a leak. A pesky leak that resulted in us having to stop using the tub. I ripped out the affected tiled area four years so the moisture from the leak would dry out and so that no mold would grow. And there it sat while we decided what to do. During this waiting period I also decided to rip off the wainscoting that previous owners added. Maybe it is because we lived with it everyday, but it started to seem normal that our bath tub was out of order and the walls were ugly and patched. Do you ever grow blind to the unfinished projects in your house?
I finally had had enough this winter and sat down with Shane to make final plans. You see, aside from the financial cost, the biggest reason we had held off was that we couldn't decide what to do about the tub. Our bathtub sits in a cute little niche with an arch and so if we replaced the tub it would have to fit inside that area. More importantly, we would have to get the SUPER heavy cast iron tub out. In order to get the tub out you would either have to break it apart or take the door frame out. A big fat pain either way. So here were our options...
Option #1
Take out old tub and replace with new tub (same type and shape)
Cost: fairly high - plumber, new tub, disposal of old tub, fix any damage from removing old tub
Cons: pain in the rear to get old tub out, I was overwhelmed by the options of new tubs (and the mediocre reviews) and didn't know what material to choose. Also the price range varied quite a bit so it could potentially have been "high" instead of "fairly high"
Option #2
Take out old tub and replace with clawfoot tub
Cost: High - plumber, clawfoot tub, disposal of old tub, fix and damage fro removing old tub
Cons: Pain in the rear to get old tub out, in order to have a clawfoot tub fit in the niche (given the shape of the tub) it would have to be really small and would not be comfortable to use as tub - only as a shower. The classic dilemma of style over function.
Option #3
Keep our tub and have it resurfaced
Cost: Mid range
Con: All the resurfacing companies I could find in my area had low reviews and people claimed that it peeled off within a few years. My neighbor had hers peel off. Made me nervous to spend that much money to have it not last. Chemicals are strong.
Option #4
Keep our tub and have a custom liner made
Cost: High
Cons: Price
We ultimately chose option number four because unlike a sprayed on layer that is super thin and could peel off (and only has a 5-10 year warranty) the tub liner has a lifetime warranty. It is basically a new tub that they fit over top of your old one. I liked the idea of keeping our cast iron tub too :)
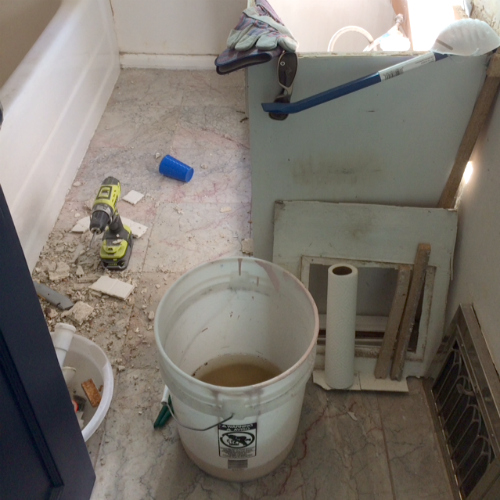
Now that we had a plan, we were ready to demo!
Originally there were plastic tiles added right on top of the lathe and plaster. Those were removed by a previous owner and ceramic tiles were laid, again over the lathe and plaster. I think this is why we had a leak. We plan on adding greenboard in most areas and also a water tight membrane.
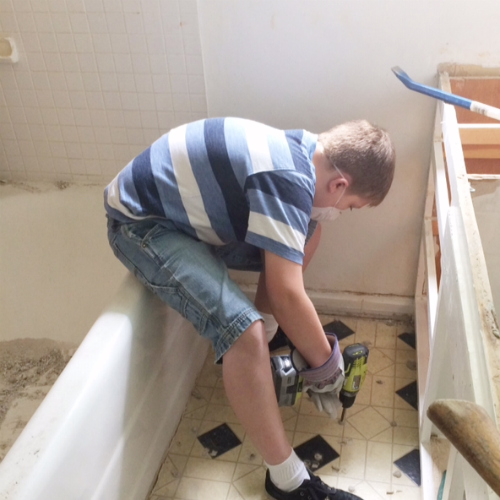
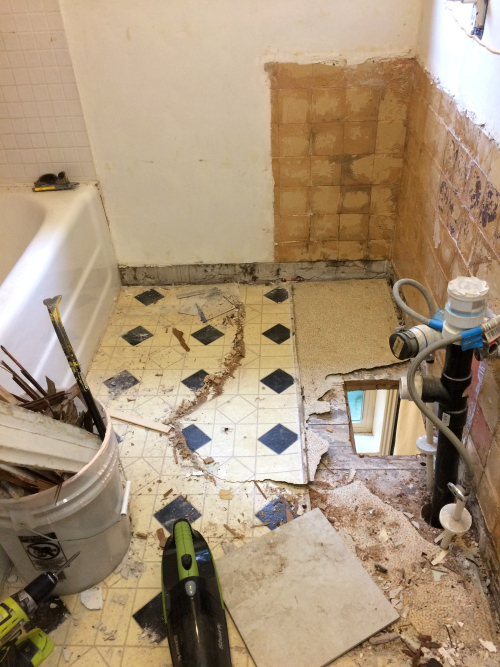
I removed the tile until it was too high and awkward for me and then Shane in all his tallness removed the top portion and ceiling.
It currently looks like this.

Shane removed the toilet so I could tear up the tile.
For the most part I was not going to miss the old tile. It was like you had a lavender base color and then mixed in dusty rose, rust, country blue, and pink. Not an easy color combo to decorate around.
Can anyone else spot the gorilla hiding in this tile? Hint: He is sideways and it is mostly his head.

Any project I do for out home I try to think of age appropriate jobs my kids can do so they feel like they are a part of it. Taking out the backer board screws was perfect for the youngest two as well as general clean up.

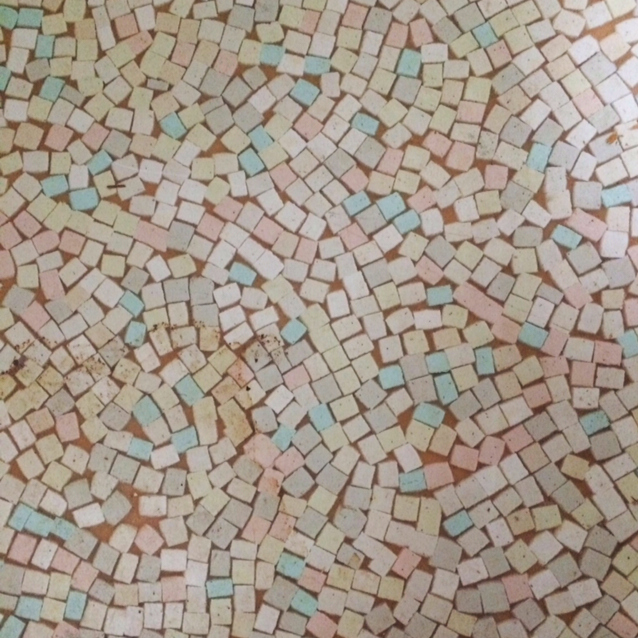
When you renovate an old home it is kind of like and archaeological dig. You get to peel back the layers and see a glimpse into the past. Sometimes you find newspapers in the walls, forgotten items in the attic, or in this case, 80 years of flooring.
When we took out the vanity we discovered that is must not have been original. My guess is that it was added in the 50's. Under the vanity was carpet and under that carpet was the original linoleum.
Originally there was linoleum and probably a pedestal or wall mounted sink. Then they added carpet, then a vanity. The carpet was eventually ripped out and replaced with another linoleum leaving only the carpet under the vanity. The owners before us added the tile over the two types of linoleum.
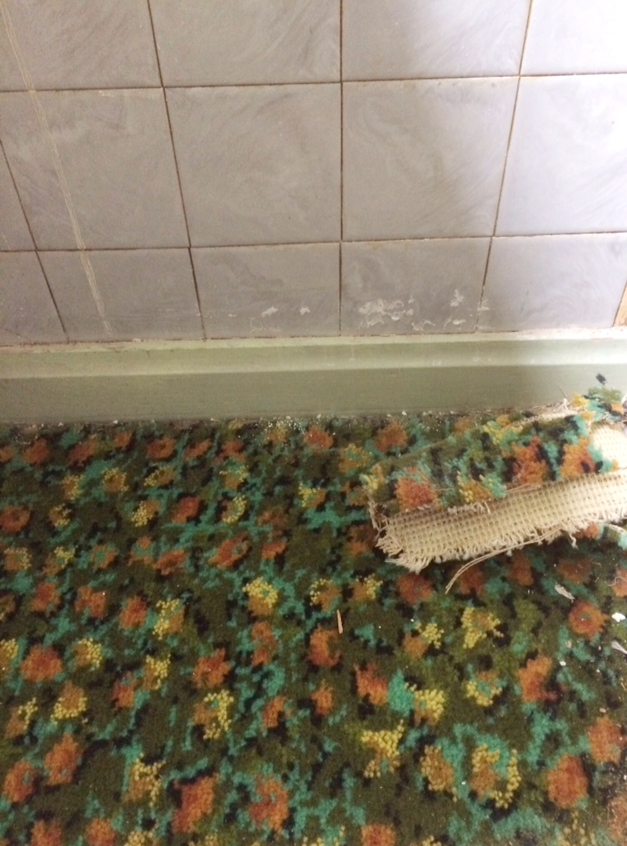
That carpet is something else, isn't it!? Such a fun find. The tiles on the wall were plastic. So crazy.
Here you can see the two types of linoleum.
Here is the original 1930's flooring.
I ripped out the old linoleum and we were left with the subfloor. The hole in the floor in the laundry chute :)
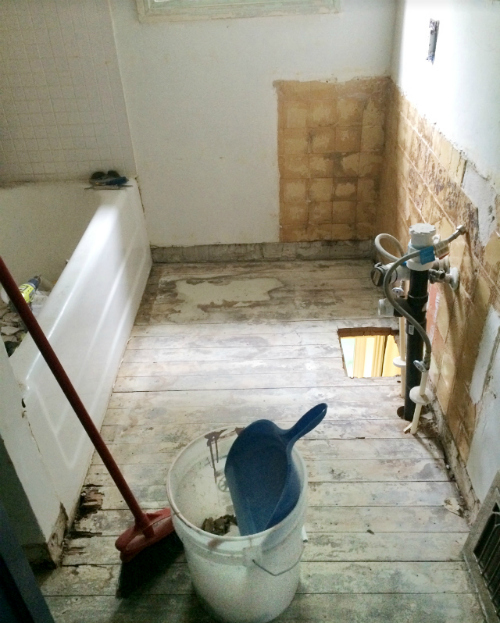
I was happy to see there wasn't any bad water damage to the wood. The coloring looks weird in the photos because of the glue residue and because I washed the floors and some areas hadn't fully dried when I took the pictures. We did find two small spots with old termite damage. We found some in the living room when we first moved in and even though it was minor and old, we had our house treated for termites 10 years ago.

I have added dry wall mud over the area of the wall that had the plastic tiles and will do one final scrubbing of the subfloors before we tile. I had hoped to get at least started on the floor tile this weekend, but the demo took longer than I had hoped. I am always more optimistic on what I can accomplish in a weekend than I guess I should be. Either way, that is a ton of progress!
I am so excited to add the gorgeous white marble floor tile soon! You can always check out instagram (and instagram stories) for sneak peeks too.
I am off to take a nap...


Oh my gosh! That carpet... The gorilla face.... Plastic tiles... You have been quite busy! way to be to involve your kids, too. Great skills to learn as they'll be invaluable as they grow up and have their own homes.
I am so excited to see the end results. That looks like my bathroom. Thanks for all the ideas and sharing.
Well done you guys, well done!
I have a bathroom in my 105 year old house that has sheets of white plastic "tile" floor to ceiling. Under that is pink plastic tile. The tub surround is beige and falling apart. I can't wait to do something with it but right now I'll live vicariously through your renovation.
Wow you are so lucky to get so many things free just by using the name of the company that supplies them. I envy you since i am remodeling but I have to buy mine...sigh!
Secretly loving the 1930's floor tiles! :)
When I ripped out down to the studs and subfloor one of my two bathrooms (I demolished both at the same time - a long story!) there were 11 layers of flooring in the one bathroom! It must have been an inch and a half thick! Crazy! Good luck on your bathroom project!
I grew up in a house built in 1965 and it had the exact same linoleum with the tiny pastel squares (brand new at the time). I think it’s from the 1960s.