
I built this bed with storage for my oldest three years ago. He has now moved out and my third oldest wanted to use this bed. To better fit the new space, we decided to take the headboard off. We also PAINTED it. Oh the power of paint. It looked like a whole new bed! It is also in a new room and styled completely different. I am excited to partner with HomeRight to bring you this painted twin bed makeover!
This post is sponsored by HomeRight but all ideas and opinions are 100% my own. This post contains an affiliate link.
Before:

Sorry for the crappy cell phone picture...
Painted Twin Bed
I am a big believer in kids sharing rooms. I think they learn a lot of things by sharing a space that will help them later in life. So when we suddenly went from four kids down to three, if we would have kept them in their current rooms, one would have their own room while the others shared. I am also big on being as fair as possible so we moved our third oldest into the other room. Once upon a time, all four shared this big bedroom so having three in there didn't even phase my kids. In fact, all four were sharing this room up until 3 years ago.
To make it work without disrupting the current room layout, we simply moved the two arm chairs out and put the twin bed in their place. Even though the painted twin bed sticks out a tiny bit farther than the chairs, there's still a good 5 feet before the dresser (across from it) so there's plenty of room to walk & play.


The arm chairs got moved out to the garage attic fort. The boys were using our outdoor metal ones and were excited for the upgrade!
Painting the bed could not have been easier!
Painting The Bed
Patch any dents or scratches with sandable, paintable wood putty. Wait for it to dry and then move on to the next step. Since this bed is only 3 years old, I didn't have any damage to fix.
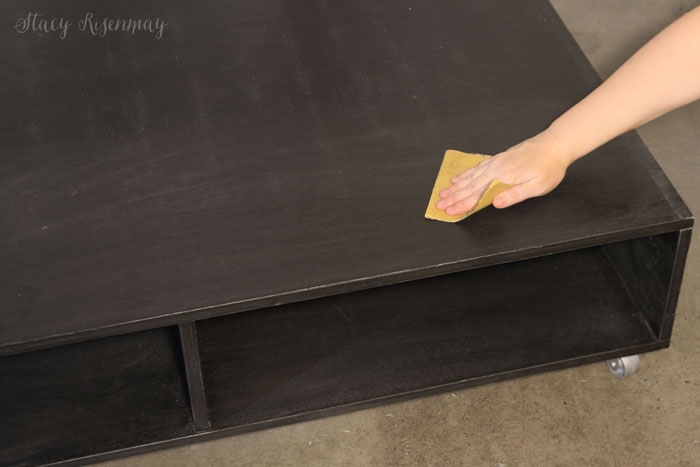
Sand the bed using a 120 or 220 grit sandpaper. You are not trying to remove the previous finish, you just need to scuff the surface so the new layer of paint has something to grip. Sand the whole thing. Sanding also helps by removing residue and dirt.
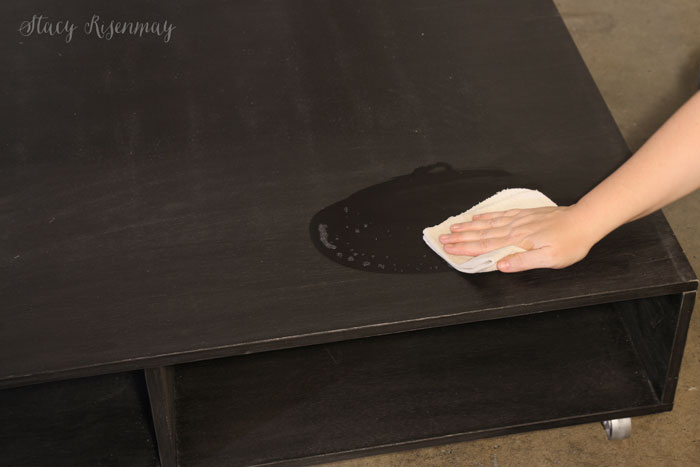
Wipe off the dust and make sure it is really clean. Paint doesn't stick to dirty surfaces were well. I usually only use a damp rag unless it is very dirty. If you use soap, don't over do it. Paint doesn't stick well to soap residue either. After cleaning with soap, wipe with wet rag. Allow to completely dry before moving on to the next step.
Tape off any parts you don't want on get paint on them or remove. I should have taped off the casters (I had the tape right there next to me) but I forgot. Sometimes I get going on a project and plow ahead. Luckily for me, the metal casters were basically the same color and barely got any overspray on them at all.
Protect your work space but laying down a tarp or covering anything nearby. Since I am using an unfinished corner of the basement, I didn't put a tarp down, but I did drape one over the things stored down there.
Honestly, the prep always takes longer than the actual painting. I used my Super Finish Max paint sprayer and coat number one was done in less than 5 minutes. Since it was on casters, it was easy to rotate it around to get both sides.
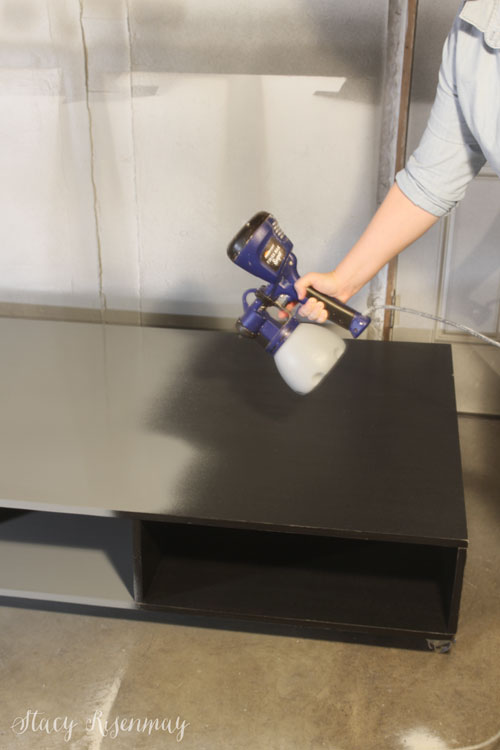
Once the first coat was done, (it almost didn't need another coat) I applied a light second coat. I was happy to see that the sprayer got all the way into the cubbies. I wondered if the center of the inside would get painted or not, but the spray goes really far and covered it all!
Can you imagine how long it would have taken me to do this with a brush? And how awkward it would have been to try to reach all the way in the small cubbies?

The perk of having the headboard off and the bed pushed against the wall is that now (as a daybed) it can also function as a couch! Instead of two kids sitting in chairs, all three can fit and watch shows.

I am trying to decide if I like it without ↑ or with ↓ the rug . Help me decide!

I'm curious... How do you feel about shared kids spaces? Are you pro sharing? Or do you think they should have their own space?
Also, since the two boys moved out of the other room, stay tuned to a reveal on how we are using it now!


Love it with the rug! I think everyone needs a rug to put their bare feet on when they get into or out of bed! I think you have the right idea to have your boys share a room. It helps them to learn some life skills that they wouldn't otherwise. We always tried to let out boys have their own room, and I think it was a mistake in retrospect.
I love the style and color of the rug, but I think it should be much larger. The ends are even with the rug and I think it would look better if it was at least a foot wider or more.
On the subject of the kids sharing a room, I think it’s awesome!!! They are building a strong bond that will continue as they grow into adults, great job Mom!!!!
That was my issue with the rug too. It worked well with the chairs, but it a bit too small for the bed. The boys love the rug (it’s cow hide) and was expensive so I’m keeping it. But if I had the money, I would upgrade to a larger one.
Keep the rug. Having a soft surface for your feet to touch when you step off the bed is so nice.
As always, this is a beautiful makeover. Definitely keep the rug!
Thank you :)