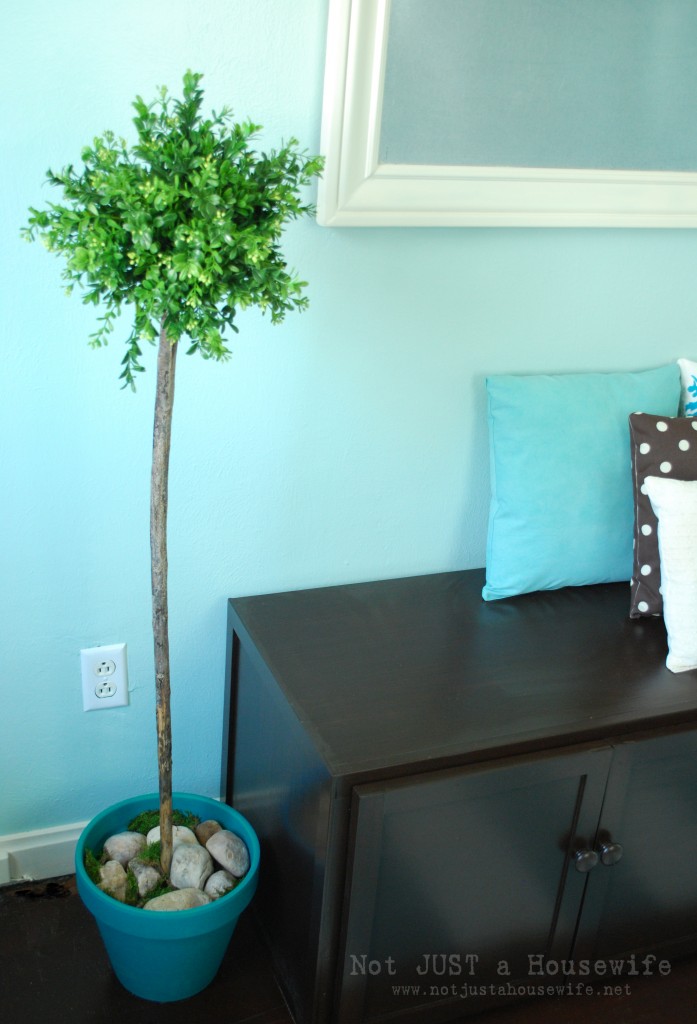
I have a thing for topiaries. I love them! Any shape or size. But if you have ever shopped around for them you know they are SUPER pricey. I have made most of mine so when I decided I wanted not one but TWO in the office, I knew I needed to make these also.
I always use sticks and tree limbs when I make a topiary. Not only is is cheaper to head out to the backyard for supplies, but it makes it more real. I actually don't like having fake plants. I would much rather have them be real. And I have bought real topiaries in the past. But they are pricey too and don't do well indoors. So I try to make mine look as close to the real deal as possible.
The greenery I used came from a place called Tai Pan Trading. I know they are not in every state, but they have hands down the cheapest prices. Each bunch of greenery was $5.00 instead of the $15.00 at the craft store. That right there made this even more affordable. Shop around and not only look for greenery that looks realistic but for a good price too.
I didn't take pictures along the way because I have actually already done a topiary tutorial here before. You can see the step by step process from when I showed how to make pine tree topiary trees.
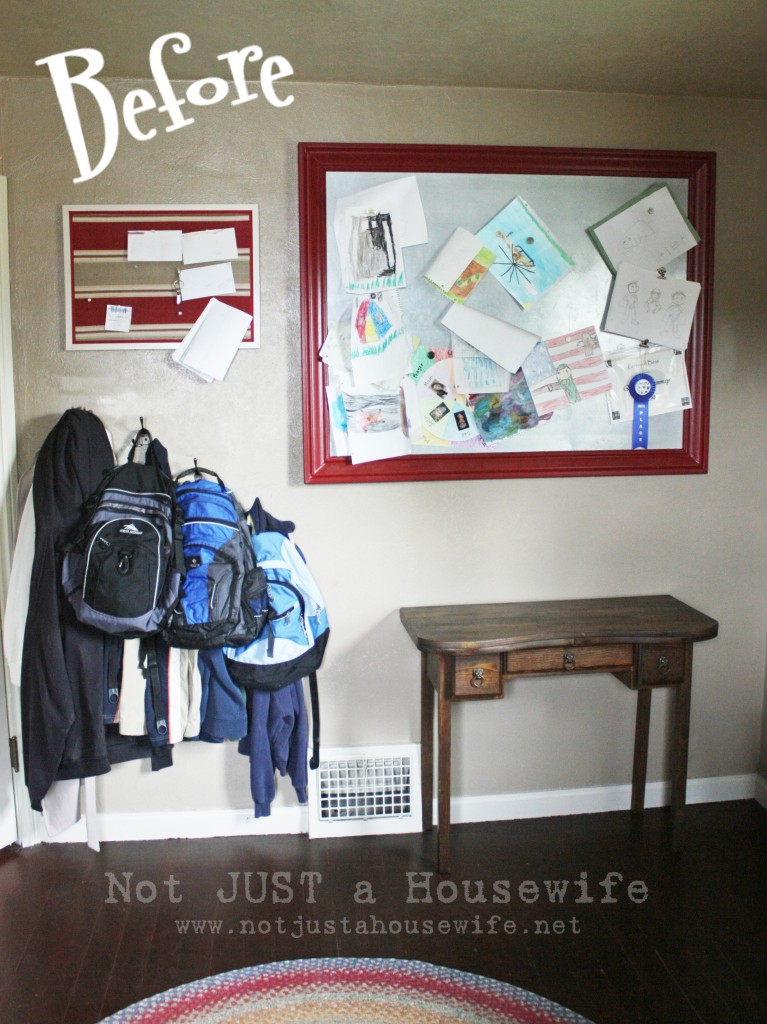
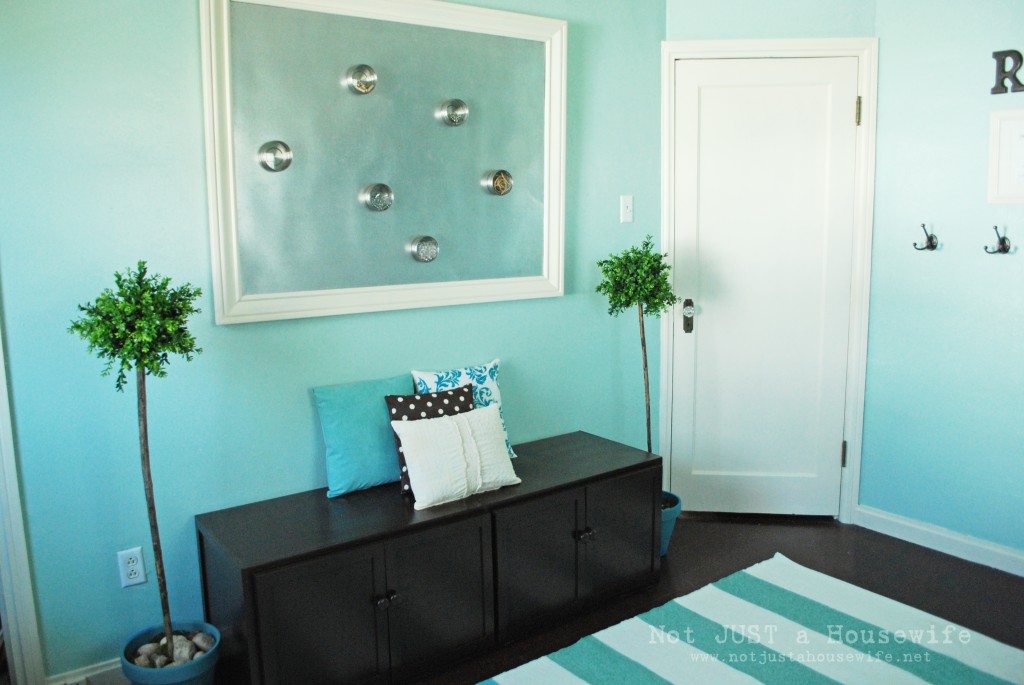
My magnet board used to be red. When I decided to paint it white my first thought was how much of a pain it was going to be because it would take a lot of paint. I used RustOleum's Heirloom White X2 paint (the same paint I used on my kitchen cabinets) and I was amazed! I already knew I liked the paint. I have used it a lot. But it only took ONE COAT!!! To cover RED people! (Dear RustOleum....I {heart} you!!!) And it only took one can. Here it is before:
And after:
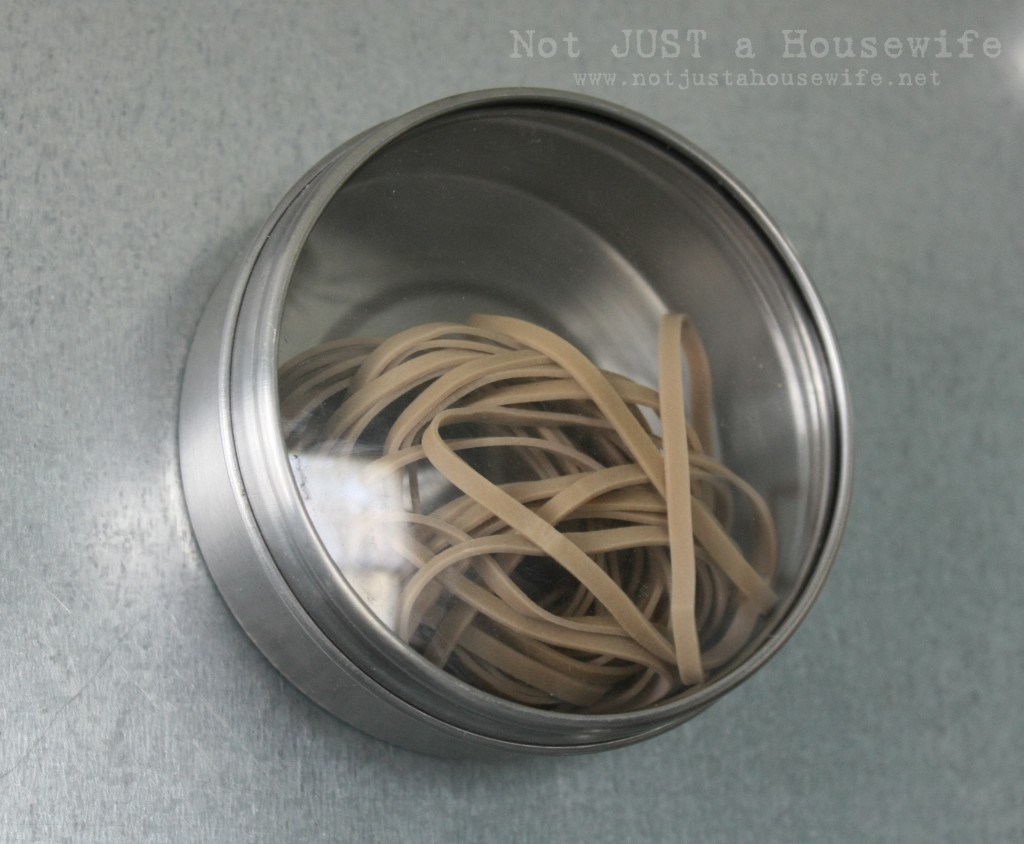
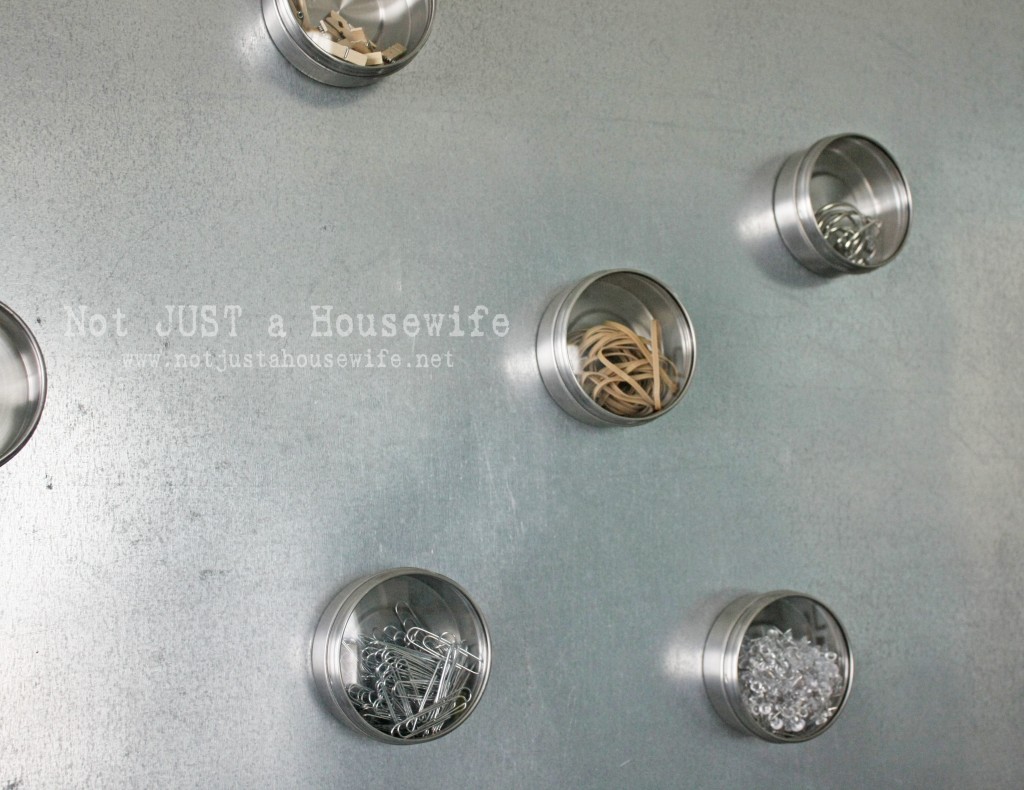
The other cool thing about my magnet board are the magnets themselves. I got them from IKEA. The are meant for the kitchen to store herbs or whatnot. But mine hold office supplies. So instead of floating around in the bottom of my desk drawer, they are organized and out of the way! Plus they double as decor :) They are called GRUNDTAL containers. They would be fun filled with craft supplies, in a kids room filled with their "treasures", in a bathroom with small hair things or q-tips, or ANYWHERE! They are kind of my new favorite thing....
I am looking forward to sharing the rest of my office tutorials this week :)
You will also like:





Great idea. This is going to be a really functional board for you!
Wow. This is such a great room. I love what you've done with it. The magnetic board is awesome.
HI, Stacy
How lovely!
Vanessa
Ooooh! I really love the storage containers!
I love your new space. The color is spectacular! I can't wait to see what else you have
Adorable Stacy! Great job! Loving the new office!
I love what you did with the magnets! My desk is super modern/minimal and doesn't have drawers so that's the perfect storage solution for me. I'm going to add IKEA to my errands list when I'm in Charlotte next week. Thanks for the inspiration!
Wow, great idea! You even managed to create storage on a magnetic board. And it's pretty too.
Organization with style is always an issue that plagues those with creative outlets. Thank you for sharing this original idea to solve such problems! Certainly gives me plenty of ideas as to how to contain all of my tile pieces while utilizing my space.
The magnet board is the thing. Love it!! Love especially the magnets themselves - organization of small things. Oh my gosh this is so awesome. You're giving me great ideas for my new place. We'll be relocating soon & I would love to use some of these ideas in our new place.
Love the magnetic board! I love the idea of using the containers for more than spices. Have seen them many times at Ikea, but couldn't find a personal us for them. I came to your site looking for this board to see what you did with it and how you use it. My mother-in-law has a 30x40 magnetic board for photos of her grandkids. I want to make one for my mother for the same purpose, but now I'm thinking of uses for myself. Thank you!