
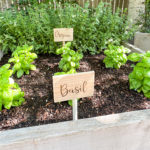
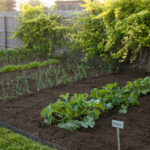
Years ago I tried my hand at a living moss wall in my secret garden. We happened to have a record dry year and it failed even though I watered and misted like crazy. I live in Utah so my living wall attempt probably would have failed either way. I ended up creating a dried preserved moss art piece to hang in the garden instead. It stayed hanging up in the secret garden for YEARS before I ended up revamping the space in to an herb garden with raised beds. I have missed having moss wall art piece so I decided to create another one but took it in a new direction. This DIY moss wall art is such a simple project, but adds so much to my favorite outdoor space!
This post contains affiliate links
DIY Moss Wall Art
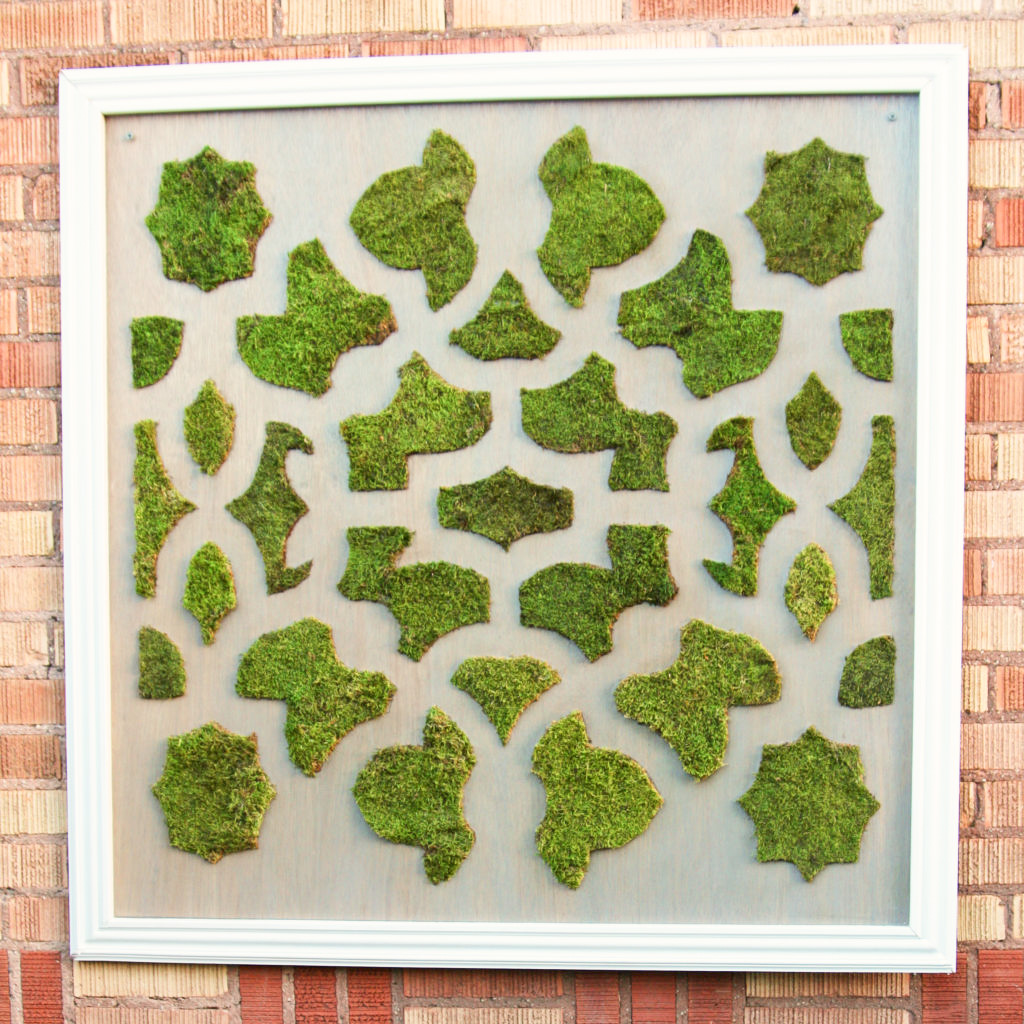
Last time I was more artsy with my DIY moss art. I used a stencil to create a geometric pattern for my preserved moss wall art. I used plywood and added trim te create a framed look. This one was 4 feet by 4 feet but you coul duse a picture frame for a smaller version. Simply glue the moss to the back of the frame.
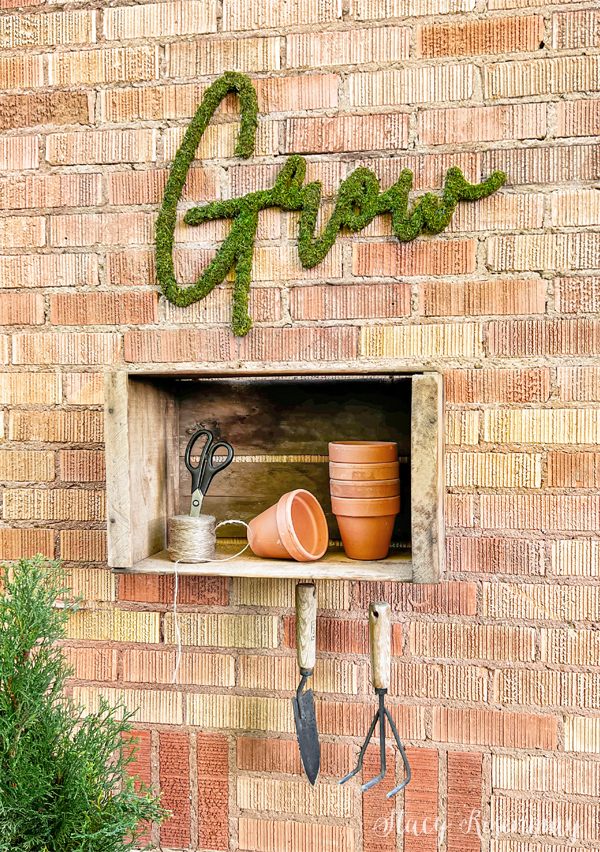
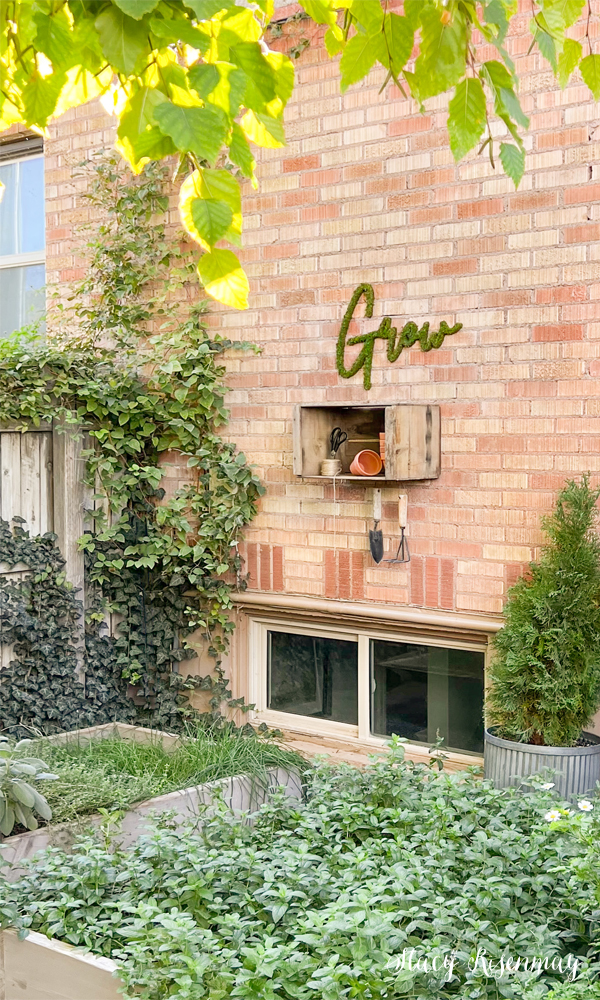
This time around I went with a large scale word (2 feet long). Were you a blog reader back when bloggers would share their word of the year? Ah, the good ole days... Well if I could choose one word for all time, it would be "GROW". Not only for the literally meaning here in my garden, but for personal growth. We should always be striving to grow, and progress, and be better than the day before. I am not usually a word art type of person, but it felt right for this space.
Supplies:
Wood Sign (or Individual Letters)
Sheet Moss (or Another Type of Moss)
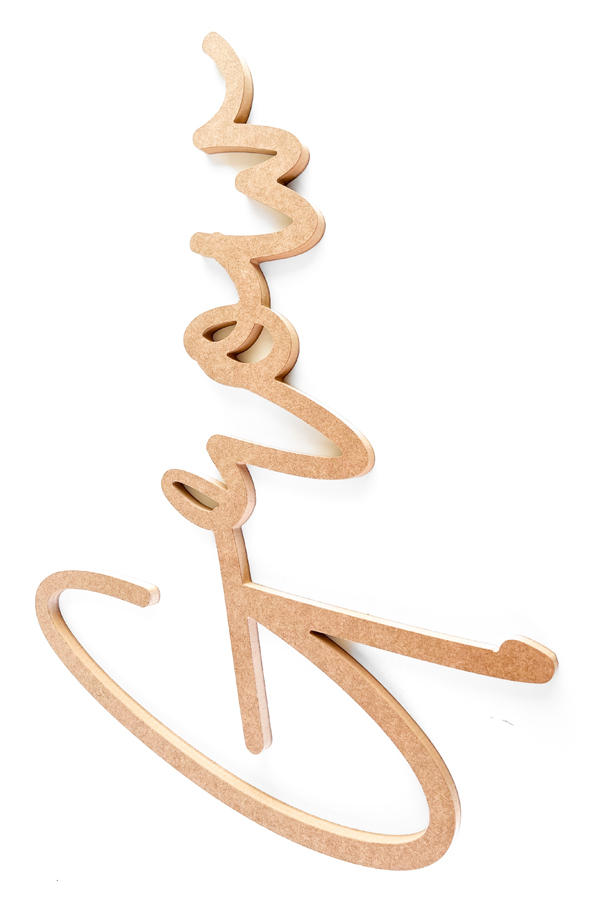
I debated back and forth between cutting out my own word with my jig saw and ordering one online. I also debated about buying individual wood letters from the craft store. I could have saved money by cutting it out myself, but fall is so busy. Plus I wanted to show how to do it without tools in case not having tools would mean you may not tackle this project. If you are proficient with tools and have a jigsaw, band saw or scroll saw, you most certainly can project, trace, and cut out your own word or shape. But if you don't have these resources, you can find places online like etsy and even Amazon that you can order a custom sign. You can choose the word, the font, the size, and the material.
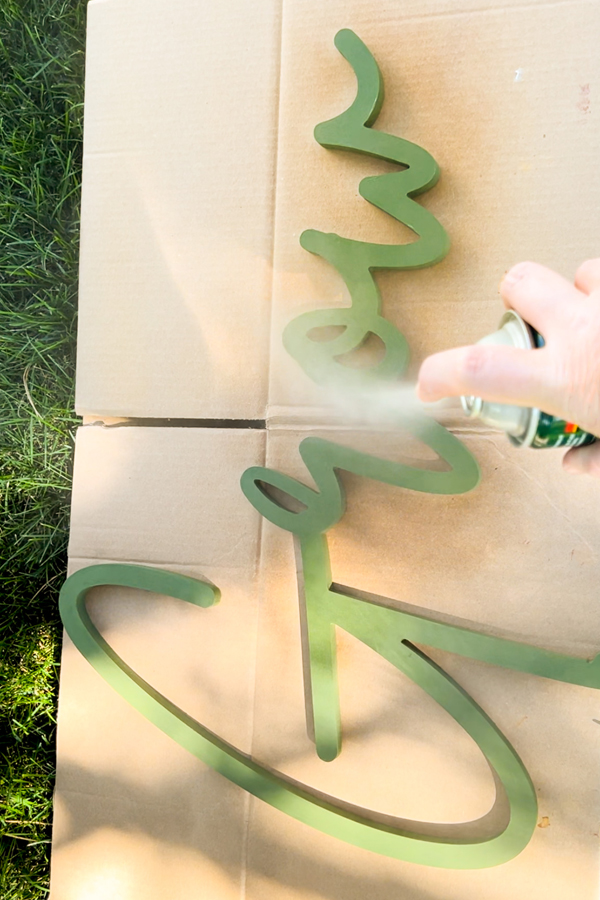
Paint & Seal
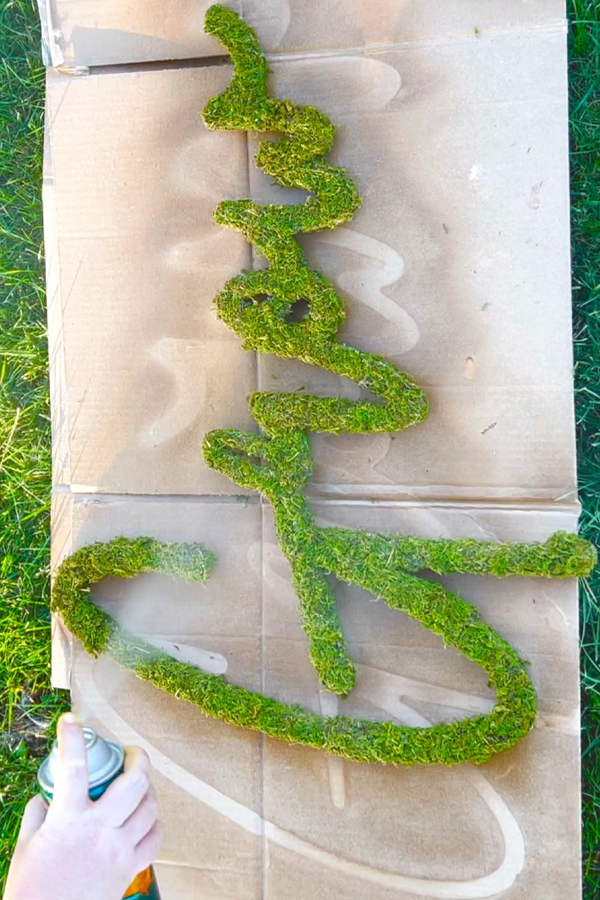
My sign was made of MDF instead of wood. I did that to save money. MDF when it gets wet, can expand and warp more so than wood. Even though this sign would be under the eave of my house and would rarely get wet, I still wanted to seal the MDF before gluing on the preserved moss. I painted it a dark green so that not only it helps seal it, but also so that if any of the MDF ended up showing, it would help camouflage it.
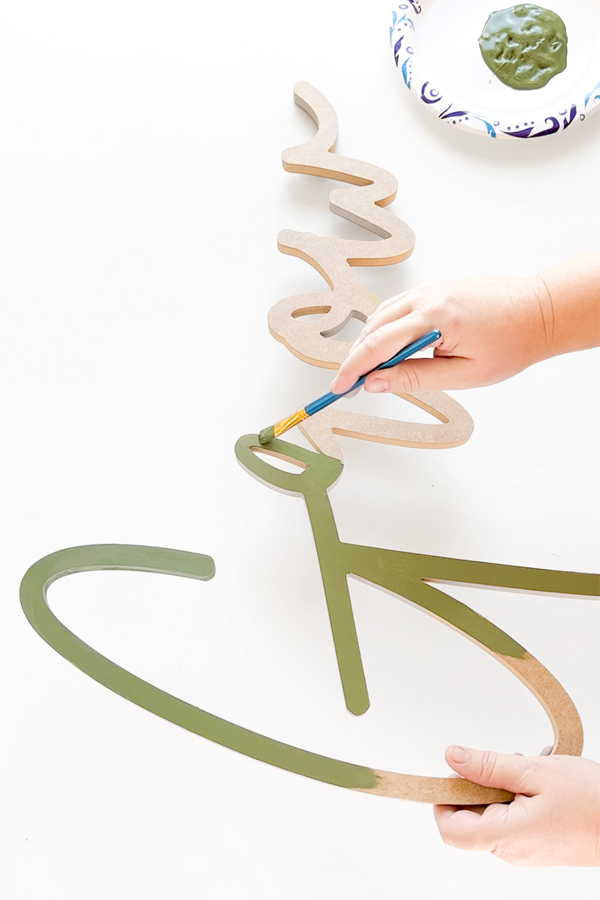
Once the paint dried, I sprayed it with a spar urethane. I like Helmsman by Minwax. It helps not only seal, but it protects against UV rays and fading.
Glue on Moss
After that had dried, It was time to start adding the dried moss. You can use any preserved moss, but sheet moss is going to be the fastest way. You can buy it online or at craft stores. I was able to cut and glue chunks on very quickly. Make sure to use a glue stick that is meant for the outdoors. I like the Gorilla Glue sticks.
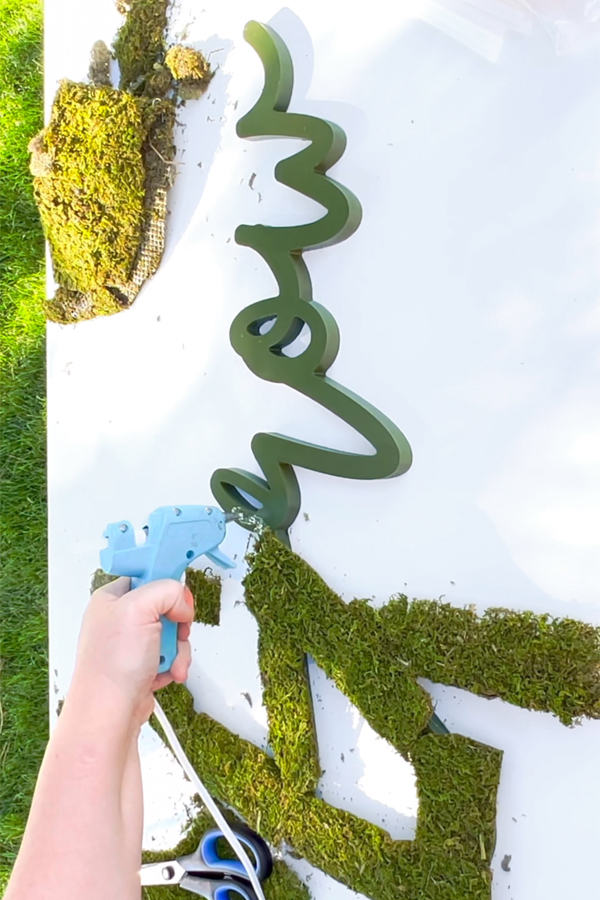
It looks terrible at first, but you need the pieces to be wider than the word so you can wrap it onto the sides. Once the front is covered, flip it over and start gluing the moss to the sides. You will need to cut small chunks and piece it together in some spots, but for the most part, you should just fold the pieces up.
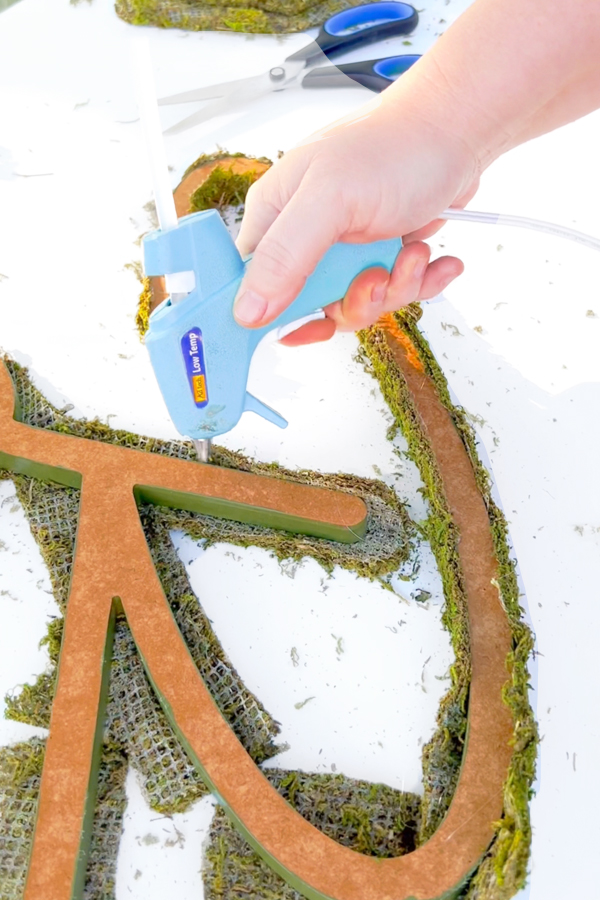
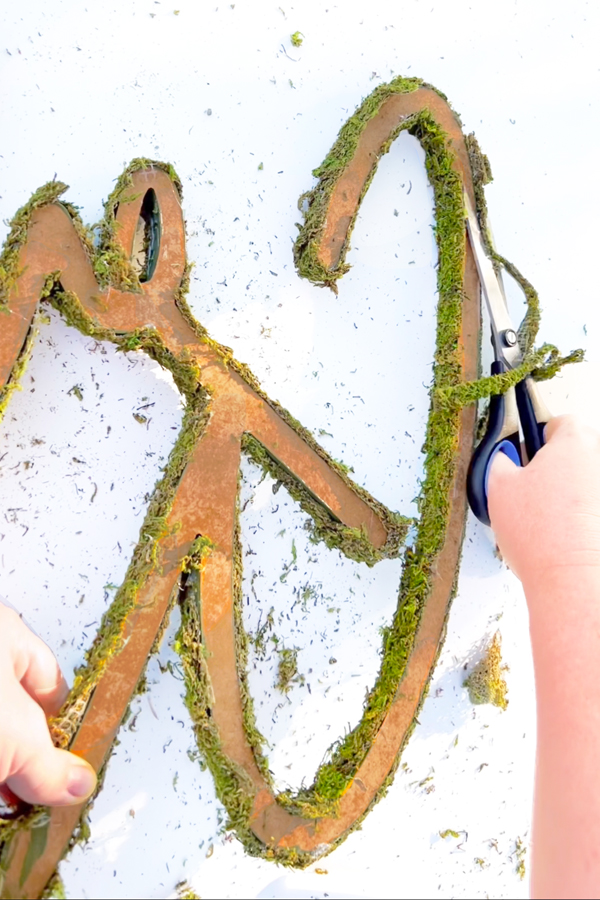
When the side were covered, I trimmed the extra off and then flipped it over and made sure everything was covered. If there are any places where the wood is showing through, glue a small piece of moss to it.
Protect Moss
Preserved moss is real moss, but when it dries, it loses its vibrant color. Companies who sell preserved moss will dye it so it looks like it did when it was alive. To keep the color from fading, you will need to use the same UV protecting spray as the earlier step. Spray the spar urethane generously over the moss.
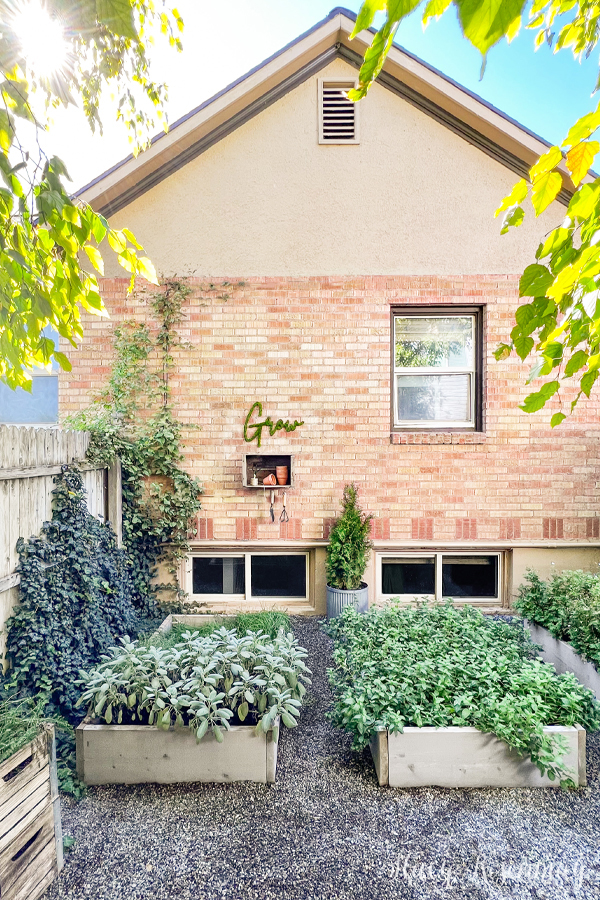
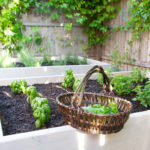
I actually hung this in the same spot as the old moss wall art. I added a crate for storage and I think it is the perfect touch to my secret herb garden!
How long will the moss art last?
I had my last moss art outside for several years. It will depend on the glue you use and the location it is in.
Where should I hang it?
I recommend hanging your DIY moss wall art in an area where it is at least partially protected from weather. Mine hangs on the north side of my house so the sun does not beat down on it. If you hang it in full sun (especially south facing) it will fade faster.
What happens if my moss fades?
If your moss fades over time, you can freshen up the color by sponging on some watered down paint.
What are the different types of preserved moss?
Adding in different types of moss into one art piece allows you to have different colors of green. Different types of moss also have different thicknesses and textures.
Sheet Moss
Sheet moss is also great if you are doing a large scale piece (moss panel) and need to cover a large area.
Reindeer Moss
This moss is a bright green moss. It almost looks like coral but is soft and spongy.
Mood Moss
Mood moss is a popular one and I think it is because it looks like what you picture when you think of the word moss. It preserves well and comes in large chunks.
Sphagnum Moss
This moss is less clumpy and more stringy or small pieces. Think peat moss. It sometimes comes dyed but often come in an undied brown color.
Whether your DIY moss wall art is a word, geometric, or a large collage of different types of moss, it is a great way to add greenery to a space. You can hang it in your garden like me, or indoors in your living room or office. Biophilic design is very popular right now. Adding an indoor moss wall to your interior space would be a great way to jump on that trend and add a touch of nature to your home.
Would you ever create a moss vertical garden or moss art for your walls?


Comment Below!