
Ack! I have been bursting at the seams trying to keep this project under wraps until today! I finally get to share my version of the Home Depot's #DIHworkshop project.
I have teamed up with not only The Home Depot, but 24 other bloggers to share how you can make this project your own.
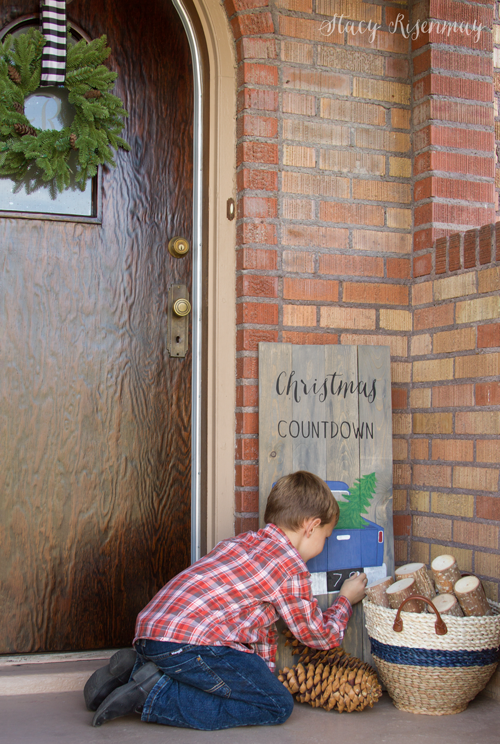
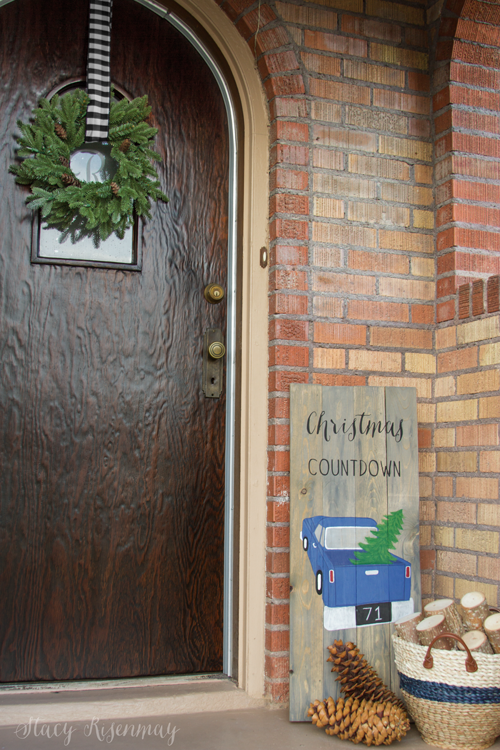
I decided to make my sign a Christmas Countdown!

My favorite part is that the licence plate is a little chalkboard that you can write the number on!!! It is a good way for my littlest to practice writing his numbers too :)
Here is how I made my sign!
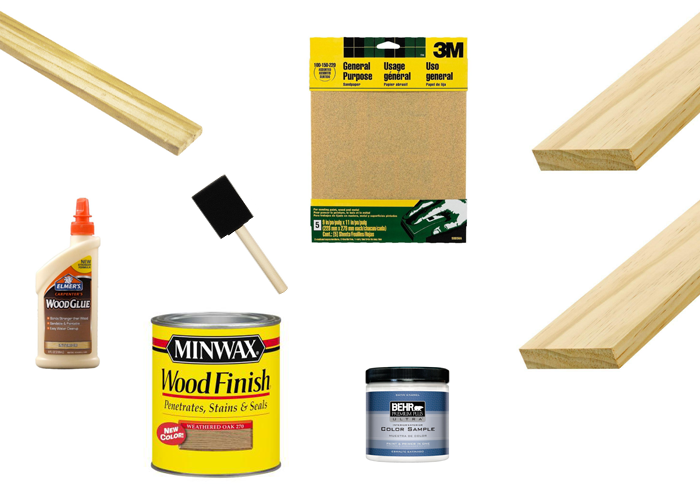
Supplies:
(2) 1"x4"x6' boards
4 feet of lattice trim
wood glue
brad nailer or clamps
sandpaper
stain
foam brush
trace paper & pencil
paint
artist paint brushes
Alphabet Stencils
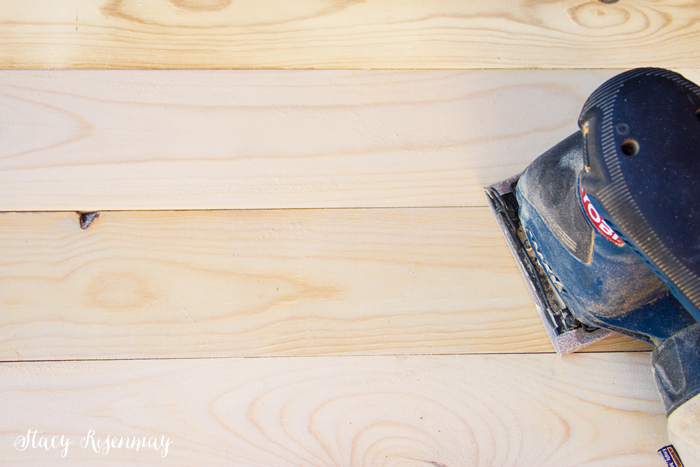
I cut the 1x4 boards to 3 foot lengths and the lattice trim to 14 inches each. I wanted my sign to look like old weathered wood so I chose not to line the edges up perfectly. I added a little wood glue to the lattice trim and also used my nail gun to keep them in place. If you do not have a brad nailer, you could clamp the boards together until the glue dries.
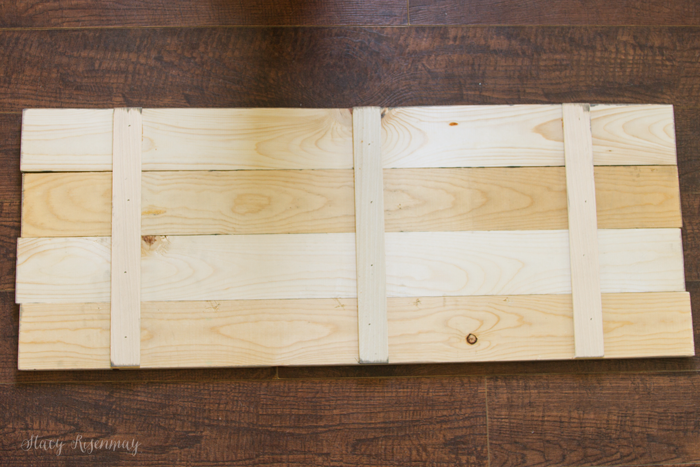
I turned the sign over and sanded the front side until it was smooth.
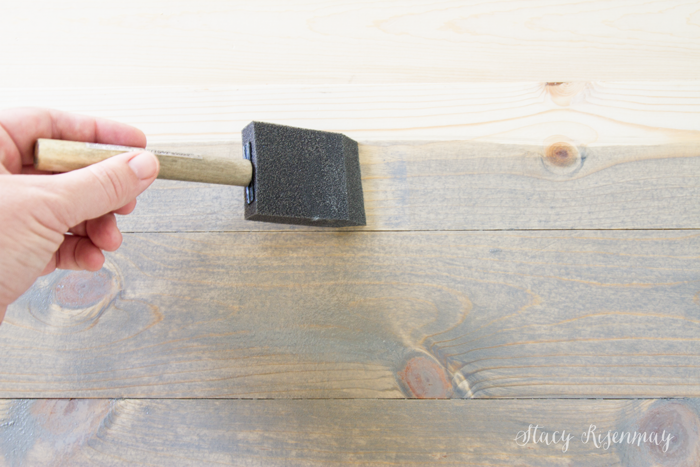
I used a damp cloth to clean off the dust and then stained the sign using Weathered Oak by Minwax. I ended up doing two coats.
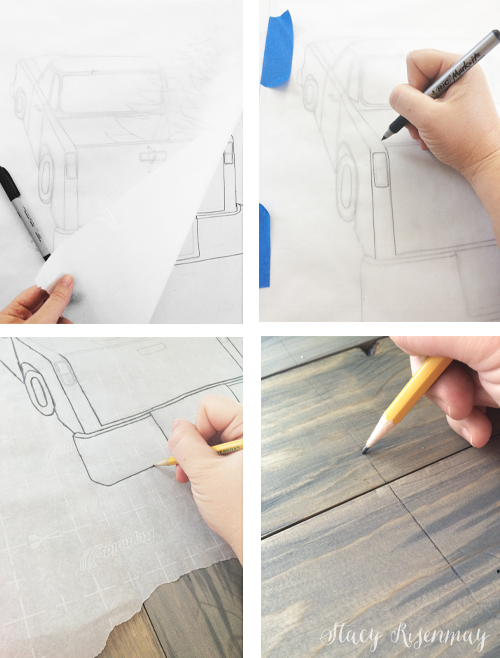
I had Shane draw a picture of a pickup truck for me since my artistic skill run along the line of sick figures. You can probably search for a clipart type image online and print it off. If you need the image larger than 8x10, you can get engineering prints at office Depot or Staples.
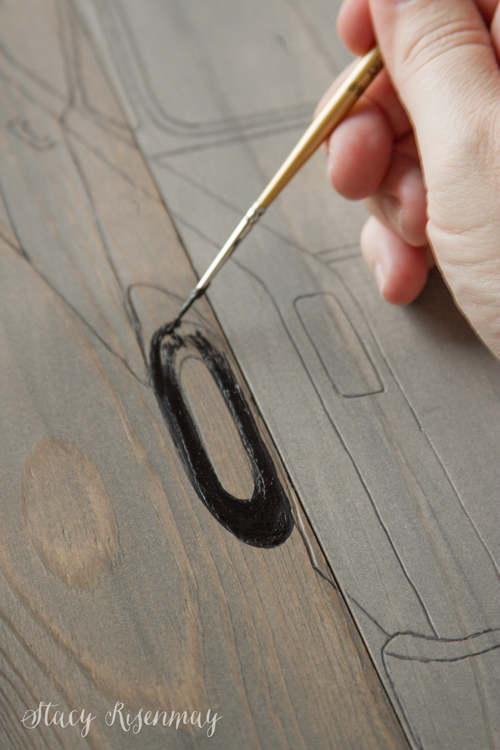
I did not have the right kind of projector so I traced Shane's drawing onto some parchment paper and then laid the parchment paper onto the sign.Using a pencil, I traced the drawing which made indentations on the sign in the shape of the truck. I then lightly penciled the indentations to make the line more noticeable.
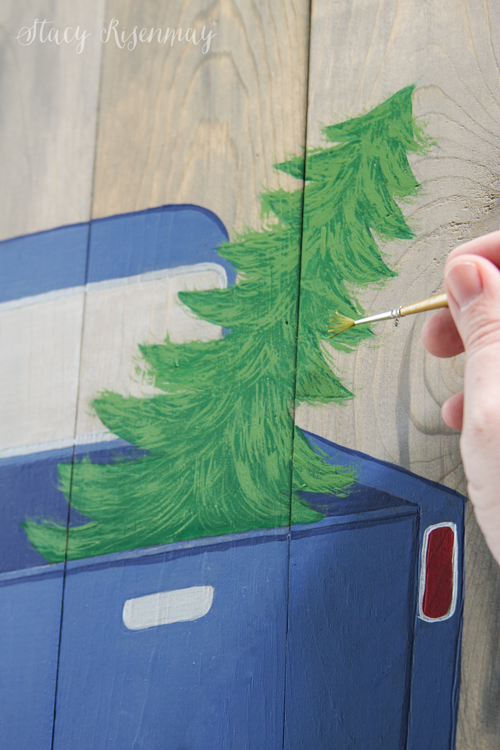
Now I was ready to paint! I used some paint samples since I would not need a lot of each color.
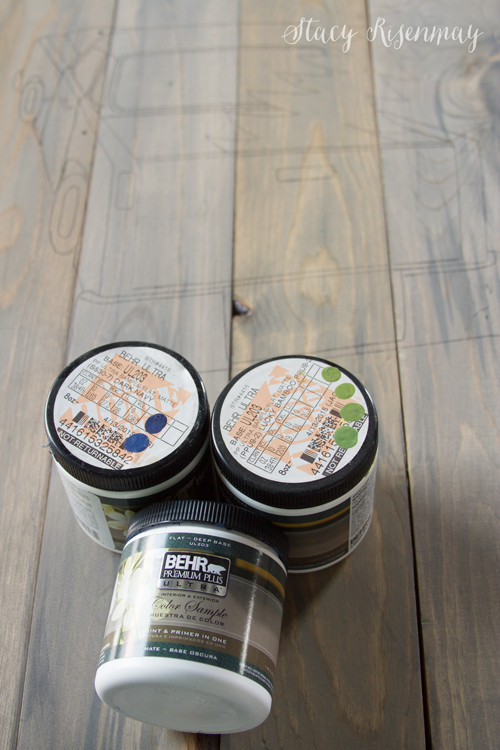
Painting it in did not take as long as I thought it would. I ended up giving it more detail than I had planned because it was so fun! Keep in mind I am not a painter, but I have been known t color inside the lines occasionally, so if I can do it, you can!
I used a stencil I cut out using my vinyl cutter for the lettering. You could use a razor blade knife to cut out your own stencil if you don't have a vinyl cutter or you use alphabet stencils if you don't want to freehand it.
I am really happy how it turned out and my boys (especially the two youngest) are excited to take turns changing the number everyday :)
The Do-It-Herself workshop is FREE and is held this Thursday (October 20th) from 6:30-8:00 pm at all Home Depots! Sign up HERE to attend at your local store. It would make a fun girl's night out :)
See all the other versions of this fun holiday sign!
The Turquoise Home
My Sister's Suitcase
The Rustic Life
Tonality Designs
Junque Cottage
Sweet Rose Studio
This post was sponsored by The Home Depot but the thoughts, ideas, and opinions are 100% mine!


So cute friend! xoxoxo
Love this idea. It turned out so cute!
This is the cutest idea! What a fun sign
Super cute and creative, love it!
This is just gorgeous, Stacy! I love all of the detail you included. Great job!
So cute! Love this count down sign!
This is so cute! Thanks for sharing it at Motivation Monday on Mom Home Guide!
Oh my this is just perfect! I love that it isn't over the top red and green, but still perfect for Christmas! Amazing work!
This is so adorable and easy to make. I just love signs. Pinned
This is adorable! I love your take on the door hanger!
Hey, Stacy! Just wanted to let you know that we loved your Christmas Countdown Chalkboard Sign so much when you shared it at the #HomeMattersParty last week, we've FEATURED it THIS WEEK! Hope you can check it out when you get a sec. Happy Friday!!!
~Lorelai
Life With Lorelai / Home Matters Linky Party