
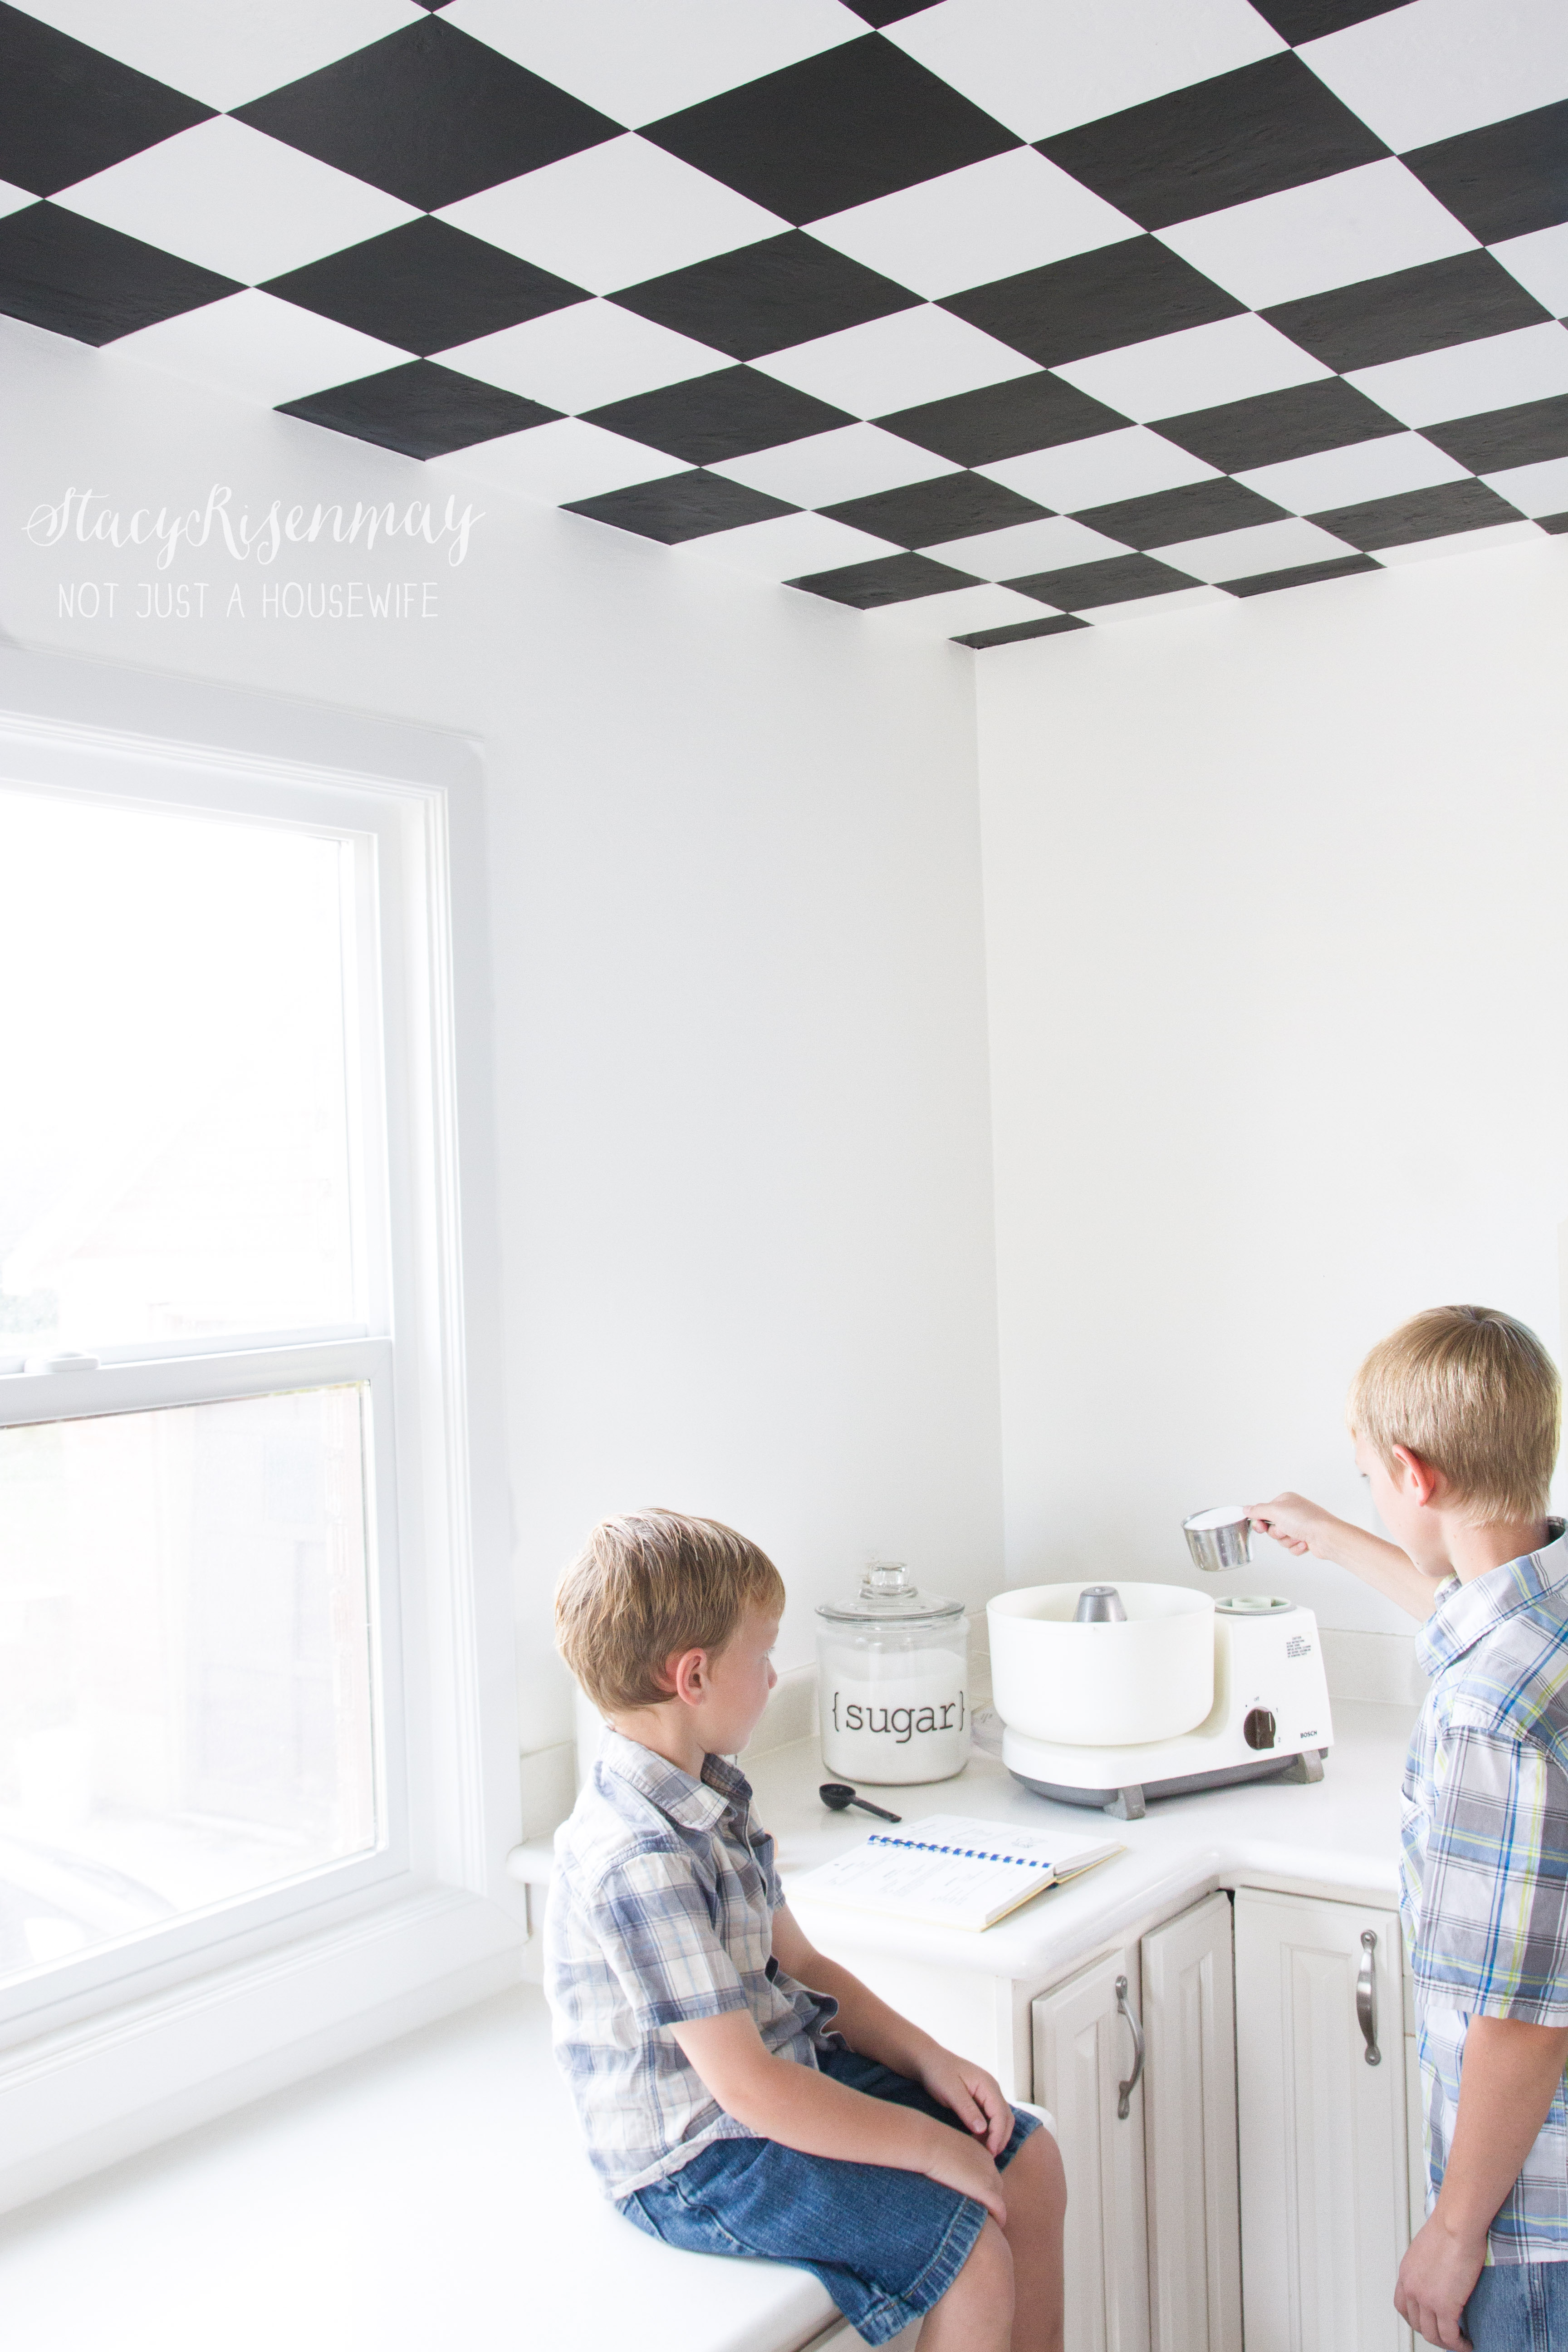
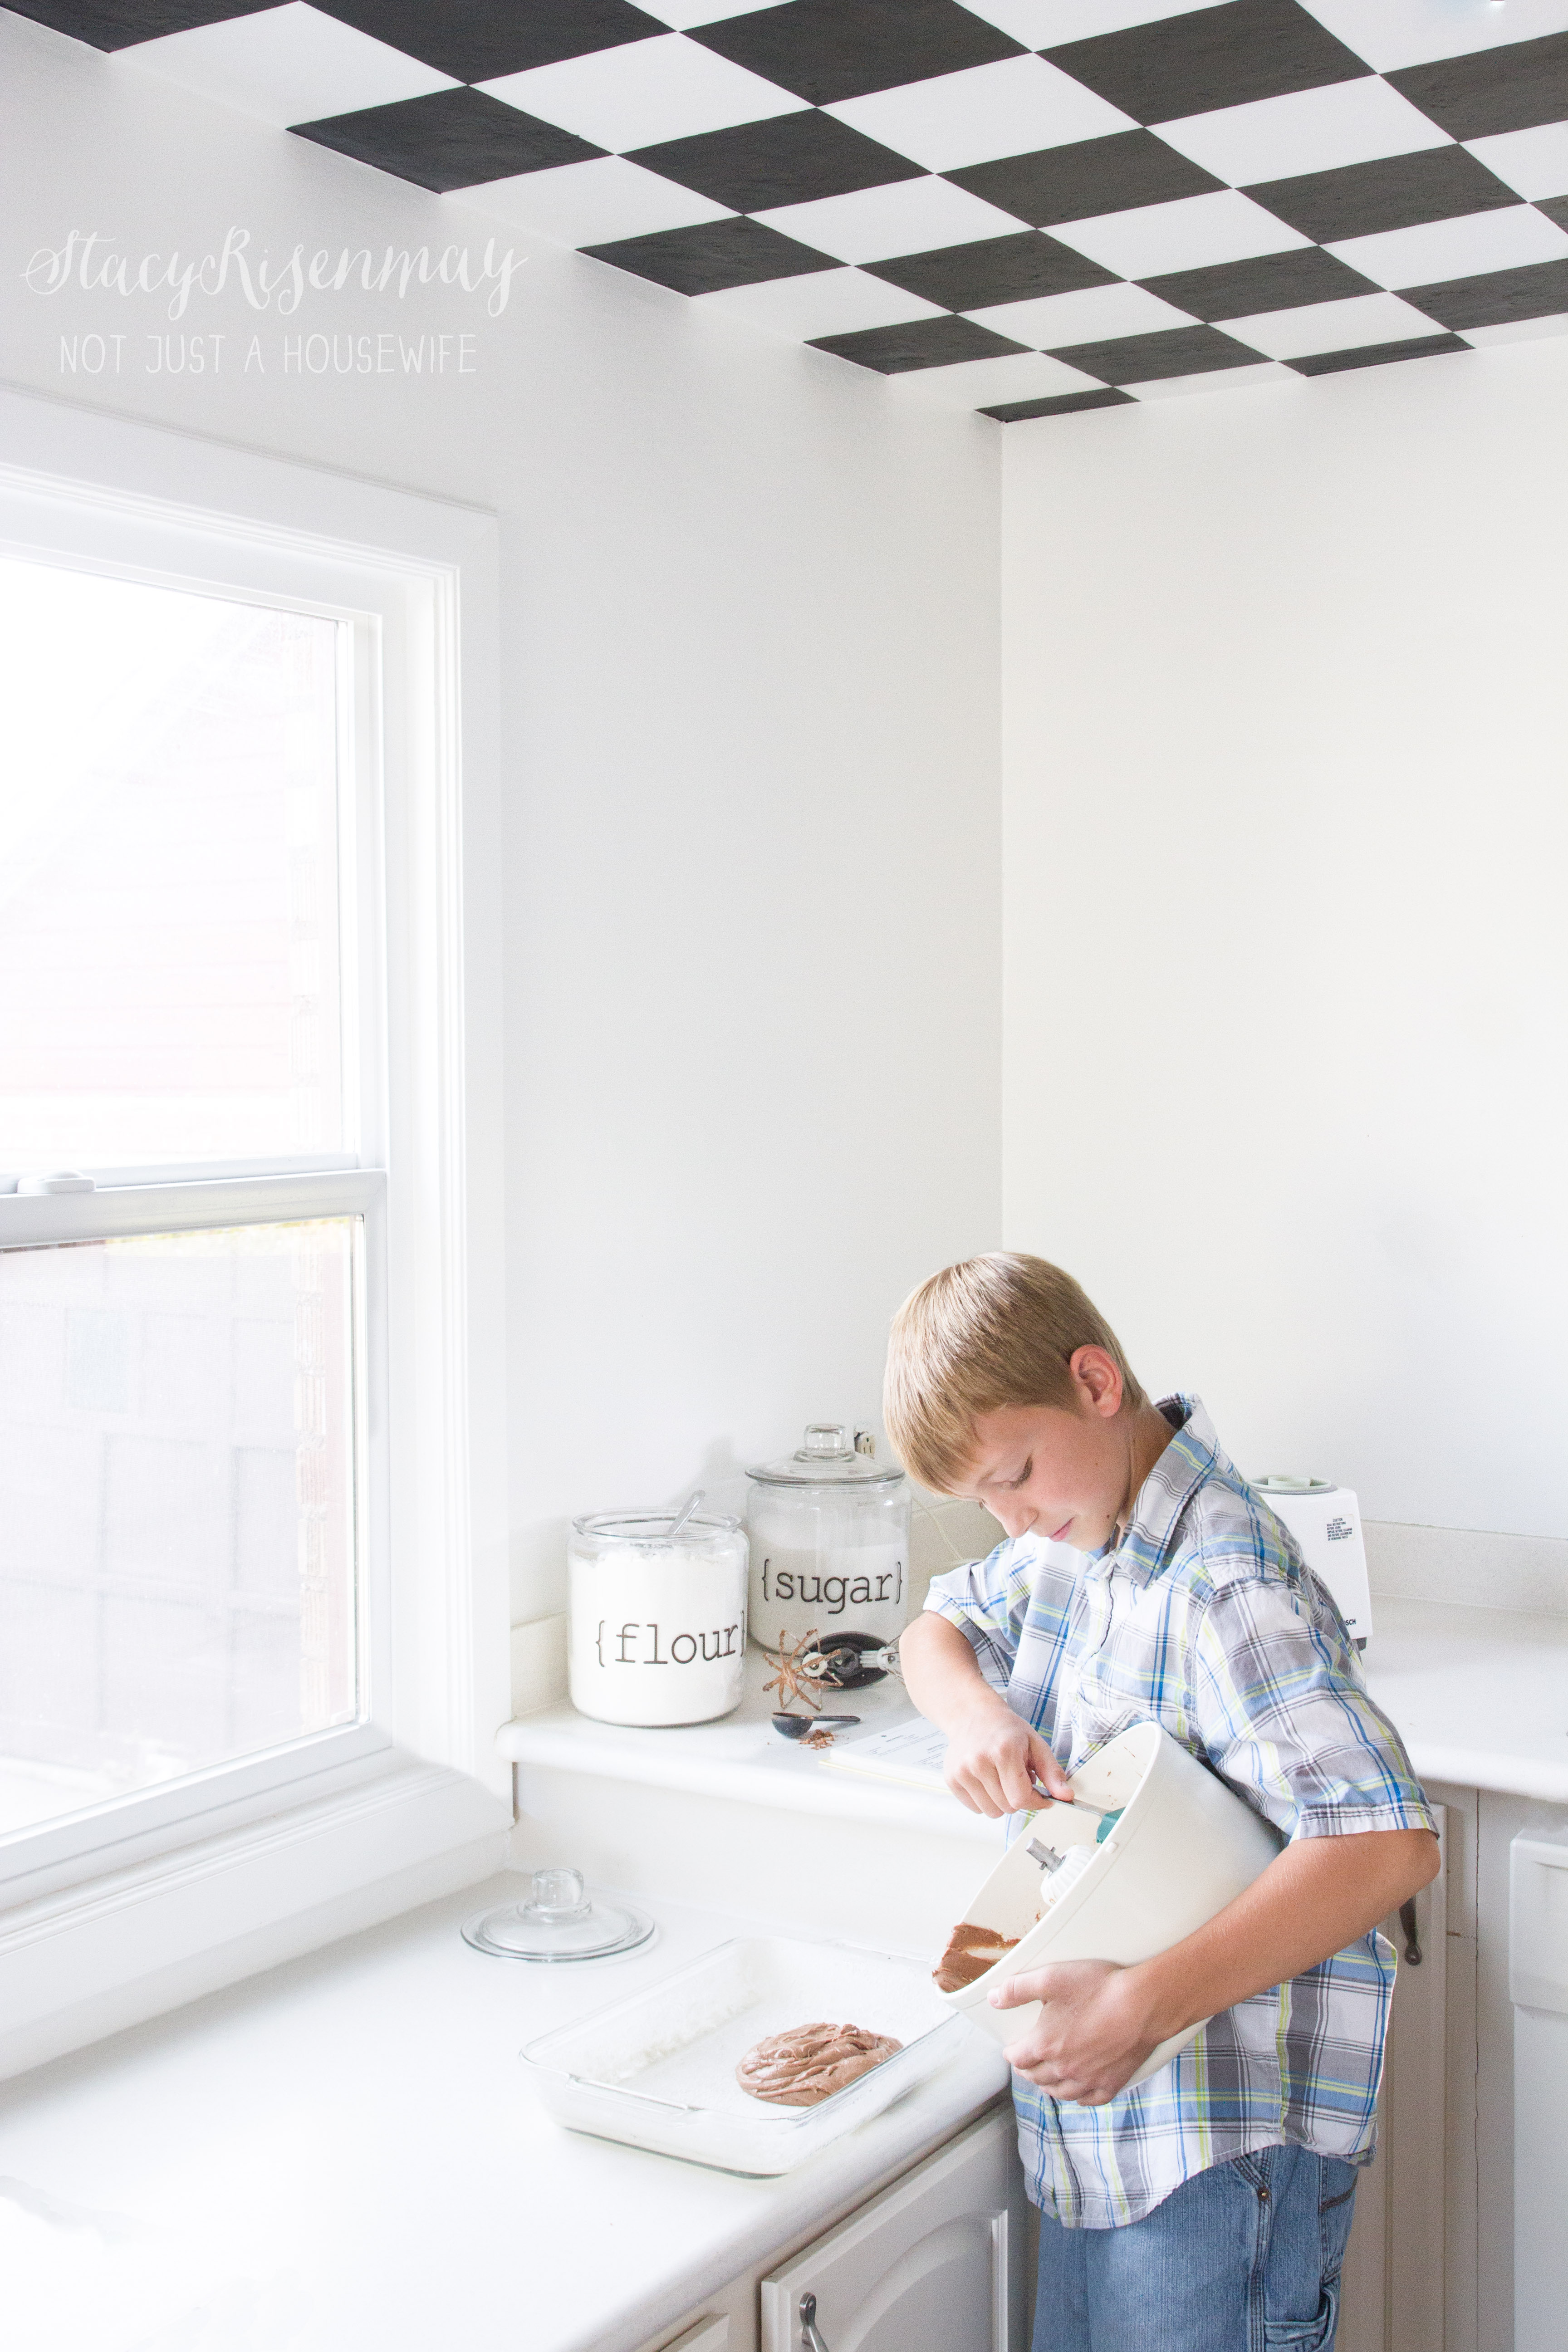
If you have been around a bit then you have probably seen my black and white checkered ceiling in the dining area. I finally got around to doing it in the kitchen area as well. It took a long time because of the extra steps I had to take with re-texturing the ceiling so we ate take out a lot while the kitchen was covered in tarps, paint cans, and dust. I promised my kids the first thing we would do when we got it all cleaned up was make cookies or something fun.
Whether you space is full of color, only neutrals, modern, or traditional, one thing every space needs is pattern! I have been sharing projects this summer in partnership with ScotchBlue™ that incorporate pattern. I shared my color burst pillow, my painted placemats, and today I'm sharing the tutorial for my checkered ceiling.
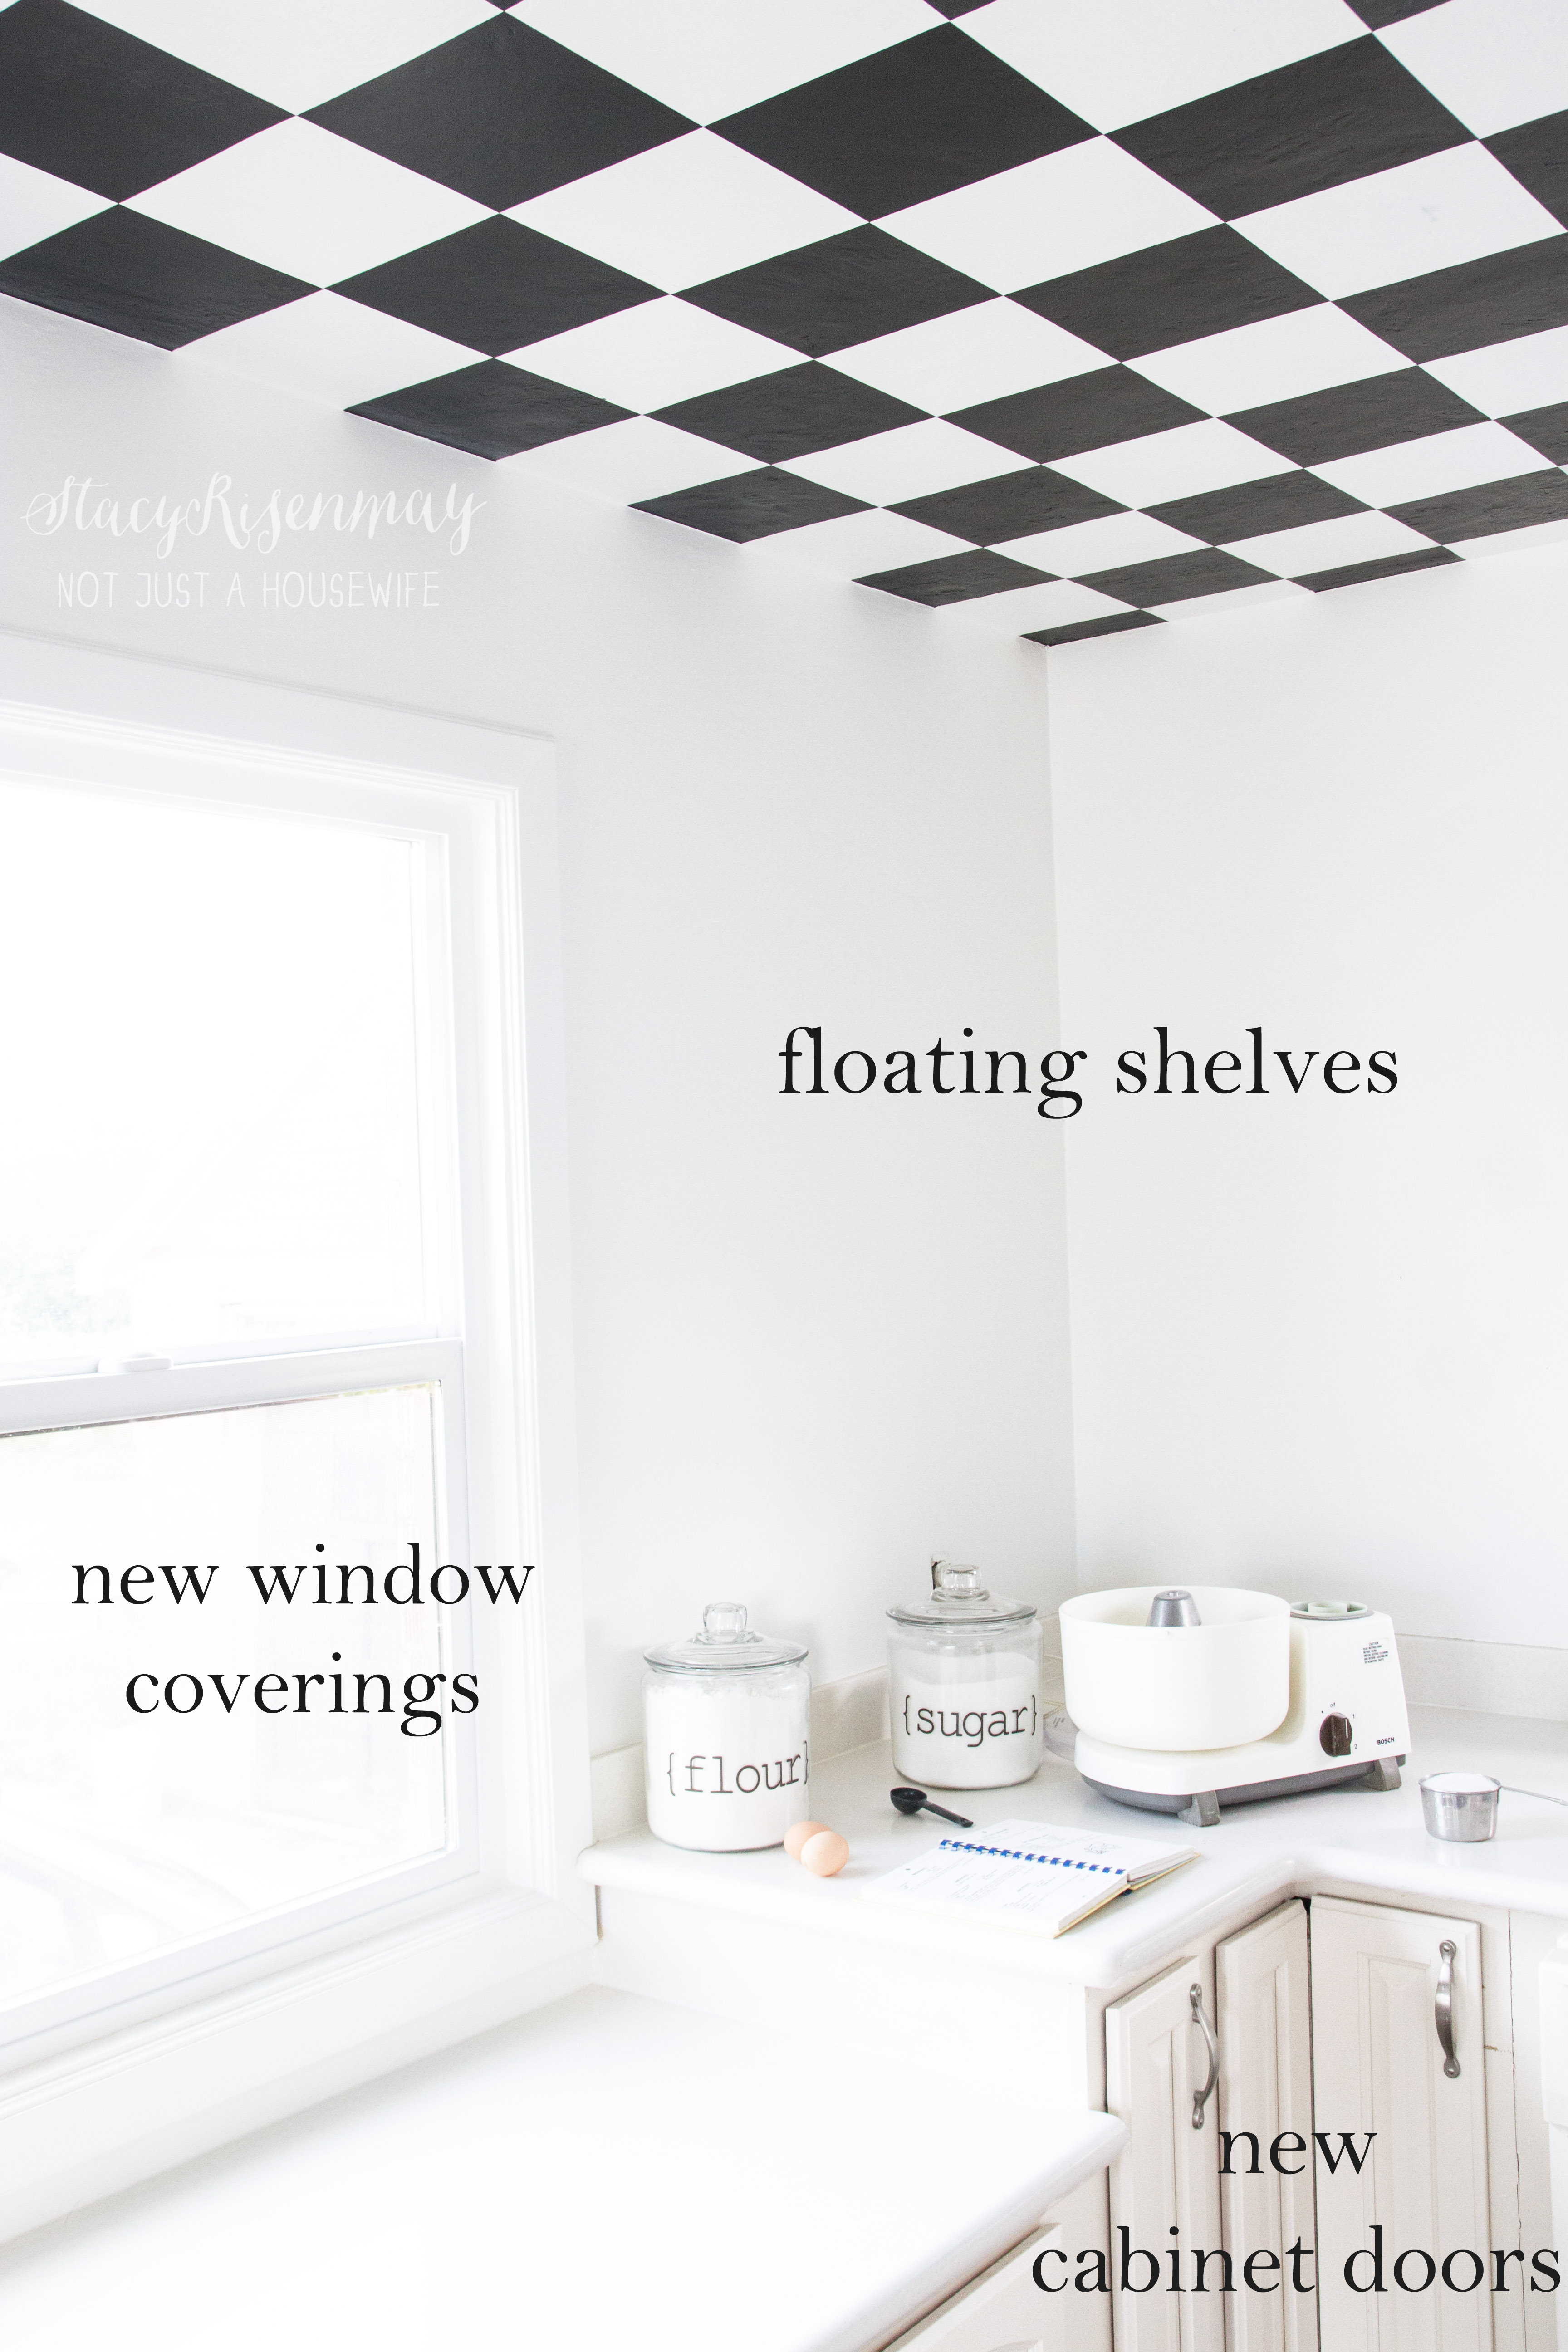
I know it looks pretty bare right now. The only thing it has going for it is the ceiling. But I PROMISE that will change! I have big plans for the shelves and the styling. I'm going to bring in small touches of what this kitchen would have looked like back when the house was built as well as pops of color.
And just in case you don't remember what it looked like when I started my blog....

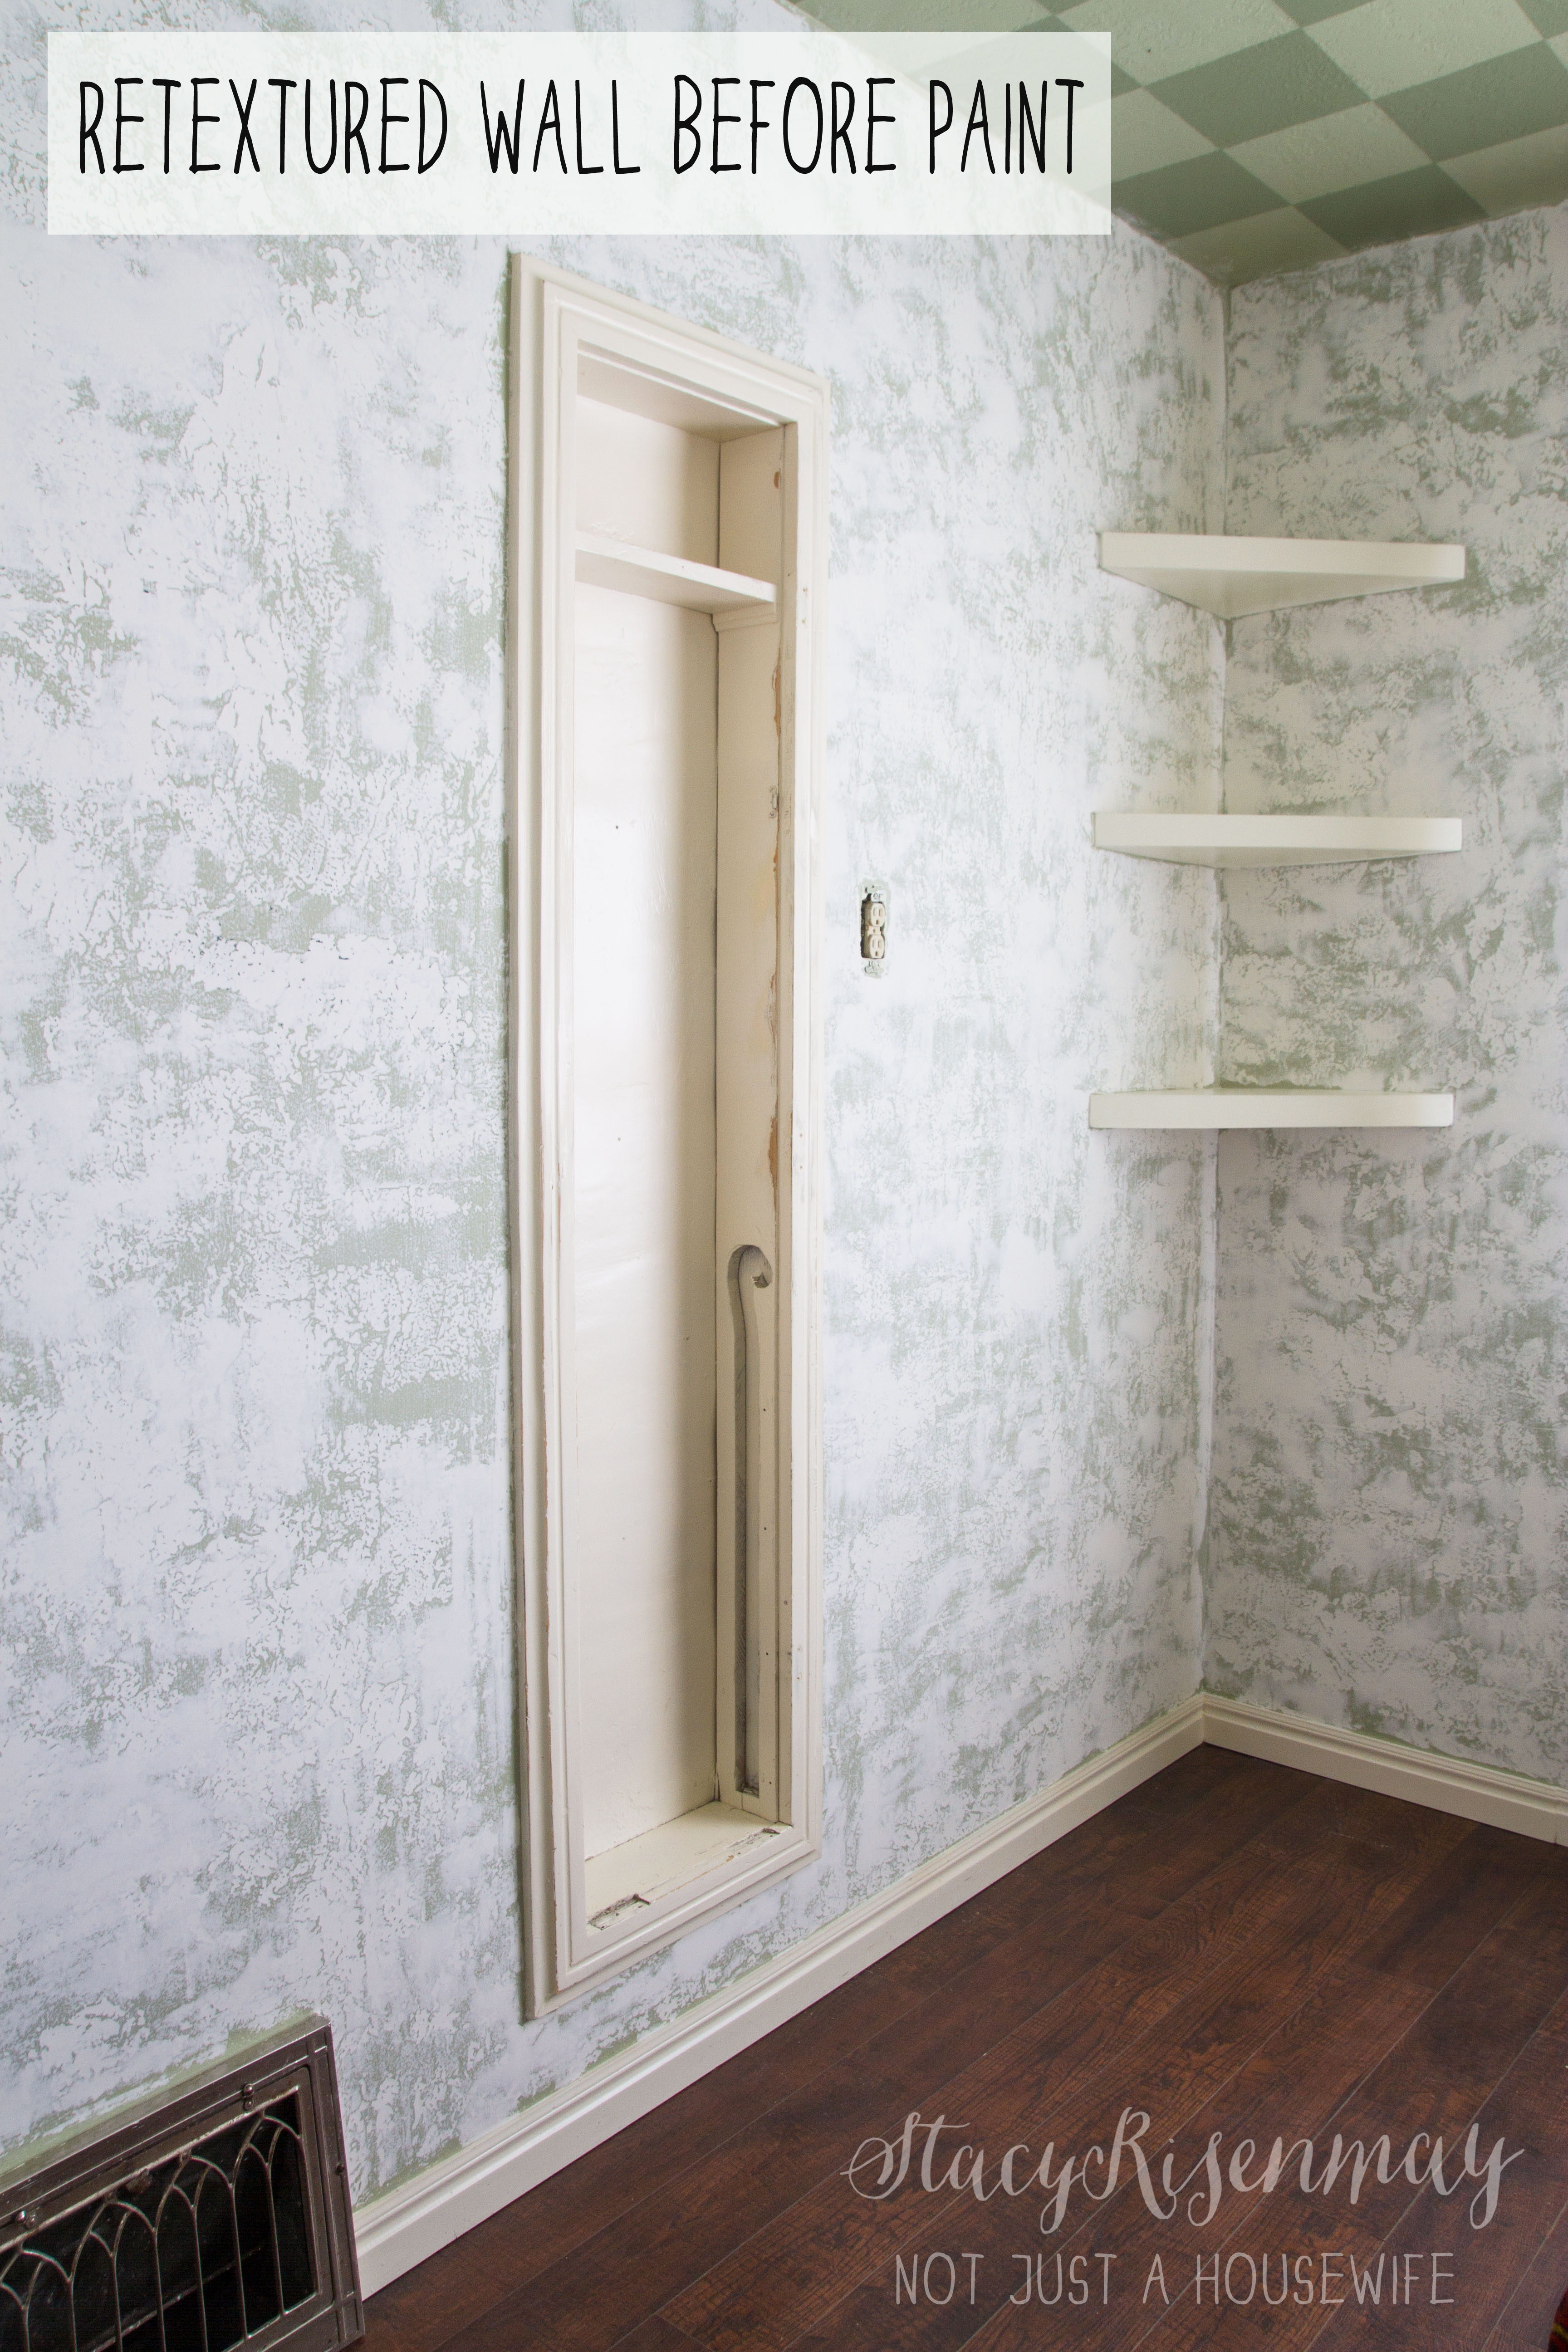
The walls were heavily textured and it always bugged me because A) I didn't like the look and B) it was different than all the other walls in the house. I wanted to bring it back to the smooth plastered look the rest of the house has (which is original) but that meant I had to retexture the walls and ceiling. So when you see the pictures of the steps, the ugly splotchy green-ish white is due to retexturing.
Materials Needed For Checkered Pattern:
- Laser level
- Straight edge
- Pencil
- Foam brush or foam roller
- Paint in your choice of two colors – this project used white and black
- Ladder
- ScotchBlue™ Painters Tape Delicate Surfaces with Advanced Edge-Lock™ Paint Line Protector

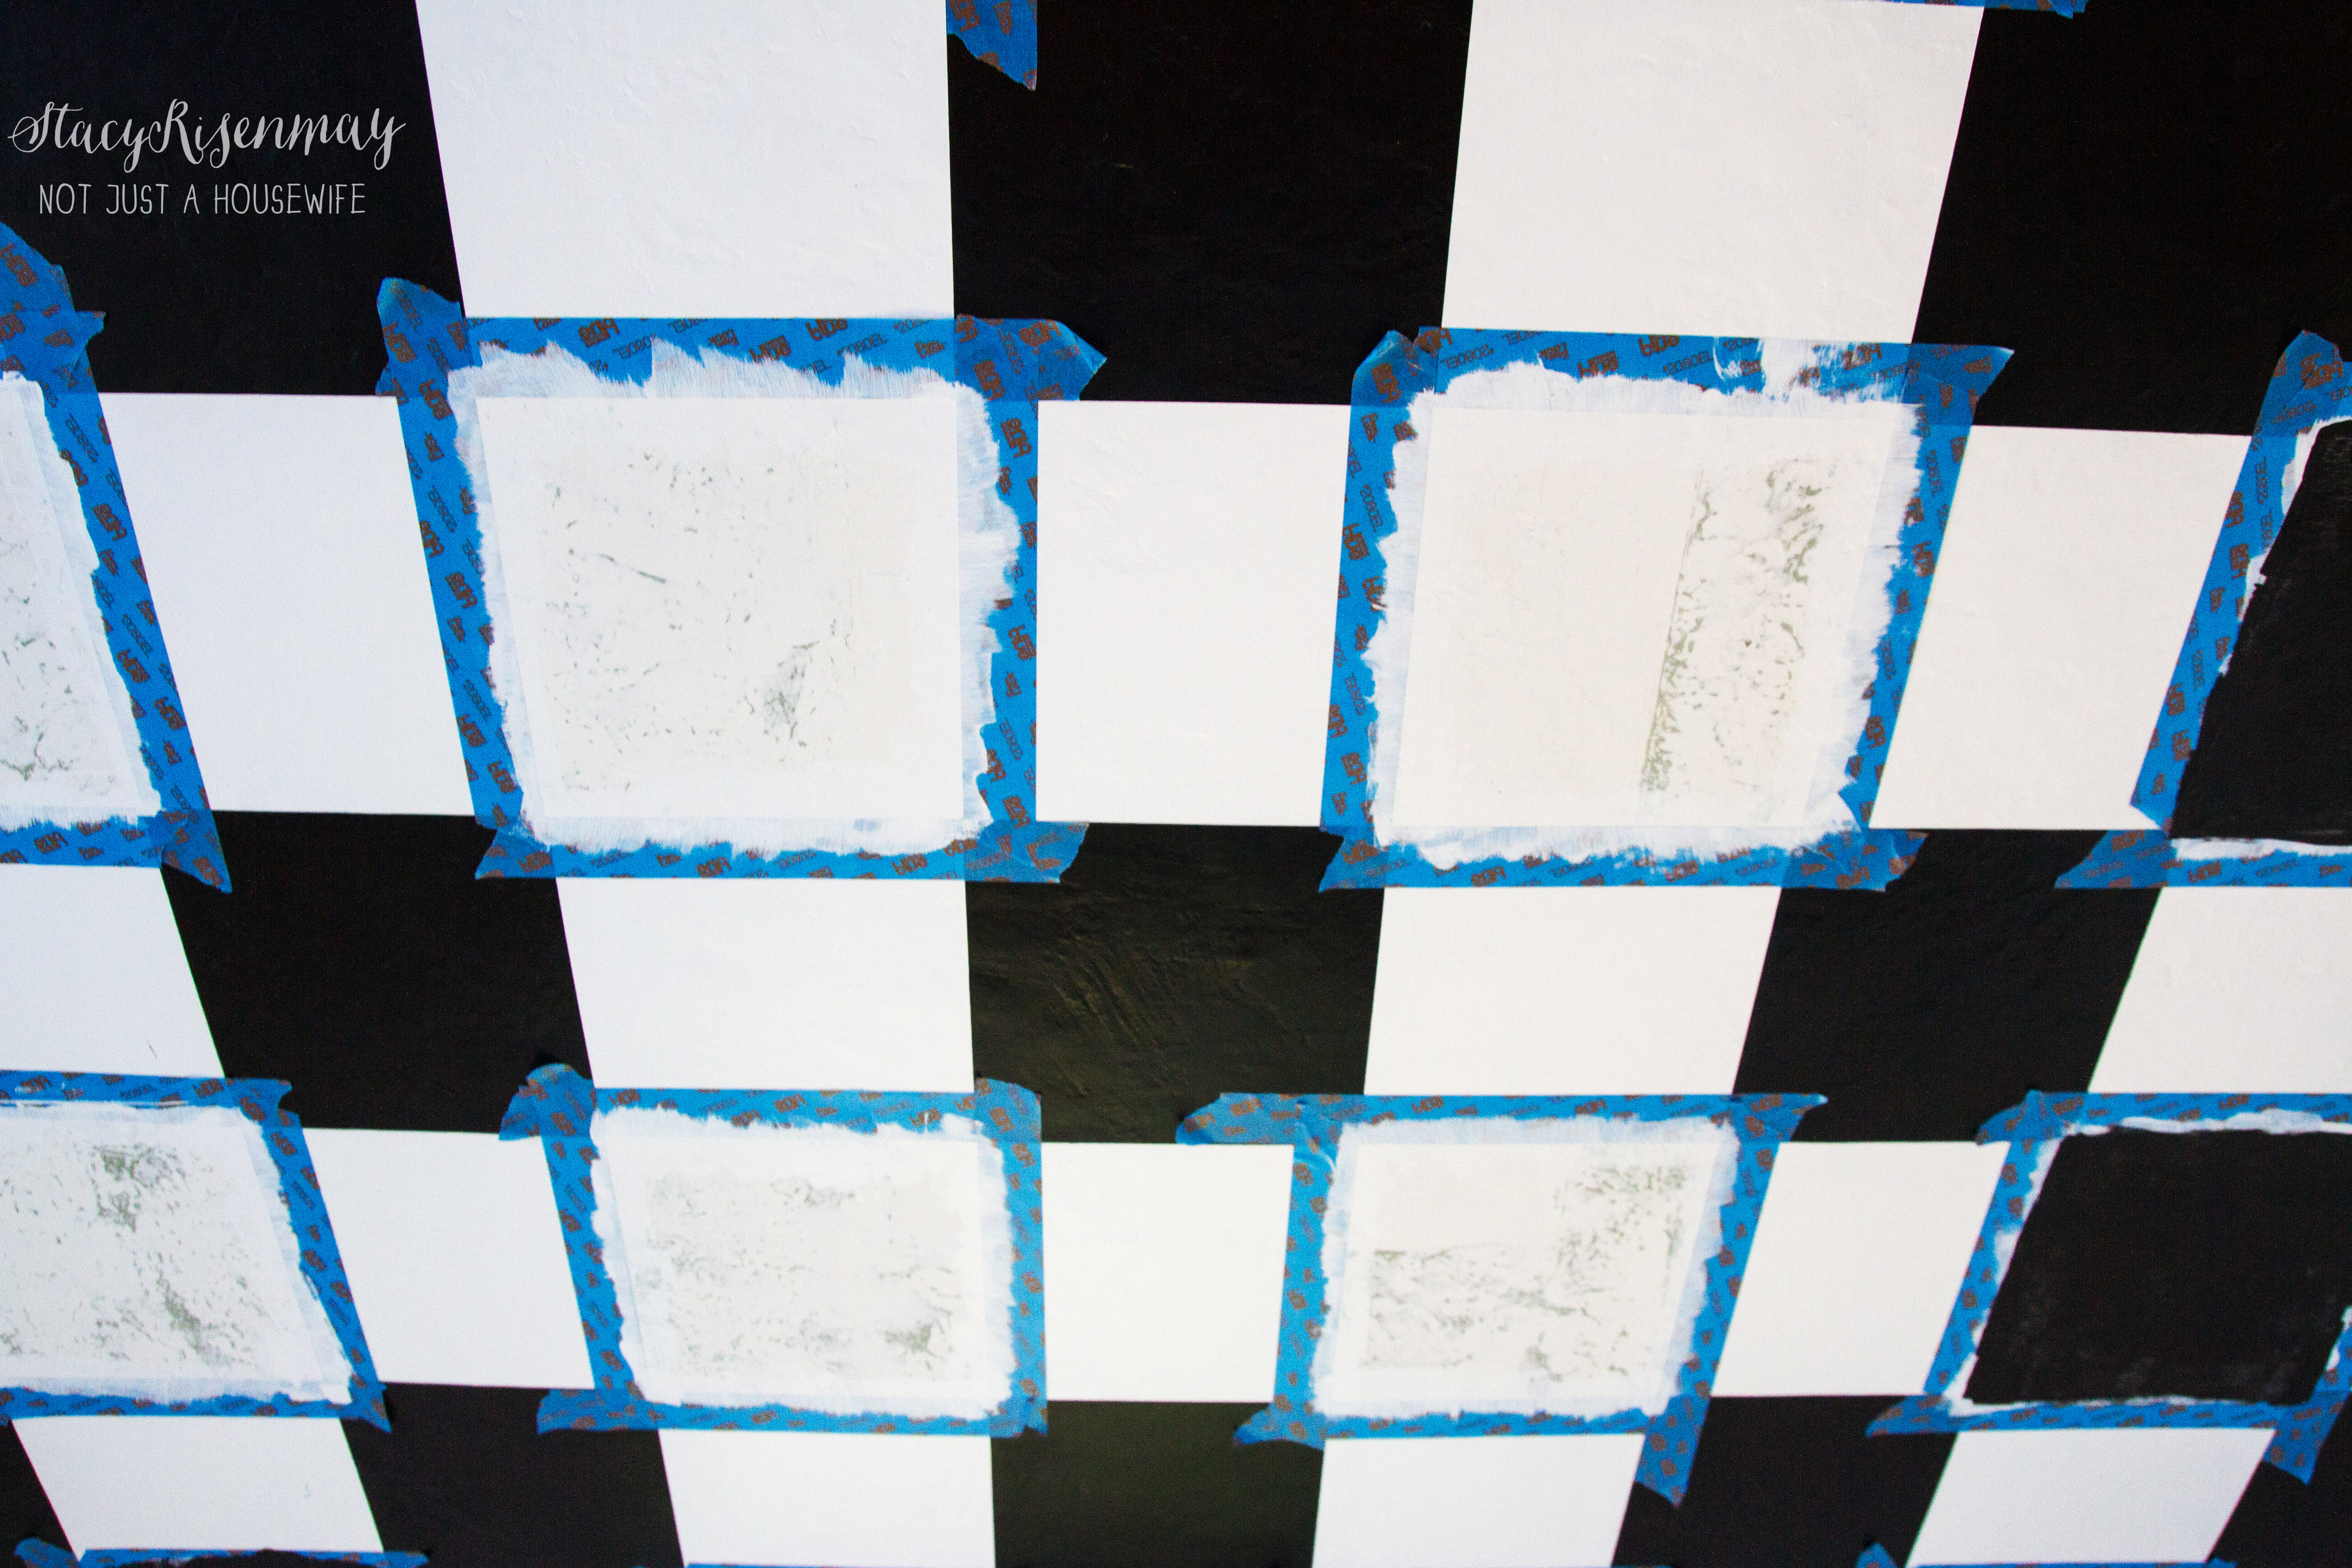
*This time around was a bit different for me because I already had a checkerboard pattern. I didn't want to have to measure and draw new lines so I opted to use the old squares as a guide when taping. BUT there was a trade off because I had to do twice as many rounds of taping and painting. This collage shows the FOUR rounds of tapping I had to do. Two were for white and two were for the black. See below for the directions for starting from scratch.
1. Start by measuring the length and width of your ceiling. Decide how big you want your squares. Use a laser level, straight edge and pencil to lightly trace horizontal lines that are equally spaced apart, beginning at the top and moving down the ceiling. Repeat to trace vertical lines, equally spaced apart moving from left to right. Shane and I worked together and it went a lot faster. We used a 6 foot long piece of wood trim as our straight edge.
2. Using the lines as a guide, apply Scotchblue™ Painter’s Tape Delicate Surfaces with Advanced Edge-Lock™ Paint Line Protector just outside each drawn line. This will create the squares of the checkered pattern and the lines will ultimately be painted over.
I hope this picture helps you understand why you will have to tape twice. When you tape the lines for one row, the tape goes inside the lines for the next row. So you end up with every other row being painted. The x's represent the squares that will be painted. You can see all the other squares are smaller and are not able to be painted. Your ceiling will be painted all the base color (not the splotchy green like mine pictured here) and it will take two times taping for your secondary color.
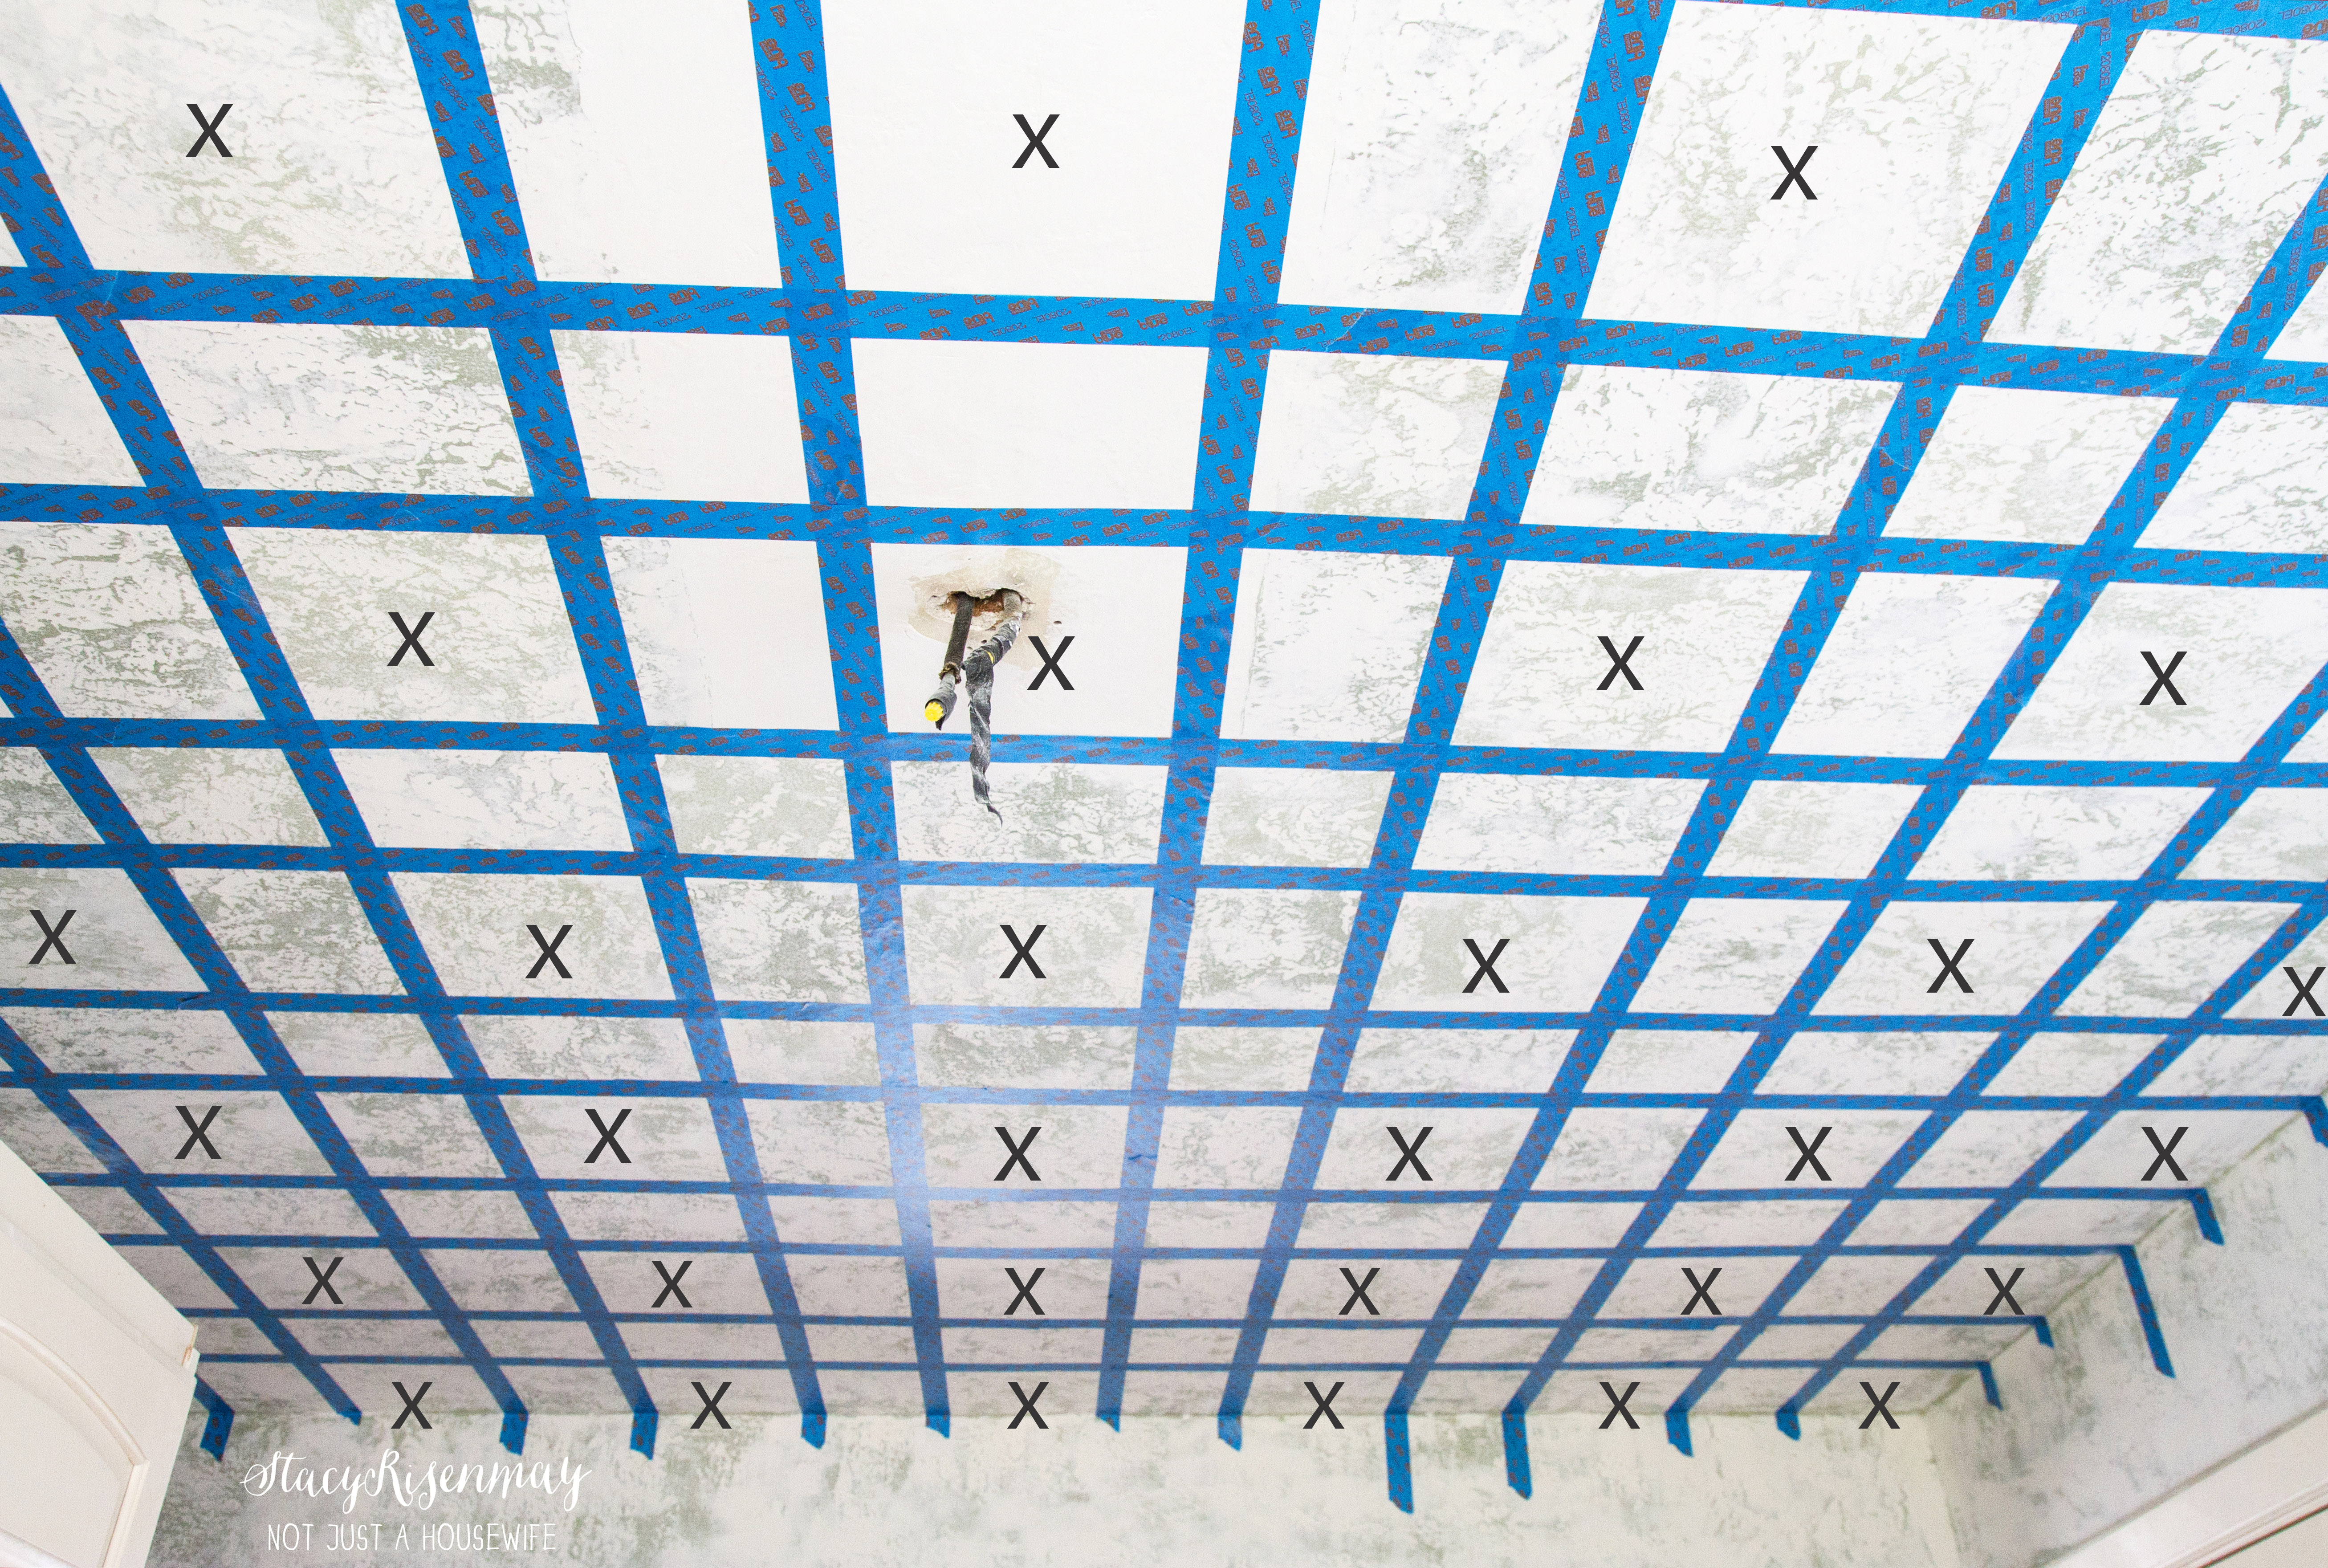
3. It can be helpful to draw actual x's on the squares (with a pencil) that need to be painted. Once everything is taped and marked, paint the squares that have been marked with your secondary color.
4. When you have done enough coats of paint for good coverage, remove each strip of painter’s tape by pulling the tape slowly and back onto itself at a 45-degree angle.
5. Allow the paint to dry fully according to the manufacturer's specifications on the can. Then you are ready to tape for the second time. The second time you tape it is easier because you have the drawn lines plus the squares you painted in round one to act as a guide.
6. Paint the unpainted squares in these rows black. Then, repeat Step 4 to remove the tape.
TIP: Paint the base color (for me it was white) over the tape to seal it. That way you are guaranteed a super crisp line!
I can't wait to show you the rest of the kitchen! But for now, I am having fun staring at my ceiling :)
I have partnered with ScotchBlue™ to bring you projects that have lots of fun patterns! It has been awesome :) I have been compensated for my time. The projects and opinions are 100% my own.


Seriously coolest ceiling EVER!! Even with instructions I'm still trying to rack my brain around this hahah !
Paige.Rose
from
http://www.TheQuaintSanctuary.blogspot.com
What a huge project! The effort was so worth it, it looks really cool. Love how the kitchen is coming together!
Stacy, I curtsy at your talent. WOW!!! Your ceiling looks ah-MAZ-ing! I bet your arms are thanking you that it is done. :) I would be staring at it incessantly. :) Thank you Scotch Blue for perfect lines! Zoweeee!!!
Oh my gosh this has to be the funnest ceiling ever! We are using Scotch Blue Painters Tape for our kitchen remodel right now too. LOVE IT!
Wow what an amazing ceiling project! It looks fabulous!!
That is outstanding! Fresh and beautiful! Oh my gosh... you have patience like no other. I love your cool ceilings so much! Pinning!
That looks so cool Stacy!
Oh its looking great! I hadn't thought of doing this before and it works really well :-)